147 GTA progress thread (July 2013 to present)
Discussion


Mayrun said:
Really nice bolts 
You can actually just buy the wiper blade without getting the entire arm. The wiper arm is a bit unique for the GTA because it's a different length to accommodate the spoiler. (fellow black 147 GTA owner here )
)
It was the way that the blade mounted to the arm that was the problem. Hence £50 for a new arm....You can actually just buy the wiper blade without getting the entire arm. The wiper arm is a bit unique for the GTA because it's a different length to accommodate the spoiler. (fellow black 147 GTA owner here
)Edited by Mayrun on Monday 1st January 21:31
Whilst driving it recently I noticed that the driver (offside) headlight was effectively pointing at the floor. I sought to adjust it and found a hole where the hex type adjusted should be:
 IMG_8537 by Chris, on Flickr
- It's supposed to look like this:
 IMG_8576 by Chris, on Flickr
Meaning that the headlight needed to be removed and likely stripped down to repair it.
Additionally, the lacquer on the nearside headlight has started to peal off for an unknown reason:
 IMG_8531-Enhanced-NR by Chris, on Flickr
Removing the headlights is a relative pain in the a e.
e.
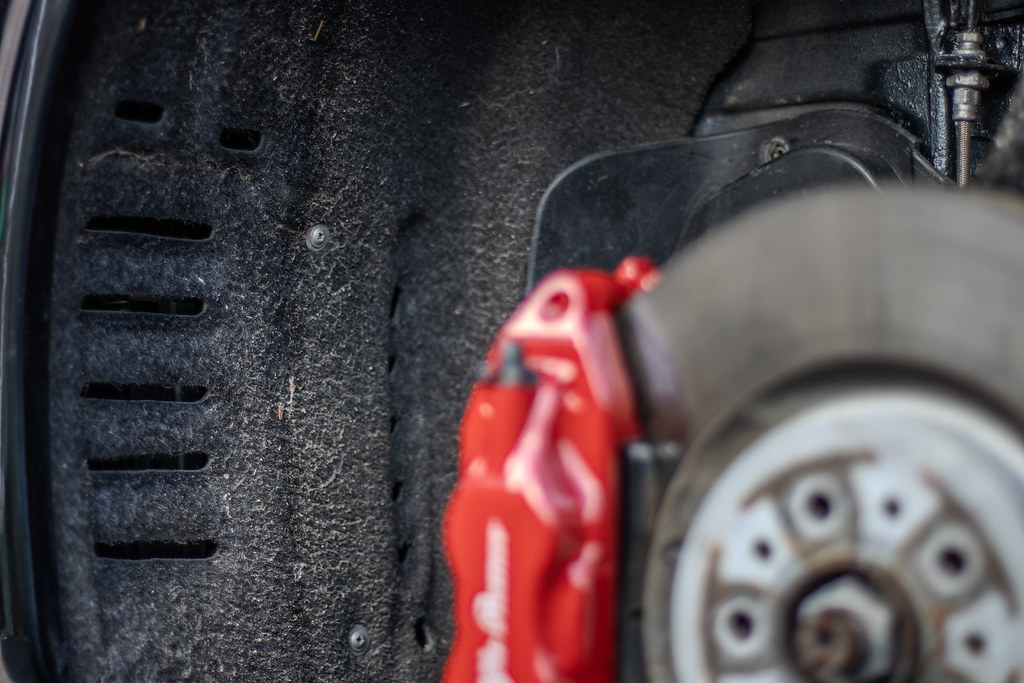
The car needs to be jacked up and the wheels removed so that the arch liners can be peeled back to access the 6 bolts (3 each side) that fasten the bumper to the wing;
 IMG_8545-Enhanced-NR by Chris, on Flickr
The stainless screws we fitted make things easier though.
 IMG_8552 by Chris, on Flickr
 IMG_8555 by Chris, on Flickr
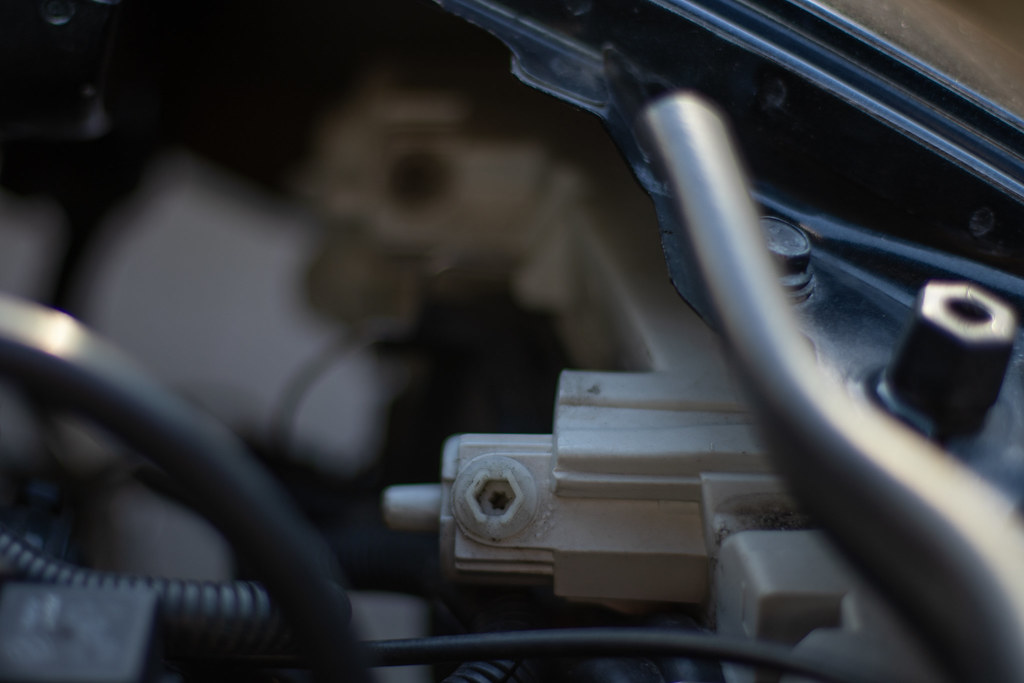
The lights are held in place with 3 10mm bolts. 2 of which are hidden behind the bumper and can bee seen here:
 IMG_8572 by Chris, on Flickr
 IMG_8591 by Chris, on Flickr
It's going to take some time to fix the lights so we put it back together with the lights missing.
I also noted that the engine is starting to look a bit scruffy so this will need attending to as part of a cam belt change - it's overdue now in terms of time. They should be changed every 3 years but in that time it's done less than 3k miles.
 IMG_8596-Enhanced-NR by Chris, on Flickr
IMG_8537 by Chris, on Flickr- It's supposed to look like this:
IMG_8576 by Chris, on FlickrMeaning that the headlight needed to be removed and likely stripped down to repair it.
Additionally, the lacquer on the nearside headlight has started to peal off for an unknown reason:
IMG_8531-Enhanced-NR by Chris, on FlickrRemoving the headlights is a relative pain in the a
e.The car needs to be jacked up and the wheels removed so that the arch liners can be peeled back to access the 6 bolts (3 each side) that fasten the bumper to the wing;
IMG_8545-Enhanced-NR by Chris, on FlickrThe stainless screws we fitted make things easier though.
IMG_8552 by Chris, on FlickrIMG_8555 by Chris, on FlickrThe lights are held in place with 3 10mm bolts. 2 of which are hidden behind the bumper and can bee seen here:
IMG_8572 by Chris, on FlickrIMG_8591 by Chris, on FlickrIt's going to take some time to fix the lights so we put it back together with the lights missing.
I also noted that the engine is starting to look a bit scruffy so this will need attending to as part of a cam belt change - it's overdue now in terms of time. They should be changed every 3 years but in that time it's done less than 3k miles.
IMG_8596-Enhanced-NR by Chris, on FlickrGassing Station | Readers' Cars | Top of Page | What's New | My Stuff