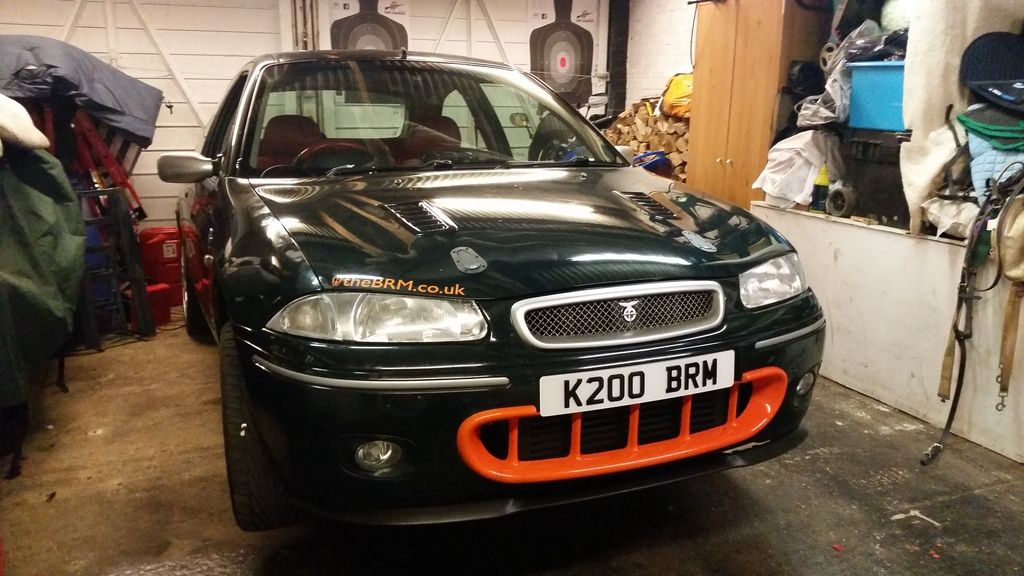
Rover 200 BRM - 1.8 K-Series turbo project
Discussion


Stuballs said:
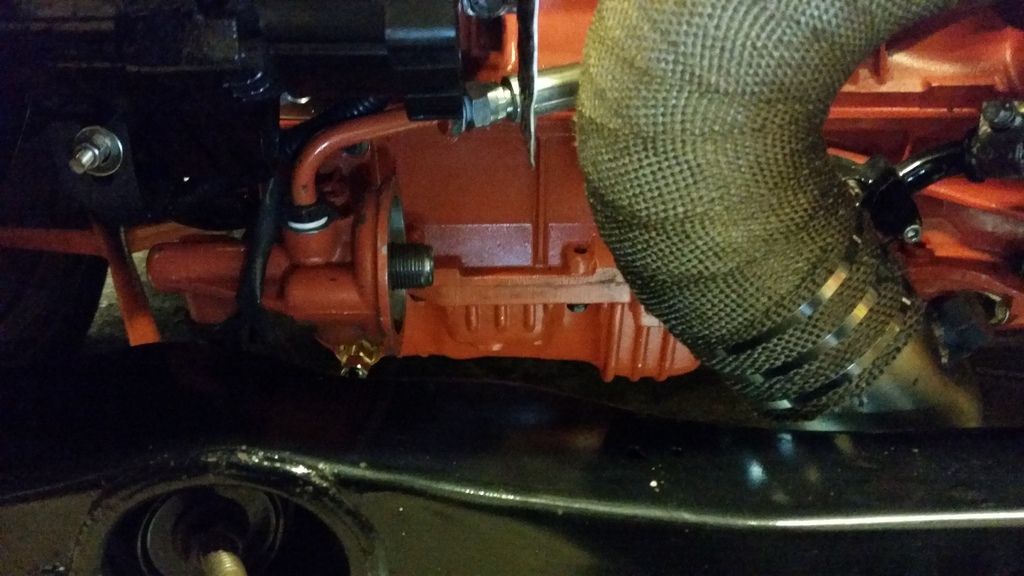
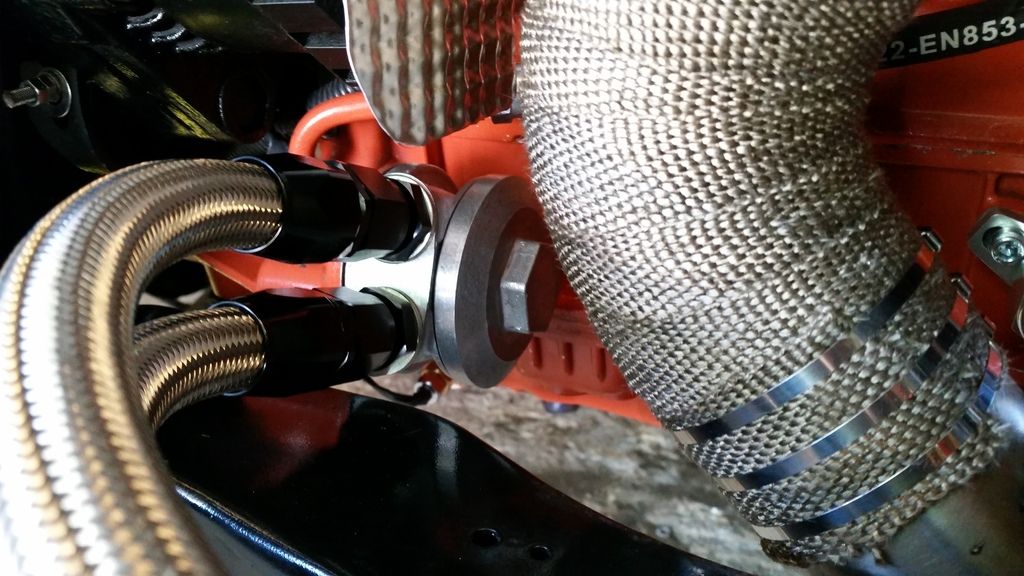
I have reflective heat shield on the sump itself but wanted to avoid wrapping that section of the downpipe as I'd be worried about it soaking up any oil leaks and catching fire (paranoia perhaps but you hear horror stories!)
Since that picture was taken I've redone the oil drain so it has more of a downward angle and is further away from the exhaust housing. But I will definitely sort some heat shield for it!
Would a zircotec type coating on the pipework on the pipework help to reduce the temps?Since that picture was taken I've redone the oil drain so it has more of a downward angle and is further away from the exhaust housing. But I will definitely sort some heat shield for it!
Captainawesome said:
On a side note, I may have seen a turbo 200 keeping up with a tuned R32.....he only found out it was a turbo when the guy peeled away with a large psssst from the dump valve.
I think you mean this videohttps://www.youtube.com/watch?v=EZrIXYA2eNY
200 vs Supra
Sorting a few other jobs out.
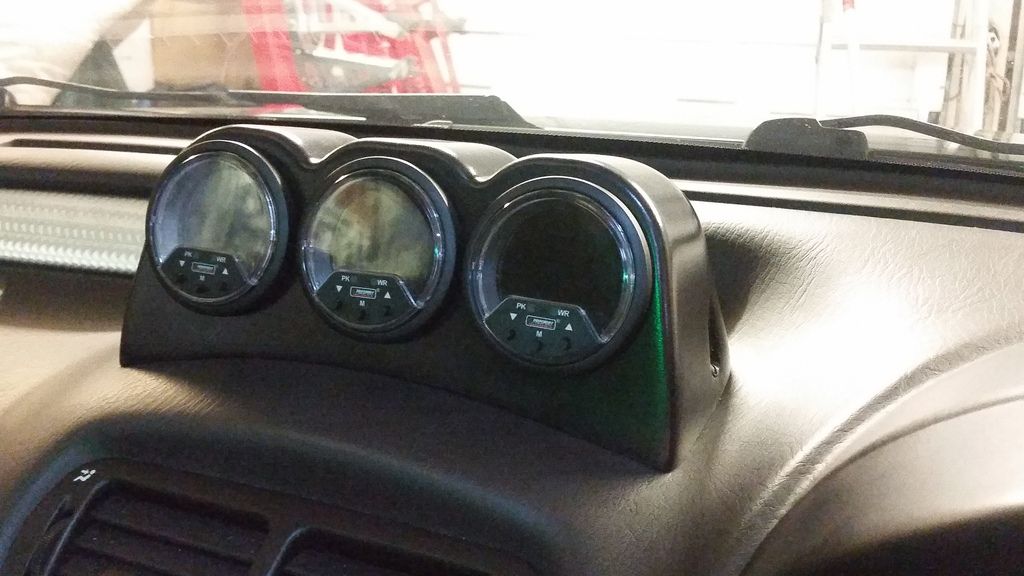
I wanted to run oil temp and pressure and boost gauges. Plus a wideband. I didn't fancy a pillar mounted gauge pod so opted for dash mounted. The dashboard is a very odd shape on the bubble so a three-gauge holder would need some fettling. Decided to integrate it with the clock (Rover clock never worked anyway!)
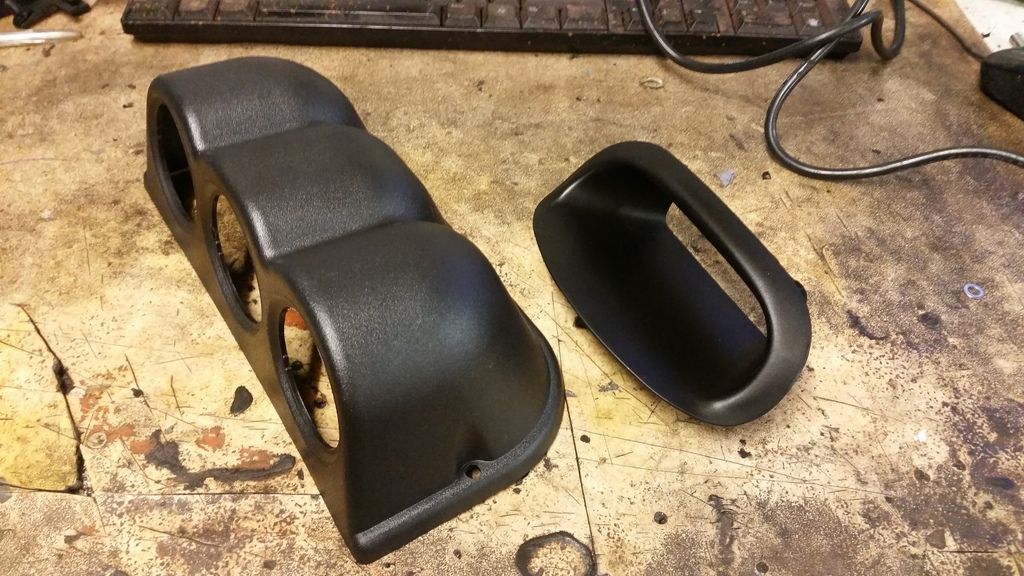
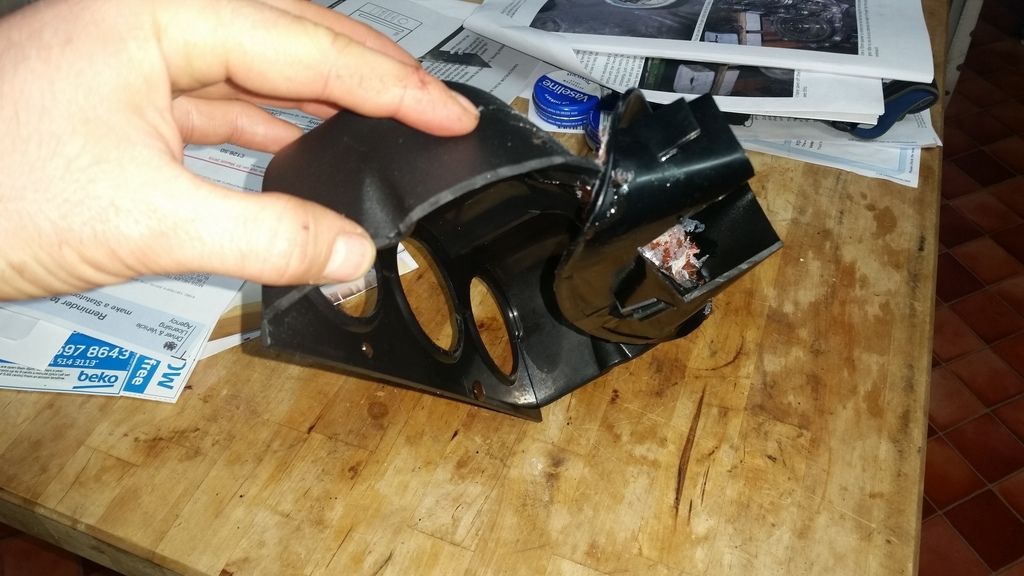
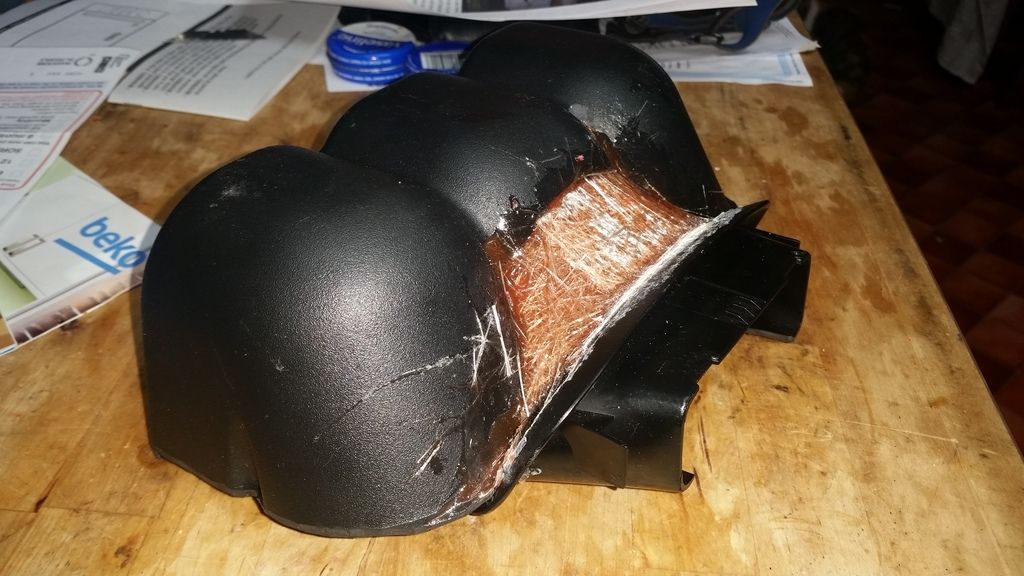
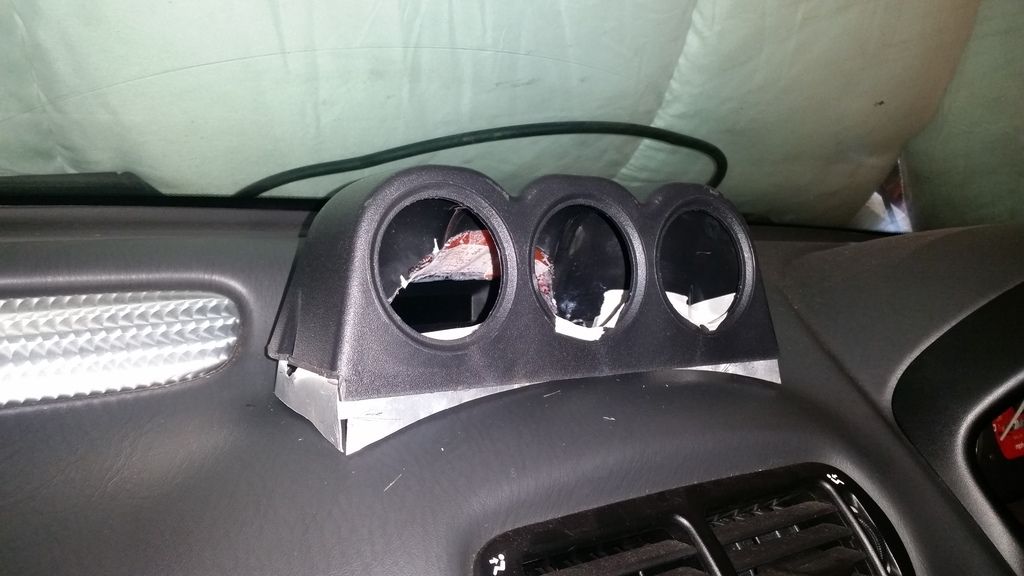
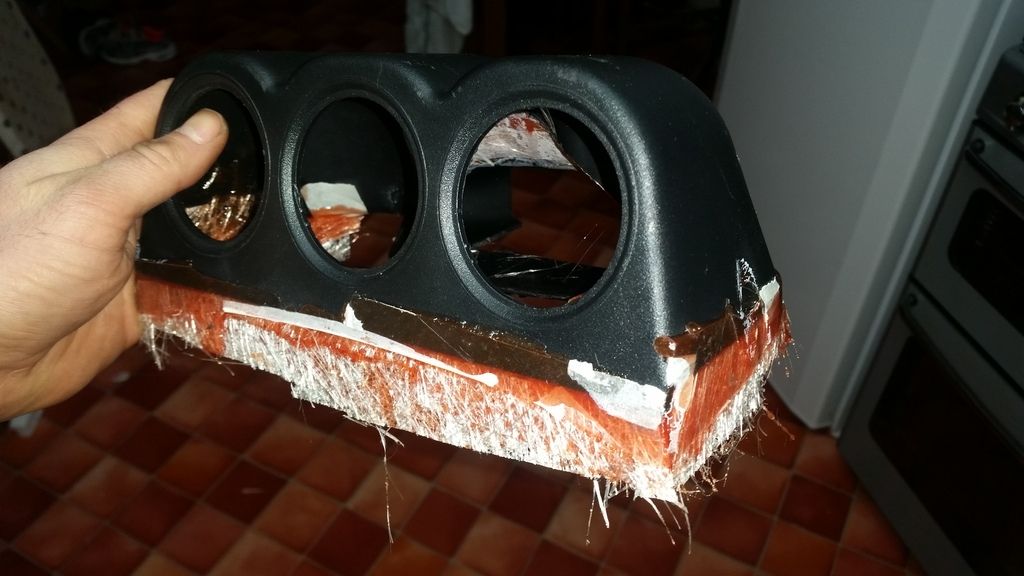
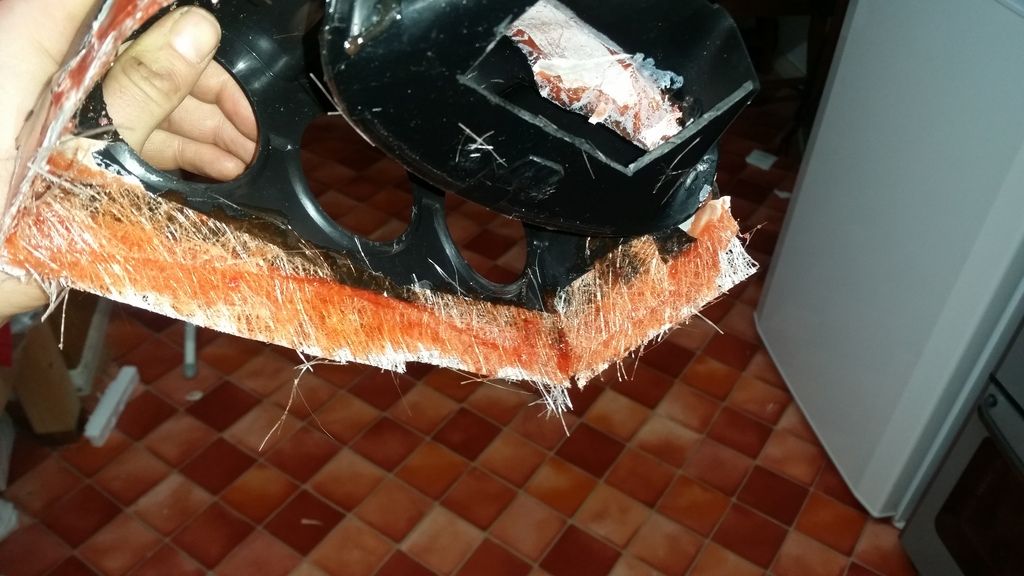
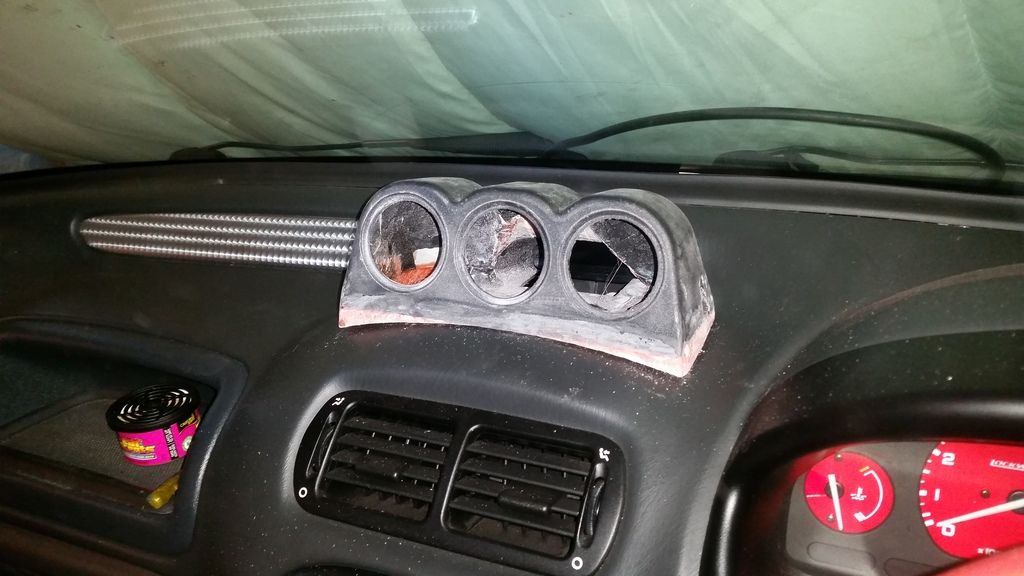
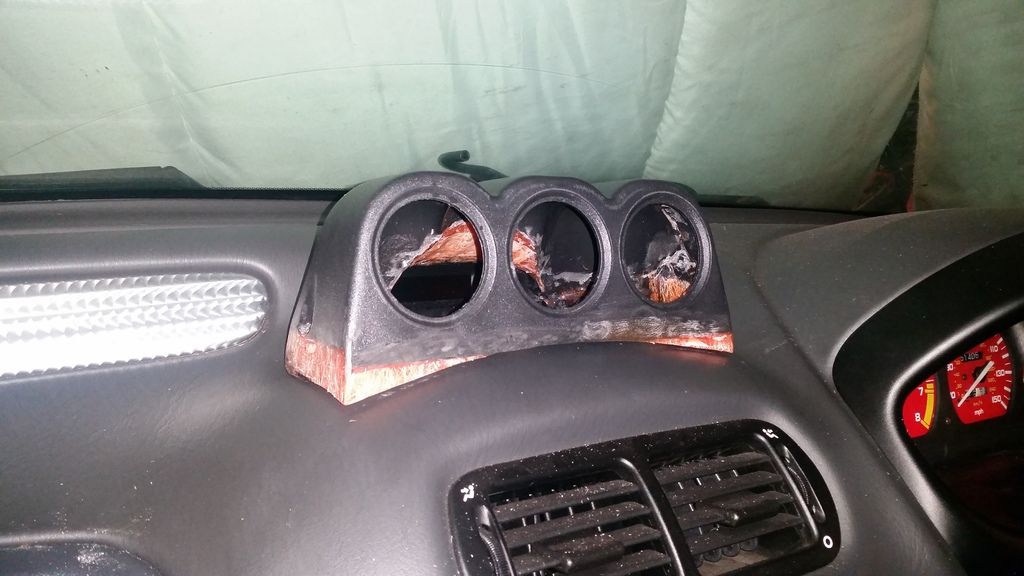
bit of filler:
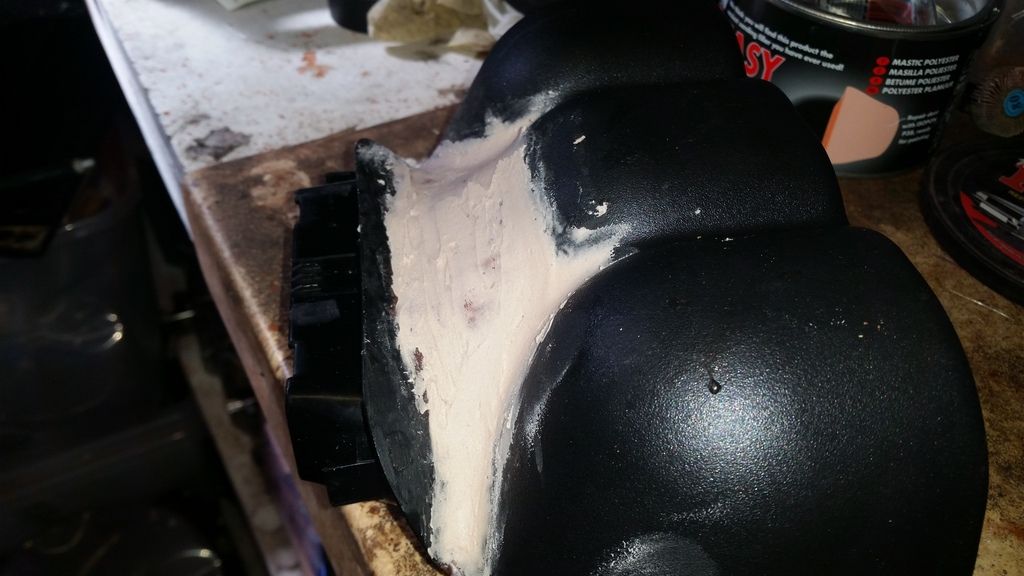
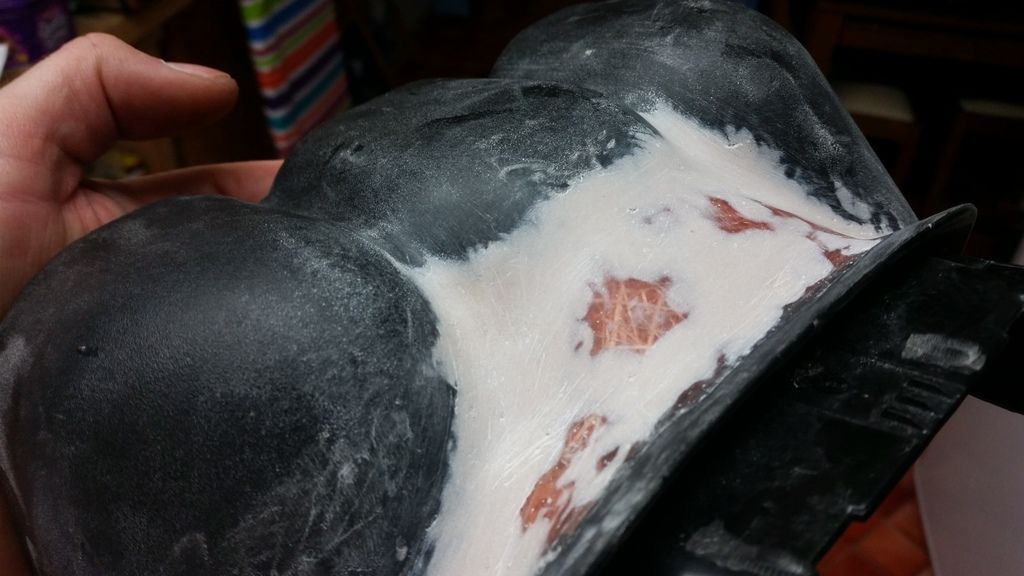
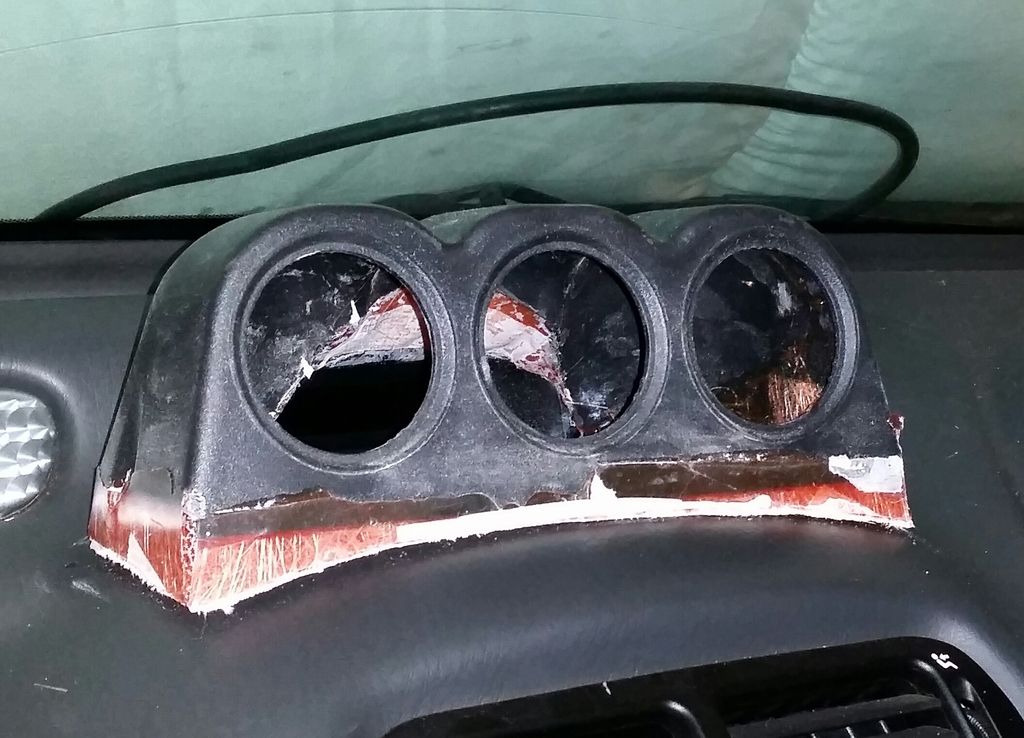
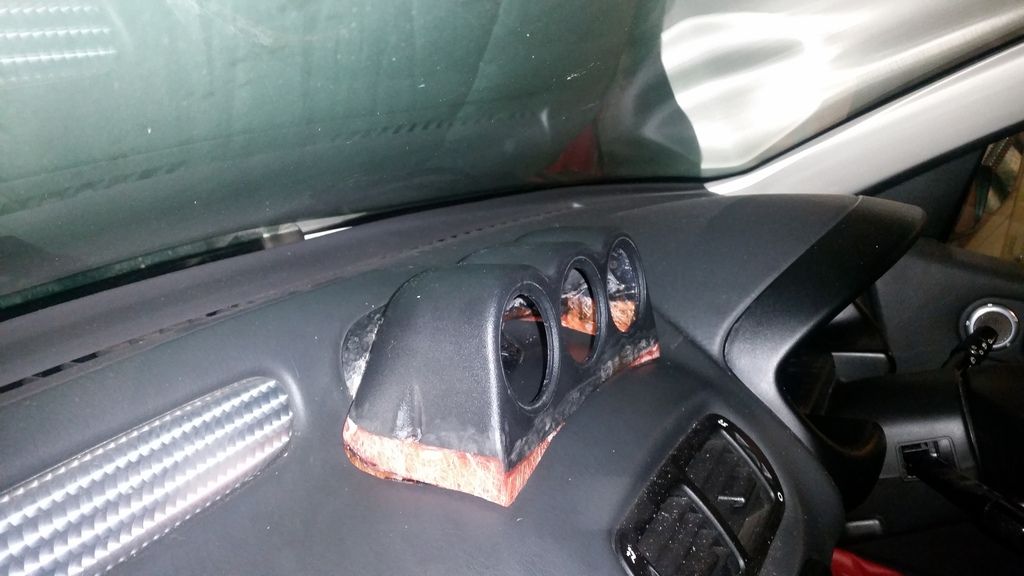
Bit of primer.
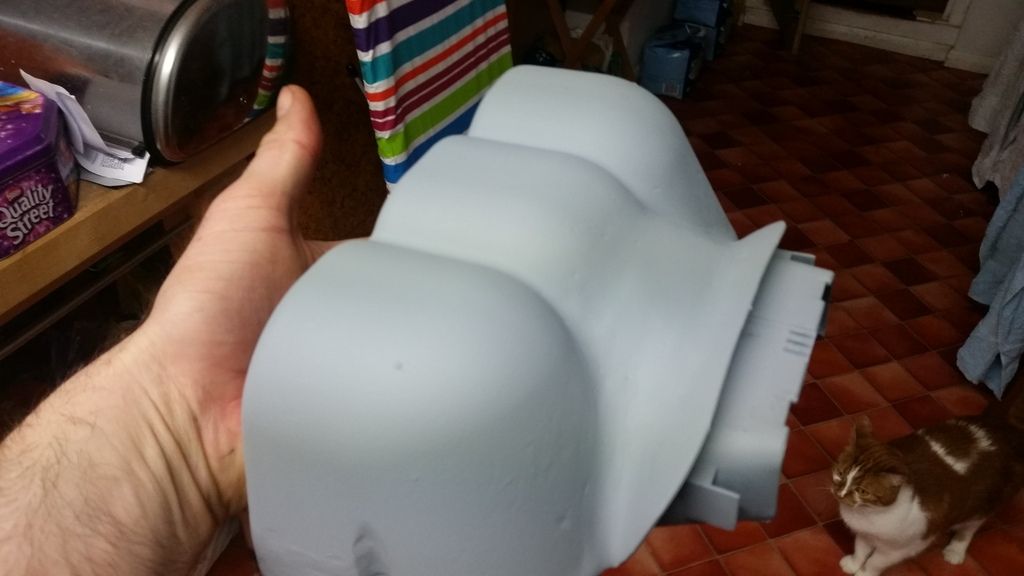
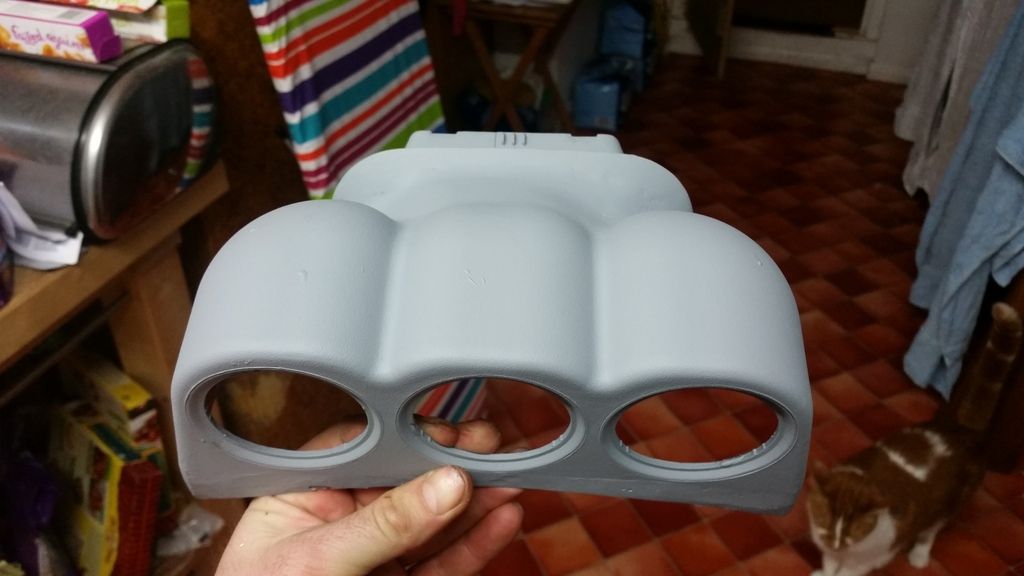
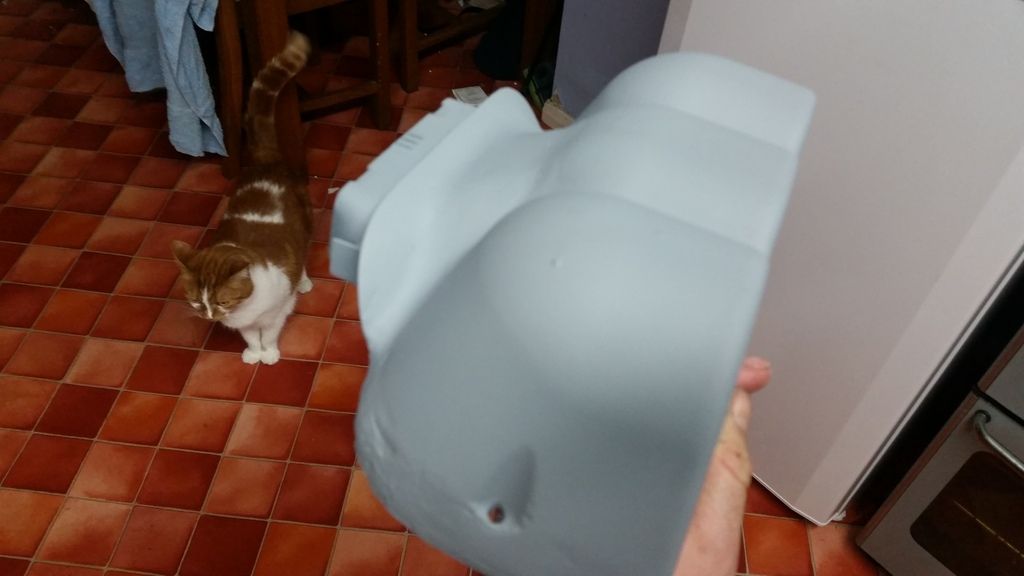
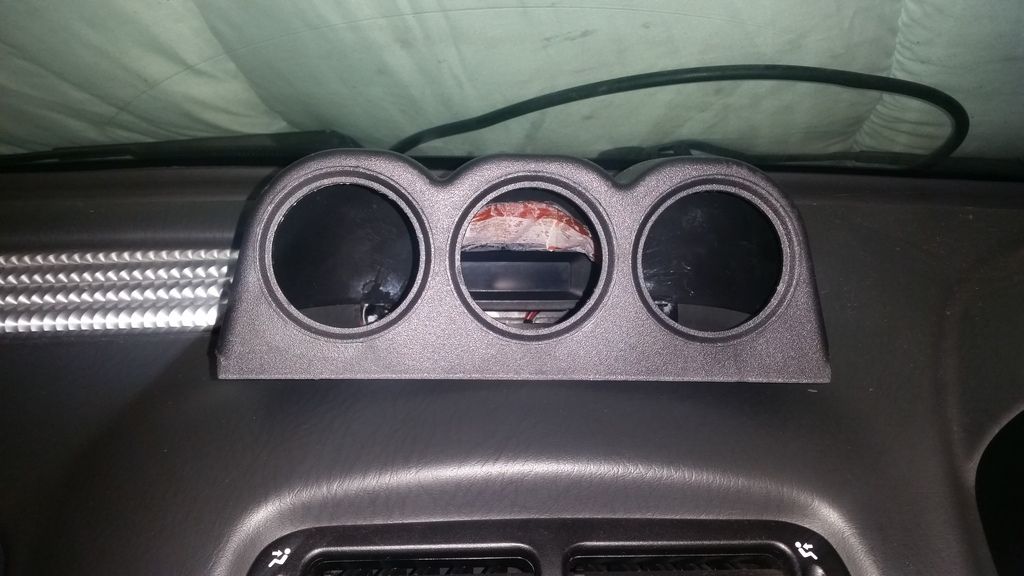
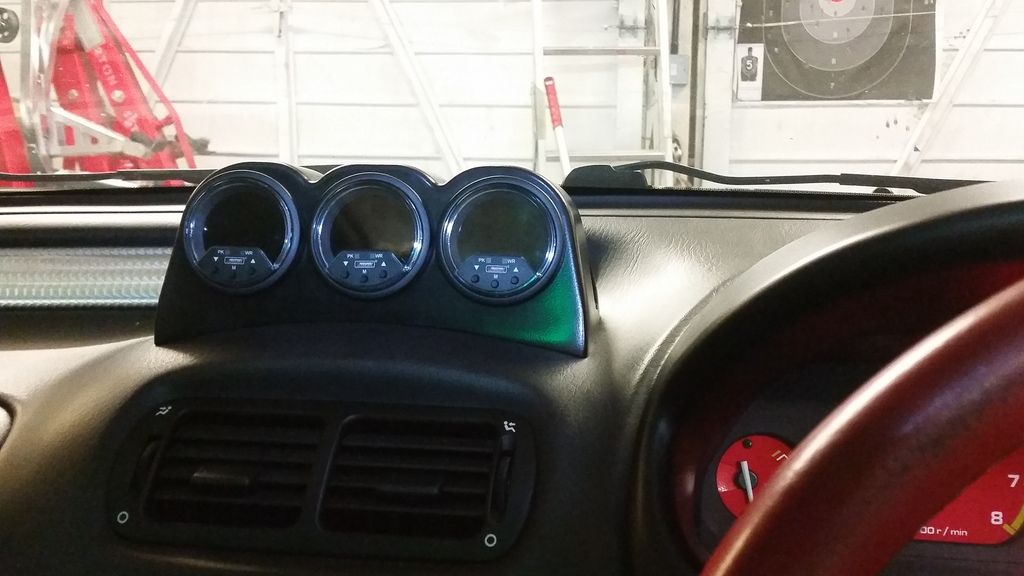
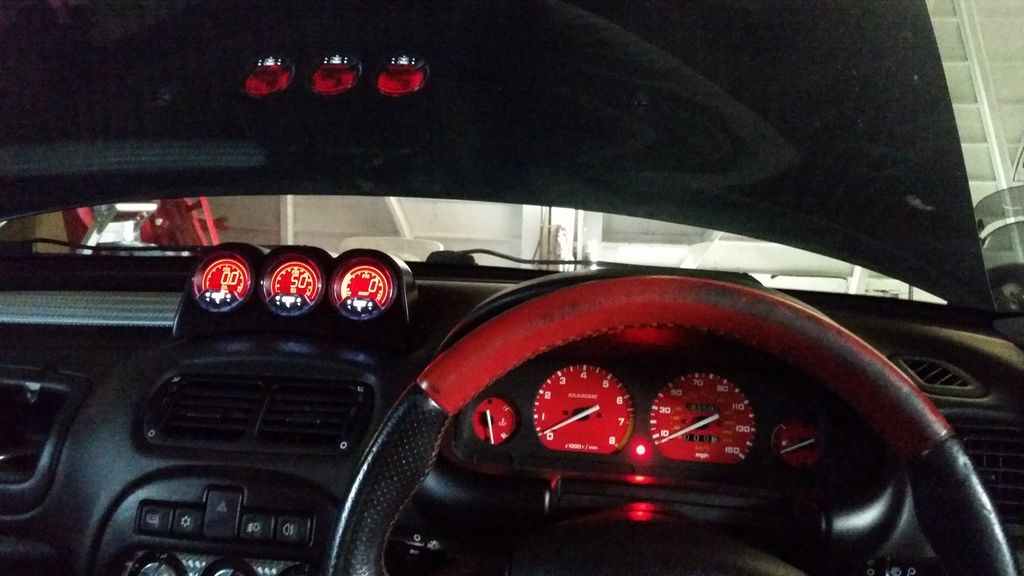
Several coats of filler primer and a coat of black plastidip type paint later. The gauges are awesome. Went with Prosport EVO gauges from r-spec. Oil temp, oil pressure and boost. They are 60mm and all digital.

http://www.youtube.com/watch?v=Xn7KoPY996k
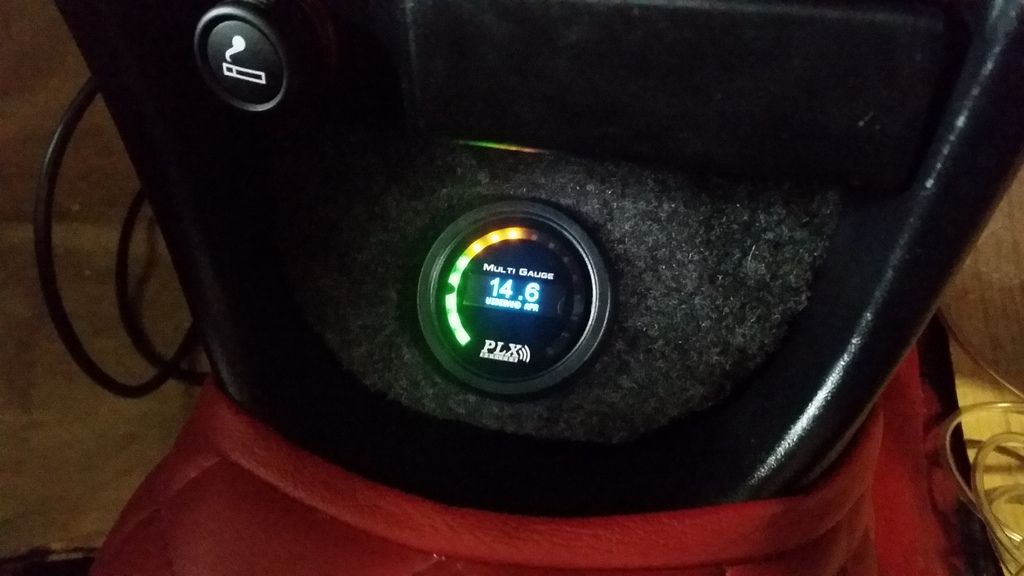
And plx wideband installed down in the little storage cubby at the bottom of the centre console. This is basically 1mm aluminum plate shaped for an interference fit in the recess, then coated in acoustic carpet.
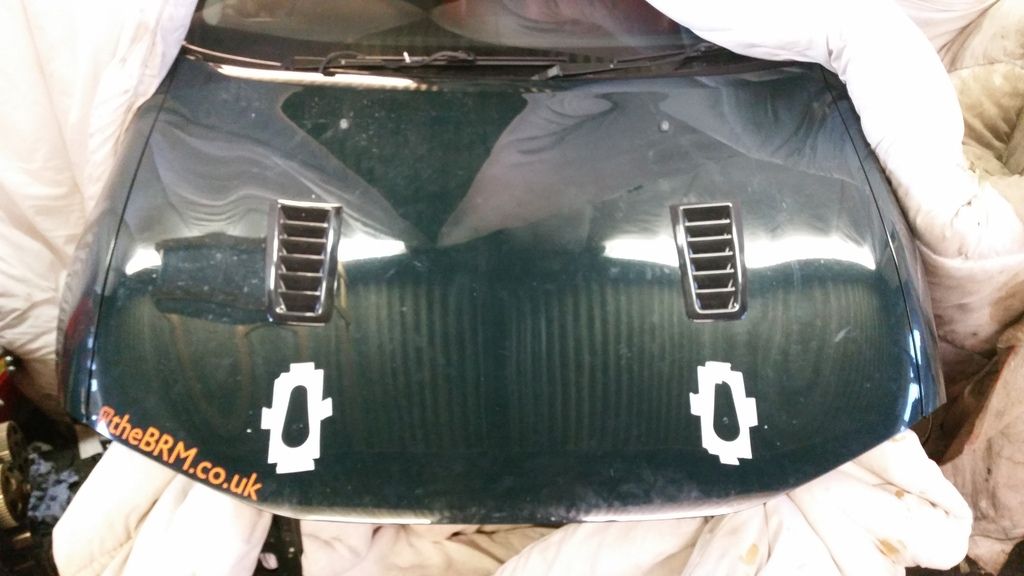
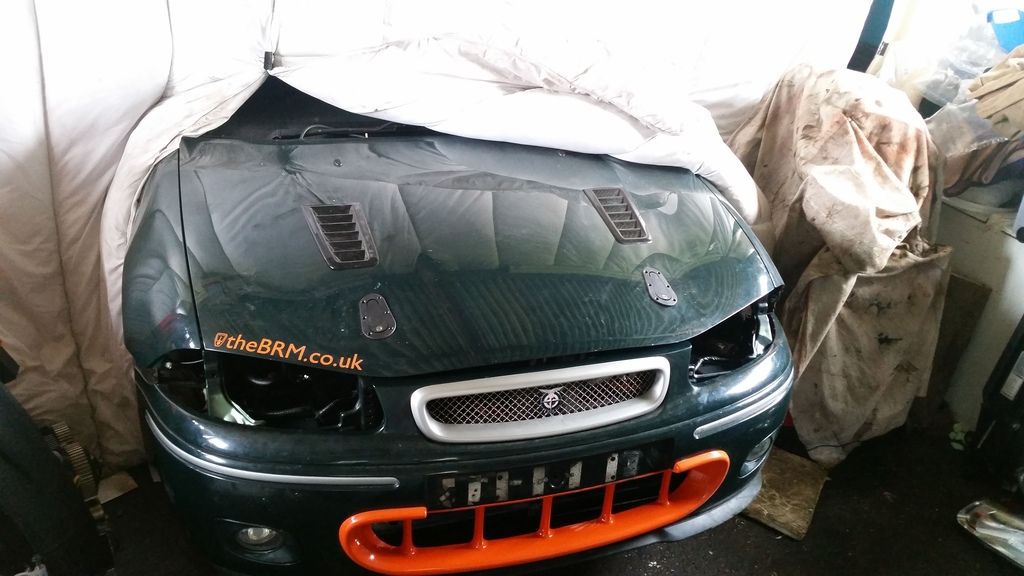
Meanwhile, you will have seen in earlier pictures I have bonnet vents. Whilst I wanted to keep the car looking resonably stock, I know temperature control will be important for this build so this was a necessary compromise.
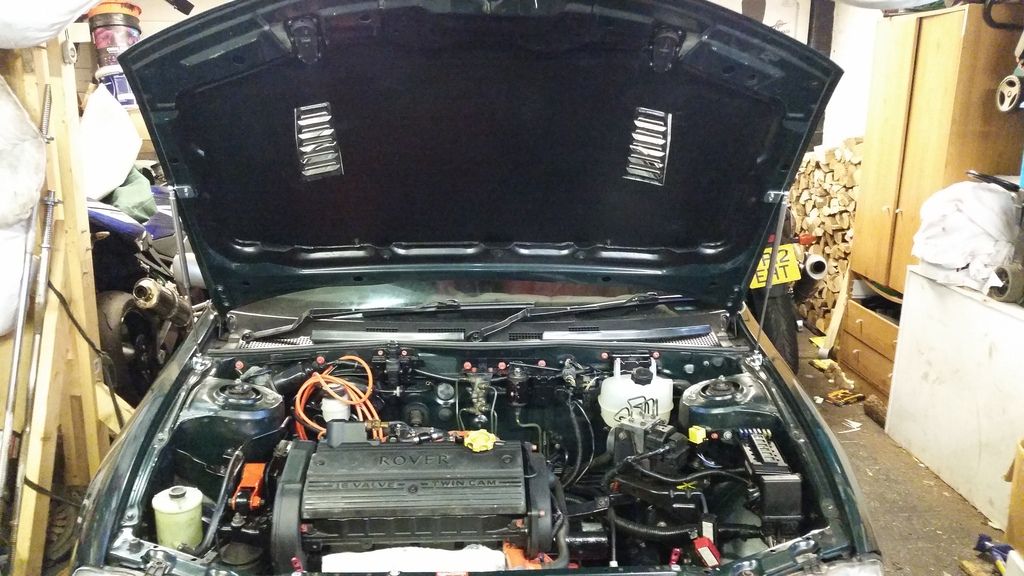
Bonnet off. The support struts seriously restrict location so I thought I'd just remove them! I know another guy who did this and as long as you keep the outside supports as they are and don't stand on the bonnet it's fine.
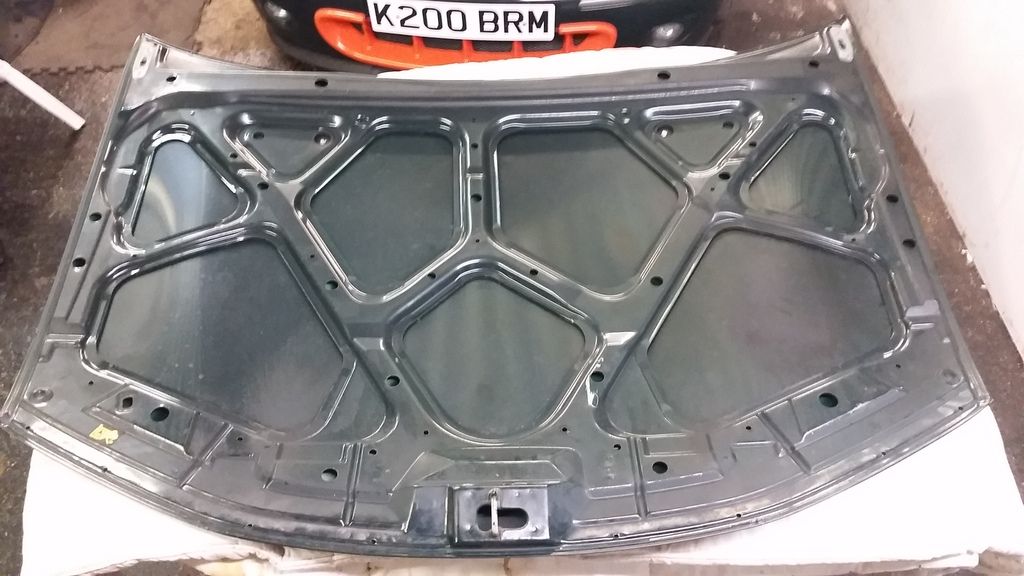
Fettled and cut.
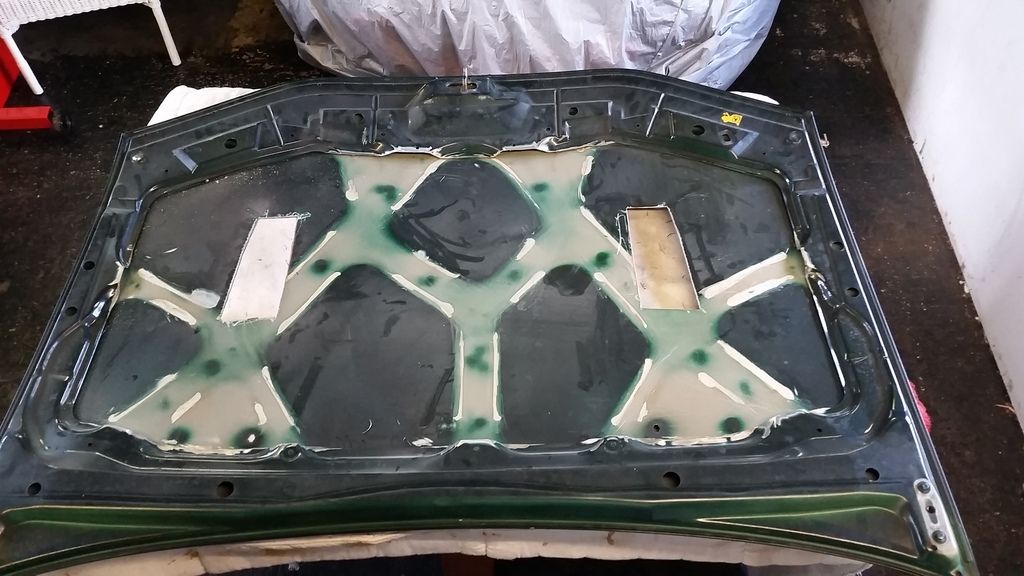
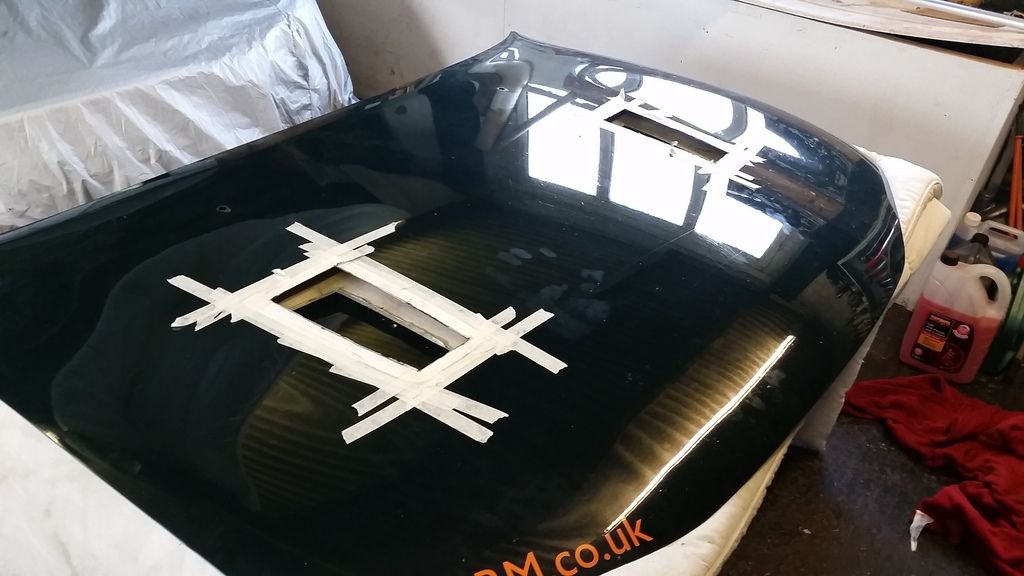
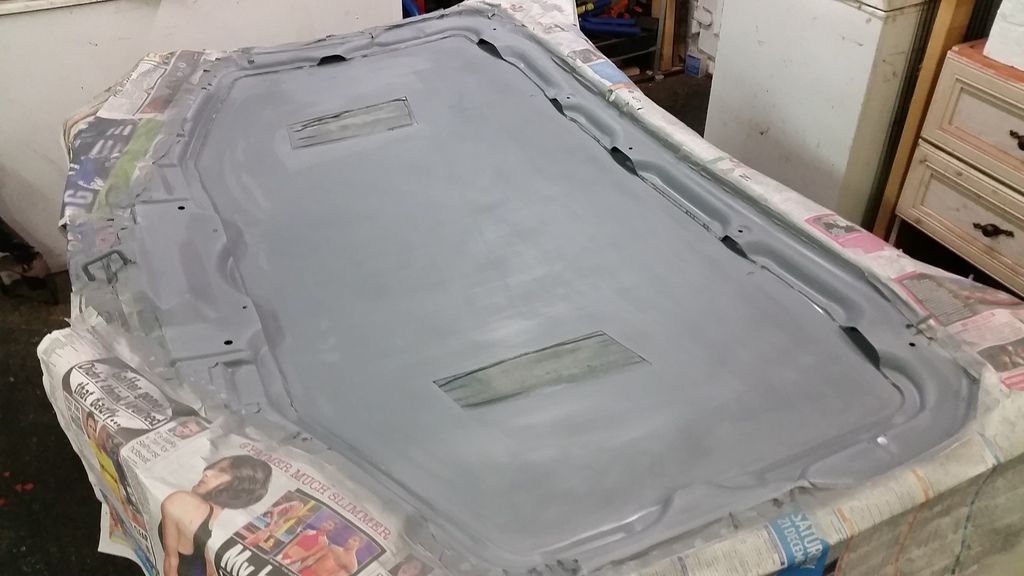
Temporary luck of paint until the full respray

Still had the old engine in when I did this...
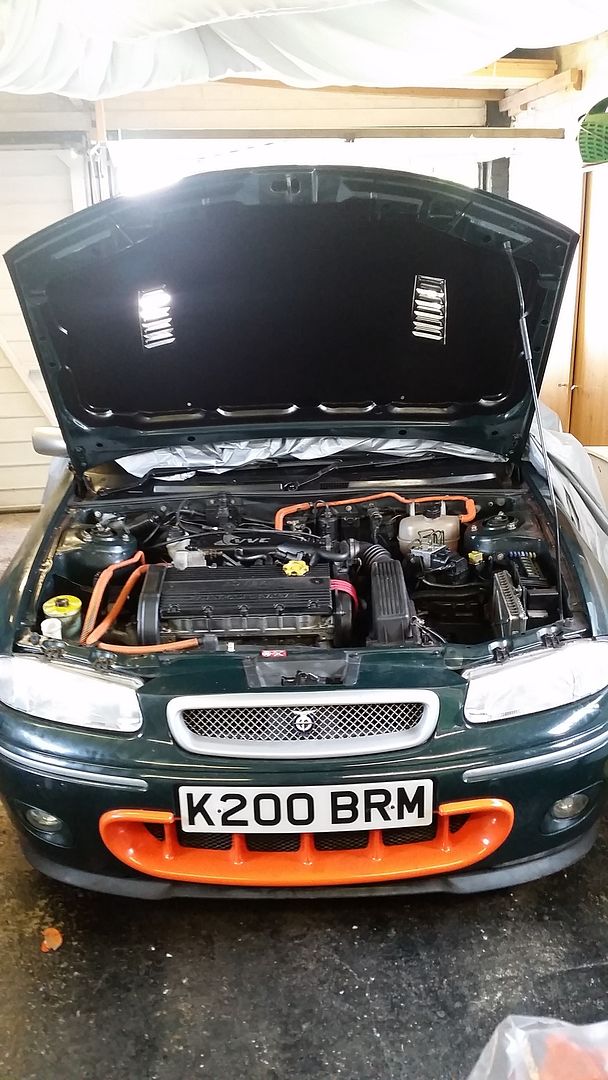


Next, to give myself a bit more room for radiator, oil cooler and intercooler, and to improve airflow, I deleted the bonnet catch upright support so had to fit something else to hold the bonnet down. I would have preferred some less substantial bonnet pins but that would be dubious when it came to the MOT so only option was to use aerocatches.
I deliberated for days on where to put them but in the end the least stupid seemed to be in line with the vents.
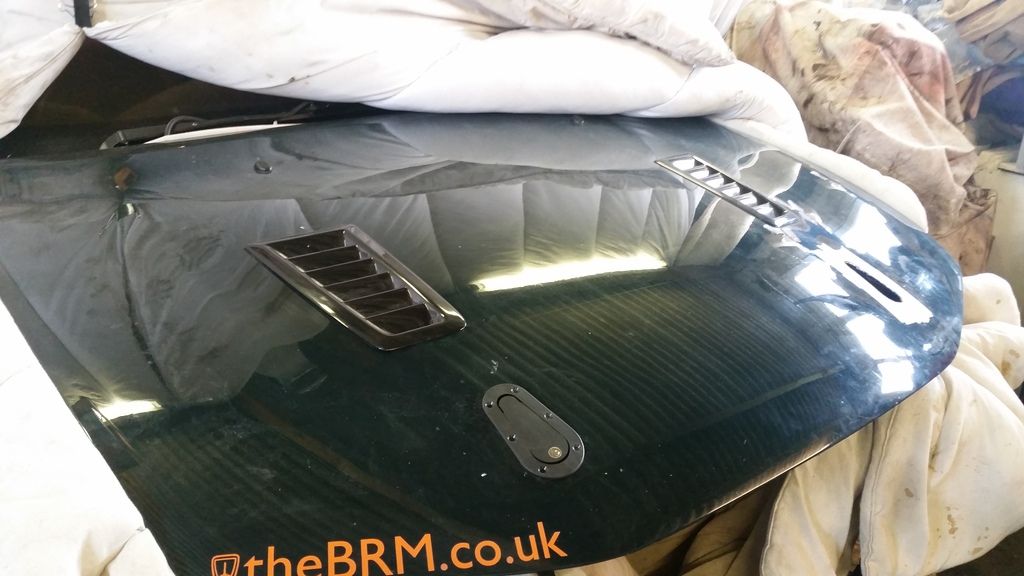
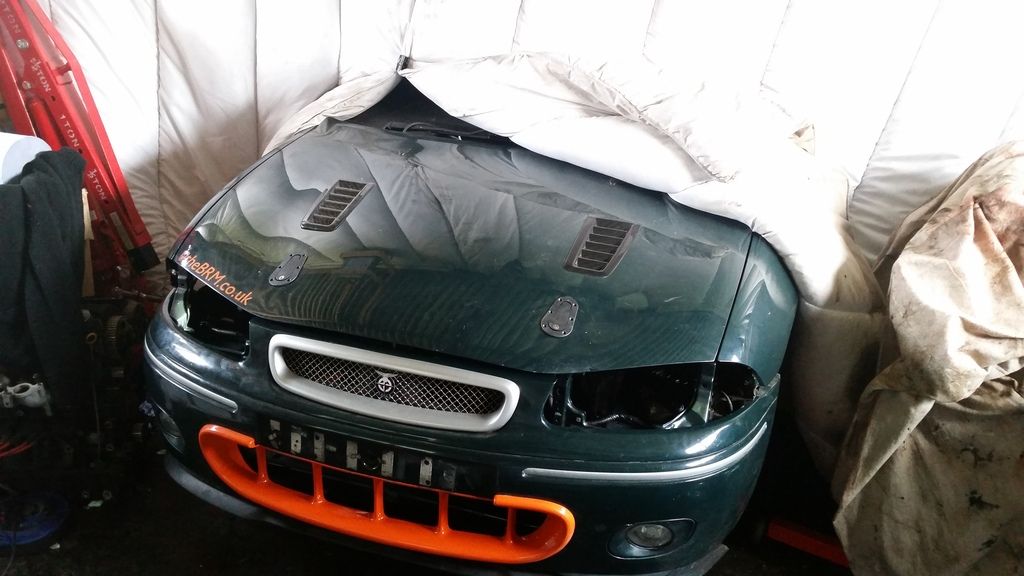
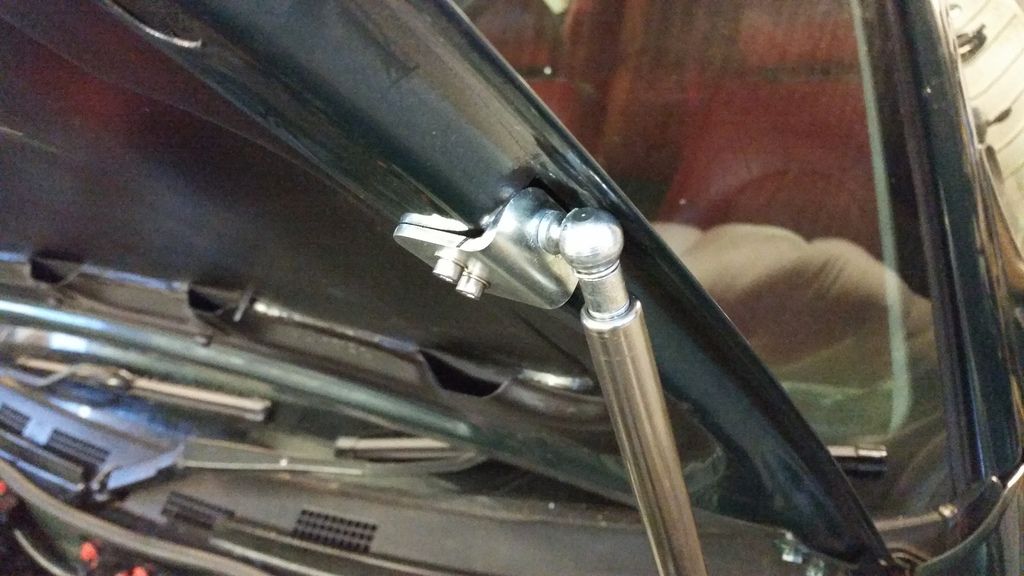
Fitting some gas struts:
I wanted to run oil temp and pressure and boost gauges. Plus a wideband. I didn't fancy a pillar mounted gauge pod so opted for dash mounted. The dashboard is a very odd shape on the bubble so a three-gauge holder would need some fettling. Decided to integrate it with the clock (Rover clock never worked anyway!)


bit of filler:


Bit of primer.


Several coats of filler primer and a coat of black plastidip type paint later. The gauges are awesome. Went with Prosport EVO gauges from r-spec. Oil temp, oil pressure and boost. They are 60mm and all digital.
http://www.youtube.com/watch?v=Xn7KoPY996k
And plx wideband installed down in the little storage cubby at the bottom of the centre console. This is basically 1mm aluminum plate shaped for an interference fit in the recess, then coated in acoustic carpet.
Meanwhile, you will have seen in earlier pictures I have bonnet vents. Whilst I wanted to keep the car looking resonably stock, I know temperature control will be important for this build so this was a necessary compromise.
Bonnet off. The support struts seriously restrict location so I thought I'd just remove them! I know another guy who did this and as long as you keep the outside supports as they are and don't stand on the bonnet it's fine.

Fettled and cut.


Temporary luck of paint until the full respray

Still had the old engine in when I did this...


Next, to give myself a bit more room for radiator, oil cooler and intercooler, and to improve airflow, I deleted the bonnet catch upright support so had to fit something else to hold the bonnet down. I would have preferred some less substantial bonnet pins but that would be dubious when it came to the MOT so only option was to use aerocatches.
I deliberated for days on where to put them but in the end the least stupid seemed to be in line with the vents.


Fitting some gas struts:
Edited by Stuballs on Wednesday 3rd January 13:26
Edited by Stuballs on Monday 22 January 12:58
Edited by Stuballs on Monday 22 January 13:00
Cooling. Very important in any tuned setup. Critical when playing around with the k-series.
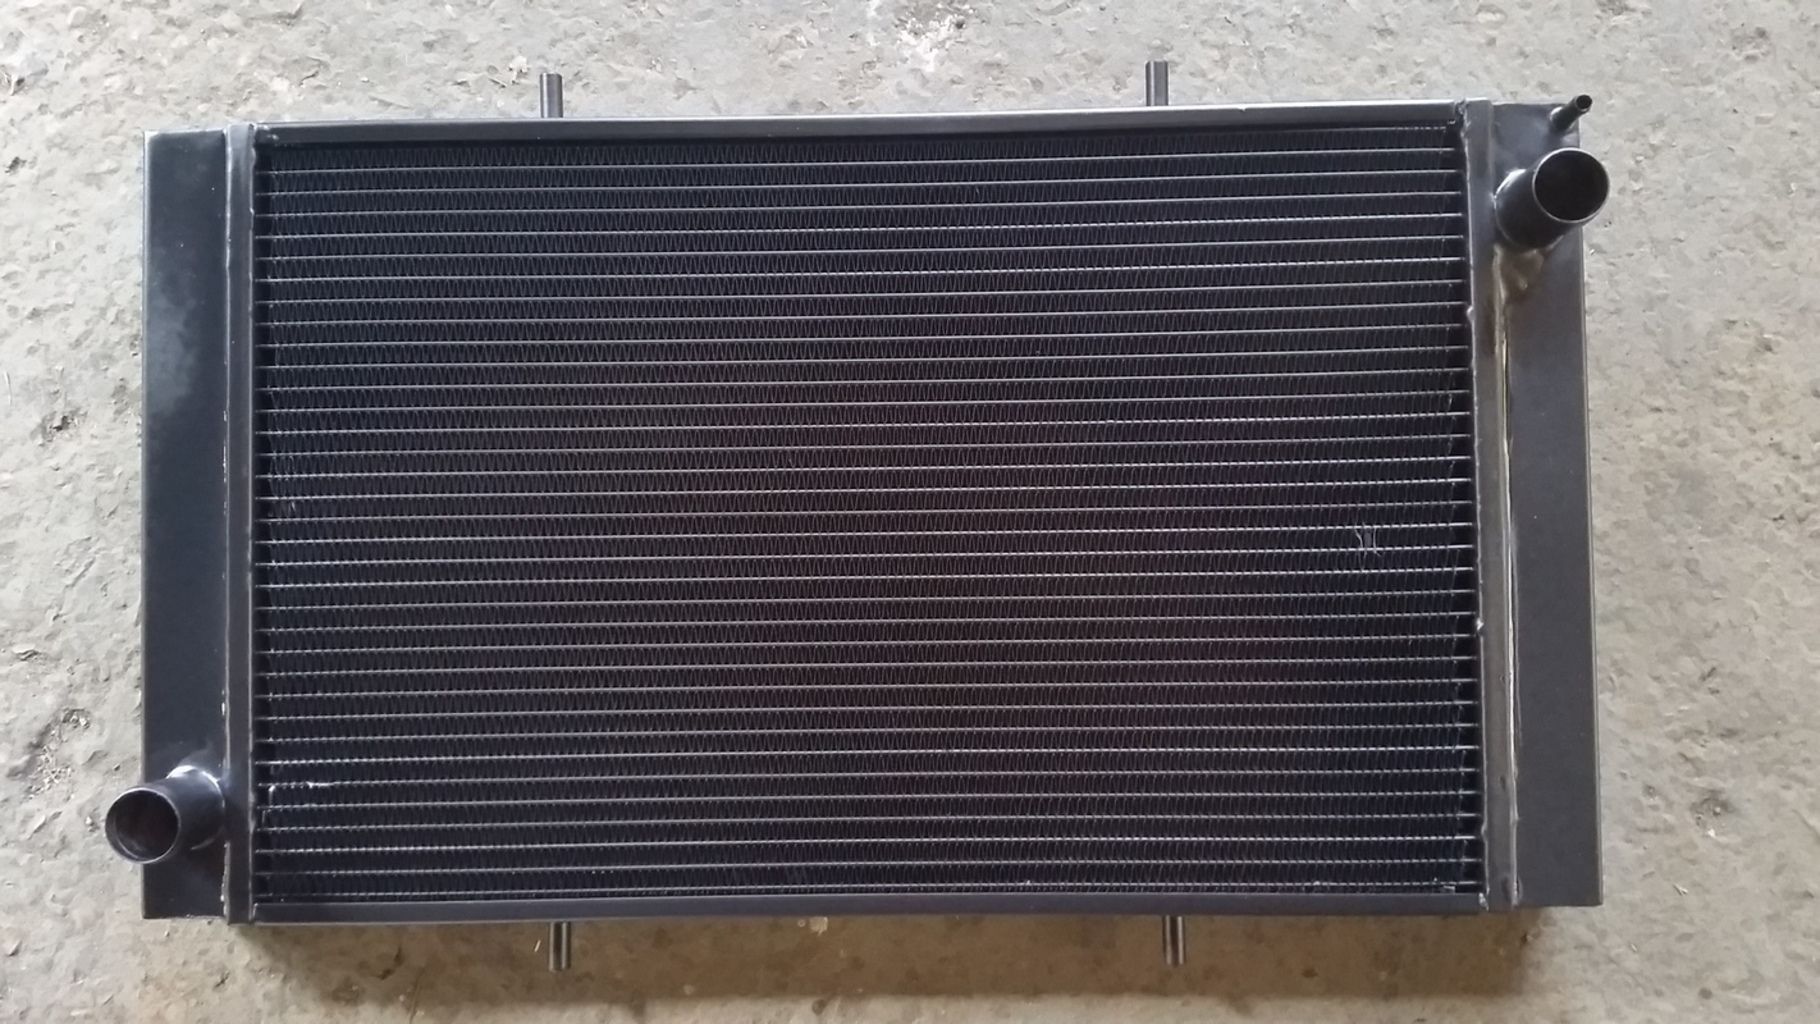
First and foremost I needed to sort out a radiator. Looked at a few options. Couldn't use the old one. Firstly because it didn't fit in the new forward position required by the sticky-out turbo. Also because it looked like this:
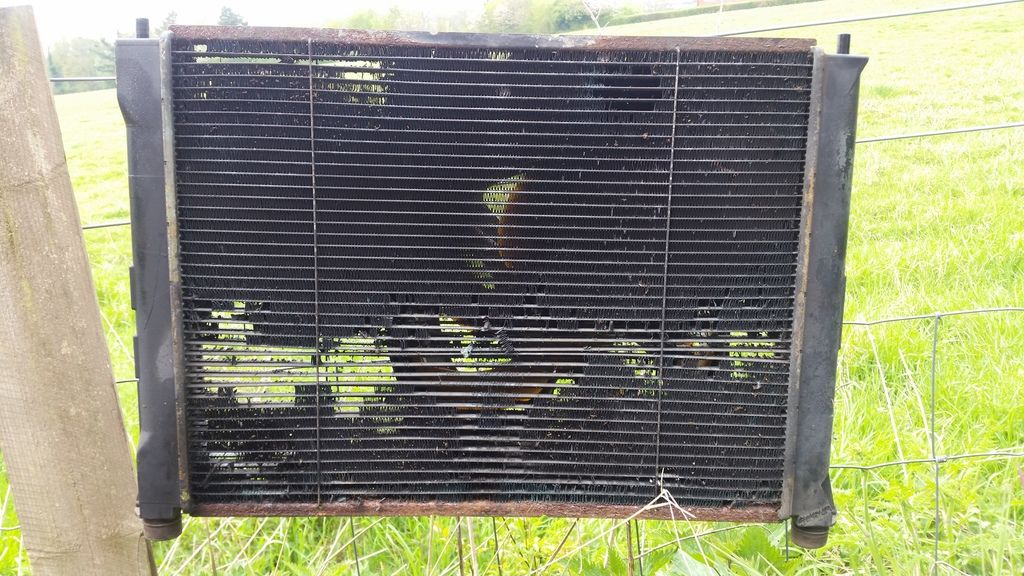
In the end, a friend through Rovertech sorted me out with a custom job all made in copper exactly to my specification.
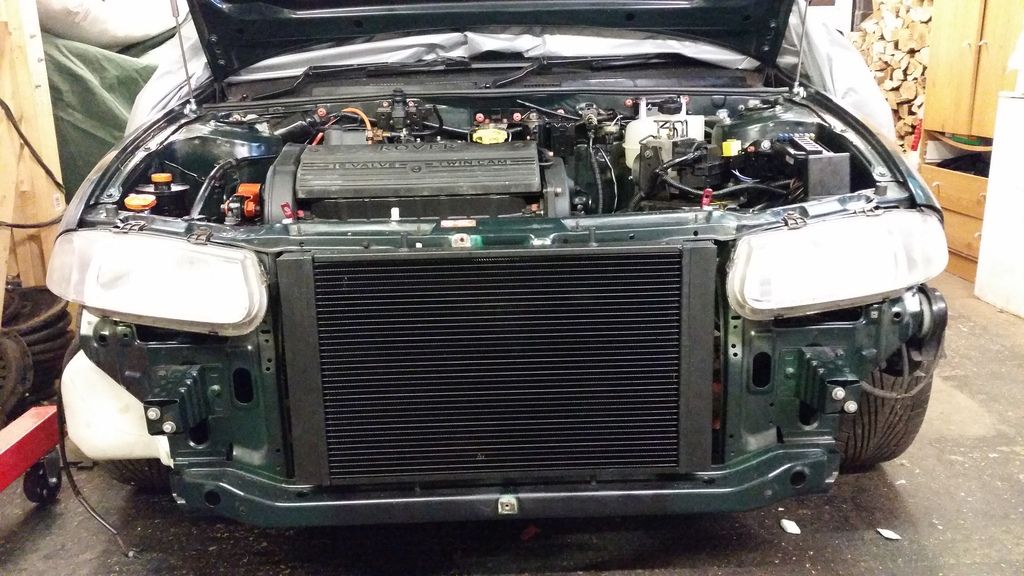
Opted for 2x10" Spal slimline fans mounted behind the rad. Fit like a glove.
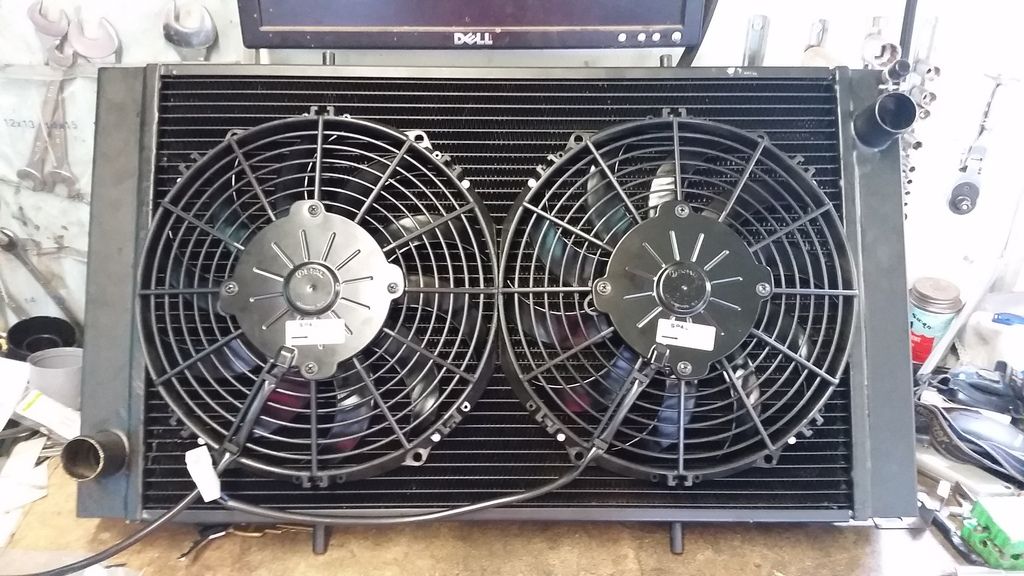
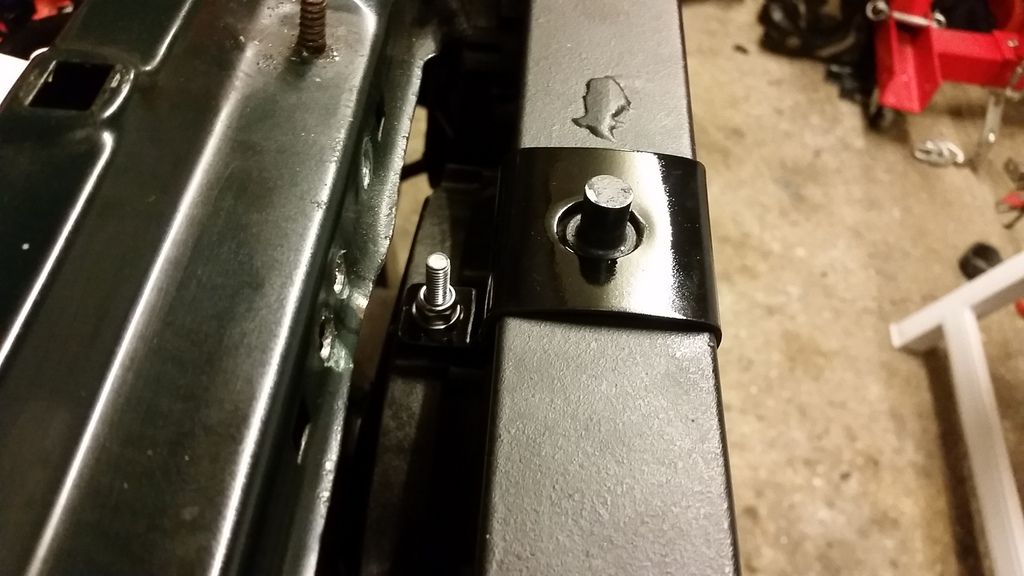
Had to make up all the brackets.
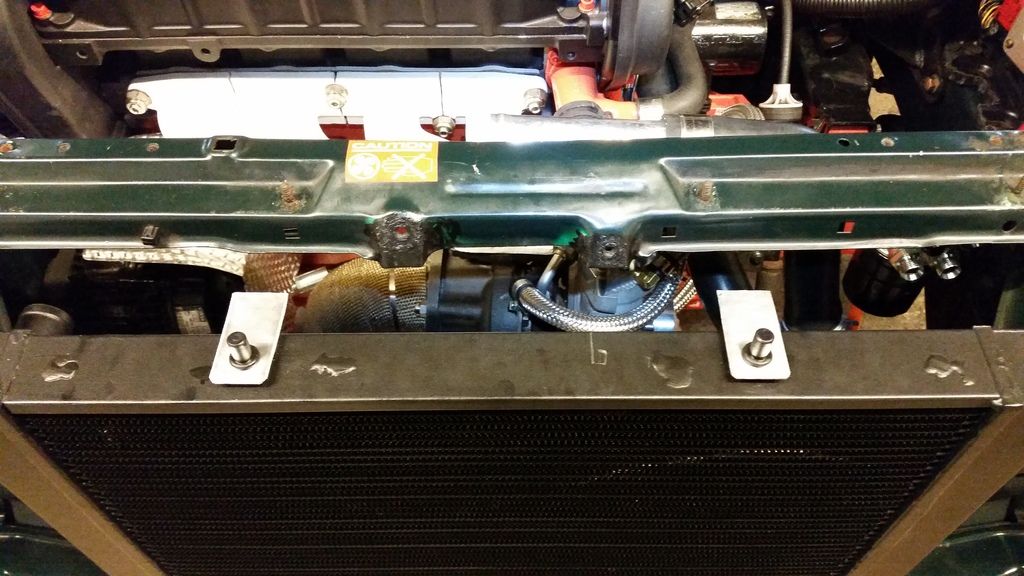
The fans are held in place by those locking rods that go through the core but the bulk of the weight is supported by these brackets.
I had my doubts as to whether my enormous downpipe would allow me to fit an oil cooler sandwich plate and filter in the stock location. As it happens, there wasn't even room to fit the filter!
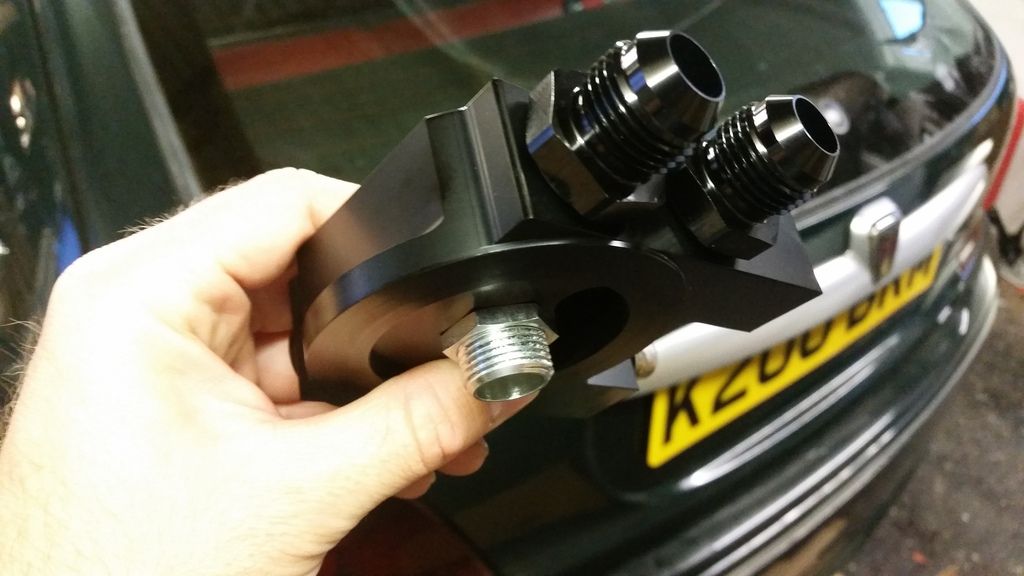
So I had a rethink and decided my only real option was a remote filter. I could then run the oil cooler sandwich plate on the remote head...
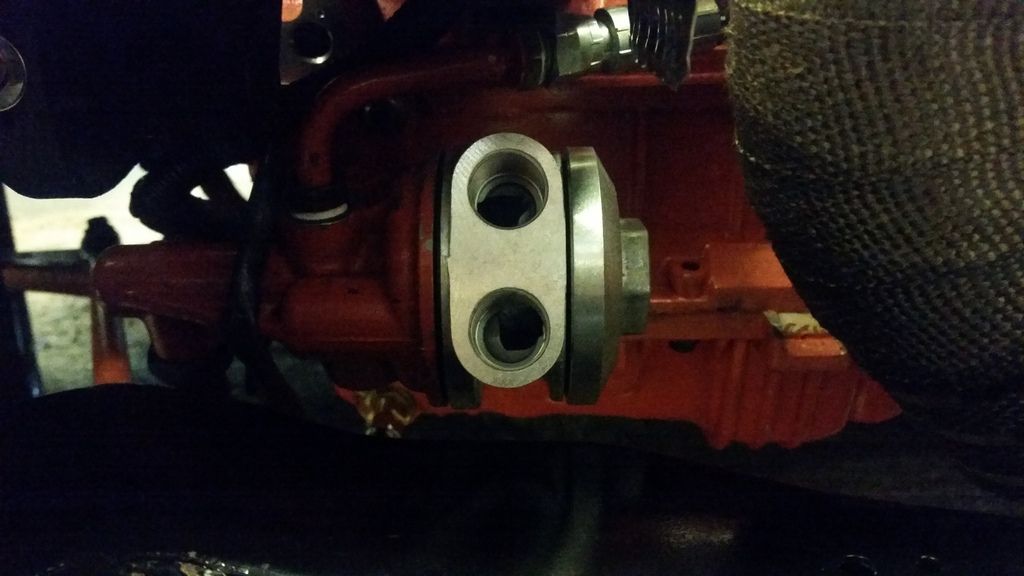
Here's the remote head:
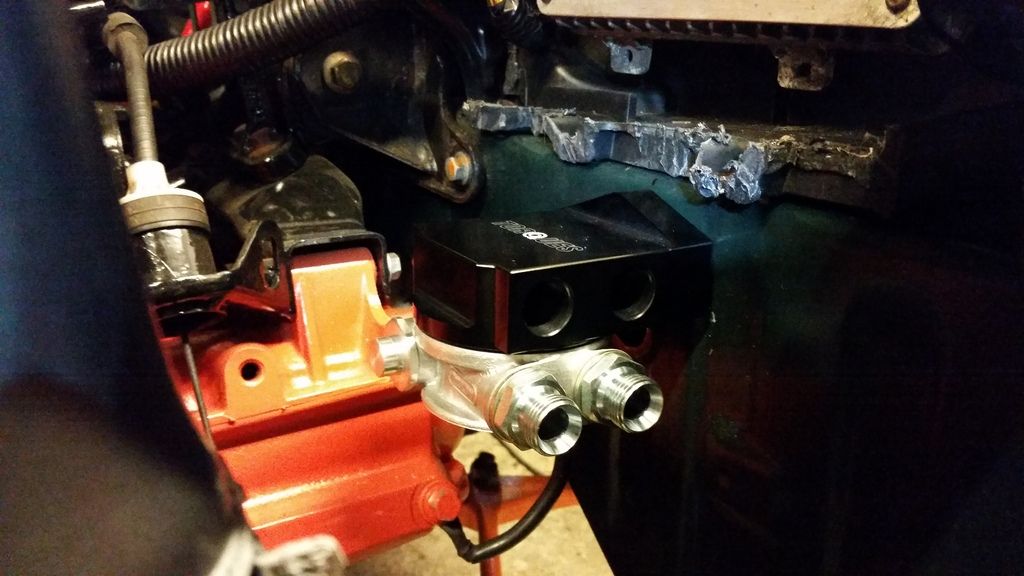
Only viable mounting position was under where the battery tray was. Fitted here with the sandwich plate.
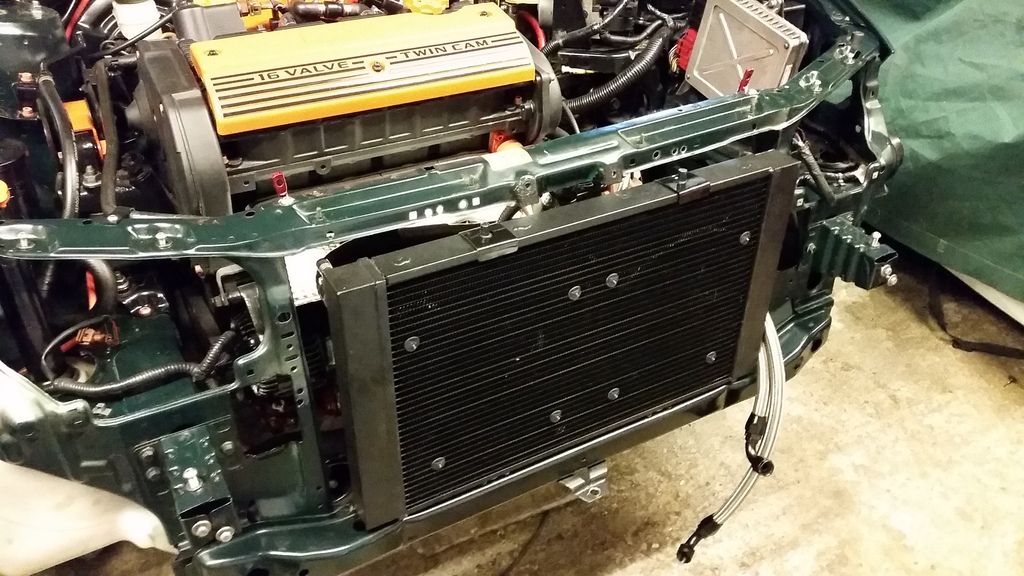
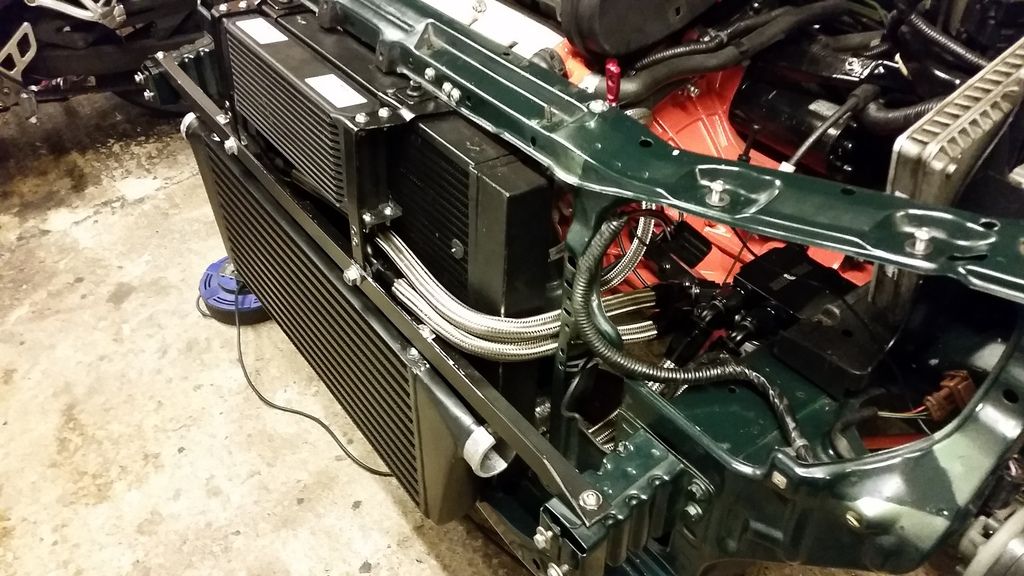
With that sorted out it was time to get the radiator, intercooler and oil cooler packaged up but first to paint the intercooler black for a more stealthy look.
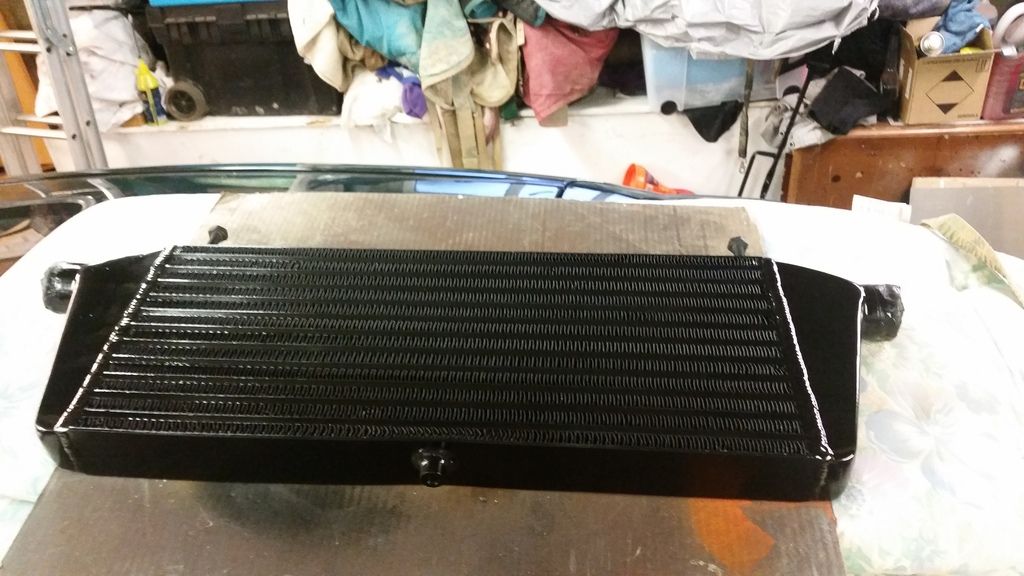
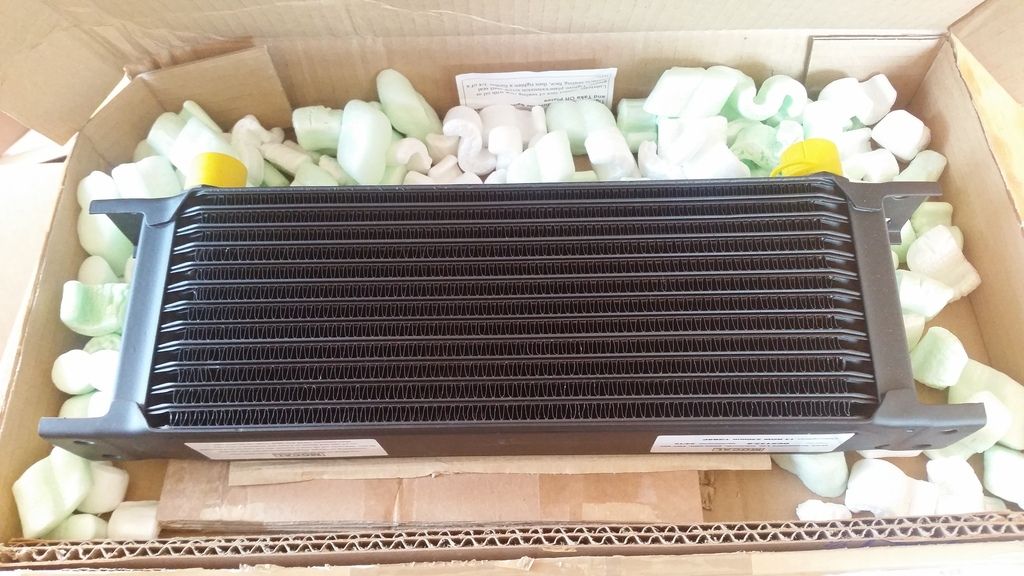
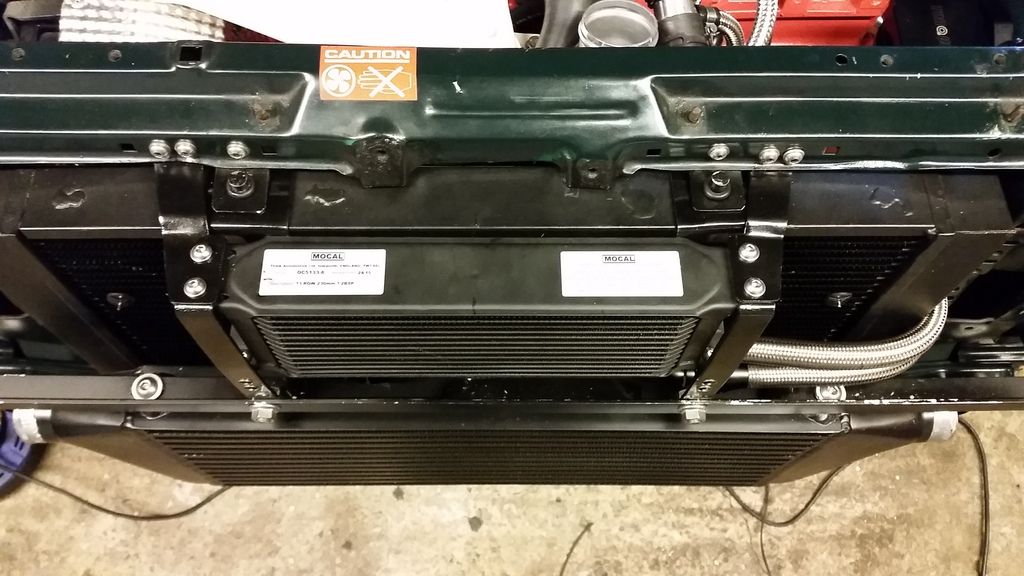
And here's the mocal oil cooler.
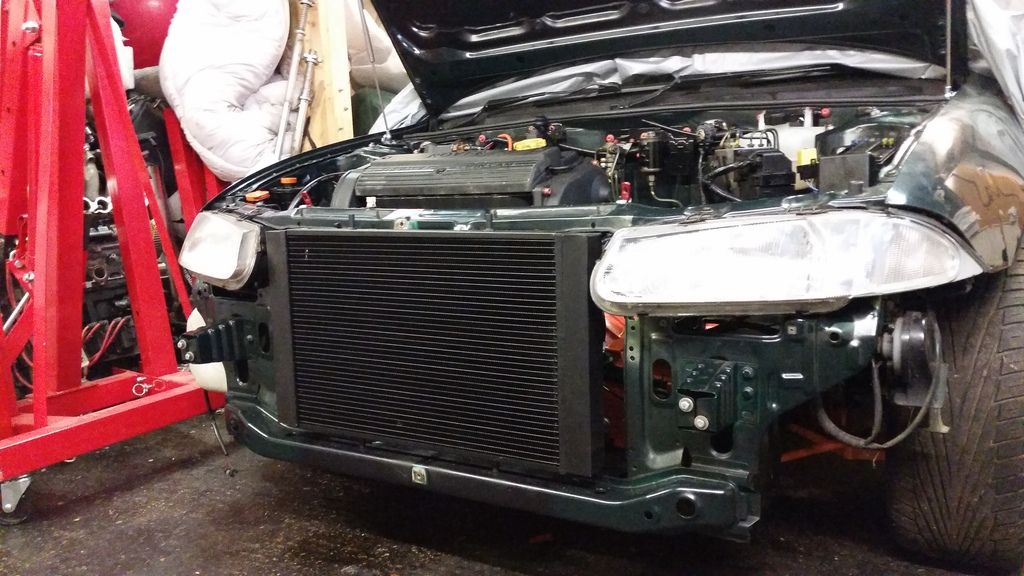
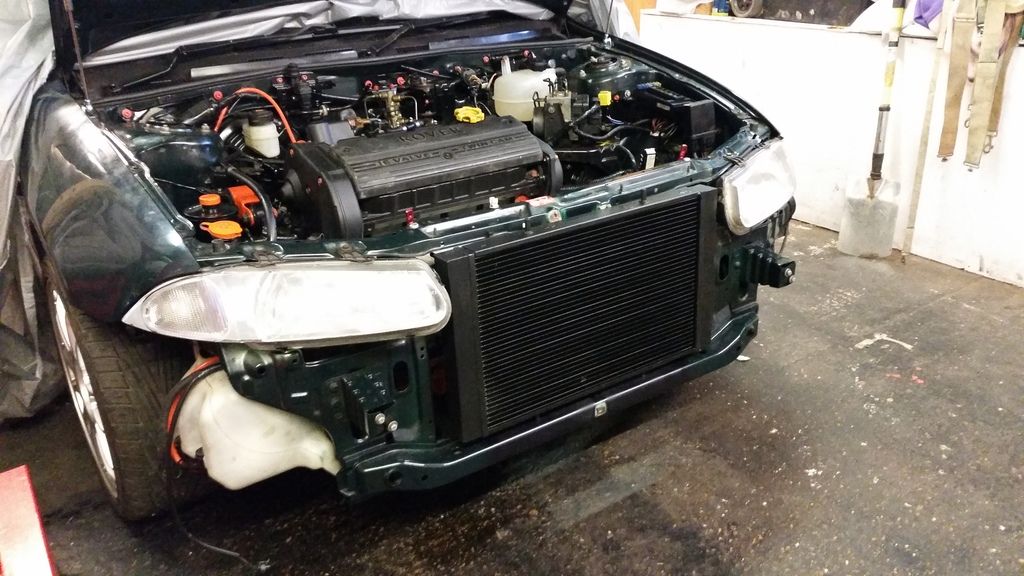
Trying to fit this lot behind the bumper was a nightmare. The orange snout projects a fair way behind the bumper so had to be trimmed slightly. As did the back of the top grill to clear the oil cooler.
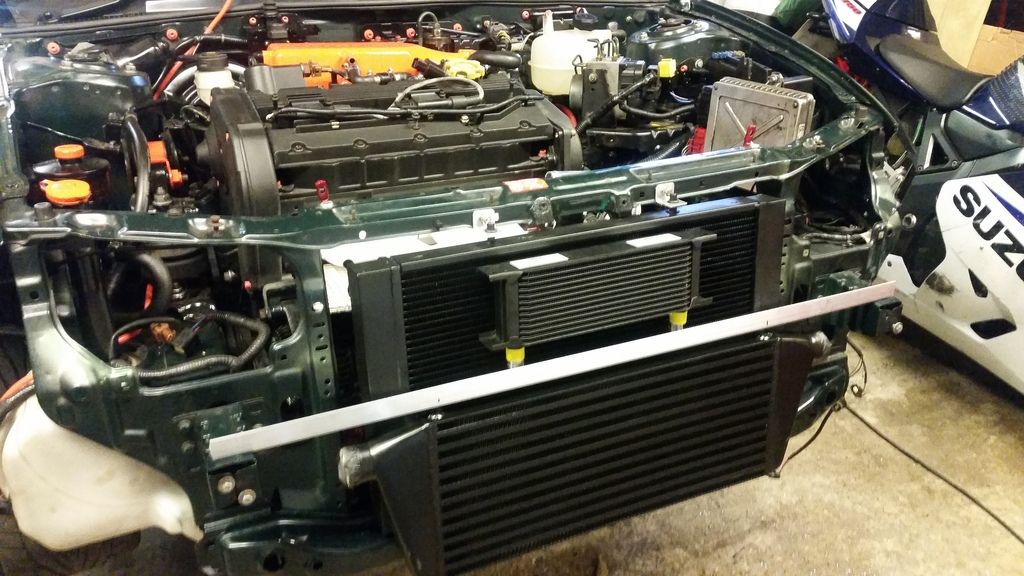
More brackets
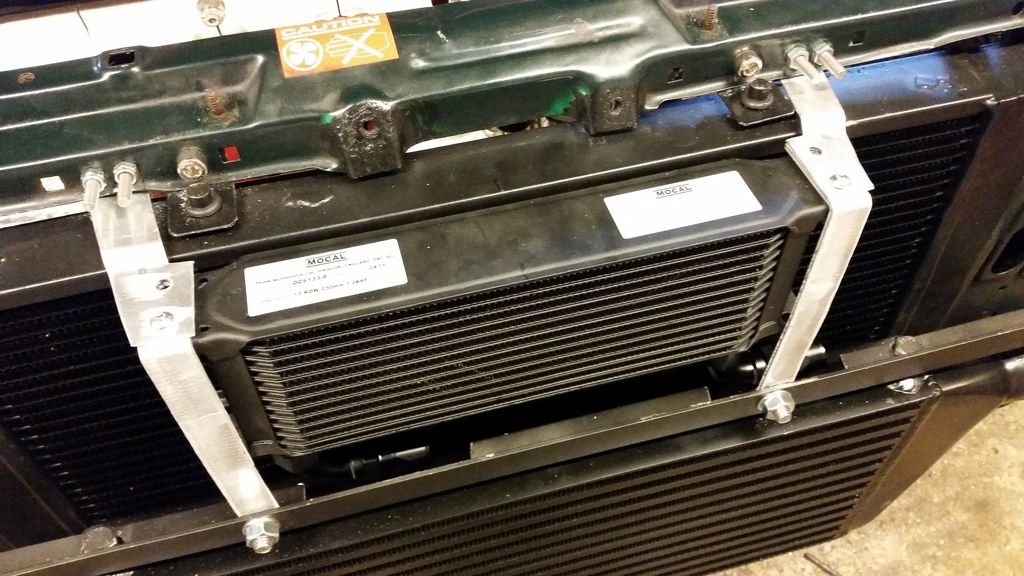
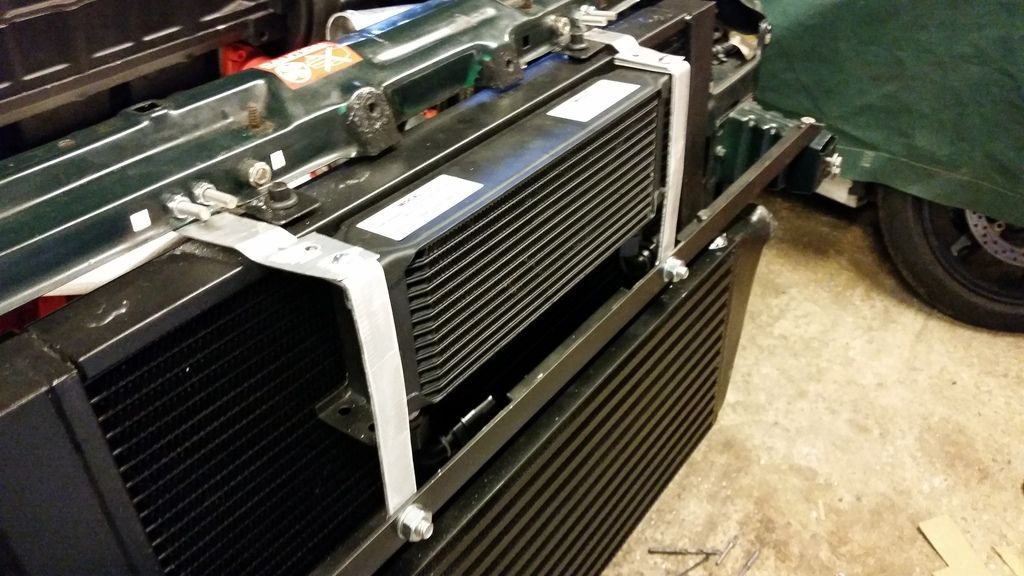
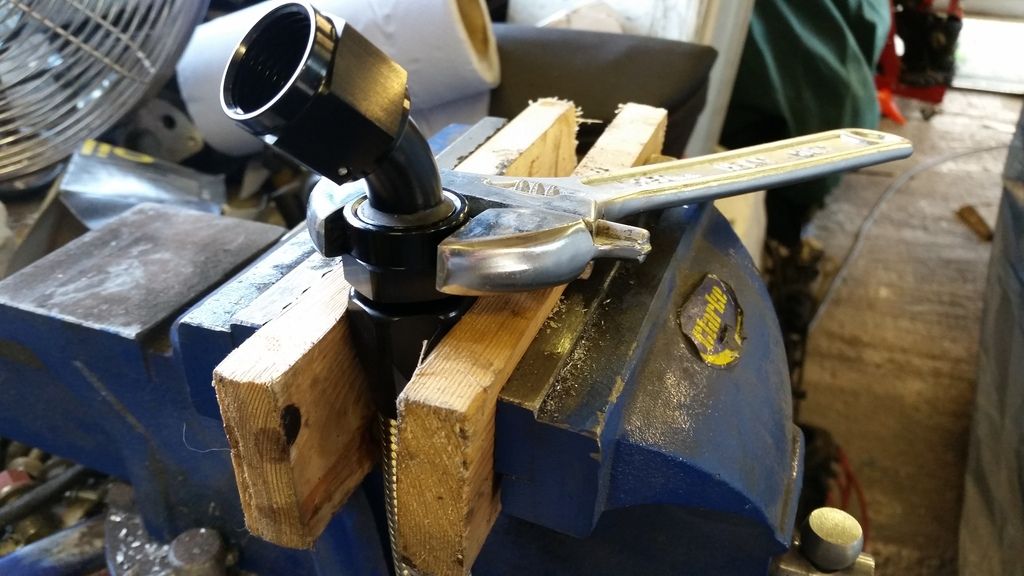
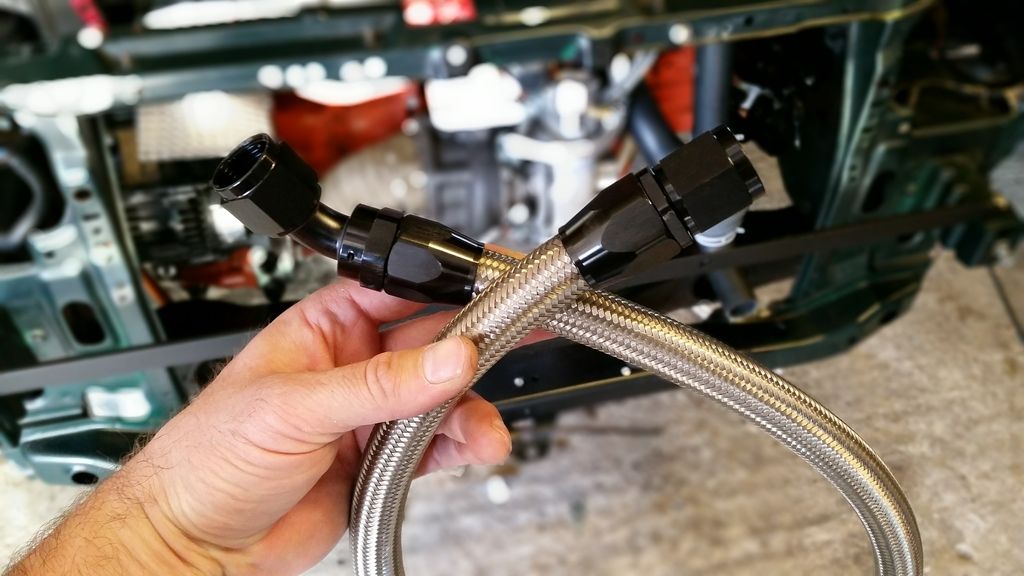
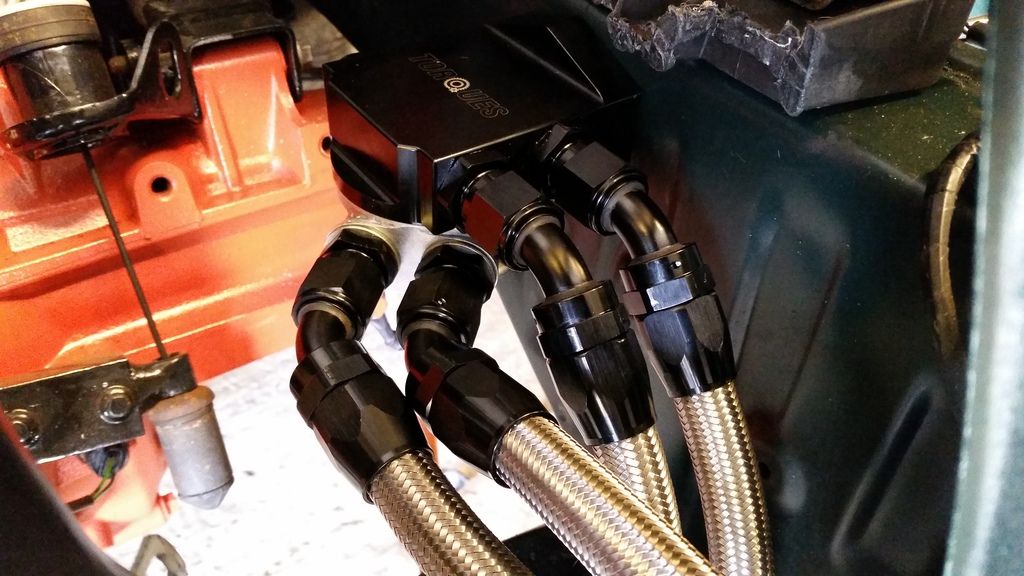
Making up the an-10 lines.
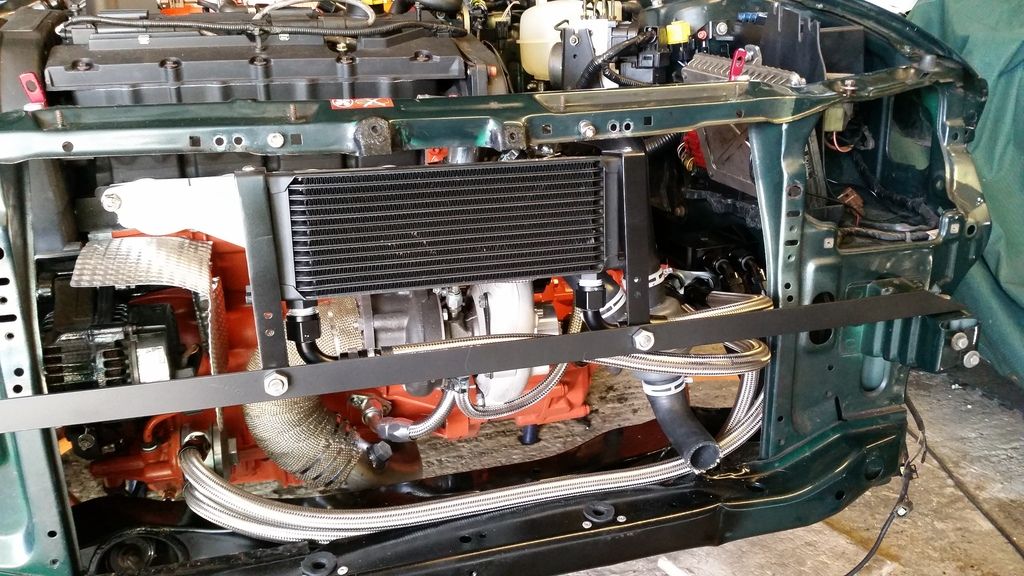
And getting it all bolted up with the final set of brackets painted black for more stealth.

First and foremost I needed to sort out a radiator. Looked at a few options. Couldn't use the old one. Firstly because it didn't fit in the new forward position required by the sticky-out turbo. Also because it looked like this:
In the end, a friend through Rovertech sorted me out with a custom job all made in copper exactly to my specification.
Opted for 2x10" Spal slimline fans mounted behind the rad. Fit like a glove.
Had to make up all the brackets.
The fans are held in place by those locking rods that go through the core but the bulk of the weight is supported by these brackets.
I had my doubts as to whether my enormous downpipe would allow me to fit an oil cooler sandwich plate and filter in the stock location. As it happens, there wasn't even room to fit the filter!
So I had a rethink and decided my only real option was a remote filter. I could then run the oil cooler sandwich plate on the remote head...
Here's the remote head:
Only viable mounting position was under where the battery tray was. Fitted here with the sandwich plate.
With that sorted out it was time to get the radiator, intercooler and oil cooler packaged up but first to paint the intercooler black for a more stealthy look.
And here's the mocal oil cooler.
Trying to fit this lot behind the bumper was a nightmare. The orange snout projects a fair way behind the bumper so had to be trimmed slightly. As did the back of the top grill to clear the oil cooler.
More brackets
Making up the an-10 lines.
And getting it all bolted up with the final set of brackets painted black for more stealth.

Edited by Stuballs on Monday 22 January 12:56
Edited by Stuballs on Monday 22 January 13:01
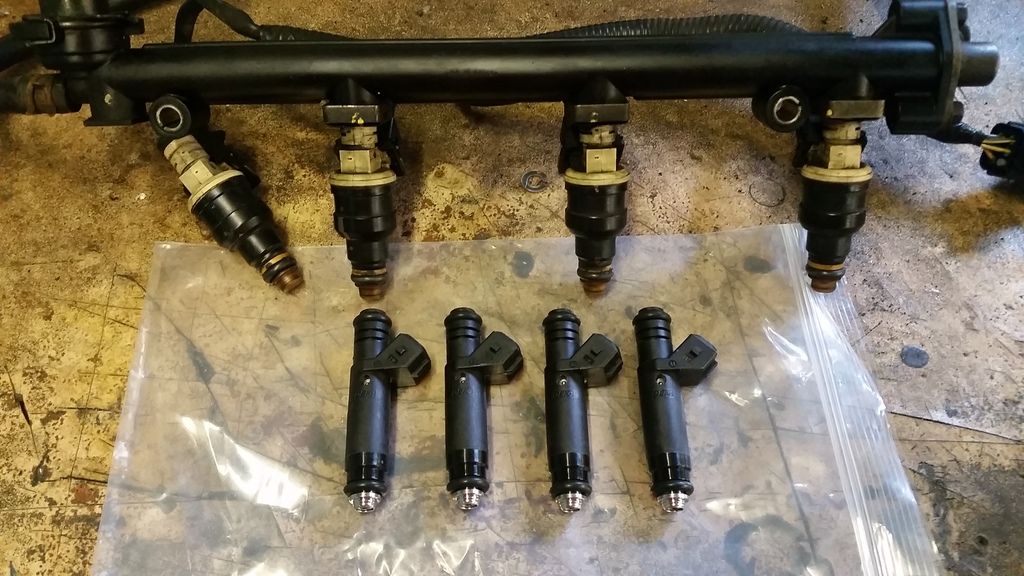
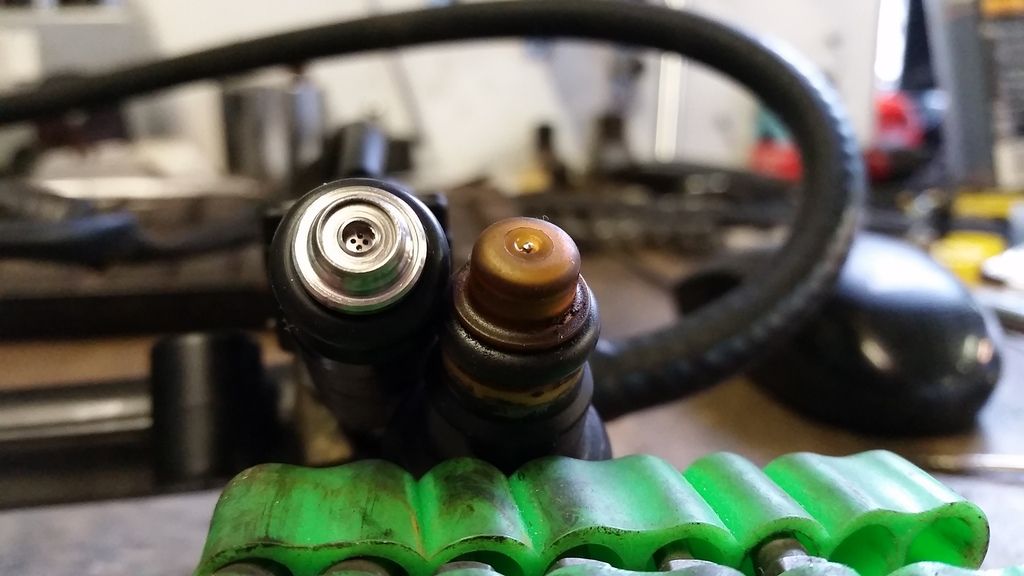
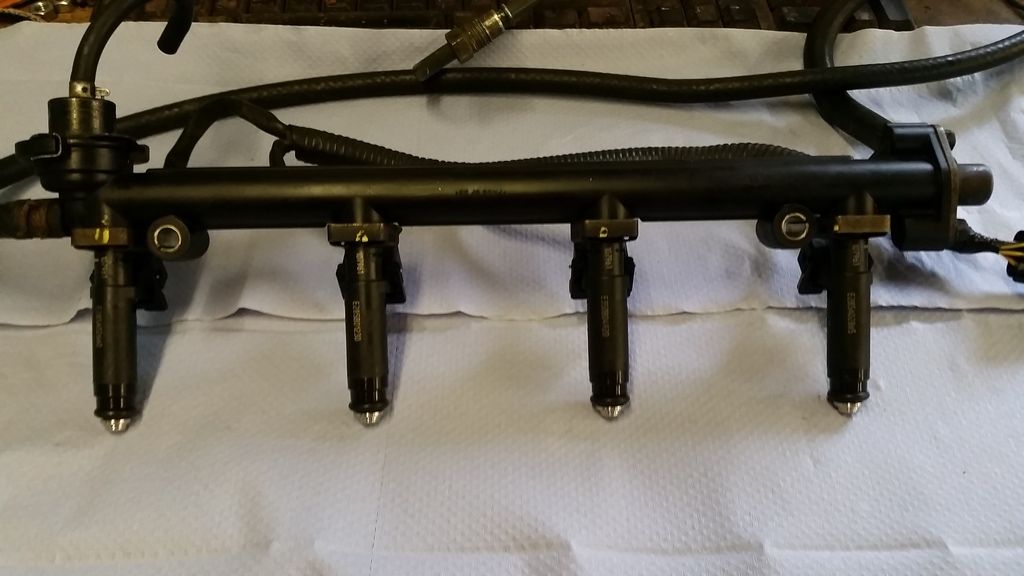
Next job was to fit some larger injectors. Standard are 210cc so are nowhere near enough for my requirements. Since I'm running Emerald management I opted for some 660cc Siemens Deka jobbies which are high impedence. Straight replacement for the standard injectors.
I worked out I would need static fuel flow of around 525cc for 300bhp with an 80% duty so these are just the ticket. Plenty of headroom.
With the inlet manifold all sorted I thought I might make myself a heat shield for the air filter.
Mocked up in cardboard:
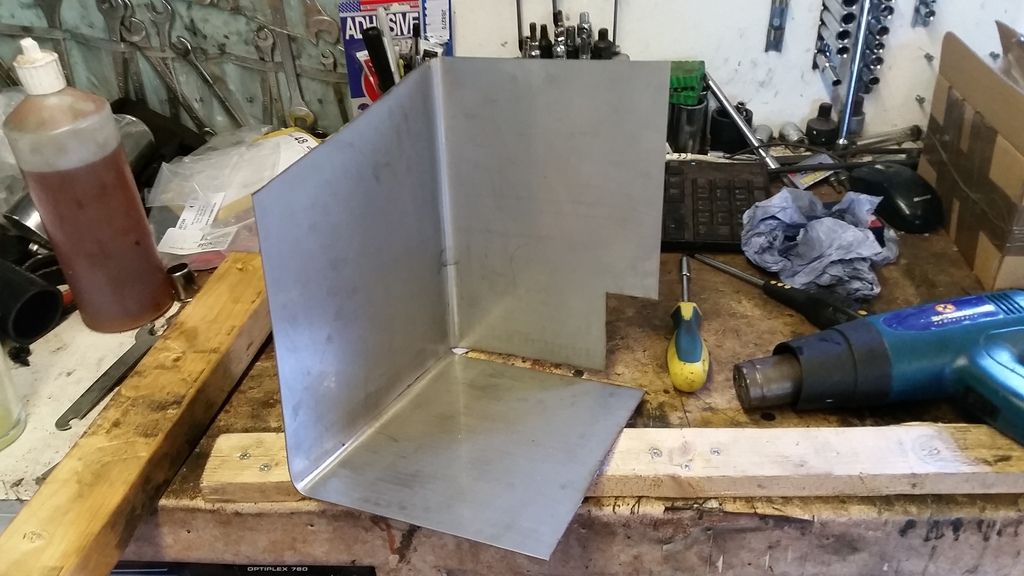
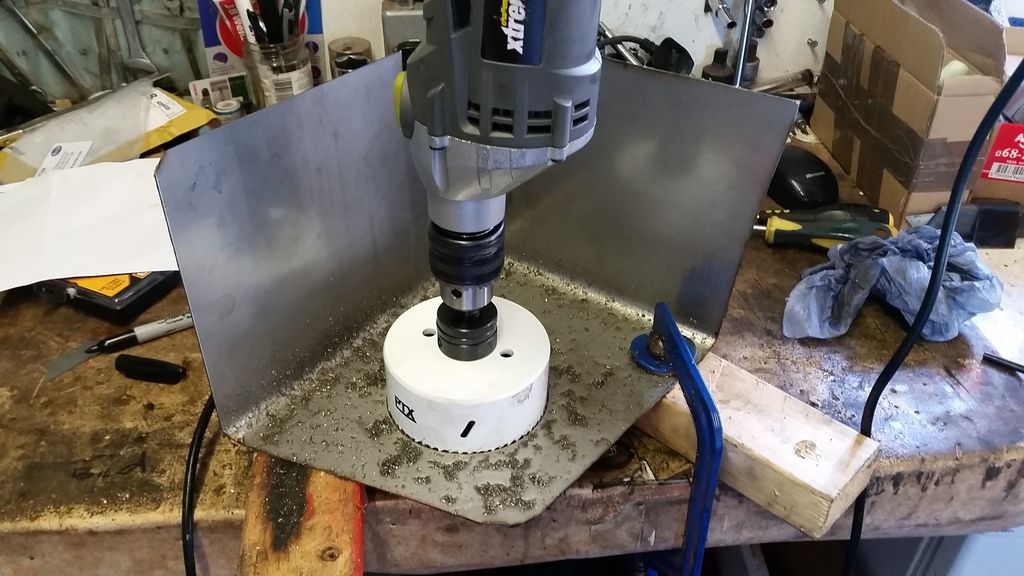
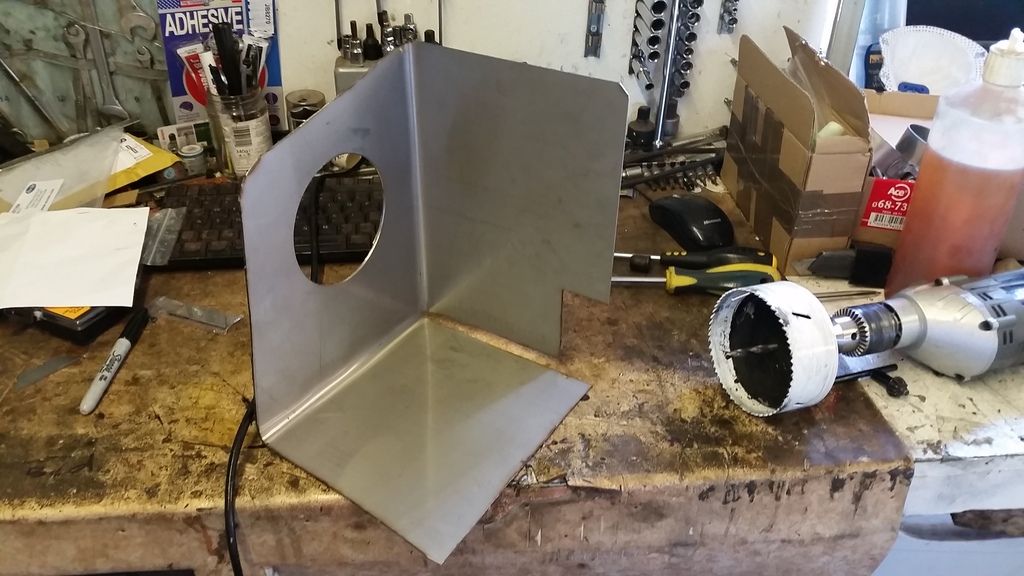
Sheet of stainless off ebay bent to shape and fettled :
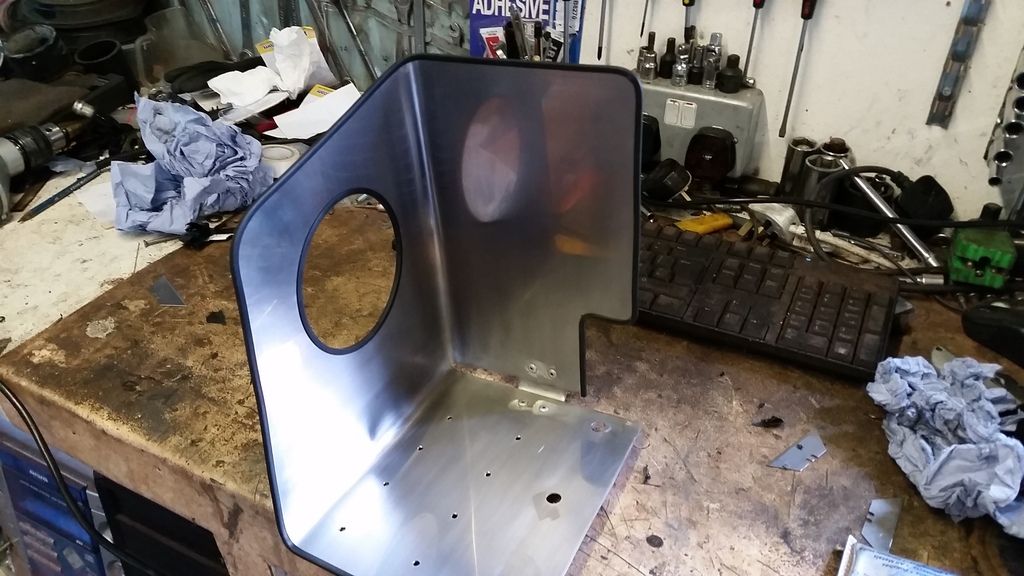
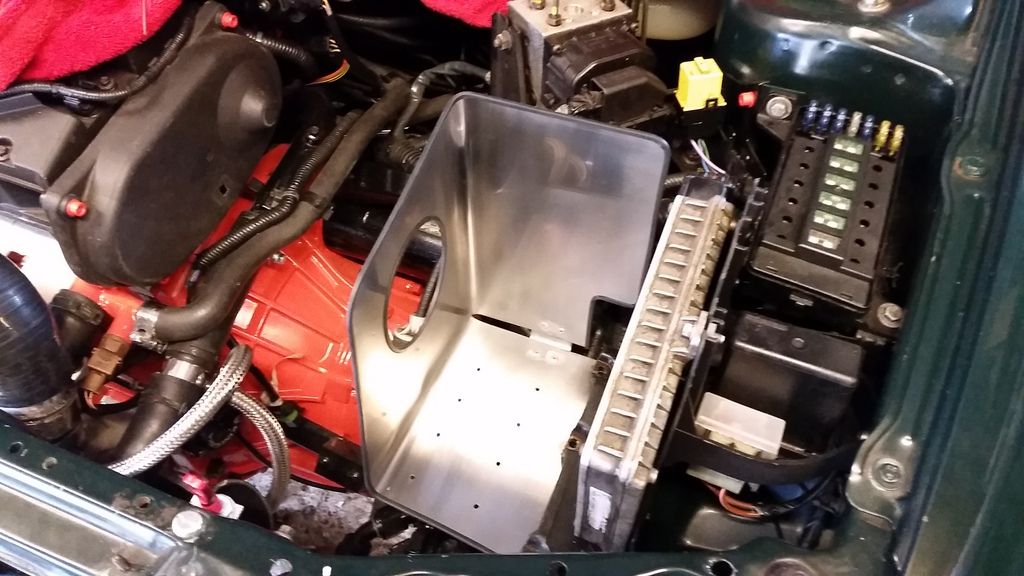
I don't have any pictures of putting the intake pipework together but suffice to say it was a long painful process getting it just right!
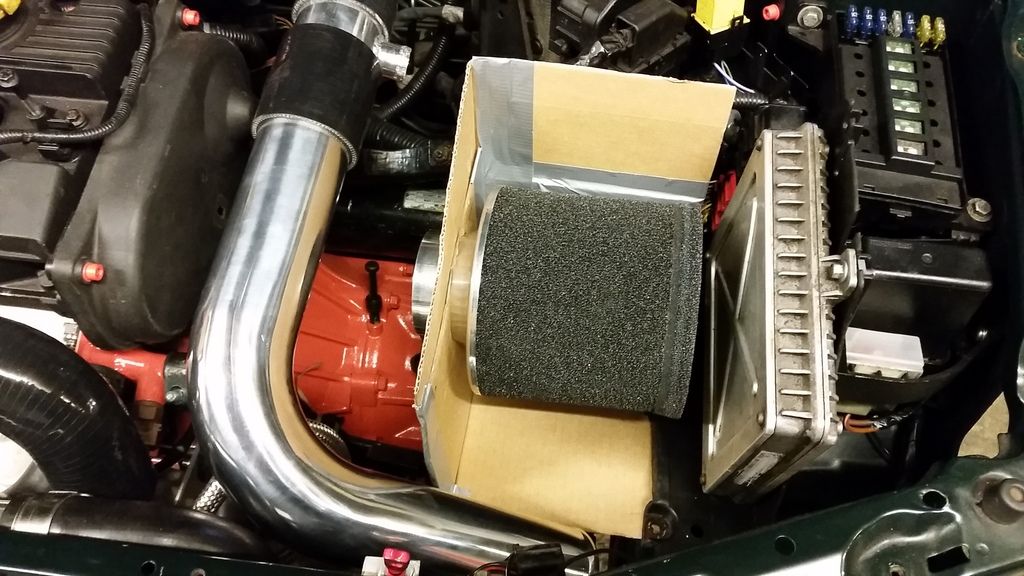
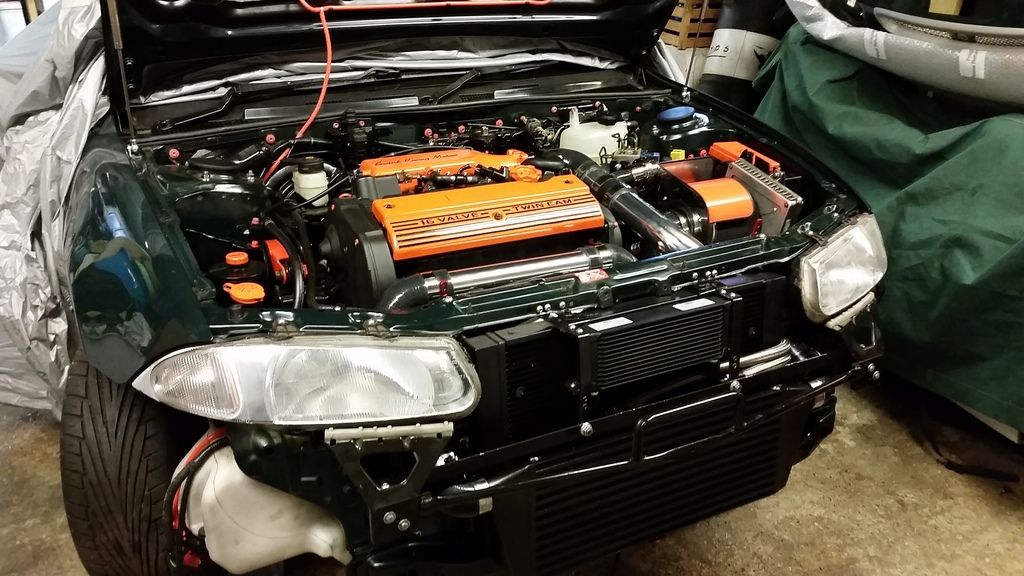
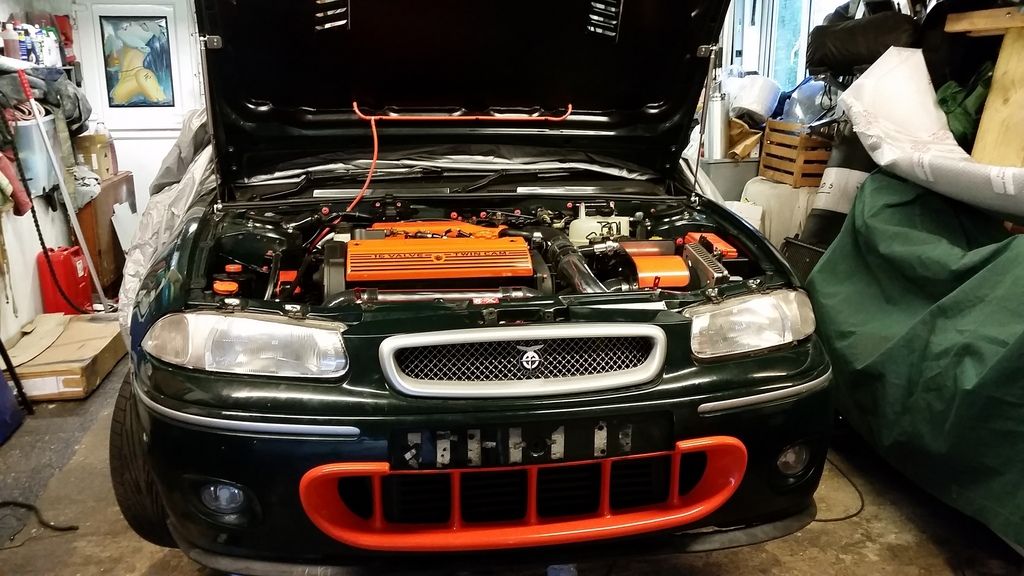
I also modified a cone filter heat shield to fit it to my stainless box. I thought the orange would balance out the bay a bit more but the main purpose is to stop the filter getting drenched if water ever finds its way through the bonnet vent.
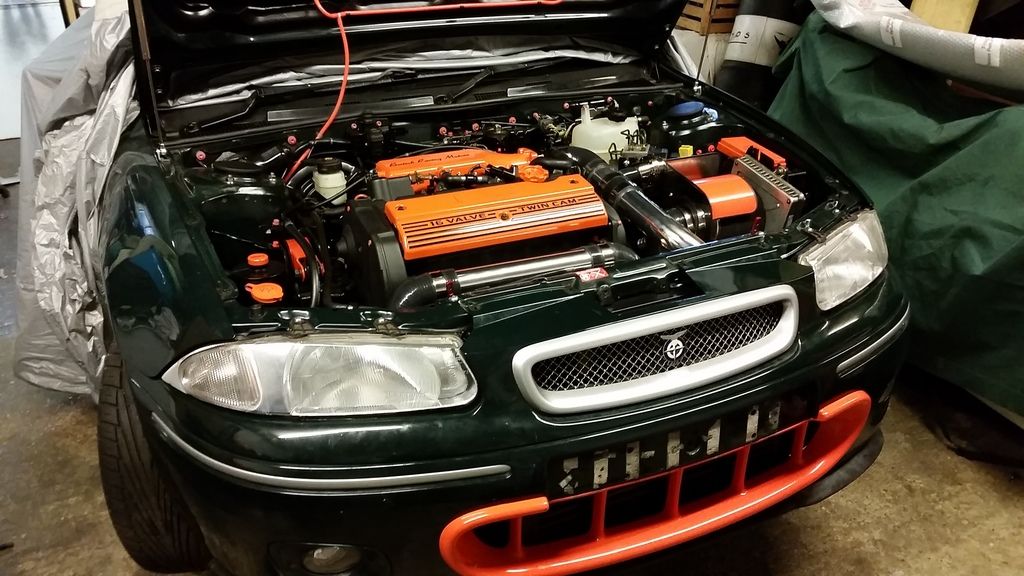
And here's how she sits now :

I worked out I would need static fuel flow of around 525cc for 300bhp with an 80% duty so these are just the ticket. Plenty of headroom.
With the inlet manifold all sorted I thought I might make myself a heat shield for the air filter.
Mocked up in cardboard:
Sheet of stainless off ebay bent to shape and fettled :
I don't have any pictures of putting the intake pipework together but suffice to say it was a long painful process getting it just right!
I also modified a cone filter heat shield to fit it to my stainless box. I thought the orange would balance out the bay a bit more but the main purpose is to stop the filter getting drenched if water ever finds its way through the bonnet vent.
And here's how she sits now :
Edited by Stuballs on Monday 22 January 13:05


Really impressed by this, I think you even described yourself as an amateur or someone with no experience somewhere in the thread... Seems to be being done very well indeed.
You're doing lots of important engineering things, but please also consider painting the upper grille (the rover one) the brg of the body to draw the eye to the BRM "grille". The BRMs always looked weird with two stacked grilles, just as the stacked exhausts of a Lexus ISF never looked right. To me at least!
Far more important stuff going on here, but it might look really good?
Thanks for the comments guys.
ManOpener said:
Really impressive, particularly how OEM the engine build looks!
My brief to myself was to keep it looking fairly oe but smarter with a bit more colour, but not over the top. I'm very pleased with it so far. mk2 24v said:
+1 
I presume as you used Powerspeed to do the exhaust?
YupI presume as you used Powerspeed to do the exhaust?
AWG said:
Stu, what did you use for the oil/intercooler? Powder coat, etch primer?
Just etch primer and some chip Andy. Although oil cooler was supplied painted. I thought a big silver intercooler behind the orange mouth would look a bit odd. Polynesian said:
please also consider painting the upper grille (the rover one) the brg of the body to draw the eye to the BRM "grille"
I'll certainly consider it although I've never had a problem with it. Might play around with photoshop. As standard it's a chrome grill but the previous owner painted it sparkle silver to match the rest of the trim (mirrors, wheels, bumper trim) which I think works better. Another option would be to repaint all the sparkle silver bits a darker gunmetal grey or anthracite to dull it down a bit. Might look a bit more menacing too. But that would also take away from the BRM identity and I wanted to avoid changing the look unless I had to for functional reasons Gassing Station | Readers' Cars | Top of Page | What's New | My Stuff