2003 Porsche Boxster S
Discussion


LanceRS said:
The car still looks stunning and better with everyone of your updates. The only thing that I would disagree with is the wheels. I am a great advocate of silver wheels and I think with your's especially they would set it off perfectly.
Thank you. Yeah I totally understand, there's been some thoughts in the back of my mind of putting them back to silver, but the only issue is that I love the glisten and sheen you get off a rich, deep colour, and I never got that with silver wheels. They seemed a little boring and mundane for a car that's performance focused. That's why I'm actually refurbishing them in a darker shade, but a more metallic shade and the wheel barrels in silver, so that they pop and glisten a whole lot more.DC240 said:
Exhaust looks good! Can I ask what paint you used on the tips?
DC
Standard Halfords matt black paint, nothing fancy DC

TR4man said:
So very true.
It is your attention to detail (almost an obsession) that makes this such an inspiring read.
Appreciate the kind words!It is your attention to detail (almost an obsession
) that makes this such an inspiring read.I've always liked fixing things and building things, from Lego, to building computers, right up to this. I'm a visual effects designer by trade and have got quite a bit of OCD when it comes to details. So this car is the result of an OCD designer petrol head, where the car has to look good, in every single tiny detail
You know, about a year ago I did a 2-stage paint correction on the car, and while people think I'm nuts using three buckets (one for wheels), two grit guards, two detailing brushes, a sheepskin wash mitt, wheel woolies, drying towels and a lot of patience just to 'quickly' wash the car, this is the result after a year's worth of daily driving a 14 year old car. Not a single swirl mark - the paint still looks new.

Also the hydrophobic coating on the roof still working a charm


Quickmoose said:
don't be sorry.....just spread the effort to that poor suffering Ka....
My mother's which she's learning to drive on - I need to take it to the garage to see if it's worth MOTing and if it is I'll be replacing the bumpers with colour coded ones, refurbing the alloys and detailing it How did you match your centre caps to your wheels? I want my Boxster wheels refurbing in a non-standard colour but want the centrecaps to match - obviously you can't powder coat them and wet spraying over the crests would be a bit of a tricky job...
Car looks great though. You'd be horrified at the paint on my 2002.
Car looks great though. You'd be horrified at the paint on my 2002.
snotrag said:
How did you match your centre caps to your wheels? I want my Boxster wheels refurbing in a non-standard colour but want the centrecaps to match - obviously you can't powder coat them and wet spraying over the crests would be a bit of a tricky job...
Car looks great though. You'd be horrified at the paint on my 2002.
Just masked up the crests with masking tape Car looks great though. You'd be horrified at the paint on my 2002.
it's really not difficult when you start it. Sprayed them the same time as the wheels.And thank you! Hah, well if you ever want someone to get your paint to the same standard as mine, you know where to find me

So I had an eventful bank holiday... almost crashed the car!
Driving at 30mph (luckily) and the rear left suspension collapsed. The track arm had sheered its bolt that goes into the hub, allowing the arm to break free completely, resulting in my back wheel turning in completely and kicking the back end of the car out. Was absolutely fine, I didn't hit anything and pulled over safely and inspected the damage.
Luckily it was just the arm that had been damaged and no other parts, but thankfully I was only doing 30mph. If I had been doing 70mph+ (like I had been moments earlier), it would have been a different story. But no biggie, could be worse! I intended to replace the arm and get an alignment done, and have it back on the road.
Called for the recovery, and in all fairness they were exceptional and took good care.

The next morning, I took the damaged part off. Now there should be a bolt on the end of this where the nut screws onto, but that's broken off. What's more worrying is that there's only clean metal through a small part in the centre.

Was this all that was holding it on? Perhaps a design flaw from the factory, or maybe it had been cracked a while ago? Either way, it was only a matter of time before this failed.
Anyway. I popped over to EuroCarParts and picked up a new arm for £60 (bit of a deal made). Went back and fitted the arm, all was well.

Took it for a quick test drive and the car was handling horrendously, with the back end twitching over every bump. Completely expected this as the eccentric bolt that I took off to get the arm off completely controls the toe and can alter the camber of the wheel, so the wheel was miles out.
Took it straight to a very reputable garage to have it put on a Hunter system to get all four wheels aligned back to factory spec after the accident.

Incredible bit of kit, using lasers and pattern boards to identify the wheels caster, camber and toe.

No bolts were seized, the whole process was a doddle.

This was the alignment before (expected to be horrendous due to the new arm fitted)

This was after:

Now the reason why the rear left camber is slightly out is because of my own wrong doing. When I changed the part, I had to take off the eccentric bolt and put it back - the bolt with the egg-shaped washer that, when turned, pushes and pulls the arm to adjust the toe. Well this has two washers, and I think I've put them on so they don't match with each other, which isn't a problem, but results in the bolt being completely useless to adjust the toe properly unless I take it all off and re-fitted it correctly. The guy managed to get it as close as possible and adjusted the camber so that the toe was in but camber slightly off, as it's a lot better to have the camber off than the toe off.
Even so, he assured me that the amount that it's out will make absolutely no real world difference as it's only 0.07 degrees out of the limit. I'll probably re-fit that bolt in the future but it'll just be for the sake of it as it wouldn't really make any difference.
Car was finished! £60 for the part that I fixed myself, and £60 for all of the alignment. Car was back on the road the day after the accident. Cheap and cheerful!

Took it for a drive. WHAT A DIFFERENCE! The alignment must have been out previously, as I'm blown away by how confident the car feels in turns, and how it feels like it's on rails in a straight line. Nothing upsets the steering, it doesn't budge going over any bumps in the road. Just feels like a new car. Any car I buy in the future, I'll be taking it there to get a full alignment done. I wish I did this before.
Also, on my drive, this happened!

100,000 miles!
Very pleased with the car at 100,000 miles. Aiming for the next 100,000 now!
Driving at 30mph (luckily) and the rear left suspension collapsed. The track arm had sheered its bolt that goes into the hub, allowing the arm to break free completely, resulting in my back wheel turning in completely and kicking the back end of the car out. Was absolutely fine, I didn't hit anything and pulled over safely and inspected the damage.
Luckily it was just the arm that had been damaged and no other parts, but thankfully I was only doing 30mph. If I had been doing 70mph+ (like I had been moments earlier), it would have been a different story. But no biggie, could be worse! I intended to replace the arm and get an alignment done, and have it back on the road.
Called for the recovery, and in all fairness they were exceptional and took good care.
The next morning, I took the damaged part off. Now there should be a bolt on the end of this where the nut screws onto, but that's broken off. What's more worrying is that there's only clean metal through a small part in the centre.
Was this all that was holding it on? Perhaps a design flaw from the factory, or maybe it had been cracked a while ago? Either way, it was only a matter of time before this failed.
Anyway. I popped over to EuroCarParts and picked up a new arm for £60 (bit of a deal made). Went back and fitted the arm, all was well.
Took it for a quick test drive and the car was handling horrendously, with the back end twitching over every bump. Completely expected this as the eccentric bolt that I took off to get the arm off completely controls the toe and can alter the camber of the wheel, so the wheel was miles out.
Took it straight to a very reputable garage to have it put on a Hunter system to get all four wheels aligned back to factory spec after the accident.
Incredible bit of kit, using lasers and pattern boards to identify the wheels caster, camber and toe.
No bolts were seized, the whole process was a doddle.
This was the alignment before (expected to be horrendous due to the new arm fitted)
This was after:
Now the reason why the rear left camber is slightly out is because of my own wrong doing. When I changed the part, I had to take off the eccentric bolt and put it back - the bolt with the egg-shaped washer that, when turned, pushes and pulls the arm to adjust the toe. Well this has two washers, and I think I've put them on so they don't match with each other, which isn't a problem, but results in the bolt being completely useless to adjust the toe properly unless I take it all off and re-fitted it correctly. The guy managed to get it as close as possible and adjusted the camber so that the toe was in but camber slightly off, as it's a lot better to have the camber off than the toe off.
Even so, he assured me that the amount that it's out will make absolutely no real world difference as it's only 0.07 degrees out of the limit. I'll probably re-fit that bolt in the future but it'll just be for the sake of it as it wouldn't really make any difference.
Car was finished! £60 for the part that I fixed myself, and £60 for all of the alignment. Car was back on the road the day after the accident. Cheap and cheerful!
Took it for a drive. WHAT A DIFFERENCE! The alignment must have been out previously, as I'm blown away by how confident the car feels in turns, and how it feels like it's on rails in a straight line. Nothing upsets the steering, it doesn't budge going over any bumps in the road. Just feels like a new car. Any car I buy in the future, I'll be taking it there to get a full alignment done. I wish I did this before.
Also, on my drive, this happened!
100,000 miles!
Very pleased with the car at 100,000 miles. Aiming for the next 100,000 now!
geraintthomas said:
Now the reason why the rear left camber is slightly out is because of my own wrong doing. When I changed the part, I had to take off the eccentric bolt and put it back - the bolt with the egg-shaped washer that, when turned, pushes and pulls the arm to adjust the toe. Well this has two washers, and I think I've put them on so they don't match with each other, which isn't a problem, but results in the bolt being completely useless to adjust the toe properly unless I take it all off and re-fitted it correctly. The guy managed to get it as close as possible and adjusted the camber so that the toe was in but camber slightly off, as it's a lot better to have the camber off than the toe off.
By the way, that's not possible unless something is damaged or broken, the eccentric washer on the end of the bolt is keyed into a groove or flat onto the bolt: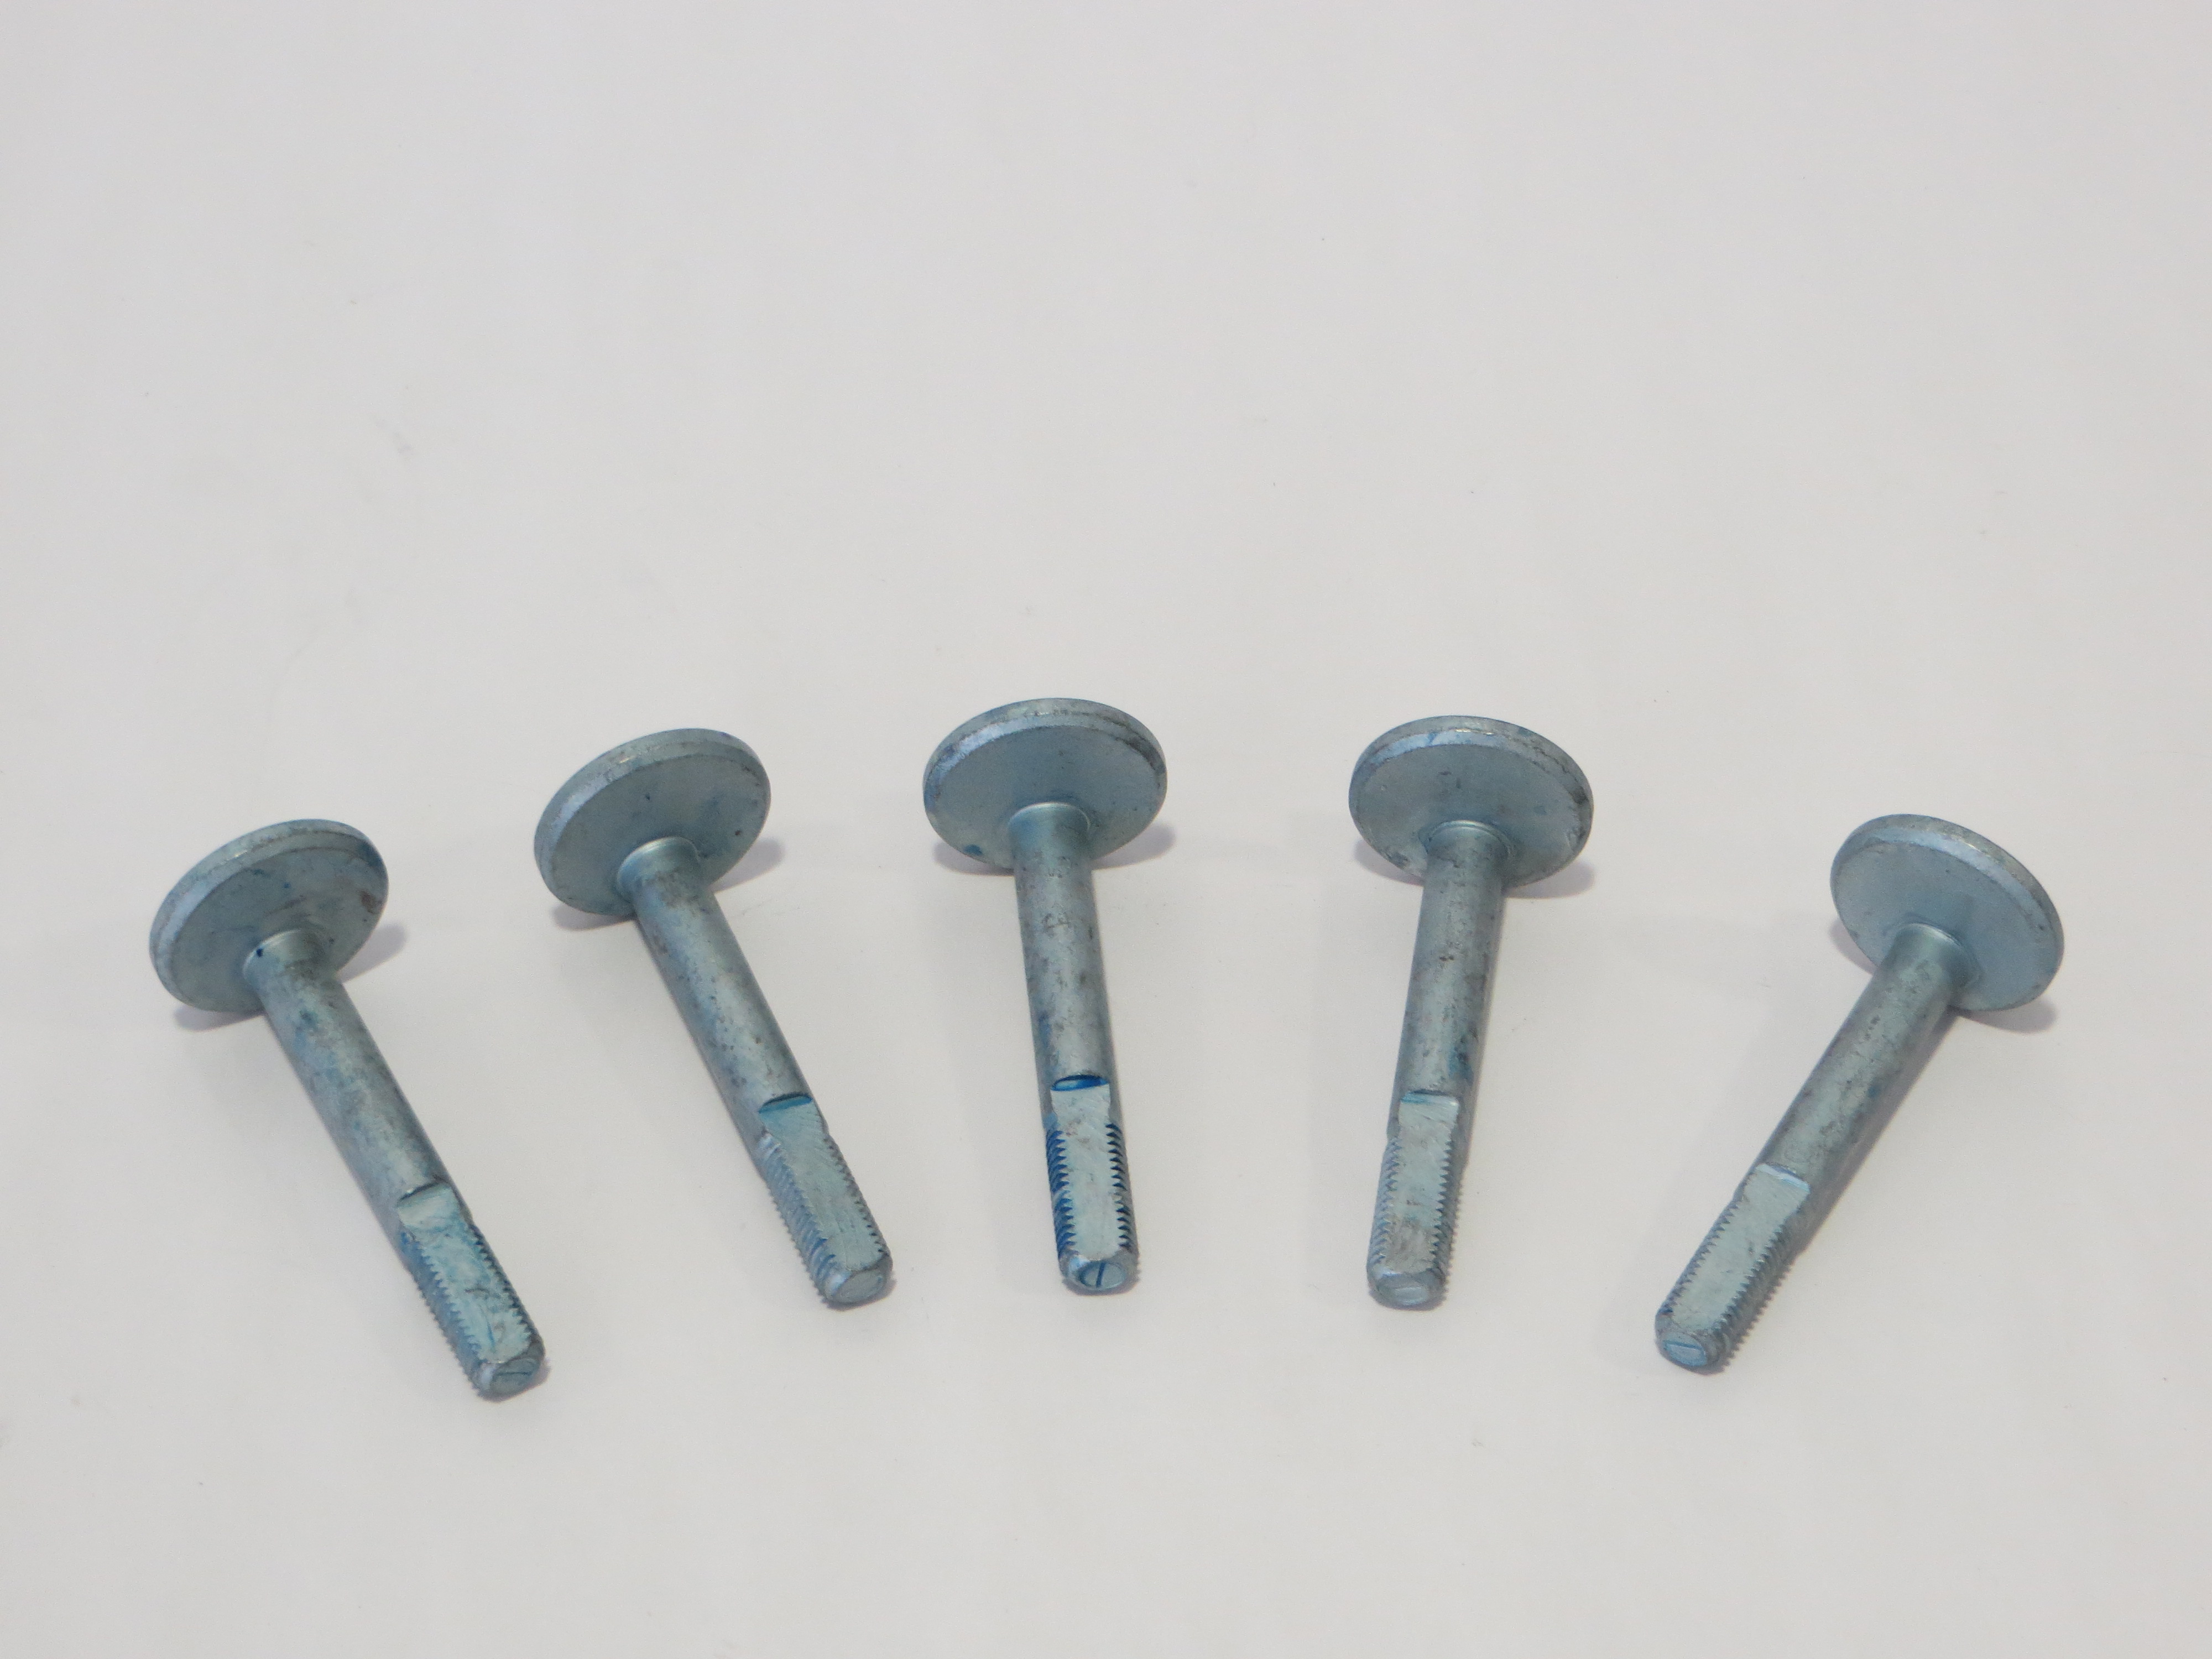
If I were you, I'd re-examine this closely, as they are known to slip or move under extremis anyway, so you want the setup to be correct.
bgunn said:
Not the first time this has been seen to happen, likely through over torquing the balljoint nut..
Yeah a few people have said this now. Quite worrying...Plate spinner said:
Looks good
Thanking you!bgunn said:
By the way, that's not possible unless something is damaged or broken, the eccentric washer on the end of the bolt is keyed into a groove or flat onto the bolt:
If I were you, I'd re-examine this closely, as they are known to slip or move under extremis anyway, so you want the setup to be correct.
You're absolutely right. After you said this, I went back to the garage and they pointed out why it didn't work. The small wing on the subframe that one of the eccentric bolts pushes against has snapped off on one side, which won't allow the bolt to be moved in a lateral movement. Not structural, but enough to stop the adjustment of the arm. It must have broken off when I took the arm off as I had to use a lot of force! My mistake.If I were you, I'd re-examine this closely, as they are known to slip or move under extremis anyway, so you want the setup to be correct.
He did tell me apparently, but looks like I was too busy taking photos...
Easy fix though. A used left subframe is £25, so I'll just pick one up in the future and replace it. He's checked the alignment again though and it hasn't moved. The arm isn't going anywhere, it's just the adjustment that's buggered, but as it's such a minor amount out I'm in no rush to change the subframe.
Thanks for pointing that out though, wouldn't have gone back otherwise!
Medic-one said:
Glad to see it's back on the road so quickly!
Thanks, me too!squareflops said:
bet that was a moment dude! glad no other damage occurred, I thought that sort of thing only happened on Elises and VX220s!
Always rated A&A Tyres, have been going there for years for alignments; good choice!
It happens on Elises?!Always rated A&A Tyres, have been going there for years for alignments; good choice!
And yeah I've heard pretty good things about them, and can recommend them myself now.
Yeah, you are supposed to retain the bolt head whilst unscrewing the nut. What usually happens is the bolt seizes in the centre of the lower arm bush so you attempt to turn it and it mashes the subframe.
Best idea is to bin the bolts when you replace arms etc as they always seize. Lots of alloy paste on the shank when the new one goes in is best!
Best idea is to bin the bolts when you replace arms etc as they always seize. Lots of alloy paste on the shank when the new one goes in is best!
bgunn said:
Yeah, you are supposed to retain the bolt head whilst unscrewing the nut. What usually happens is the bolt seizes in the centre of the lower arm bush so you attempt to turn it and it mashes the subframe.
Best idea is to bin the bolts when you replace arms etc as they always seize. Lots of alloy paste on the shank when the new one goes in is best!
Probably a fault of mine with undoing it. At least I'll know next time!Best idea is to bin the bolts when you replace arms etc as they always seize. Lots of alloy paste on the shank when the new one goes in is best!
dave_s13 said:
Is the other side in danger of going pop in a similar manner???
That's crossed my mind, I may just replace it for good measure.gowmonster said:
where did you get your wheel nut covers from?
Ebay:http://www.ebay.co.uk/itm/TPI-Gunmetal-Grey-Wheel-...
Gassing Station | Readers' Cars | Top of Page | What's New | My Stuff