Shedding properly, 2004 Passat Estate 1.9 TDI
Discussion


Alhough the car started well, I thought it was about time to change the glowplugs. The car easily started but ran just a little bit lumpy for five to ten seconds and chucked out a bit of white smoke from a cold start.
So, after extensive research as to what plugs I needed I order some and they turned up today, some Beru GN046's...
Nothing to do at all about glowplugs but I thought I'd take this picture

This is what arrived today. Rather than oom and arh for the rest of the week I thought that there is no time like the present, I have a lit garage and decided to crack on.


You obviously have to go through the well worn process of whipping the engine cover off. Below are my bits of pipe lagging I now use since the OE foam bit that surrounds the rocker cover turned to dust about three years ago. They work very well.

The next few shots are a bit out of sequence as I started at Number One plug which I wanted to do without the distraction of taking pictures.
Old and new plugs side by side, spot the difference, more on that later.

I used some needle nosed pliers to pull the plug leads off. I used a 2.5" long deep 10mm socket and a "wobble" extenion bar, all 3/8's drive. Numbers 1, 2 & 3 easy peasy. Very light pressure to undo and they all came out and went back in without any issues at all. Below, me removing Nr.2 plug.

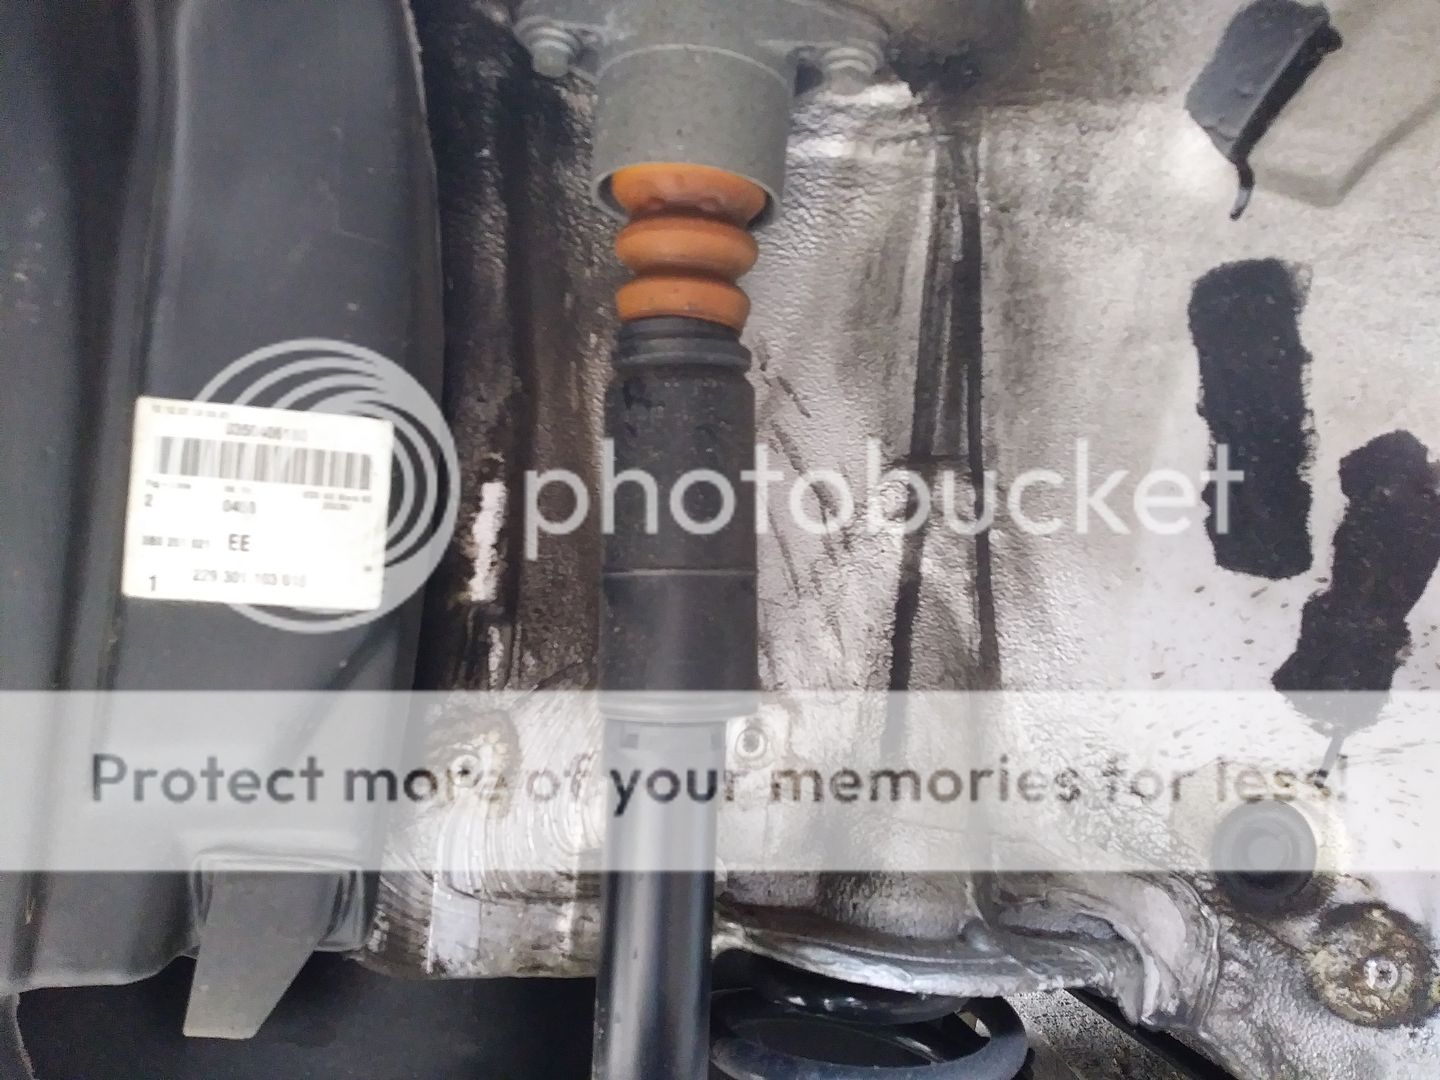
Number 4 is slightly more fun. As some will know, the conventional wisdom is that the fuel filter bracket is supposed to have to come off to access it. Not so, I simply moved the fuel filter out the way and was able to easily get on the plug with the "wobble" head extension bar.
On Nr.4

Slightly closer shot on Nr.4

Closer still of Nr.4

All done.

The old plugs with the soot wiped off the tips, they look quite good but looks can be deceptive. I did a quick check with my old meter (no lead correction) and got the following;
1, open circuit = knackered
2, 2.27 k
3, open circuit = knackered
4, 7.63 k
So well worth doing the change.


More the plugs themselves.
After extensive research the conclusion was that the car needed Beru GN046's or Bosch ending with 2023.
Imagine my surprise when pulling the old ones out so see Bosch items but OE as they had the VW logo on them. The information on the old plugs is as follows;
Bosch
0 250 202046 11v
FRANCE 391 (955)
(VW logo) N10579201 (RB3)
Having done a bit of cross checking these are the same as the Bosch 0250202023's and Beru GN046's with the N10579201 being the VW EO part number. Phew !
Thing is though, the taper looks a bit different, I hope things are not going to bugger up !
So, after extensive research as to what plugs I needed I order some and they turned up today, some Beru GN046's...
Nothing to do at all about glowplugs but I thought I'd take this picture
This is what arrived today. Rather than oom and arh for the rest of the week I thought that there is no time like the present, I have a lit garage and decided to crack on.
You obviously have to go through the well worn process of whipping the engine cover off. Below are my bits of pipe lagging I now use since the OE foam bit that surrounds the rocker cover turned to dust about three years ago. They work very well.
The next few shots are a bit out of sequence as I started at Number One plug which I wanted to do without the distraction of taking pictures.
Old and new plugs side by side, spot the difference, more on that later.
I used some needle nosed pliers to pull the plug leads off. I used a 2.5" long deep 10mm socket and a "wobble" extenion bar, all 3/8's drive. Numbers 1, 2 & 3 easy peasy. Very light pressure to undo and they all came out and went back in without any issues at all. Below, me removing Nr.2 plug.
Number 4 is slightly more fun. As some will know, the conventional wisdom is that the fuel filter bracket is supposed to have to come off to access it. Not so, I simply moved the fuel filter out the way and was able to easily get on the plug with the "wobble" head extension bar.
On Nr.4
Slightly closer shot on Nr.4
Closer still of Nr.4
All done.
The old plugs with the soot wiped off the tips, they look quite good but looks can be deceptive. I did a quick check with my old meter (no lead correction) and got the following;
1, open circuit = knackered
2, 2.27 k
3, open circuit = knackered
4, 7.63 k
So well worth doing the change.
More the plugs themselves.
After extensive research the conclusion was that the car needed Beru GN046's or Bosch ending with 2023.
Imagine my surprise when pulling the old ones out so see Bosch items but OE as they had the VW logo on them. The information on the old plugs is as follows;
Bosch
0 250 202046 11v
FRANCE 391 (955)
(VW logo) N10579201 (RB3)
Having done a bit of cross checking these are the same as the Bosch 0250202023's and Beru GN046's with the N10579201 being the VW EO part number. Phew !
Thing is though, the taper looks a bit different, I hope things are not going to bugger up !
Edited by colin_p on Monday 23 January 22:38
Glowplugs and the virtues and having good ones that actually work and do their job;
Before;
Glowplug light on, went out after a few seconds, nothing untoward.
One or two seconds of cranking then it'd catch and start.
A reasonable plume of white smoke out the back for about 10 seconds, this was unburnt diesel.
For those ten seconds it ran lumpy, obviously as it was missing on two cylinders.
After those ten seconds the car seemed to clear its throat but there would still be a bit of smoke out the back.
This morning;
Glowplug light behaviour exactly the same.
Started almost instantly.
Only the faintest little puff of white smoke.
No lumpyness at all in the running.
Much quieter engine.
I'm very pleased with the results and should have done this a while back.
I've been reading up on the glowplug function as well for these old 1.9 8v PD TDI's and what the glowplugs do is;
Preheat (as you would expect).
Afterglow for about four minutes or until the engine revs exceed 2,500. This happens each and every time the engine is started regardless. This is what makes the engine quieter and smoother at a cold start.
The glowplug system is 'dumb' i.e. the ecu will tell them to do what needs doing but there is no monitoring back to the ECU if something is wrong.
My advice is that if there is any doubt, you get anything more than a puff of white smoke, the engine is lumpy, then change the glowplugs, on any diesel engine.
That was the problem I had with ECP, there are no part numbers despite them listing five different plugs. I did phone them and got their item number, did a click and collect but got a message saying that they (the Beru's) were not in stock. I didn't bother going back to them for Bosch plugs with the same potential hassle.
I got these...
http://www.ebay.co.uk/itm/SET-of-4-BERU-OEM-Glow-P...
£13 per plug so not much dearer and you know you are getting an OE quality item. As I've said there are two qualities of Bosch item, those made in France, the others in China, I didn't want the risk.
On the Passat it seems there are two types of plug <2002 and >2002, the GN046 Berus are for >2002. It might be worth giving Murrays a call and give them your reg number.
And...
Are you RFSteel formally of UKMKIV's ?
The MOT is looming up, winter is all but over so it is time to get things spick and span.
I like to give the car a really good clean prior to the MOT and also wash off any salt and crud I can from underneath.
But first a little job on some new center caps for the summer wheels, which are due to go back on very soon.
Ols set of caps, new ones on the right. The old ones are only a year old and are suffering from the tin worm already.

Not good how the tin worm has set in regardless of these not being gnuine items, I did wax them throughout the year.

Nice new GENUINE VW items

A quick panel wipe to clean off any grease

I then rumaged around and found this can of clear laquer, just enough in there for two coats to the caps.

A pointless photo of the 1st coat drying, you cannot tell from the pic !

While the 1st coat was drying I got my "car coat"

Not the best pic but this was the state of the underbelly and one years worth of crud.

And then cleaned. Washed all the salty crud off with some TFR and a brush. It always comes up like new.

I do love the cheapy winter tyres. The steelies are going to need a bit of paint this year though and I will need a new set of winters for the front, they are worn out to the point where they would be no use in the snow, not that it ever snows here!

Wheelarch salty crud, to be cleaned off in a forthcoming episode

Another pointless photo of the nes caps in their 2nd coat of laquer, not that you can tell from the photo.

I like to give the car a really good clean prior to the MOT and also wash off any salt and crud I can from underneath.
But first a little job on some new center caps for the summer wheels, which are due to go back on very soon.
Ols set of caps, new ones on the right. The old ones are only a year old and are suffering from the tin worm already.
Not good how the tin worm has set in regardless of these not being gnuine items, I did wax them throughout the year.
Nice new GENUINE VW items
A quick panel wipe to clean off any grease
I then rumaged around and found this can of clear laquer, just enough in there for two coats to the caps.
A pointless photo of the 1st coat drying, you cannot tell from the pic !
While the 1st coat was drying I got my "car coat"
Not the best pic but this was the state of the underbelly and one years worth of crud.
And then cleaned. Washed all the salty crud off with some TFR and a brush. It always comes up like new.
I do love the cheapy winter tyres. The steelies are going to need a bit of paint this year though and I will need a new set of winters for the front, they are worn out to the point where they would be no use in the snow, not that it ever snows here!
Wheelarch salty crud, to be cleaned off in a forthcoming episode
Another pointless photo of the nes caps in their 2nd coat of laquer, not that you can tell from the photo.
Thanks JJ
More MOT prep and this is mainly for the OCD of it !
Only for the OCD among you.
Summer wheels layed out ready to fit

Center caps in

Cleaned the wheel nut covers

Goodbye to the winters until next winter

I only cleaned under here the other day

So I had to clean it again

Brakes were looking a bit scabby

So a quick lick of paint, a very quick blat only on the outwardly visible bits

Back one with the paint still wet, that'll dry down to a nice satin finish

Summers all on

More MOT prep and this is mainly for the OCD of it !
Only for the OCD among you.
Summer wheels layed out ready to fit
Center caps in
Cleaned the wheel nut covers
Goodbye to the winters until next winter
I only cleaned under here the other day
So I had to clean it again
Brakes were looking a bit scabby
So a quick lick of paint, a very quick blat only on the outwardly visible bits
Back one with the paint still wet, that'll dry down to a nice satin finish
Summers all on
After a four month hiatus, I decided to pick the figurative spanners back up. I'm still medically banned from driving and will be until the end of October. This medical ban was as a result of suffering two further cardiac arrests back in late April, which thankfully my defib shocked and saved me. Anyway, enough of the doom and gloom....
The picking up of the spanners at this point in time has been ordering a pair of pre-painted front wings for the Wifes Golf. Quite a lot of cash to lavish on such an old car but it will make it whole again.
The wings suffer from inside out corrosion which is caused by a rubber / foam vibration damper, sound proofer which is glued to the inner side of the wings. I call them 'poofer blocks'. What happens is that the poofer block acts like a giant water trap and the rot sets in. The is an incredibly common problem on all VW / Audi cars of a certain age.
Getting lazy in my older age I ordered a pre-painted pair whereas in the past I would have done the pant myself. This time, I simply couldn't be bothered.
Anyway and as always, pictures...
Unwrapping was like Christmas and Birthday rolled into one.

Very pleased with the finish, just hope they fit properly.

The picking up of the spanners at this point in time has been ordering a pair of pre-painted front wings for the Wifes Golf. Quite a lot of cash to lavish on such an old car but it will make it whole again.
The wings suffer from inside out corrosion which is caused by a rubber / foam vibration damper, sound proofer which is glued to the inner side of the wings. I call them 'poofer blocks'. What happens is that the poofer block acts like a giant water trap and the rot sets in. The is an incredibly common problem on all VW / Audi cars of a certain age.
Getting lazy in my older age I ordered a pre-painted pair whereas in the past I would have done the pant myself. This time, I simply couldn't be bothered.
Anyway and as always, pictures...
Unwrapping was like Christmas and Birthday rolled into one.
Very pleased with the finish, just hope they fit properly.
It is nice to have a week off work even if you cannot drive to get anywhere.
I've concurrently got three projects on the boil, two medium sized and one massive one. I'm obviously doing the wings which is a medium, I'm doing up my old Peugeot racing bike and the biggy is an extension to my patio. I do need to pace myself though and not overdo it, trouble is I still think I'm in my 20's (actually late mid 40's now) and don't have a heart condition.
Anyway, before the car, a few pics of the old Pug. It is nothing special, just a 1984 Equipe exactly the same as the one I used to cycle to school on. I've rubbed the frame down going through 120, 240, 600 and 800 grit wet and dry paper, etch primed, matt black base coated, a new part set of decals and then several coats of sating laquer.
Slowy the parts are arriving and slowly it is being built up.

Some Dia Compe deep drop 'nutted' duel pivot calipers should sort out the stopping. The bike is a 25" (massive) and I'm quite large so stoppers need to be better than the pittyful old Weinmann items.

Huret downtube shifters which are staying! Also a new 'carbolite' decal. Carbolite was and is nothing special but I still needed to plonk a sticker there.

Back to the car....
Wings hanging from bungy cords from the garage roof with a coat of POR15 drying way. I decided to paint the whole of the inner wing area in the stuff. Hopefully it will be dry enough for another coat later on and then possibly fitting operations may commence tomorrow.
Important bits all masked off, so don't worry about the runs! It was a nice thick sloppy coat.


I've concurrently got three projects on the boil, two medium sized and one massive one. I'm obviously doing the wings which is a medium, I'm doing up my old Peugeot racing bike and the biggy is an extension to my patio. I do need to pace myself though and not overdo it, trouble is I still think I'm in my 20's (actually late mid 40's now) and don't have a heart condition.
Anyway, before the car, a few pics of the old Pug. It is nothing special, just a 1984 Equipe exactly the same as the one I used to cycle to school on. I've rubbed the frame down going through 120, 240, 600 and 800 grit wet and dry paper, etch primed, matt black base coated, a new part set of decals and then several coats of sating laquer.
Slowy the parts are arriving and slowly it is being built up.
Some Dia Compe deep drop 'nutted' duel pivot calipers should sort out the stopping. The bike is a 25" (massive) and I'm quite large so stoppers need to be better than the pittyful old Weinmann items.
Huret downtube shifters which are staying! Also a new 'carbolite' decal. Carbolite was and is nothing special but I still needed to plonk a sticker there.
Back to the car....
Wings hanging from bungy cords from the garage roof with a coat of POR15 drying way. I decided to paint the whole of the inner wing area in the stuff. Hopefully it will be dry enough for another coat later on and then possibly fitting operations may commence tomorrow.
Important bits all masked off, so don't worry about the runs! It was a nice thick sloppy coat.
Gents,
Many thanks for well-wishes.
It is tricky living with this heart condition. I have scarring on/in my heart muscle which makes the electrics try and kill me every now and then. I have a defib/pacemaker in my chest which so far, touch wood, has shocked me back to life five times, the last two earlier this year. I'm currently also on some very toxic drugs which are keeping (touch wood again) a lid on my heart going hay-wire.
Each time it fires though it means a six month medical driving ban, which believe it or not isn't too bad, especially when you are into and have bikes like the one pictured. No speed or distance records will ever be broken but they are surprisingly handy for getting about on locally.


LeoZwalf said:
Well well well, while we're going waaaaay off topic and talking Pug bikes I might as well chip in. In the late 80's I was still fairly young-ish, and had a Peugeot Ranger 10 Storm. My first proper bike (previous was a BMX) and seemed very modern and cool because it was a mountain bike!
For all I know, this could be my old one. It was exactly the same
https://www.gumtree.com/p/bicycles/old-school-smal...
The whole shedding ethos covers anything you do yourself, be it an old car, digging a patio or old bikes !For all I know, this could be my old one. It was exactly the same
https://www.gumtree.com/p/bicycles/old-school-smal...
Your first bike is like you first car, always fond memories and never forgotten.
RC1807 said:
Because of what you did, or you dropped them, or....?
Sorry...Because of my idiocy with the POR15 painting to the insides.
Despite taking considerable time masking off, the paint crept under the tape in places. Normal paint can be wiped off some time after application if this had happens, not POR15, oh no!
The internet folklore about POR15 is all true, the stuff really is the dogs b***ocks. Set rock hard and no shifting it. The only way is going to be by sanding off. That of course will ruin the finish on these brand new and freshly painted wings.
I should have read the tin and if I had would have heeded the warnings along the lines of "Once dry NOTHING will remove it".
I went full plebian and made an expensive mistake. Just shows that it isn't all a bed of roses when you do stuff yourself but the difference is with me I'll show the warts an' all. I so peeved at the moment I can't even look at the damned things but once calmed down will post up some pics.
It has been a long time.
And now I've got the ability to post pictures again, it'd be silly not to. (I'll have a go at filling in some blanks up thread when I have time).
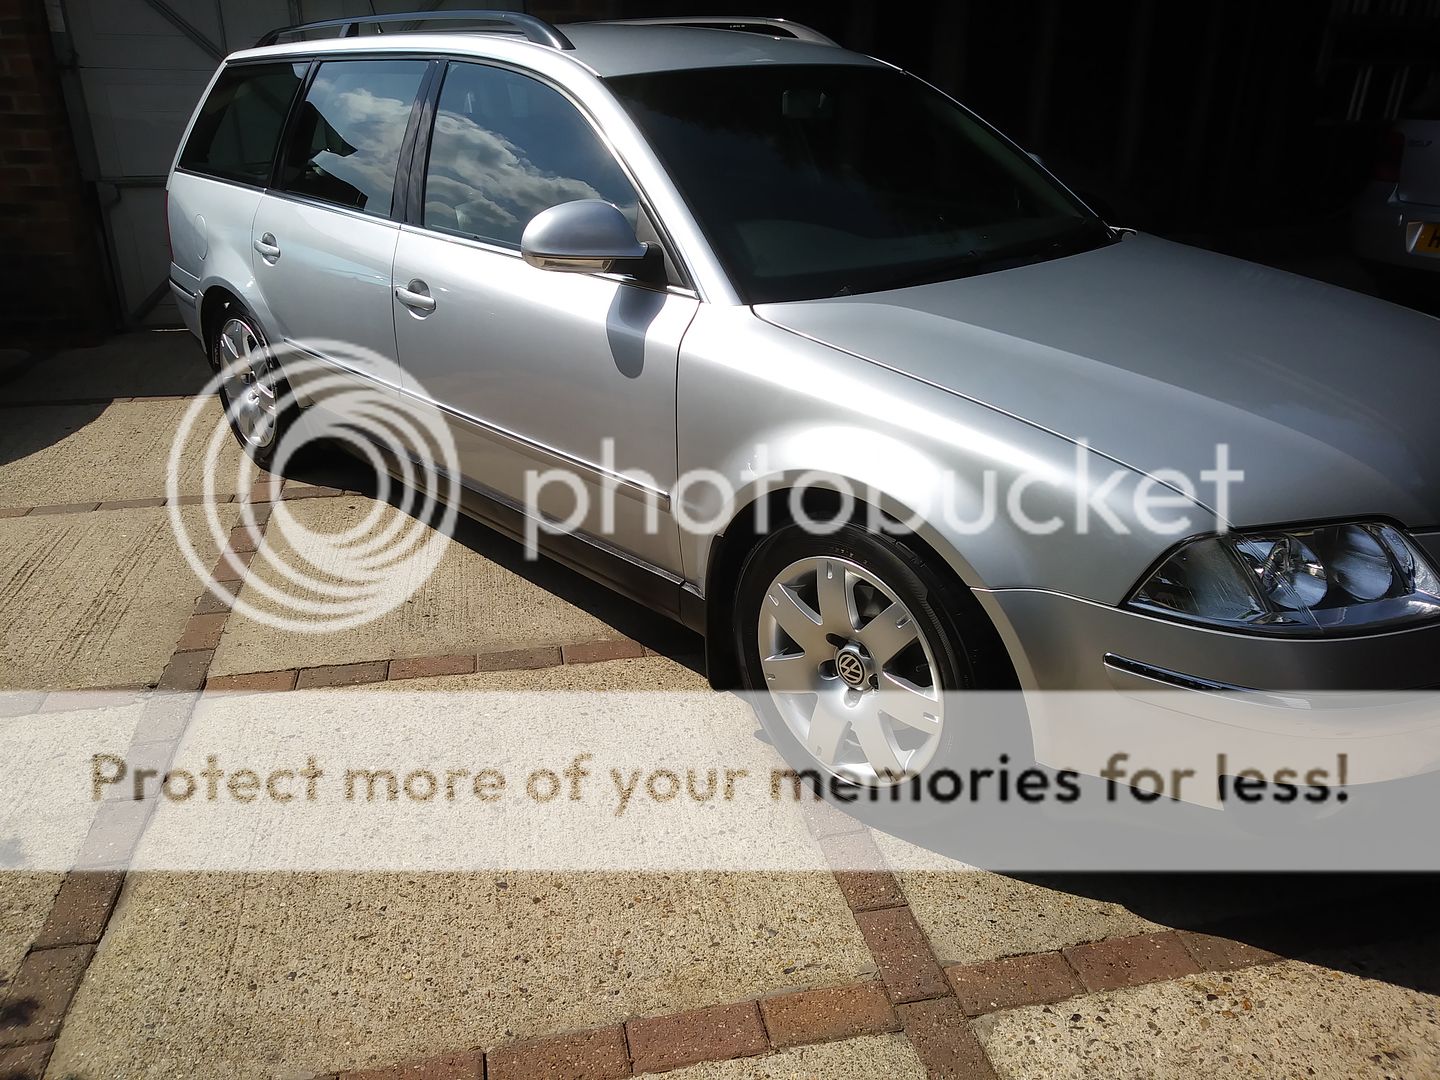
A few of the car in general first, it is still clean and still good.
The old hector itself
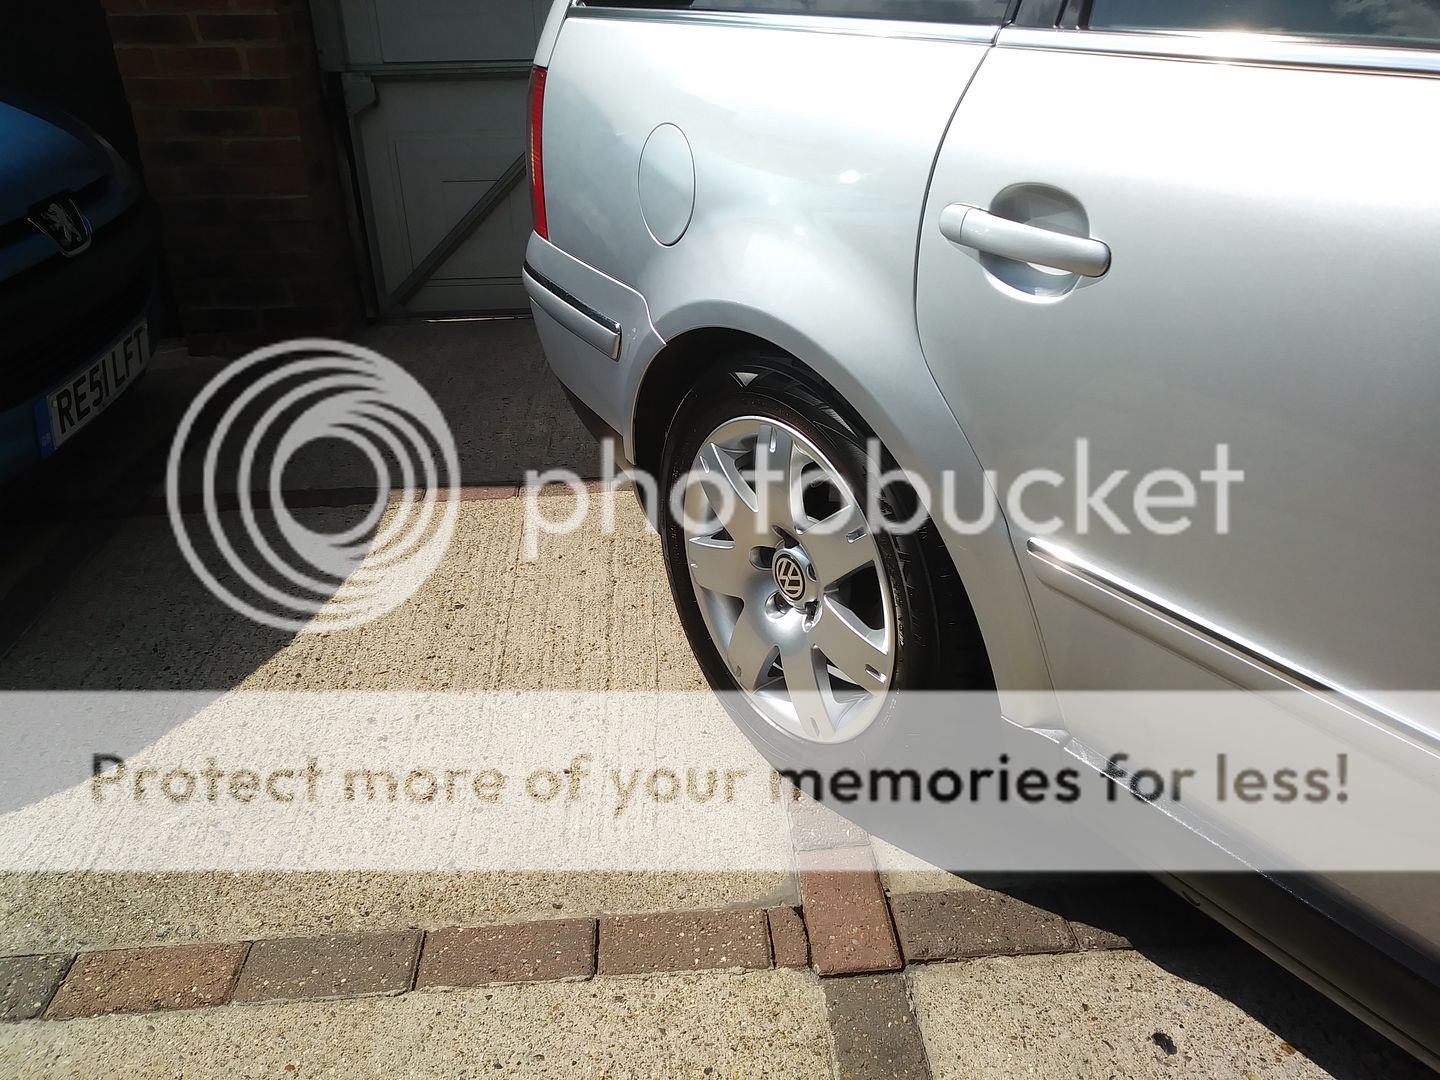
Immaculate rear wheel
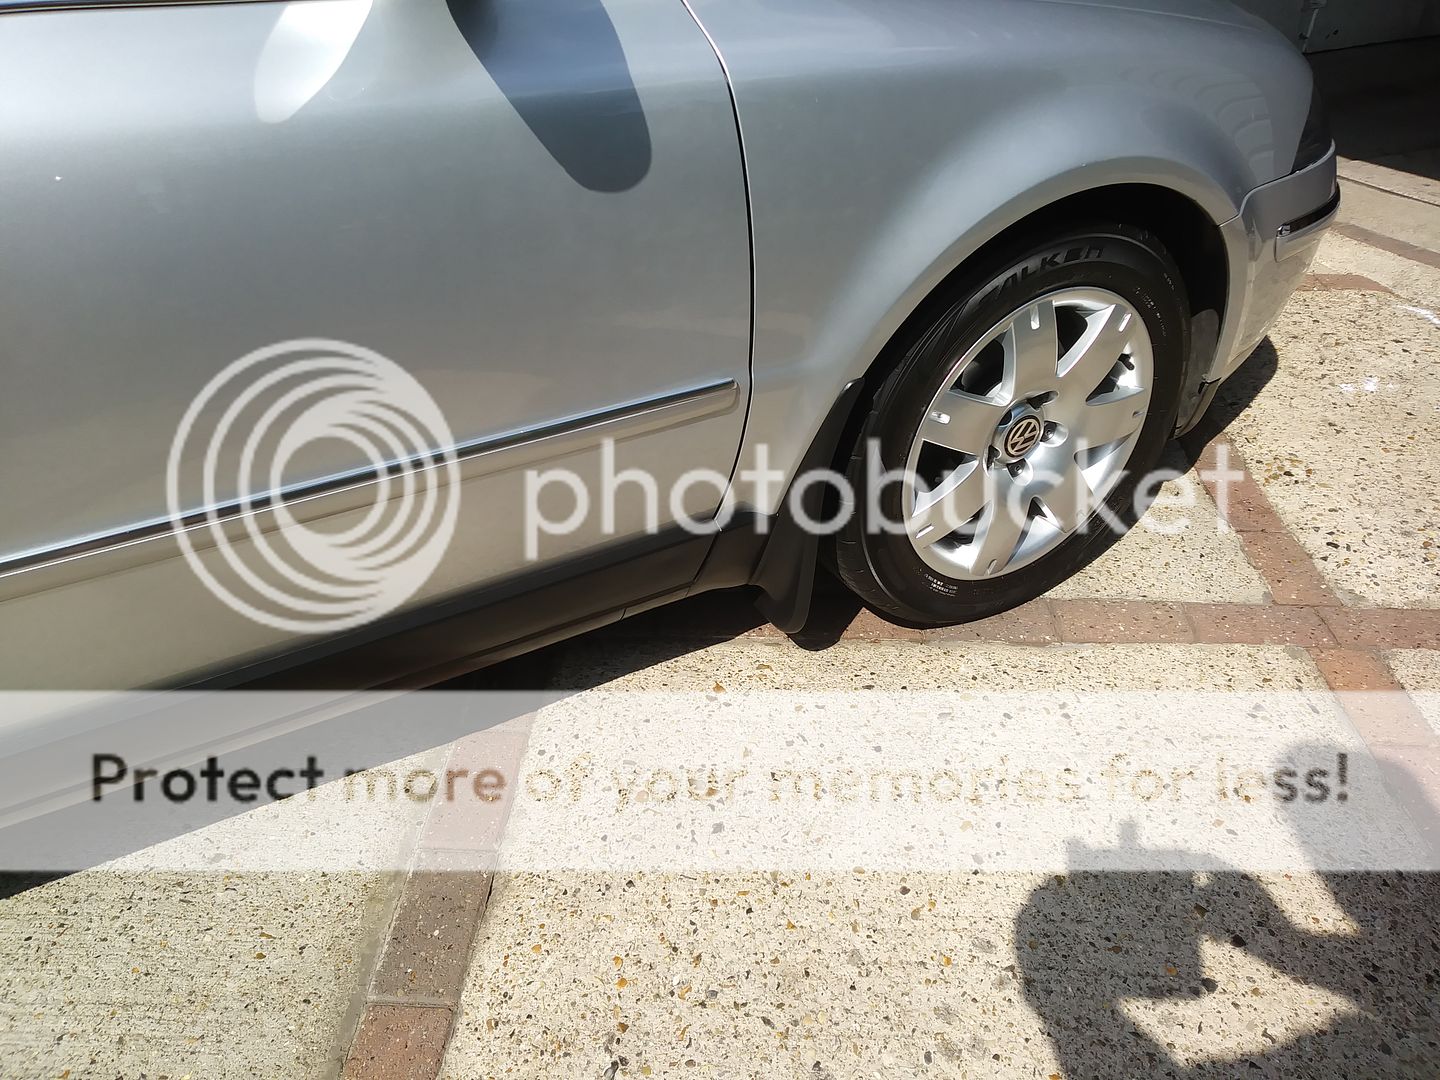
Immaculate front wheel
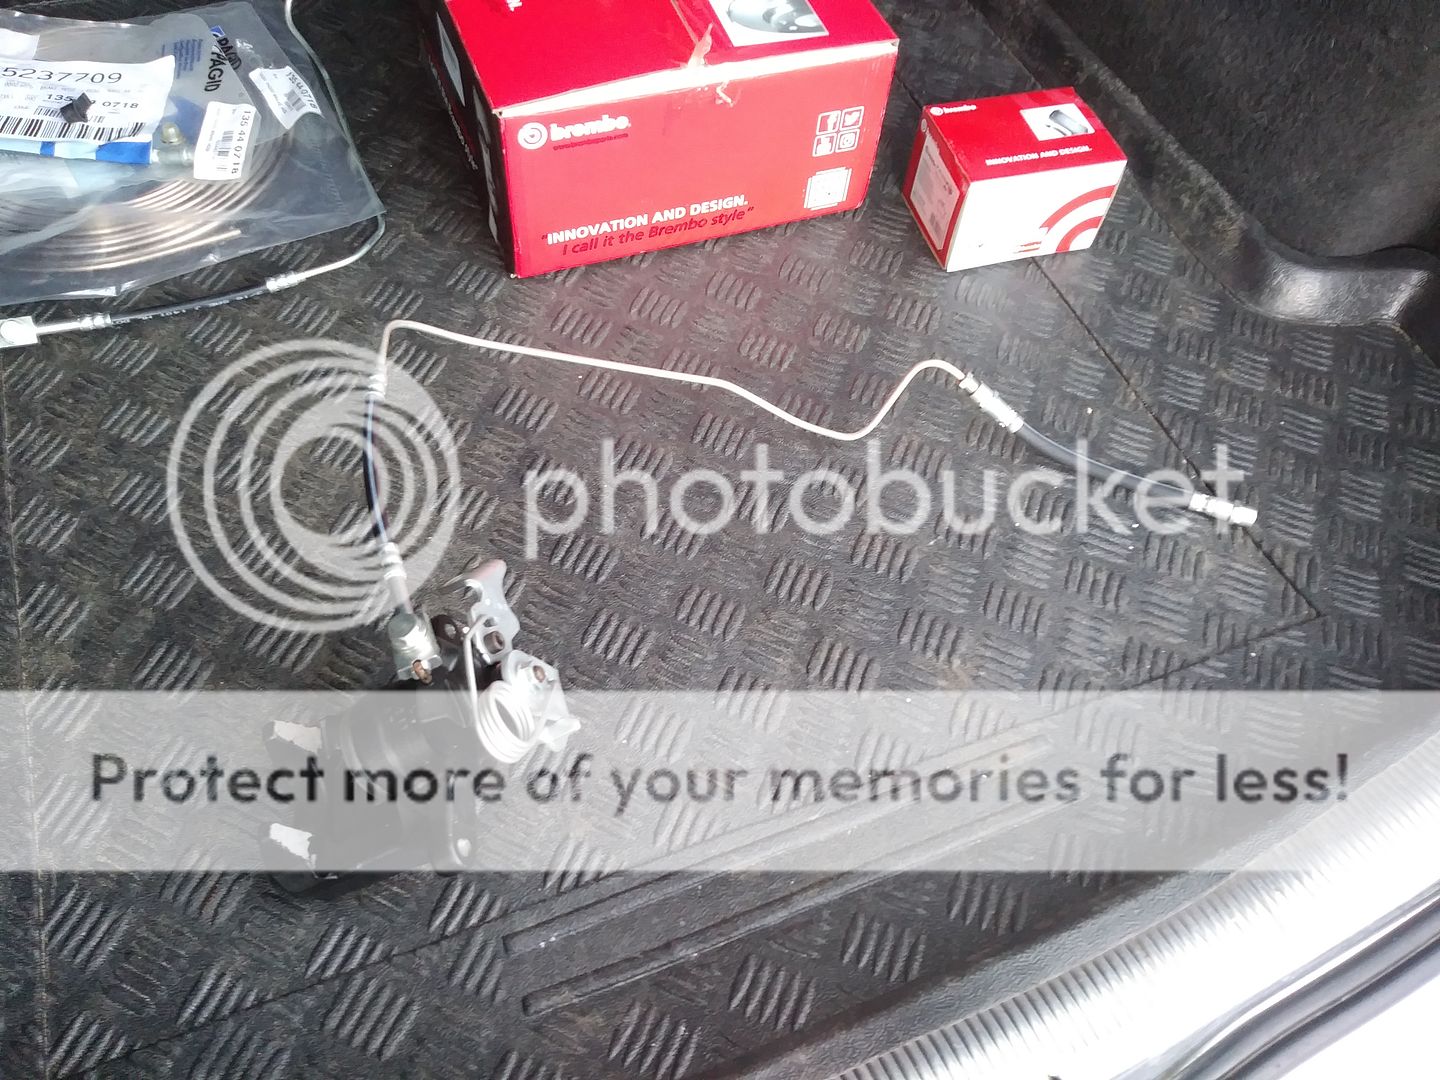
Onto the current project which is rear brakes. Here we have a pair of new calipers, pre painted satin black by me, discs, pads, brake pipes and hoses and a roll of Cupro / Kunnifer / Copper Nickle brake pipe just in case things get nasty.
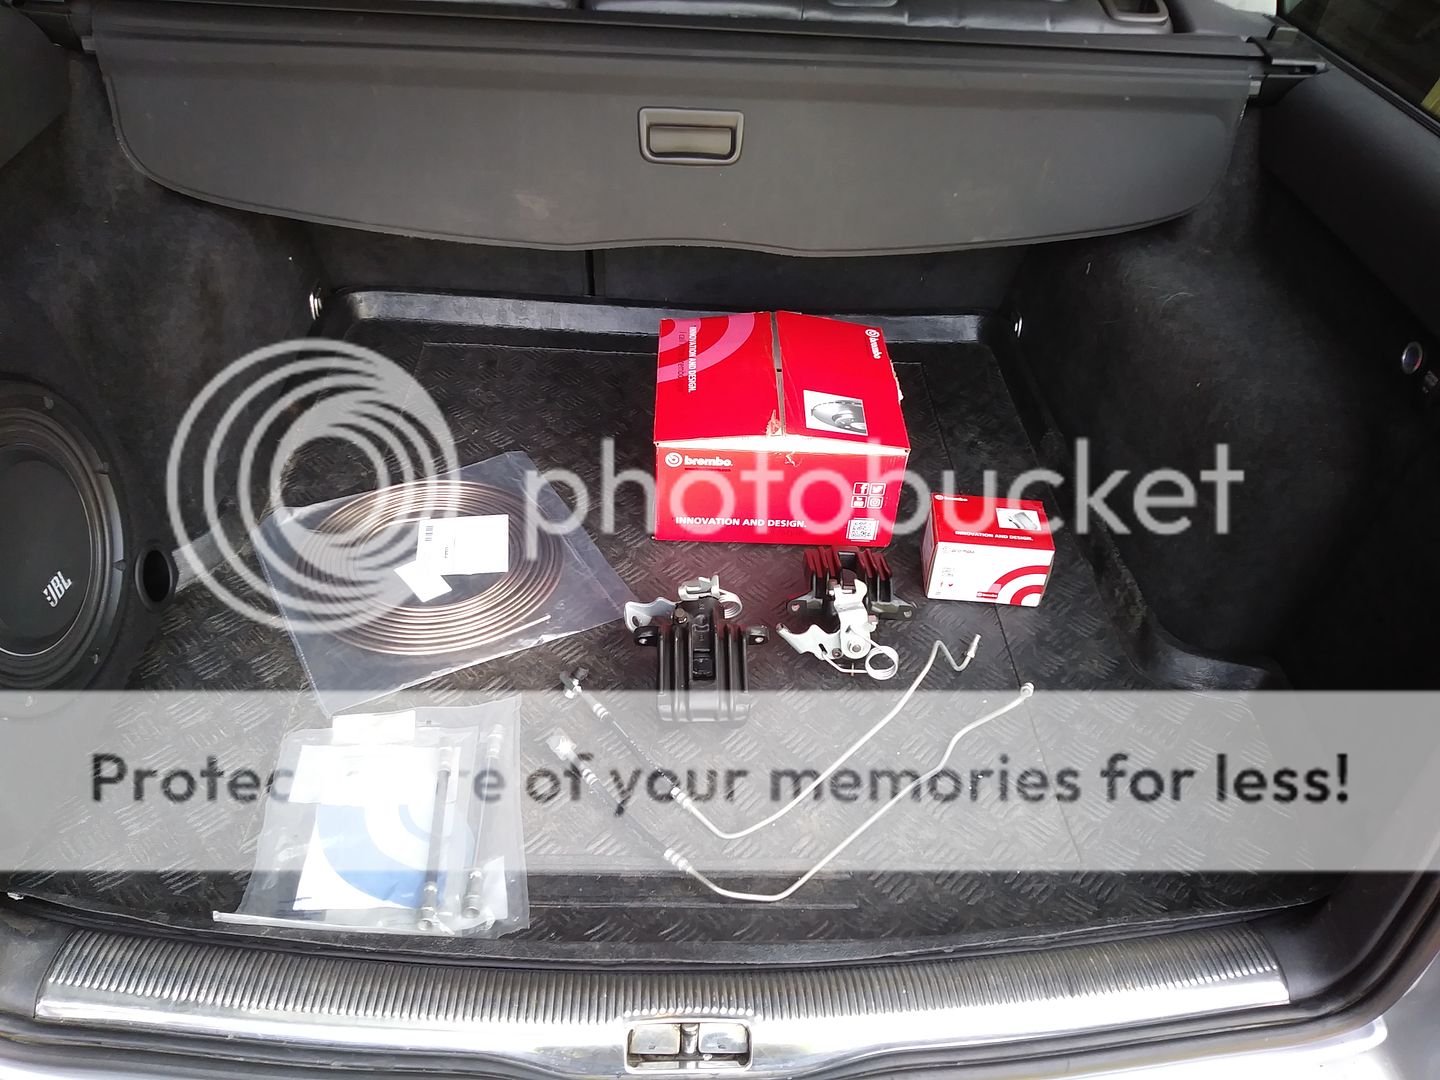
Since I last updated this thread, I acquired a stealth sub set up second hand, which was nice.
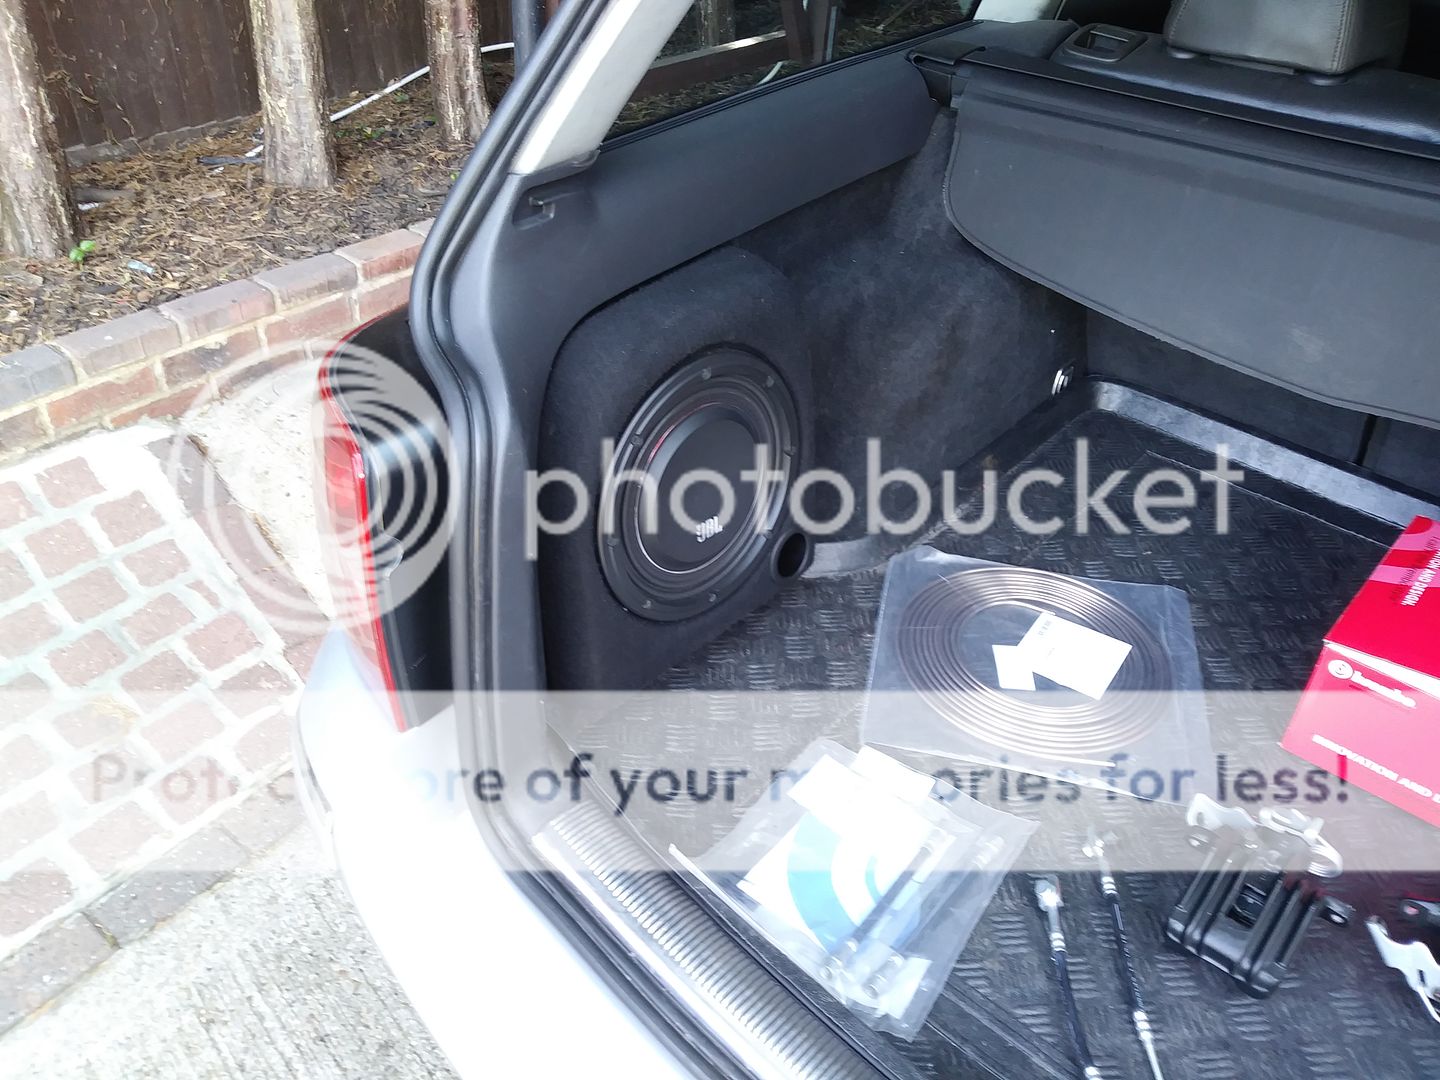
And of course the amplifier

More to follow when I get stuck into the work. Fingers crossed that things that need to come undone, come undone without drama and I don't need to make any brake pipes.
And now I've got the ability to post pictures again, it'd be silly not to. (I'll have a go at filling in some blanks up thread when I have time).
A few of the car in general first, it is still clean and still good.
The old hector itself
Immaculate rear wheel
Immaculate front wheel
Onto the current project which is rear brakes. Here we have a pair of new calipers, pre painted satin black by me, discs, pads, brake pipes and hoses and a roll of Cupro / Kunnifer / Copper Nickle brake pipe just in case things get nasty.
Since I last updated this thread, I acquired a stealth sub set up second hand, which was nice.
And of course the amplifier
More to follow when I get stuck into the work. Fingers crossed that things that need to come undone, come undone without drama and I don't need to make any brake pipes.
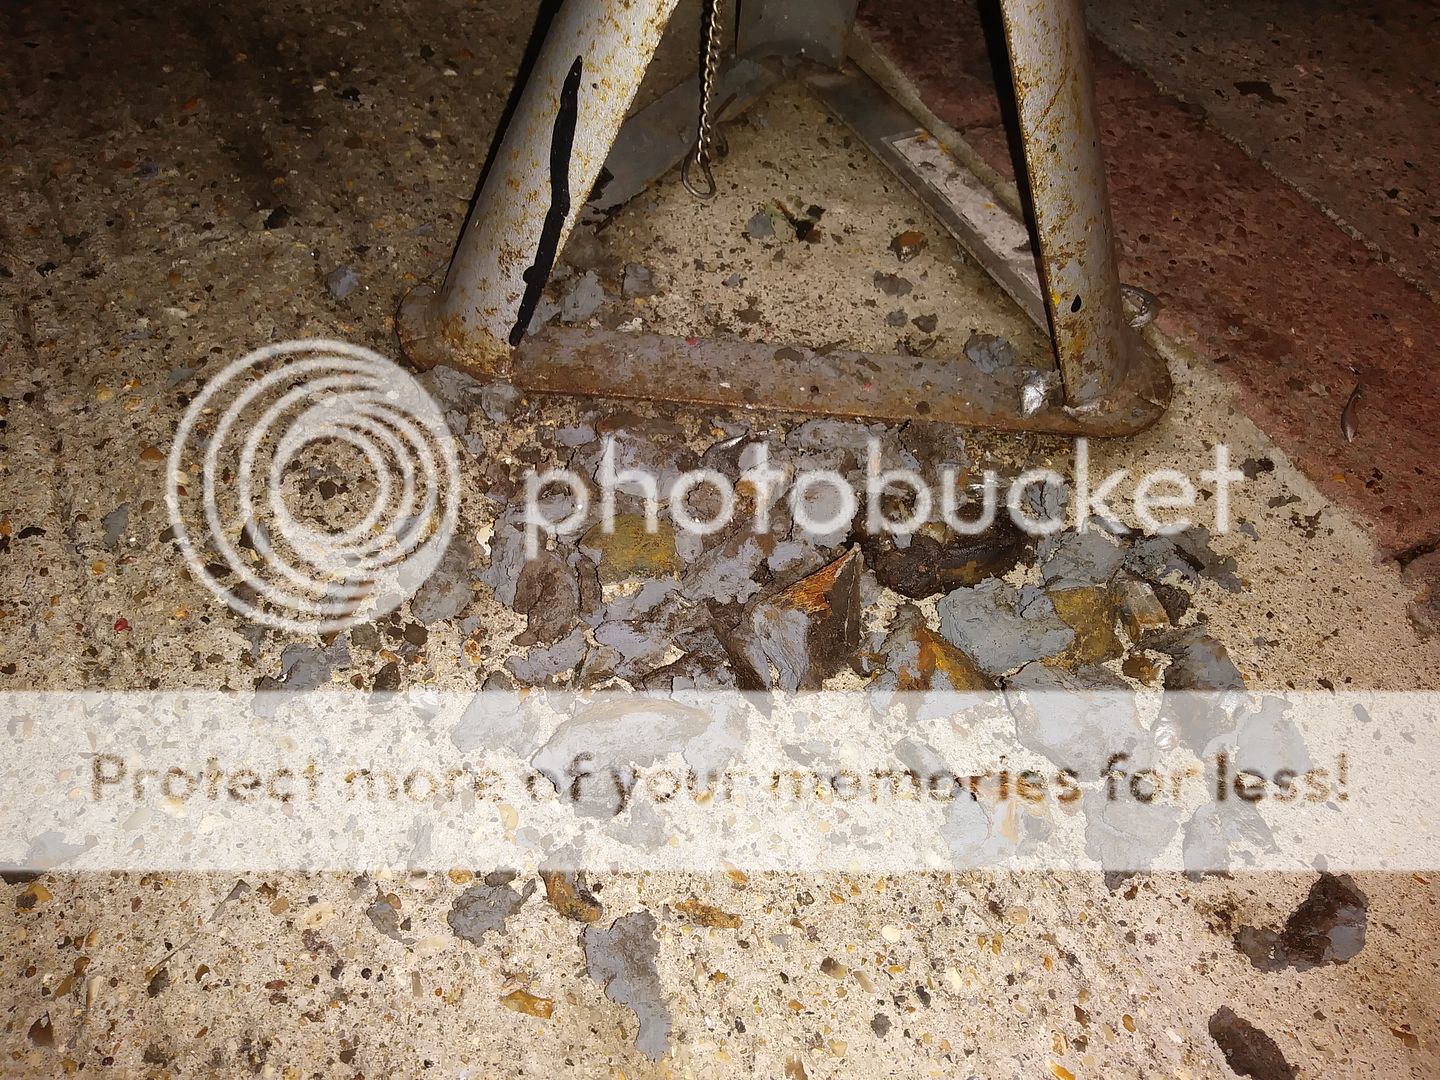
Not rushing, in fact copious squirts of plusgas and waiting for "the pans to soak".
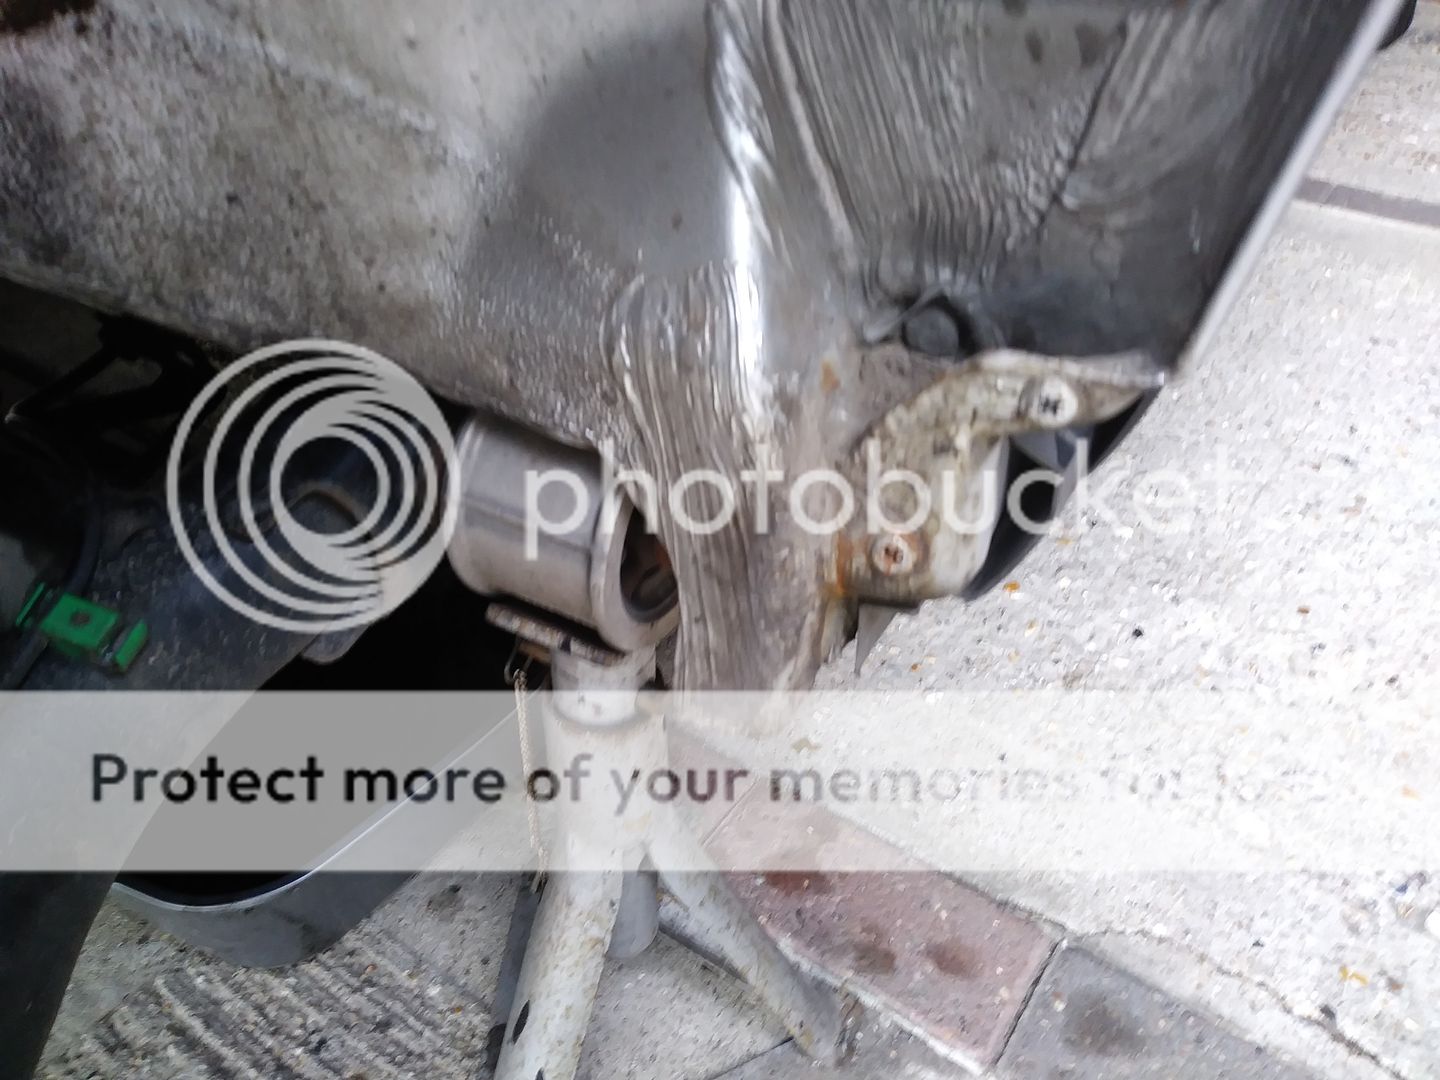
Got the old caliper, main hose/axle brakepipe and flexi hose off.
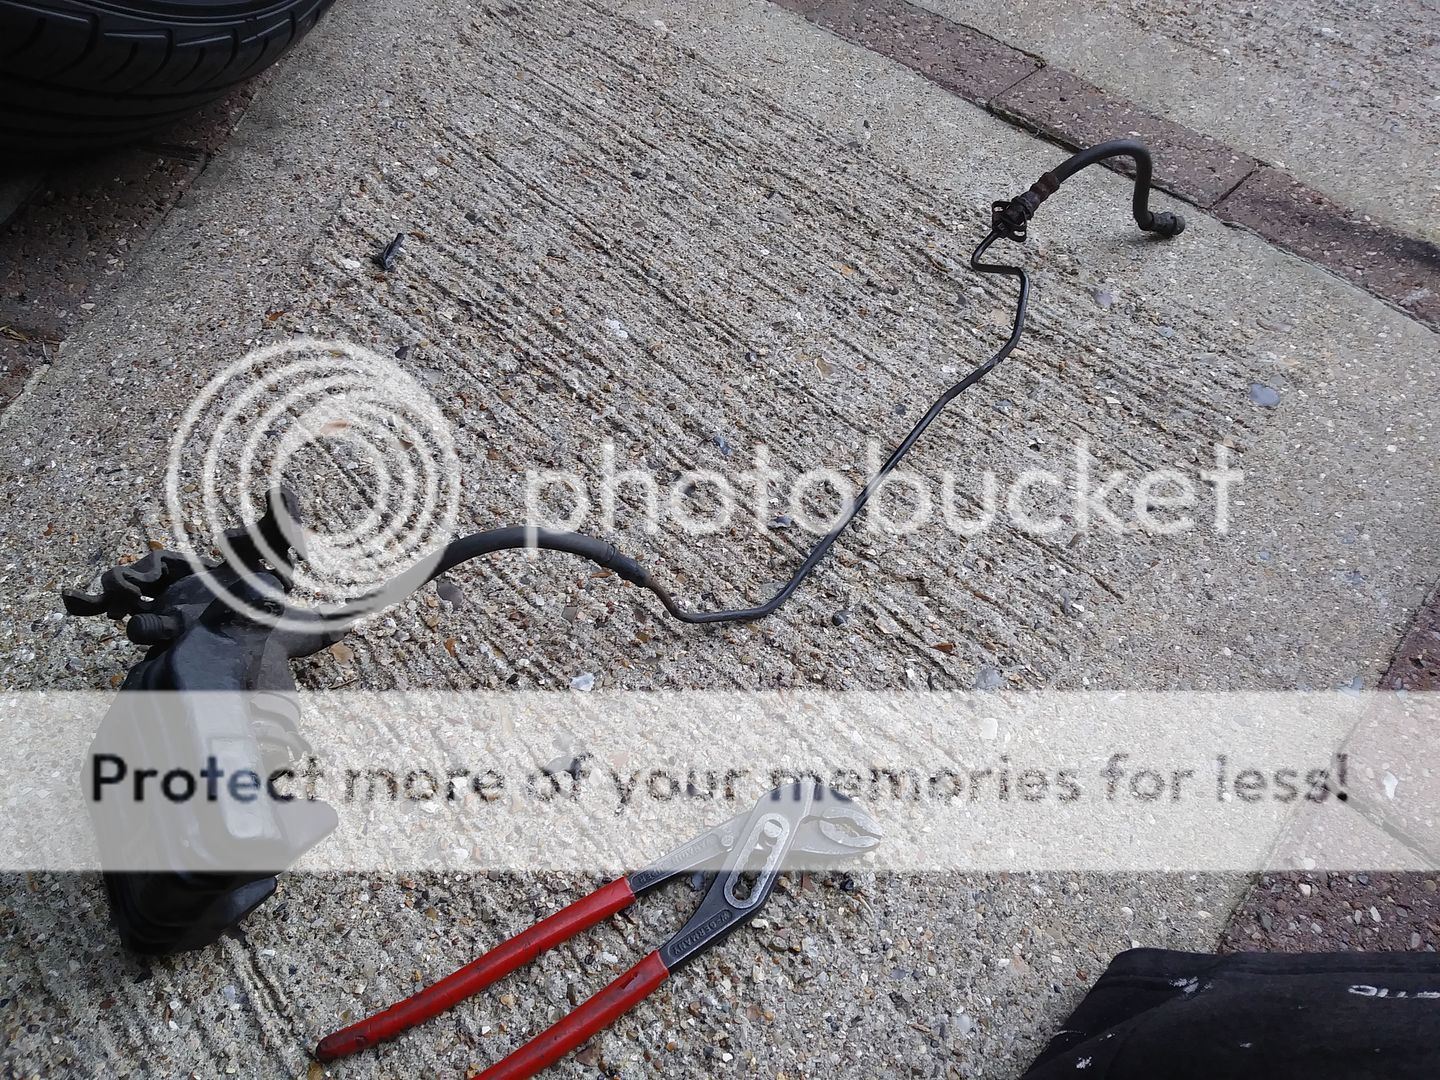
And there is the problem, I'm not sure how but the seal was ripped and water obviously got in and seized it.

New stuff mocked up
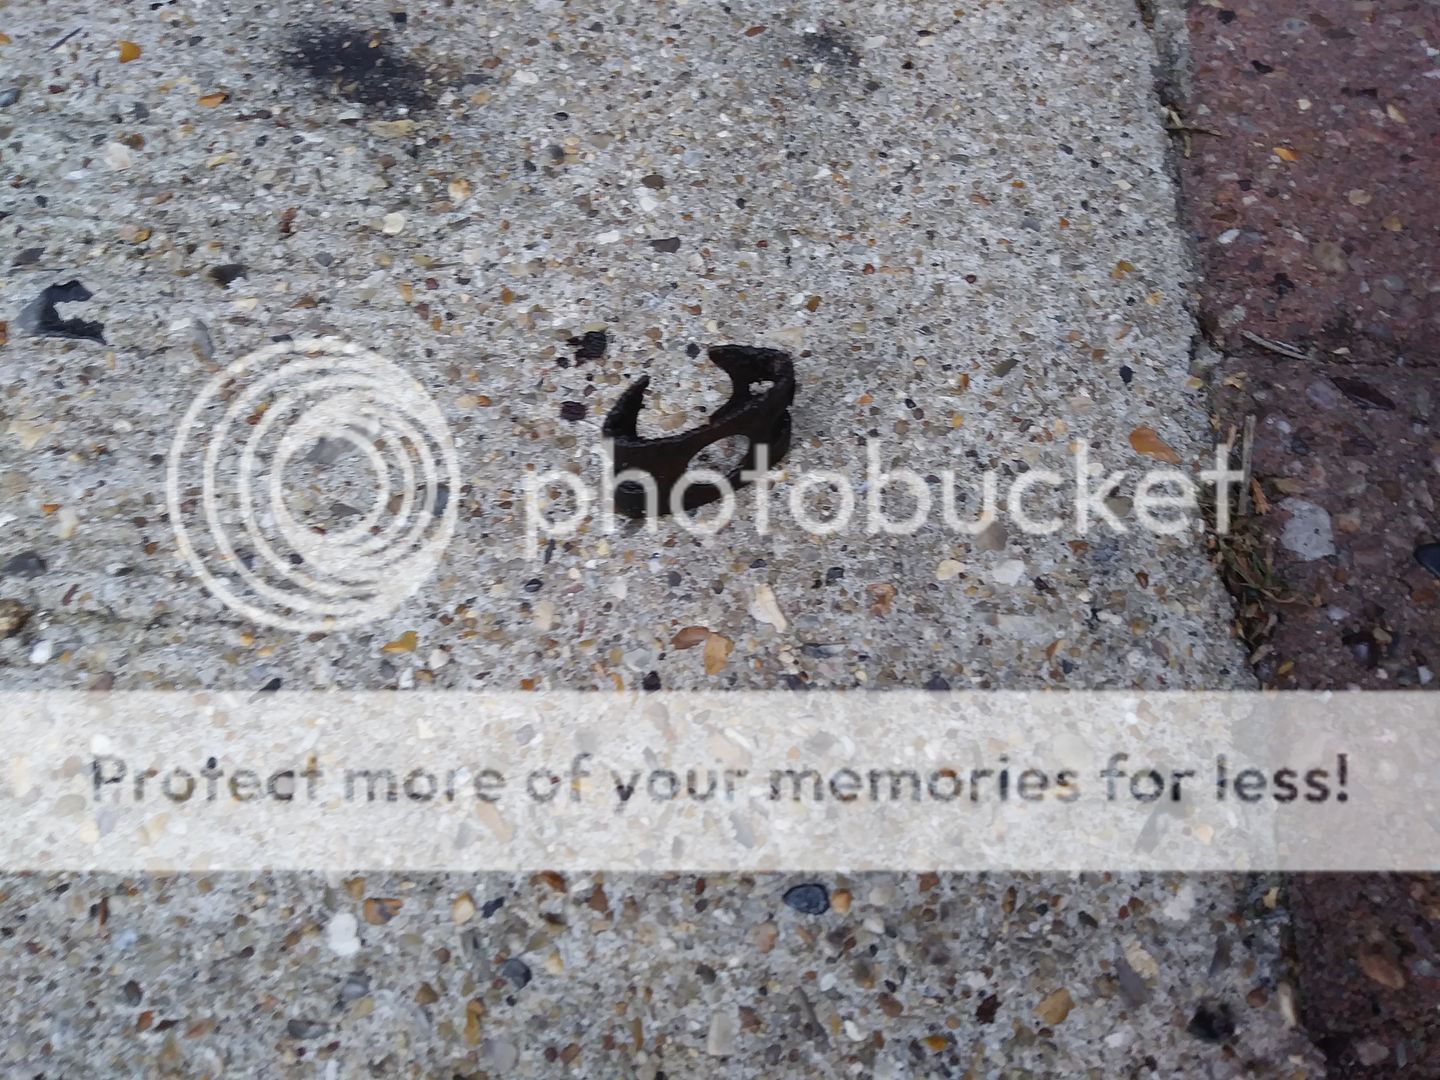
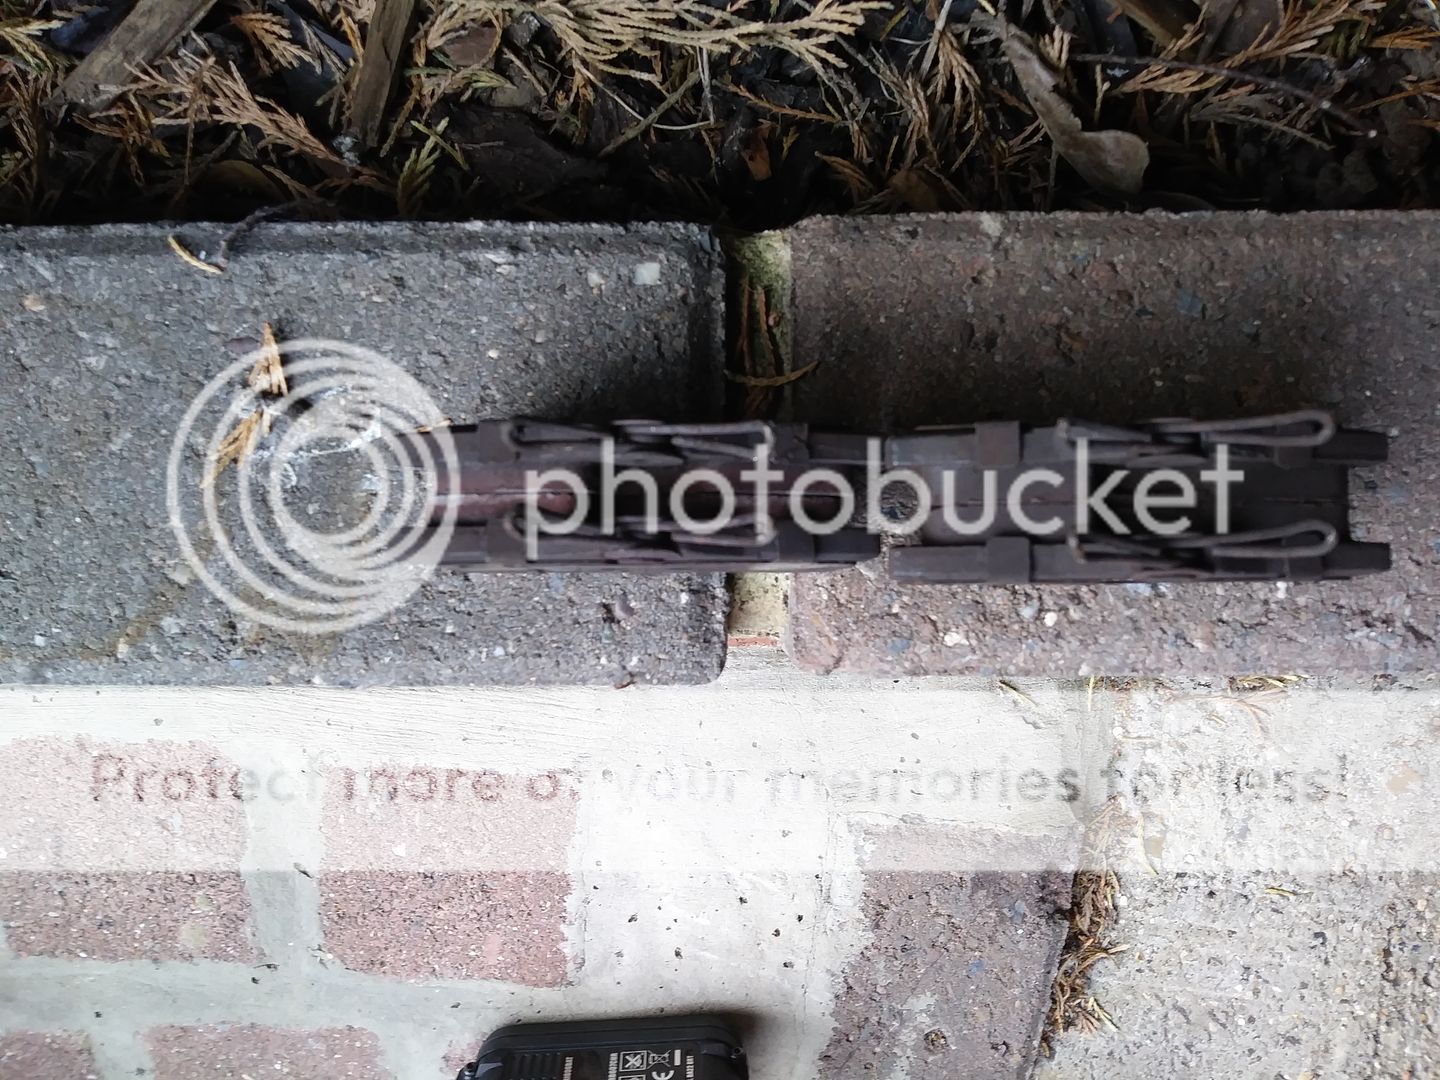
Schoolboy error in piss poor planning. I need four of these clips. I could go full bandit and refit the old rusty ones but that would be a bodge. Hope to get some tomorrow.
Got the old caliper, main hose/axle brakepipe and flexi hose off.
And there is the problem, I'm not sure how but the seal was ripped and water obviously got in and seized it.
New stuff mocked up
Schoolboy error in piss poor planning. I need four of these clips. I could go full bandit and refit the old rusty ones but that would be a bodge. Hope to get some tomorrow.
Good new. The passenger side brake union also undid without issue so there is no need to make any new brake pipes. I'd rather have an unused roll of cupro pipe than the hassle of running new pipes, especially the drivers side one which runs above a heatshield.
Popped into my local VW dealer earlier as well and ordered some of the spring clips for the princely sum of 60p each! I'll collect them tomorrow morning.
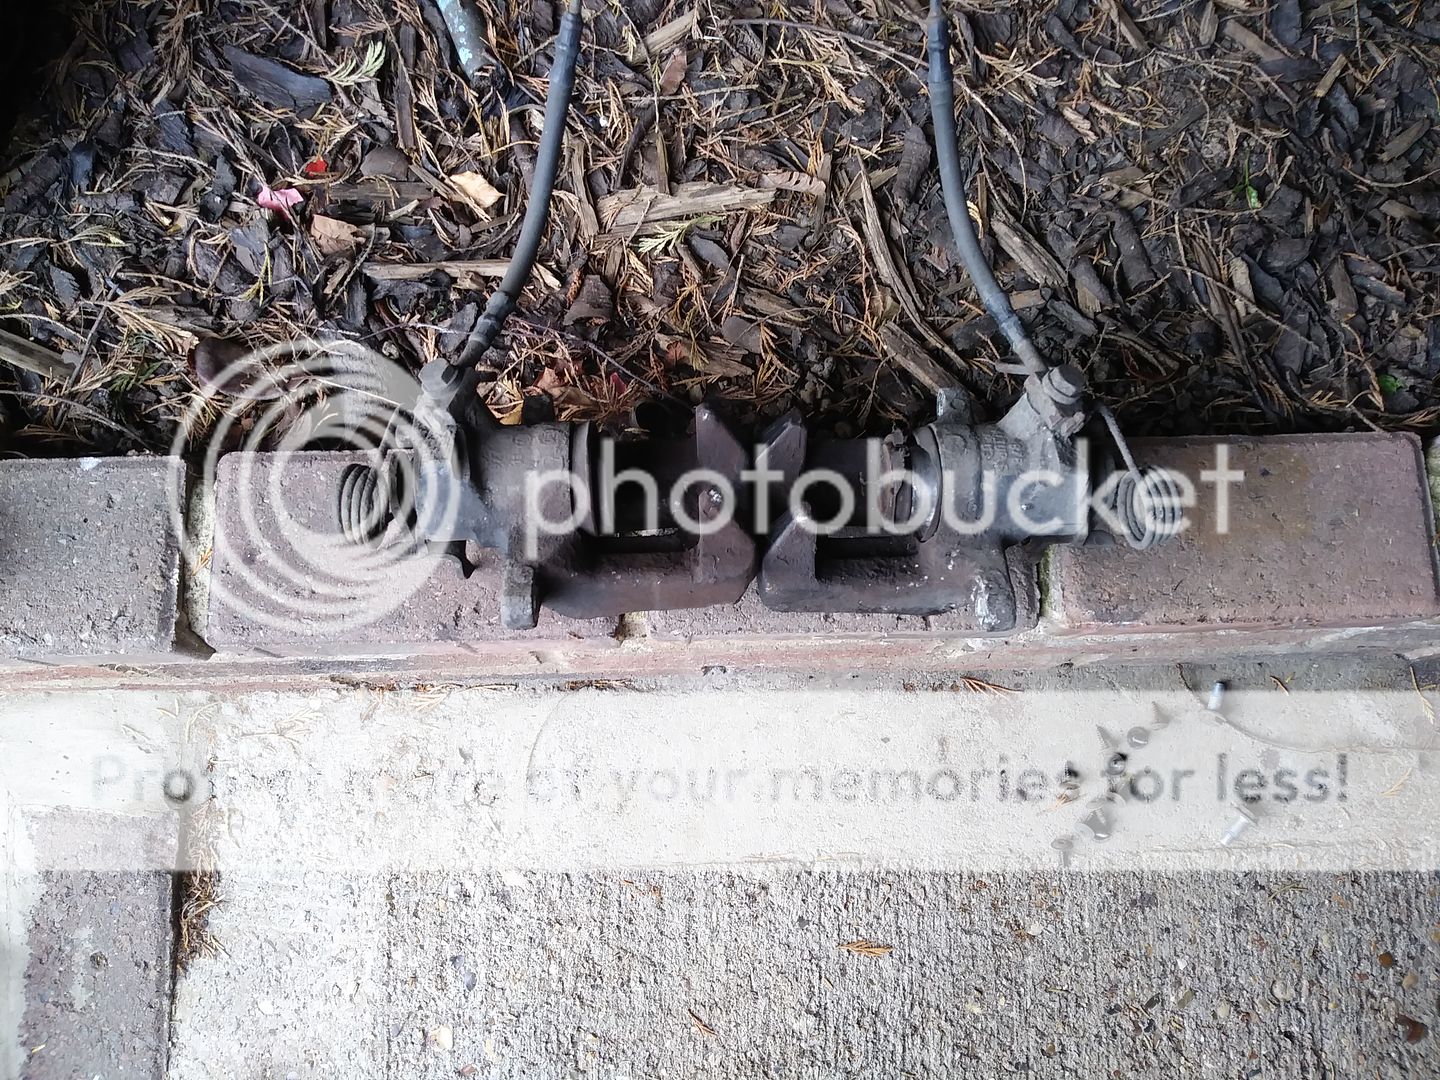
Old calipers, axle brake semi flexi / semi rigid pipes, and main flexi's all off. All will be replaced.
The rear brake pads. The set on the left are those from the binding caliper side, they are about twice as worn as the other side.
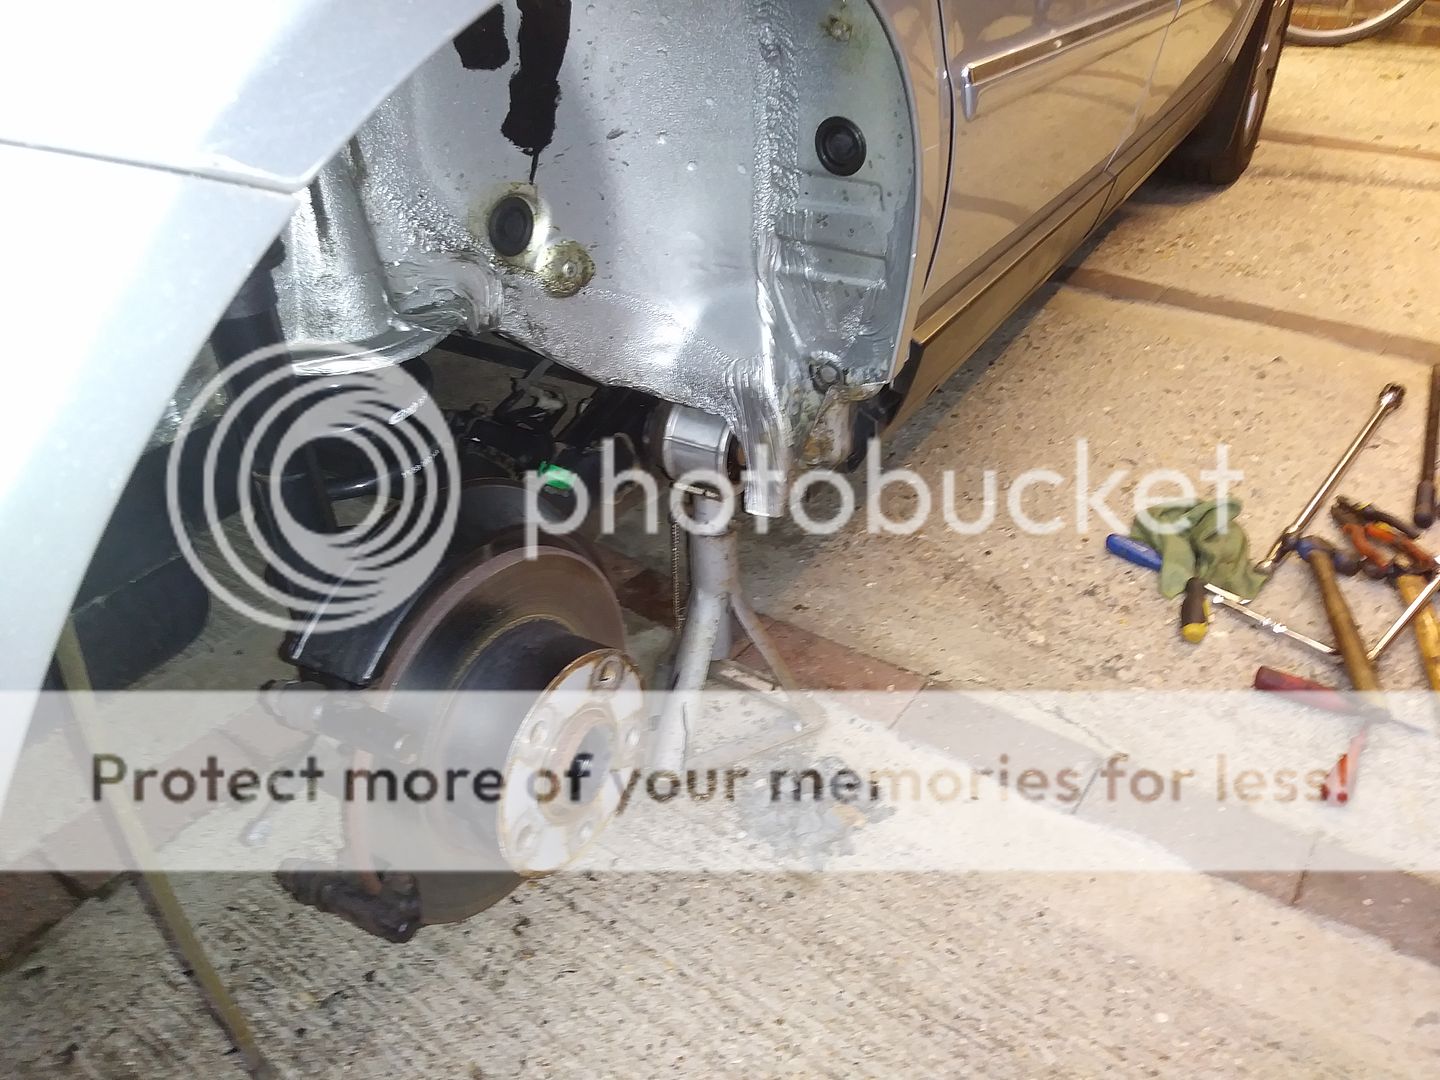
I've taken this opportunity to take the arch liners off and have a look. Things are holding up quite nicely from when I last did this back in 2016 although there are few bits to touch up. There is however a bit more work to do at the drivers side sill end.
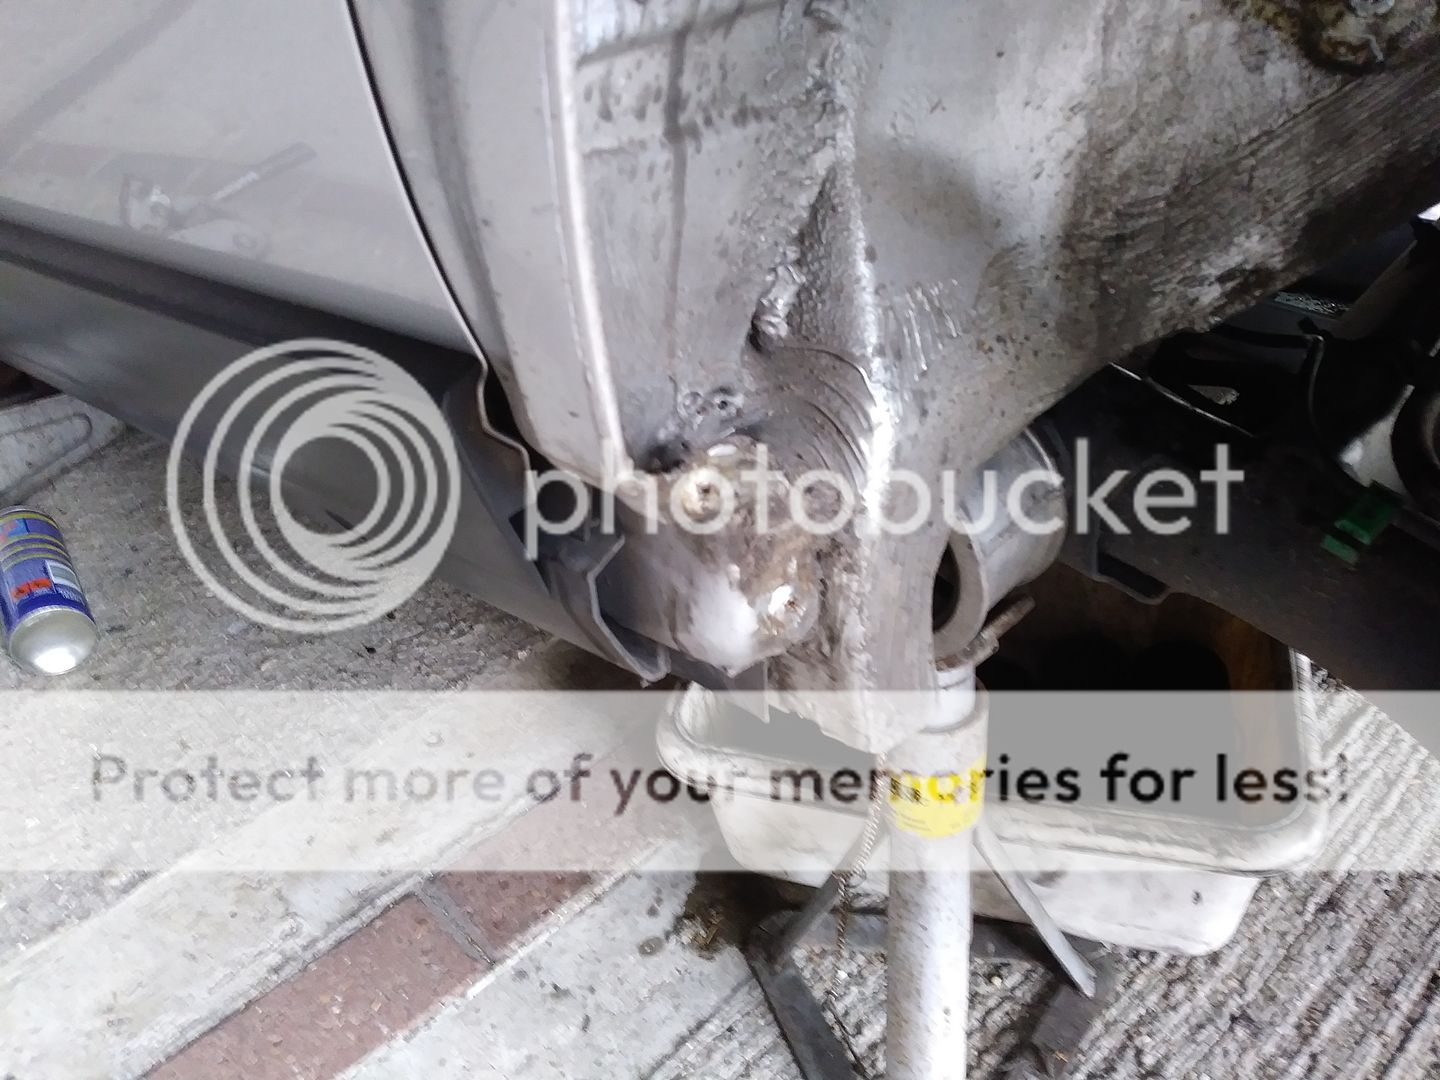
Drivers side sill end, a mud and water trap and some tell tale rust staining.
No such issues on the passenger side except for a bit of surface rust from a sill cover fixing screw.
Touch ups from 2016 doing well
All the work I did cleaning off and painting the suspension components is holding up very well also.

After a quick jet wash that sill end rust looks a bit ominous.
I'll wait for things to dry then get the grinder and cup brush out on the sill end a bit later and touch up with some POR15 paint (my new favourite). I will also give the arch liners a clean.
More to follow...
Popped into my local VW dealer earlier as well and ordered some of the spring clips for the princely sum of 60p each! I'll collect them tomorrow morning.
Old calipers, axle brake semi flexi / semi rigid pipes, and main flexi's all off. All will be replaced.
The rear brake pads. The set on the left are those from the binding caliper side, they are about twice as worn as the other side.
I've taken this opportunity to take the arch liners off and have a look. Things are holding up quite nicely from when I last did this back in 2016 although there are few bits to touch up. There is however a bit more work to do at the drivers side sill end.
Drivers side sill end, a mud and water trap and some tell tale rust staining.
No such issues on the passenger side except for a bit of surface rust from a sill cover fixing screw.
Touch ups from 2016 doing well
All the work I did cleaning off and painting the suspension components is holding up very well also.
After a quick jet wash that sill end rust looks a bit ominous.
I'll wait for things to dry then get the grinder and cup brush out on the sill end a bit later and touch up with some POR15 paint (my new favourite). I will also give the arch liners a clean.
More to follow...
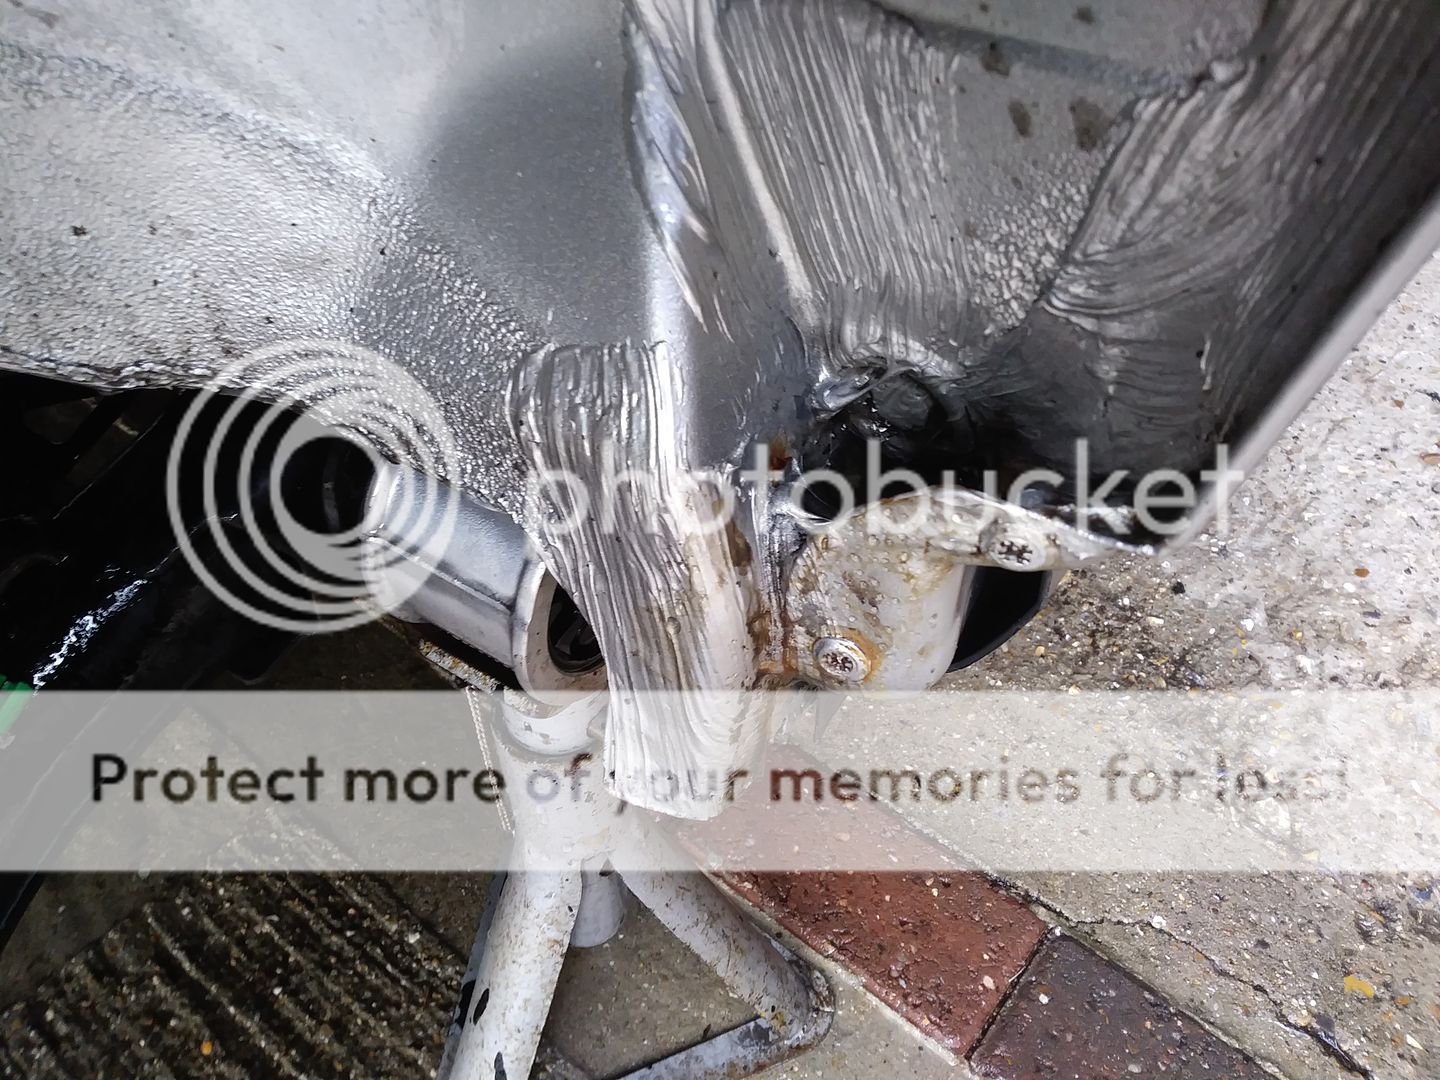
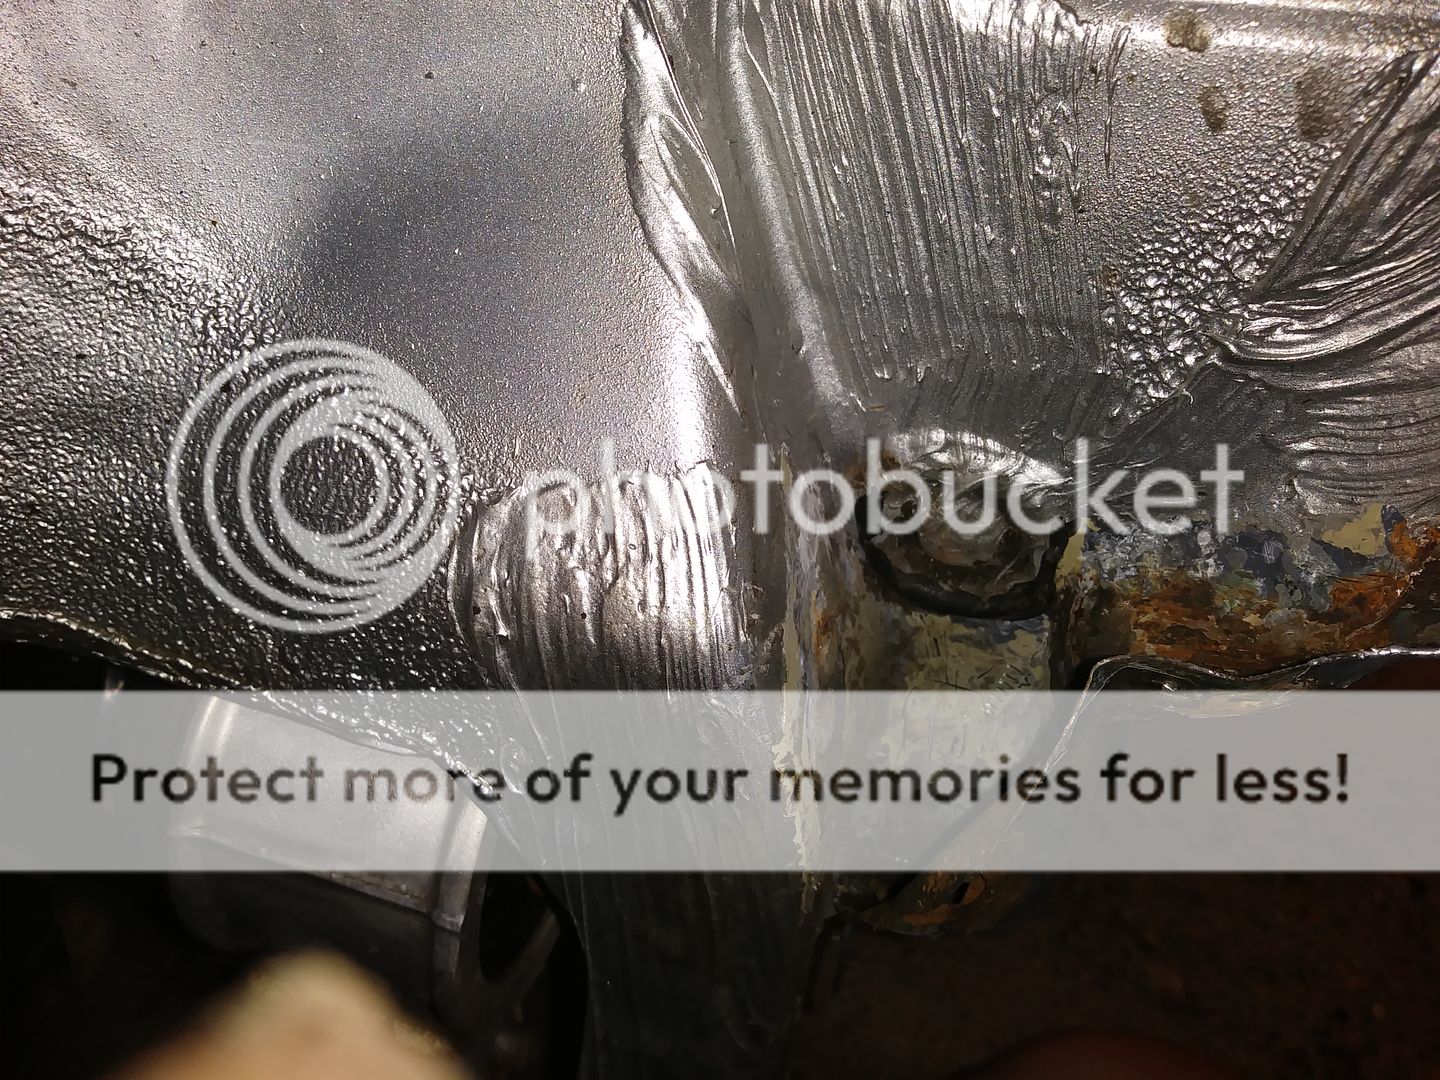
And there is the problem owning an old car that you care about a bit too much. That quick rust job is turning into a bigger one. I've just spent the best part of an hour and a half digging out a block of seam sealer which must have been 40x60x60mm to establish the extent of the rust.
Whilst doing so I've come to the conclusion that sometime in it's life the car been accident damage repaired at that exact point on both sides of the car with the drivers side (this rusty bit) taking the main brunt. I reckon the car had been reversed back too far over a drop and once the back wheels cleared it grounded at this point. When I bought the car there was no visible evidence on this (now rusty) side of any damage but some on the other side, some cracked plastic.
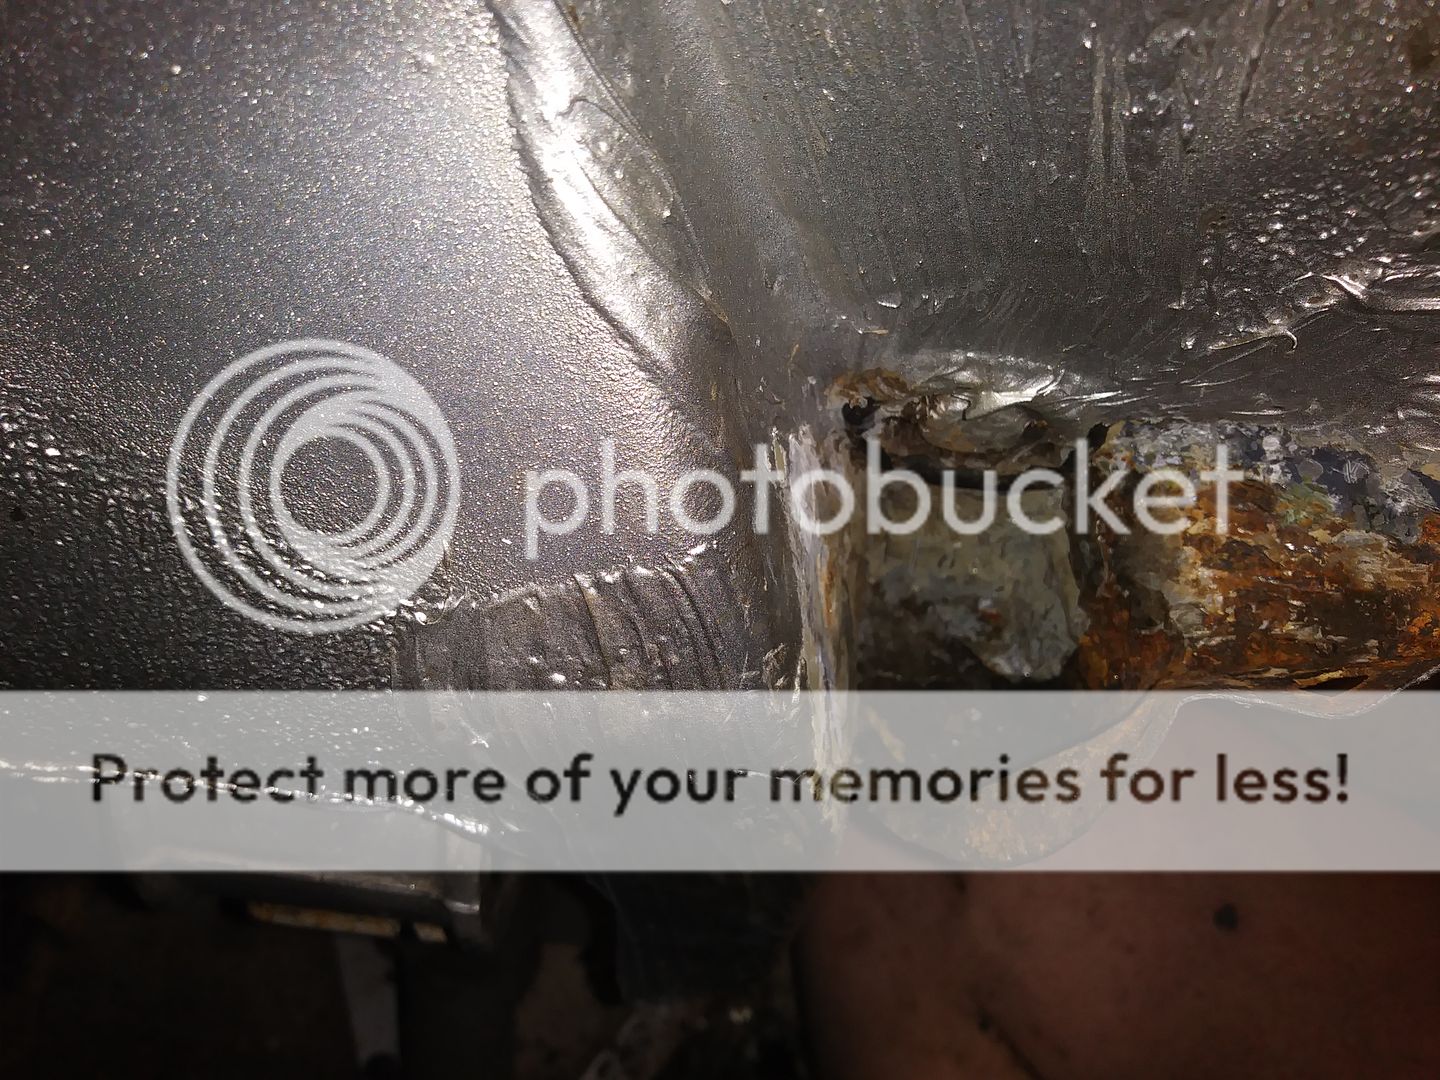
Pictures can say more than words, these are after I'd dug out the seam sealer.
And there is the pile of it painstakingly removed
In this picture you can see where I believe to be the extent of an accident repair with the difference in paint colour. I looked at it from various angles to eliminate "the light" causing it but it is there and the camera picks it up well.
Whilst doing so I've come to the conclusion that sometime in it's life the car been accident damage repaired at that exact point on both sides of the car with the drivers side (this rusty bit) taking the main brunt. I reckon the car had been reversed back too far over a drop and once the back wheels cleared it grounded at this point. When I bought the car there was no visible evidence on this (now rusty) side of any damage but some on the other side, some cracked plastic.
Pictures can say more than words, these are after I'd dug out the seam sealer.
And there is the pile of it painstakingly removed
In this picture you can see where I believe to be the extent of an accident repair with the difference in paint colour. I looked at it from various angles to eliminate "the light" causing it but it is there and the camera picks it up well.
New thread here
https://www.pistonheads.com/gassing/topic.asp?h=0&...
There are simply too many dead photo links for this one to make any sense.
https://www.pistonheads.com/gassing/topic.asp?h=0&...
There are simply too many dead photo links for this one to make any sense.
Gassing Station | Readers' Cars | Top of Page | What's New | My Stuff