MG Midget - My First Classic
Discussion


I had a mint MGBGT in the 80's, and kept it standard except for a stainless steel exhaust and an alloy rocker cover/pancake air filters.
If I had the same car now, I would have probably tweeked the engine, maybe added electric power steering (!) as it was so heavy to park in town !
There is so much you can do these days, either the 'traditional' way or by using modern Throttle Bodies to give you the power increase combined with modern easy starting/drivability.
Enjoying the thread by the way !
Thanks!
I did think about doing some engine upgrades but I've left it standard apart from a stainless exhaust system (not yet fitted) for now as I want to experience a standard car and see how I feel when I'm using it as to whether I modify it or not.

I did think about doing some engine upgrades but I've left it standard apart from a stainless exhaust system (not yet fitted) for now as I want to experience a standard car and see how I feel when I'm using it as to whether I modify it or not.
Straff99 said:
Cleaning the INSIDE of the header tank with a toothbrush? You're a very sad man. Wonderful; keep it up!!
I've not managed to get that much done lately, got a couple more bits fitted in the engine bay;

I tried to copy the brake pipe which runs from the brake distributor thingy on the left hand inner wing to the brake hose on the right hand inner wing.
Trying to copy the intricate curves of a brake pipe, as I've just realised, is not easy at all. I'm sure there is a knack but I've certainly not found it yet and finished the evening with 4' of scrap brake pipe!
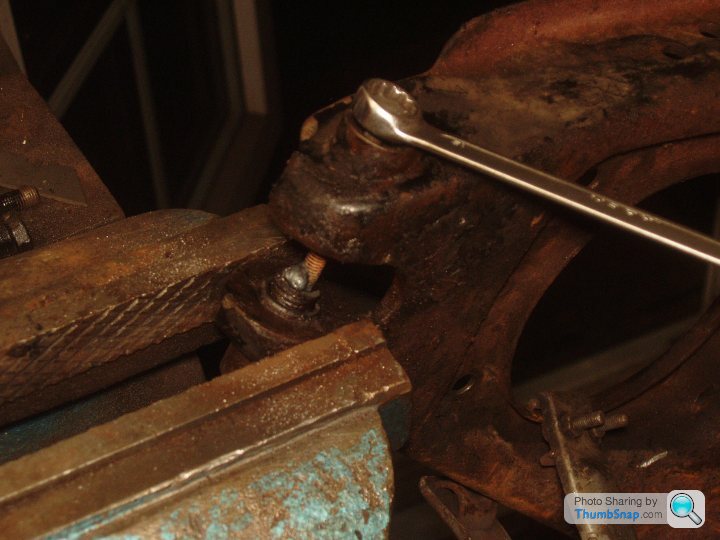
I'm going to give the front suspension and brakes a good refresh, they are all off the car already, but that's not been without its challenges.

The lower fulcrum pin has a slot in one end, behind a screw on cover that was a pain to get undone, but turning it with a big screwdriver and with a big screwdriver with locked spanners on the hex just below the handle, did nothing.
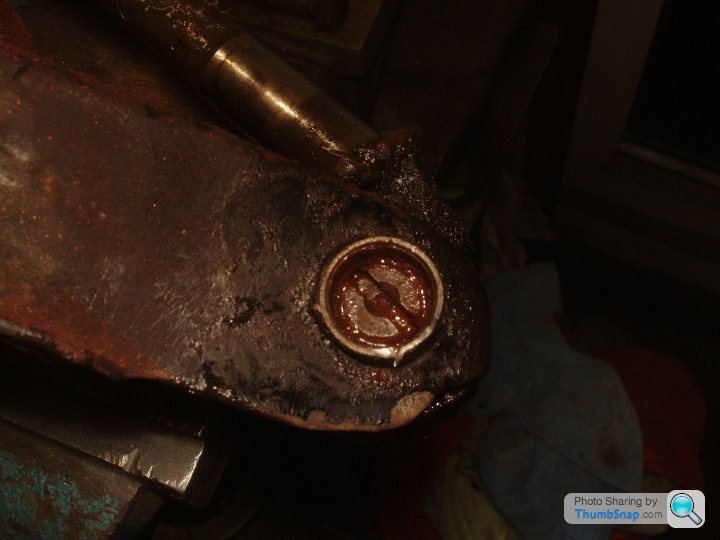
It turned out that the fulcrum pin was seized in the kingpin so the fulcrum pin was cut both sides of the kingpin to release the kingpin from the arm.
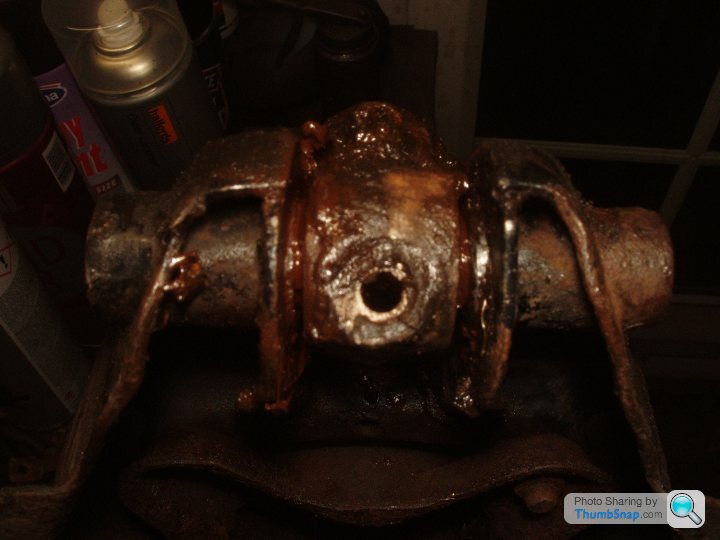
The seized part of the fulcrum pin was pressed out of the kingpin, it took around 3 tons in my press, so I'm not surprised I couldn't undo it with a screwdriver!

The end of the fulcrum pin with the slot came out of the suspension arm easily with a screwdriver.
The other end of the pin doesn't have a slot and is more than finger tight, so I'm not sure yet how I'm going to get this bit out.
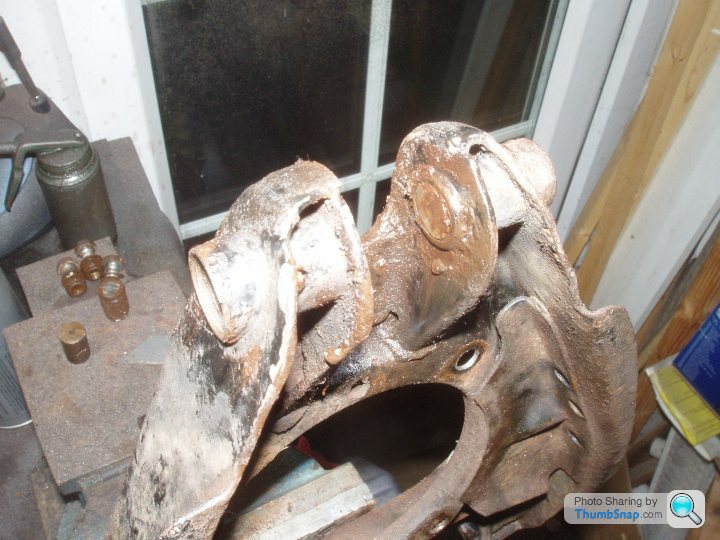
A little challenge for the weekend, perhaps.
I tried to copy the brake pipe which runs from the brake distributor thingy on the left hand inner wing to the brake hose on the right hand inner wing.
Trying to copy the intricate curves of a brake pipe, as I've just realised, is not easy at all. I'm sure there is a knack but I've certainly not found it yet and finished the evening with 4' of scrap brake pipe!
I'm going to give the front suspension and brakes a good refresh, they are all off the car already, but that's not been without its challenges.
The lower fulcrum pin has a slot in one end, behind a screw on cover that was a pain to get undone, but turning it with a big screwdriver and with a big screwdriver with locked spanners on the hex just below the handle, did nothing.
It turned out that the fulcrum pin was seized in the kingpin so the fulcrum pin was cut both sides of the kingpin to release the kingpin from the arm.
The seized part of the fulcrum pin was pressed out of the kingpin, it took around 3 tons in my press, so I'm not surprised I couldn't undo it with a screwdriver!
The end of the fulcrum pin with the slot came out of the suspension arm easily with a screwdriver.
The other end of the pin doesn't have a slot and is more than finger tight, so I'm not sure yet how I'm going to get this bit out.
A little challenge for the weekend, perhaps.
Edited by Martin350 on Friday 17th February 01:54
Just a quick update.
Tinkering time has been sparse, as usual, and I had a couple of weeks where I lost my mojo with it a little after unsuccessfully trying to remove seized suspension pins and stuff, but the other day I got back out there and managed to get things moving again, so there was a little bit of progress and now I'm back on it!
The fulcrum pin I mentioned earlier, and the one from the other side, were removed by welding a long thin bolt to it and unwinding it.
I've also spent quite a few hours dismantling, cleaning and painting some of the other front suspension bits.
And found a good use of a speaker on a shelf indoors, to get the painted parts out of the cold garage to dry / harden.
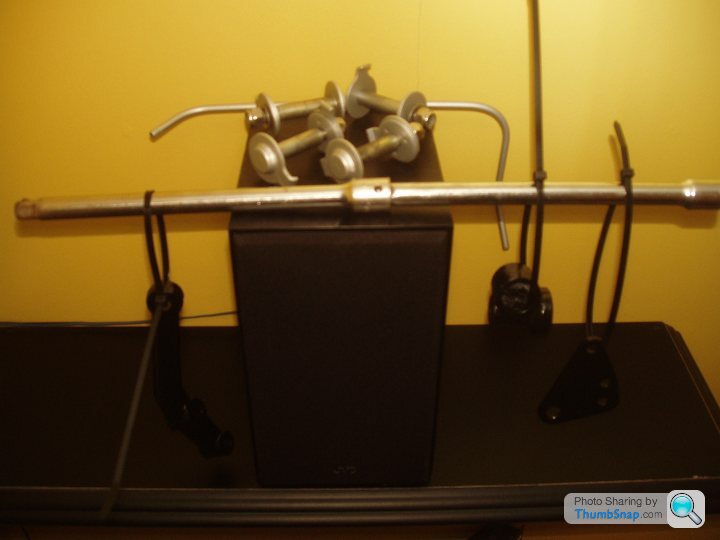
The cable ties on the gaiters of my new steering rack were bugging me, being white, I had to change them to black ones so they don't stand out.

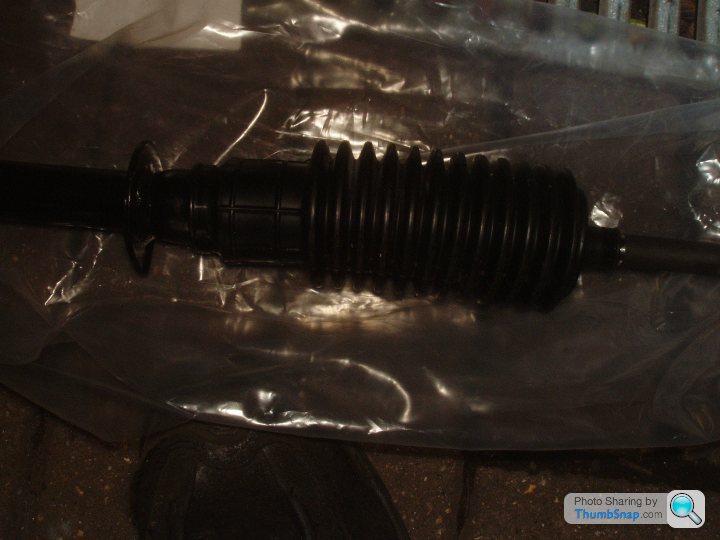
And the rack has been put into place, loosely for now, until I put the column and stuff back in.

I want to de-rust and paint the lower suspension arms, the springs and the brake backplates, but they are really corroded, so I'm considering sending them away to be powder coated.
Tinkering time has been sparse, as usual, and I had a couple of weeks where I lost my mojo with it a little after unsuccessfully trying to remove seized suspension pins and stuff, but the other day I got back out there and managed to get things moving again, so there was a little bit of progress and now I'm back on it!
The fulcrum pin I mentioned earlier, and the one from the other side, were removed by welding a long thin bolt to it and unwinding it.
I've also spent quite a few hours dismantling, cleaning and painting some of the other front suspension bits.
And found a good use of a speaker on a shelf indoors, to get the painted parts out of the cold garage to dry / harden.
The cable ties on the gaiters of my new steering rack were bugging me, being white, I had to change them to black ones so they don't stand out.
And the rack has been put into place, loosely for now, until I put the column and stuff back in.
I want to de-rust and paint the lower suspension arms, the springs and the brake backplates, but they are really corroded, so I'm considering sending them away to be powder coated.
Edited by Martin350 on Saturday 18th March 02:30
Thank you! 
As for the springs, I get what you're saying.
They aren't broken, just a little rusty, and as this was never intended to be a cost-no-object restoration, I'm reluctant to buy new ones.
On the other hand, parts for these cars are so cheap it might not be worth bothering having work done, or even doing work, to the old parts and just get new parts instead.
Apart from the lower suspension arms, they are a bit pricey.
I've got time to ponder and weigh up my options.
I got a few more front hub/suspension parts dismantled and cleaned this evening.
Cool car and well done on doing a proper job!
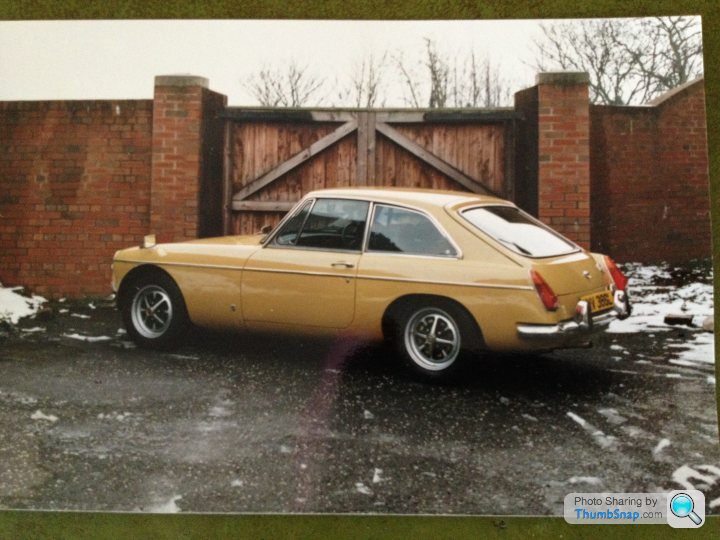
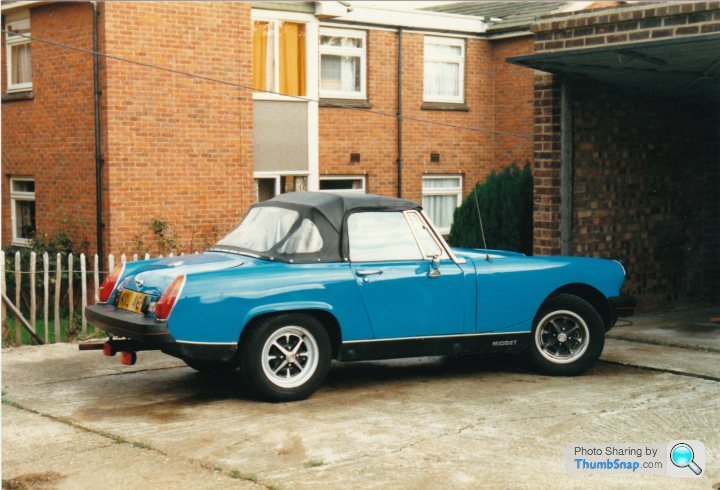
This is my dad's Primrose yellow one. He carried out a full nut and bolt resto over a good few years.
These pics were when it was about 80% done. It's been used regularly the last couple of years.


He's well on with this one now. A 1972 chrome bumper B in teal blue. Sat for 31 years from '81 to 2012.


Anyway keep up the good work. It's a long process but then suddenly it all comes together.
This is a tiny part of the side that you don't think about when doing some fairly major work on a car with very little space to do it in.
My desk at home has looked similar to this for several months now, as I organise buying the new parts, particularly as I'm replacing nuts, bolts, washers etc. with new stainless fixings where possible.

And I'm in a bit of a dilemma with the new brake calipers that I've bought for it (both the old ones had a seized piston and they cost about £72 for a pair of brand new ones!).
They look great, all brand new and that, but I know that it will only be a matter of months before that silver coating will start showing corrosion and begin to look tatty, but painting brand new calipers won't look as nice but will probably preserve a smarter look for longer...

My desk at home has looked similar to this for several months now, as I organise buying the new parts, particularly as I'm replacing nuts, bolts, washers etc. with new stainless fixings where possible.
And I'm in a bit of a dilemma with the new brake calipers that I've bought for it (both the old ones had a seized piston and they cost about £72 for a pair of brand new ones!).
They look great, all brand new and that, but I know that it will only be a matter of months before that silver coating will start showing corrosion and begin to look tatty, but painting brand new calipers won't look as nice but will probably preserve a smarter look for longer...


Good work OP and nice colour on that one, Sticks.
I have a Midget 1500 that was my first car, bought in 1997. It was a pretty rough example and broke down a fair bit but I love it (and sometimes it fixed itself!).
It had a full resto/upgrade in 2004 and was my daily driver until 2007 when I finally relented and bought something more sensible for the commute. 9 Scottish winters in it and many memories!
It's now looking slightly sorry for itself and neglected but aiming to change that this year and your thread is inspiring me to get the few small issues with it sorted so I can use it again!
Even if it was worth something I doubt I'd ever sell it. It would be like selling a limb!
Here it is shortly after the resto - Stage 2 'fast road' spec engine, Type 9 'box, debumpered and lowered a tad. Has since had another engine rebuild and overbore (long story)...

AW111 said:
Check the temperature rating of the paint before spraying the calipers.
Will do! Progress has been slow, as usual, but I'm pleased about getting one little thing done this evening that I've failed at before, then failed again, and now just about done.
It's the side to side front brake pipe, and the (much easier) small pipe from the brake distributor thingy to the left hand front flexi hose.
It is such an utter arse of a job to get all the bends right so the pipe fits without touching anywhere it shouldn't, there must be a knack to it..?
(They are just laid in place for the photo as I haven't trimmed and flared the ends yet).
And that's another thing.
My (not particularly good) flaring tool doesn't seem to like the copper nickel pipe I'm using and I can't grip it hard enough to prevent it slipping back so not making a good flare.
Time for a new and better flaring tool, I think.

Edited by Martin350 on Thursday 6th April 01:59
Such a nice car. I was into Spitfires for a few years (as I prefer their look) and never had any issues with the 1500 engine. As has been said, just use decent oil and an electronic ignition kit works wonders. I used Halfords Classic mineral oil myself and always found it ideal for older engines where the tolerances might be a little greater.
Anyway, looking forward to seeing this on the road soon.
Anyway, looking forward to seeing this on the road soon.
Gassing Station | Readers' Cars | Top of Page | What's New | My Stuff