VW Transporter Day Van Conversion
Discussion


economicpygmy said:
Bookmarked as Im thinking of doing something similar. Whats involved in getting it classifed as a camper for the higher speed limits? I thought the most cost effective way would be buy a van given I dont want everything and the kitchen sink (  ). Dare I ask how much it was?
We looked at buying a Transporter or Caravelle - but they're very much commercial vehicles, no matter what specification you go for. ). Dare I ask how much it was? They also look expensive for what you actually get - so we turned to looking at Bongos, ended up gravitating towards Elgrands and Alphards - bought the latter and put a simple rear kitchen in it with split charger etc.
neilbauer said:
How well can you get the bumpers colour coded? Seen a few nightmares where tha plaint flakes off!
I've taken them to a guy who was recommended on the T5 forum. I'm not an expert but it's all in the prep and the use of proper materials. They'll be getting sanded smooth, plastic primed, high build primer then smoothed again before colour so I'm hoping for a good result.In either case I'll put them up here for judgement.
economicpygmy said:
Bookmarked as Im thinking of doing something similar. Whats involved in getting it classifed as a camper for the higher speed limits? I thought the most cost effective way would be buy a van given I dont want everything and the kitchen sink ( ). Dare I ask how much it was?
AFAIK you will need to fit a bed, hob, sink and portaloo before they will consider it a camper. I think it also has to look like a canper from the outside. Assuming the work has been done it's not too onerous to get it registered just a form along with photos of the interior and exterior. ). Dare I ask how much it was? I paid £6k hoping to get all the work done I want for less than 2k, probably unlikely.
ChocolateFrog said:
neilbauer said:
How well can you get the bumpers colour coded? Seen a few nightmares where tha plaint flakes off!
I've taken them to a guy who was recommended on the T5 forum. I'm not an expert but it's all in the prep and the use of proper materials. They'll be getting sanded smooth, plastic primed, high build primer then smoothed again before colour so I'm hoping for a good result.In either case I'll put them up here for judgement.
I'll look forward to seeing the results and I'm sure it'll help loose the builder van look that rubber bumpers give.
Looking forward to the updates

ChocolateFrog said:
AFAIK you will need to fit a bed, hob, sink and portaloo before they will consider it a camper. I think it also has to look like a canper from the outside. Assuming the work has been done it's not too onerous to get it registered just a form along with photos of the interior and exterior.
I paid £6k hoping to get all the work done I want for less than 2k, probably unlikely.
Here's the full specification:I paid £6k hoping to get all the work done I want for less than 2k, probably unlikely.
 a door that provides access to the living accommodation
 a bed, which has a minimum length of 1800mm or 6 feet. This can be converted from seats used
for other purposes during the day but must be permanently fixed within the body of the vehicle
 a water storage tank or container on, or in, the vehicle
 a seating and dining area, permanently attached to the vehicle. The table may be detachable but
must have some permanent means of attachment to the vehicle. It is not good enough to have a
loose table
 a permanently fixed means of storage, a cupboard, locker or wardrobe
 a permanently fixed cooking facility within the vehicle, powered by gas or electricity
 at least one window on the side of the accommodation
Edited by Trabi601 on Monday 20th February 18:27
Got a few more hours in today.
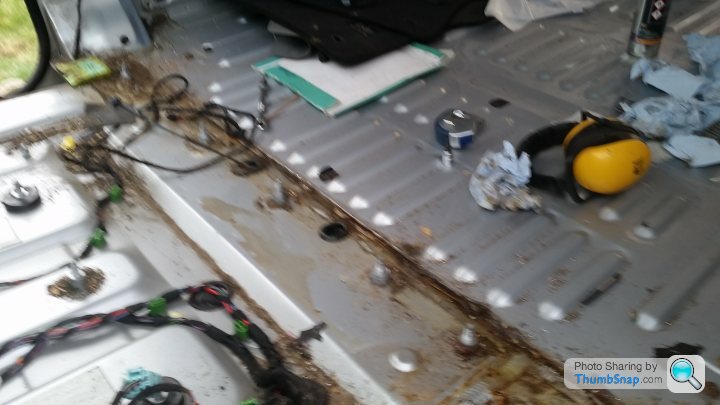
I removed the drivers seat in order to Strip down the A pillar ready for carpeting. Before that happens the last of the bracketry for the bulkhead needs to come out.
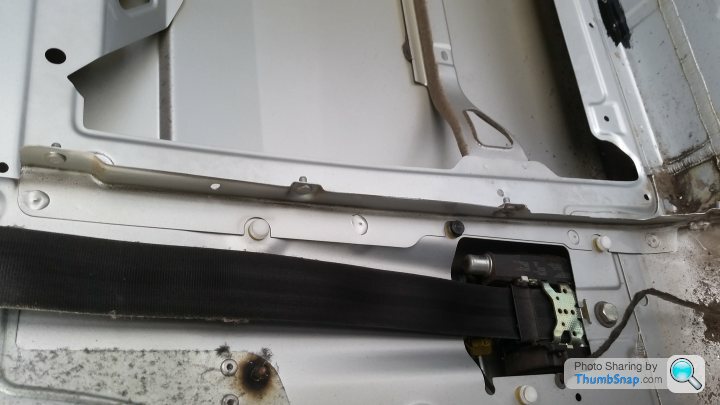
The brackets are plug welded on so I had to drill them out, probably about half an hour each side. Once out I dressed the panel and gave it a coat of etch primer.
Then moved onto tackling the rust by the sliding door as it had been bugging me. It looked like this initially.

Combination of emery paper, wire brush and flap disc on my angle grinder had it looking like this

Much better.
As that area sits under a plastic step a colour match wasn't important so it was on with a coat of POR15, which is thick enough that the imperfect steel was hidden nicely.

Also managed to sand down the inner wheel arches and give them a second skim. I'll get some pictures up once they're finished.
Hopefully one more day will have the internal bodywork up to scratch and progress will be a little quicker.
Edit to add. Not sure why the first 2 pictures have decided to rotate anti-clockwise.
I removed the drivers seat in order to Strip down the A pillar ready for carpeting. Before that happens the last of the bracketry for the bulkhead needs to come out.
The brackets are plug welded on so I had to drill them out, probably about half an hour each side. Once out I dressed the panel and gave it a coat of etch primer.
Then moved onto tackling the rust by the sliding door as it had been bugging me. It looked like this initially.
Combination of emery paper, wire brush and flap disc on my angle grinder had it looking like this
Much better.
As that area sits under a plastic step a colour match wasn't important so it was on with a coat of POR15, which is thick enough that the imperfect steel was hidden nicely.
Also managed to sand down the inner wheel arches and give them a second skim. I'll get some pictures up once they're finished.
Hopefully one more day will have the internal bodywork up to scratch and progress will be a little quicker.
Edit to add. Not sure why the first 2 pictures have decided to rotate anti-clockwise.
Edited by ChocolateFrog on Tuesday 21st February 18:25
Trabi601 said:
Here's the full specification:
? a door that provides access to the living accommodation
? a bed, which has a minimum length of 1800mm or 6 feet. This can be converted from seats used
for other purposes during the day but must be permanently fixed within the body of the vehicle
? a water storage tank or container on, or in, the vehicle
? a seating and dining area, permanently attached to the vehicle. The table may be detachable but
must have some permanent means of attachment to the vehicle. It is not good enough to have a
loose table
? a permanently fixed means of storage, a cupboard, locker or wardrobe
? a permanently fixed cooking facility within the vehicle, powered by gas or electricity
? at least one window on the side of the accommodation
I got mine re-registered without the fixed table, but the woman I spoke to before sending off my stuff said basically they look for most of these, however if you don't have them all but it's obvious to them that you intend to use it as a camper and not return it to van use at any point then they'll pass it.? a door that provides access to the living accommodation
? a bed, which has a minimum length of 1800mm or 6 feet. This can be converted from seats used
for other purposes during the day but must be permanently fixed within the body of the vehicle
? a water storage tank or container on, or in, the vehicle
? a seating and dining area, permanently attached to the vehicle. The table may be detachable but
must have some permanent means of attachment to the vehicle. It is not good enough to have a
loose table
? a permanently fixed means of storage, a cupboard, locker or wardrobe
? a permanently fixed cooking facility within the vehicle, powered by gas or electricity
? at least one window on the side of the accommodation
Edited by Trabi601 on Monday 20th February 18:27
Edited by Mark Benson on Wednesday 22 February 09:03
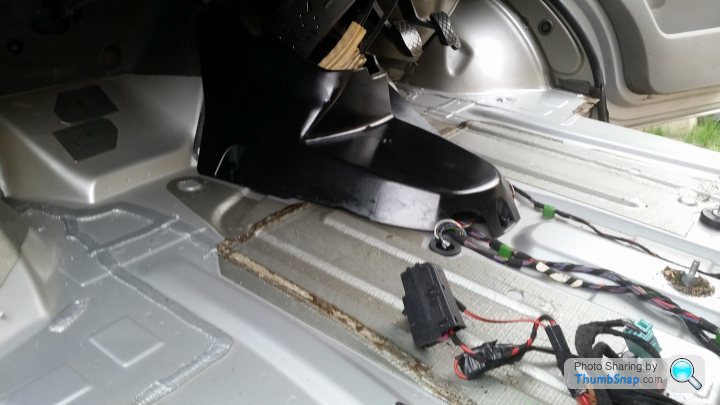
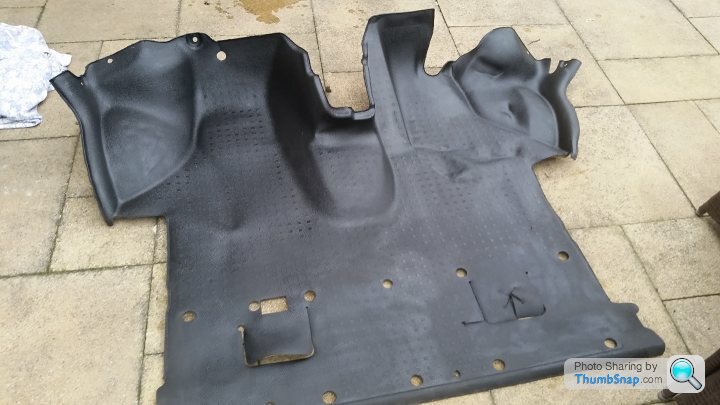
Not much done today. Wanted to remove the cab floor to check it's condition and sound proof where possible. It involved dismantling the lower half of the dash which resulted in a small pile of trim.
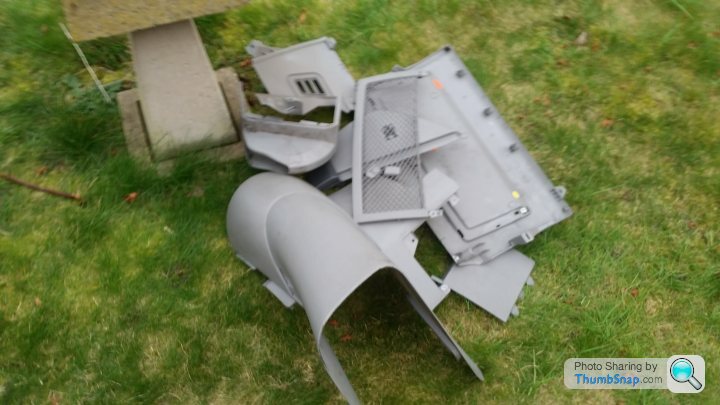
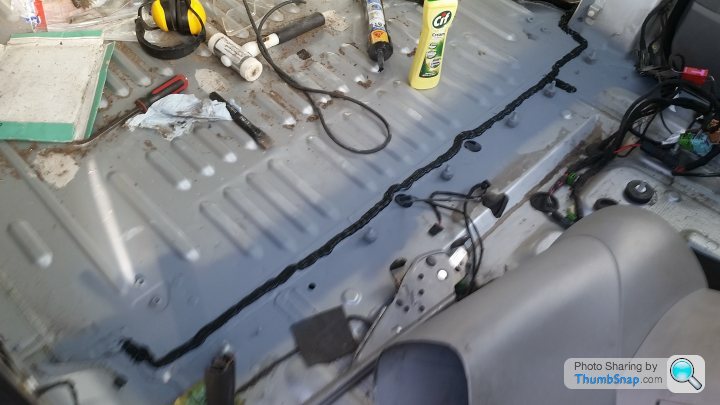
There's a couple of cheeky hidden screws but luckily didn't break anything. With the liner removed I could inspect the floor, which is in good condition.
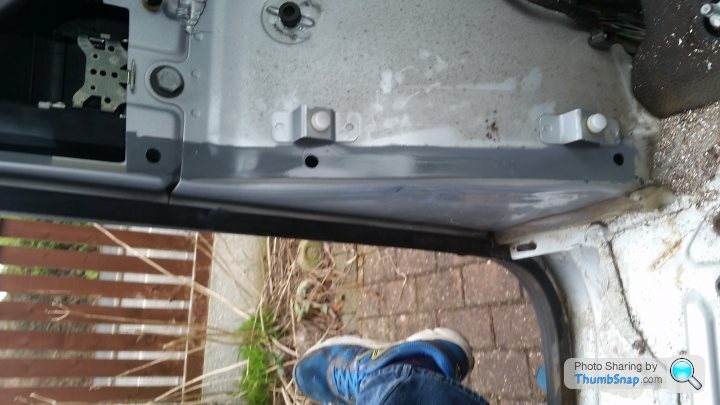
This gave me good access to dress that rusty seam in the picture below
It's now been ground back, etch primed and seam sealer reapplied.
In other news the carpets arrived today along with a caravelle rear threshold and side step. The pile of bits is rather alarming.
There's a couple of cheeky hidden screws but luckily didn't break anything. With the liner removed I could inspect the floor, which is in good condition.
This gave me good access to dress that rusty seam in the picture below
It's now been ground back, etch primed and seam sealer reapplied.
In other news the carpets arrived today along with a caravelle rear threshold and side step. The pile of bits is rather alarming.
Edited by ChocolateFrog on Wednesday 22 February 19:01
5ohmustang said:
How come it has so much rust for a relatively new van?
What kind of mpg will it get on cruise at 70mph?
How rare is the 4motion version?
It is only surface rust. The underneath looks very clean bar the front cross member which I'll clean up. The rust I think is from a damaged door seal by the sliding door and where the bulkhead was welded after it went through the galvanising process. I seen pictures and others look similar.What kind of mpg will it get on cruise at 70mph?
How rare is the 4motion version?
I bet most commercial converters just cover it up but I wanted to know it was all sound before laying the floor.
Rain and wind stopped any play today, realised lining the crankshaft sprocket up without any timing marks could prove troublesome, VW were useless for the special tool and nowhere stocked the Laser equivalent so gave up for the day.
One picture of the bit I finished yesterday
Excuse the mess!
One picture of the bit I finished yesterday
Excuse the mess!
A fairly productive day.
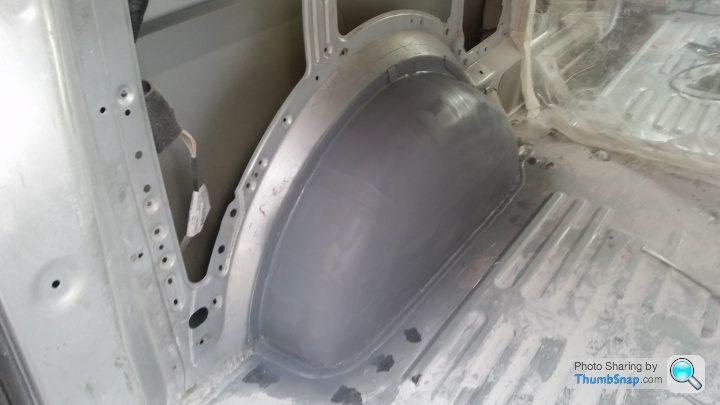
Finished off the wheel arches, gave them a sand and coat of etch primer. Not perfect but good enough that it should look fine under the carpet.
Then tackled the cambelt and associated pulleys along with the water pump and a coolant flush. Glad I did as it didn't look great.
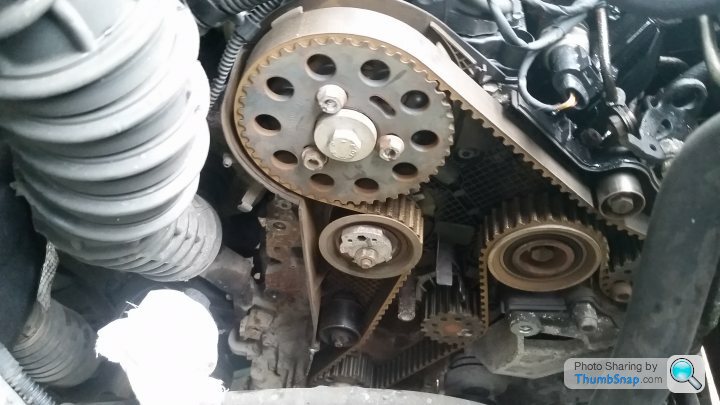
No pictures of it going back together but it felt good replacing worn out parts. The old belt had stretched to end of the tensioner. It actually sounds smoother now, probably just a placebo.
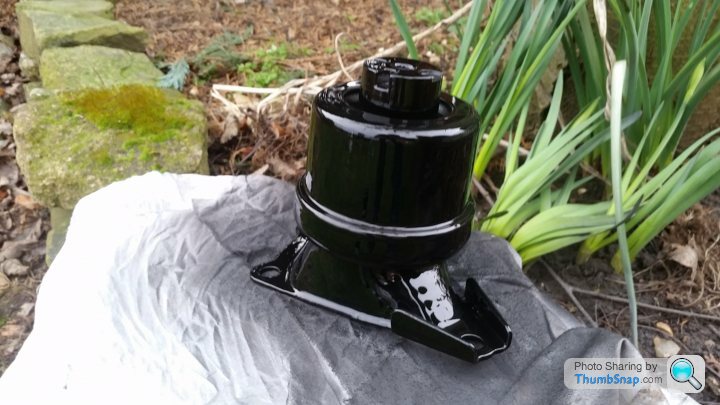
While doing the cambelt the engine mount had to come out and it had seen better days so tidied it up.
Before

Attacked with a wire brush. Note to self holding the piece in your left had while using an angle grinder in your right hurts when you get it wrong.

Etch primed

And a bit of Ed China's favourite satin black
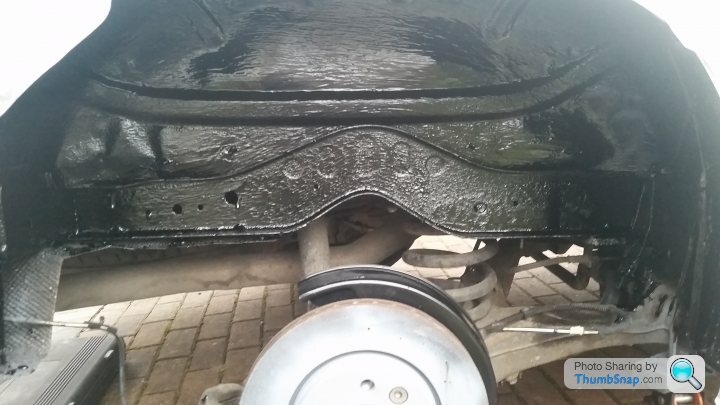
I then moved onto fitting the H an R springs and new wheels. Removed the arch liner and was pleasantly surprised in the condition, just a little bit of rust where the arch has been bashed from the inside.
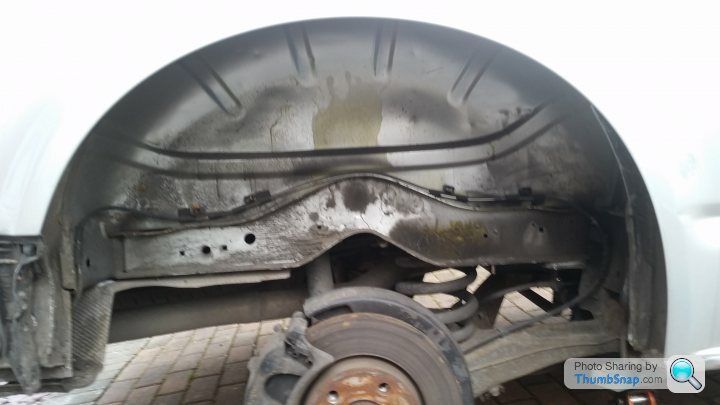
Dressed back the affected areas, etch primed and undersealed.
Quick tidy up of the backing plate

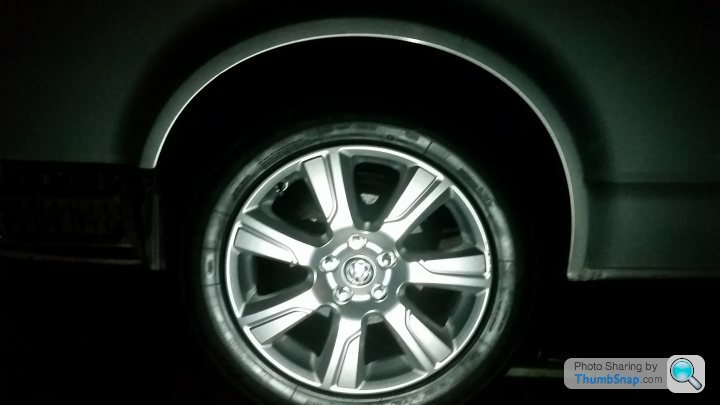
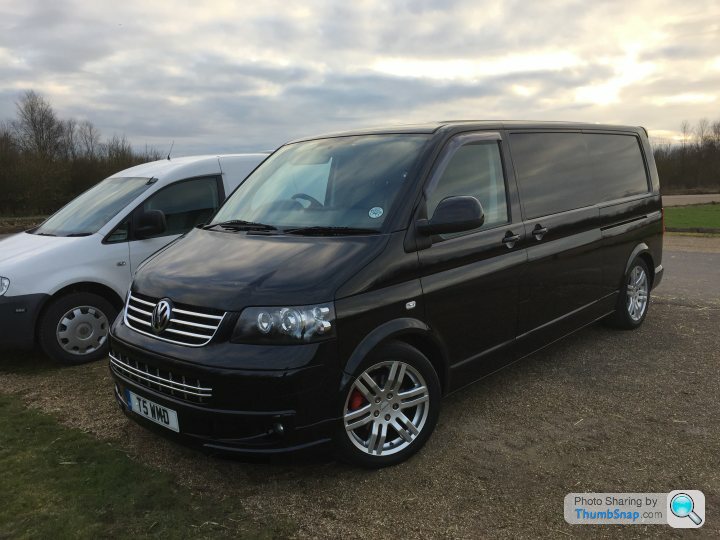
No pictures of the spring going in. Tried to do it without dropping the axel, 2 hours later I gave in removed the shock and with a bit of leverage it came out. By this point it was dark but couldn't resist sticking the alloy on.
Picture in the dark. I assume the spring will settle down over time.
Finished off the wheel arches, gave them a sand and coat of etch primer. Not perfect but good enough that it should look fine under the carpet.
Then tackled the cambelt and associated pulleys along with the water pump and a coolant flush. Glad I did as it didn't look great.
No pictures of it going back together but it felt good replacing worn out parts. The old belt had stretched to end of the tensioner. It actually sounds smoother now, probably just a placebo.
While doing the cambelt the engine mount had to come out and it had seen better days so tidied it up.
Before
Attacked with a wire brush. Note to self holding the piece in your left had while using an angle grinder in your right hurts when you get it wrong.
Etch primed
And a bit of Ed China's favourite satin black
I then moved onto fitting the H an R springs and new wheels. Removed the arch liner and was pleasantly surprised in the condition, just a little bit of rust where the arch has been bashed from the inside.
Dressed back the affected areas, etch primed and undersealed.
Quick tidy up of the backing plate
No pictures of the spring going in. Tried to do it without dropping the axel, 2 hours later I gave in removed the shock and with a bit of leverage it came out. By this point it was dark but couldn't resist sticking the alloy on.
Picture in the dark. I assume the spring will settle down over time.
Edited by ChocolateFrog on Saturday 25th February 20:41


Gassing Station | Readers' Cars | Top of Page | What's New | My Stuff