BMW E46 M3 - Touring Build
Discussion


Hello All,
I decided to post a bit of a catch up thread on my project. Its something ive wanted to do for a while but space has always been a bit of an issue as you are essentially taking apart 2 cars and need to store all the bits somewhere. Going back a few months i managed to rent out a garage on a short term basis so the project was good to go.
The plan is to do a full E46 M3 Touring conversion. This includes drivetrain, cosmetics and interior where possible.
I will try my best to update the thread as it goes along. It wont be detailed as some as i focus on the task at hand.
I figured i would do it in stages as i will be working on it mostly on weekends.
Phase 1 - Transfer all running gear/electricals into the tourer.
Phase 2 - Work on interior and smaller details
Phase 3 - Bodywork
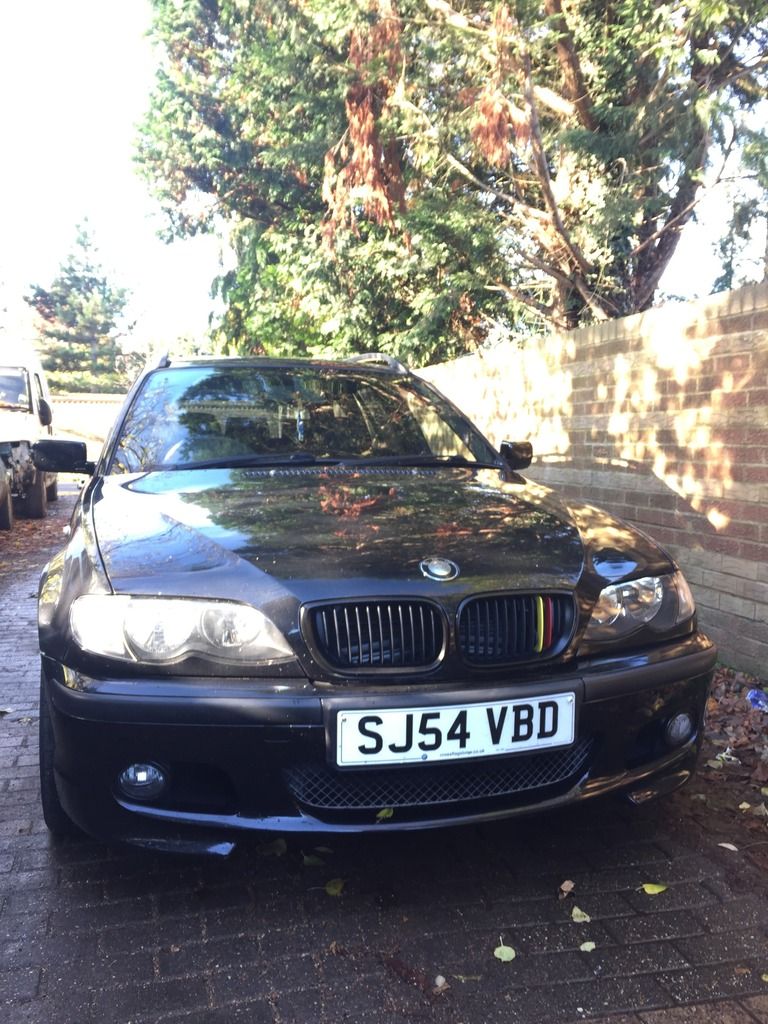
After Months of searching i was lucky enough to pick up a very clean E46 318i Tourer with just 57k on the clock. It belonged to an elderly gentleman who owned it since 2006.
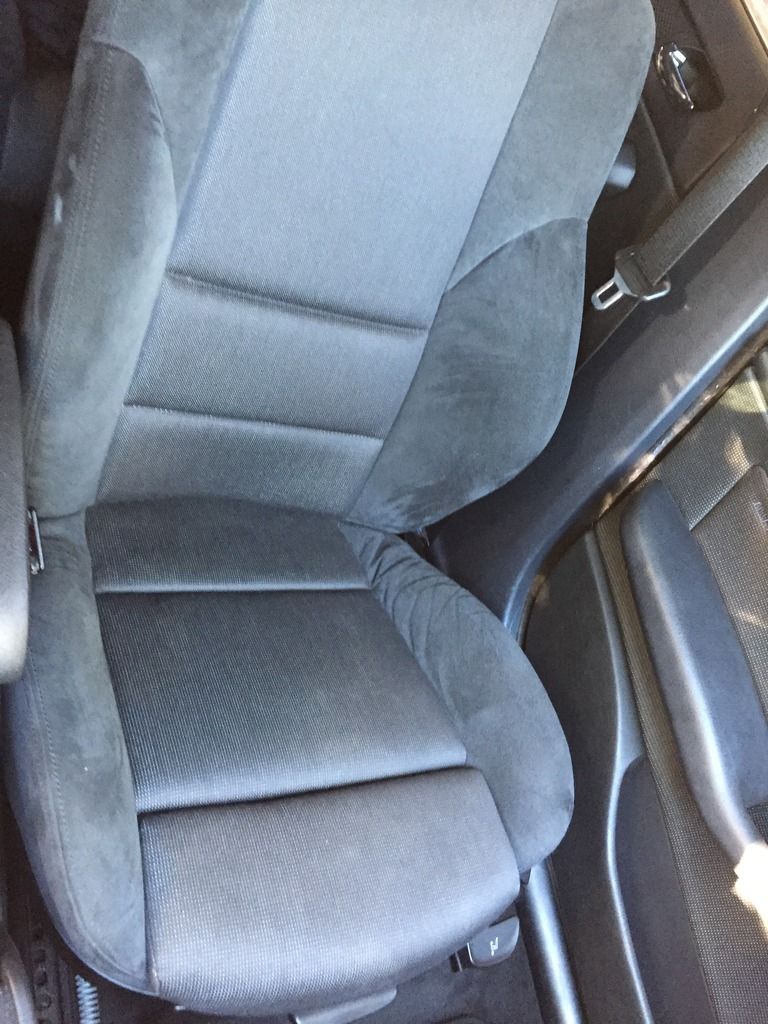
Its an M sport model and generally a very clean and straight car. The seats are in great condition (not that it matters as they will be replaced) The dashboard and plastics are still nice and matt, there is zero ink fade on the buttons and all the windows have the original BMW glass.
Some Pics:
As you can see the buttons and plastics and interior are in great condition:
Here it is parked up in its home for the next month:
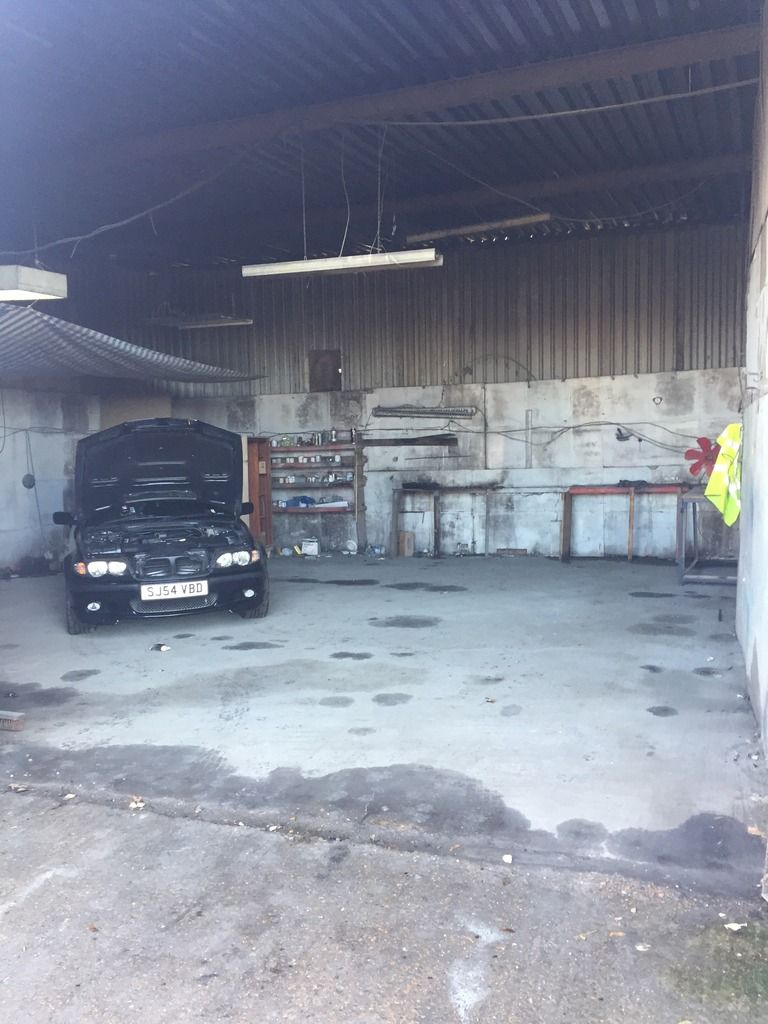
Work began last weekend. the aim of the weekend was to gut out the car:
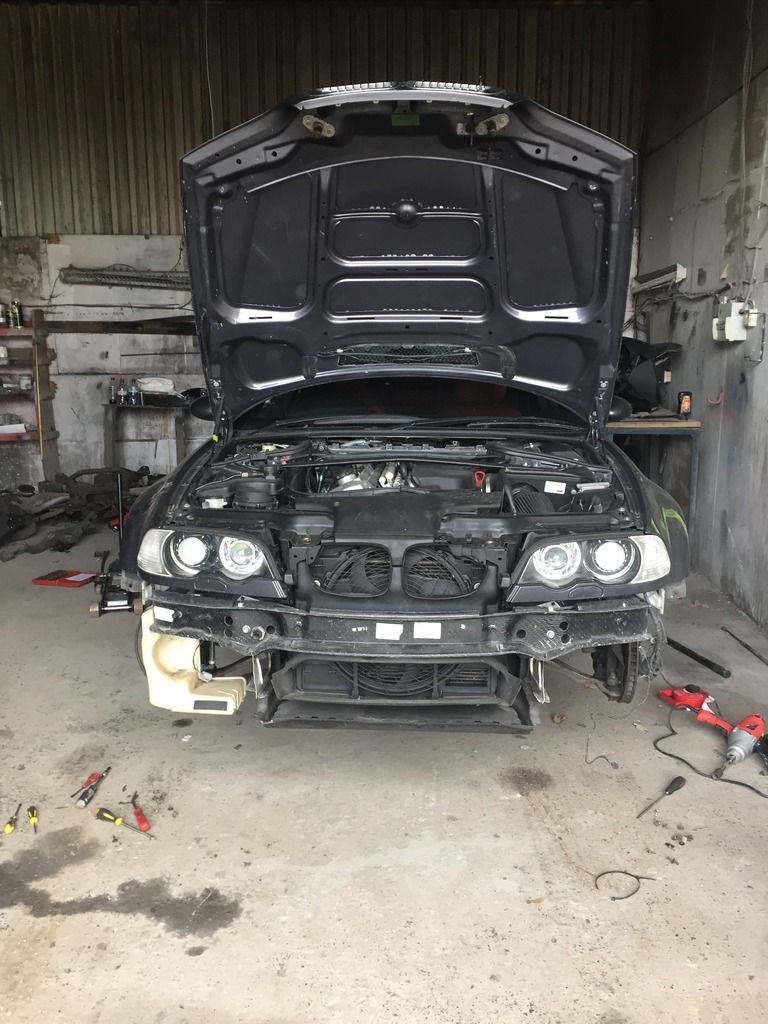
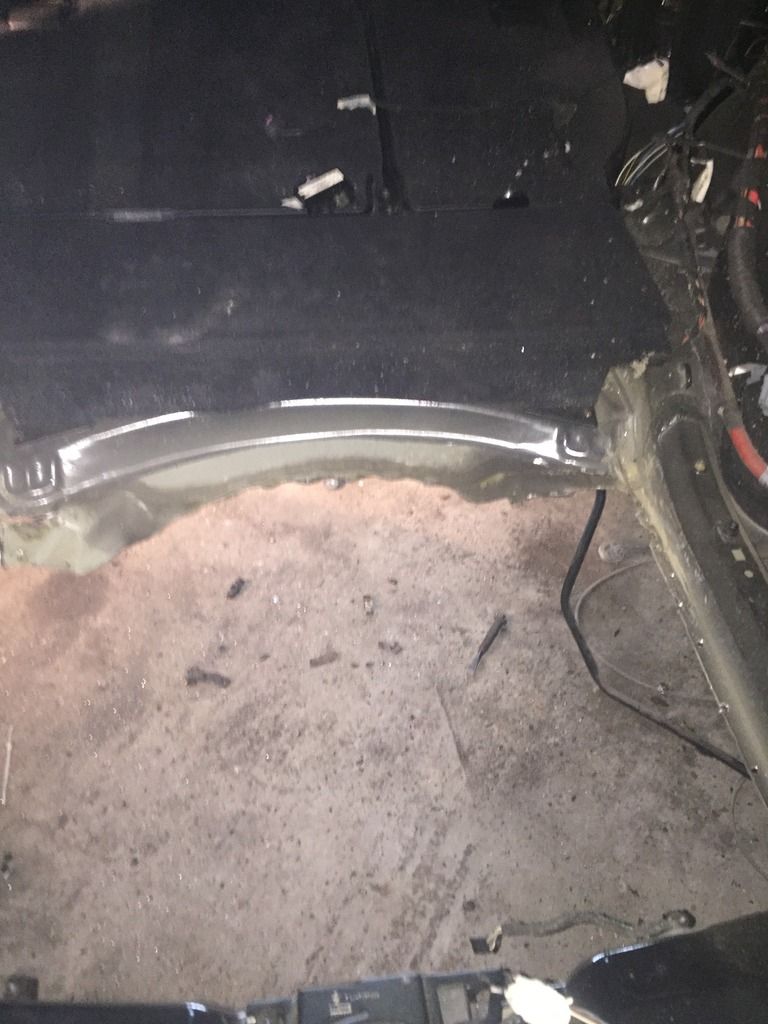
Front end was removed to give access to the engine:
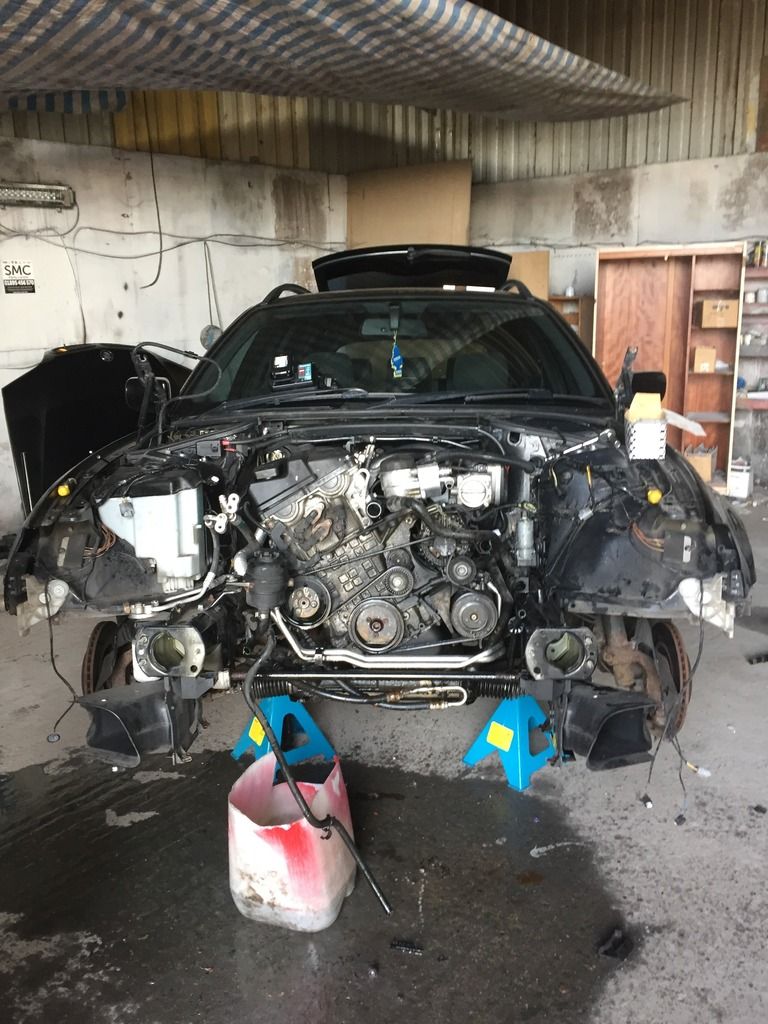
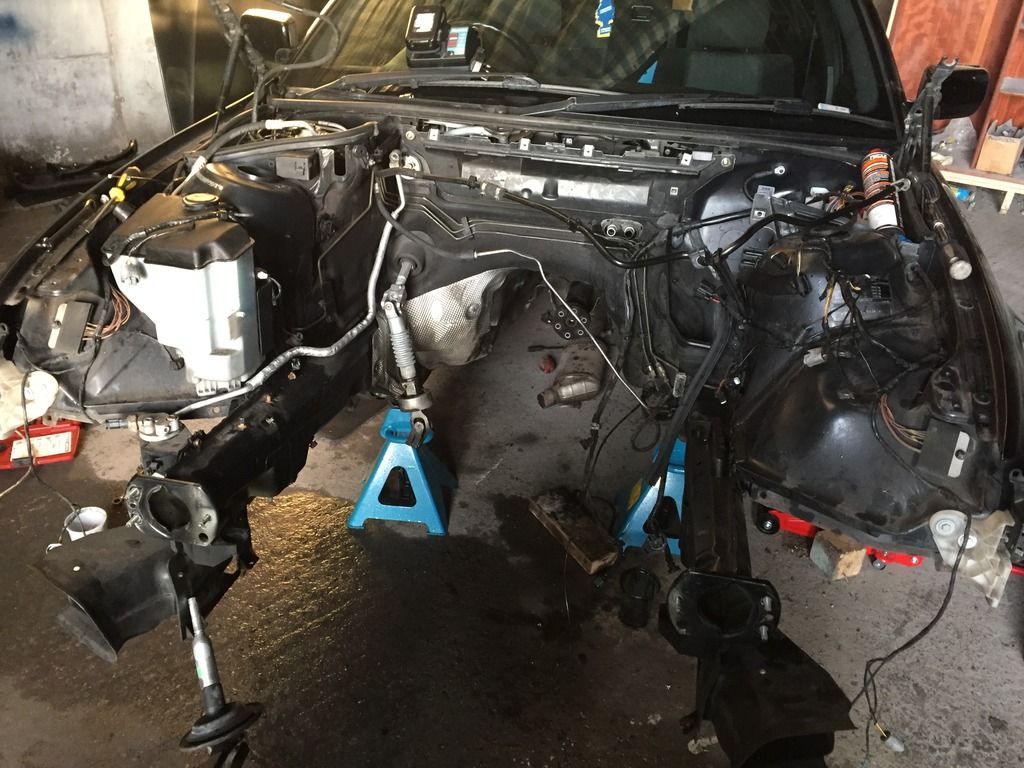
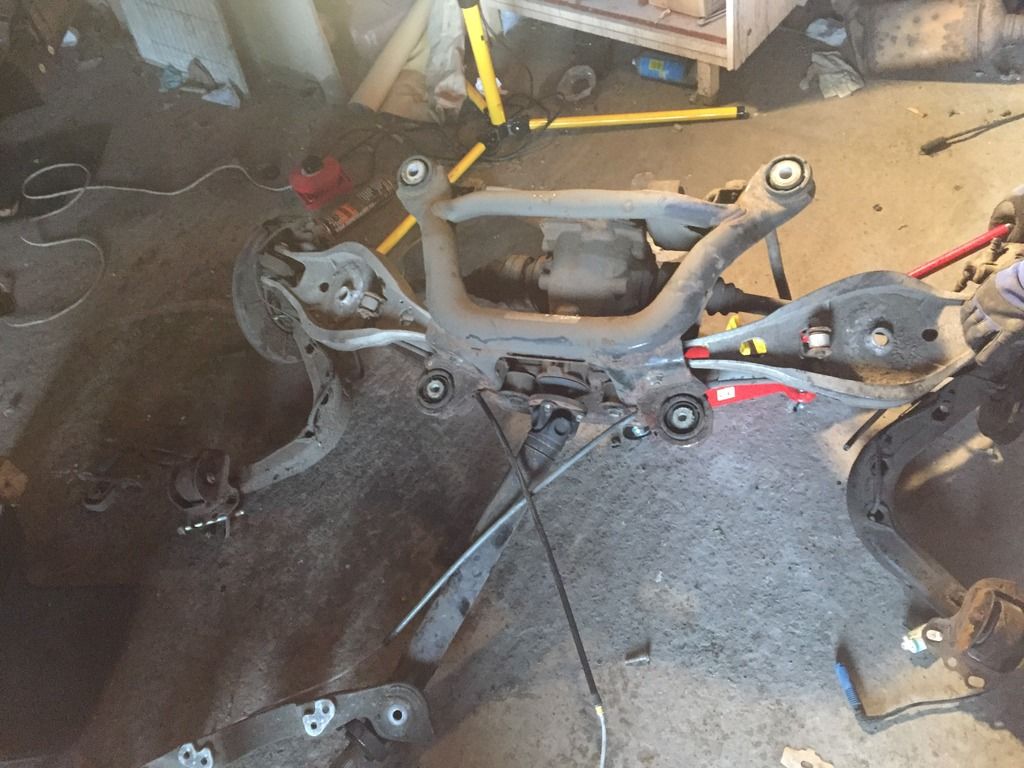
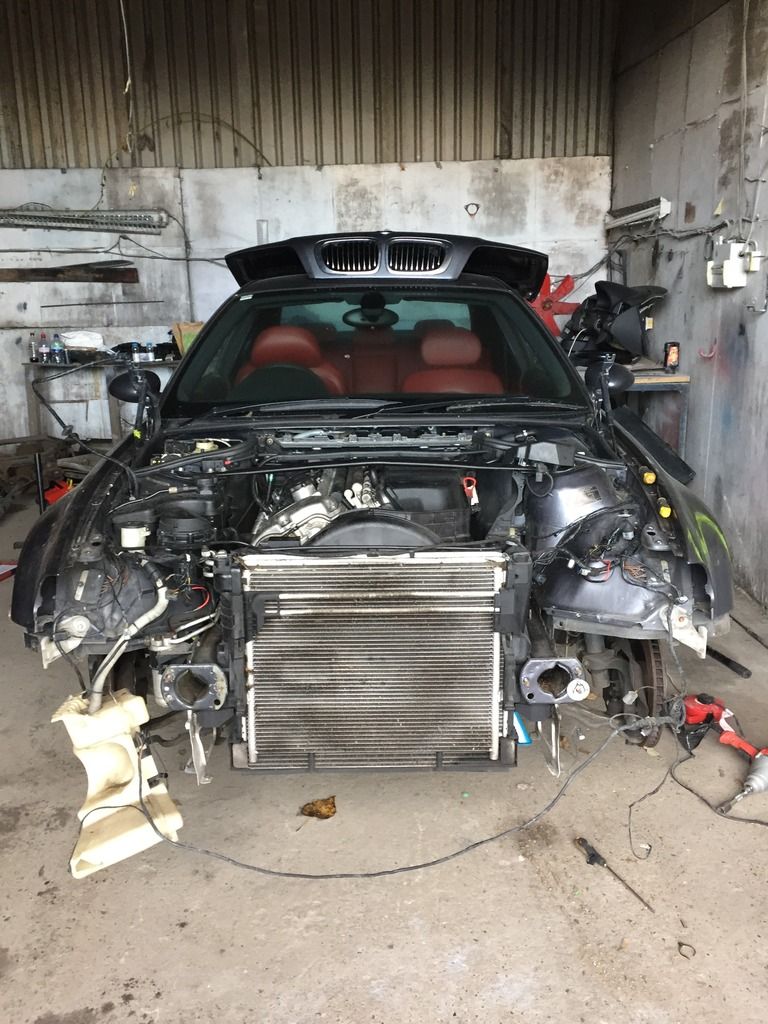
The entire front subframe assembly was dropped out with engine included:
Front End out:
DSC and brake components removed.

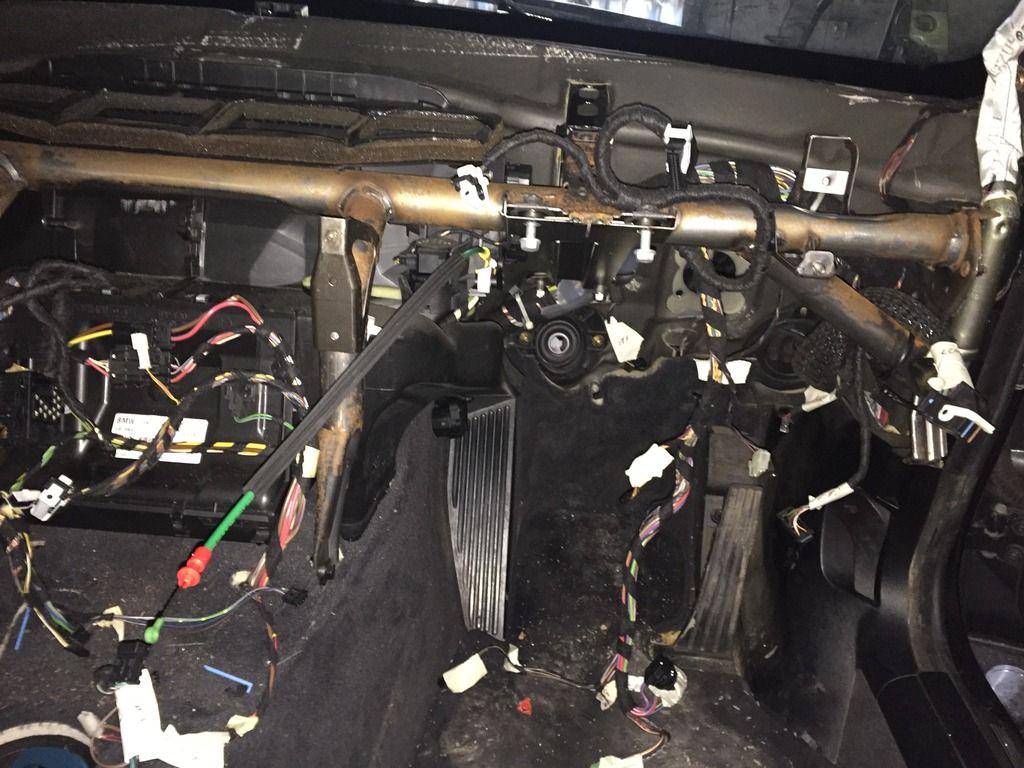
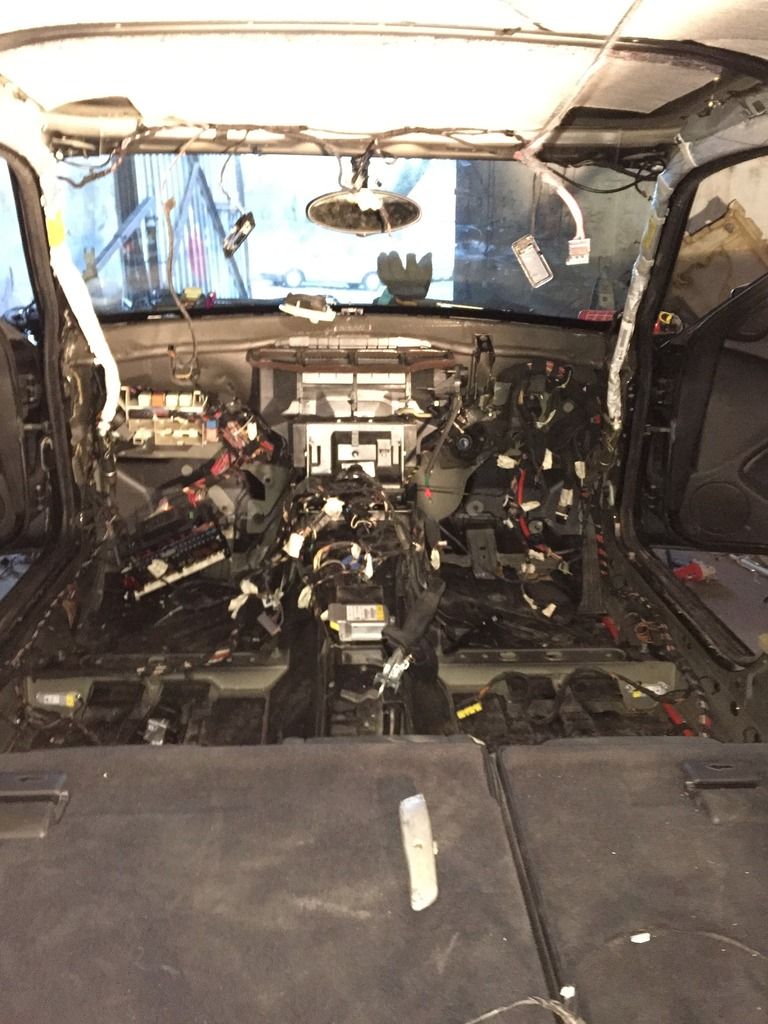
Dashboard and interior Removed:

Steering column, clutch and brake pedal removed, wires labelled up.
I will be leaving the clutch lines in for now. The Donar car is an SMG and i will be converting the SMG gearbox over. But its good to know that if i wanted to switch to manual then some of the groundwork is already in place making for an easy conversion.
That is all for now, thankfully the car has been really great to work on, no stubborn bolts or any set backs so far.
I decided to post a bit of a catch up thread on my project. Its something ive wanted to do for a while but space has always been a bit of an issue as you are essentially taking apart 2 cars and need to store all the bits somewhere. Going back a few months i managed to rent out a garage on a short term basis so the project was good to go.
The plan is to do a full E46 M3 Touring conversion. This includes drivetrain, cosmetics and interior where possible.
I will try my best to update the thread as it goes along. It wont be detailed as some as i focus on the task at hand.
I figured i would do it in stages as i will be working on it mostly on weekends.
Phase 1 - Transfer all running gear/electricals into the tourer.
Phase 2 - Work on interior and smaller details
Phase 3 - Bodywork
After Months of searching i was lucky enough to pick up a very clean E46 318i Tourer with just 57k on the clock. It belonged to an elderly gentleman who owned it since 2006.
Its an M sport model and generally a very clean and straight car. The seats are in great condition (not that it matters as they will be replaced) The dashboard and plastics are still nice and matt, there is zero ink fade on the buttons and all the windows have the original BMW glass.
Some Pics:
As you can see the buttons and plastics and interior are in great condition:
Here it is parked up in its home for the next month:
Work began last weekend. the aim of the weekend was to gut out the car:
Front end was removed to give access to the engine:
The entire front subframe assembly was dropped out with engine included:
Front End out:
DSC and brake components removed.
Dashboard and interior Removed:
Steering column, clutch and brake pedal removed, wires labelled up.
I will be leaving the clutch lines in for now. The Donar car is an SMG and i will be converting the SMG gearbox over. But its good to know that if i wanted to switch to manual then some of the groundwork is already in place making for an easy conversion.
That is all for now, thankfully the car has been really great to work on, no stubborn bolts or any set backs so far.
Next Installment:
Had the day off from work today so decided to crack on.
Rear subframe dropped from the estate
I
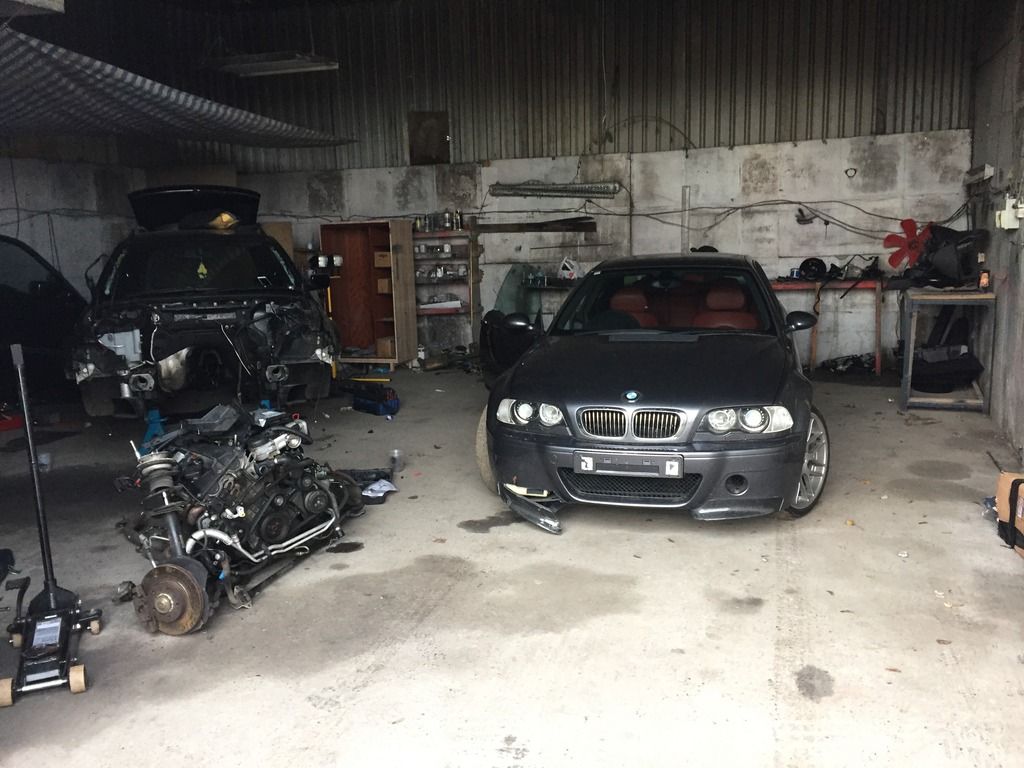
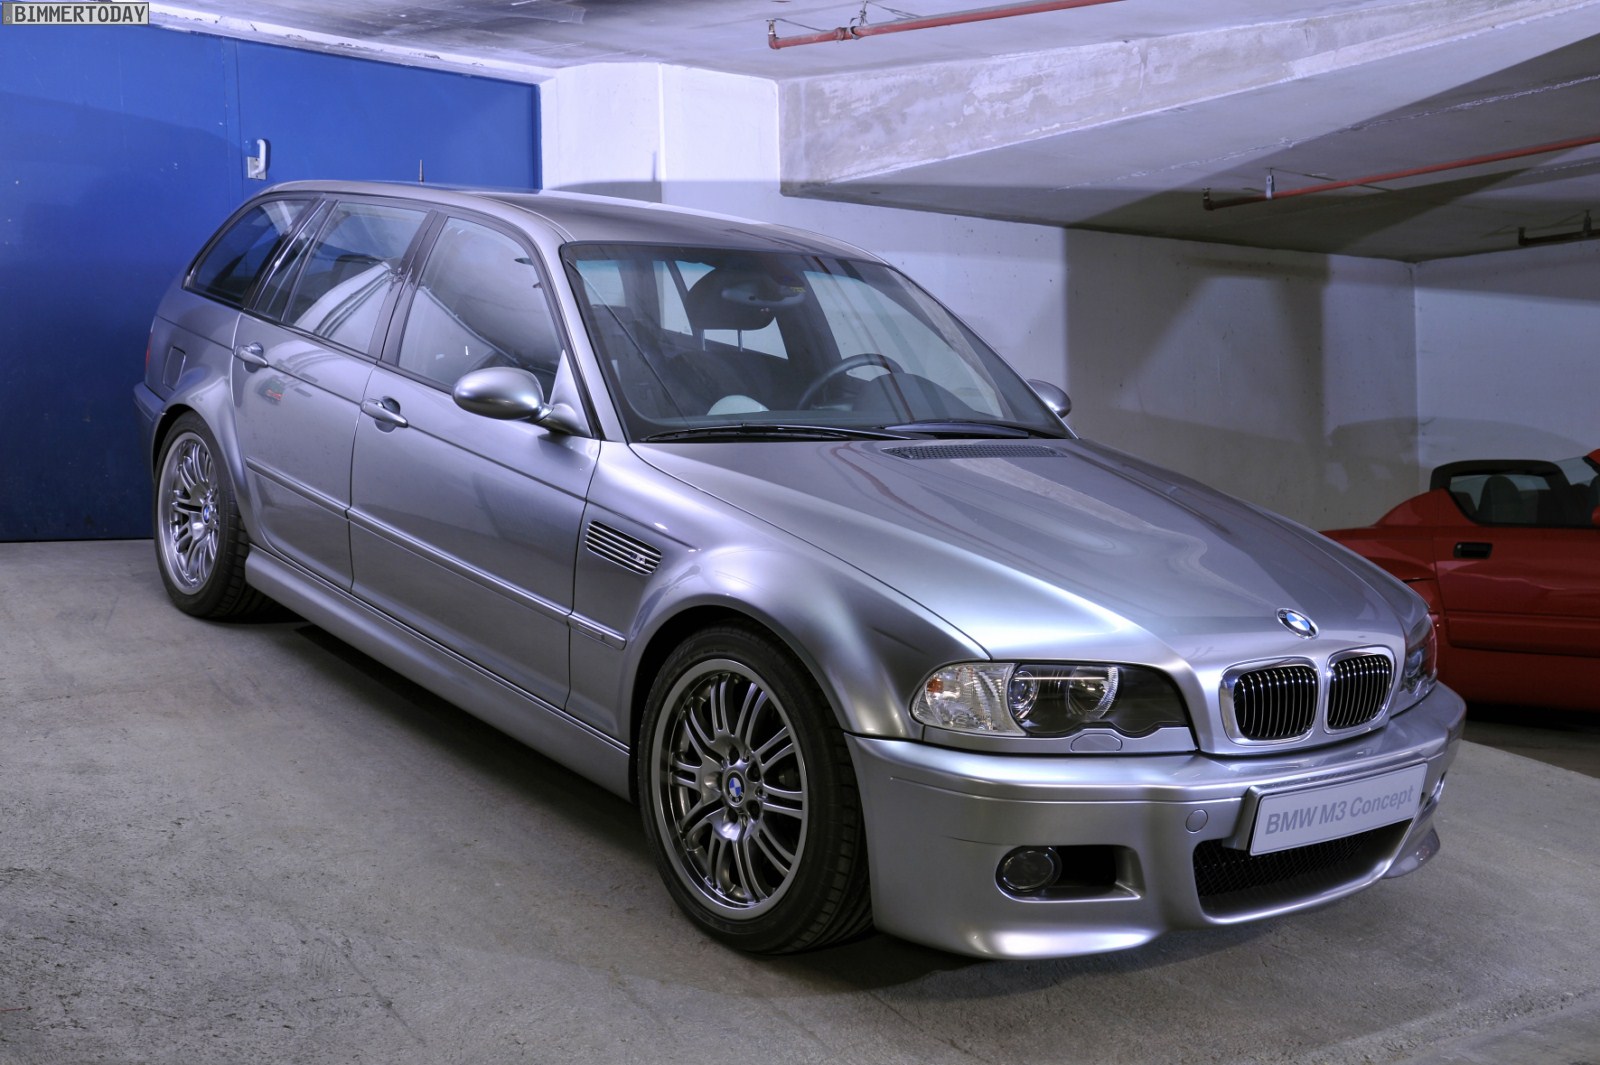
M3 parked up in the garage too. This is my m3 which I have owned for a few years now.
I wanted to use a car which I knew had zero issues, not some heap of crap which was going for cheap but hadn't been looked after. The head gasket was done not too long ago along with an inspection 2 service, it's runs perfect.
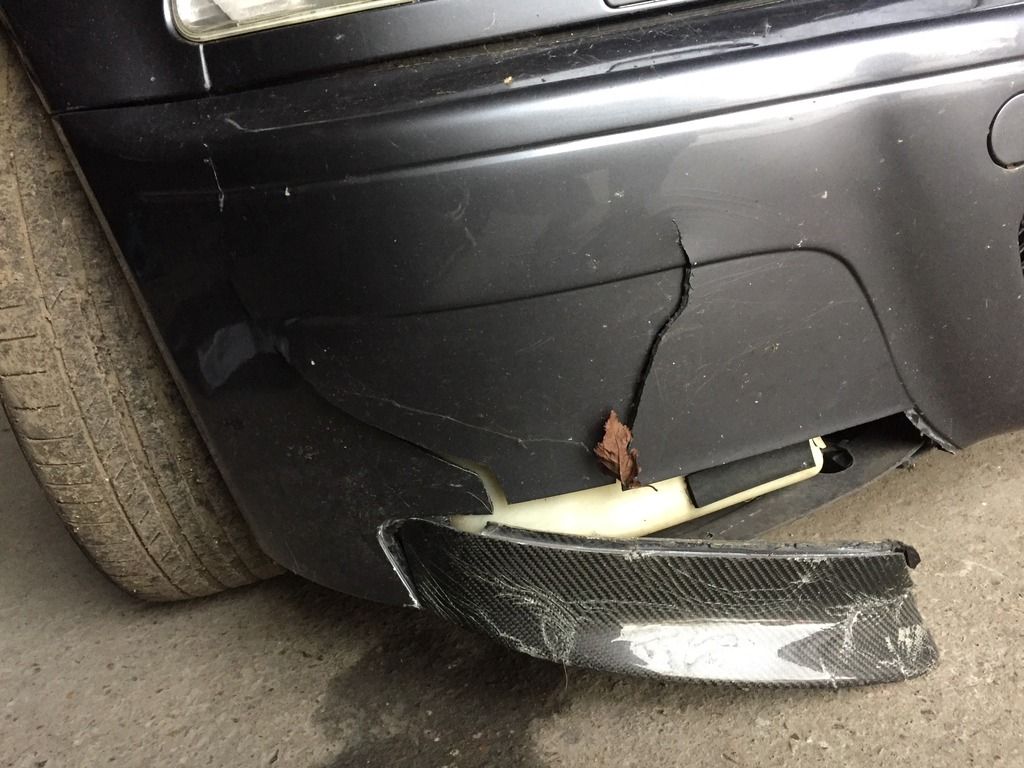
It has been parked up for a month or so as a fox decided to run out on me, the m3 came out on top but had a little damage to the front bumper.
Damage to the bumper from the fox incident
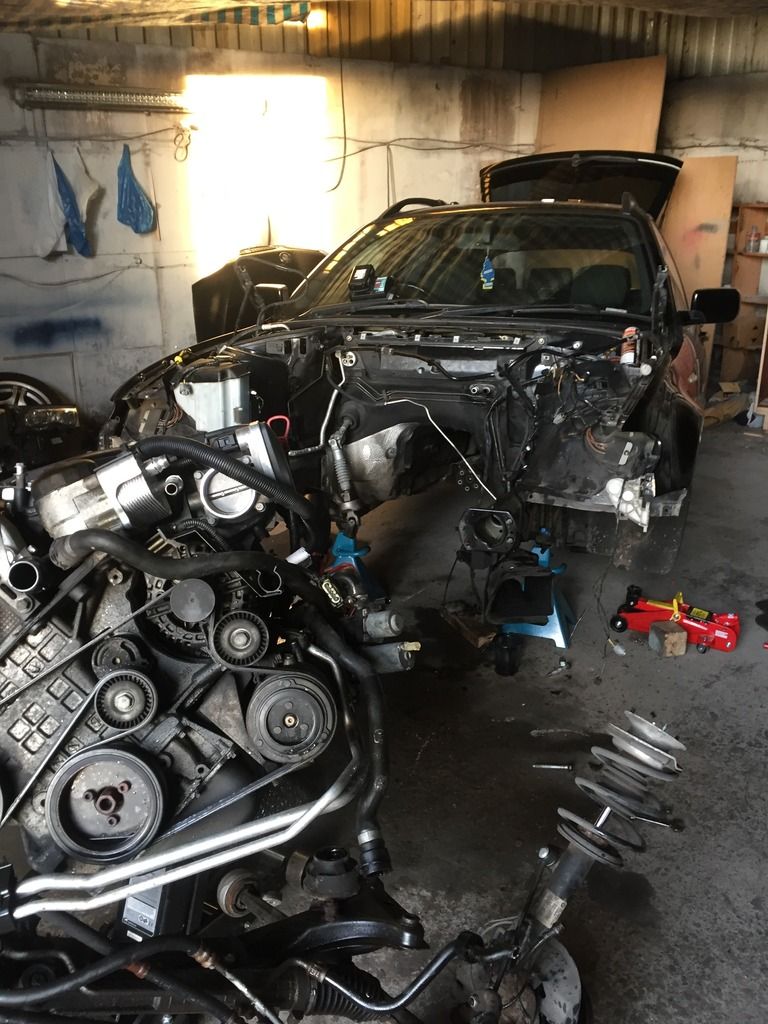
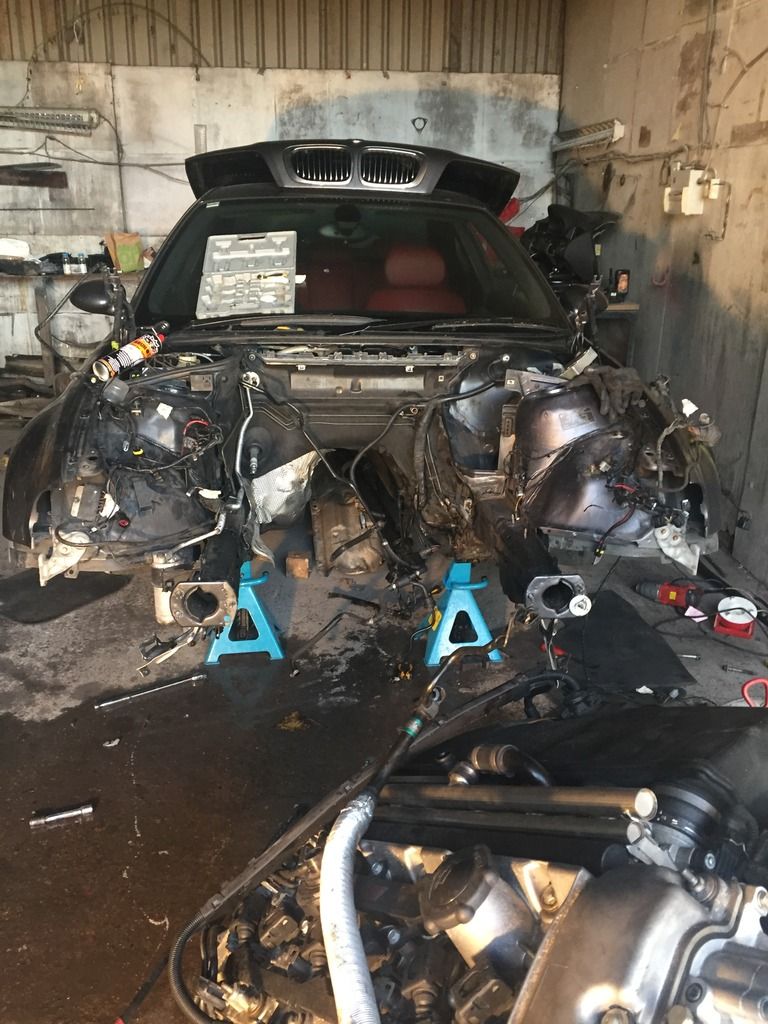
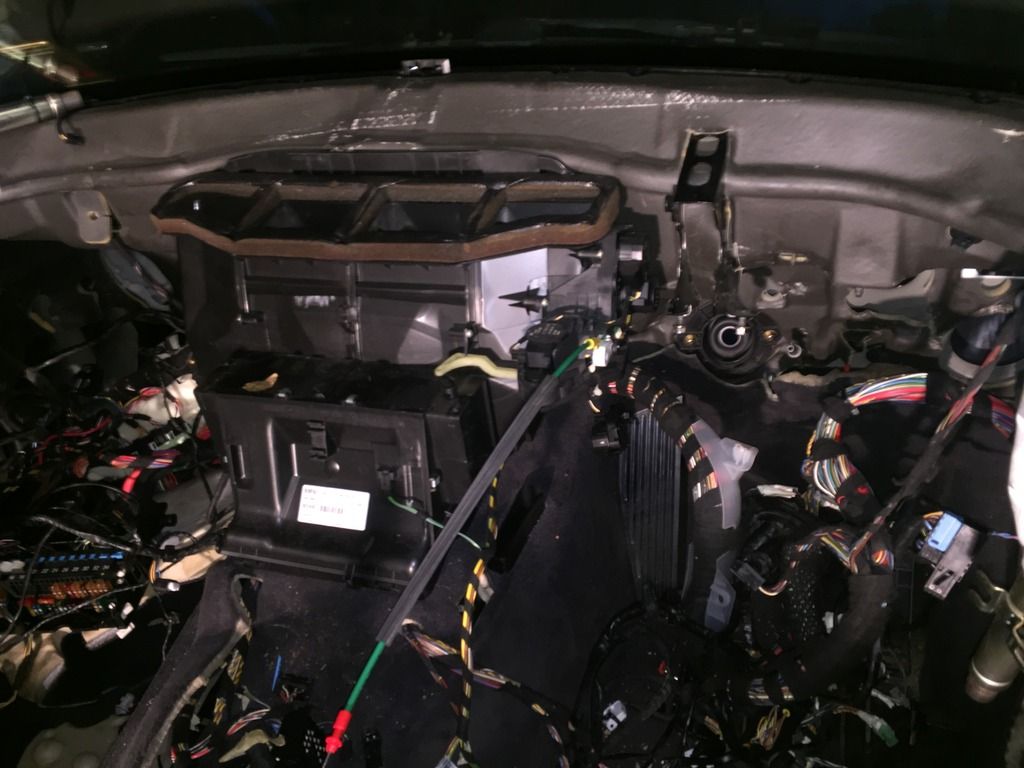
I repeated the whole process on the m3 to get the engine out.
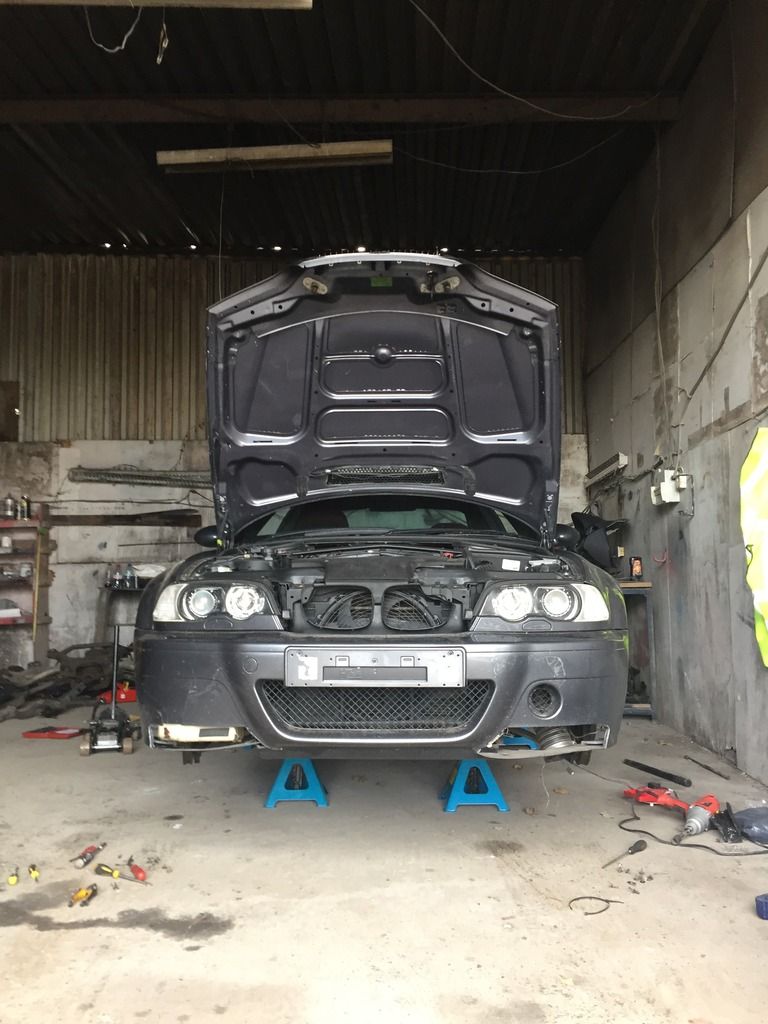
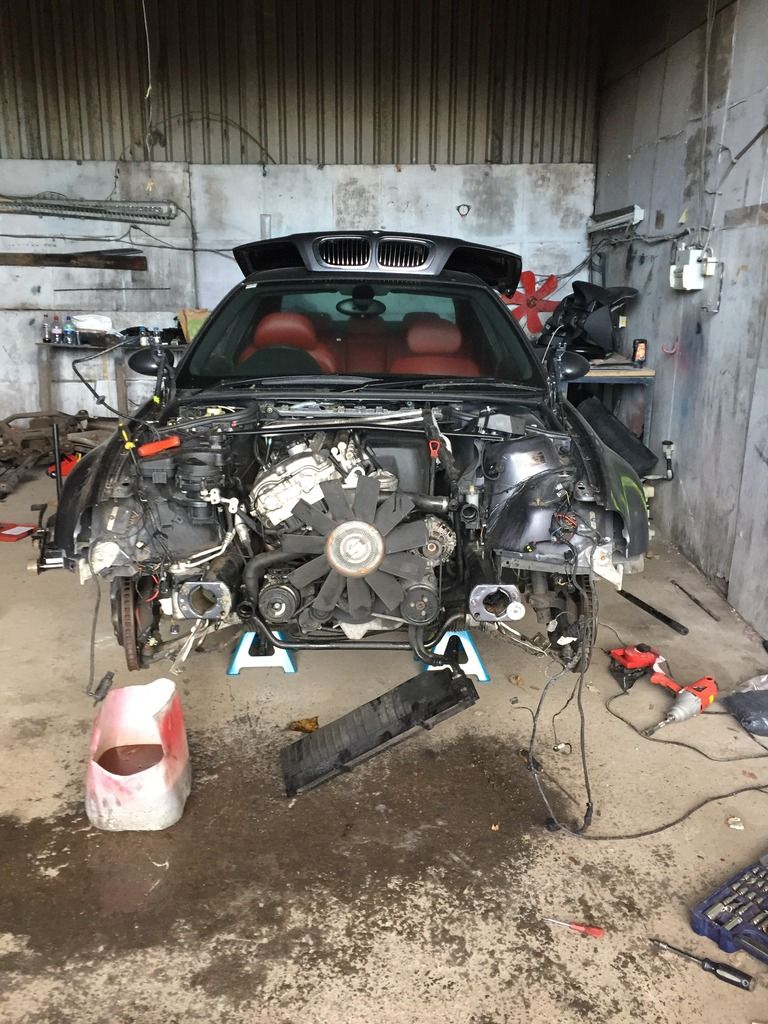
Engine out
I now need to work on the looms. I've started on the estate loom. So many wires. It's very time consuming and the size of the task dawned on me at this point. Also realised I have crossed the point of no return for me. Let hope it ends well or I may end up with 2 cars that don't work.
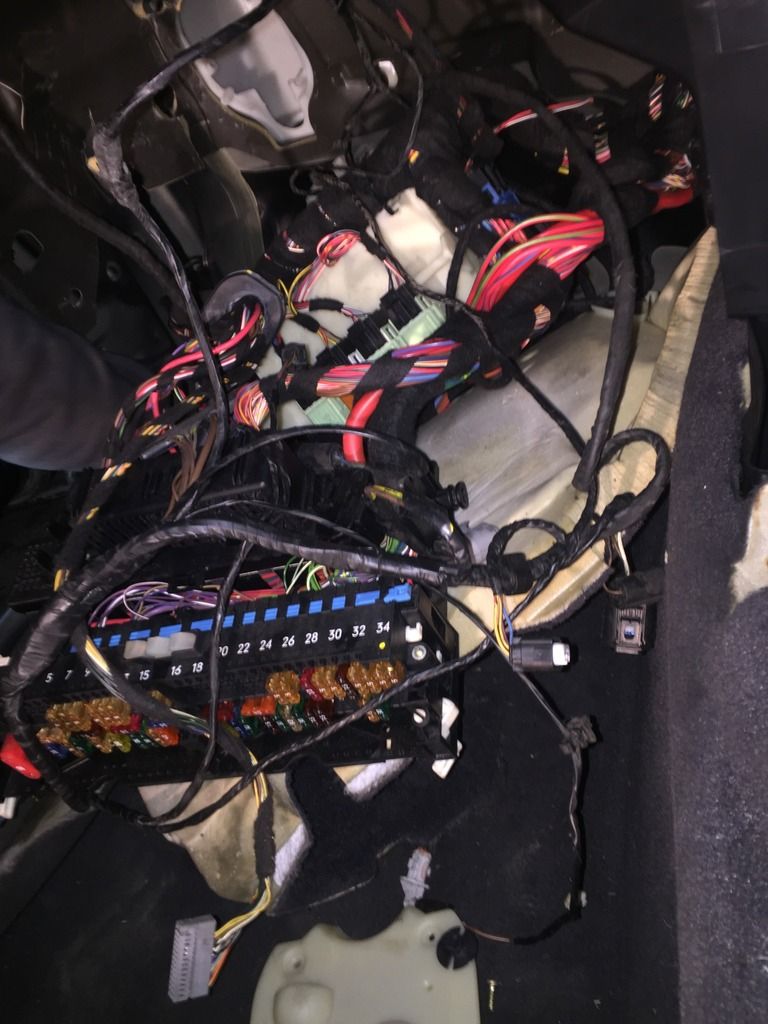
I got as far as removing all the wire from the engine bay and wrestled with the fuse box side of things. That's all for now. Il pick up where I left off on Saturday.
Had the day off from work today so decided to crack on.
Rear subframe dropped from the estate
I
M3 parked up in the garage too. This is my m3 which I have owned for a few years now.
I wanted to use a car which I knew had zero issues, not some heap of crap which was going for cheap but hadn't been looked after. The head gasket was done not too long ago along with an inspection 2 service, it's runs perfect.
It has been parked up for a month or so as a fox decided to run out on me, the m3 came out on top but had a little damage to the front bumper.
Damage to the bumper from the fox incident
I repeated the whole process on the m3 to get the engine out.
Engine out
I now need to work on the looms. I've started on the estate loom. So many wires. It's very time consuming and the size of the task dawned on me at this point. Also realised I have crossed the point of no return for me. Let hope it ends well or I may end up with 2 cars that don't work.
I got as far as removing all the wire from the engine bay and wrestled with the fuse box side of things. That's all for now. Il pick up where I left off on Saturday.
A bit more:
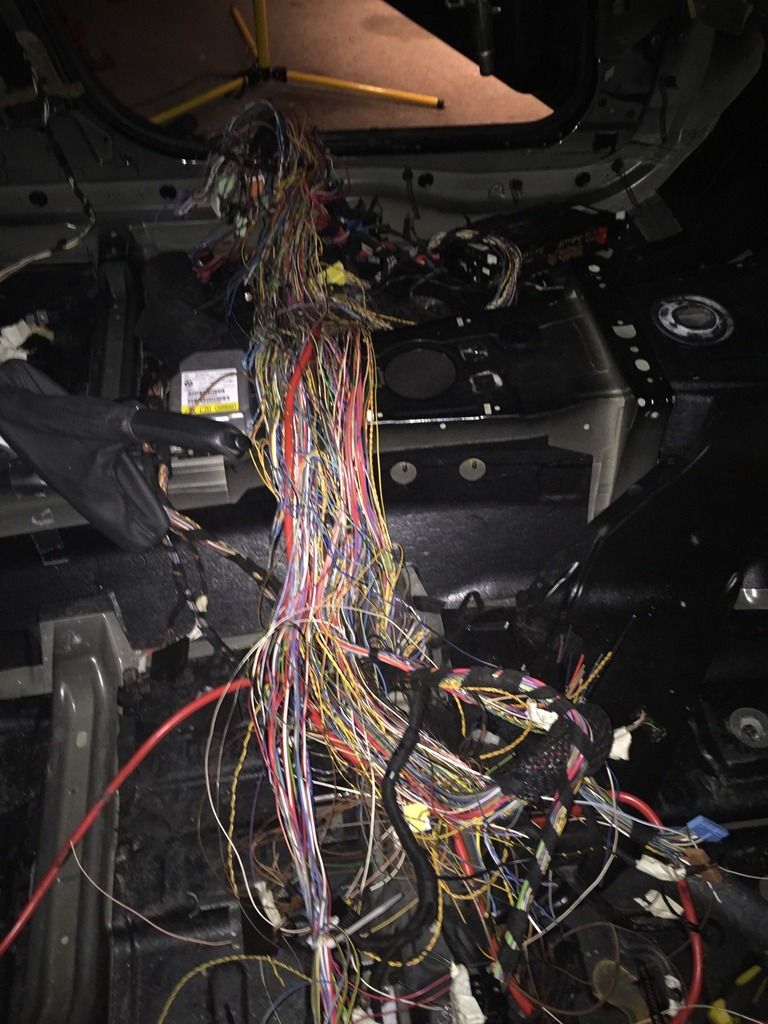
Stripped out the m3 interior so the body loom is ready to be plucked out.
Started the horrible job of wiring. The tourer has various extras wires compared to the coupe.
Namely the rear door electrics, rear window opening switch, rear wiper and the rear wiper washer bottle with pump.
I took the tourers loom apart and traced the extra wires back to the original plug. The plan is to plug the pins back into the m3 loom as they are currently empty for those pins, then use felt tape to make it look all oem again.
It's at times like these you realise why garages quote several thousands of pounds for the touring conversion. Seemed so simple in theory.
THis is all ive managed to write up at the moment, i have completed the follwing:
1) Full M3 loom has been plummed in and all connections made
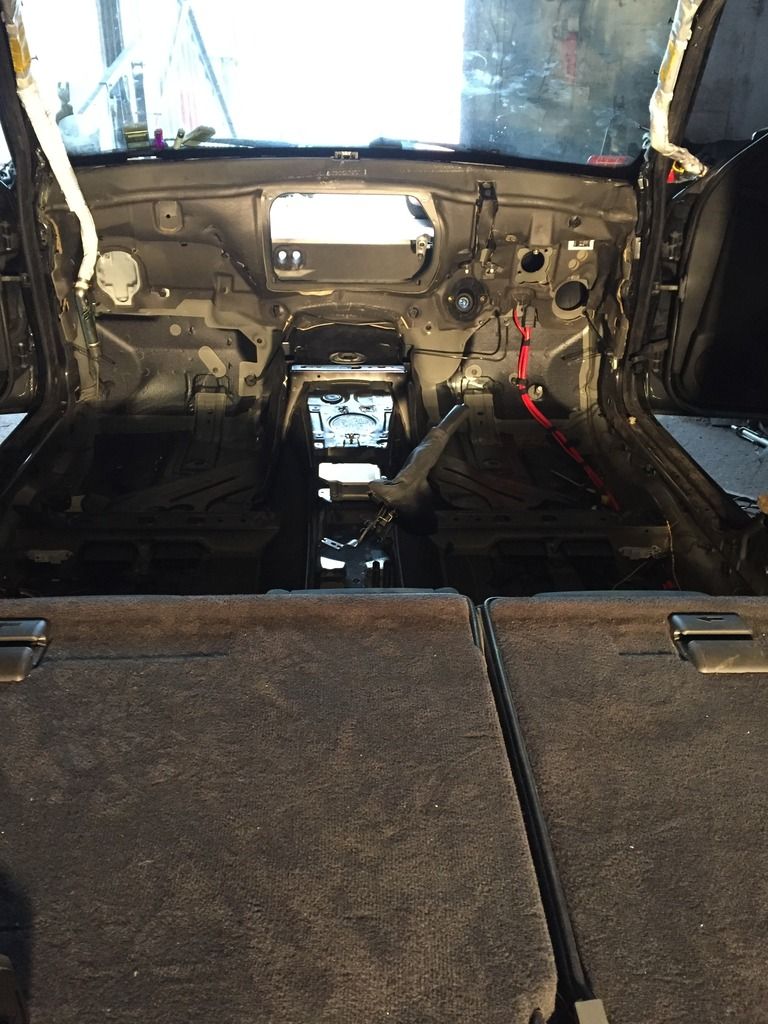
2) Dashboard, carpets and front seats have been put back in place
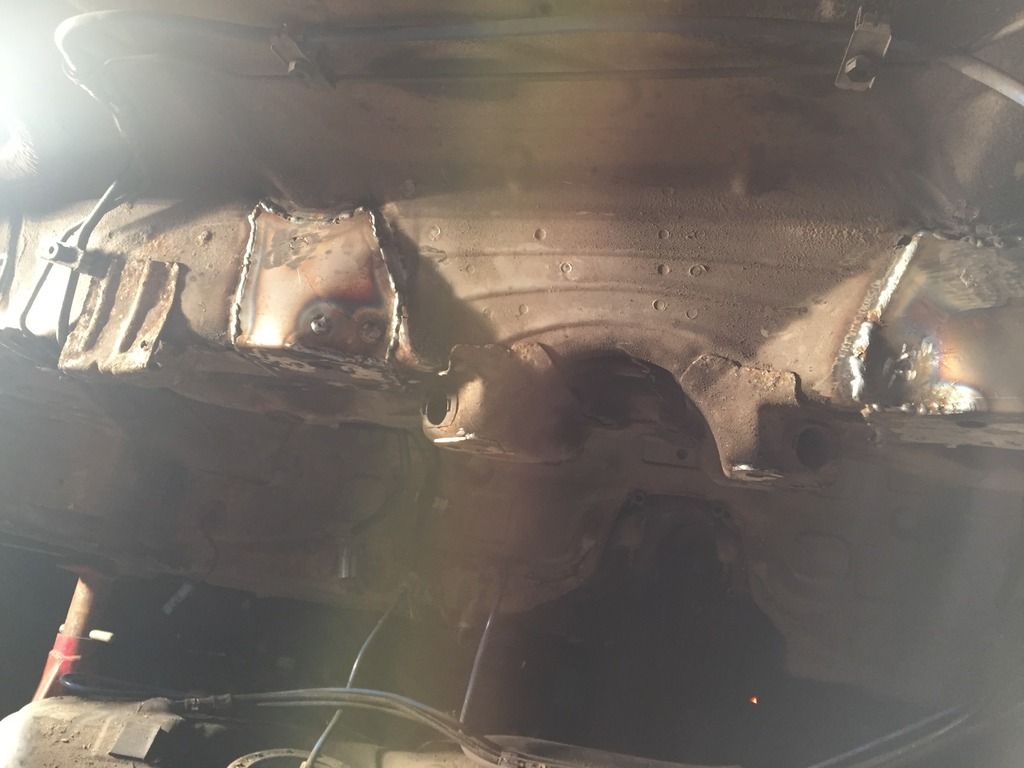
3) Estate subframe has been strengthened by welding plates
4) M3 boot floor has been added to allow for exhaust to be run across the body and correct tyre inflator kit to be stored
5) Zinc Primer and future rust protection has been added to the rear underside
6) Car has been cranked and started (woohoooooo)
Il get pictures of the progress up soon.
Cheers,
1) Full M3 loom has been plummed in and all connections made
2) Dashboard, carpets and front seats have been put back in place
3) Estate subframe has been strengthened by welding plates
4) M3 boot floor has been added to allow for exhaust to be run across the body and correct tyre inflator kit to be stored
5) Zinc Primer and future rust protection has been added to the rear underside
6) Car has been cranked and started (woohoooooo)
Il get pictures of the progress up soon.
Cheers,


Few more pics i found for now:
This pic shows the original M3 loom being put back in, fortunately all of the earthing points lined up perfectly so i didnt have to modify the loom, it ran neatly where the original loom did, after this picture i used the original cable management systems to tidy it up.
The E46 M3 subframe is a known weakspot, the mounting point on the subframe tend to crack and in extreme cases separate from the body. A well known fix for this is to weld in some purpose designed re-inforcement plates. Even though the tourers subframe mounting points were perfect, it was worth doing for peace of mind.
The below is a very quick snap of one of the welding plated before the welds were tieded and the entire boot floor area was coated with anti rust protection:
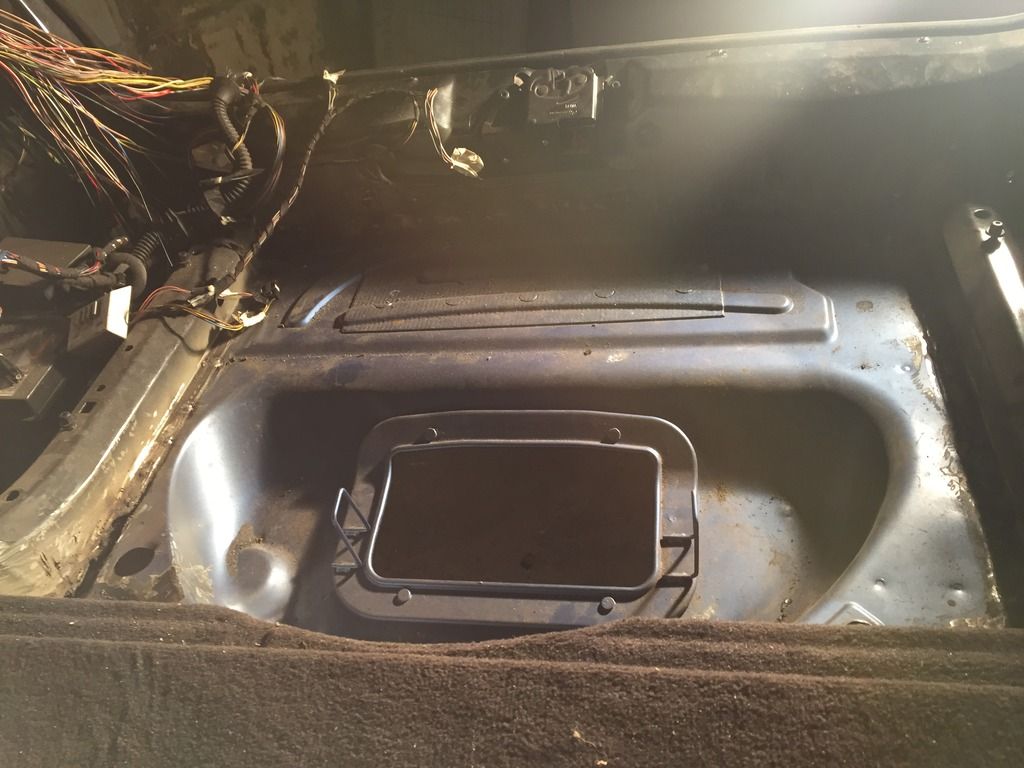
The original boot floor has space for a tyre spare tyre, the M3 does not have this as the exhaust runs the width of the body, instead it has a tyre inflator in its place.
I drilled the spot welds out of the original boot floor and then had the new boot floor welded in place.
M3 boot floor in place:
This pic shows the original M3 loom being put back in, fortunately all of the earthing points lined up perfectly so i didnt have to modify the loom, it ran neatly where the original loom did, after this picture i used the original cable management systems to tidy it up.
The E46 M3 subframe is a known weakspot, the mounting point on the subframe tend to crack and in extreme cases separate from the body. A well known fix for this is to weld in some purpose designed re-inforcement plates. Even though the tourers subframe mounting points were perfect, it was worth doing for peace of mind.
The below is a very quick snap of one of the welding plated before the welds were tieded and the entire boot floor area was coated with anti rust protection:
The original boot floor has space for a tyre spare tyre, the M3 does not have this as the exhaust runs the width of the body, instead it has a tyre inflator in its place.
I drilled the spot welds out of the original boot floor and then had the new boot floor welded in place.
M3 boot floor in place:

Gassing Station | Readers' Cars | Top of Page | What's New | My Stuff