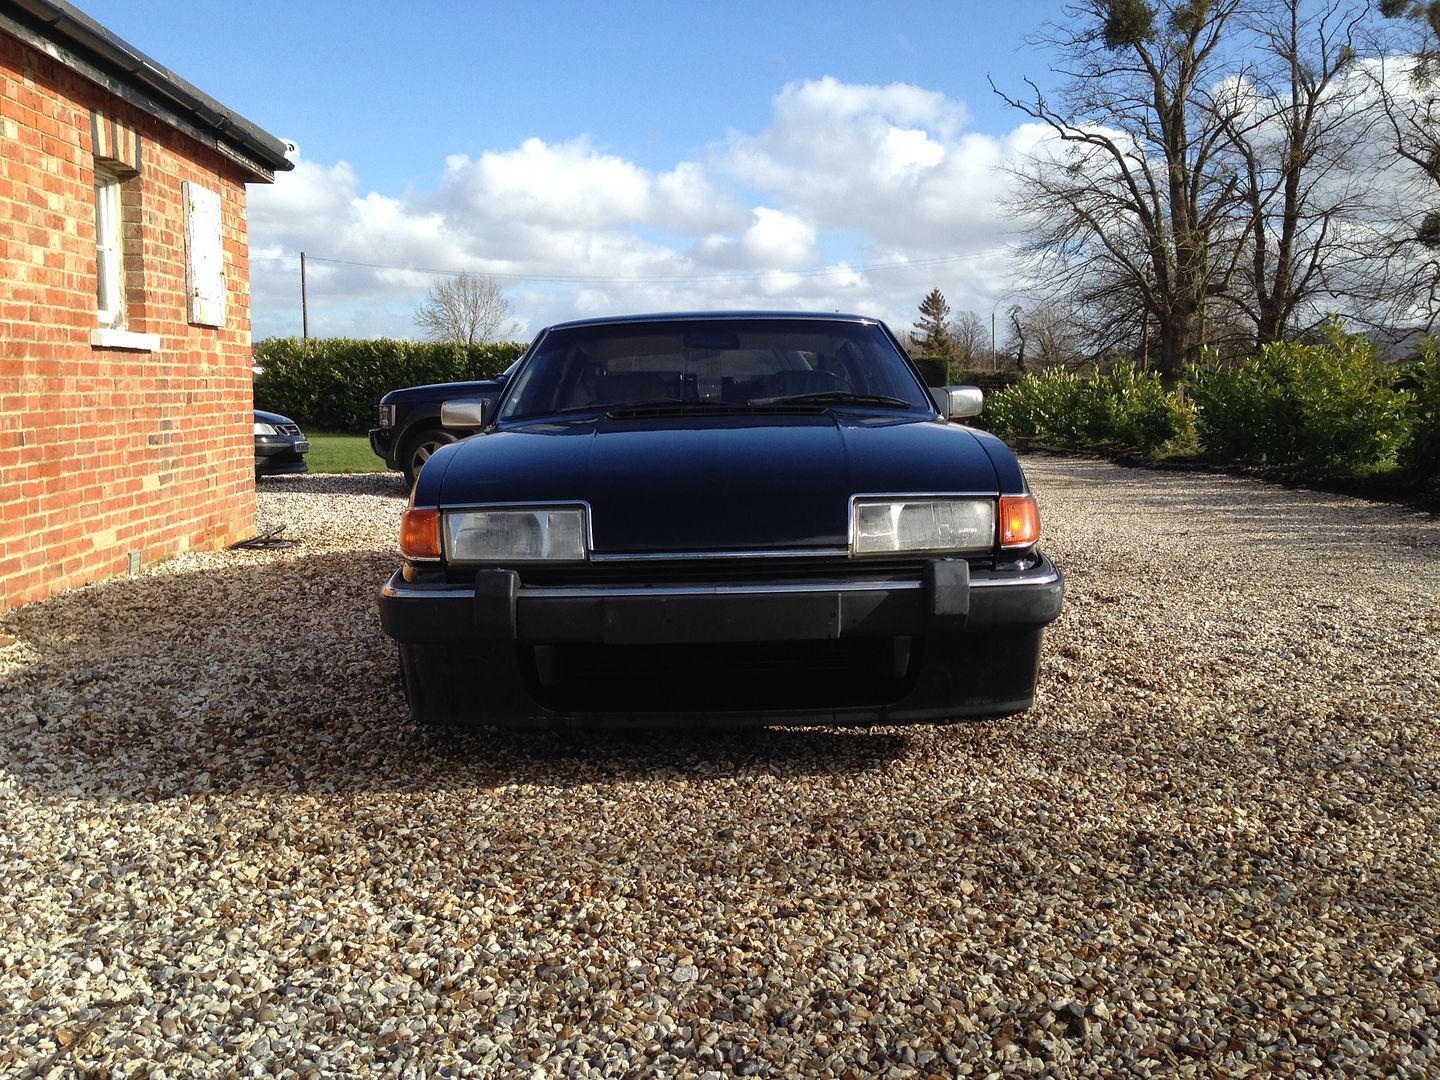
Twin Plenum Vitesse restoration
Discussion


Amazing, outstanding, well done. Enjoy the fruits of your labour. having lost my Dad recently I can understand the motivation but my God what a task.
Always had a soft spot for these, as a child my best friend's Dad had a few of them, secretly wished my Dad would get one, they were so much cooler than the Jags and Mercs he used to buy.
As a side note, my Uncle worked as a mechanic for the Bastos team out on South Africa in the early 80s, I used to had a load of team stickers, wonder where they went?
Little video of it starting up for the first time, plenty of warm up time in the edit:
http://www.youtube.com/watch?v=LN7df0QPReM
http://www.youtube.com/watch?v=LN7df0QPReM


Managed a few hours at the weekend and got a few things sorted:
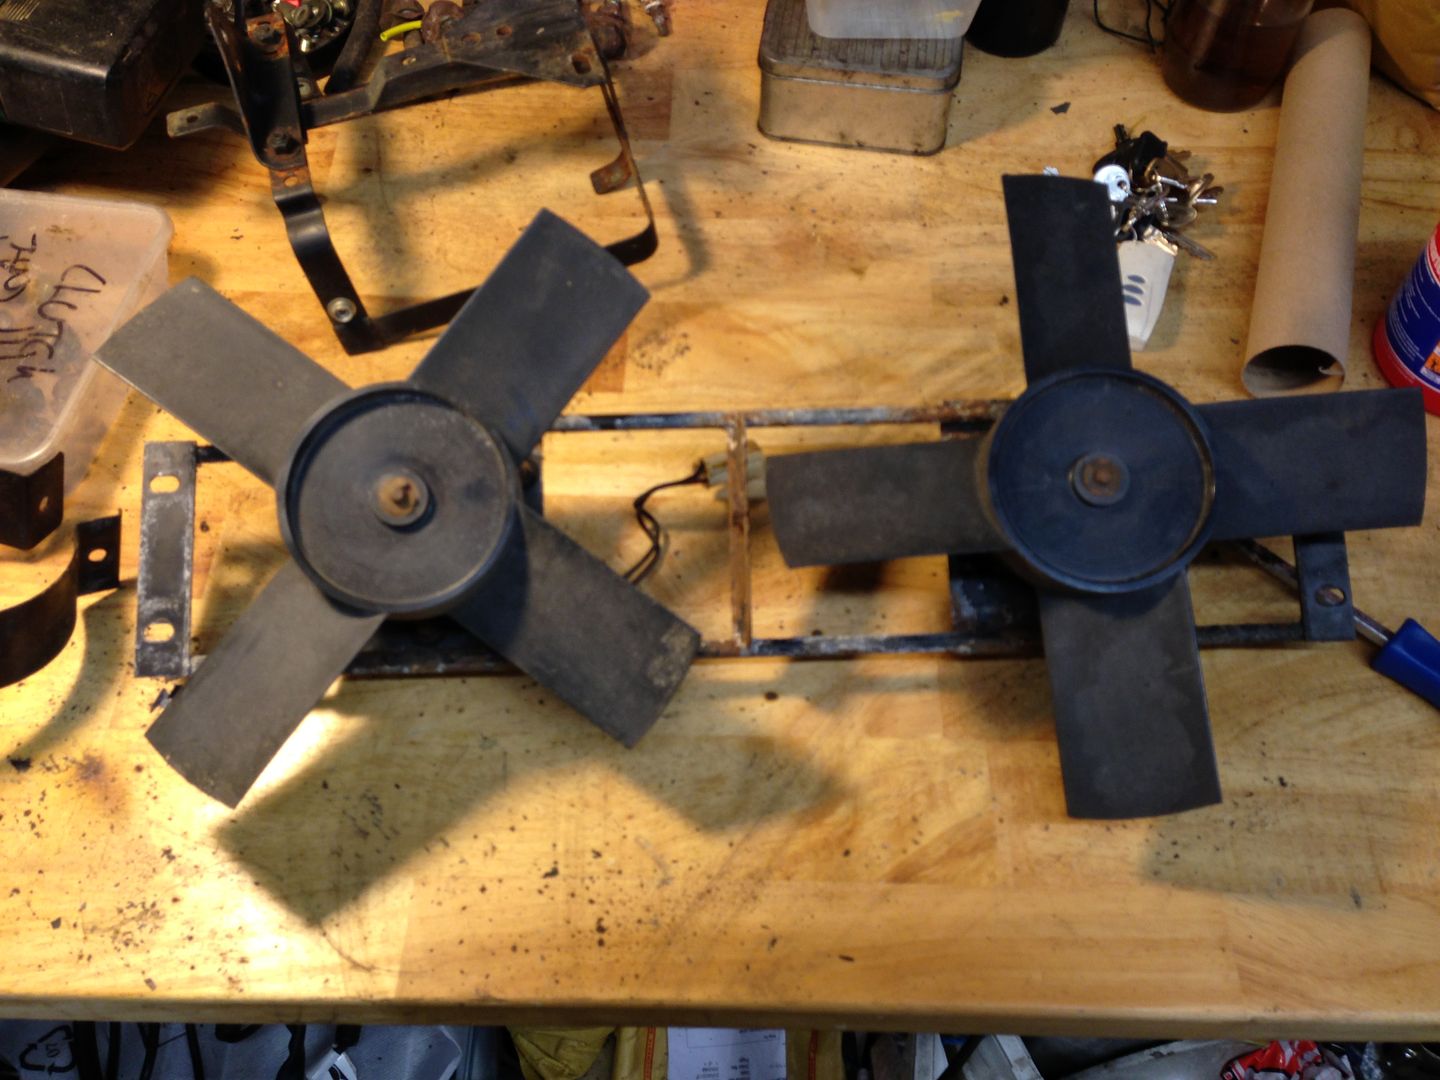
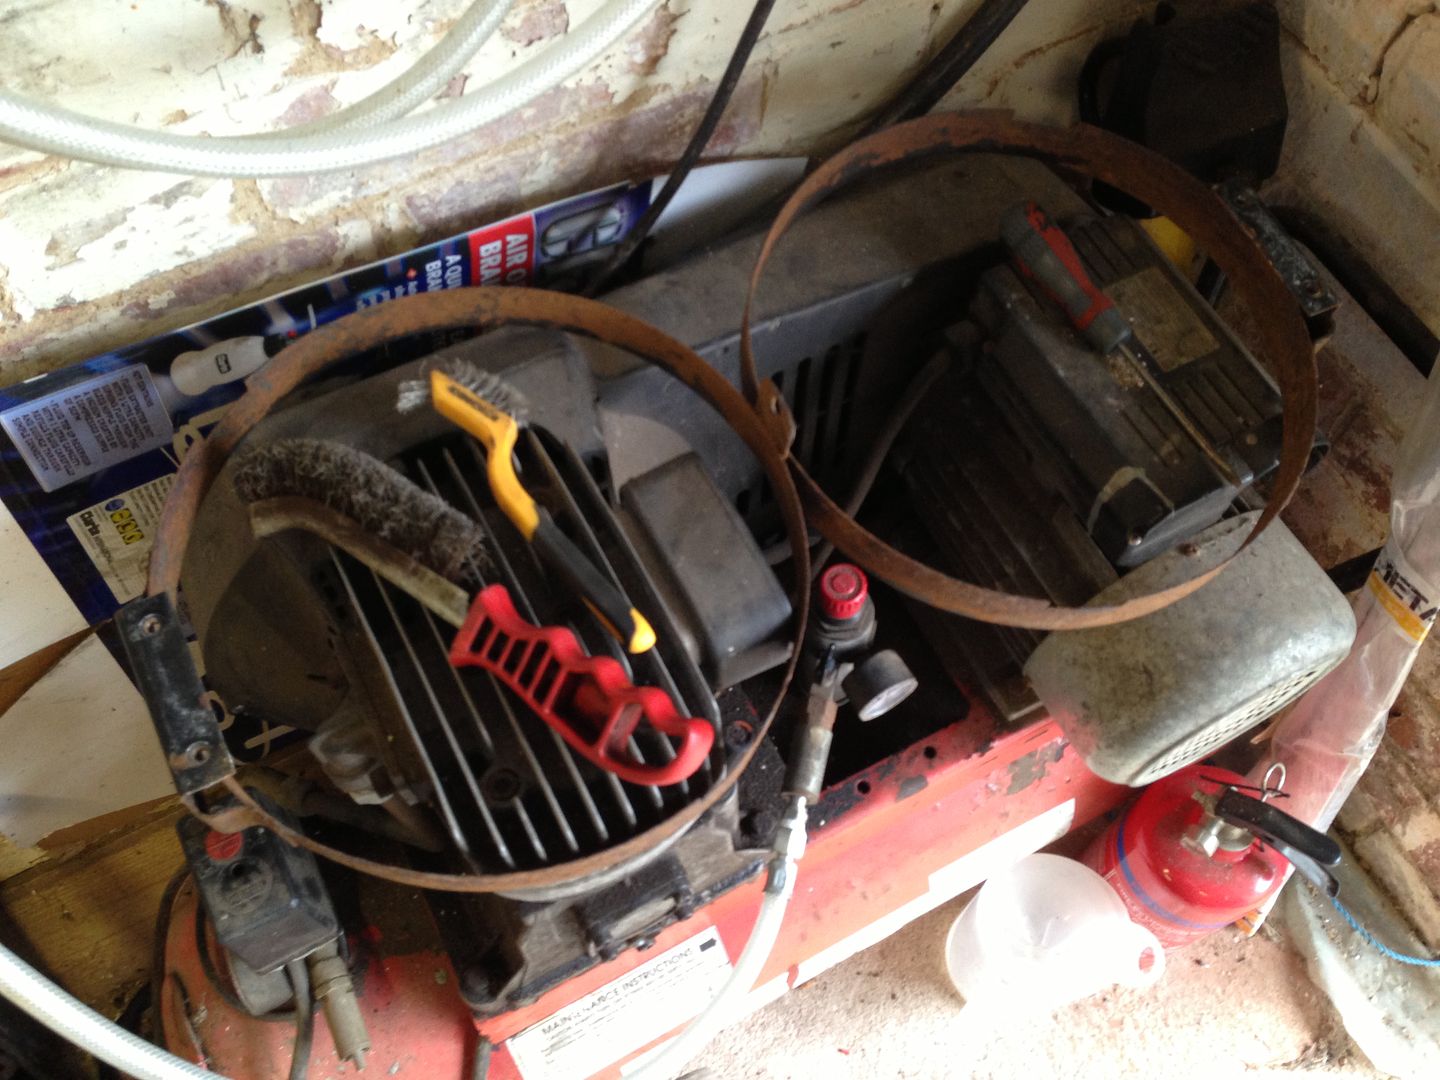
Cleaned up air con fans and shrouds:
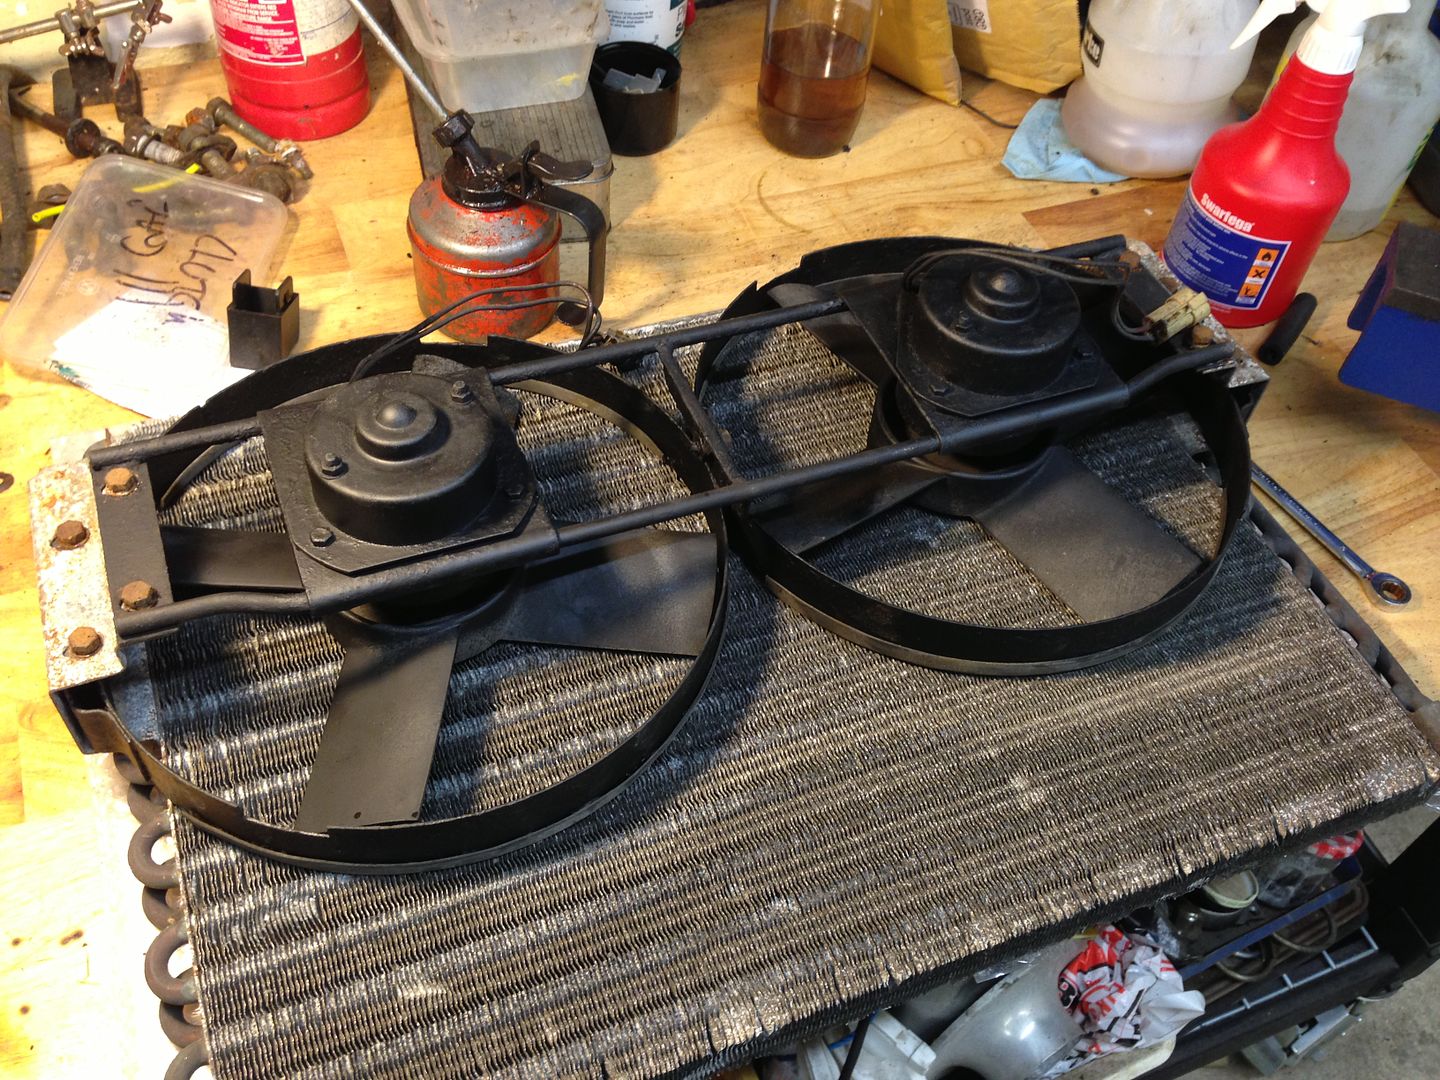
Painted and assembled onto the condenser:
Mounting brackets cleaned, painted and bolted to body:
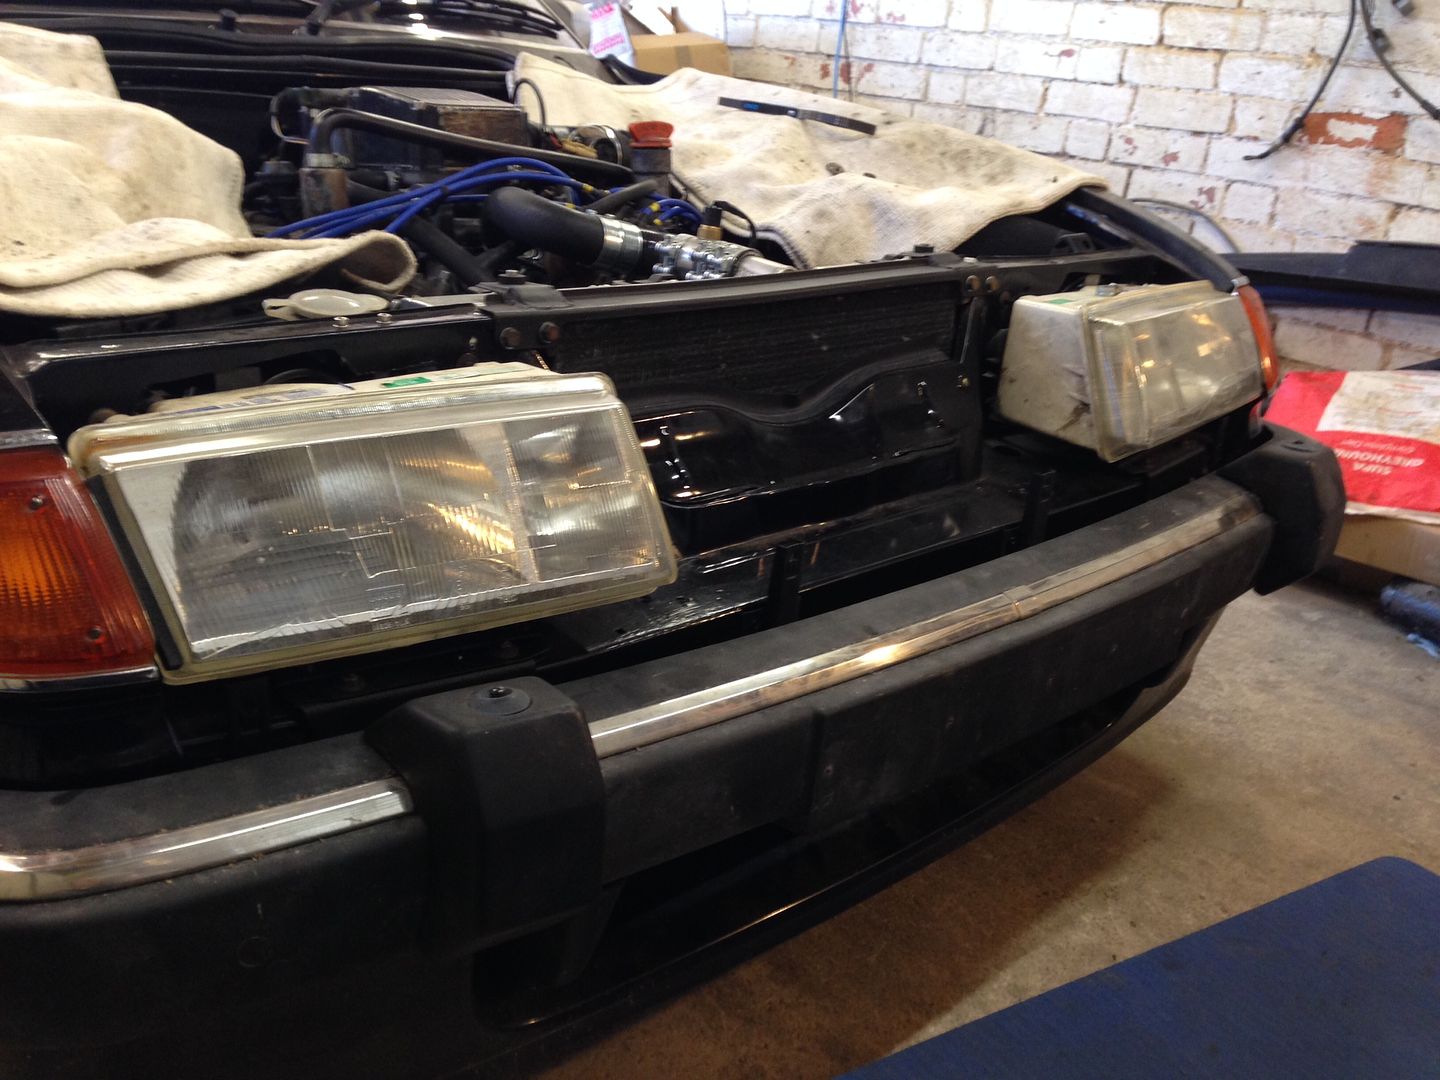
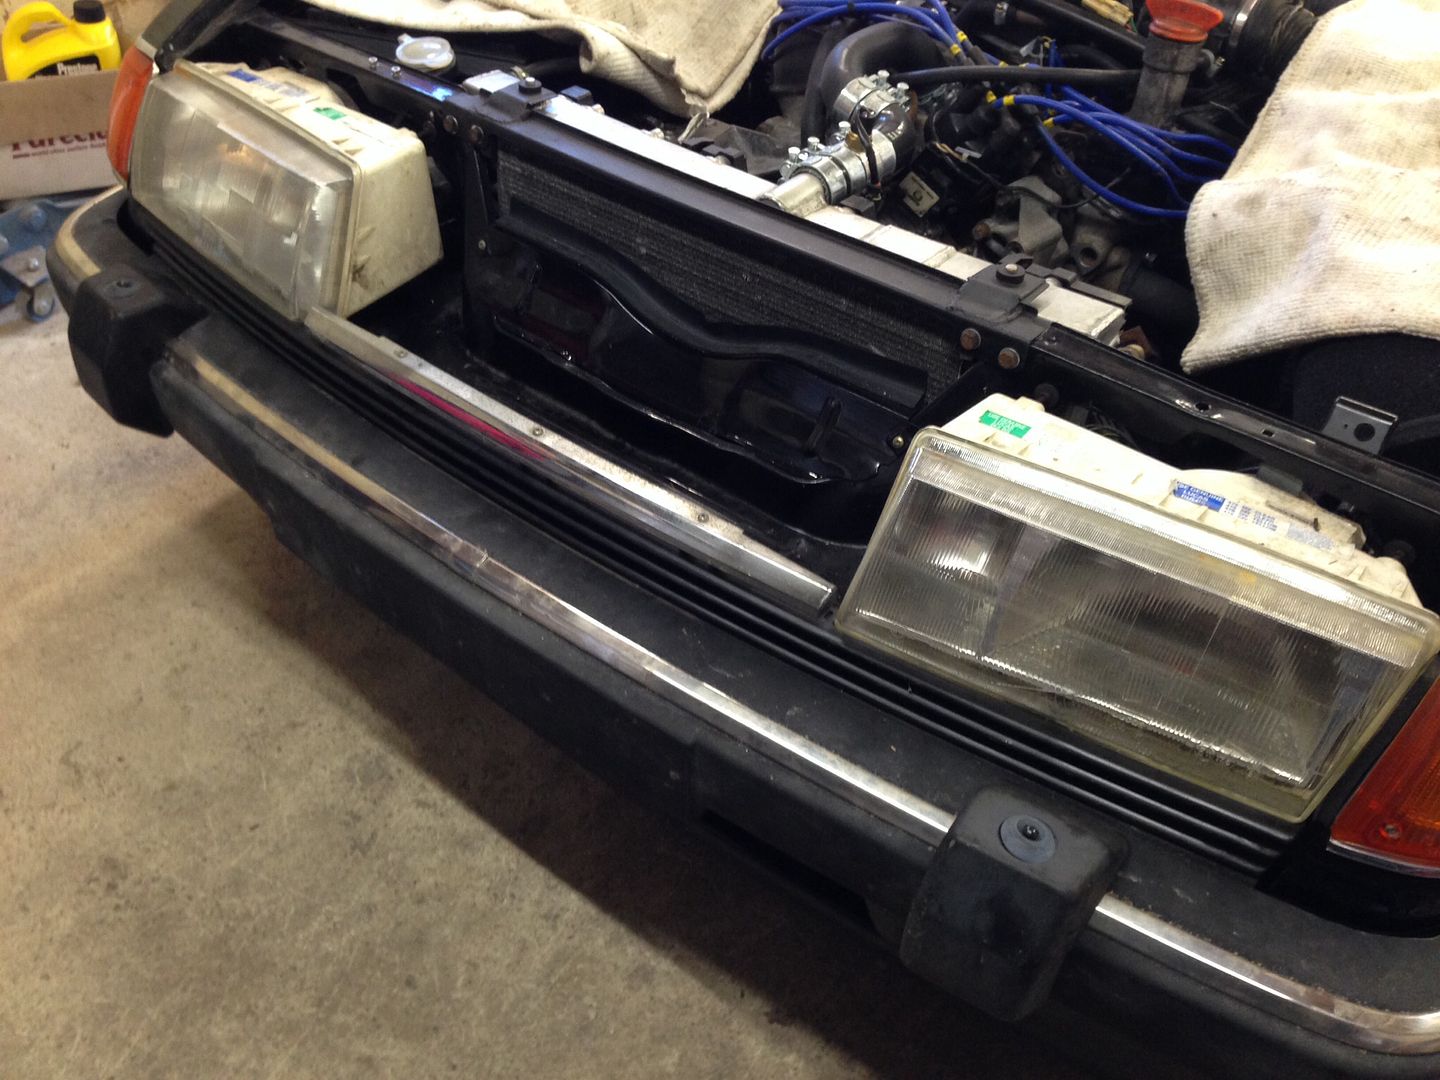
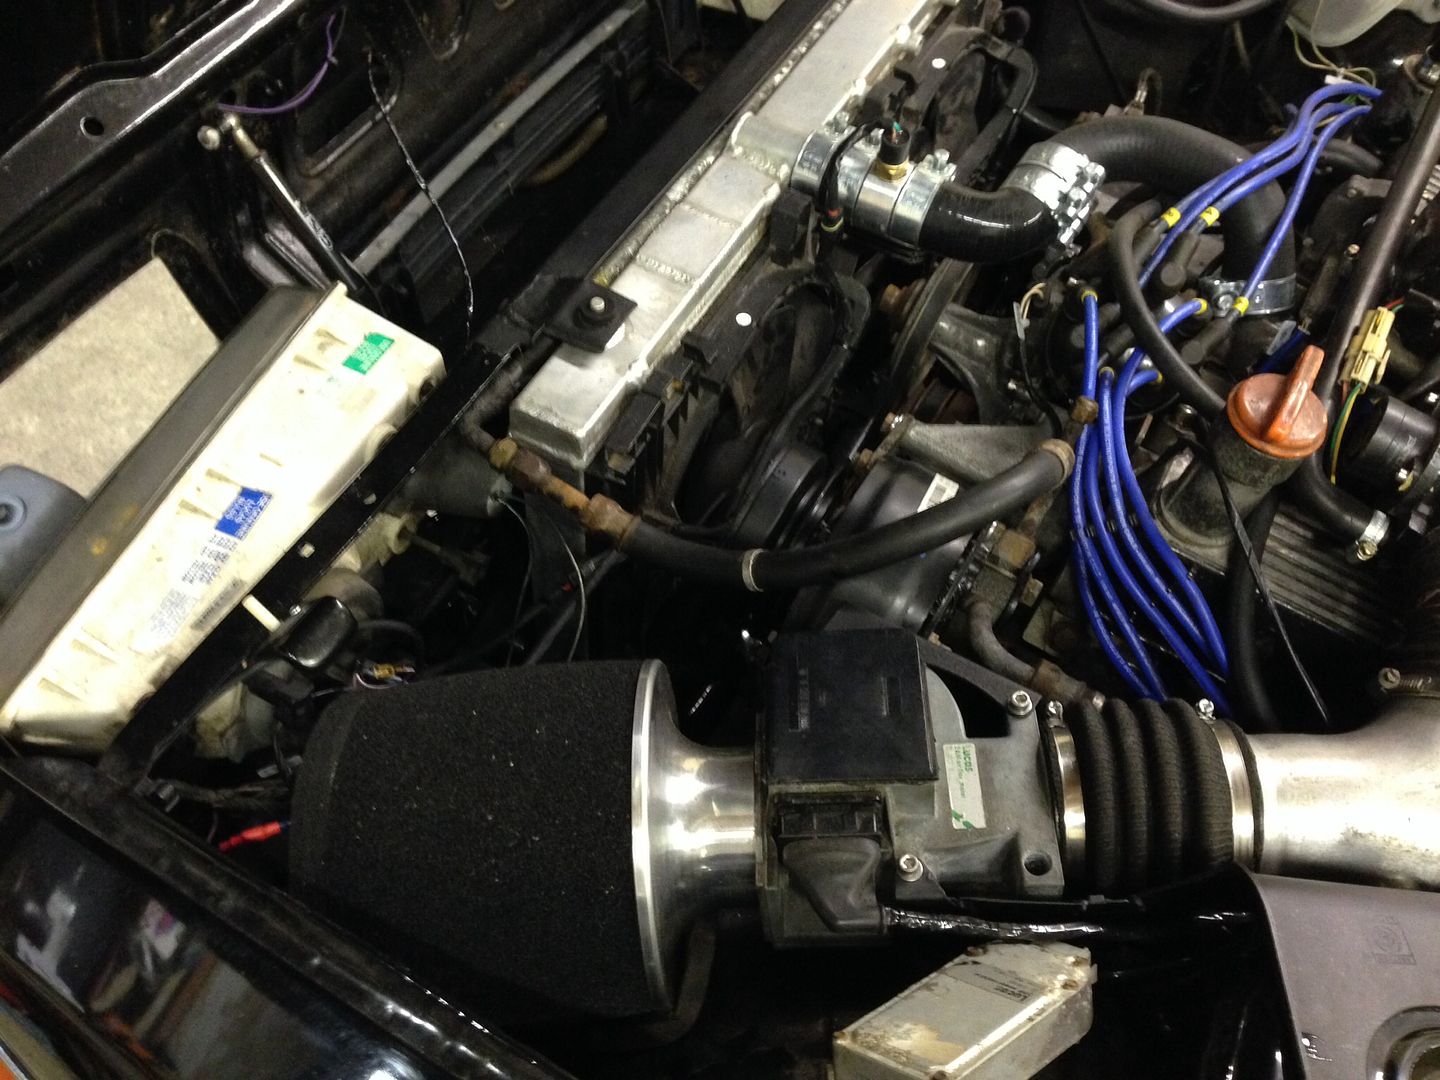
Whole lot fitted along with a hastily fabricated top bar to hold it all in place including the non-standard alloy radiator.
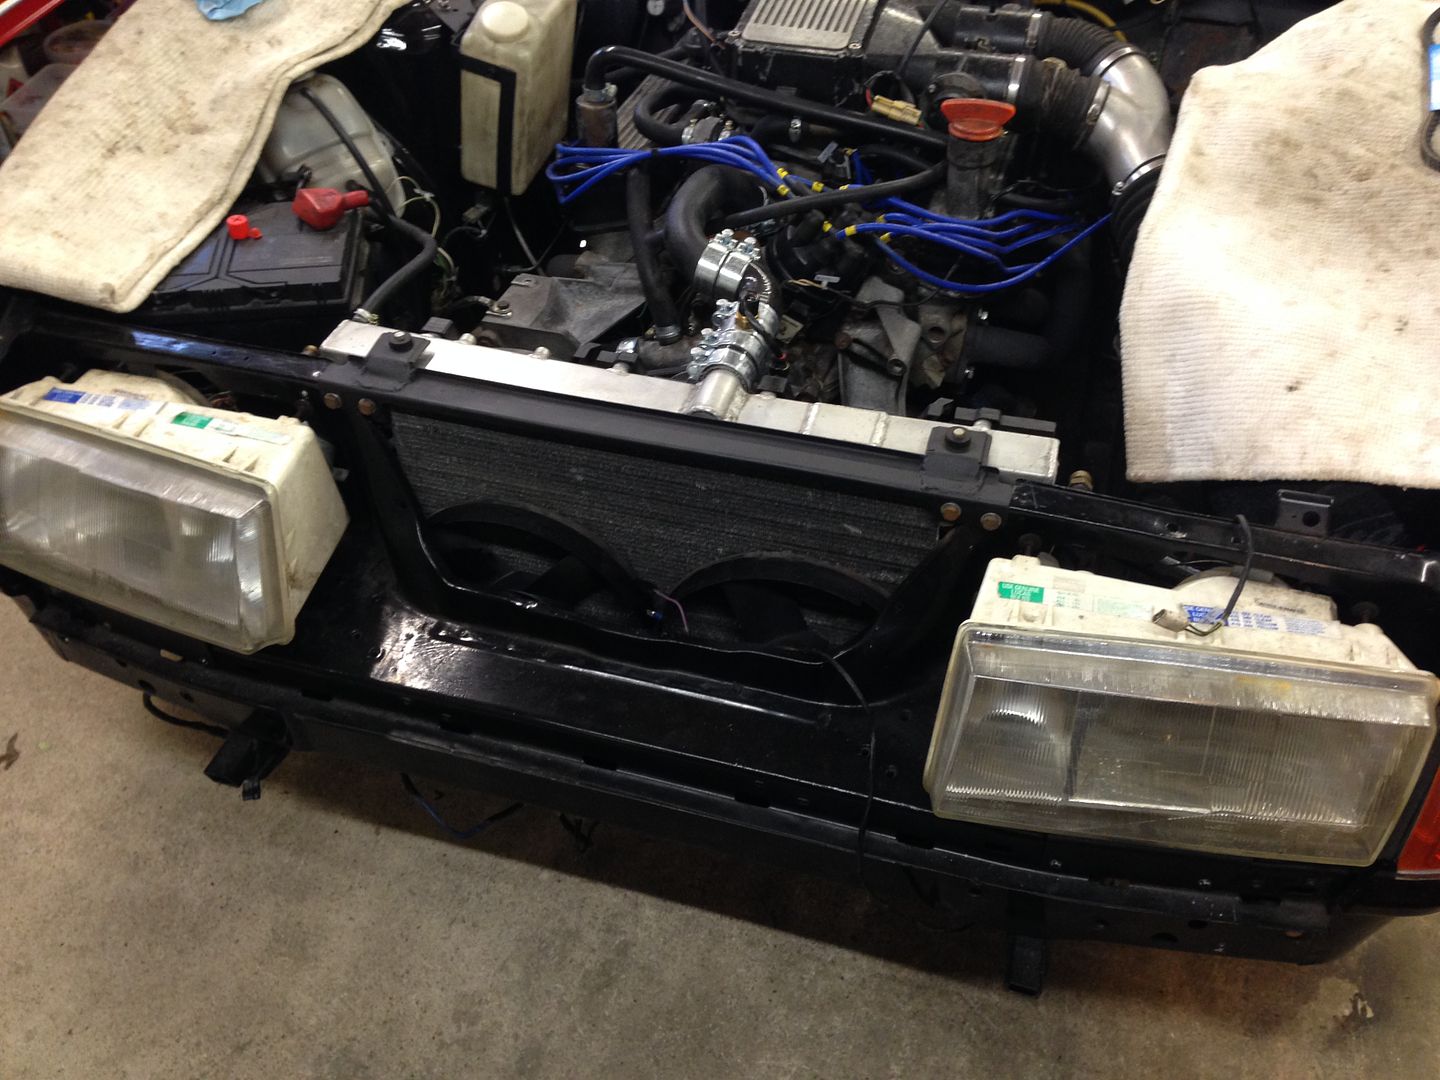
You'll notice the lights are back in too. Spent a few hours going over the electrical system, got all the things needed for an MOT working now. Things to sort:
- Central locking
- Rear wiper
- Temp gauge reading high (actual temp is fine)
The engine was a bit lumpy and wouldn't idle particularly well, I think it needs a good run and then a proper set up when warmed thoroughly.
Cleaned up air con fans and shrouds:
Painted and assembled onto the condenser:
Mounting brackets cleaned, painted and bolted to body:
Whole lot fitted along with a hastily fabricated top bar to hold it all in place including the non-standard alloy radiator.
You'll notice the lights are back in too. Spent a few hours going over the electrical system, got all the things needed for an MOT working now. Things to sort:
- Central locking
- Rear wiper
- Temp gauge reading high (actual temp is fine)
The engine was a bit lumpy and wouldn't idle particularly well, I think it needs a good run and then a proper set up when warmed thoroughly.
Duke Thrust said:
Needs sounds for full experience:
http://www.youtube.com/watch?v=LN7df0QPReM&fea...
Video was taken over quite some time and edited, plenty of time to warm up and allowing for initial cam bedding in.
Brilliant stuff!!!http://www.youtube.com/watch?v=LN7df0QPReM&fea...
Video was taken over quite some time and edited, plenty of time to warm up and allowing for initial cam bedding in.
check this period A-R promo video for Vitesse's in full cry!!
http://www.youtube.com/watch?v=Wvl3lLguUuY
Got some time at the weekend and sorted:
Central locking
HVAC blowers
Interior lights
Oil level sensor
Rear wiper
Temp sensor
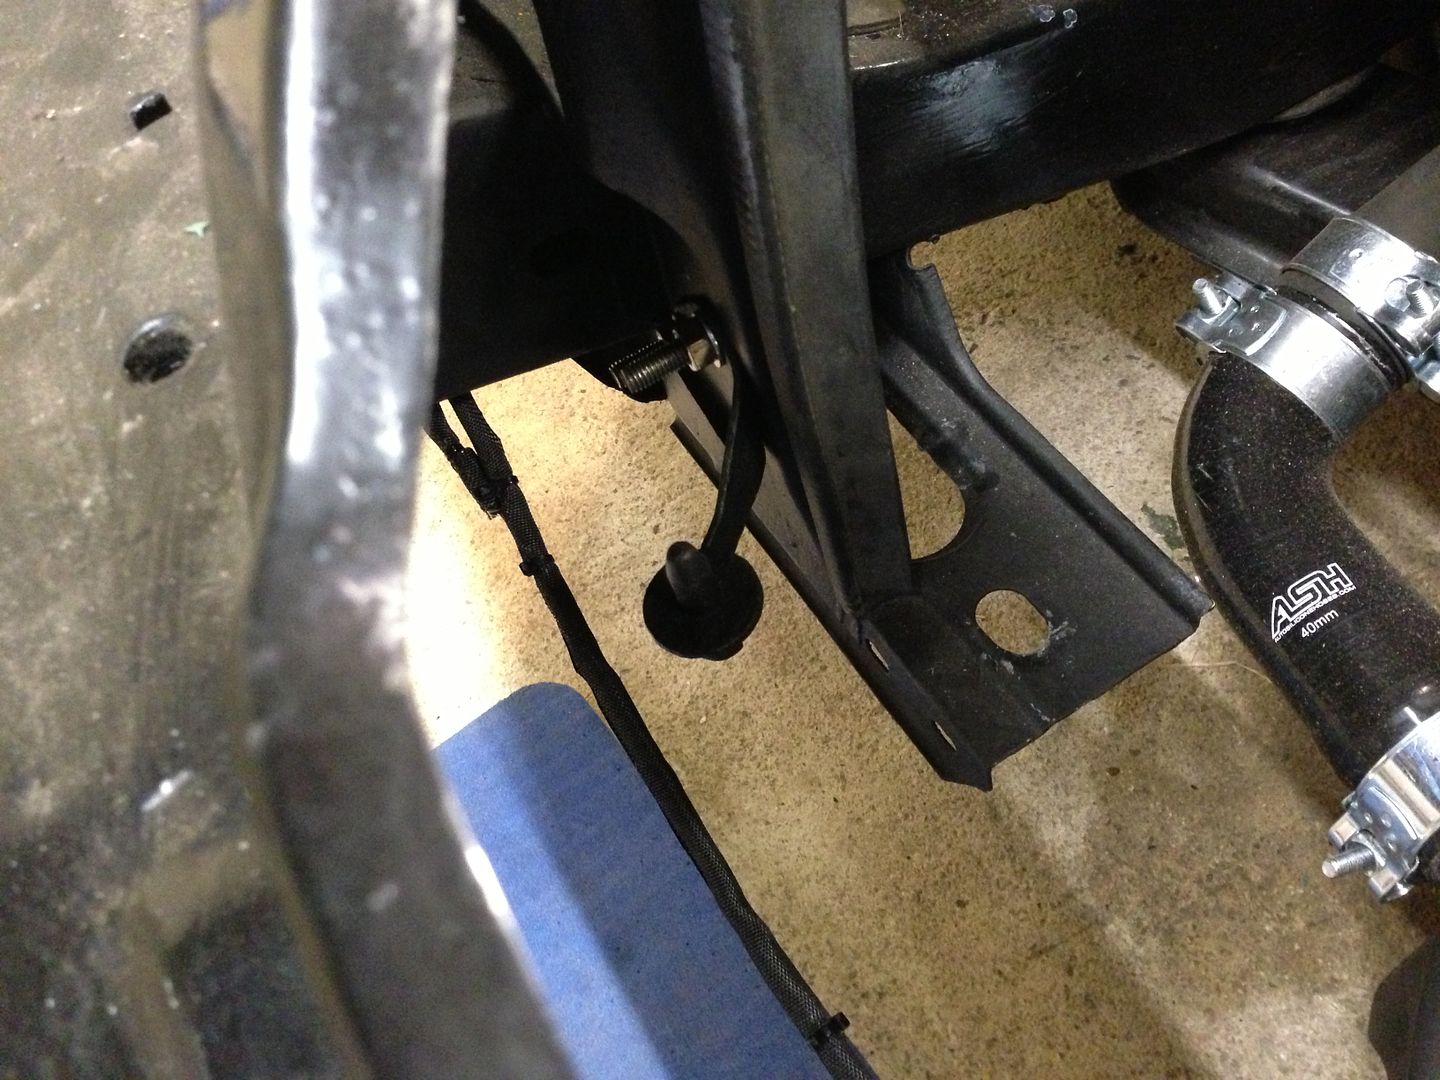
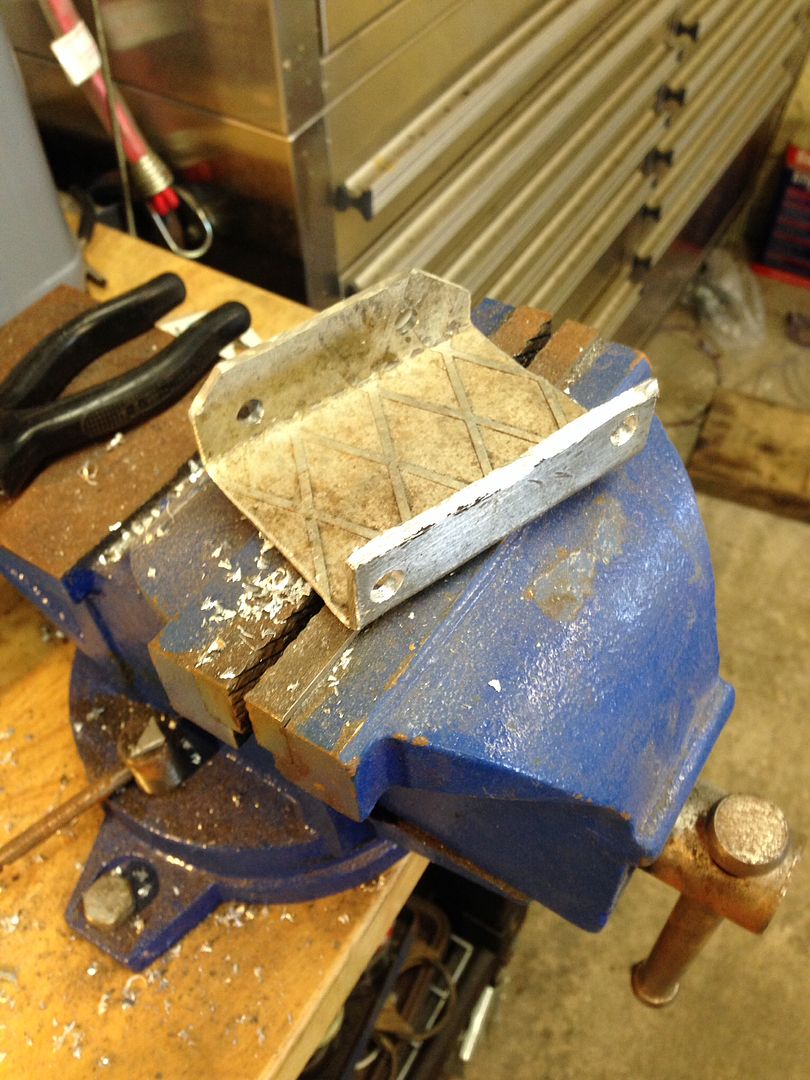
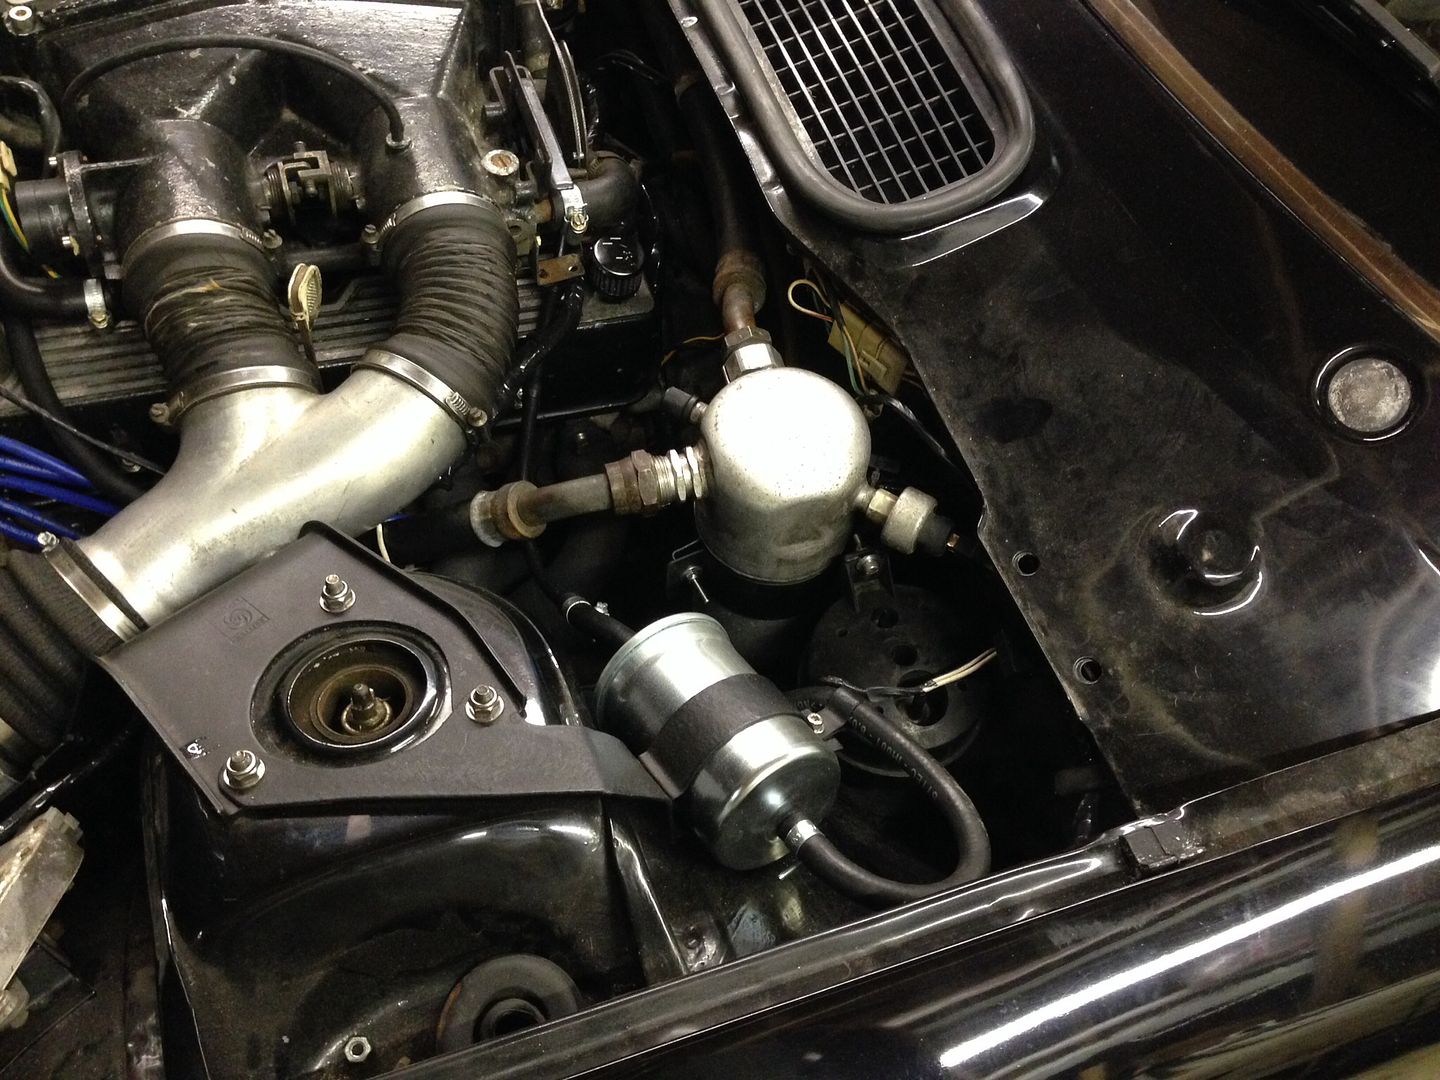
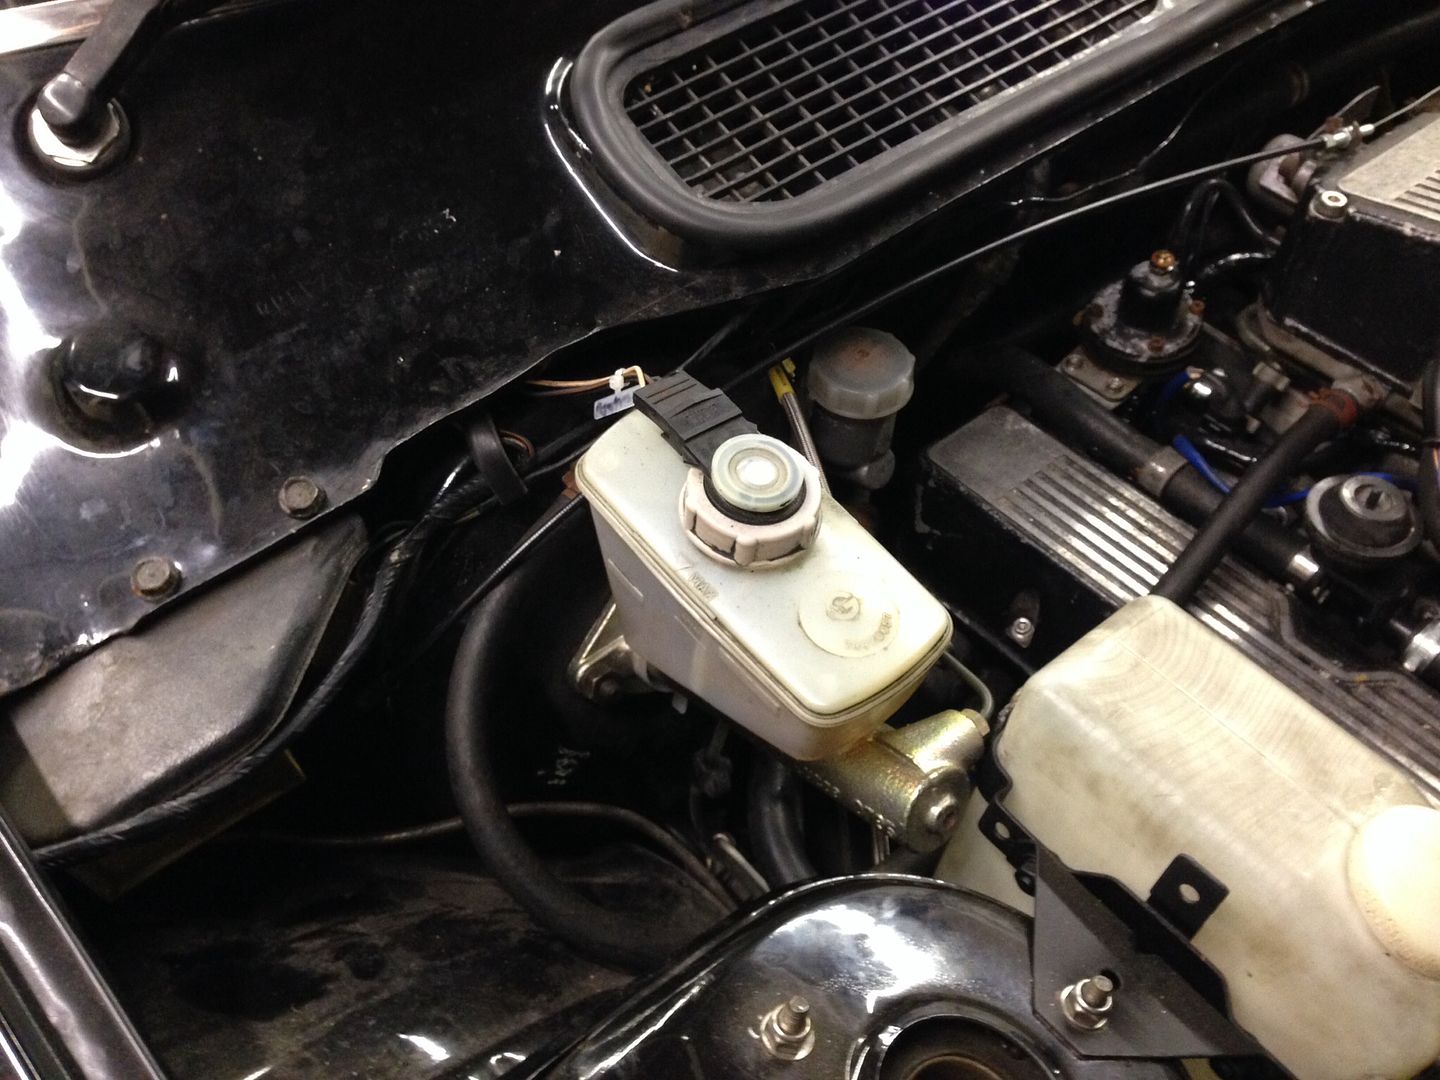
In addition to making a bracket to hold the water bottle for the head light washer system. The original had rusted to nothing so made a stout repayment from some old alloy plate, not pretty but it's completely hidden and won't suffer the same fate as the previous one.
In place:
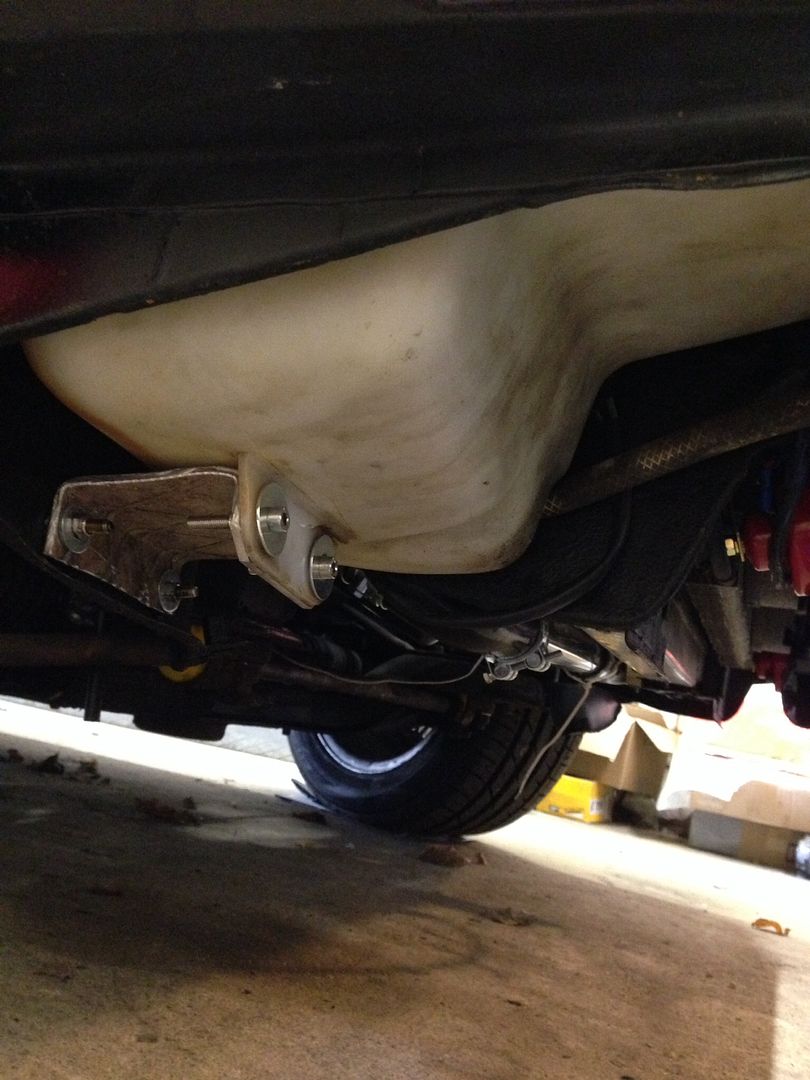
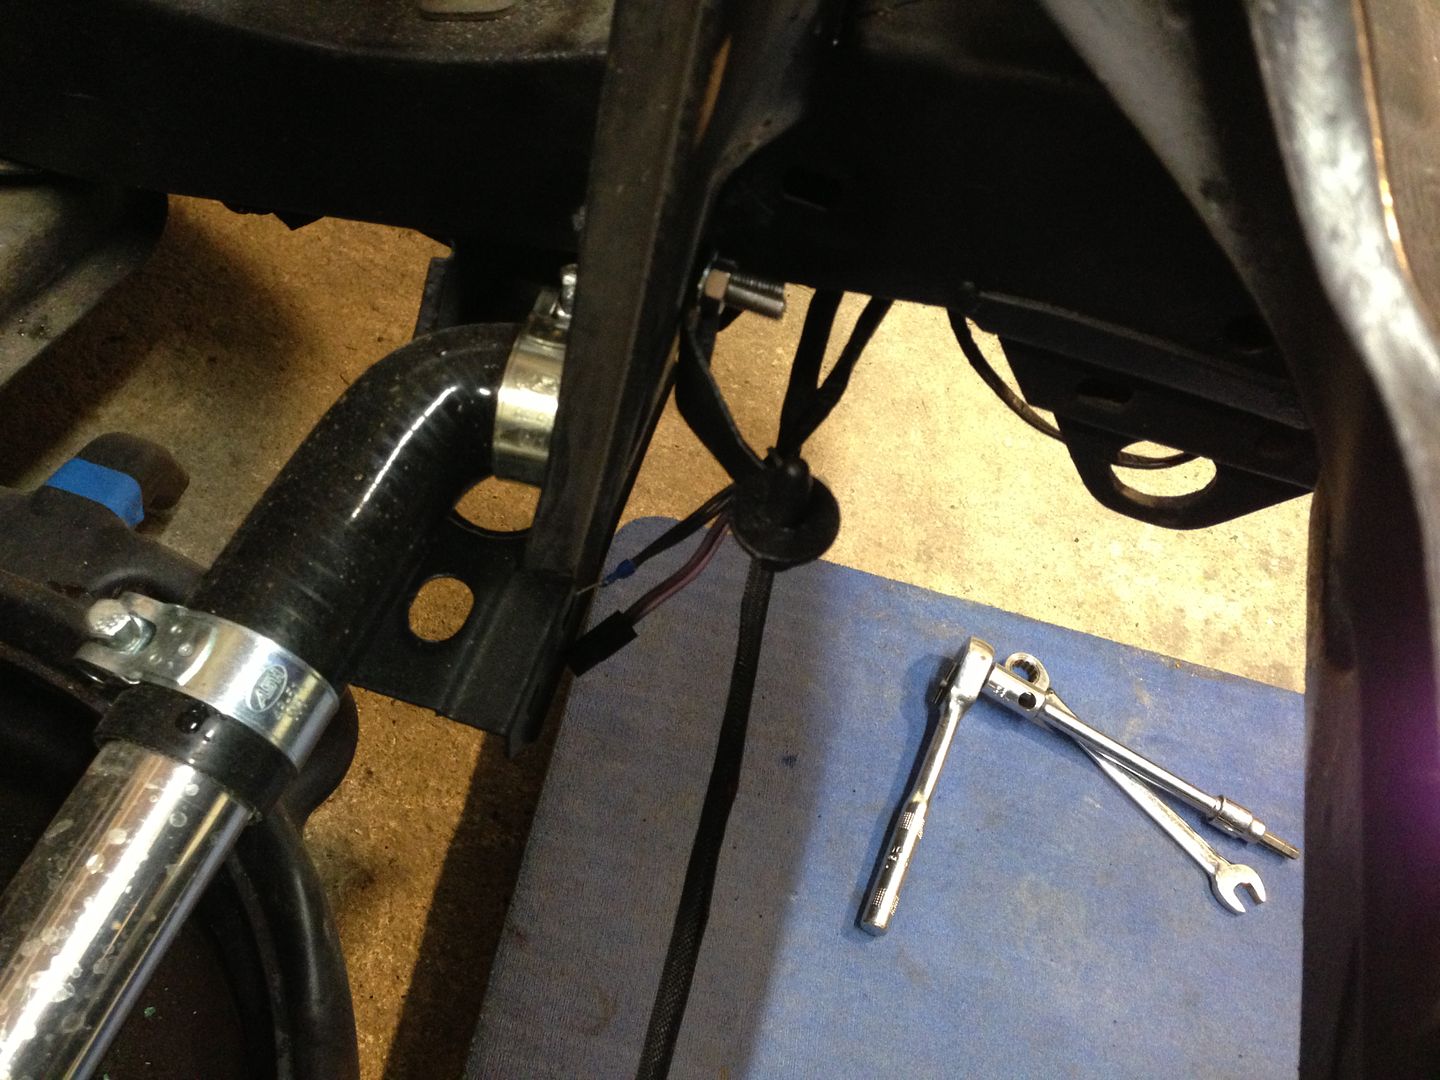
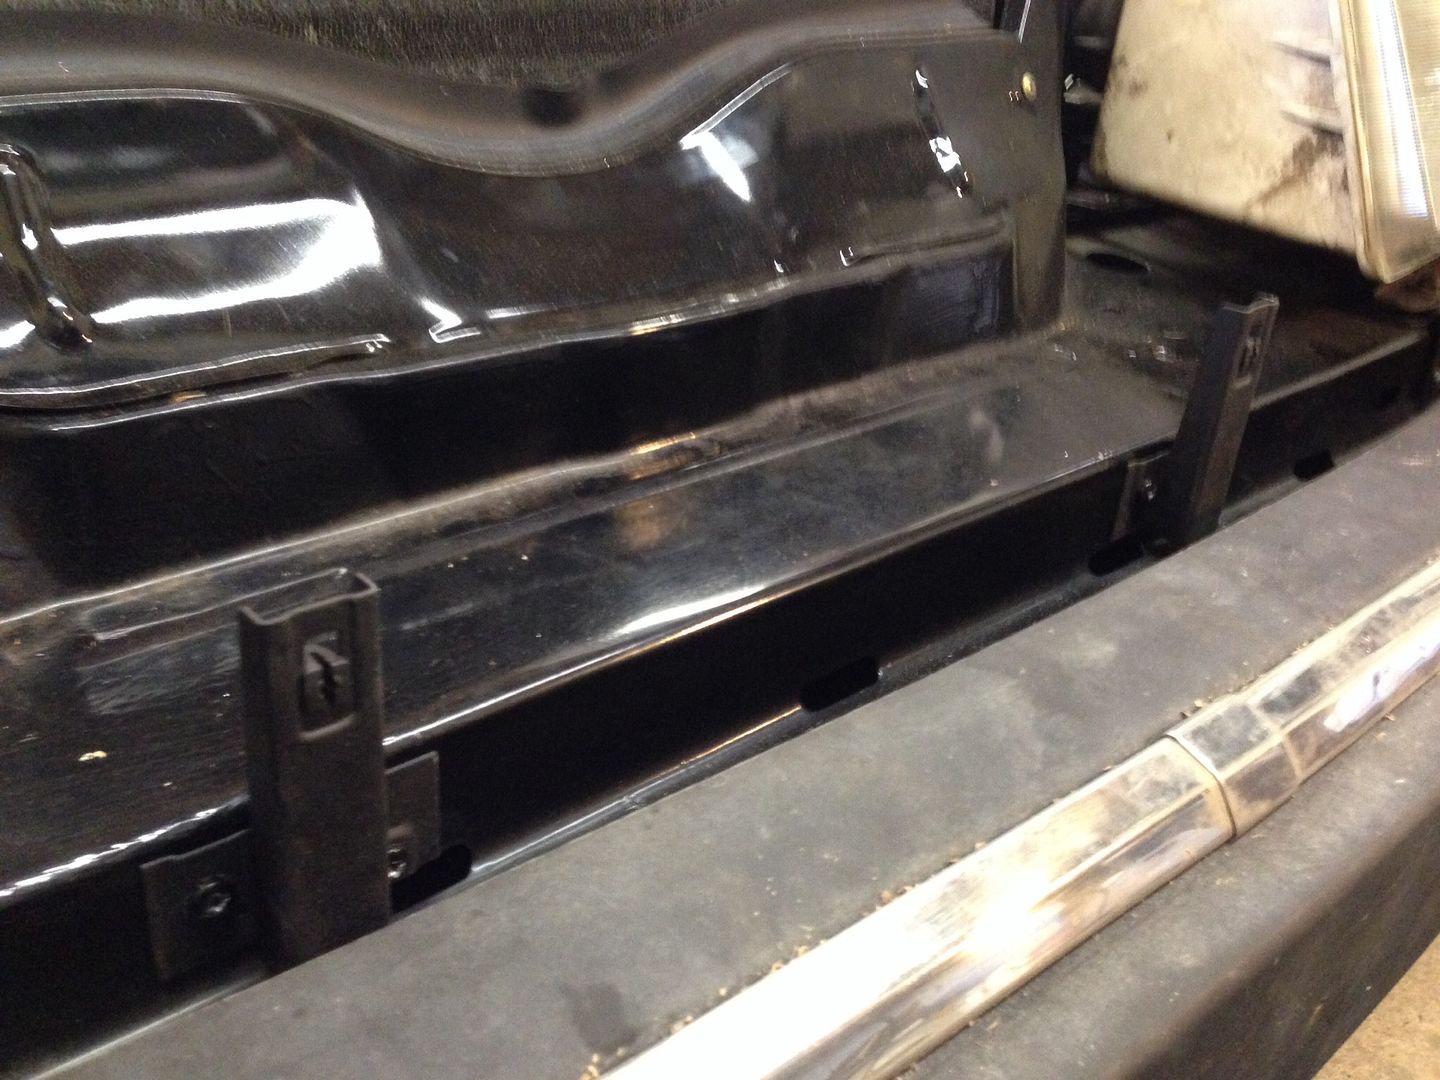
Under tray back on, the pipe you can see leads to the washer jets in the front bumper. The tray has twisted a bit over time but as it's also hidden it's of no consequence:
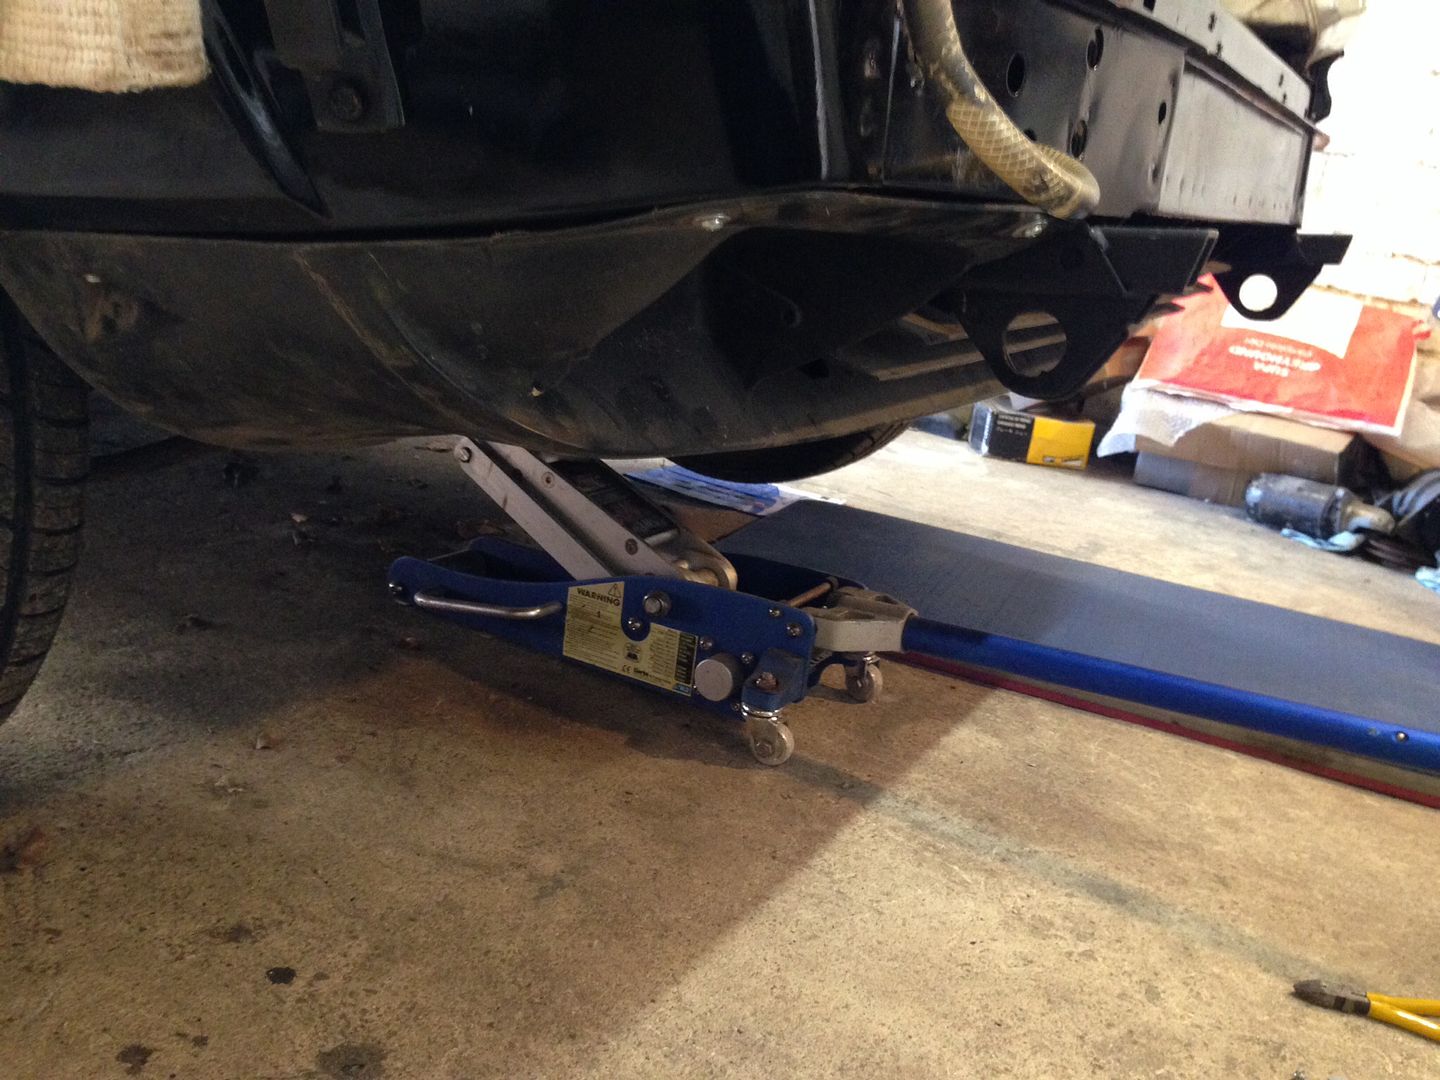
Front spoiler back on. As I'm running wider tyres the rubbed on the inner edges so they had to be relived a little, also needs a good clean after being in the sheds for so long:

It was at this point I realised that the bumper mounts need to go back on before under tray and spoiler, so they had to come off again...
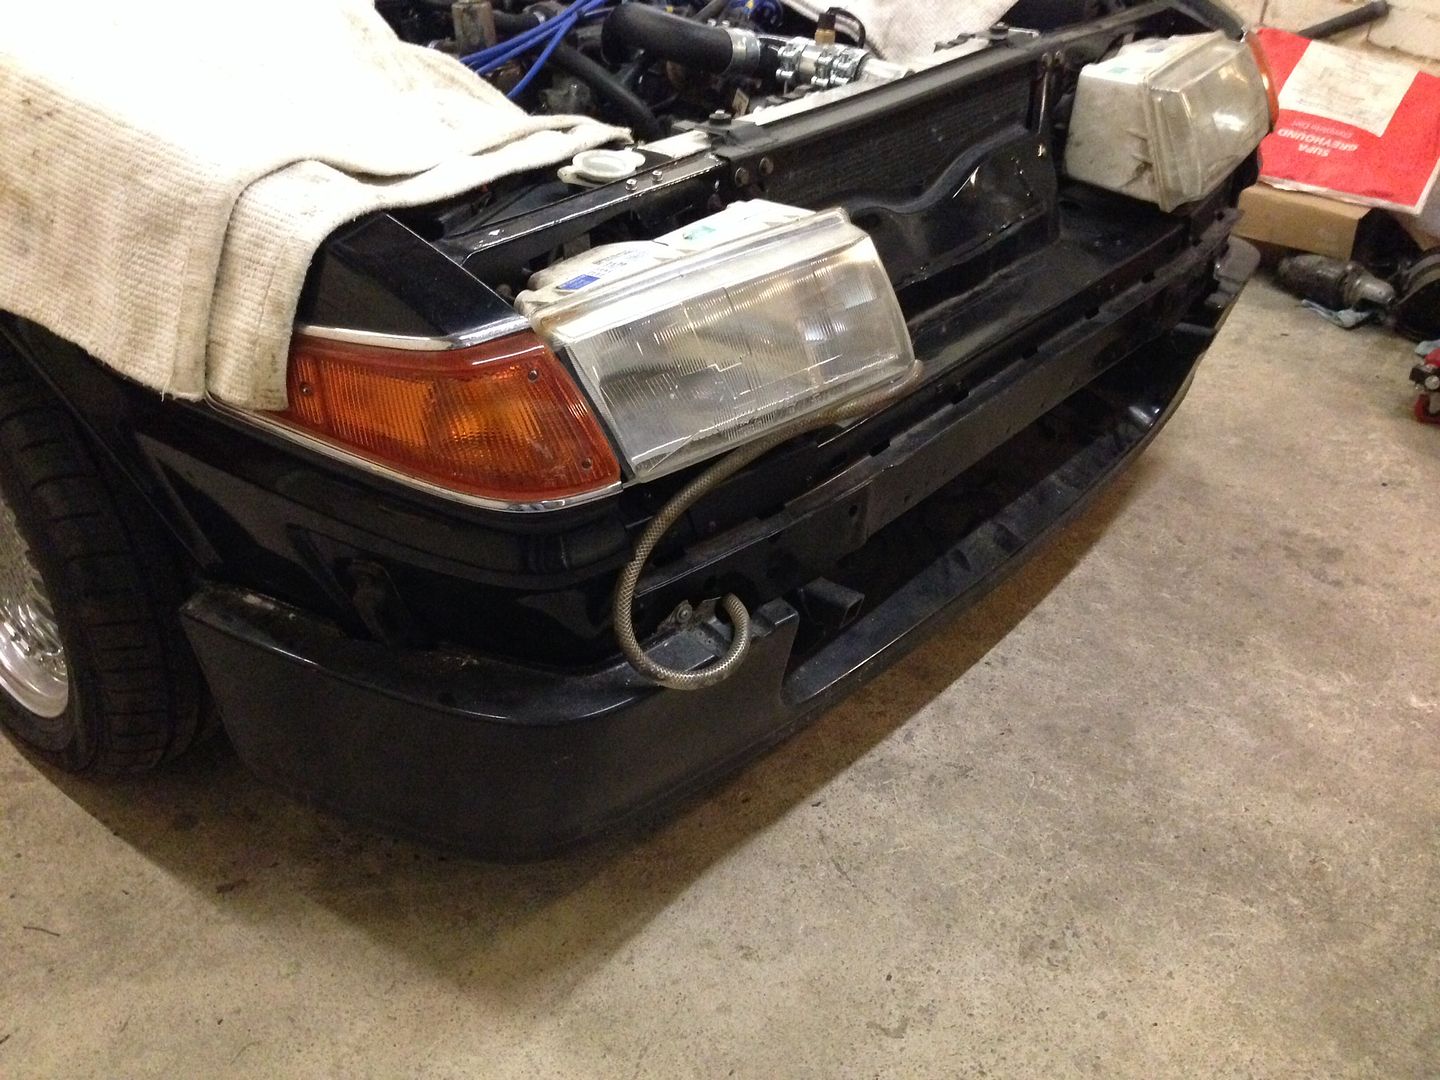
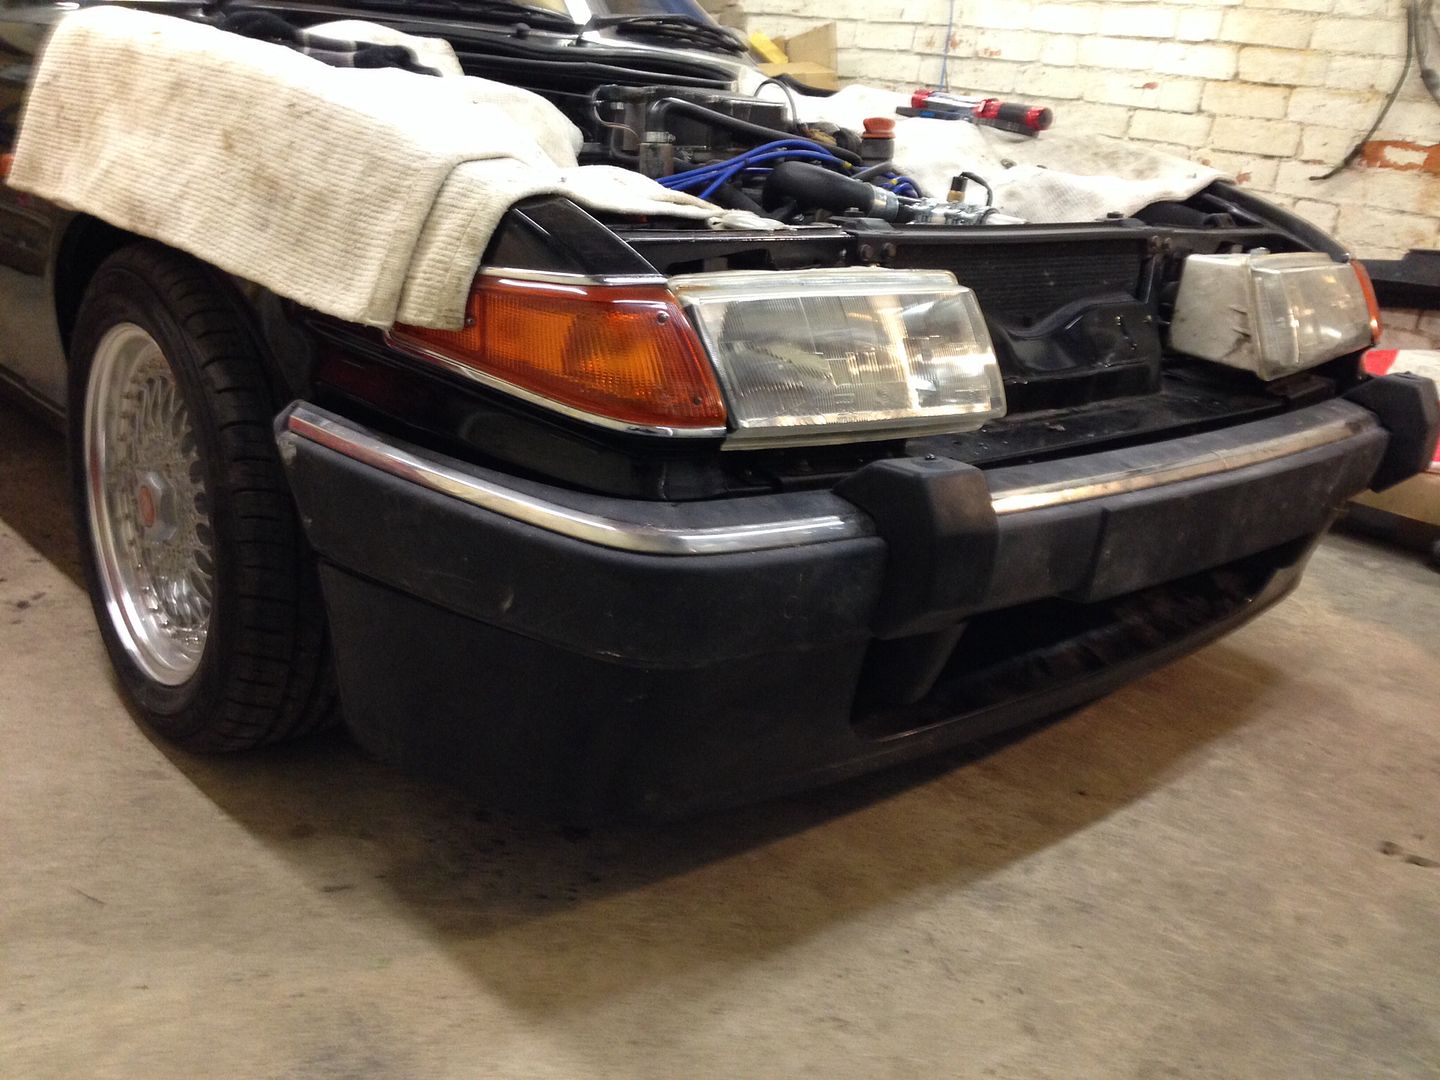
But, once done then the bumper back on:
Central locking
HVAC blowers
Interior lights
Oil level sensor
Rear wiper
Temp sensor
In addition to making a bracket to hold the water bottle for the head light washer system. The original had rusted to nothing so made a stout repayment from some old alloy plate, not pretty but it's completely hidden and won't suffer the same fate as the previous one.
In place:
Under tray back on, the pipe you can see leads to the washer jets in the front bumper. The tray has twisted a bit over time but as it's also hidden it's of no consequence:
Front spoiler back on. As I'm running wider tyres the rubbed on the inner edges so they had to be relived a little, also needs a good clean after being in the sheds for so long:
It was at this point I realised that the bumper mounts need to go back on before under tray and spoiler, so they had to come off again...
But, once done then the bumper back on:
tdm34 said:
Duke Thrust said:
Needs sounds for full experience:
http://www.youtube.com/watch?v=LN7df0QPReM&fea...
Video was taken over quite some time and edited, plenty of time to warm up and allowing for initial cam bedding in.
Brilliant stuff!!!http://www.youtube.com/watch?v=LN7df0QPReM&fea...
Video was taken over quite some time and edited, plenty of time to warm up and allowing for initial cam bedding in.
check this period A-R promo video for Vitesse's in full cry!!
http://www.youtube.com/watch?v=Wvl3lLguUuY
Brilliant job on this Duke Thrust , I've had 7 sd1's , 2 of them vitesse's and had some great times with them , plenty of frustrating times with them too, they are (slightly flawed) great cars and just about everybody has been in one/knew someone who had one/has a story about one , looking forward to seeing this one complete again
lexspace said:
Brilliant job on this Duke Thrust , I've had 7 sd1's , 2 of them vitesse's and had some great times with them , plenty of frustrating times with them too, they are (slightly flawed) great cars and just about everybody has been in one/knew someone who had one/has a story about one , looking forward to seeing this one complete again
Thanks! I suspected you had and SD1 at some point when I notced the wheel chock in one of your recent build photos.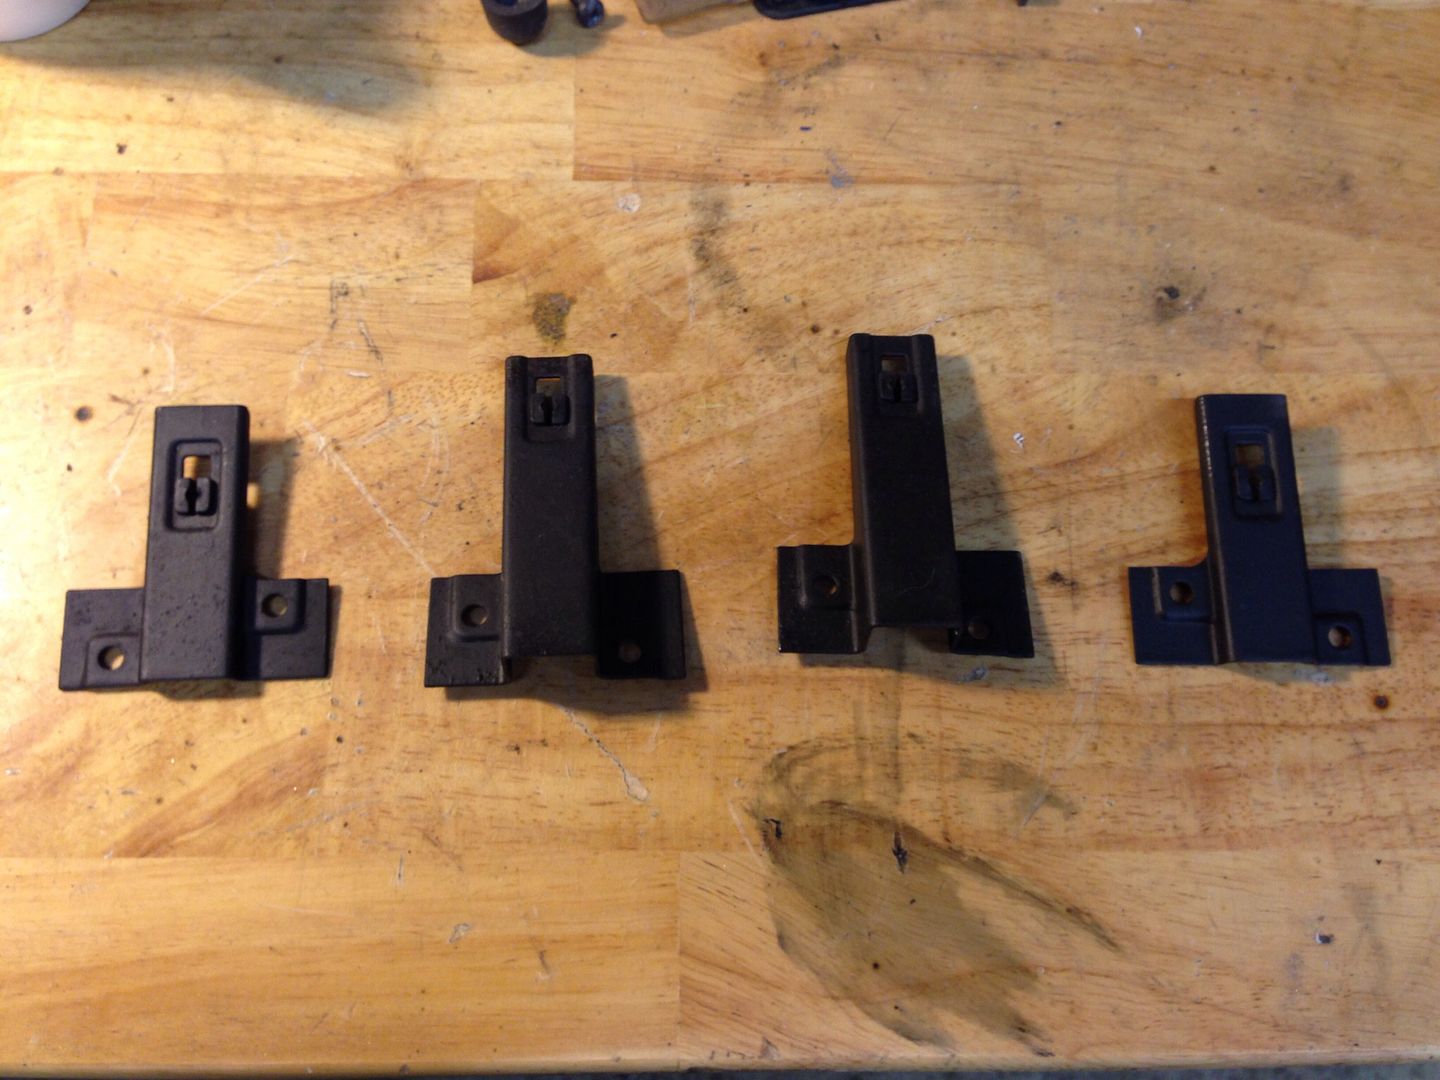

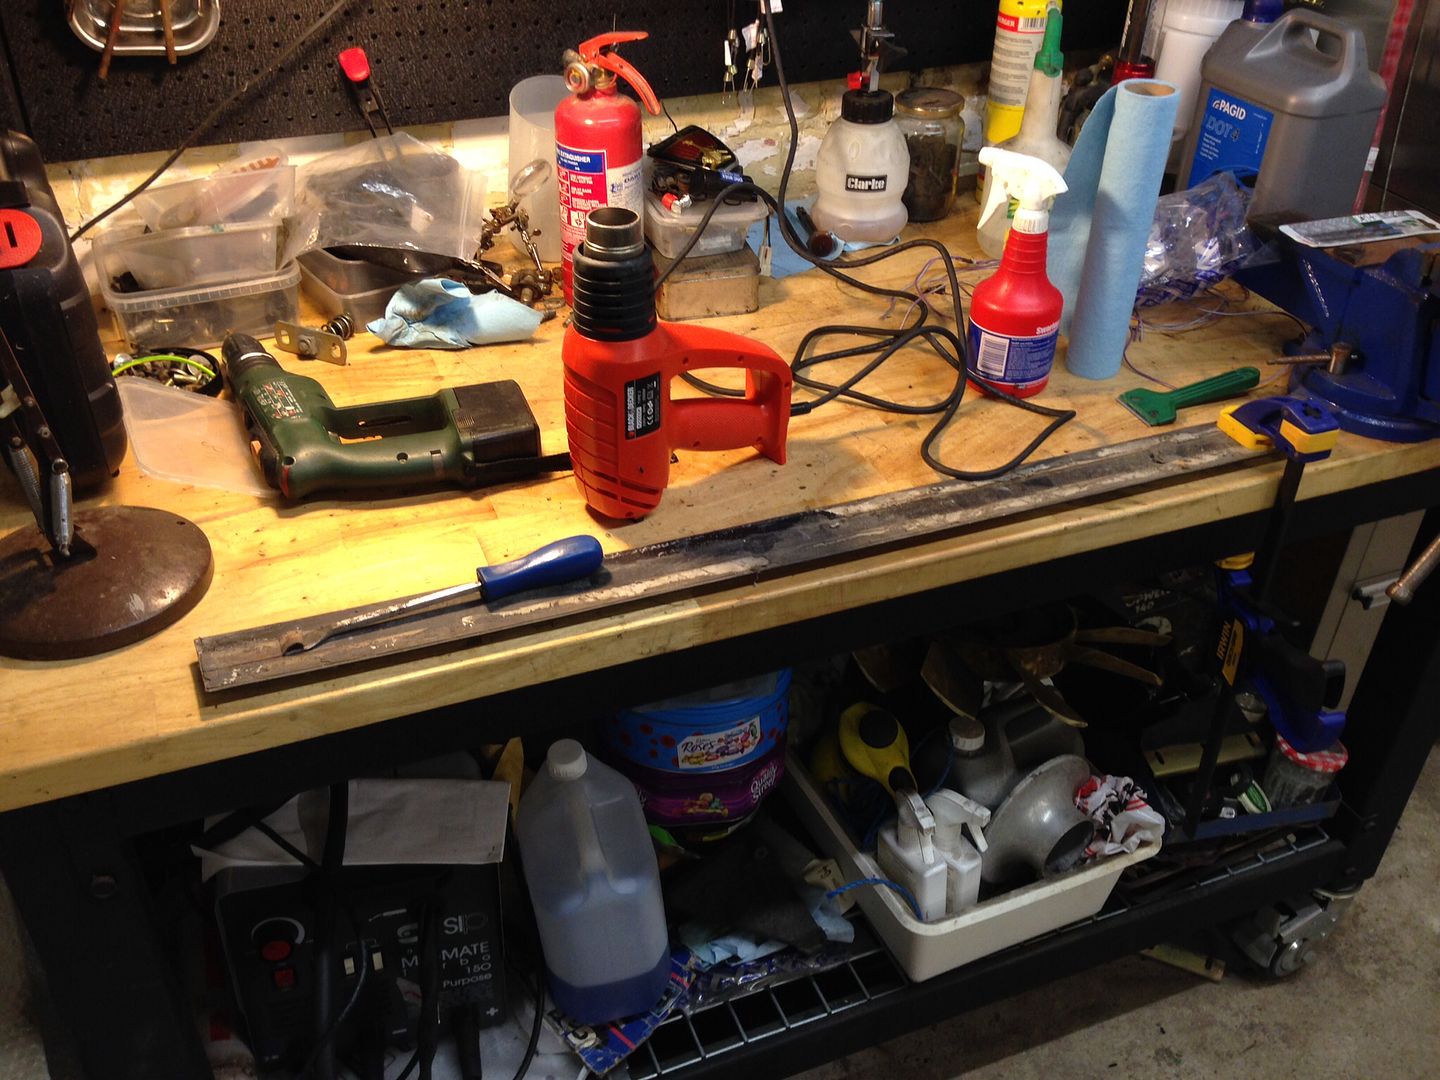
Putting the side strips back on has been a complete pain as removing the old sticky stuff takes forever. Finally got the last one done:
New sticky stuff:
Then masked a line done the side of the car (the funny camera angle distorts the picture and the rear tyres look ridiculously narrow)
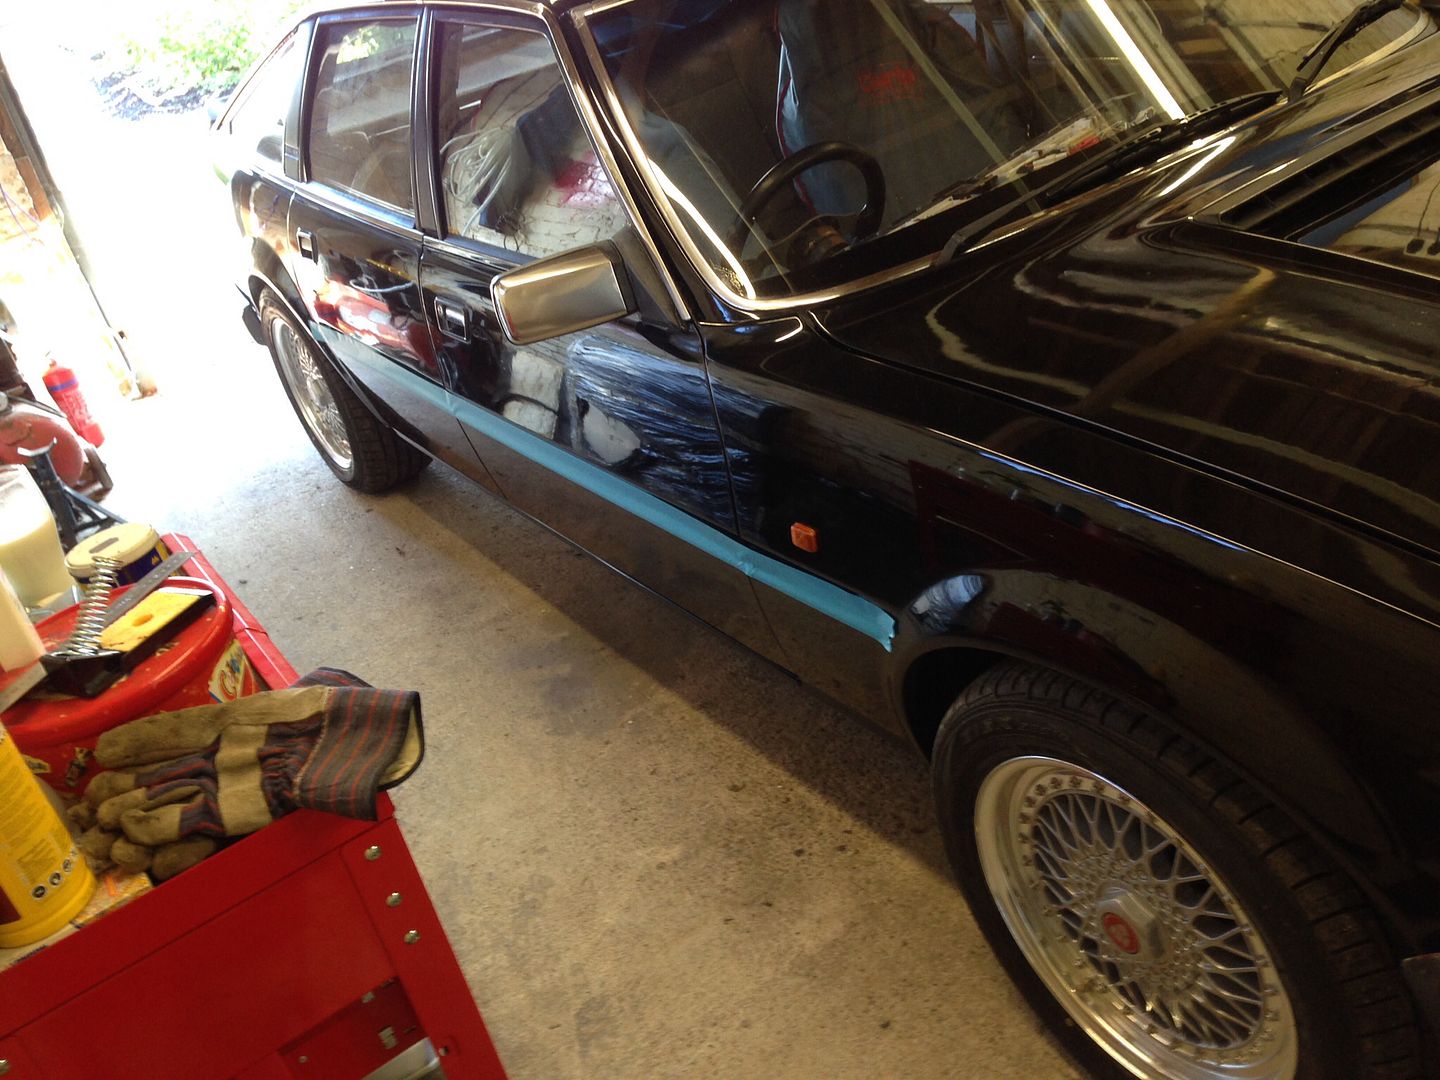
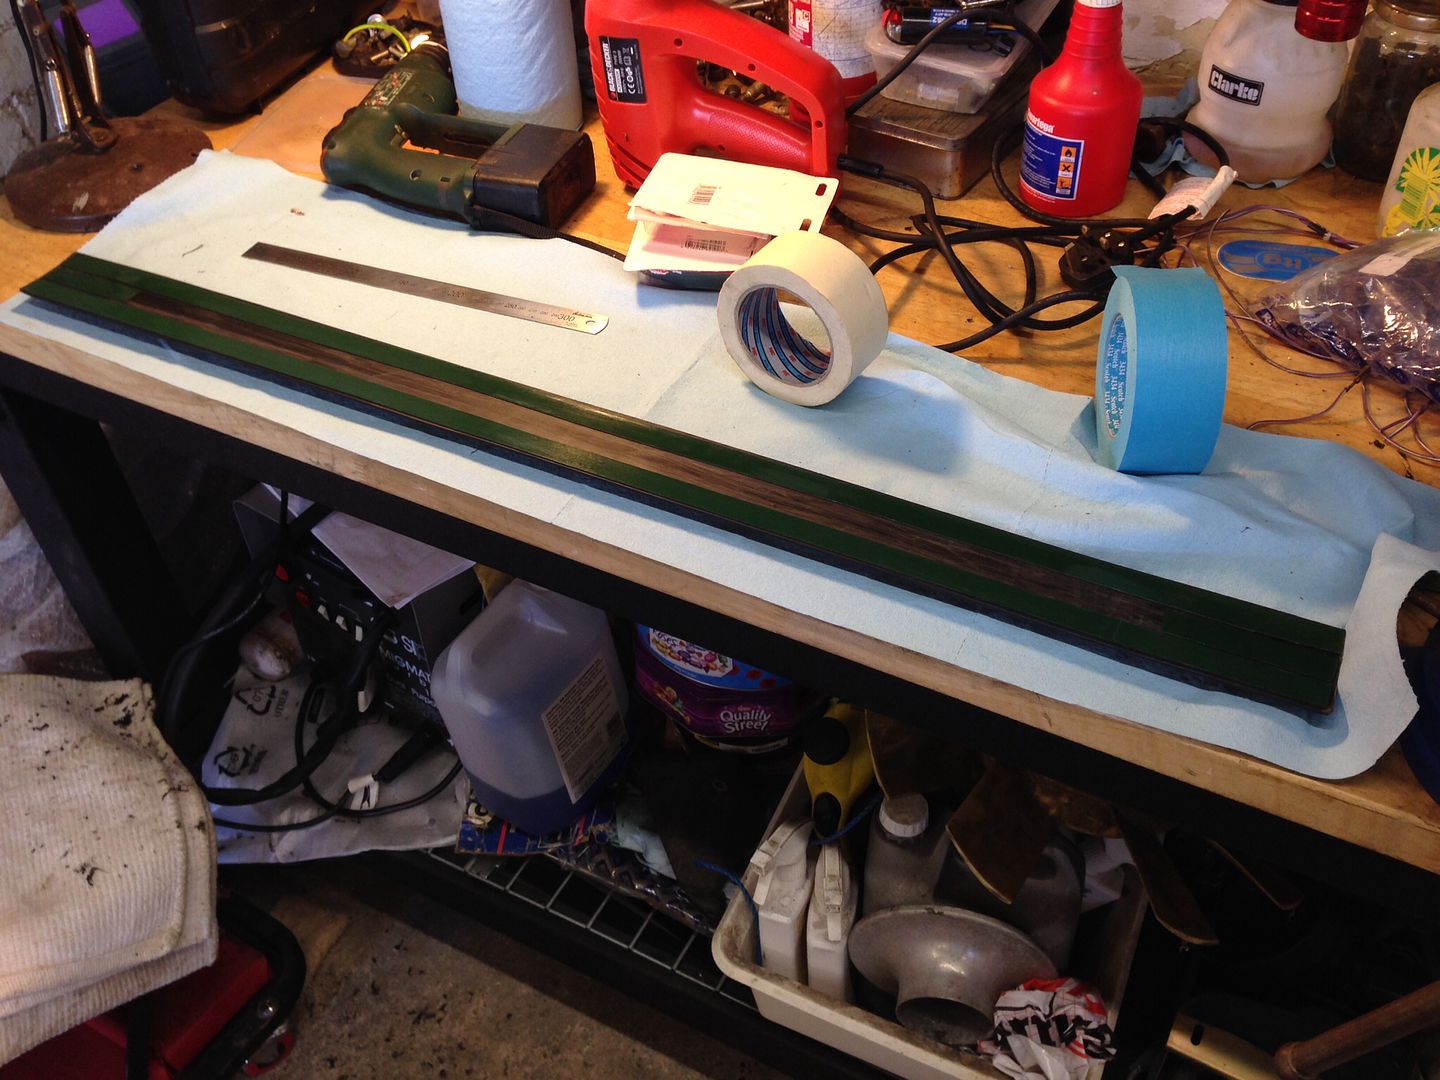
Then aligned the strips:
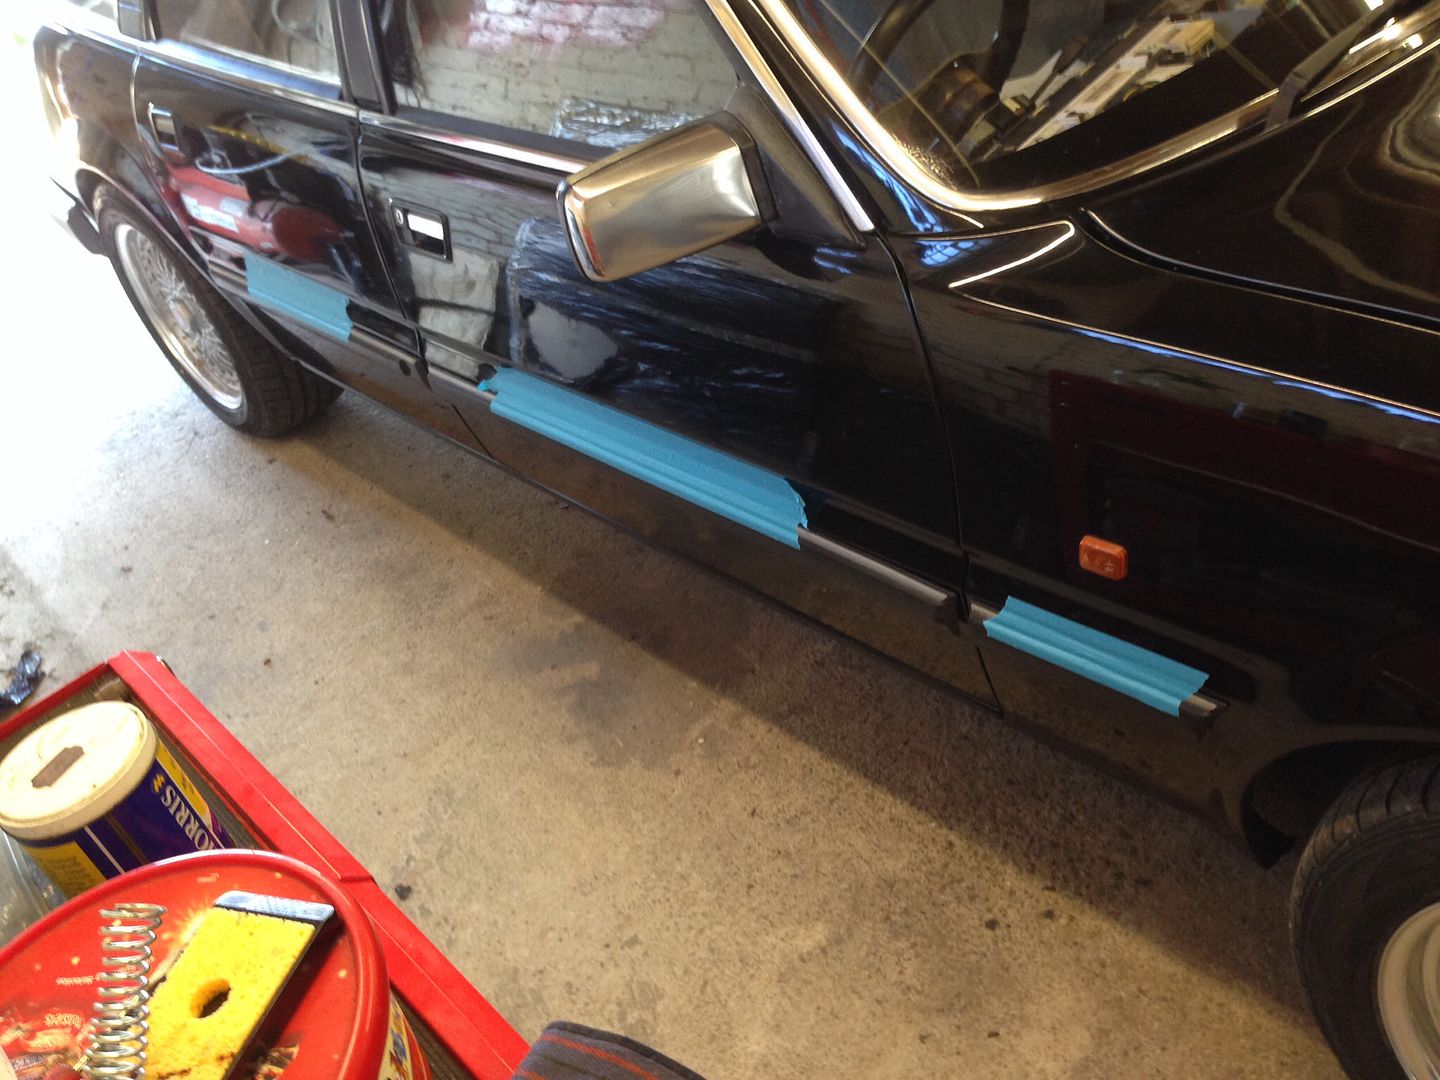
Then used more tape to create a hinge:
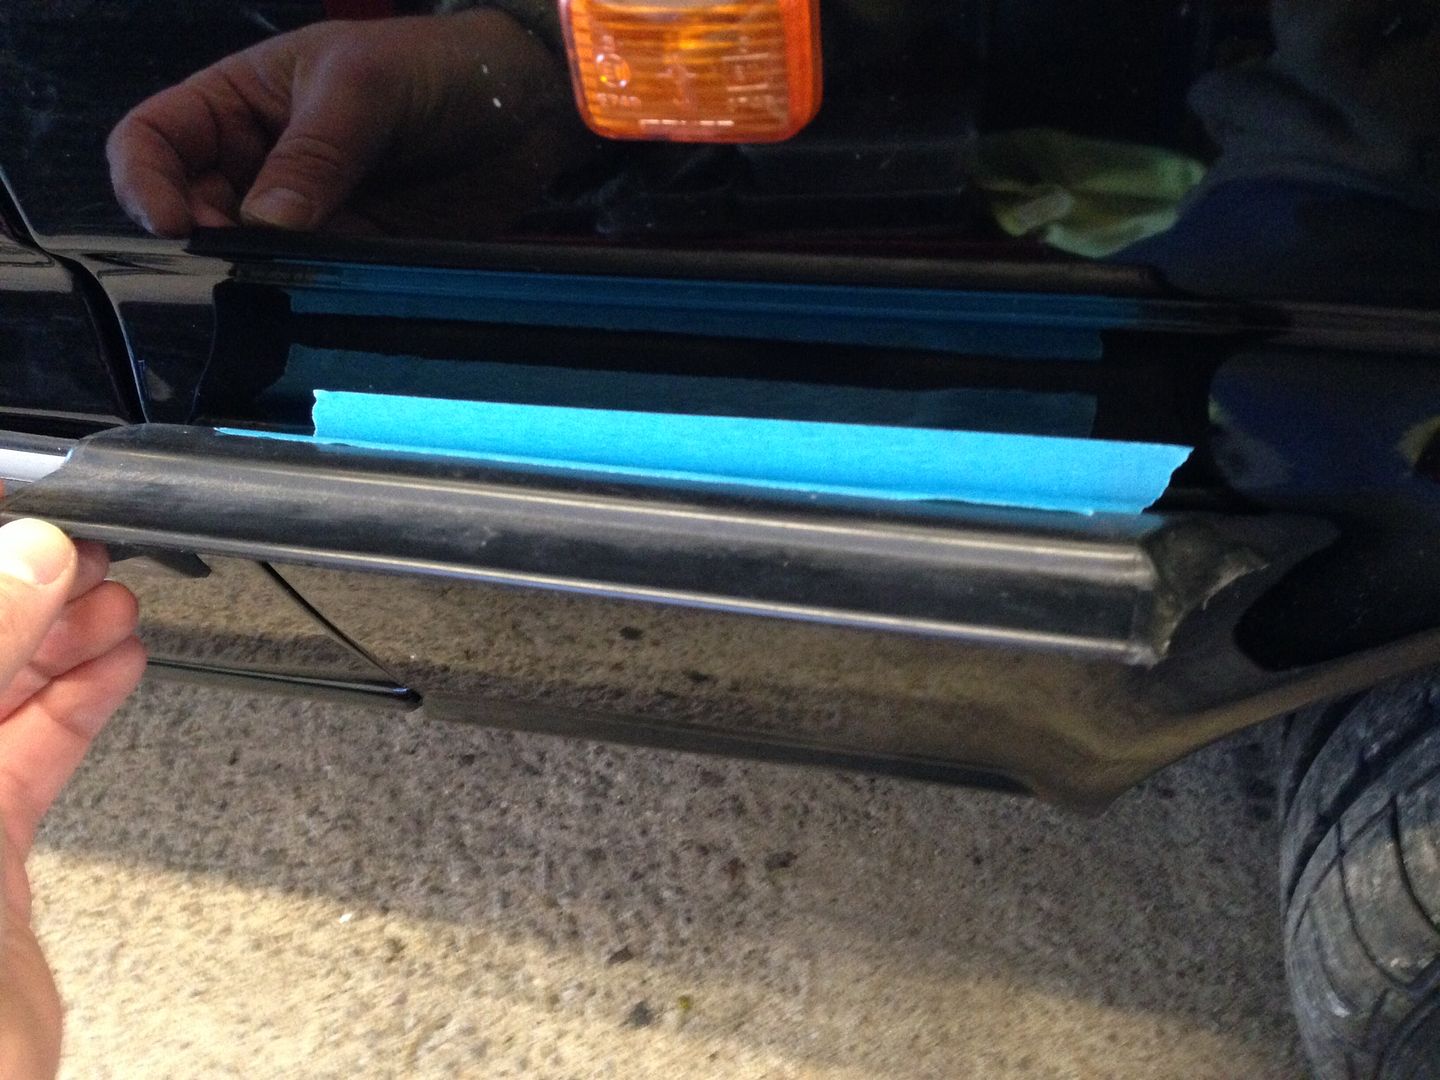
Then remove backing tape and stick down:
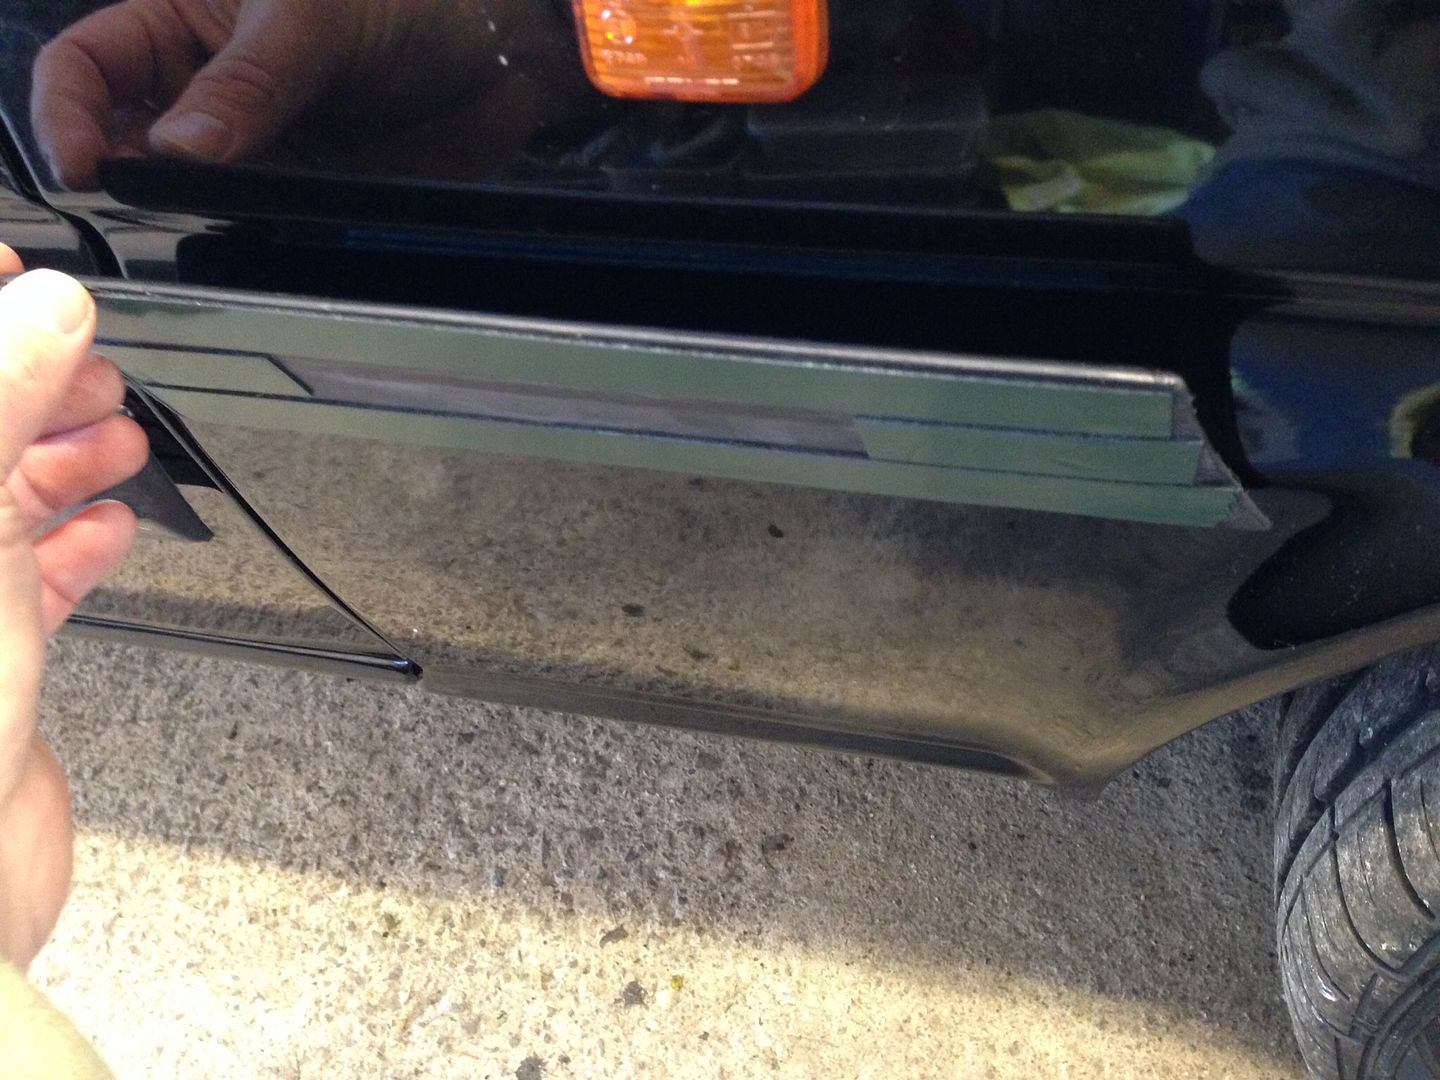
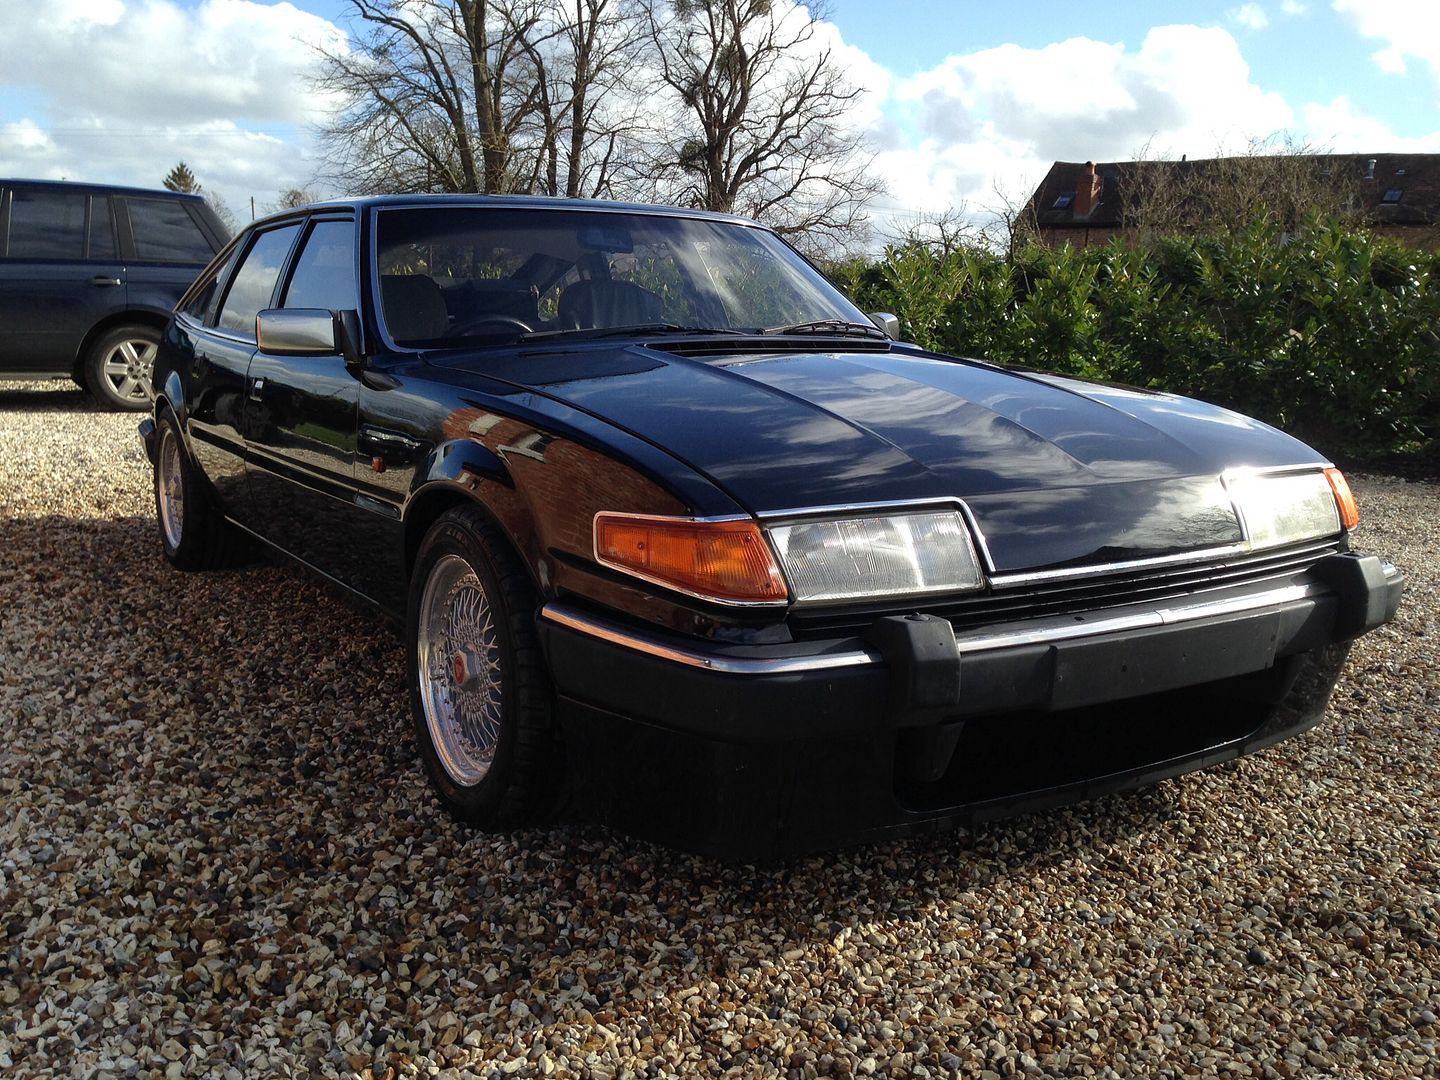
All done which is a massive relief:
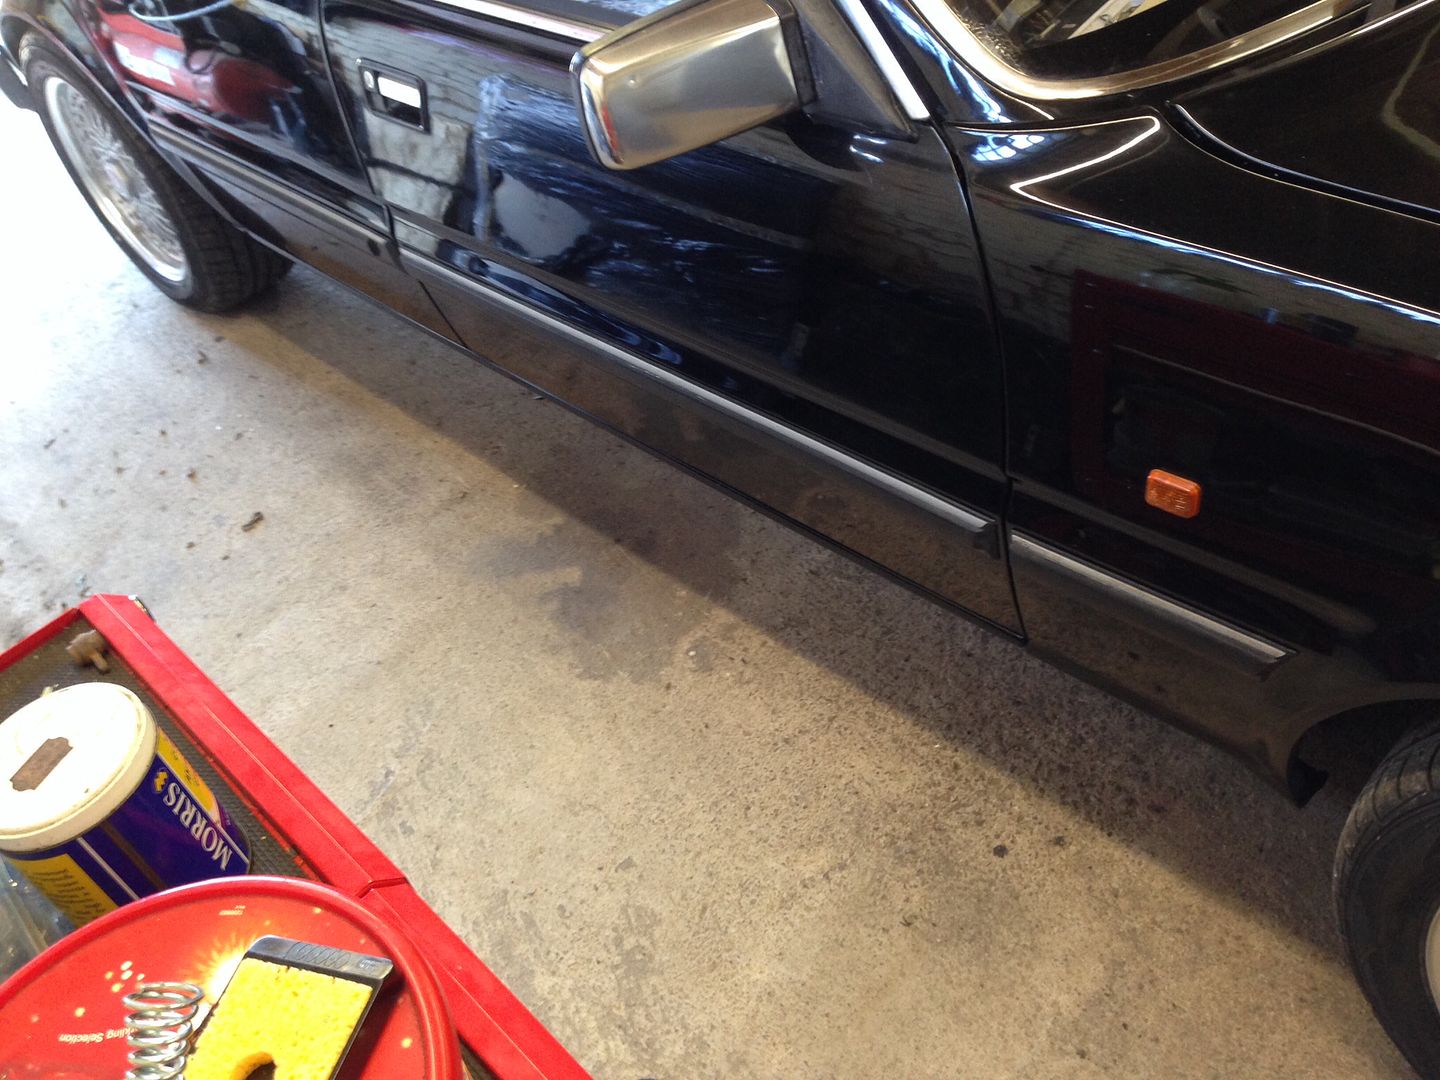
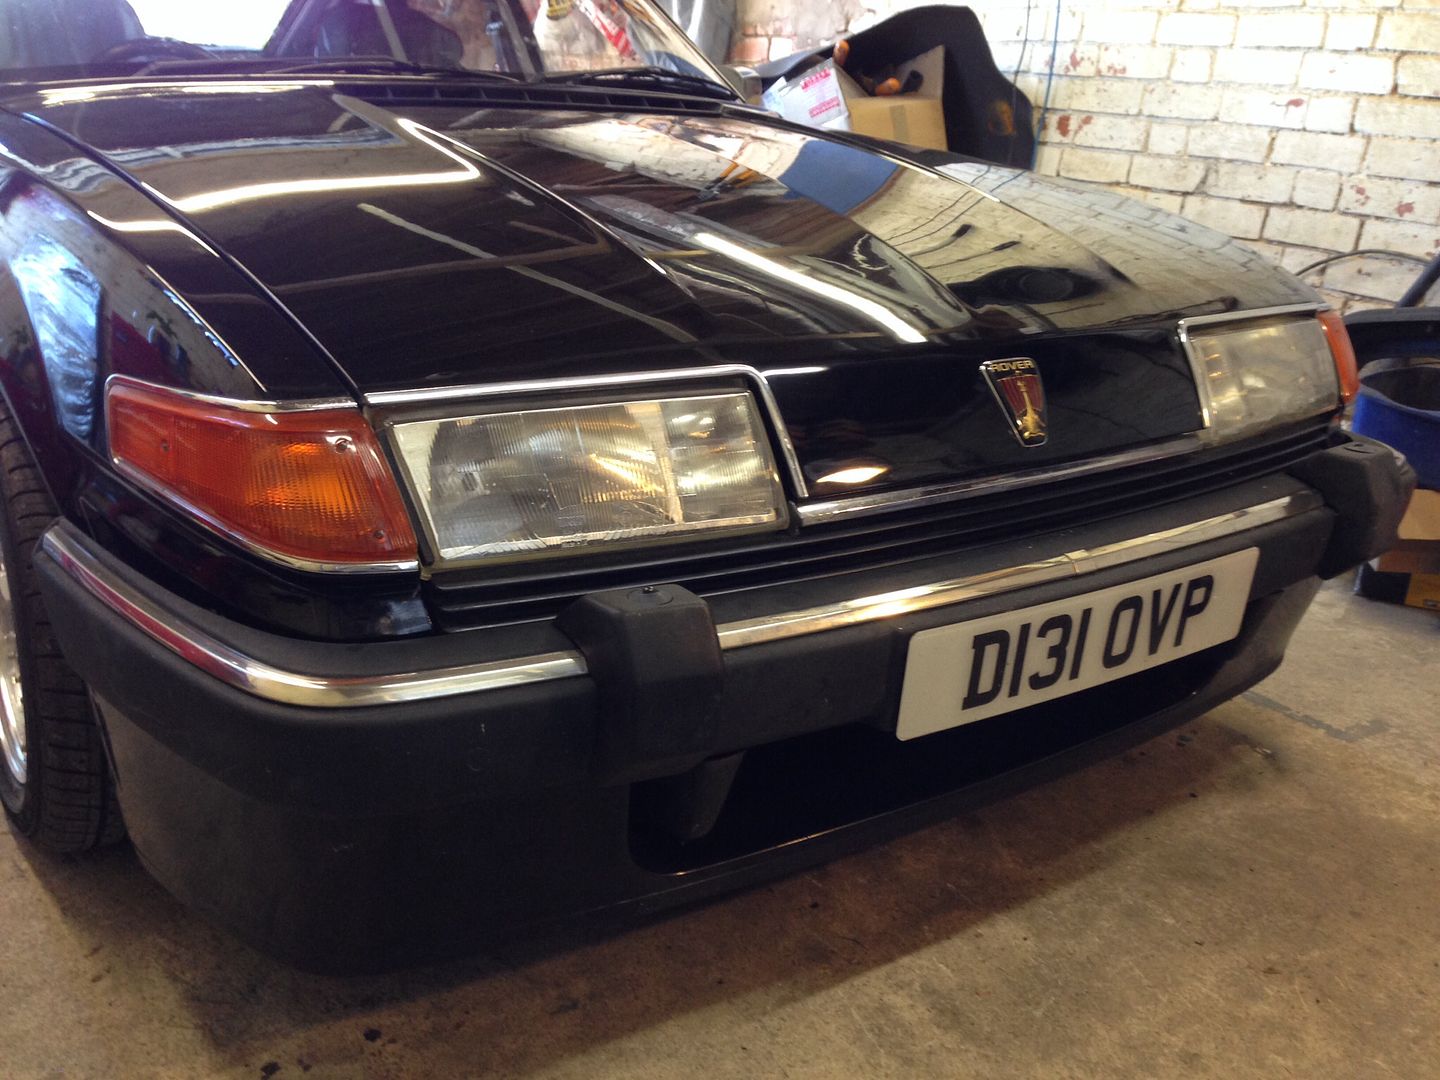
Badge and plate back one:
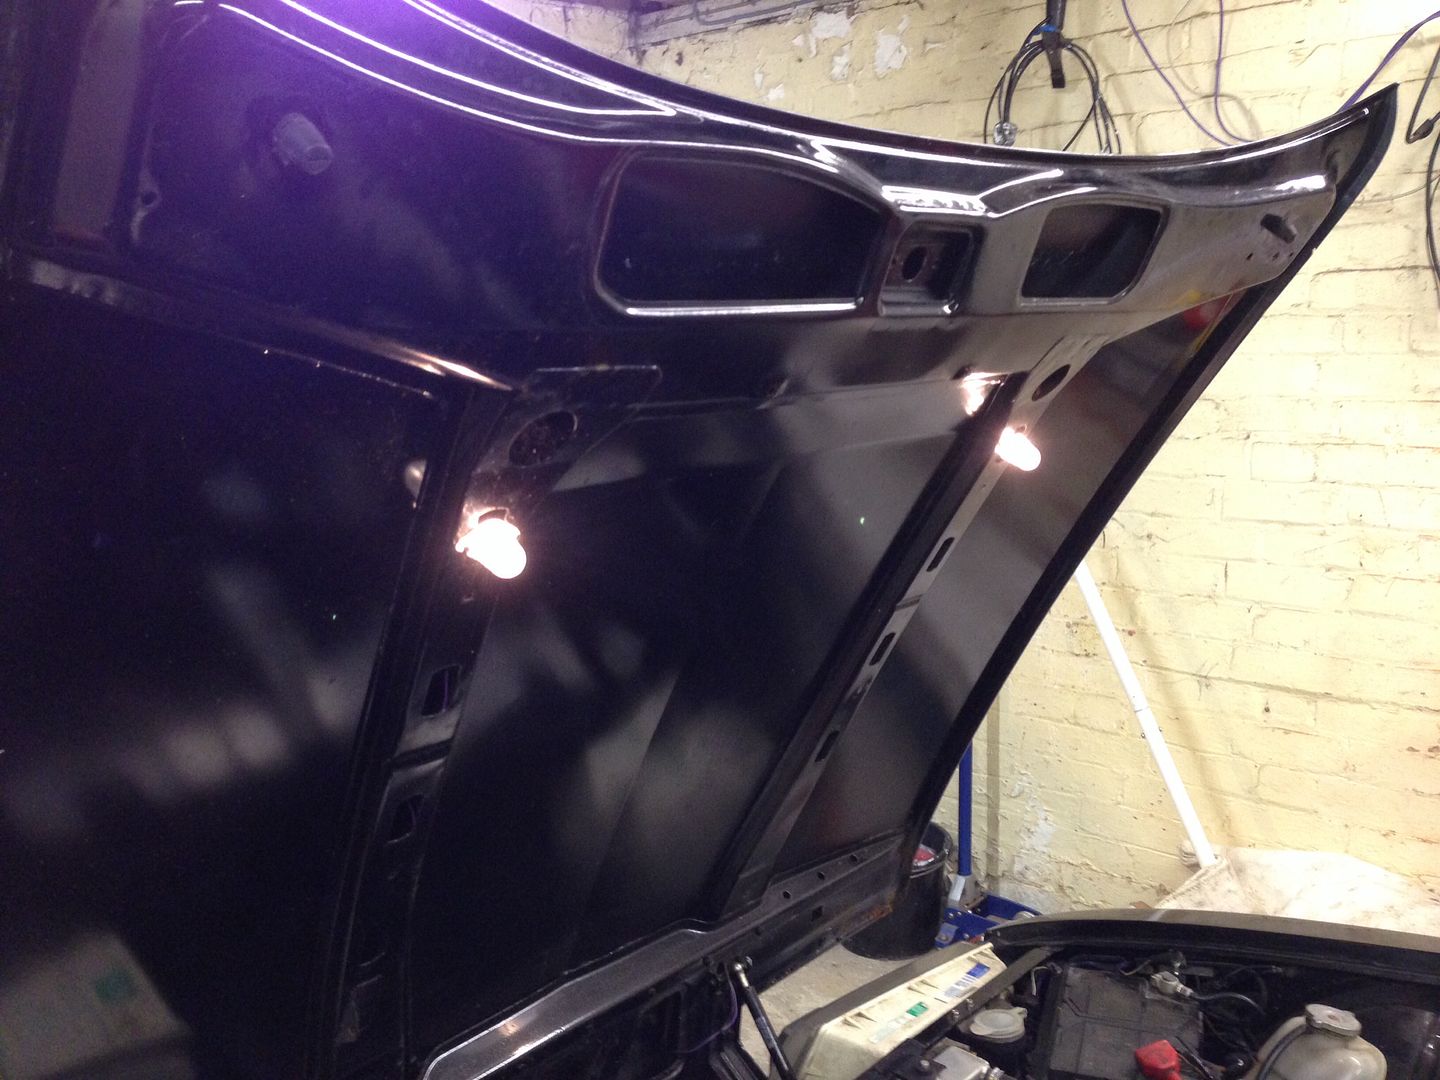
Under bonnet lights back on and wired up:
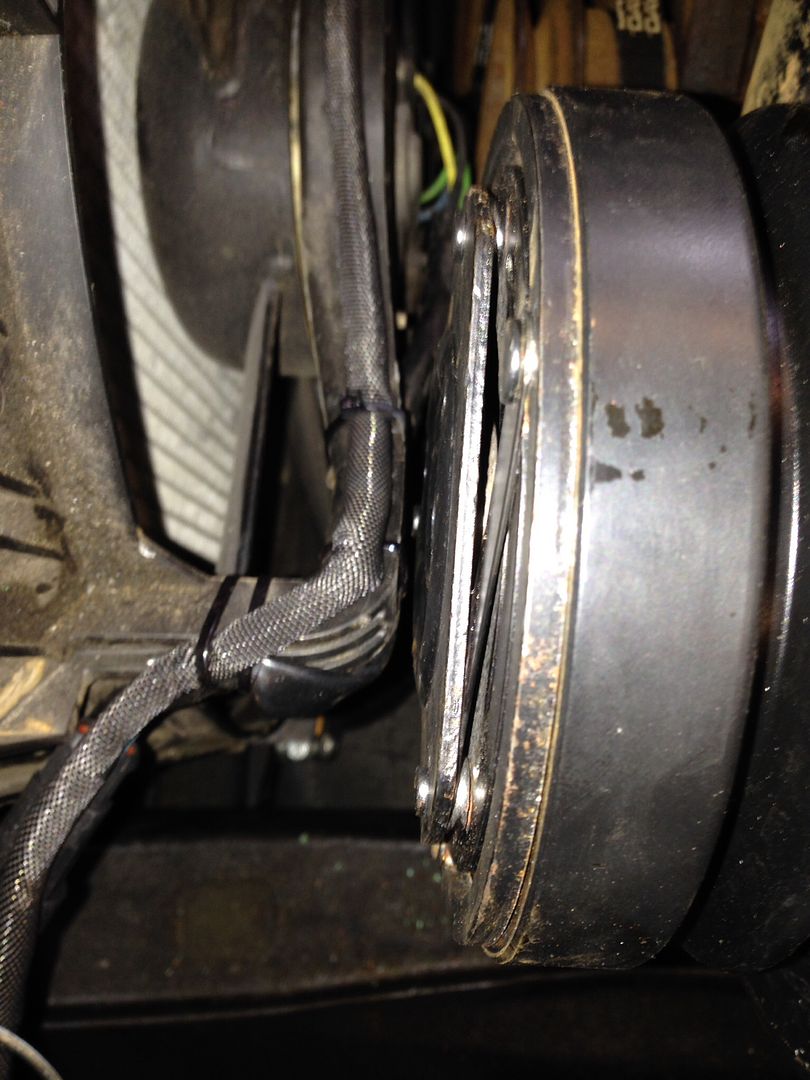
Then the air con components go back in, not much clearence for the compressor, but it's enough:
New sticky stuff:
Then masked a line done the side of the car (the funny camera angle distorts the picture and the rear tyres look ridiculously narrow)
Then aligned the strips:
Then used more tape to create a hinge:
Then remove backing tape and stick down:
All done which is a massive relief:
Badge and plate back one:
Under bonnet lights back on and wired up:
Then the air con components go back in, not much clearence for the compressor, but it's enough:
Gassing Station | Readers' Cars | Top of Page | What's New | My Stuff