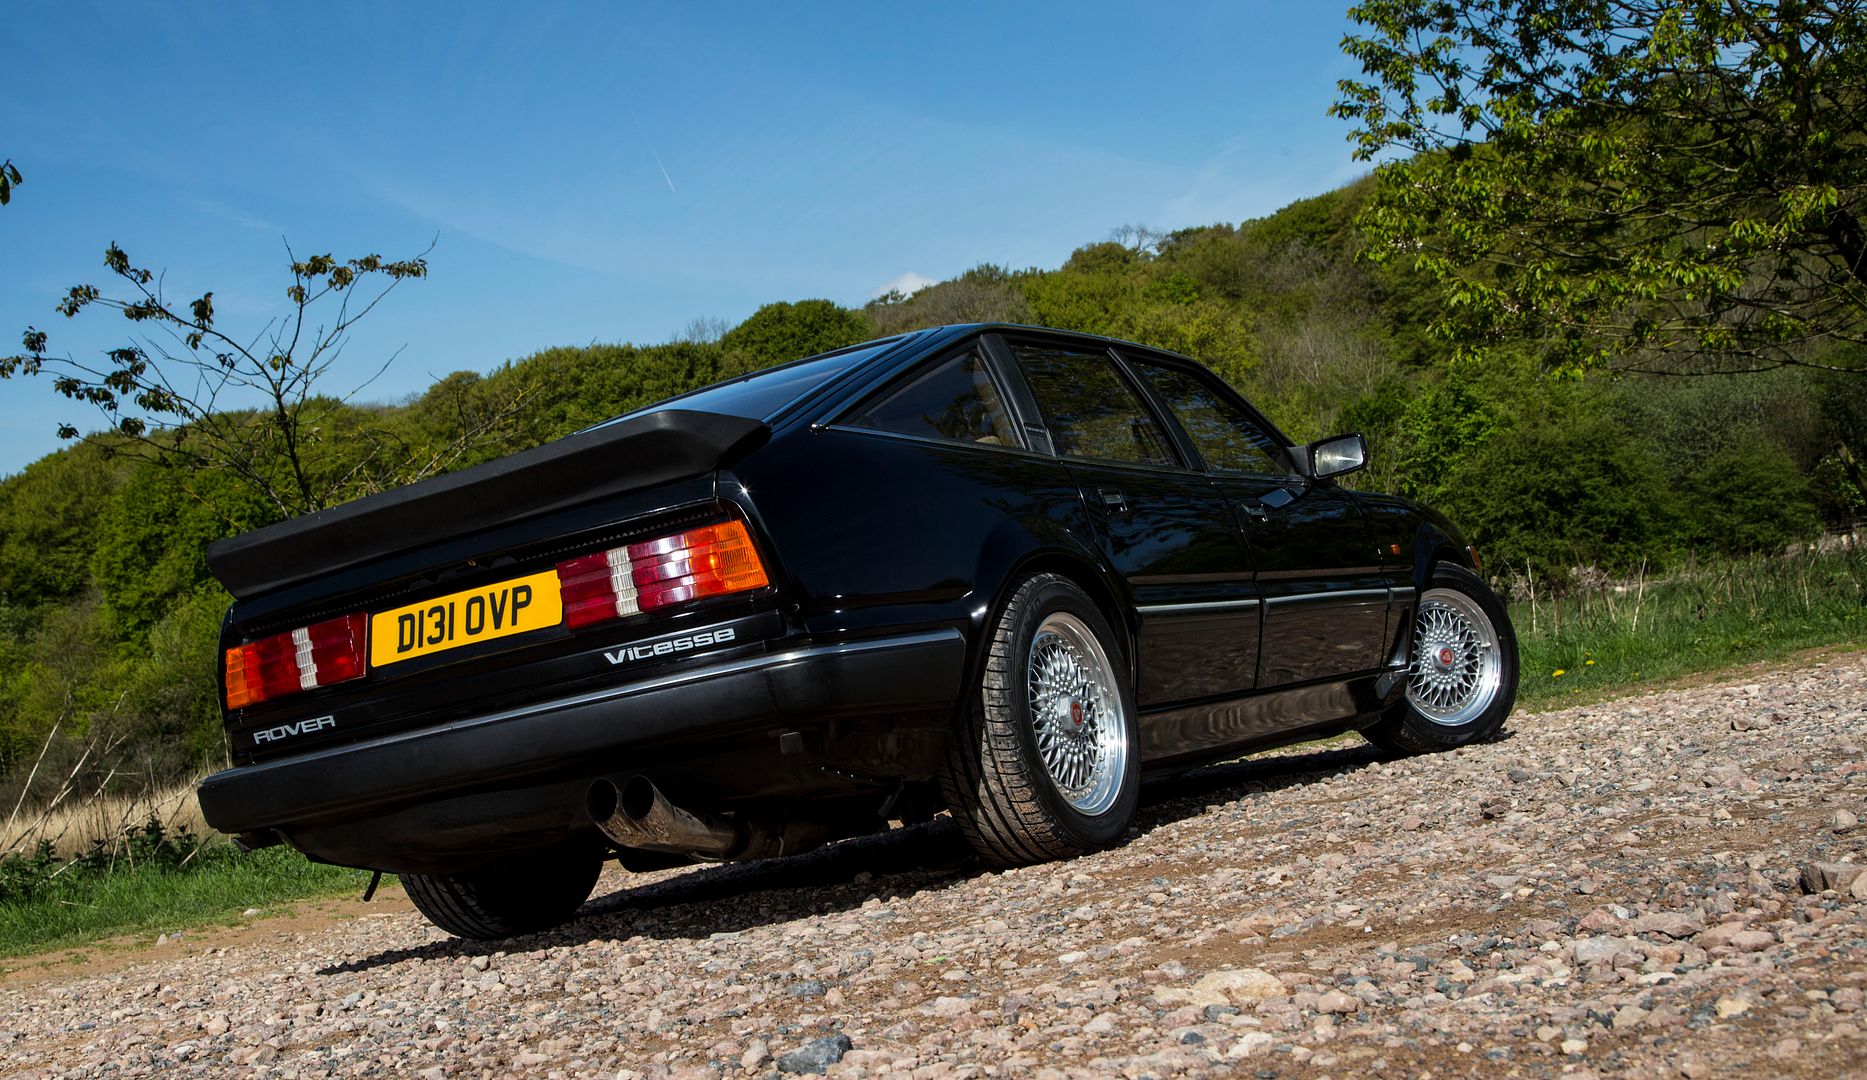
Twin Plenum Vitesse restoration
Discussion


Needs sounds for full experience:
http://www.youtube.com/watch?v=LN7df0QPReM&fea...
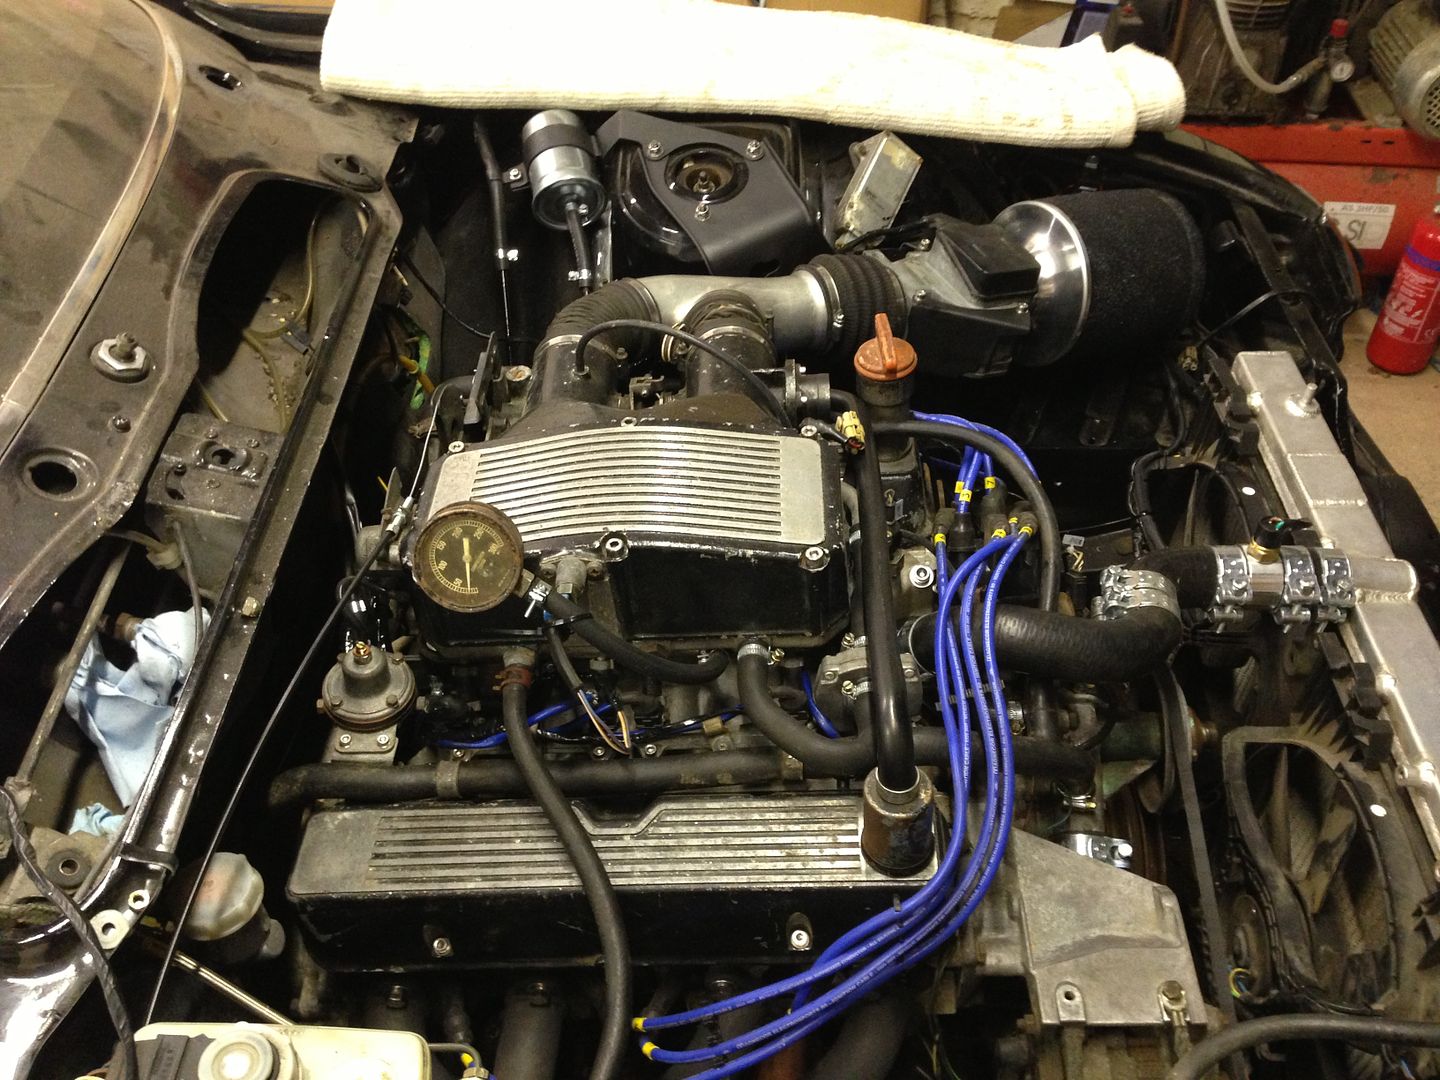
Video was taken over quite some time and edited, plenty of time to warm up and allowing for initial cam bedding in.
http://www.youtube.com/watch?v=LN7df0QPReM&fea...
Video was taken over quite some time and edited, plenty of time to warm up and allowing for initial cam bedding in.
Little video of it starting up for the first time, plenty of warm up time in the edit:
http://www.youtube.com/watch?v=LN7df0QPReM
http://www.youtube.com/watch?v=LN7df0QPReM
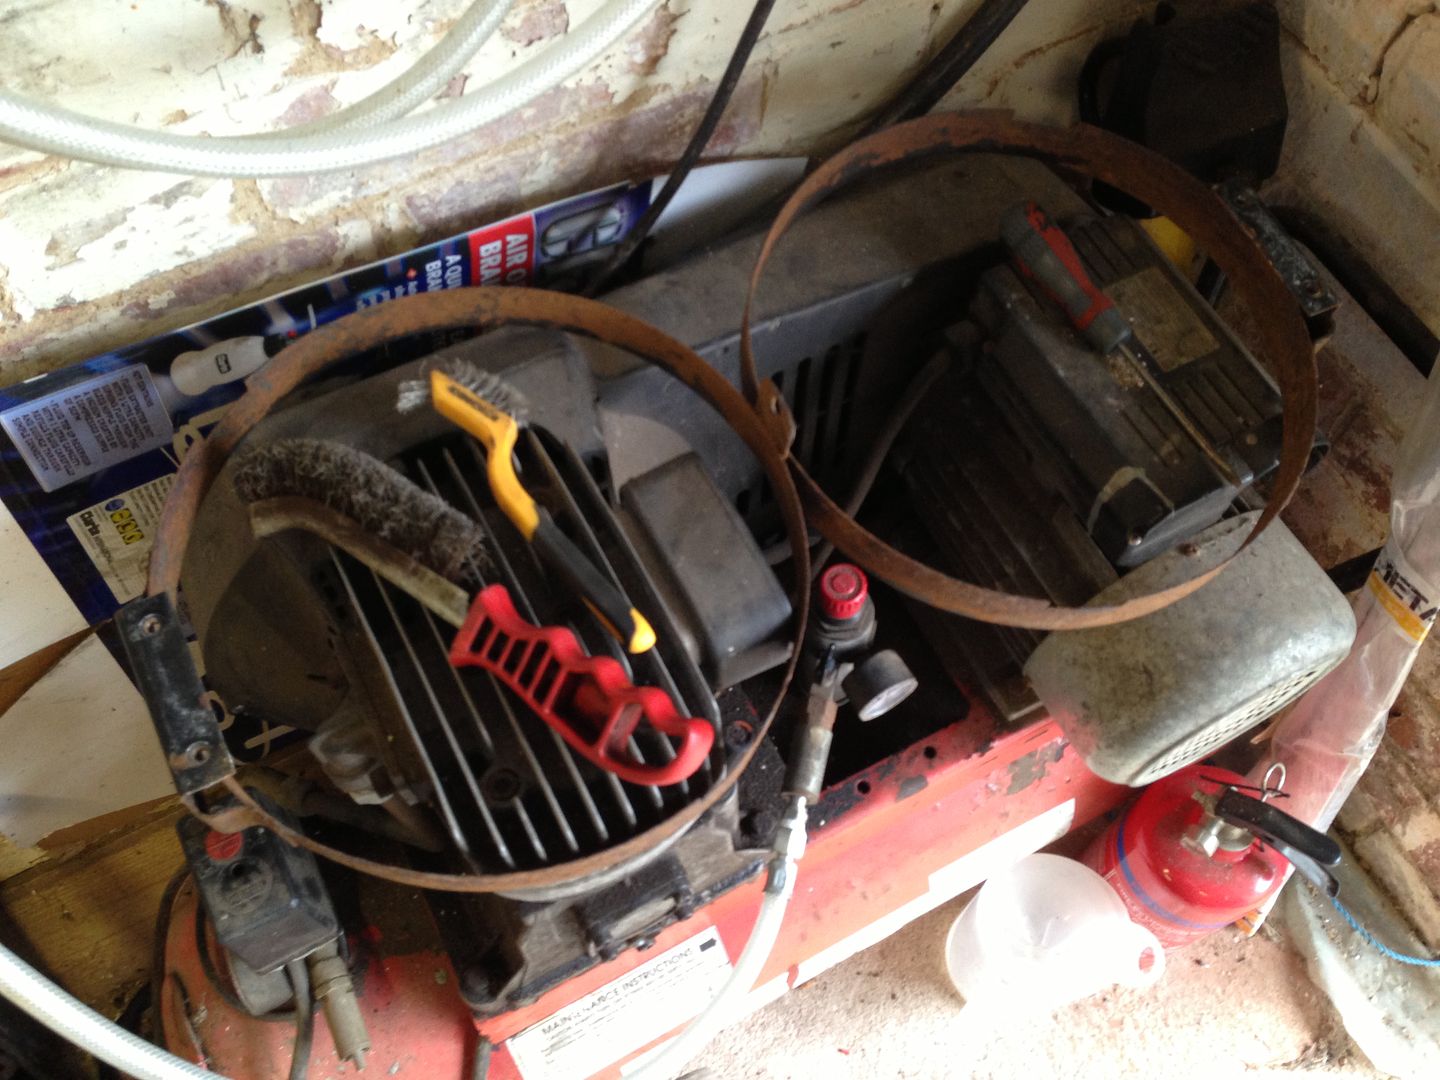
Managed a few hours at the weekend and got a few things sorted:
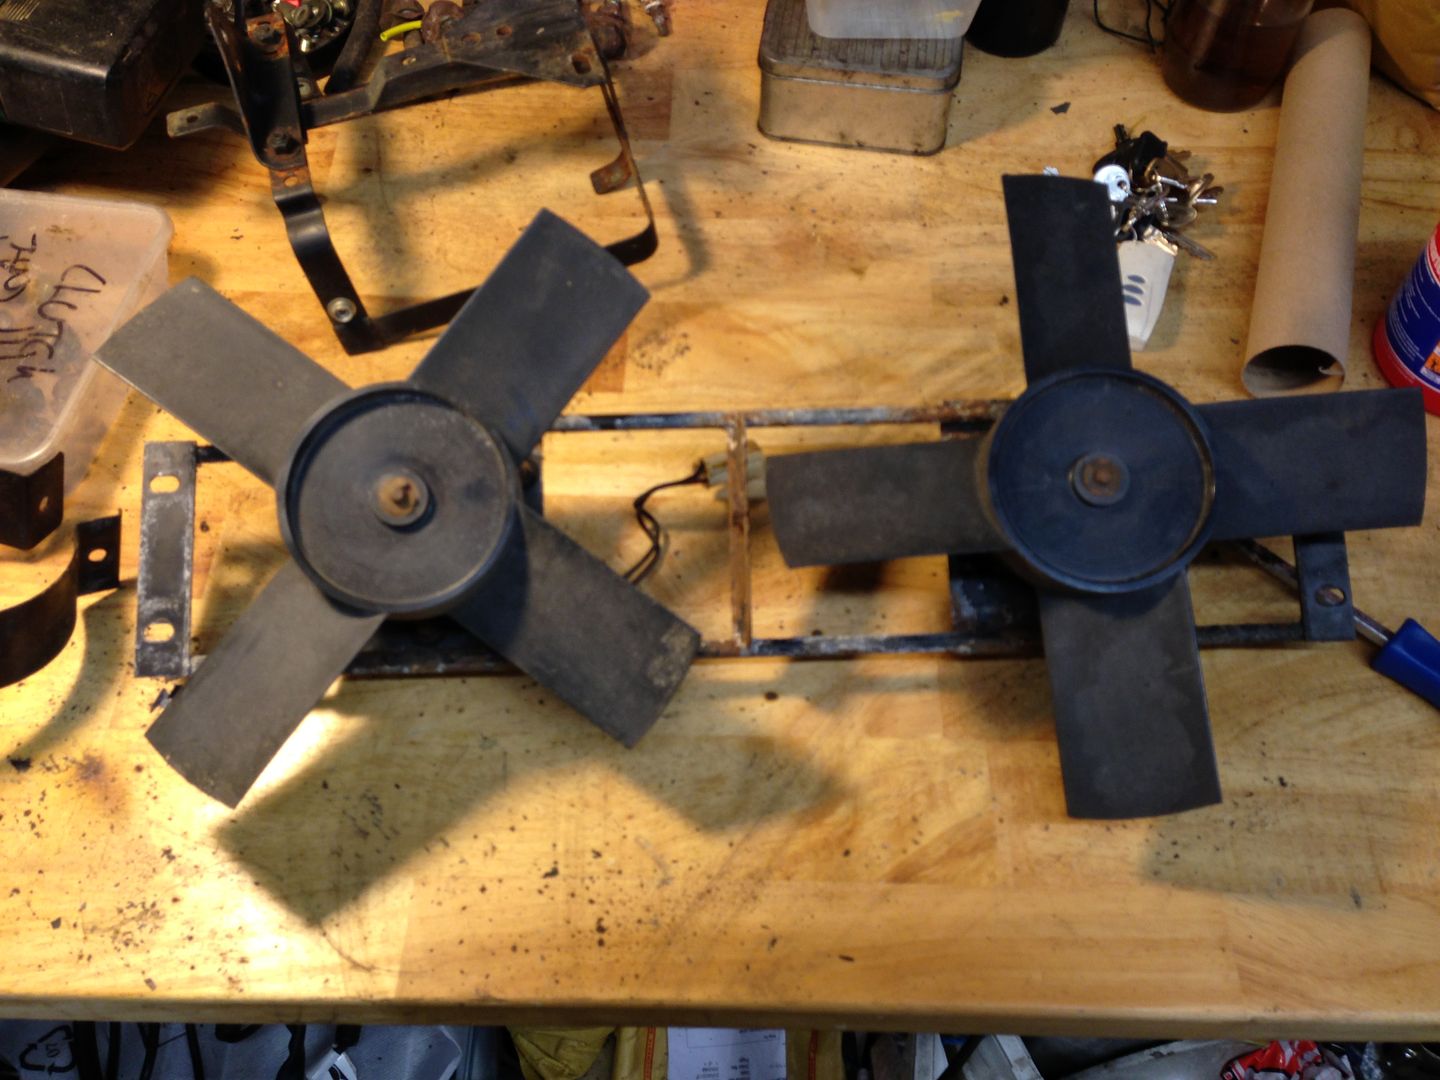
Cleaned up air con fans and shrouds:
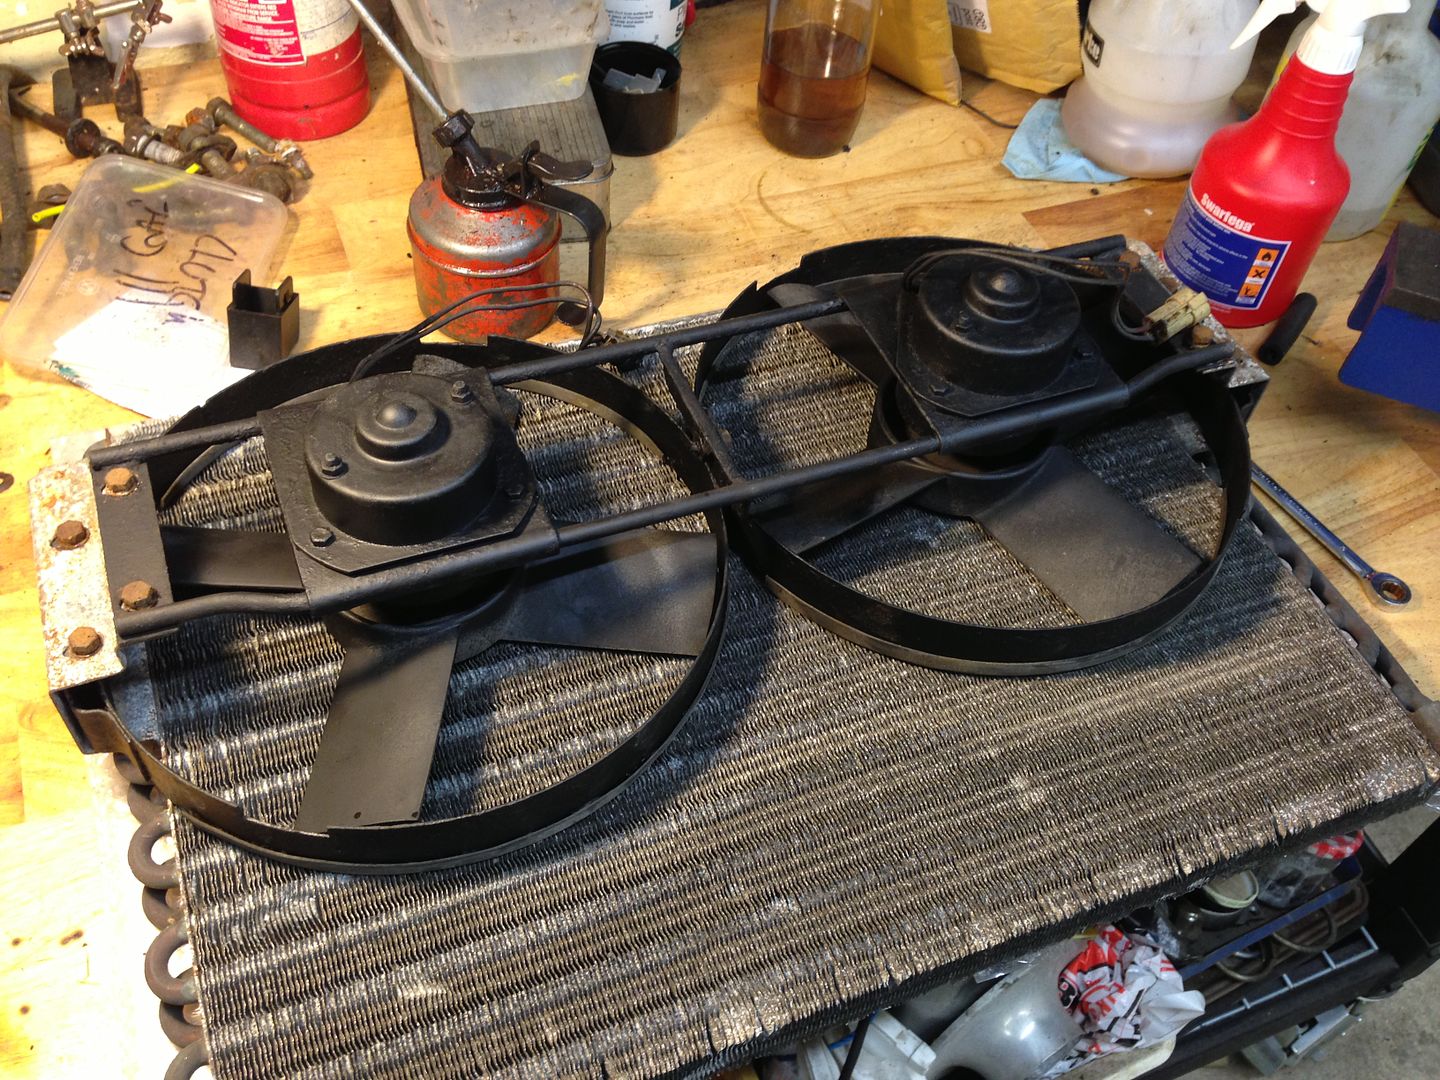
Painted and assembled onto the condenser:
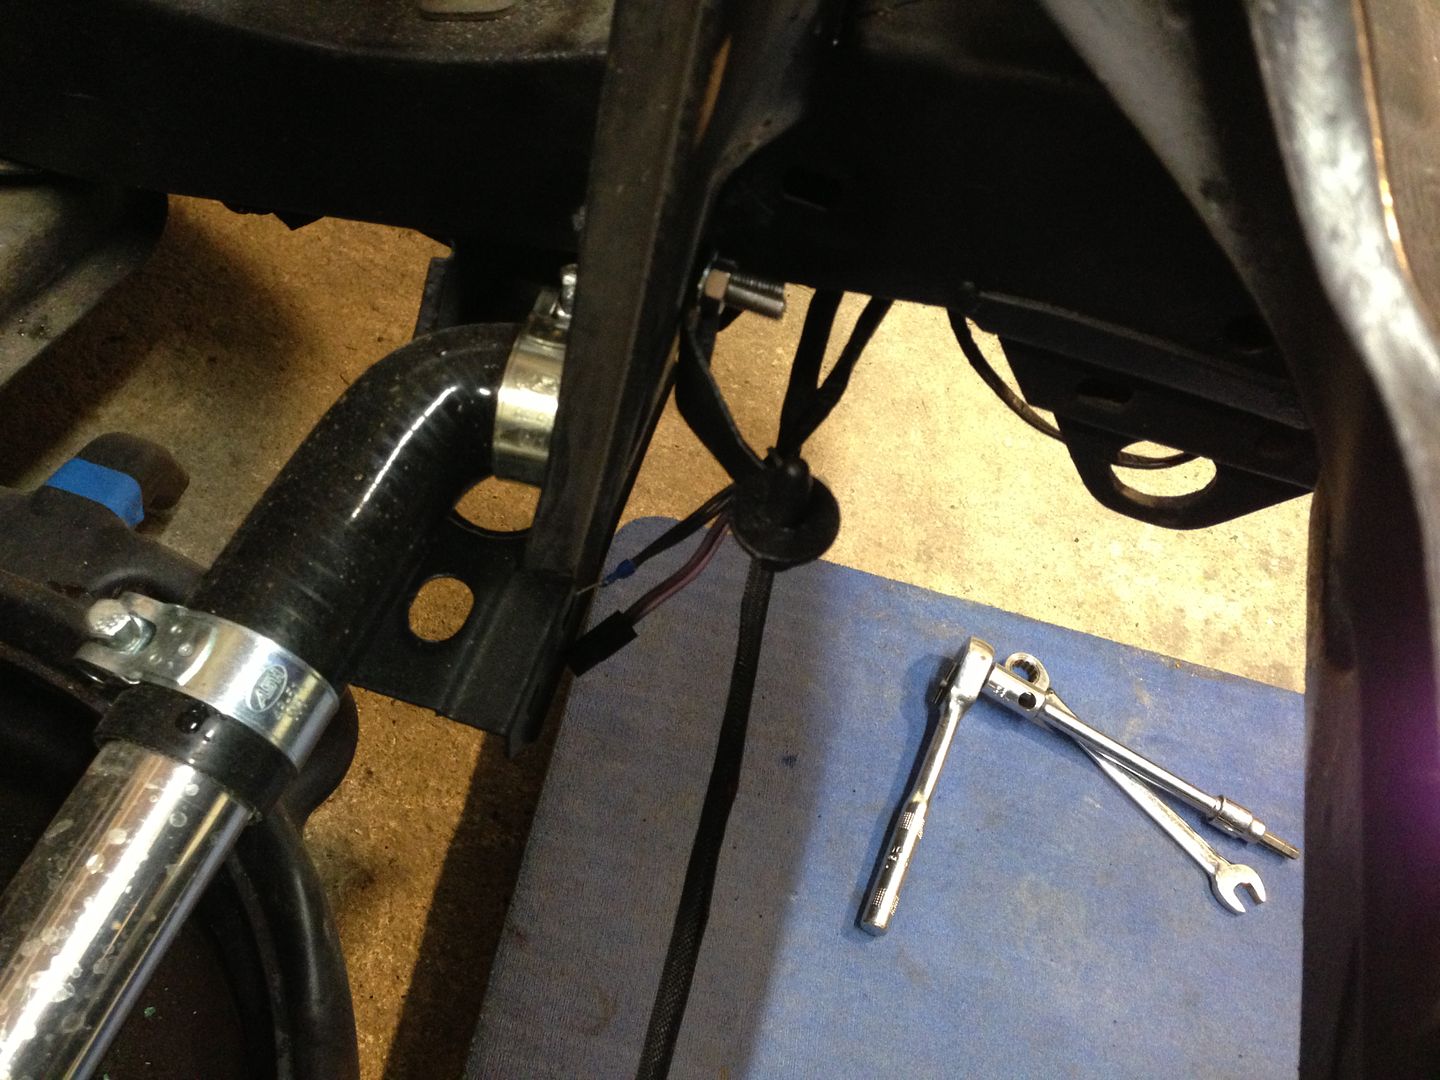
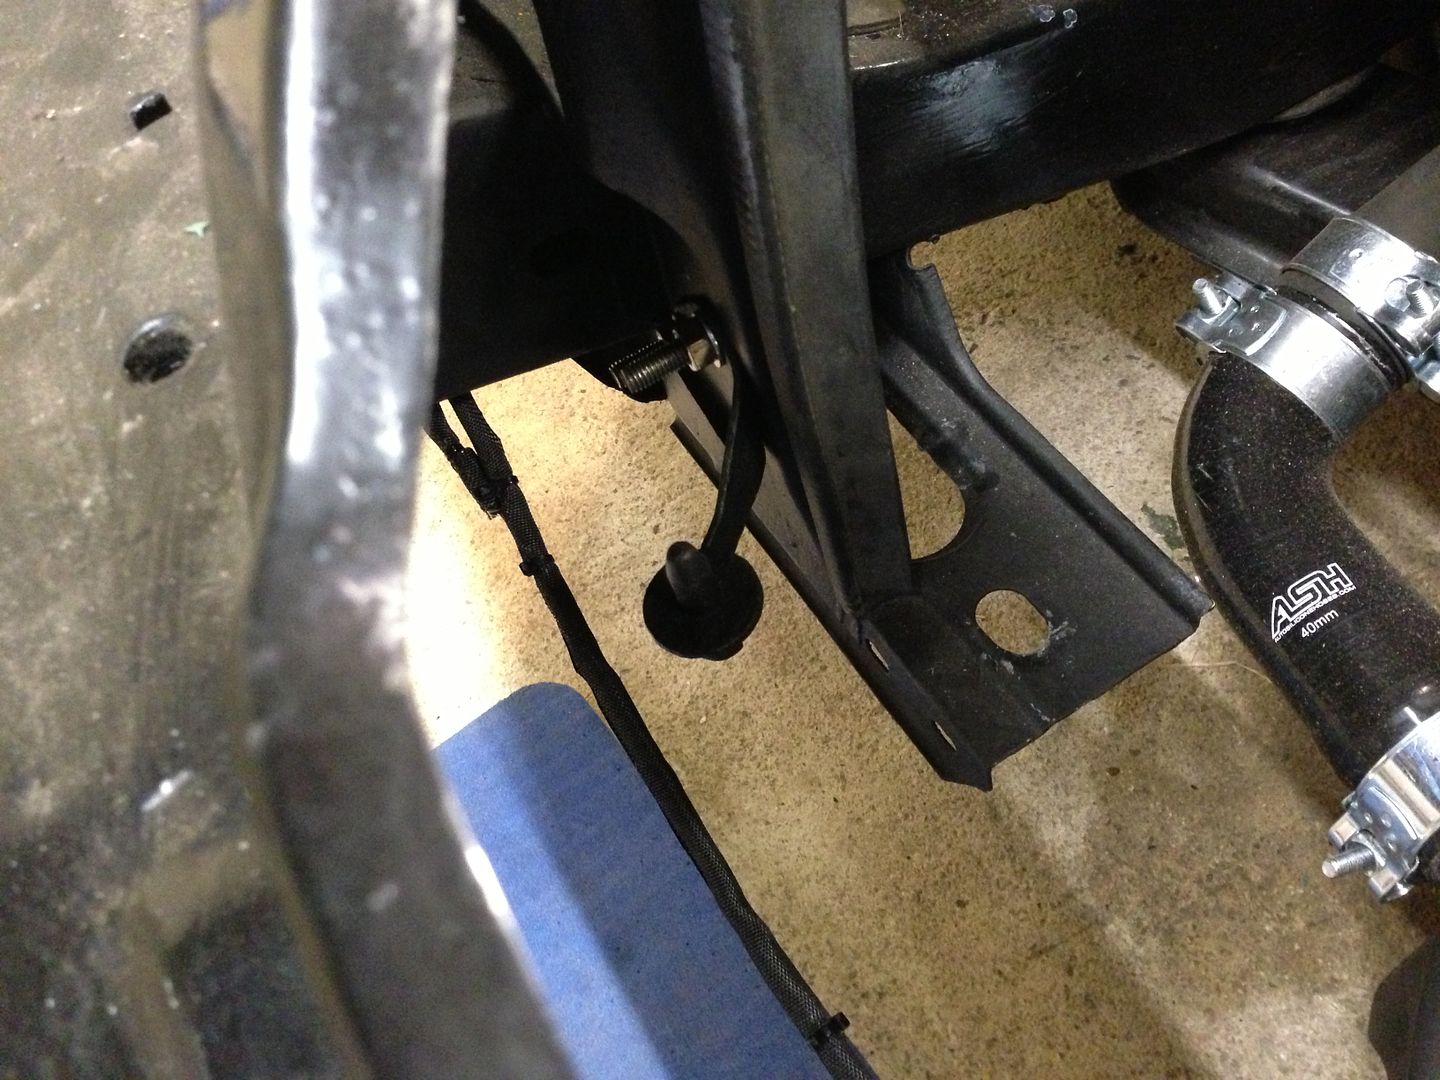
Mounting brackets cleaned, painted and bolted to body:
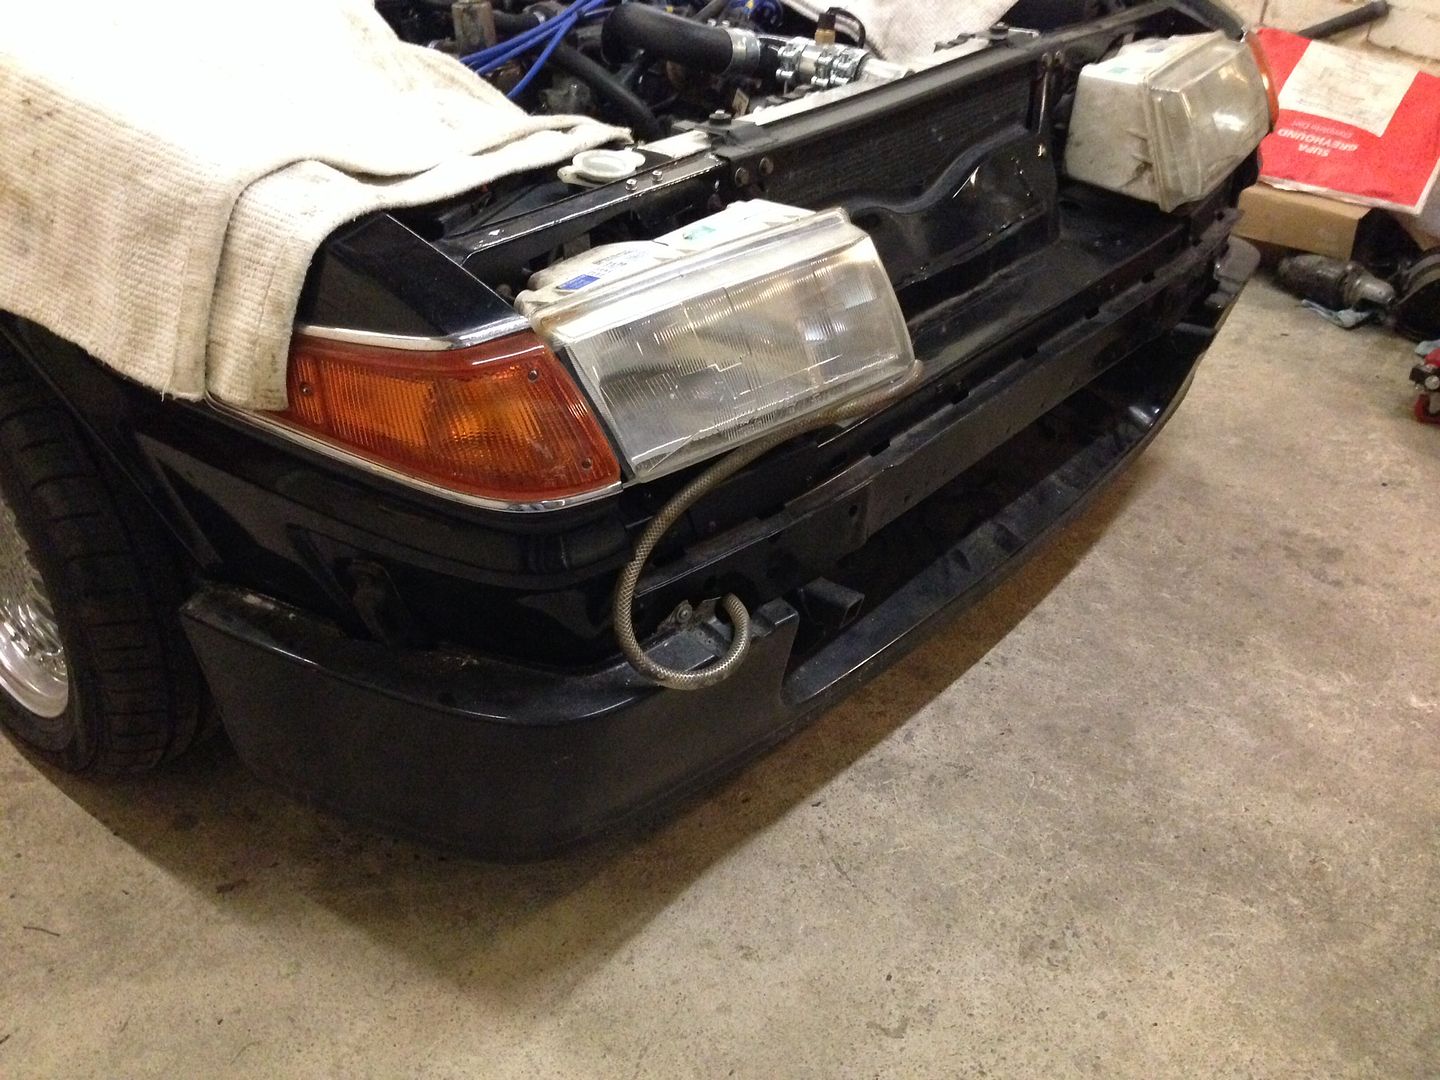
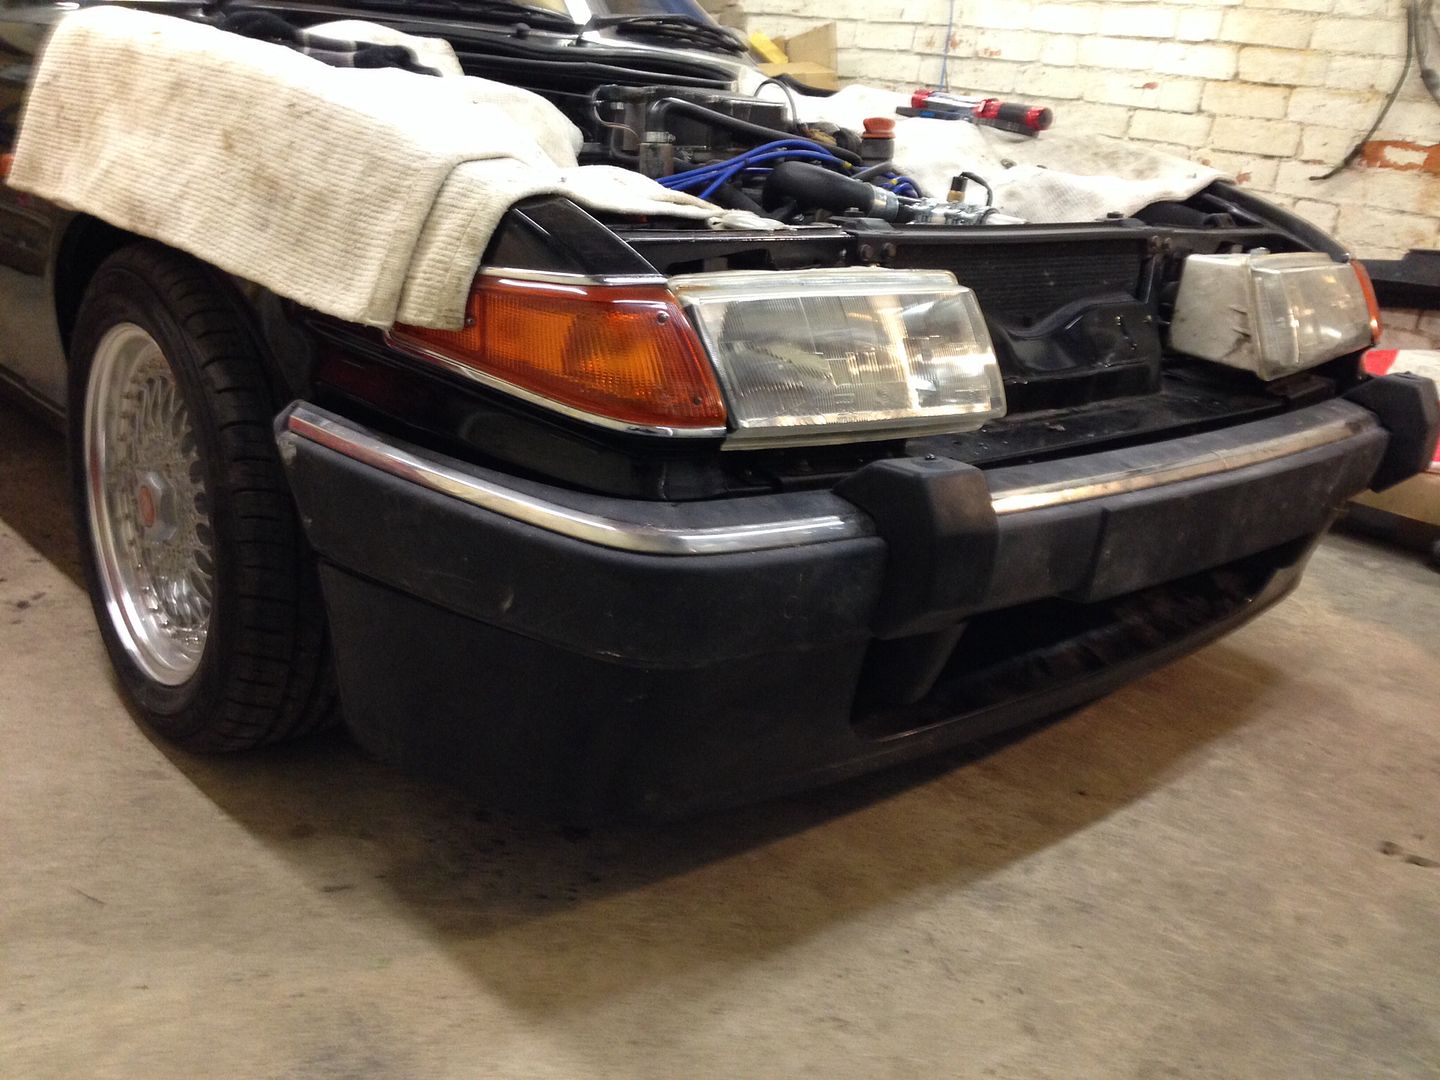
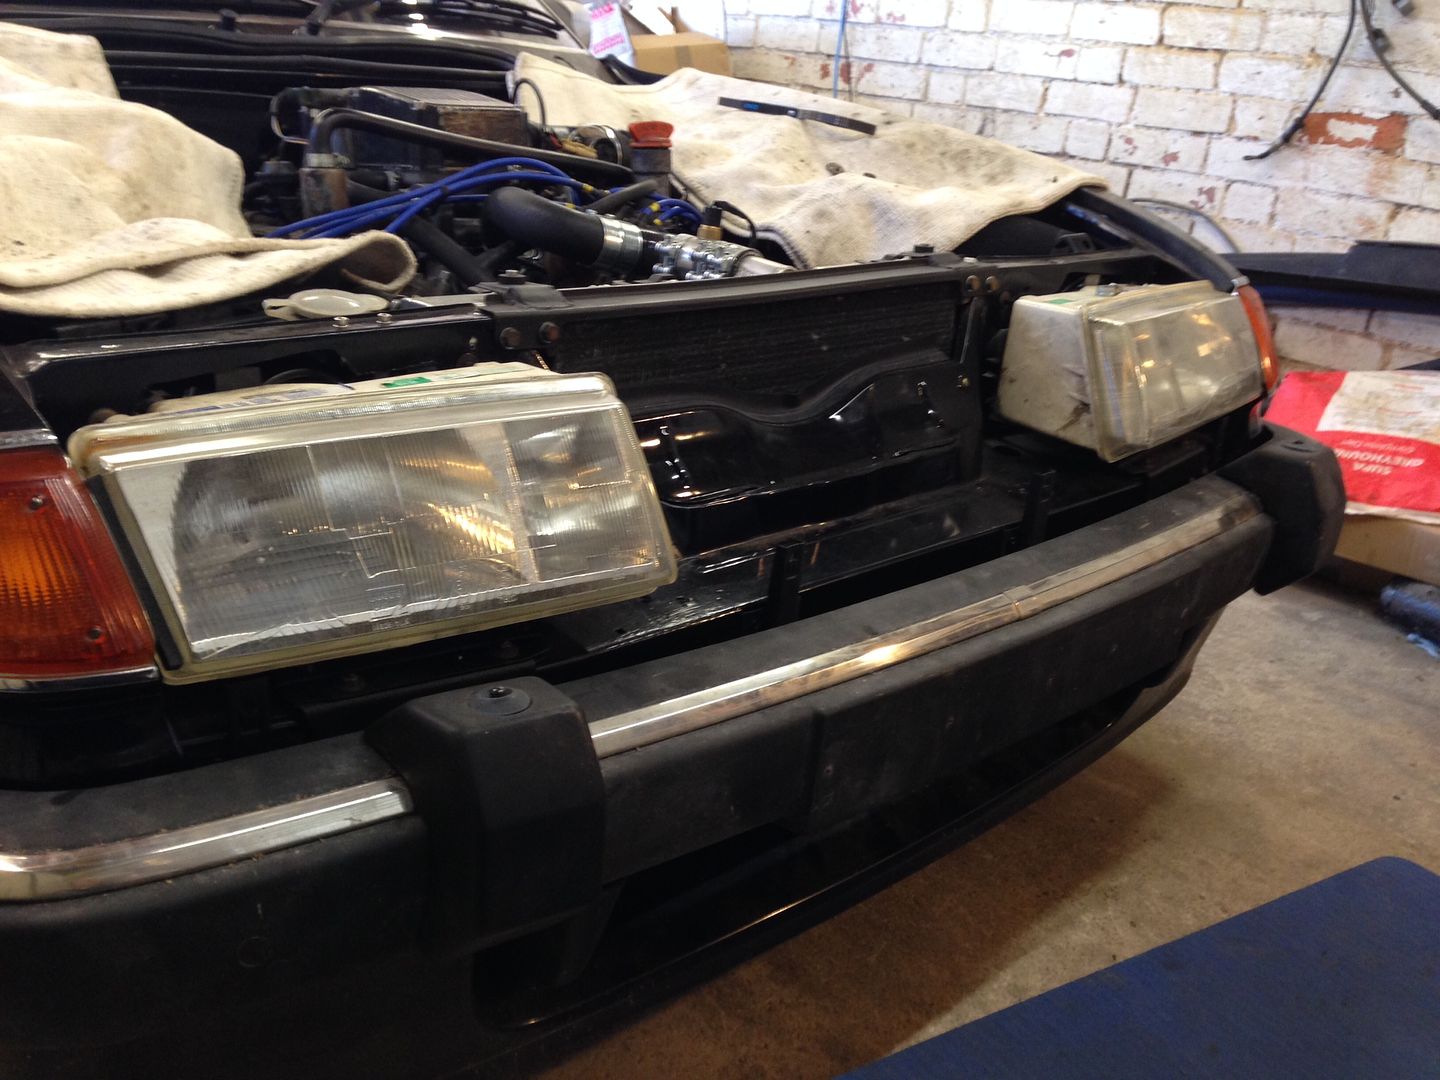
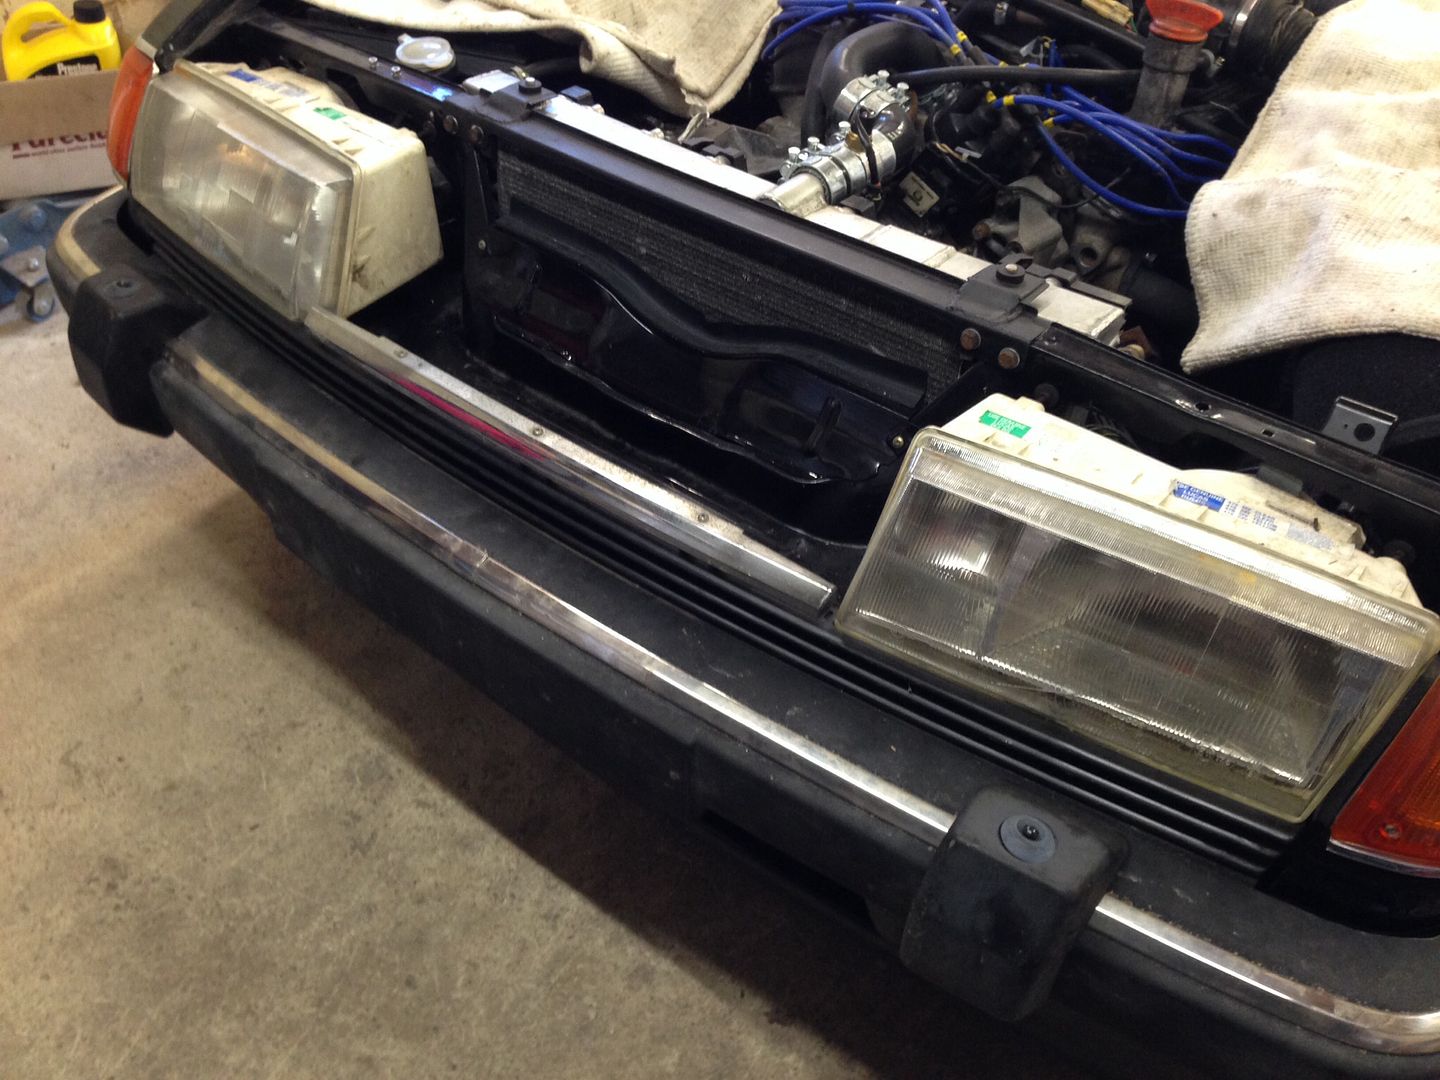
Whole lot fitted along with a hastily fabricated top bar to hold it all in place including the non-standard alloy radiator.
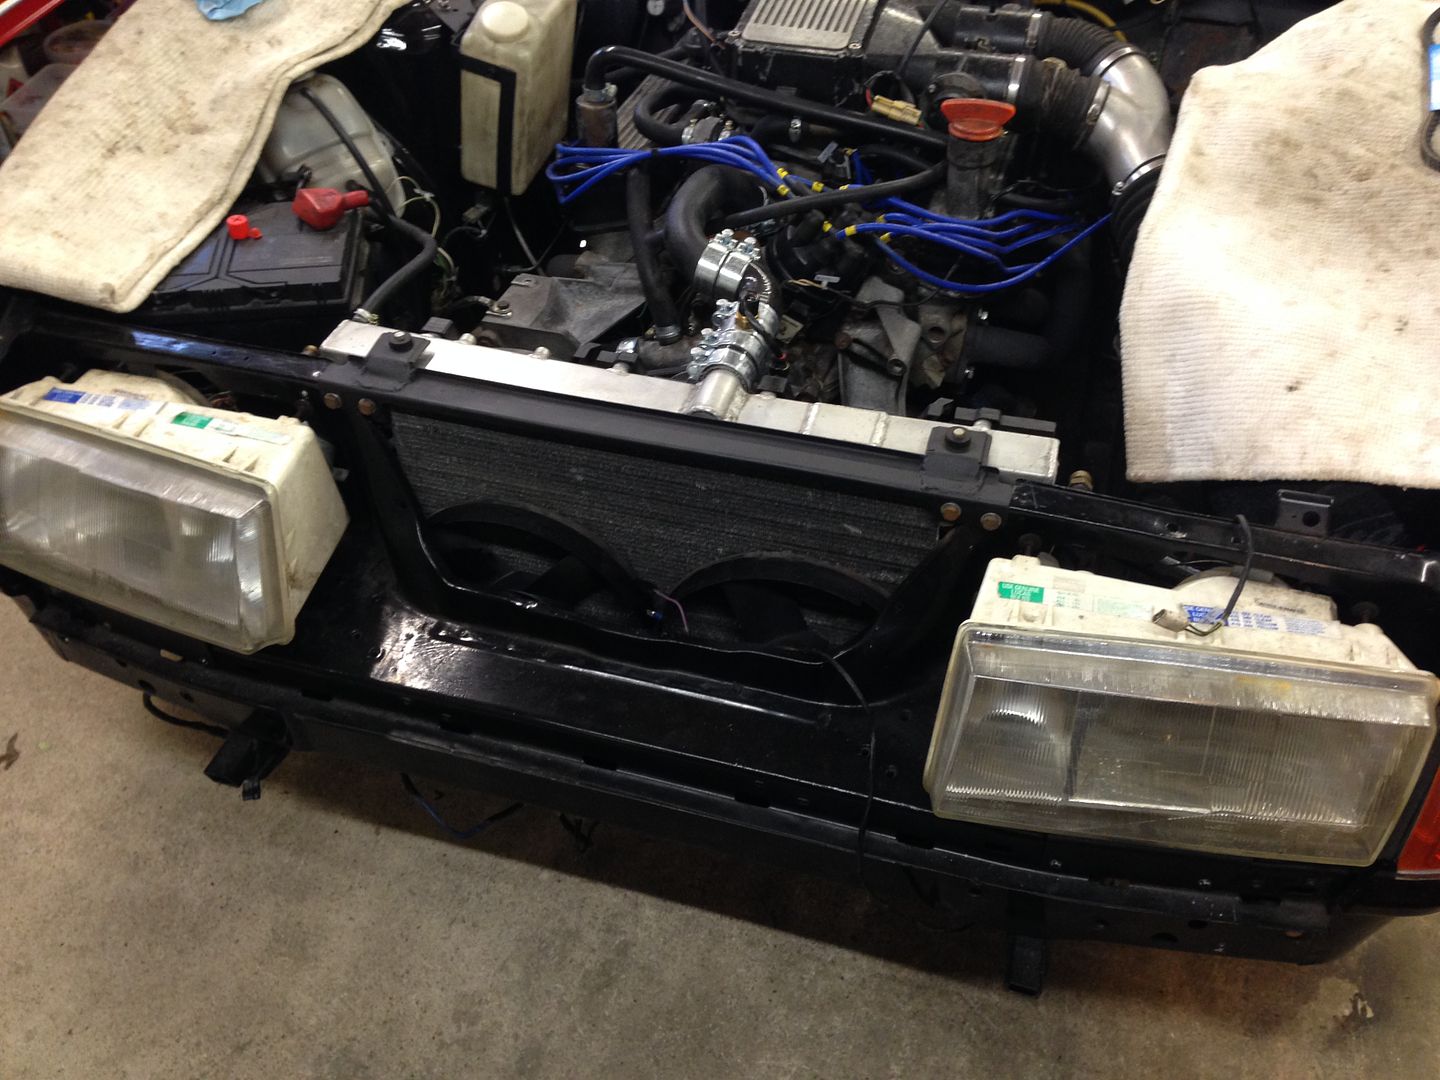
You'll notice the lights are back in too. Spent a few hours going over the electrical system, got all the things needed for an MOT working now. Things to sort:
- Central locking
- Rear wiper
- Temp gauge reading high (actual temp is fine)
The engine was a bit lumpy and wouldn't idle particularly well, I think it needs a good run and then a proper set up when warmed thoroughly.
Cleaned up air con fans and shrouds:
Painted and assembled onto the condenser:
Mounting brackets cleaned, painted and bolted to body:
Whole lot fitted along with a hastily fabricated top bar to hold it all in place including the non-standard alloy radiator.
You'll notice the lights are back in too. Spent a few hours going over the electrical system, got all the things needed for an MOT working now. Things to sort:
- Central locking
- Rear wiper
- Temp gauge reading high (actual temp is fine)
The engine was a bit lumpy and wouldn't idle particularly well, I think it needs a good run and then a proper set up when warmed thoroughly.
Got some time at the weekend and sorted:
Central locking
HVAC blowers
Interior lights
Oil level sensor
Rear wiper
Temp sensor
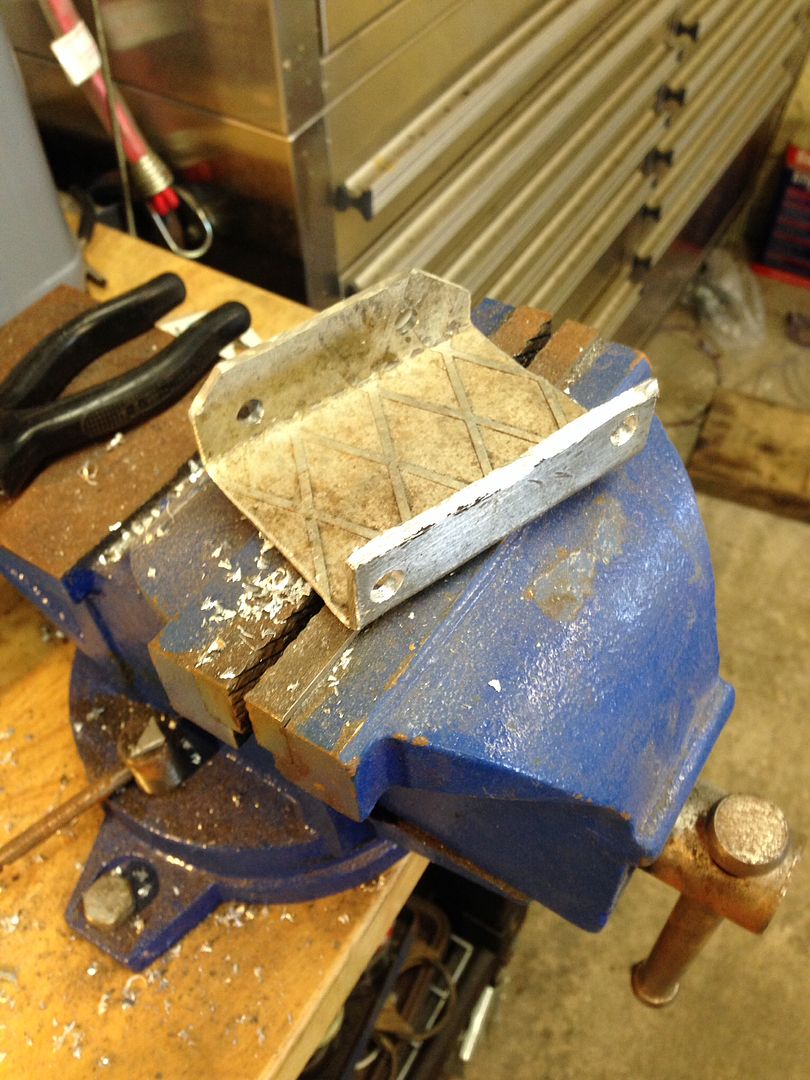
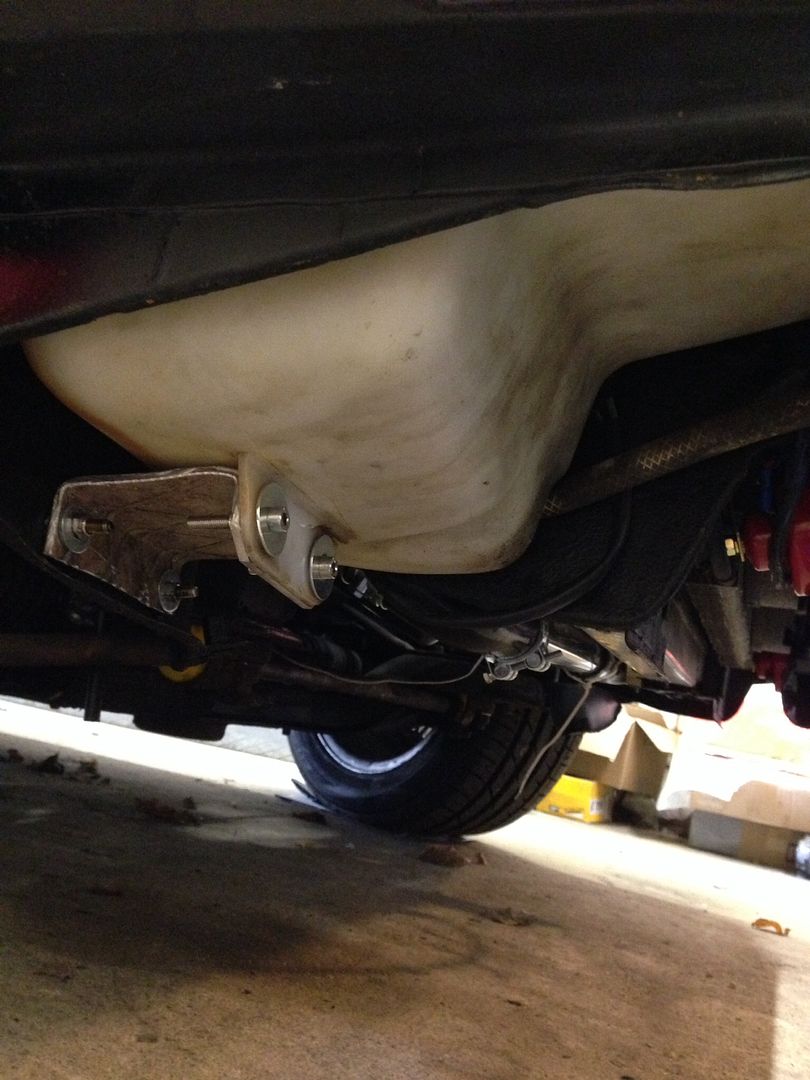
In addition to making a bracket to hold the water bottle for the head light washer system. The original had rusted to nothing so made a stout repayment from some old alloy plate, not pretty but it's completely hidden and won't suffer the same fate as the previous one.
In place:
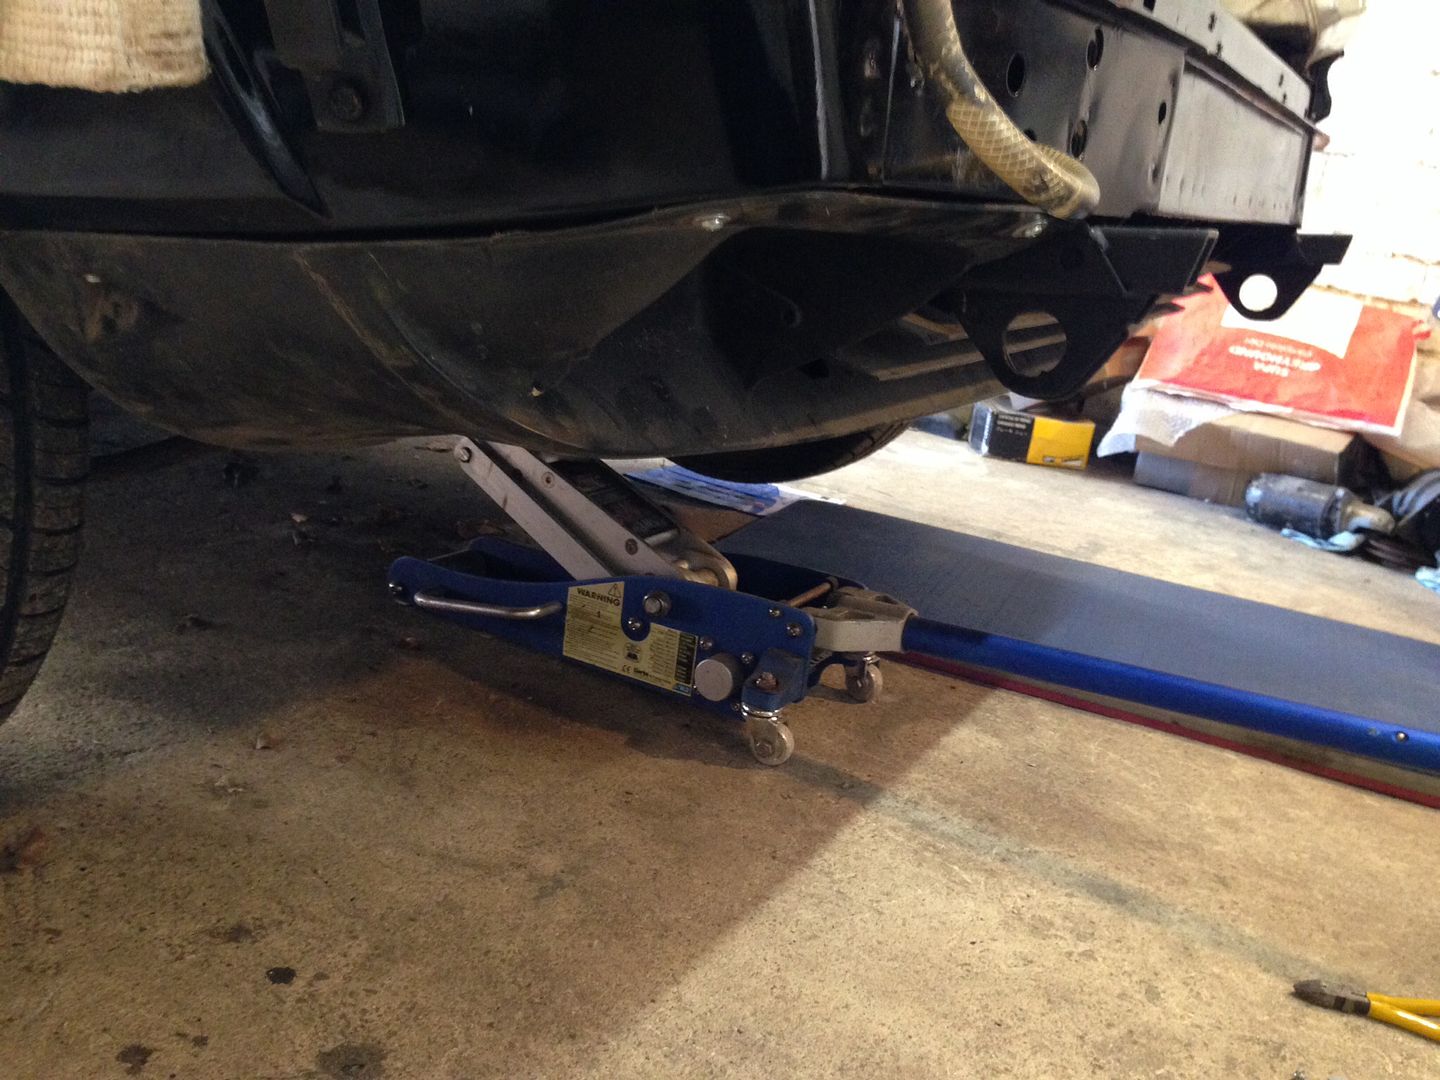
Under tray back on, the pipe you can see leads to the washer jets in the front bumper. The tray has twisted a bit over time but as it's also hidden it's of no consequence:
Front spoiler back on. As I'm running wider tyres the rubbed on the inner edges so they had to be relived a little, also needs a good clean after being in the sheds for so long:

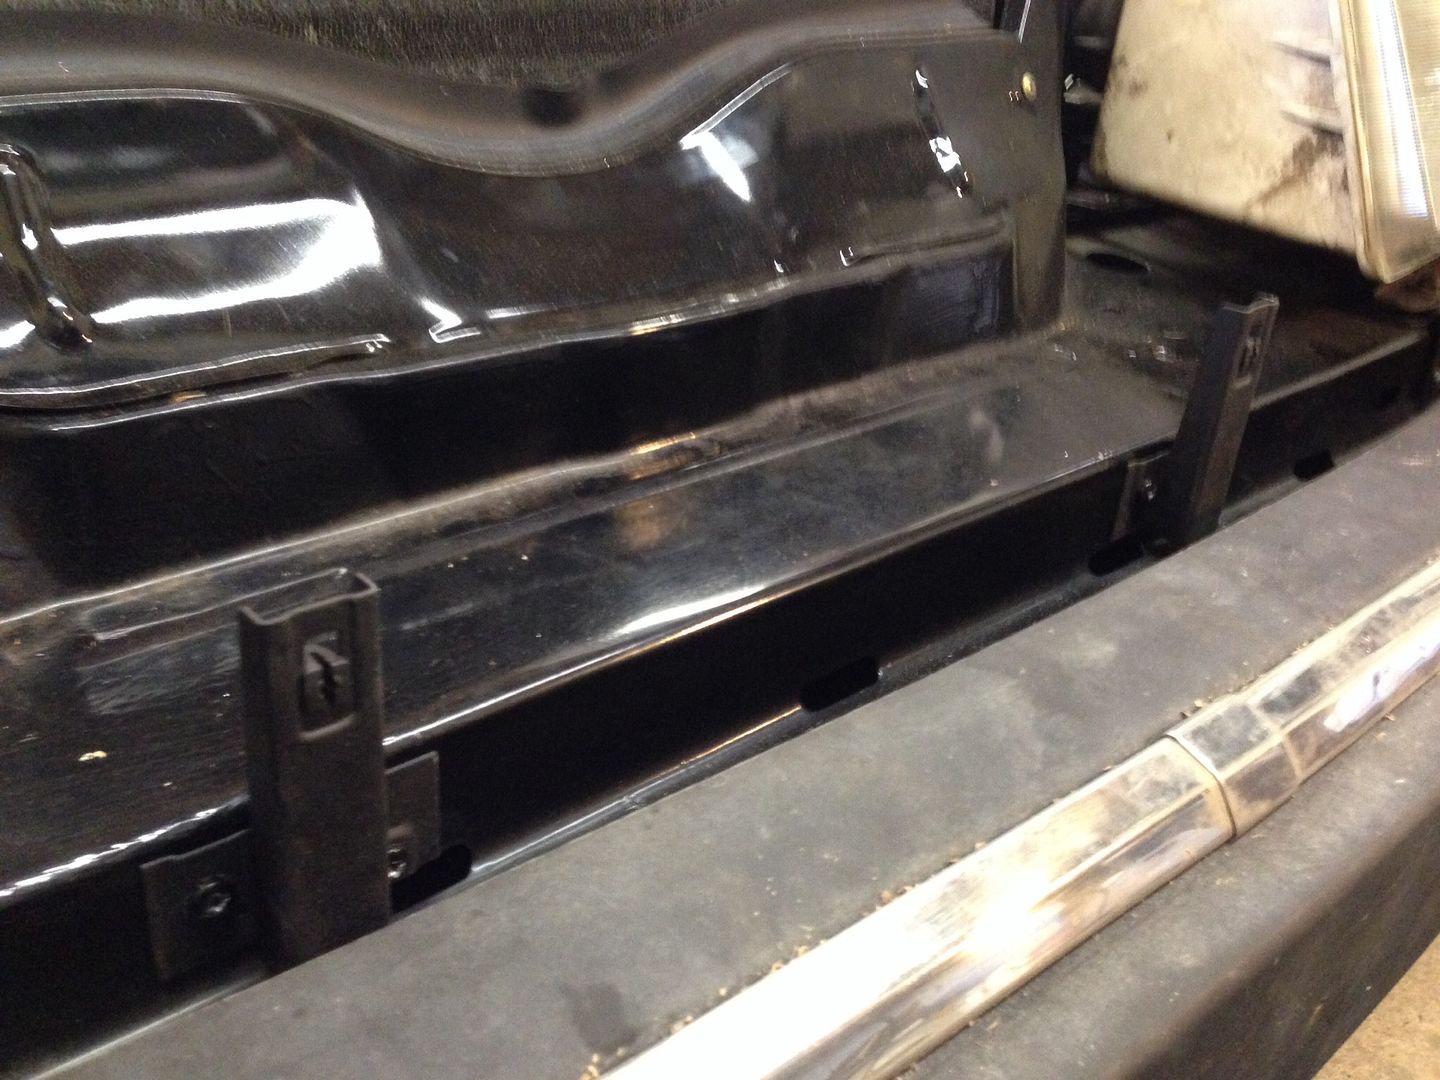
It was at this point I realised that the bumper mounts need to go back on before under tray and spoiler, so they had to come off again...
But, once done then the bumper back on:
Central locking
HVAC blowers
Interior lights
Oil level sensor
Rear wiper
Temp sensor
In addition to making a bracket to hold the water bottle for the head light washer system. The original had rusted to nothing so made a stout repayment from some old alloy plate, not pretty but it's completely hidden and won't suffer the same fate as the previous one.
In place:
Under tray back on, the pipe you can see leads to the washer jets in the front bumper. The tray has twisted a bit over time but as it's also hidden it's of no consequence:
Front spoiler back on. As I'm running wider tyres the rubbed on the inner edges so they had to be relived a little, also needs a good clean after being in the sheds for so long:
It was at this point I realised that the bumper mounts need to go back on before under tray and spoiler, so they had to come off again...
But, once done then the bumper back on:
lexspace said:
Brilliant job on this Duke Thrust , I've had 7 sd1's , 2 of them vitesse's and had some great times with them , plenty of frustrating times with them too, they are (slightly flawed) great cars and just about everybody has been in one/knew someone who had one/has a story about one , looking forward to seeing this one complete again
Thanks! I suspected you had and SD1 at some point when I notced the wheel chock in one of your recent build photos.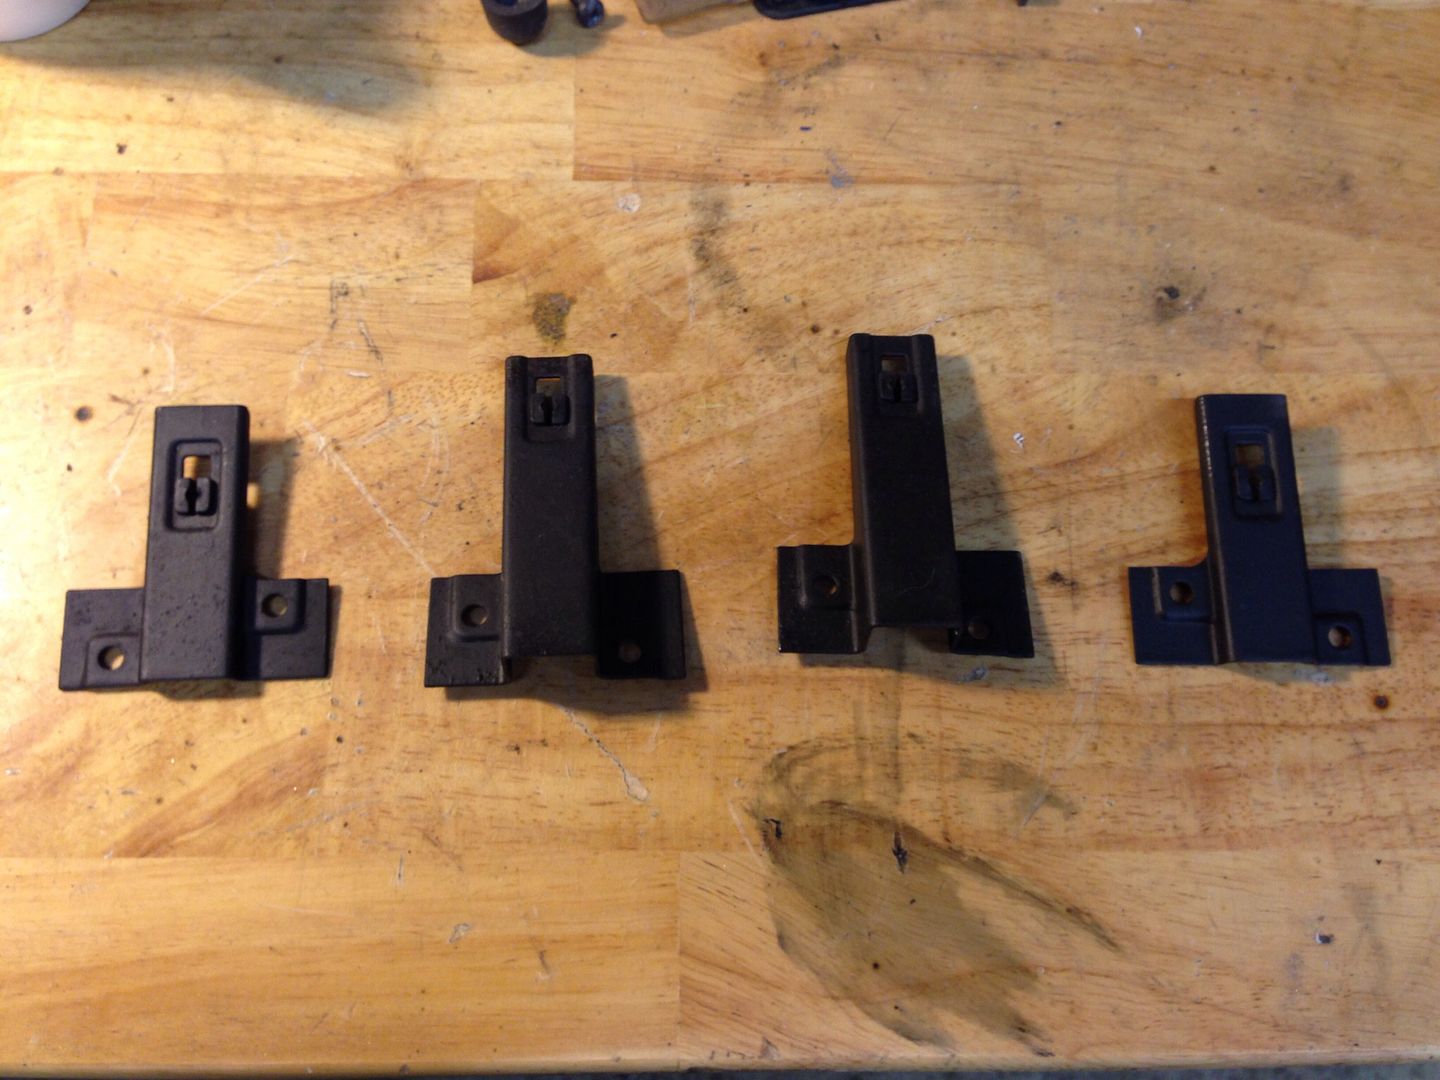
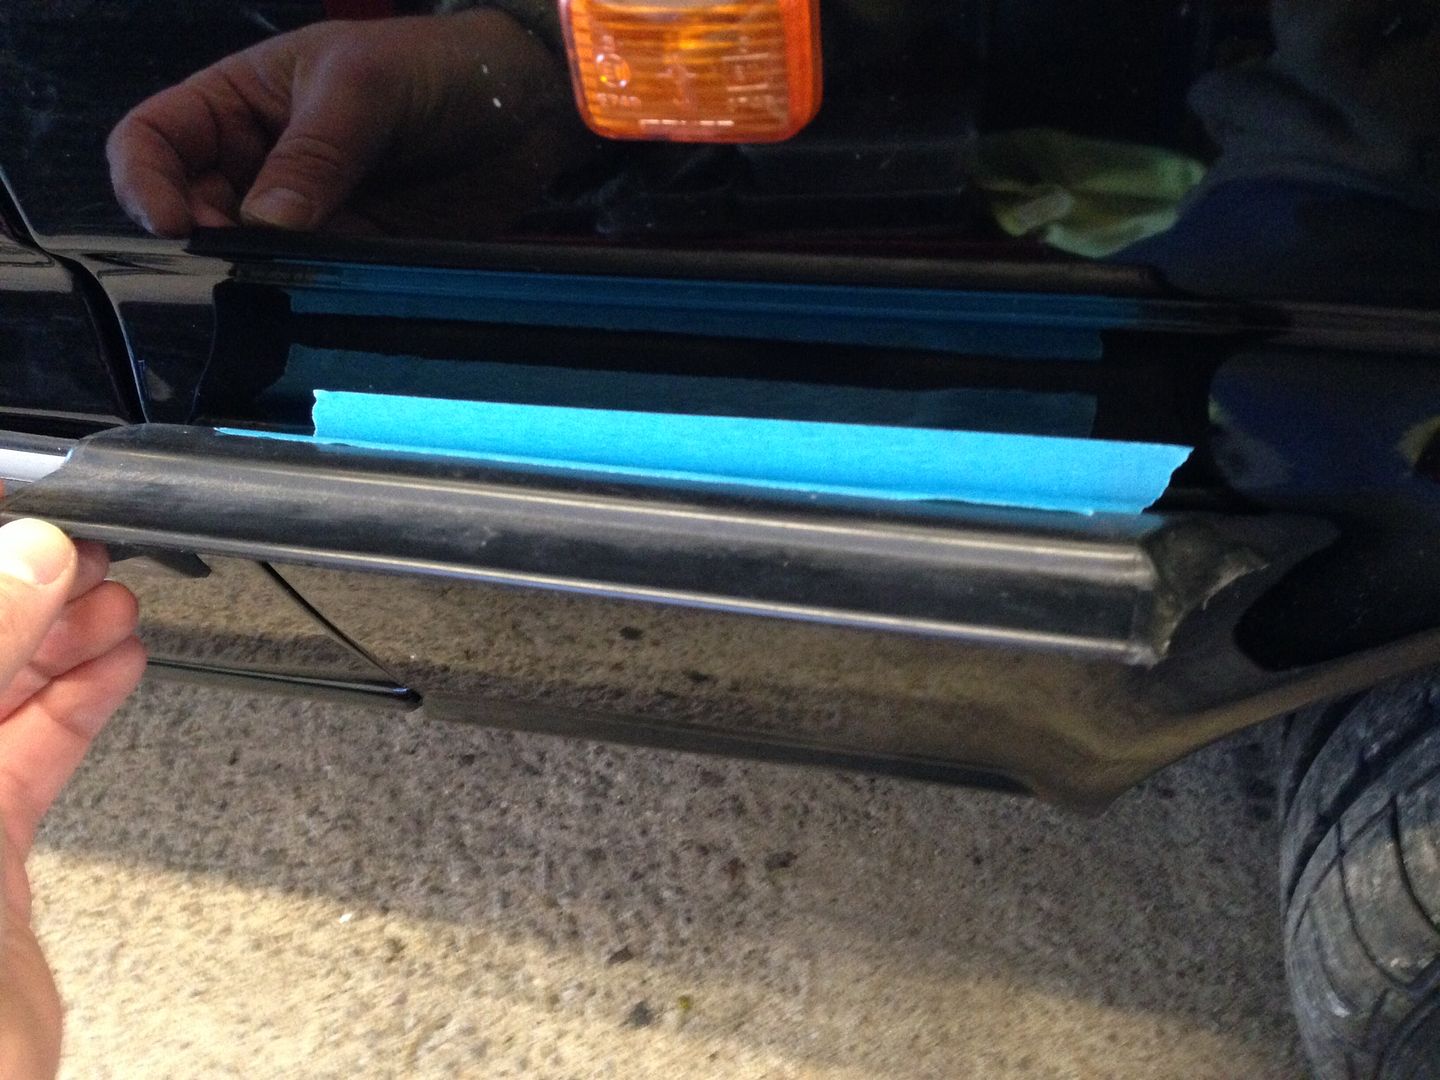
Putting the side strips back on has been a complete pain as removing the old sticky stuff takes forever. Finally got the last one done:
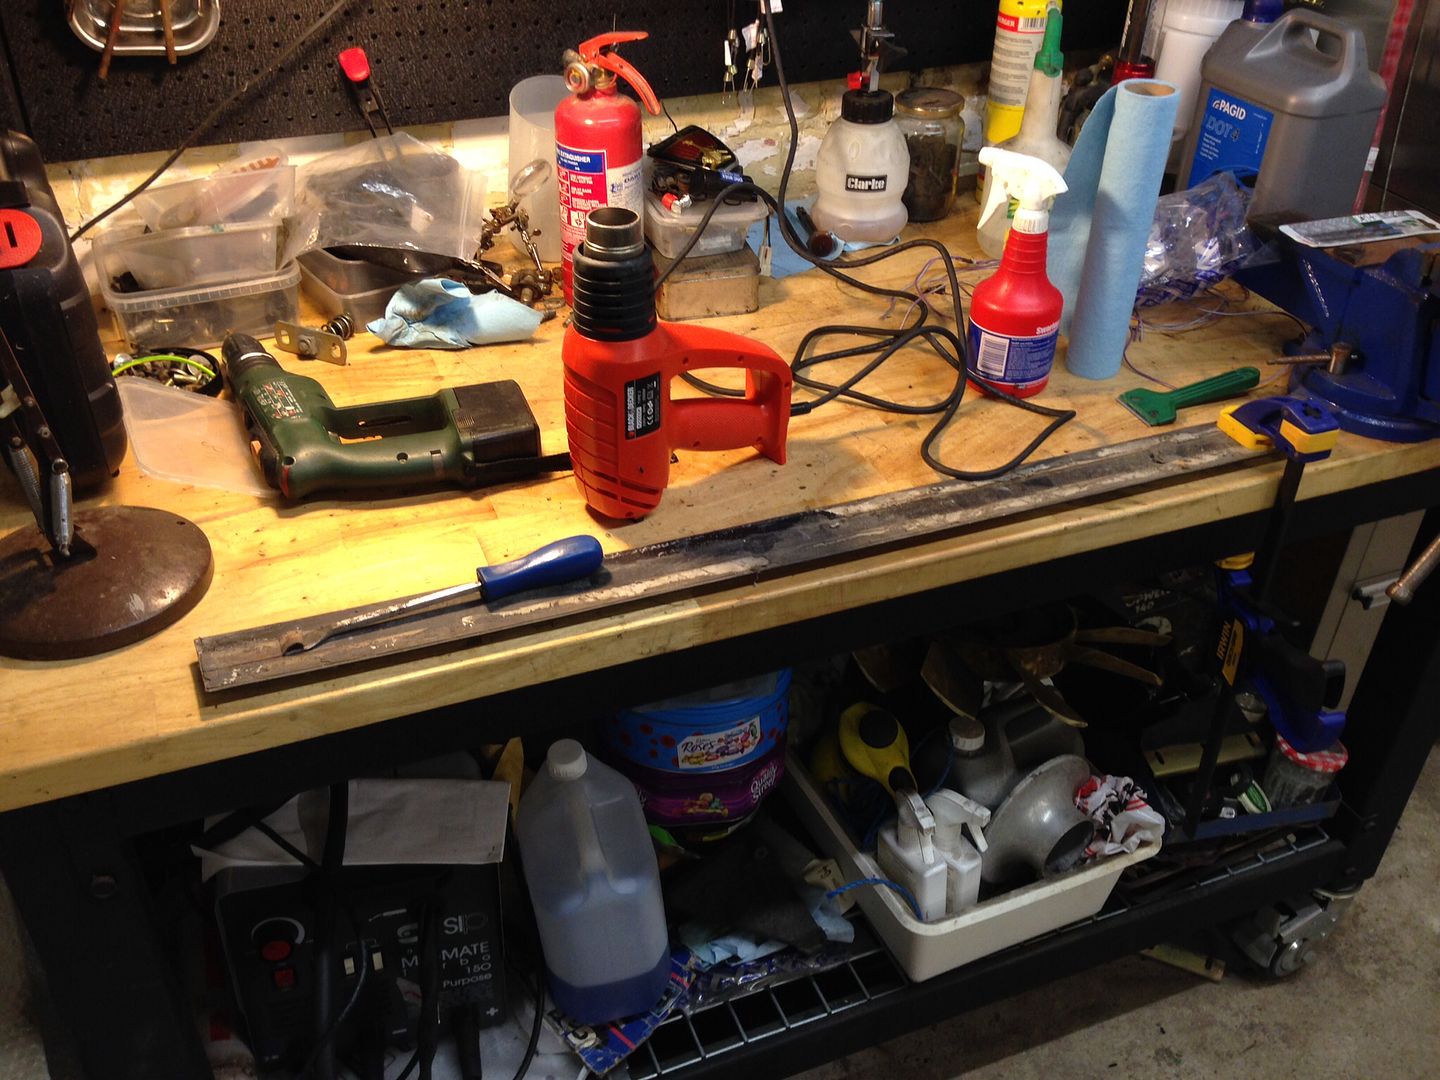
New sticky stuff:
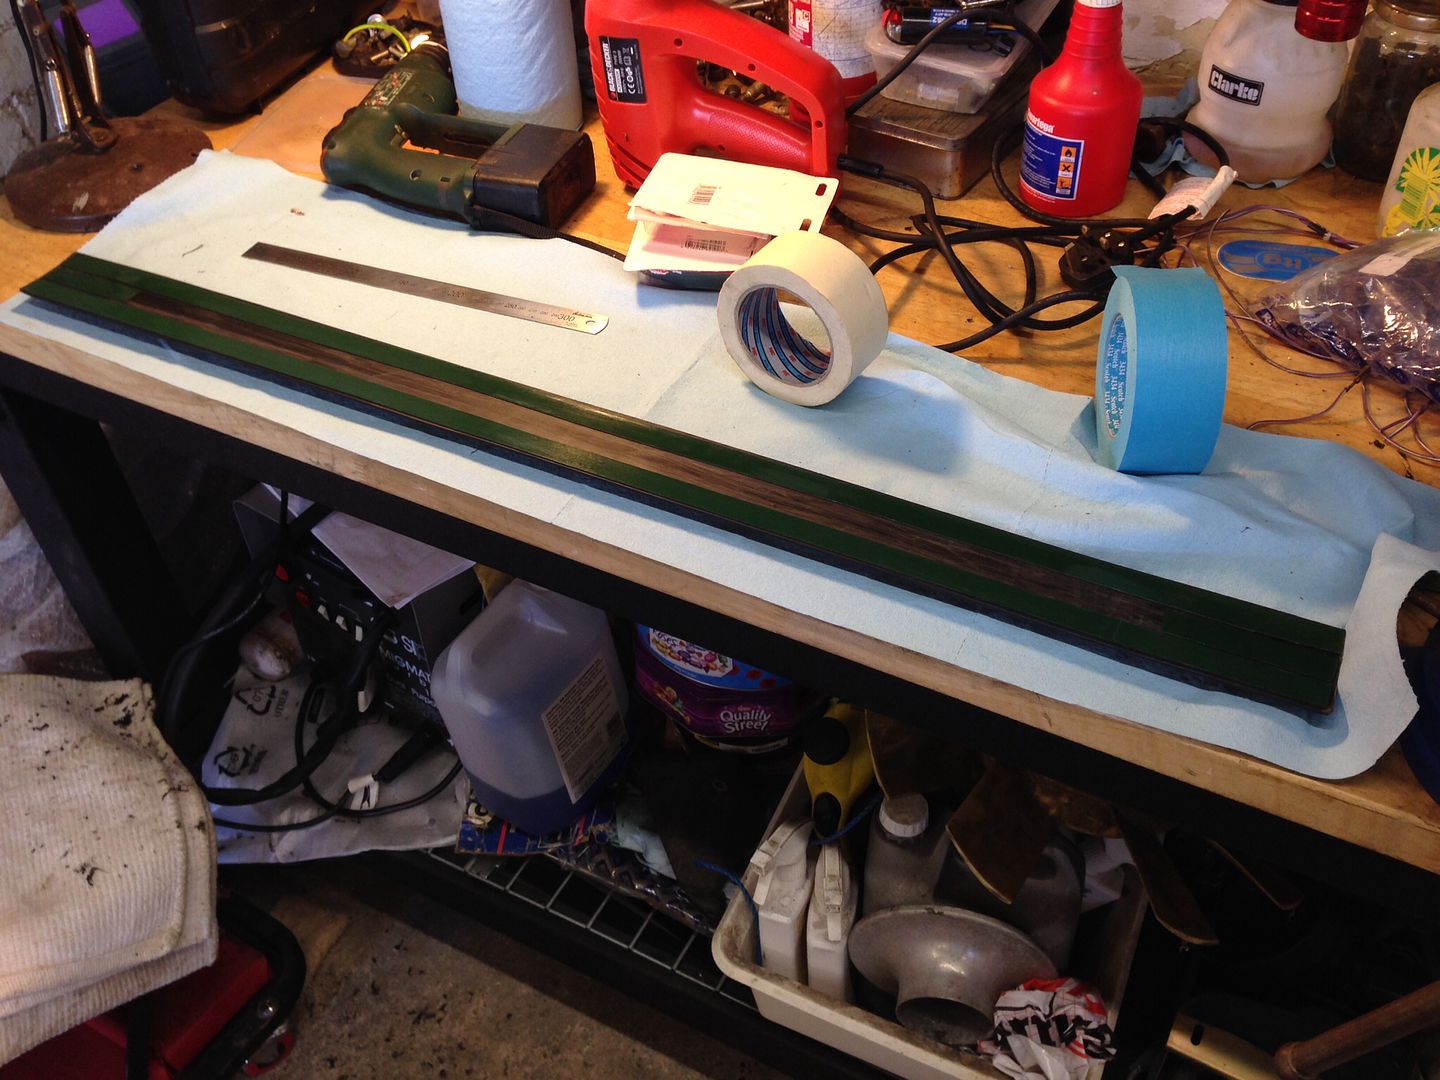
Then masked a line done the side of the car (the funny camera angle distorts the picture and the rear tyres look ridiculously narrow)
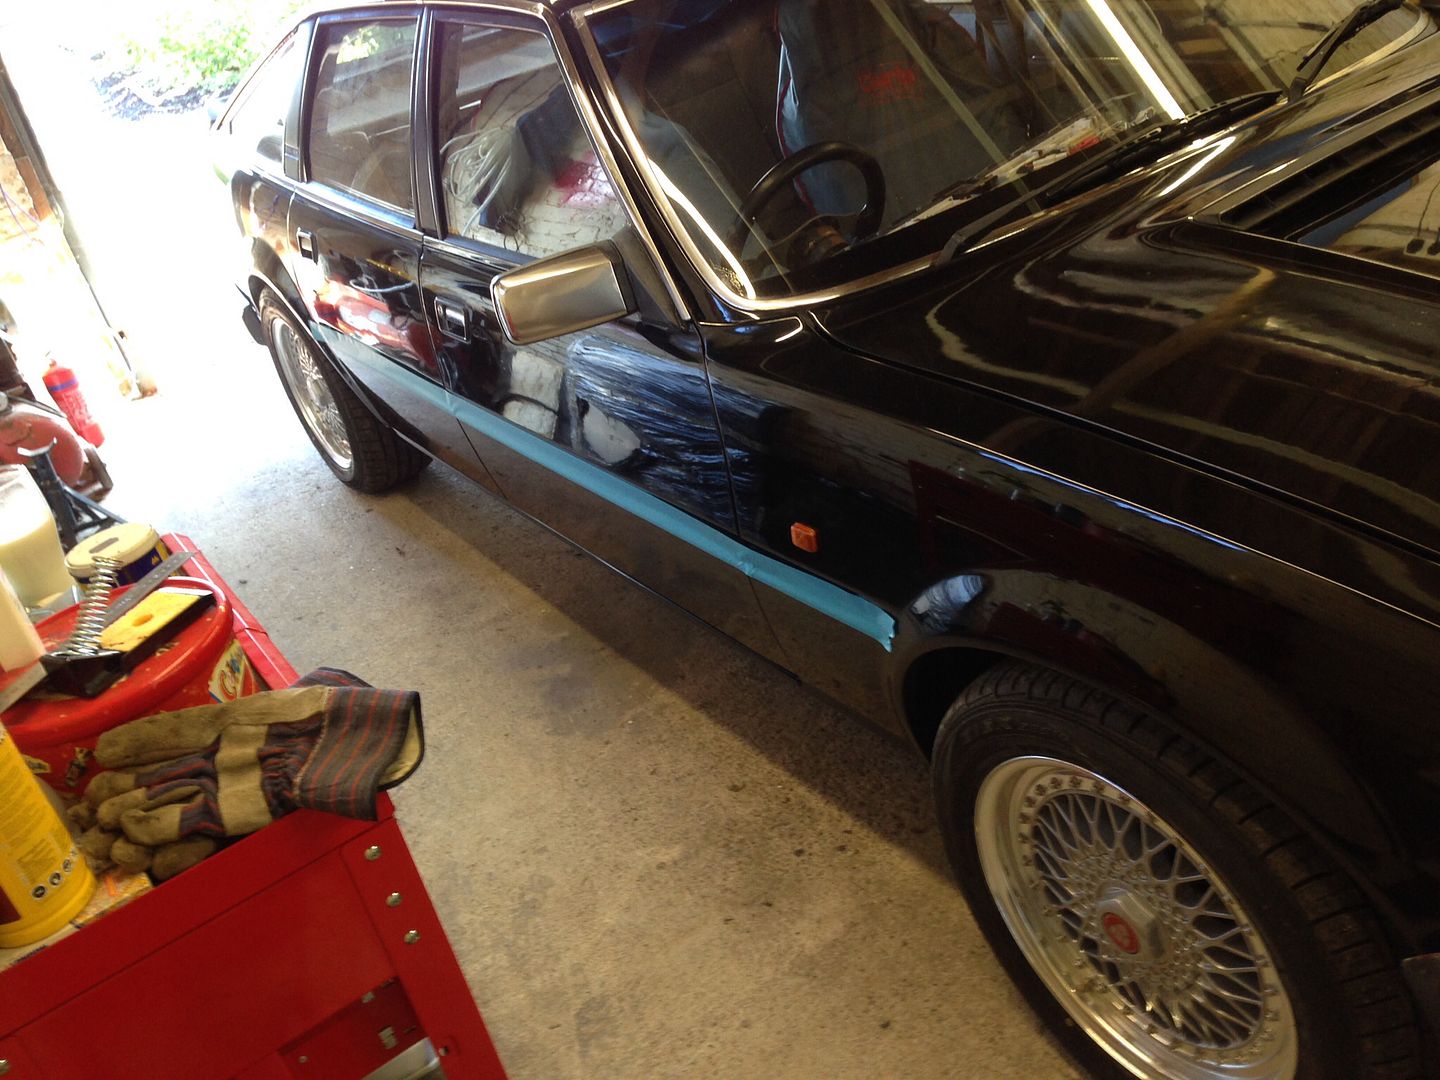
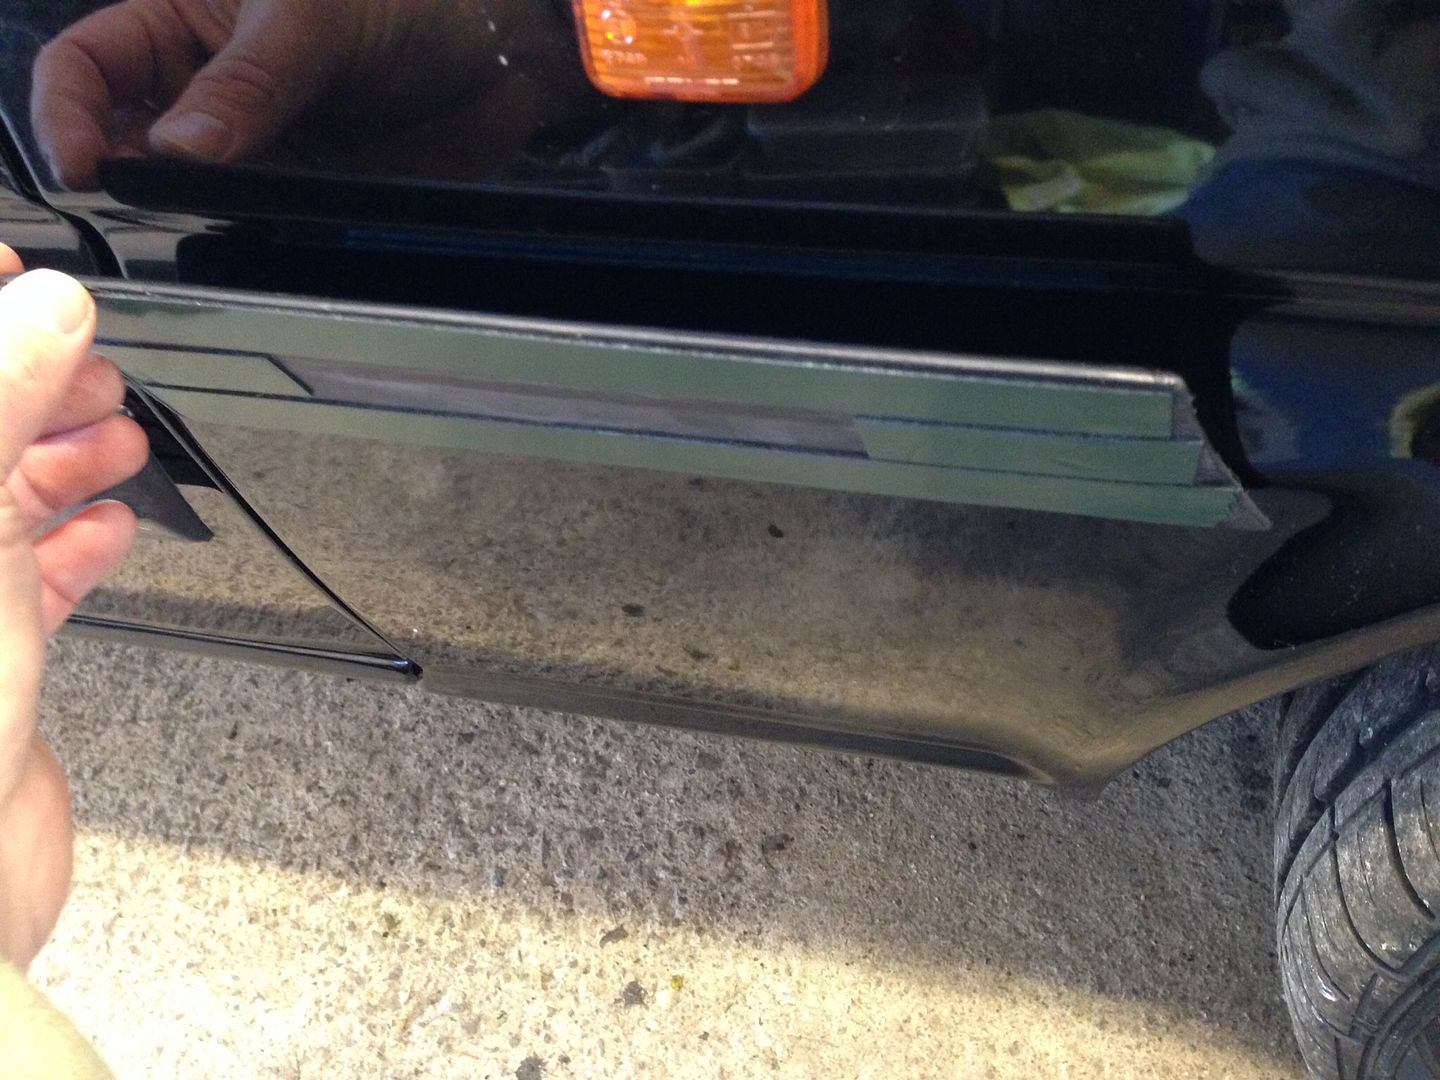
Then aligned the strips:
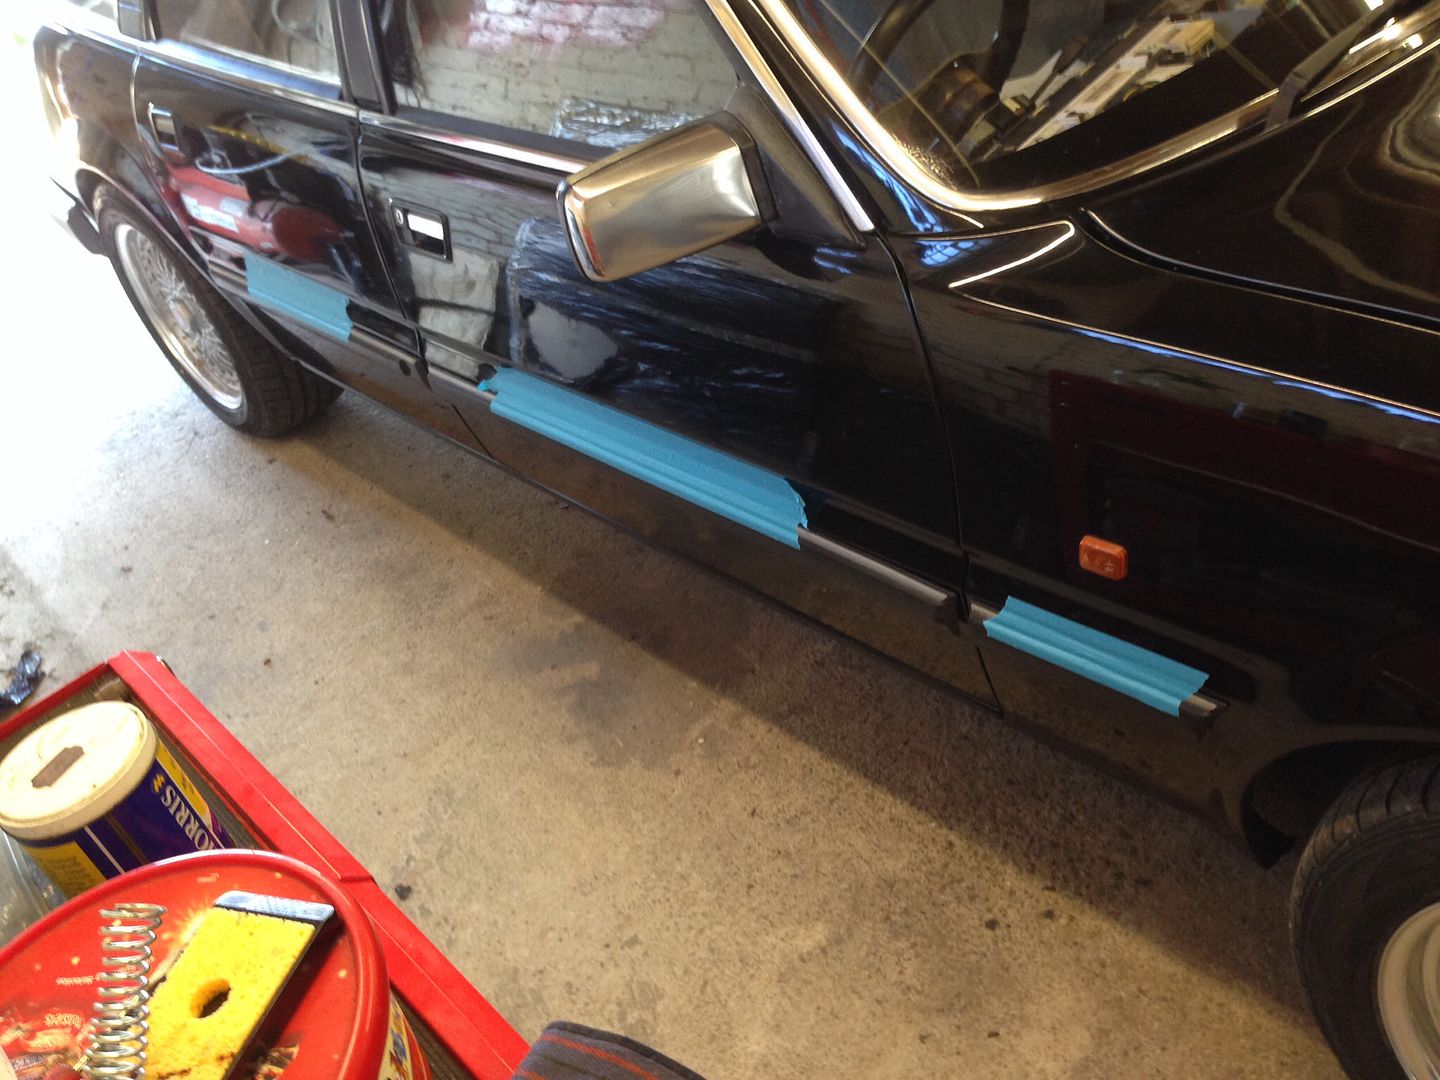
Then used more tape to create a hinge:
Then remove backing tape and stick down:
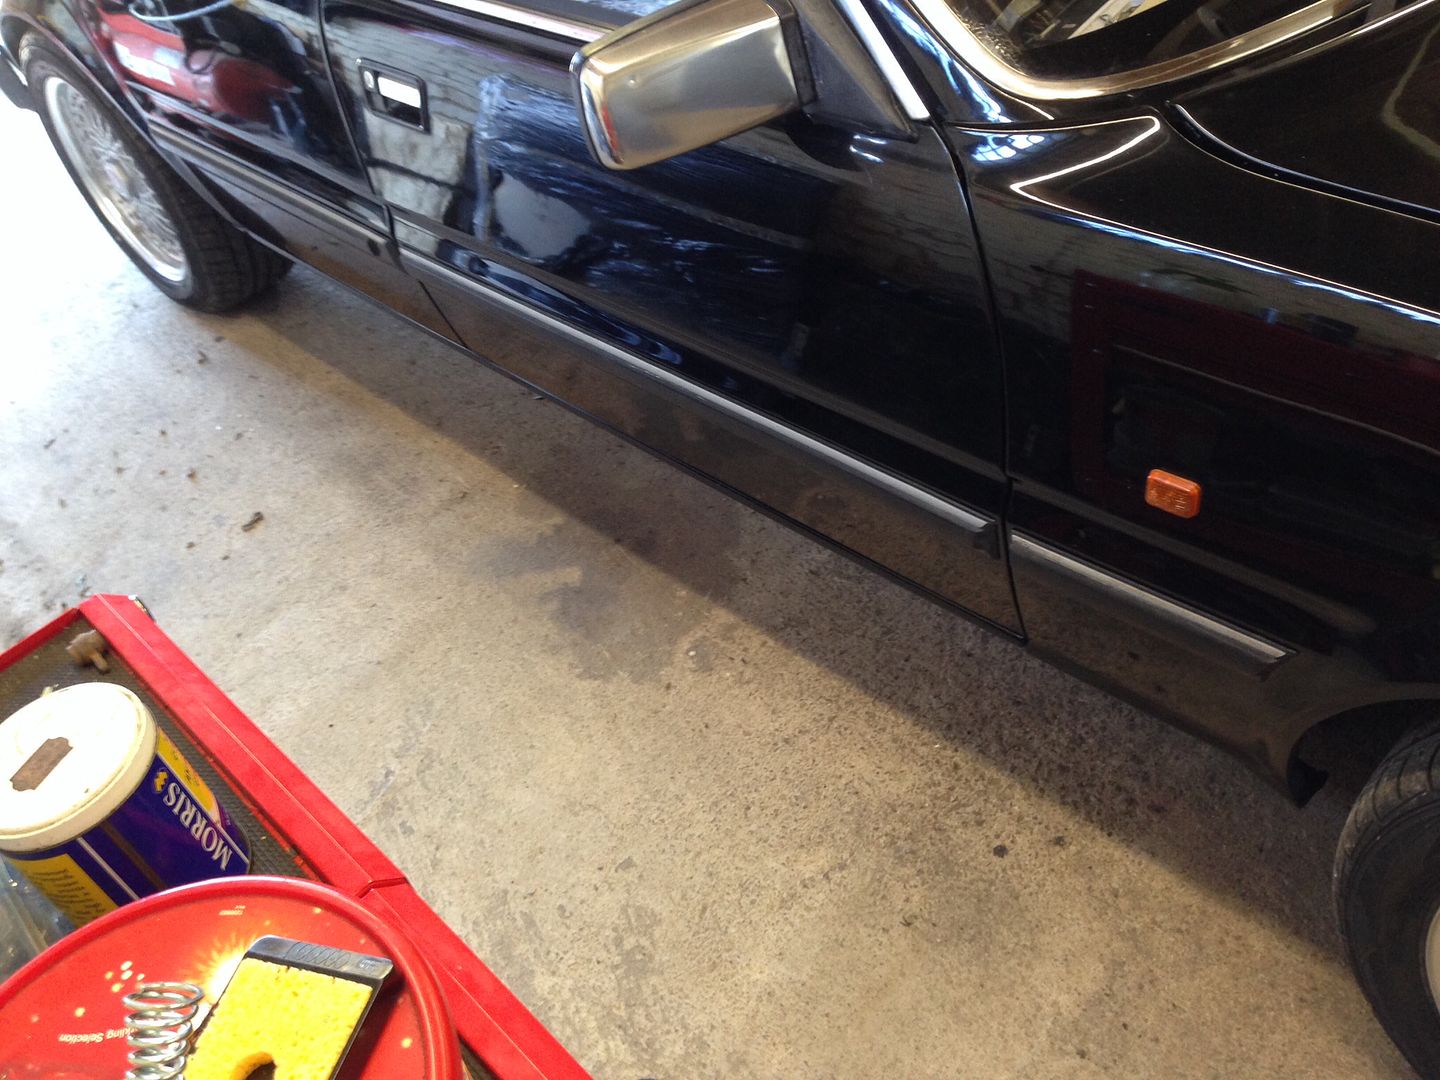
All done which is a massive relief:
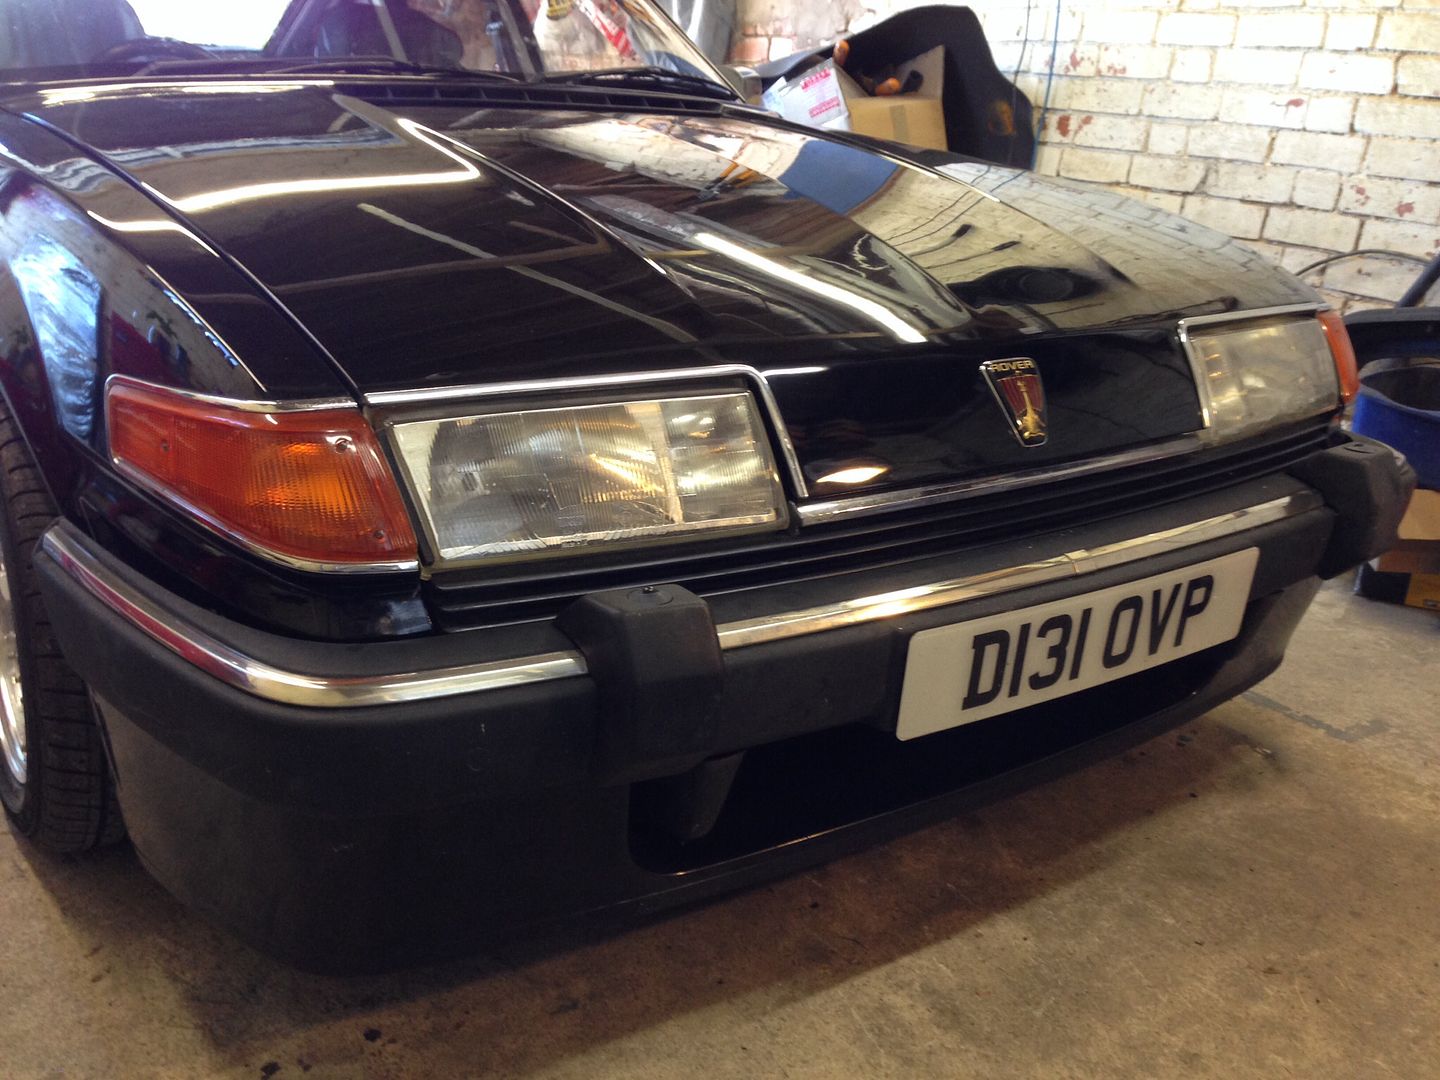
Badge and plate back one:
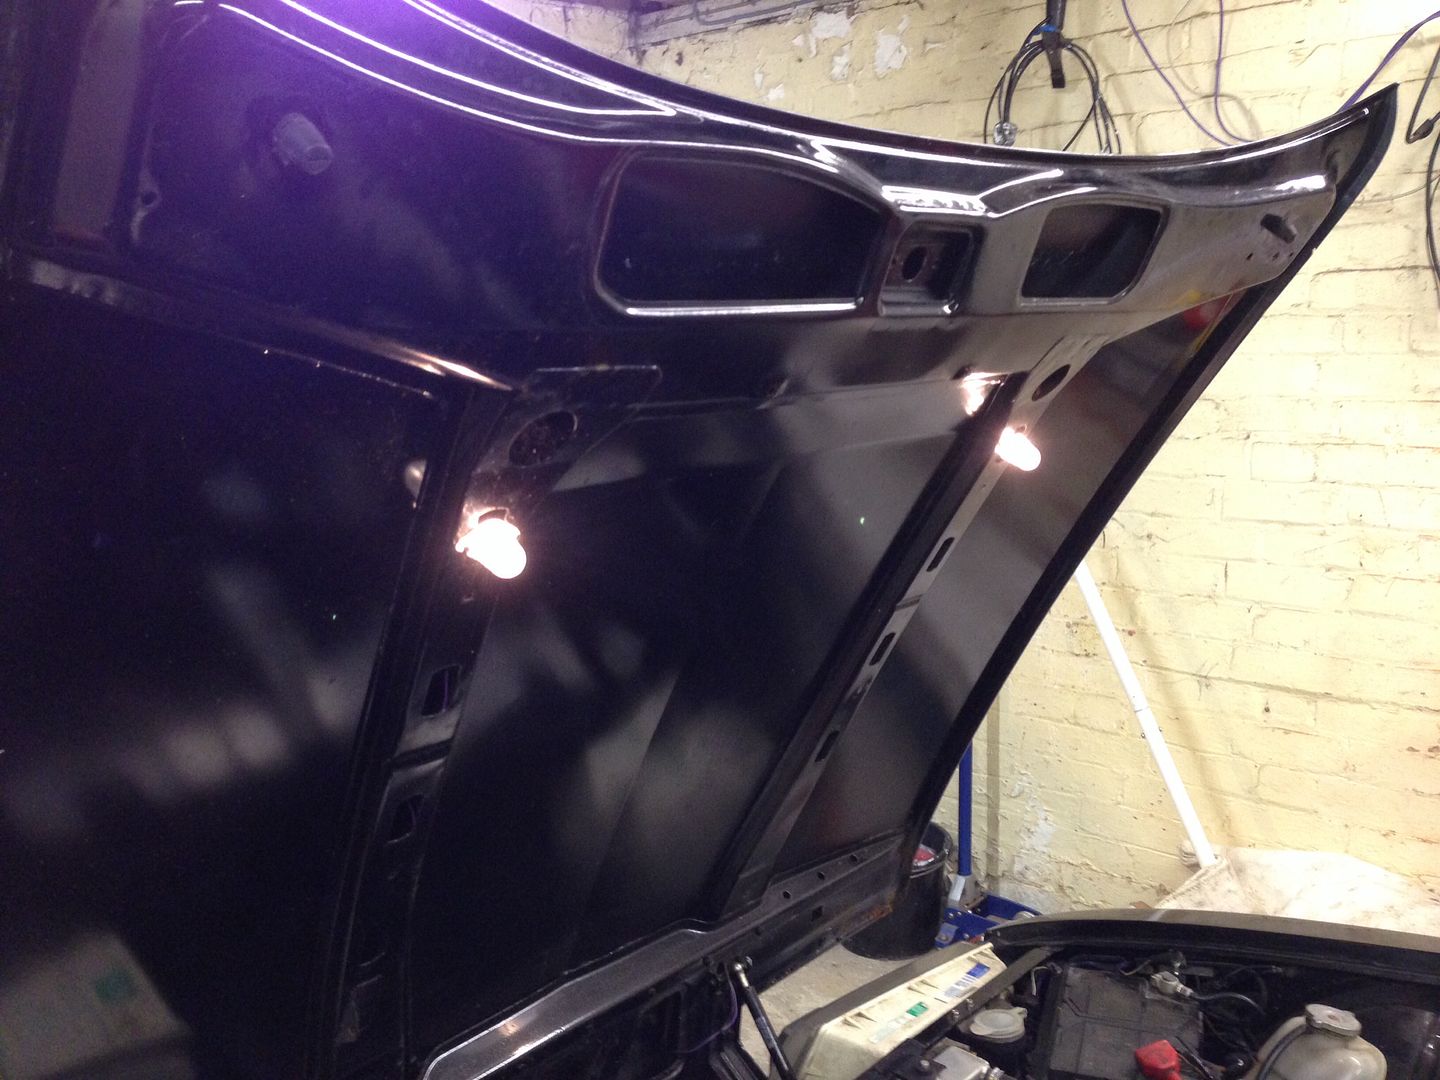
Under bonnet lights back on and wired up:
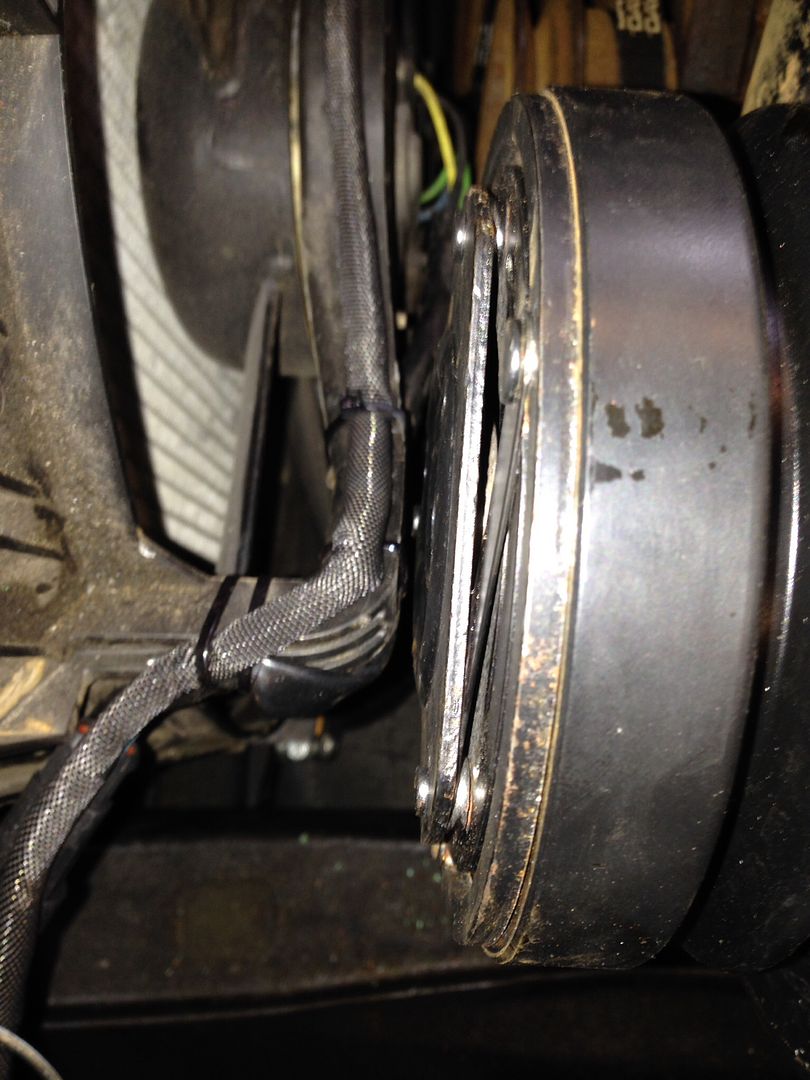
Then the air con components go back in, not much clearence for the compressor, but it's enough:
New sticky stuff:
Then masked a line done the side of the car (the funny camera angle distorts the picture and the rear tyres look ridiculously narrow)
Then aligned the strips:
Then used more tape to create a hinge:
Then remove backing tape and stick down:
All done which is a massive relief:
Badge and plate back one:
Under bonnet lights back on and wired up:
Then the air con components go back in, not much clearence for the compressor, but it's enough:
BritishRacinGrin said:
Keep an eye on that- you'd be surprised how much an engine will move around in the engine bay whilst driving, especially once the engine mounts are beginning to wear.
Amazing project by the way.
Oddly enough I was thinking the same myself so spaced the rad forward by about 10mm last night.Amazing project by the way.
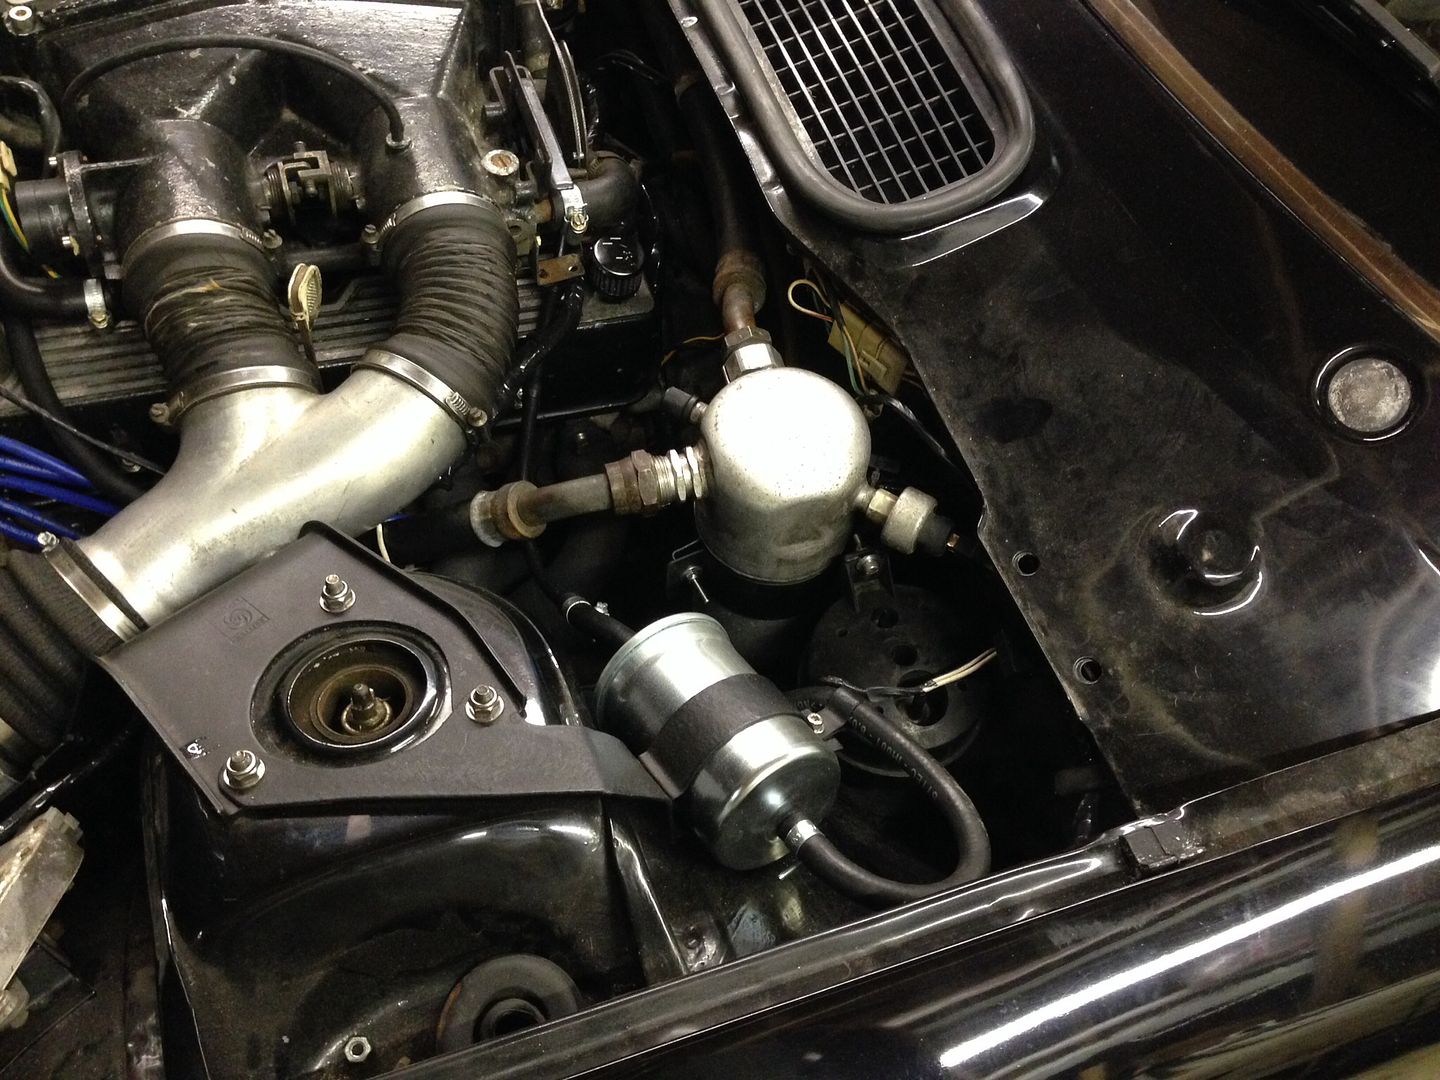
On Sunday the fuel pump died, I suppose not surprising given it'd been dormant for nearly 20 years in old fuel and then smashed back into life. I did think about changing it out but it bench tested fine for pressure - it's pretty much the only 'mechanical' part that wasn't new or re-built, so my own fault really.
Anyway, old and new:
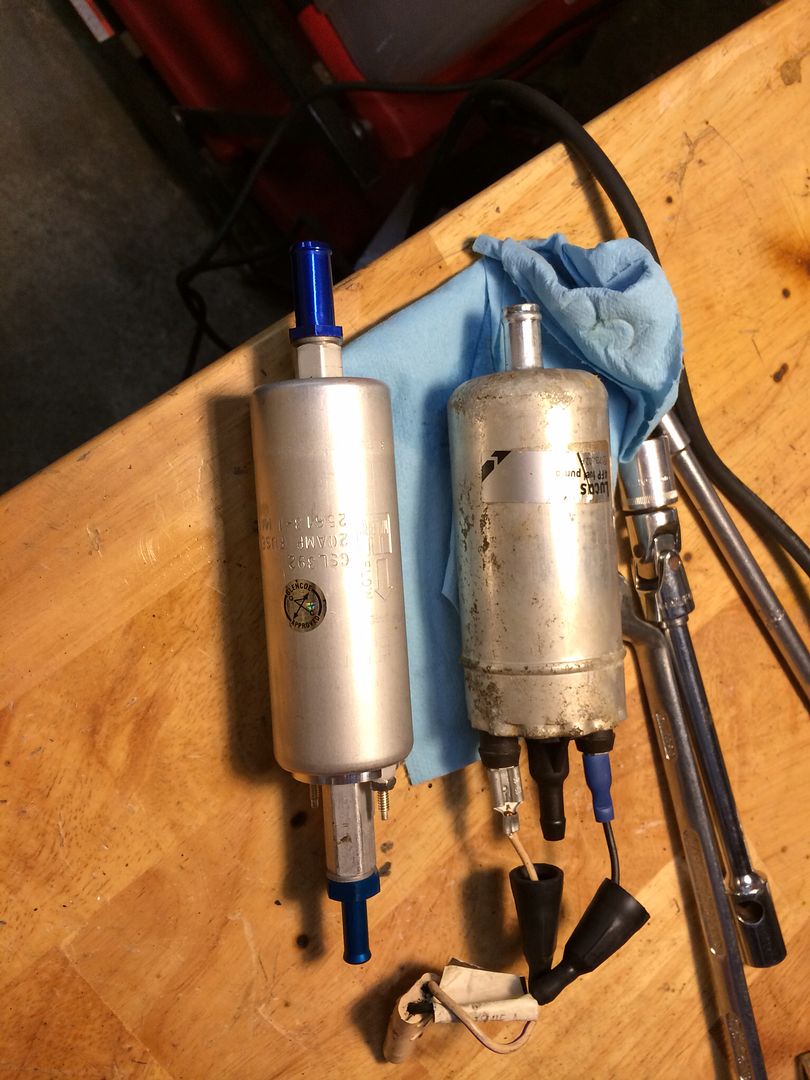
As an added bonus the new one has a greater flow rate and is also quieter too.
Anyway, old and new:
As an added bonus the new one has a greater flow rate and is also quieter too.
Pappagallo said:
Any idea of the power you're getting from the 4.5?
It's a good spec with lots of work so I would hope for a genuine 300+ BHP.It's got an adjustable ECU, next step will be the fully mapable ECU and mapped ignition. Will run it in first in using the current set-up and then a full rolling road session with the modern setup.
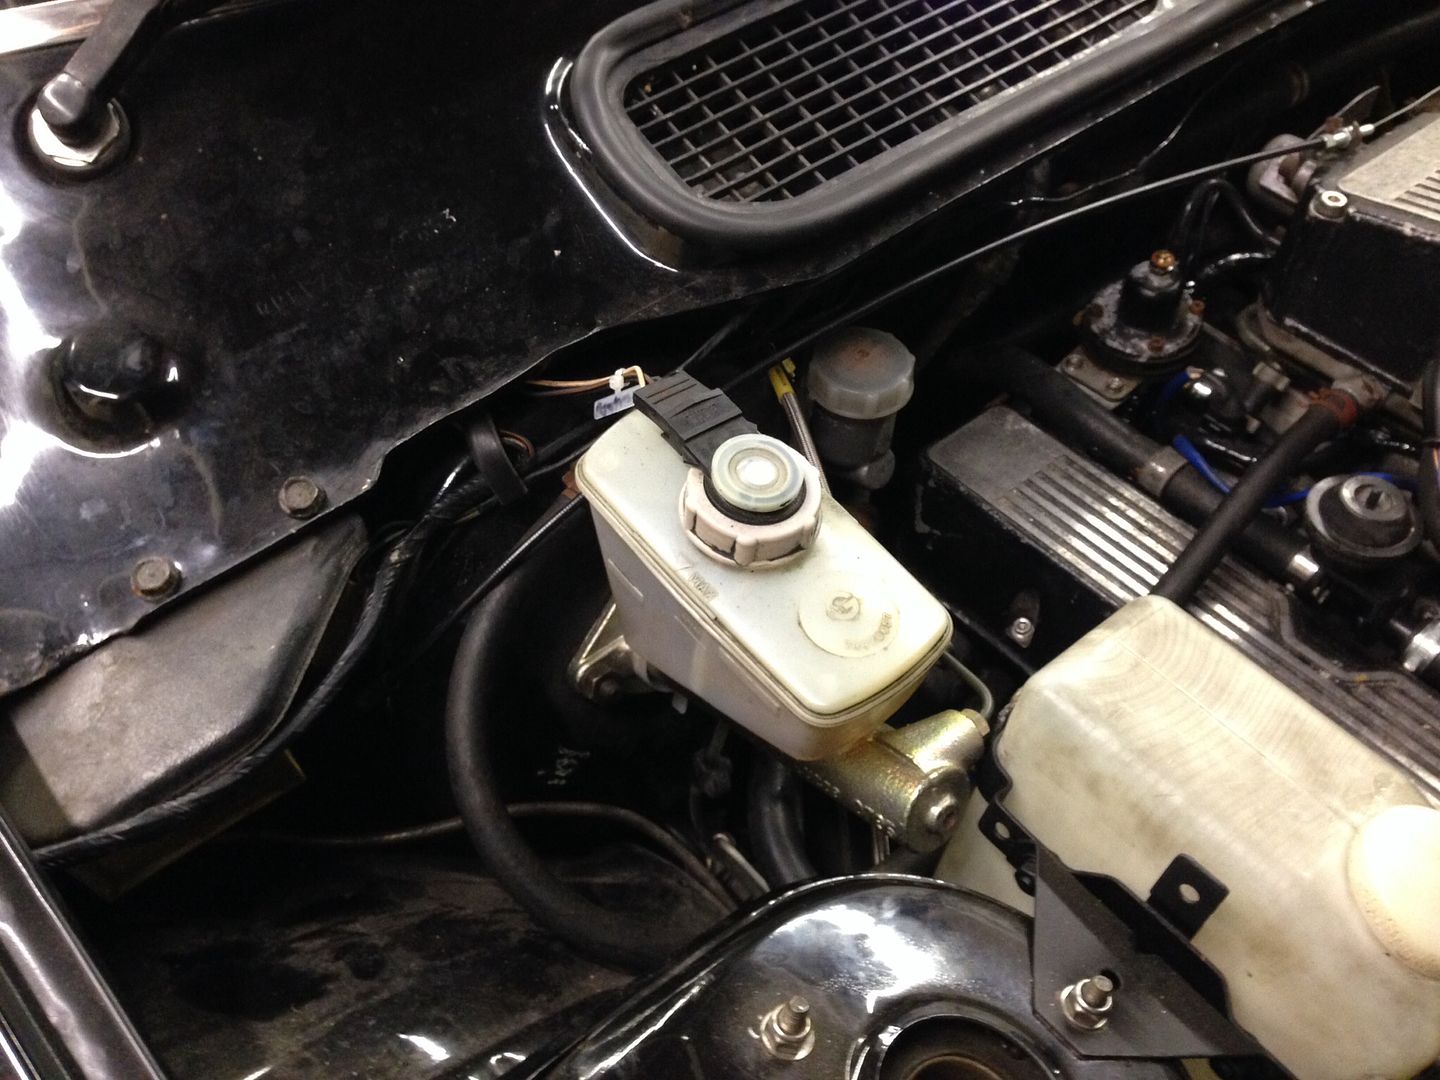
All ready and waiting to go on

I had the air con pressure tested and filled at the weekend and it only works perfectly! All new seals to cope with the new refrigerant as part of the rebuild and it's fantastic, gets really lovely and cold. The dashboard can go back in now (left it out in case of problems and the various HVAC boxes had to come out again).
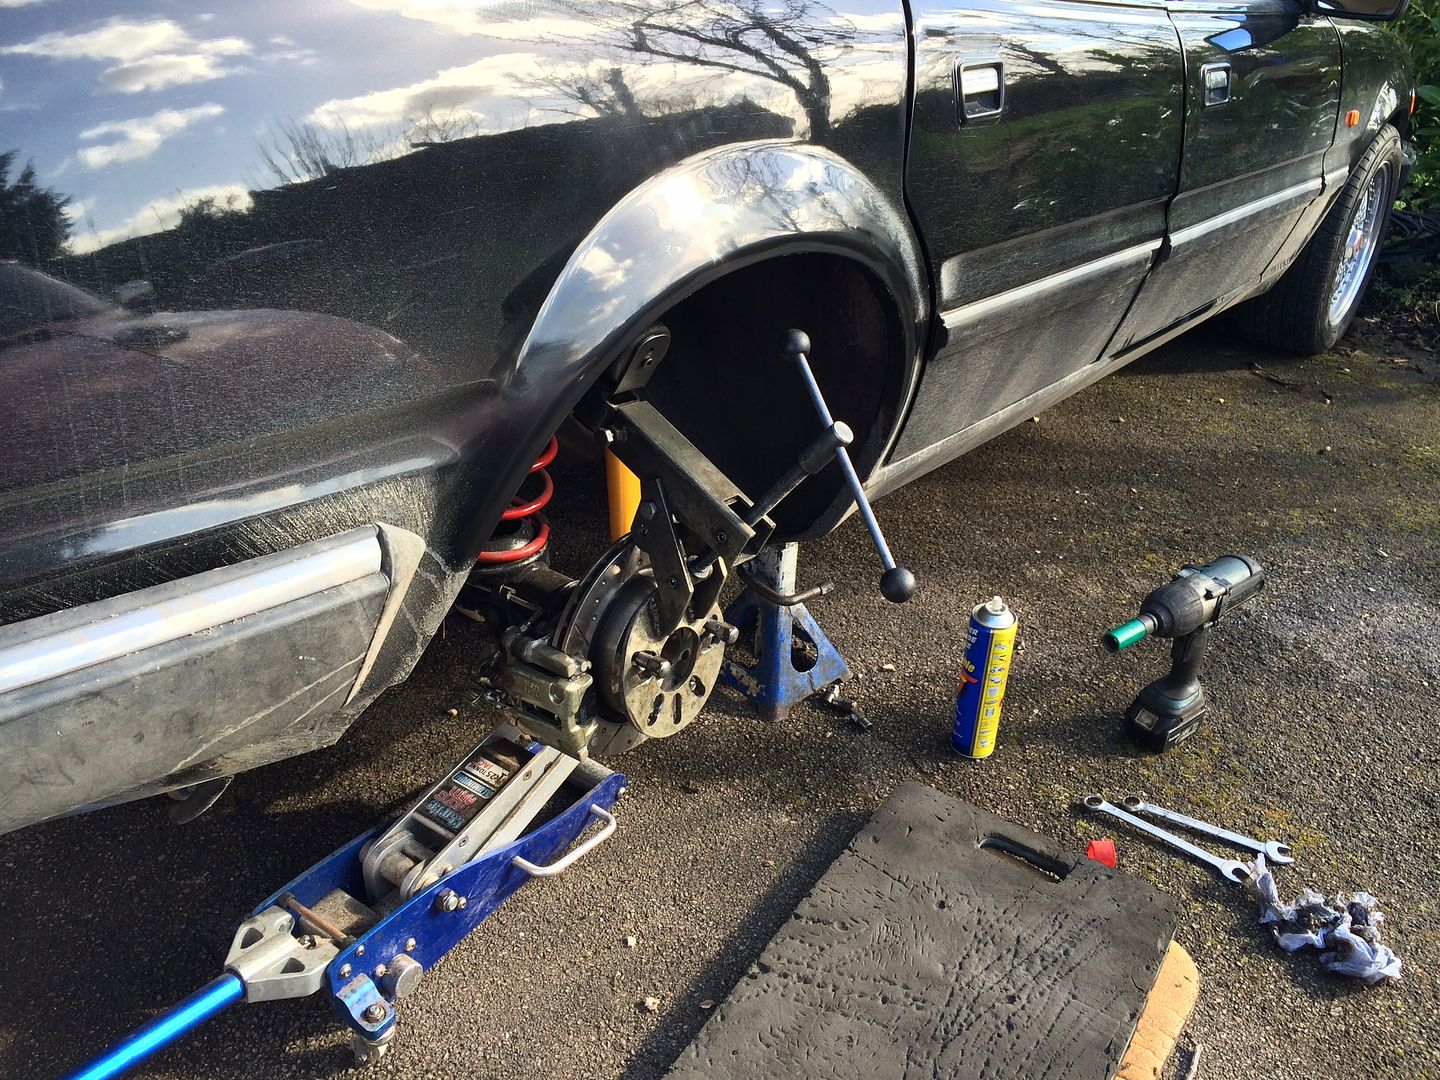
Also I've started to get the suspension adjusted, front feels right but the back was too soft. They're on-car adjustable units so the work of a moment to pop it on ramps and get to the adjuster.
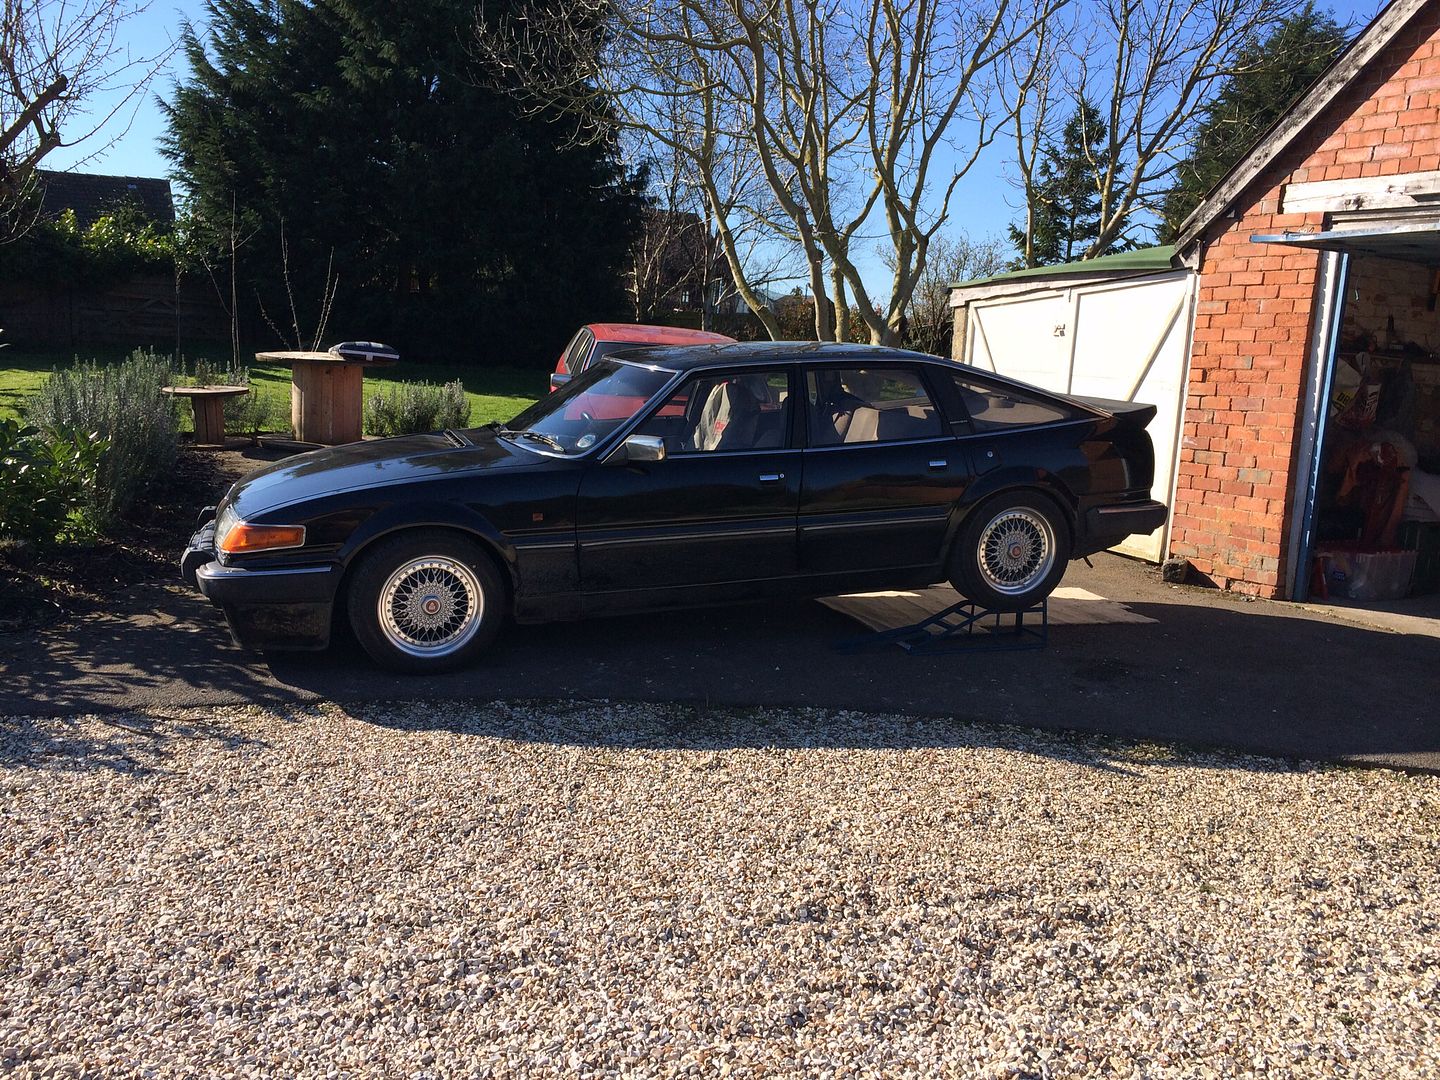
Also I've started to get the suspension adjusted, front feels right but the back was too soft. They're on-car adjustable units so the work of a moment to pop it on ramps and get to the adjuster.
There's a vid a page or two back with the first start up, will try to get one sorted with it on the road soon 
I've noticed that the tyres were just making contact with the very edge of the lip inside the wheel arch when hitting a big bump. The suspension feels right so I don't want to stifen it up any further but clearly I don't want the tyres rubbing either, the solution is to get the arches at the rear rolled.
Thankfully the metal is good on my car, so no crusty rust to worry about - as such rolling was pretty straightforward. Did think about doing it myself but was concerned about screwing it up so had it done professionally instead:
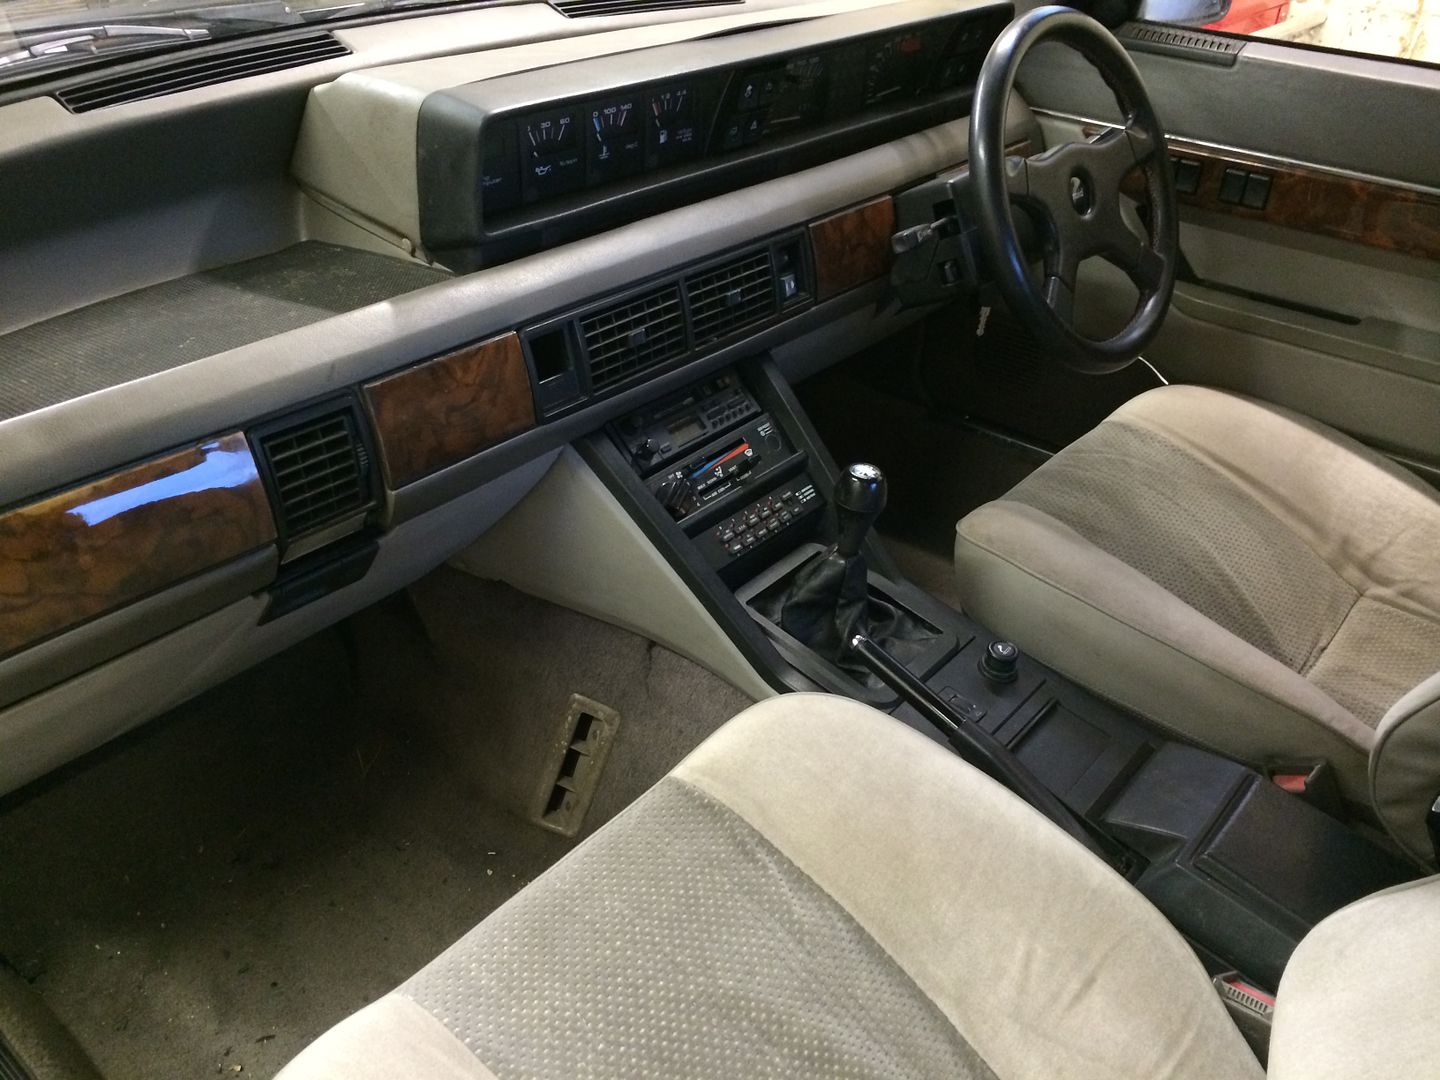
Made a few preparations to get the dash board back in, got the top section cleaned up and a much better wood set installed:
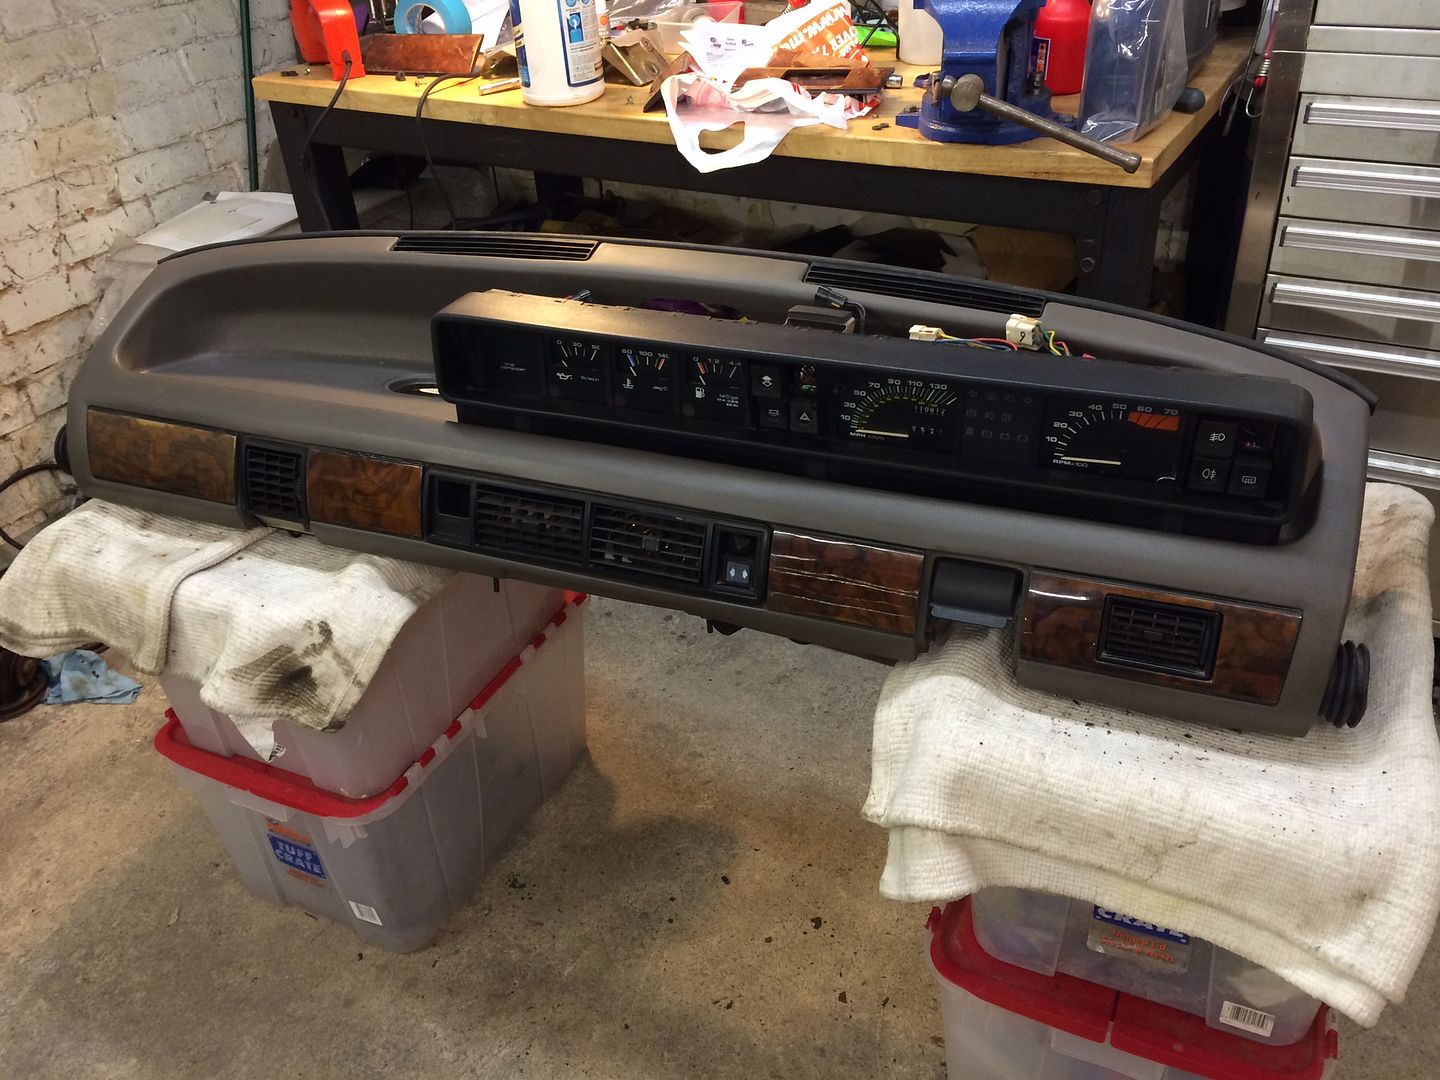
All A/C, gauges, switches and clocks working as they should now, so am feeling confident about it all going back in.
I've noticed that the tyres were just making contact with the very edge of the lip inside the wheel arch when hitting a big bump. The suspension feels right so I don't want to stifen it up any further but clearly I don't want the tyres rubbing either, the solution is to get the arches at the rear rolled.
Thankfully the metal is good on my car, so no crusty rust to worry about - as such rolling was pretty straightforward. Did think about doing it myself but was concerned about screwing it up so had it done professionally instead:
Made a few preparations to get the dash board back in, got the top section cleaned up and a much better wood set installed:
All A/C, gauges, switches and clocks working as they should now, so am feeling confident about it all going back in.
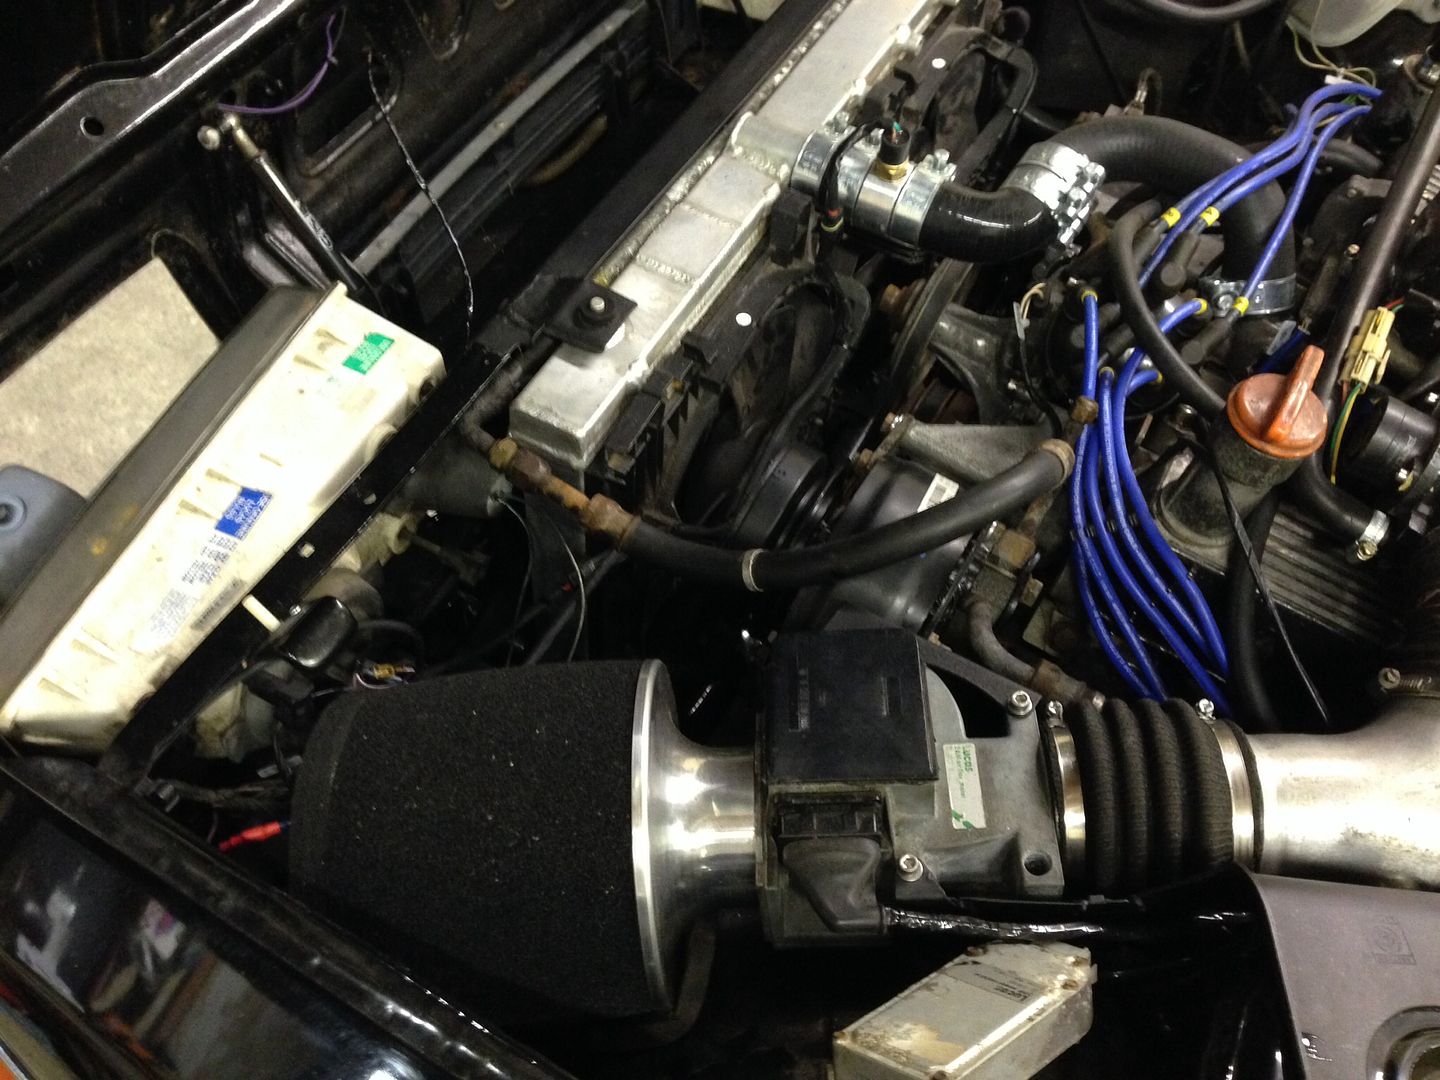
It's a balanced Rovercraft 4.5 block, ported stage 3 big valve heads, Piper 285 cam, 45mm inlet trumpets on a ported manifold, 4 into 2 into 1 exhaust with 1 & 3/4 inch primaries, twin plenum intake, Mark Adams adjustable ECU, larger injectors, Jag AFM.
Etc.
300 should be doable, will know when it's on the rollers in the next few weeks.
Etc.
300 should be doable, will know when it's on the rollers in the next few weeks.
Mark's a very knowledgable guy, really nice guy as well.
He'll be setting it all up for me on the rollers and would absolutely recommend him. He first set the car up for dad back in '88, so am pleased that he'll be doing it again.
Out of interest, did you change the inlet manifold along with your trumpets or are they a standard width? (38mm from memory)
He'll be setting it all up for me on the rollers and would absolutely recommend him. He first set the car up for dad back in '88, so am pleased that he'll be doing it again.
Out of interest, did you change the inlet manifold along with your trumpets or are they a standard width? (38mm from memory)
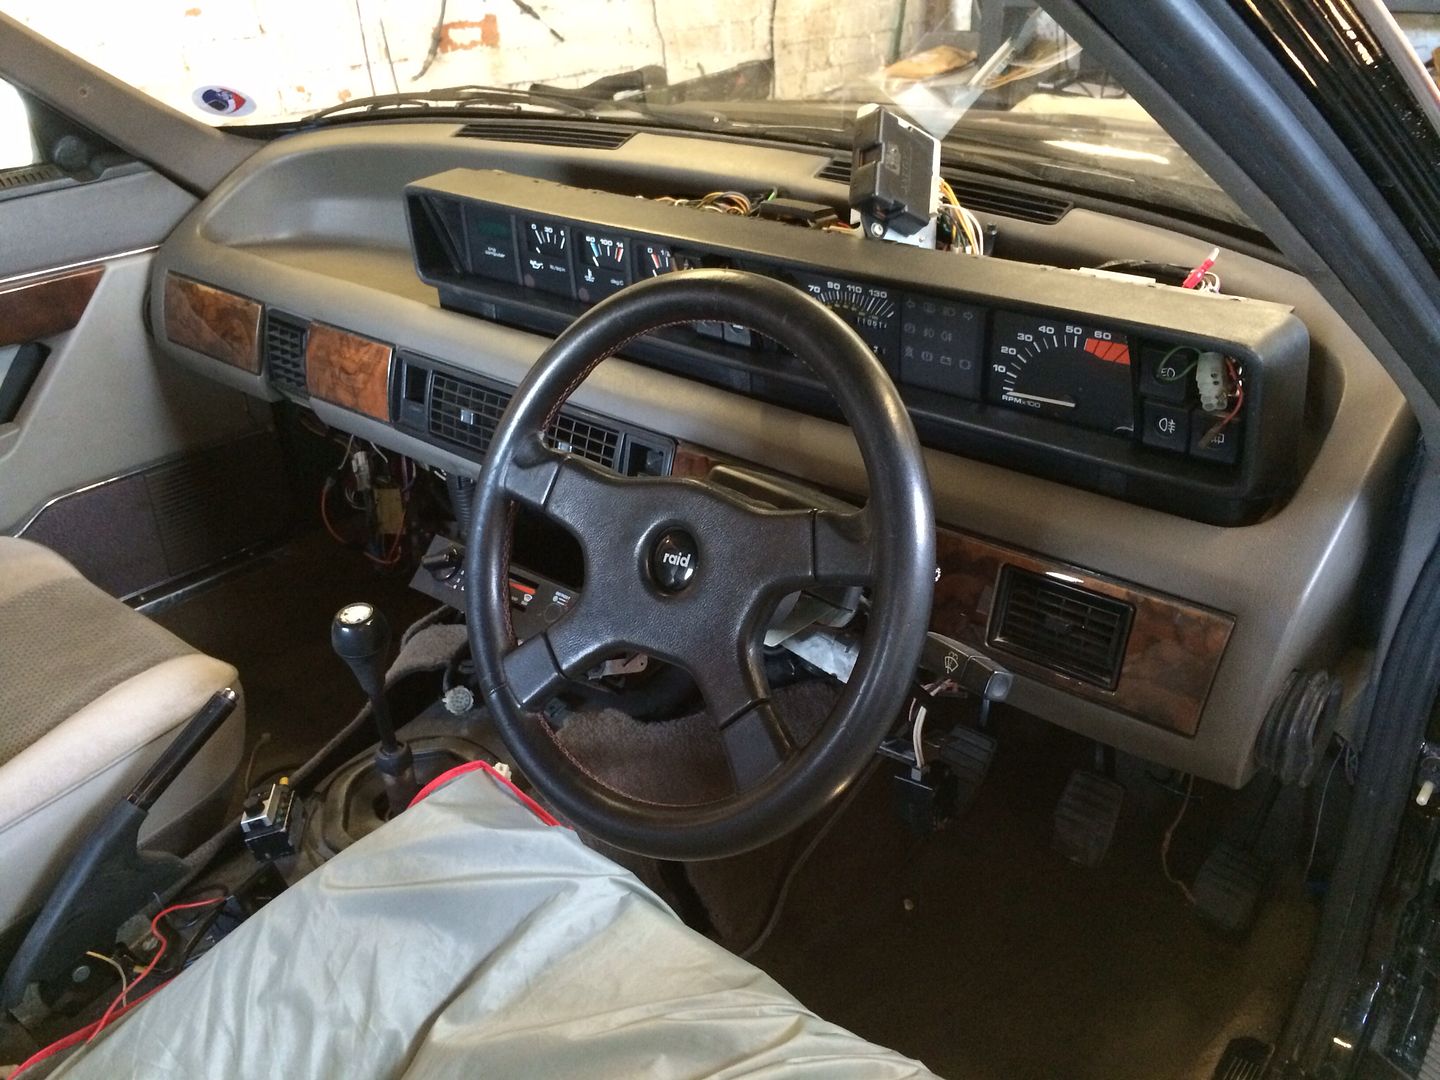
Dashboard back in:
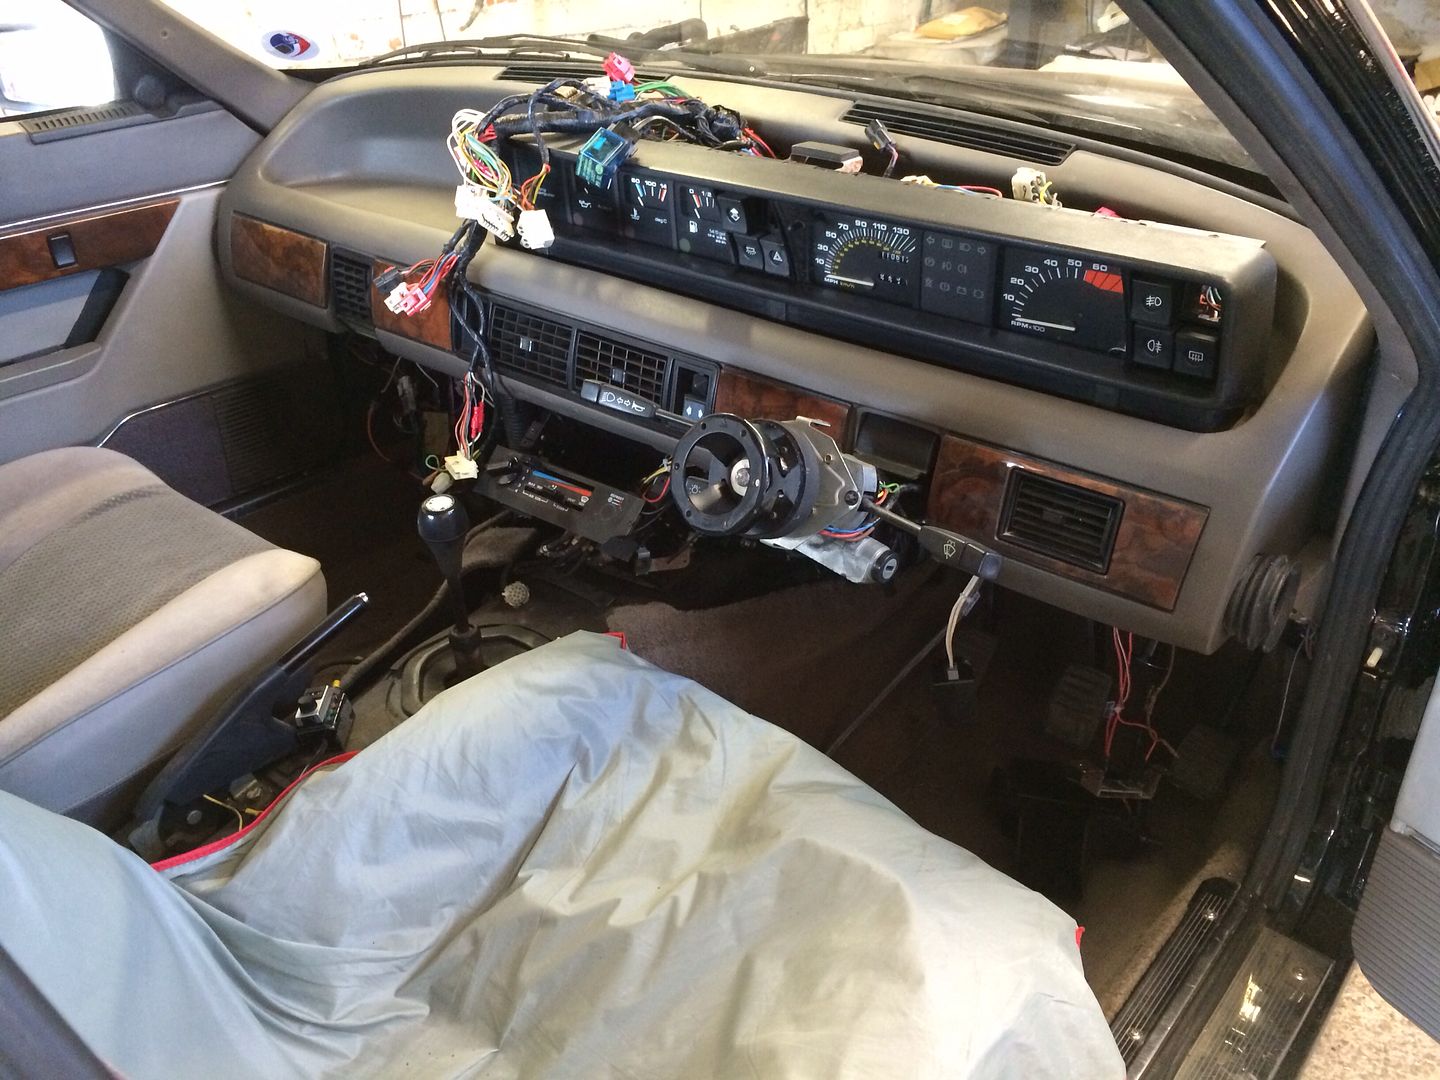
Everything plugged back in - the module you can see sticking up is just there whilst I get all the bulbs working/tested.
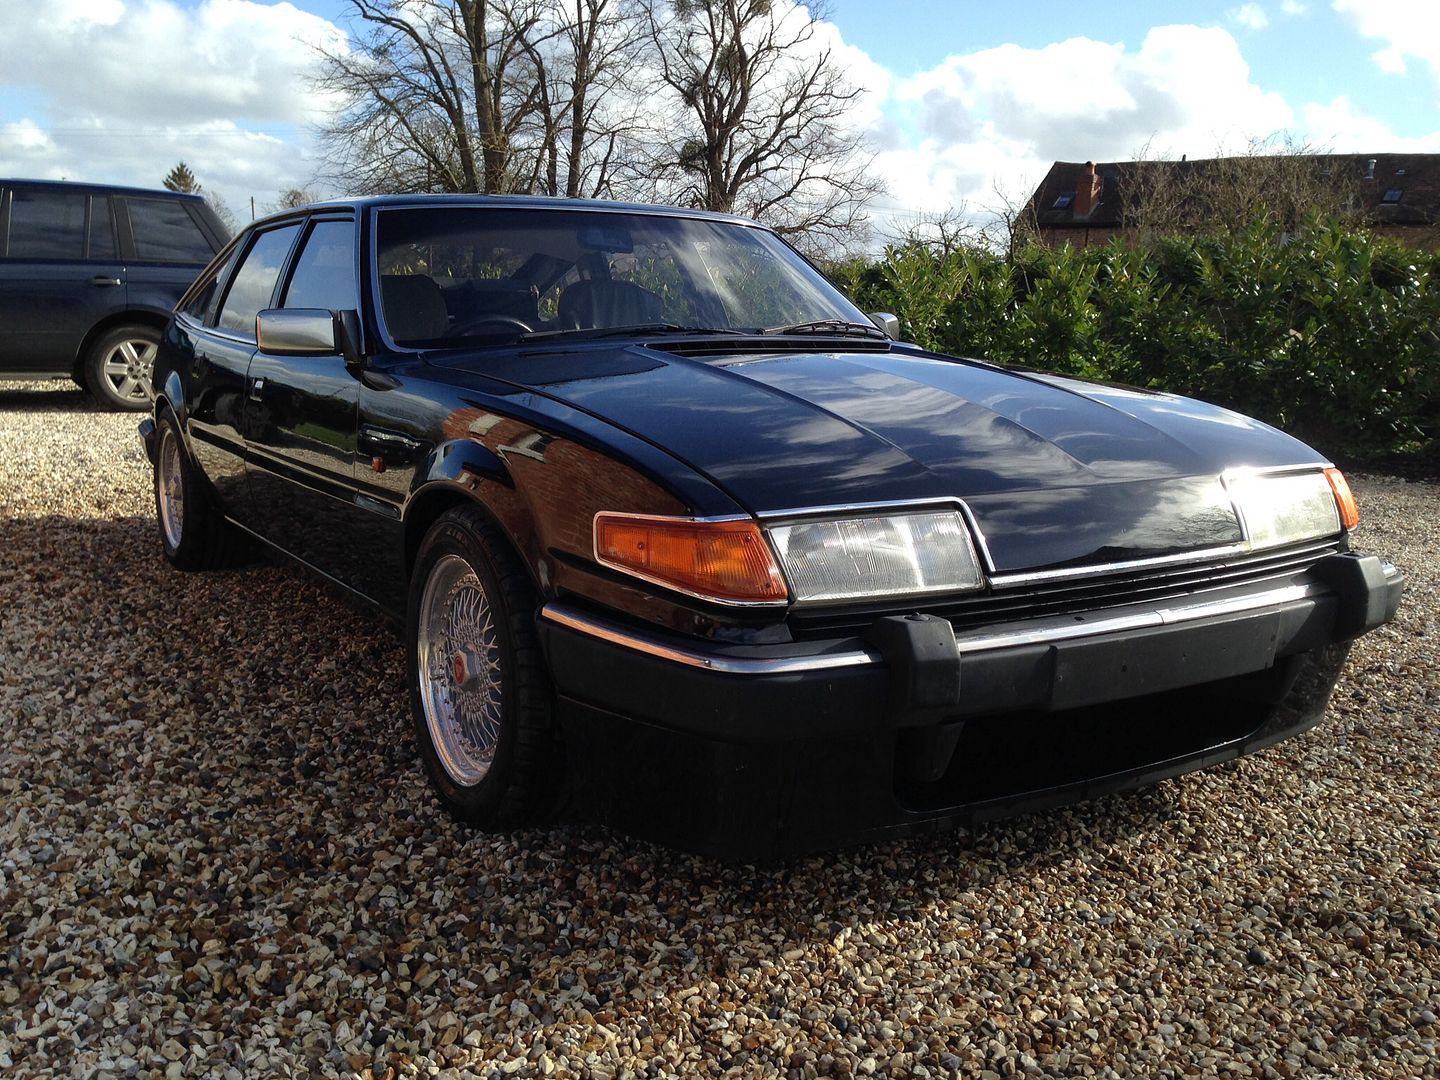
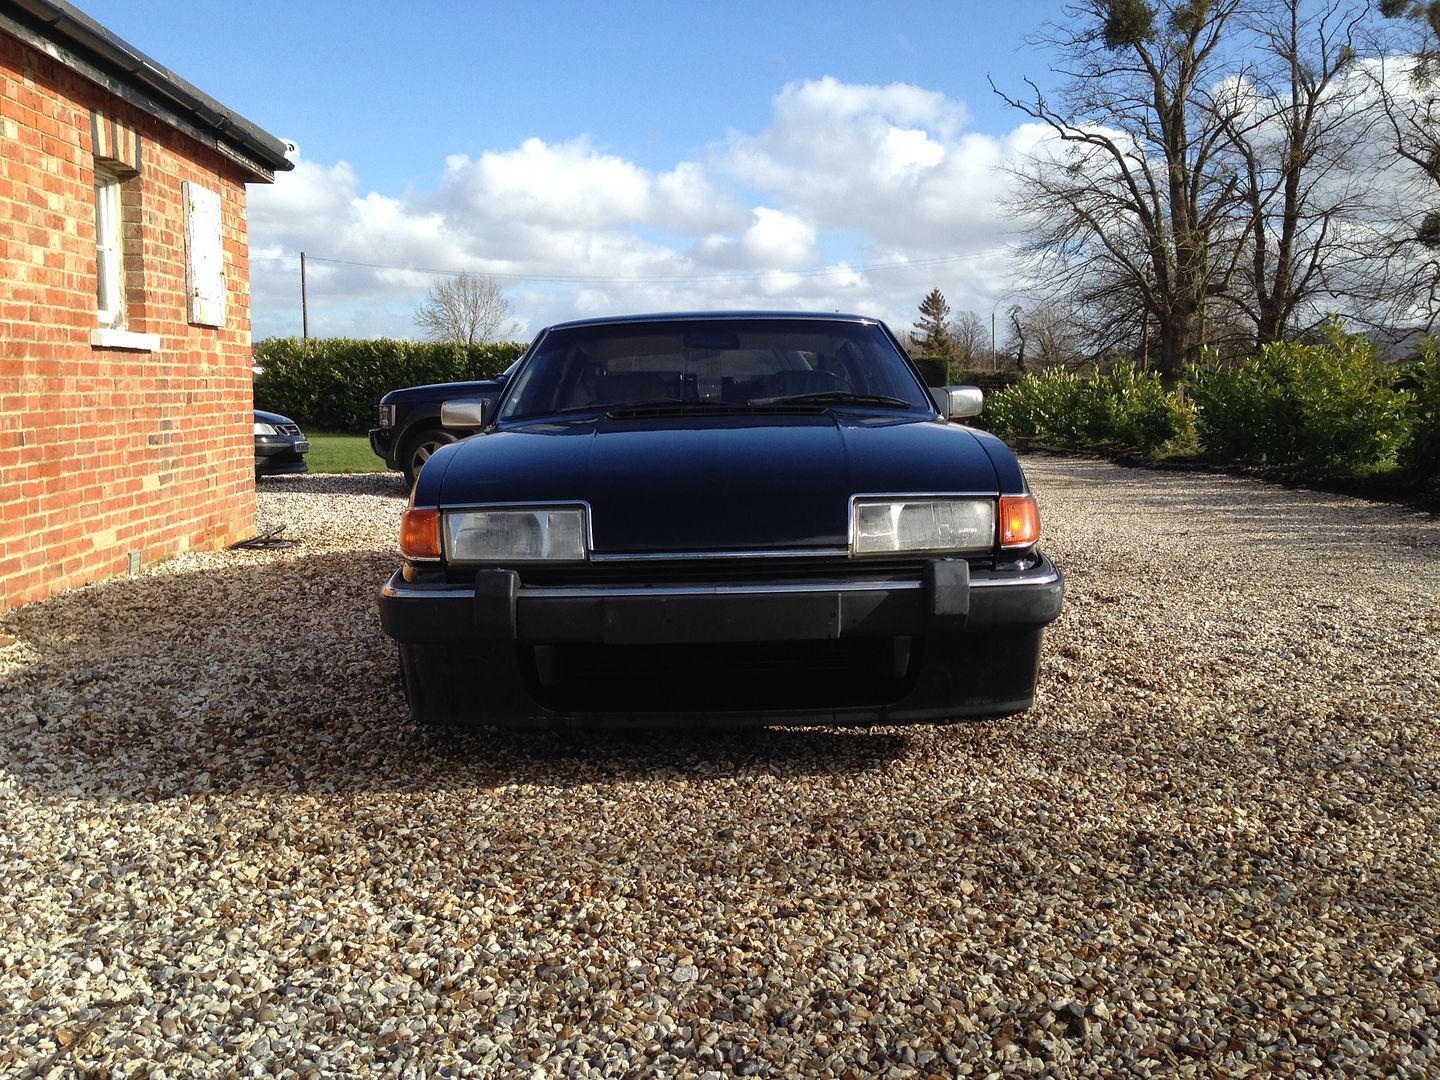
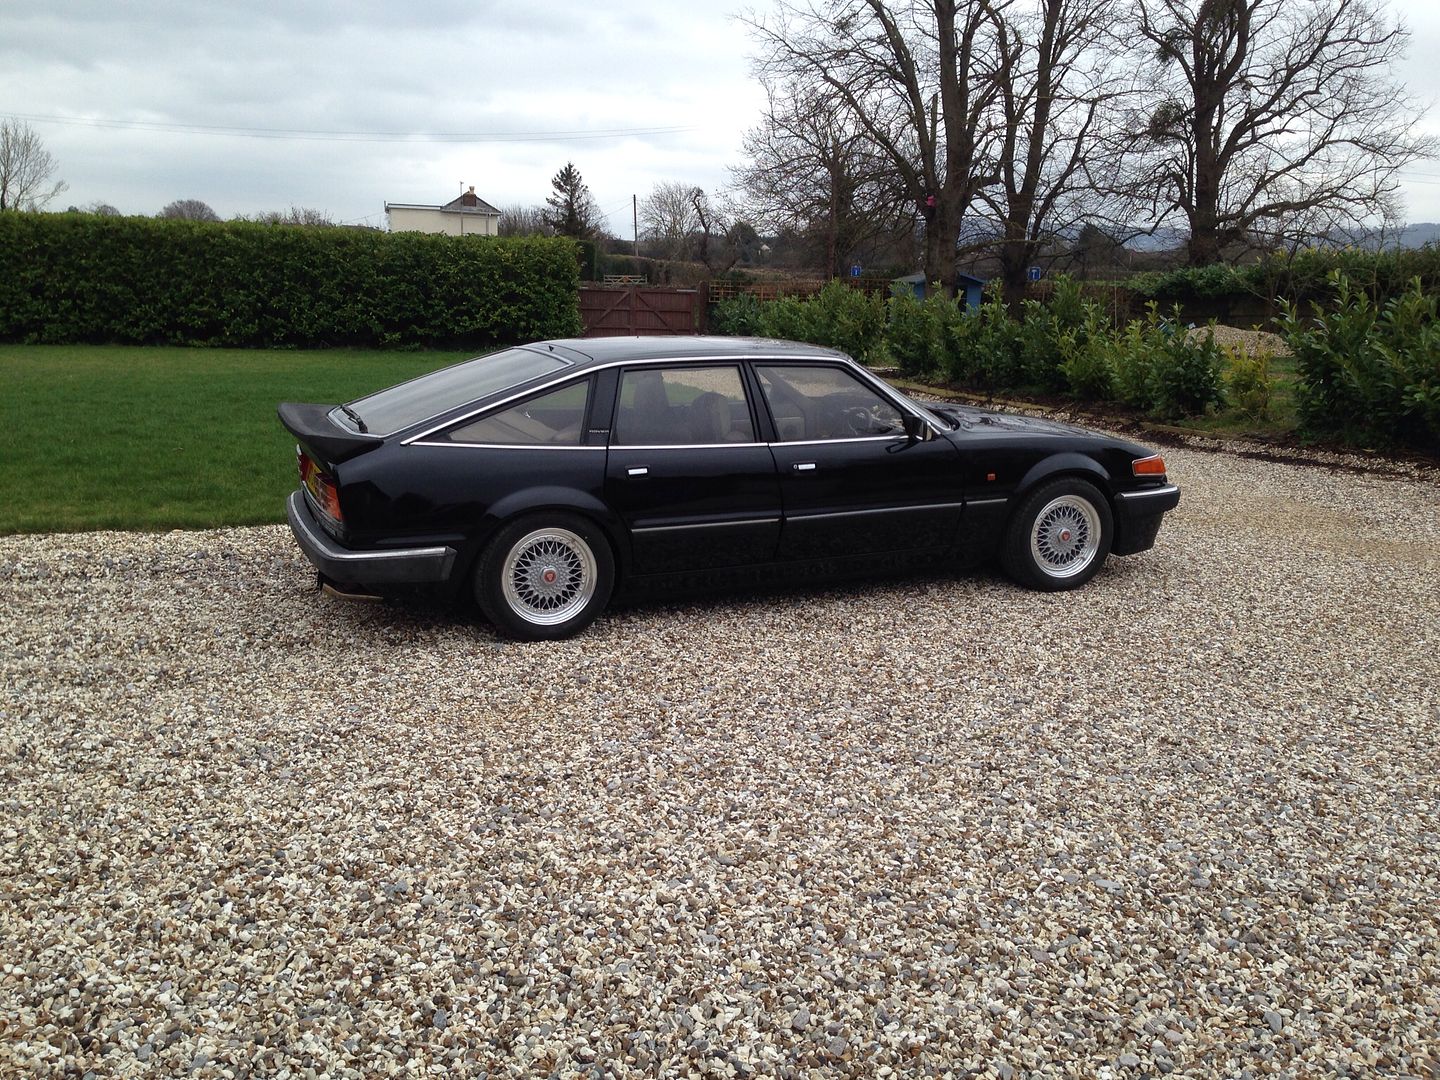
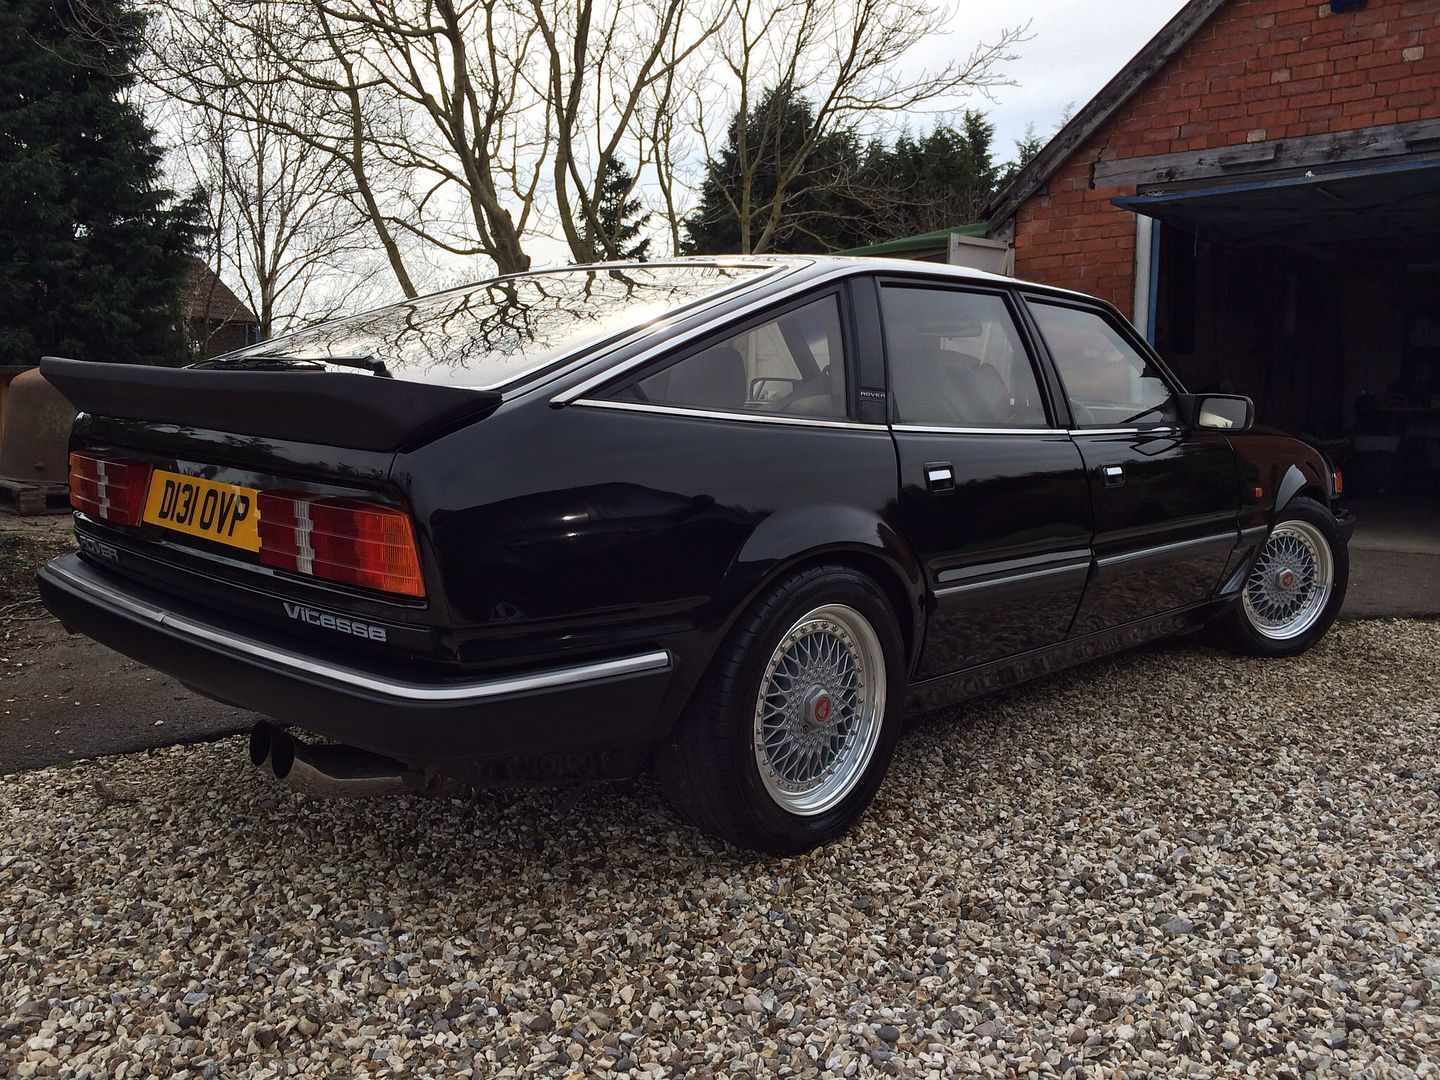
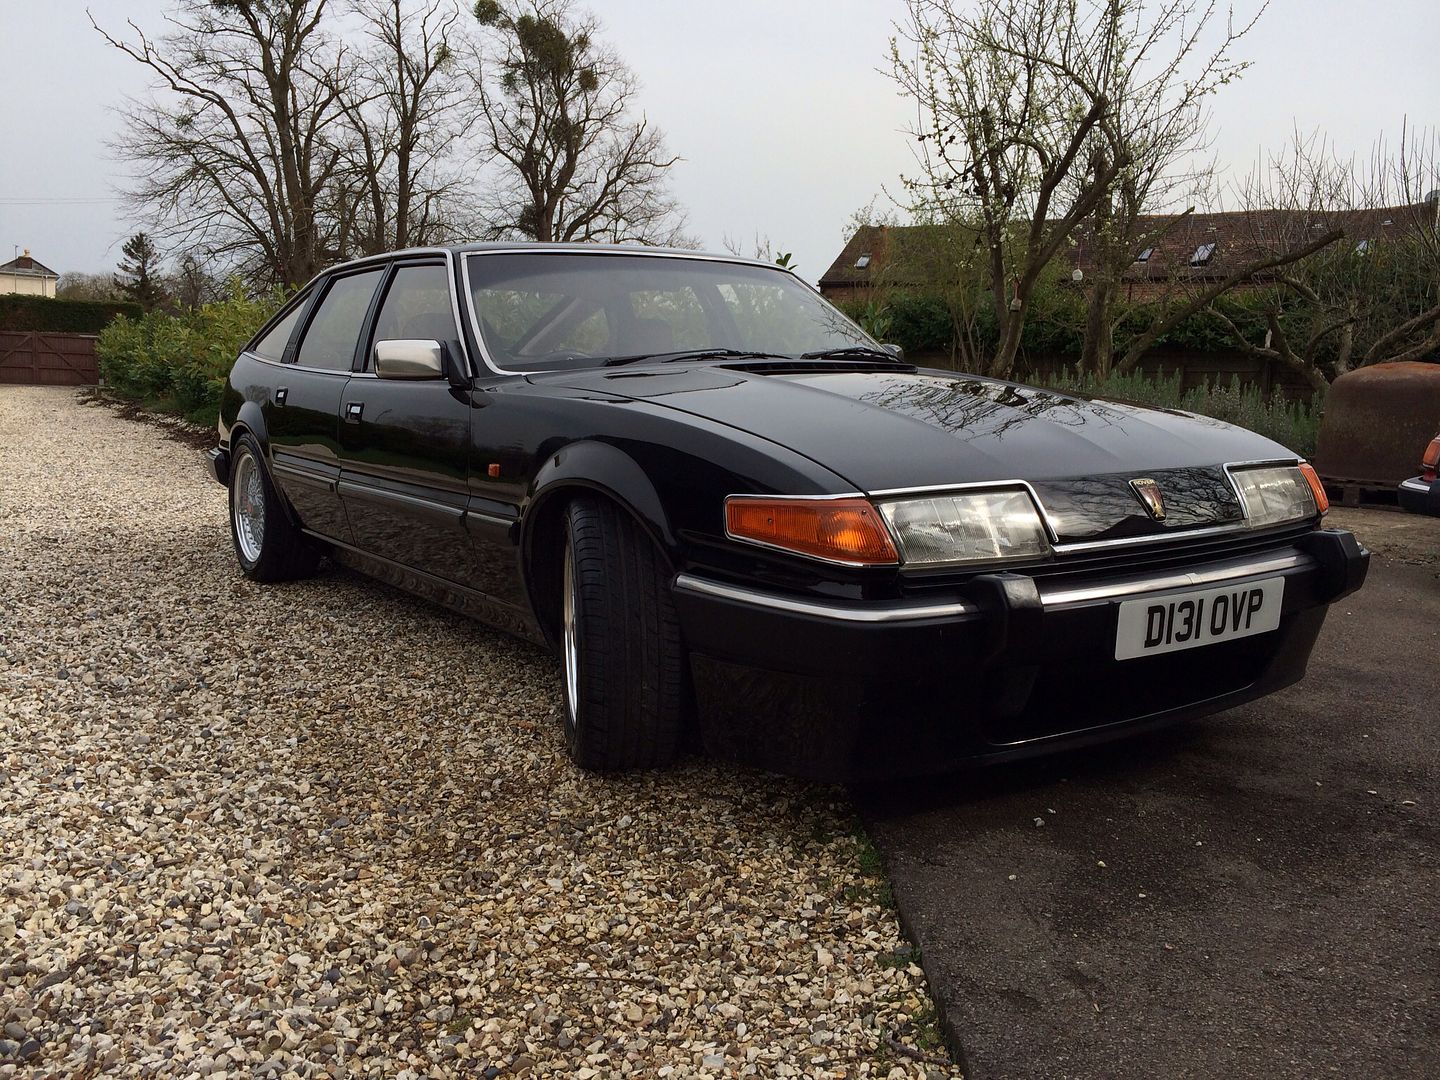
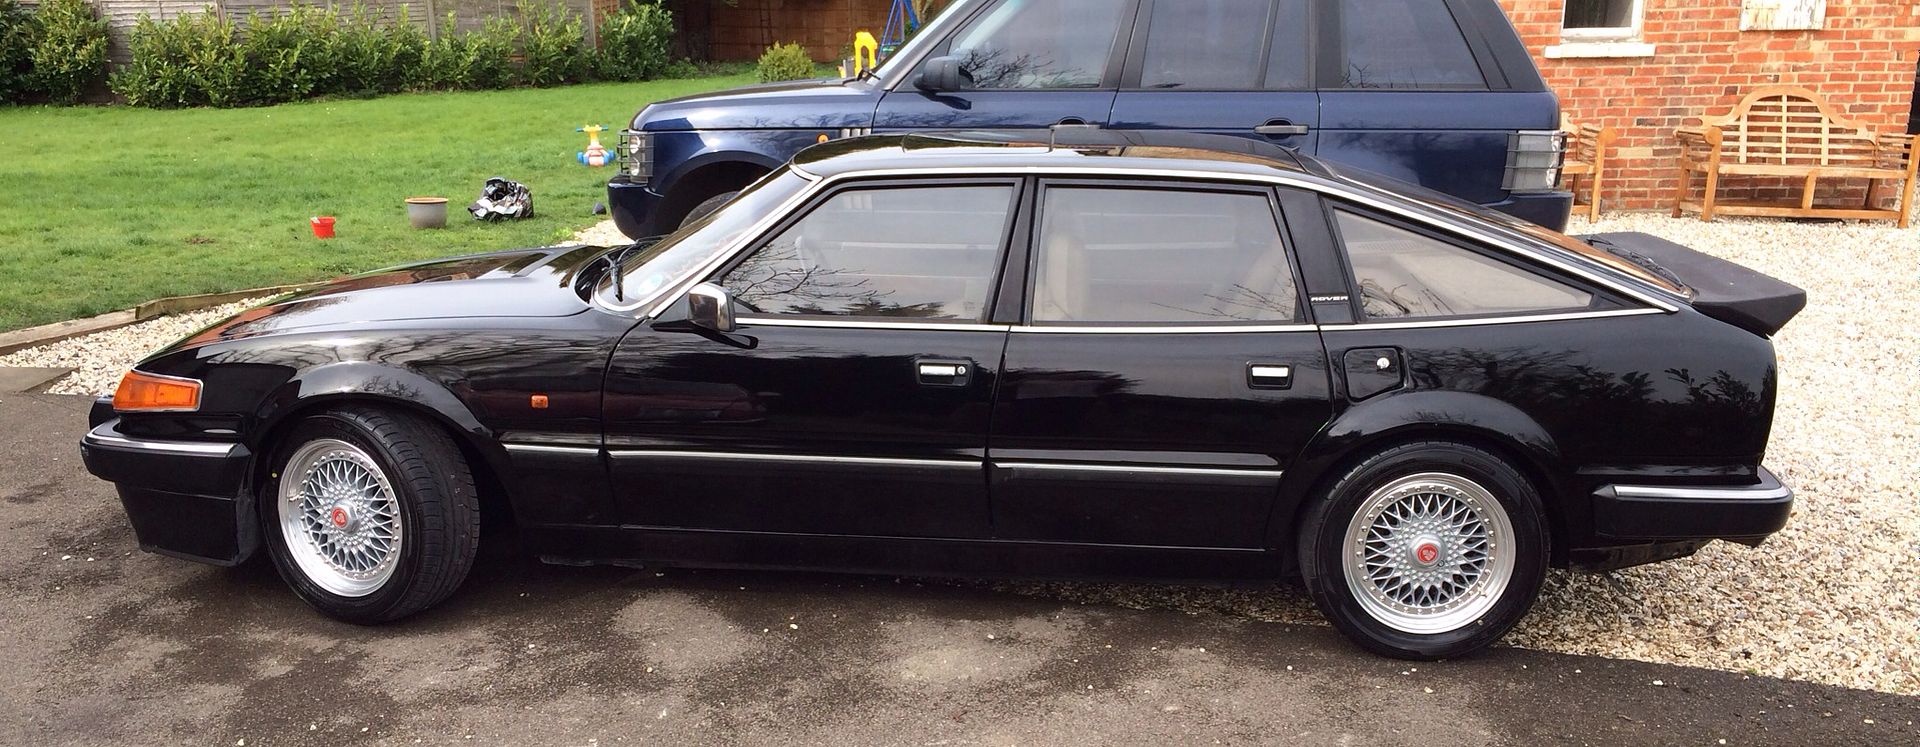
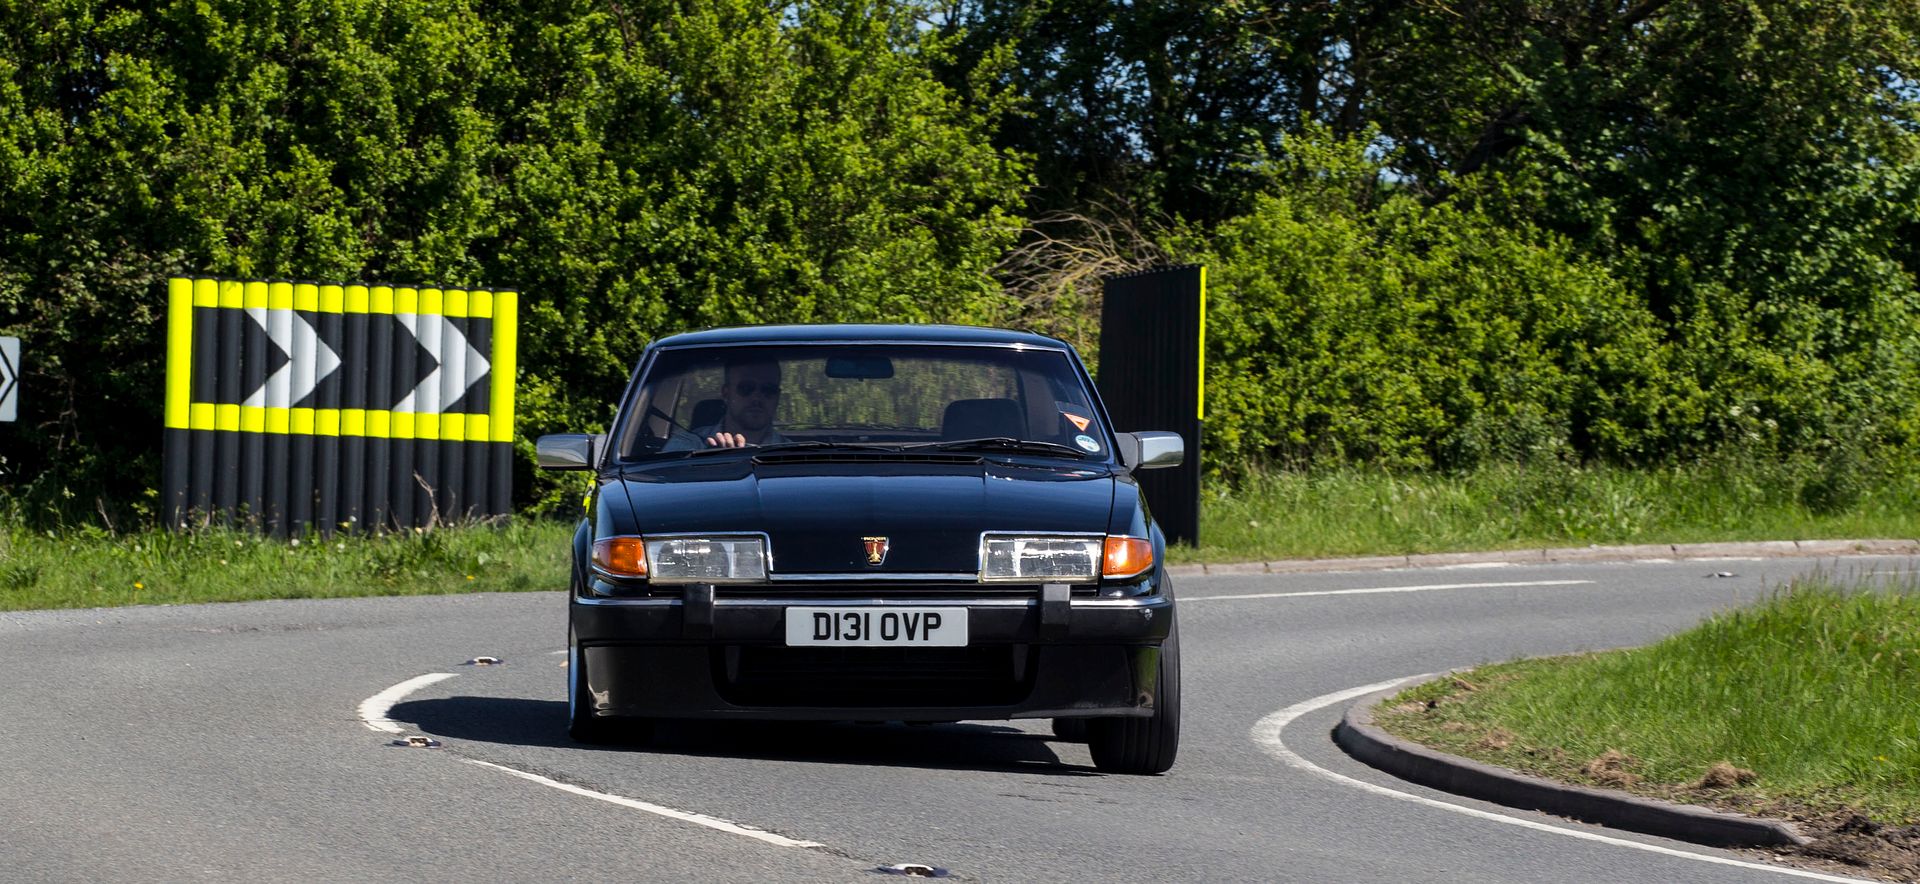
As it was such a nice day yesterday I decided to give it a proper wash and polish:
Still quite a few jobs to do, got to put the underside of the dash in (basically the glove boxes), the centre console and various HVAC air pipes for the vents etc.
Now it's done a few miles I have to get the geometry checked/adjusted as well.
Everything plugged back in - the module you can see sticking up is just there whilst I get all the bulbs working/tested.
As it was such a nice day yesterday I decided to give it a proper wash and polish:
Still quite a few jobs to do, got to put the underside of the dash in (basically the glove boxes), the centre console and various HVAC air pipes for the vents etc.
Now it's done a few miles I have to get the geometry checked/adjusted as well.
Look, the interior is back in!
Needs a good clean and vacuum, obviously:
Also, been set up on the rolling road:
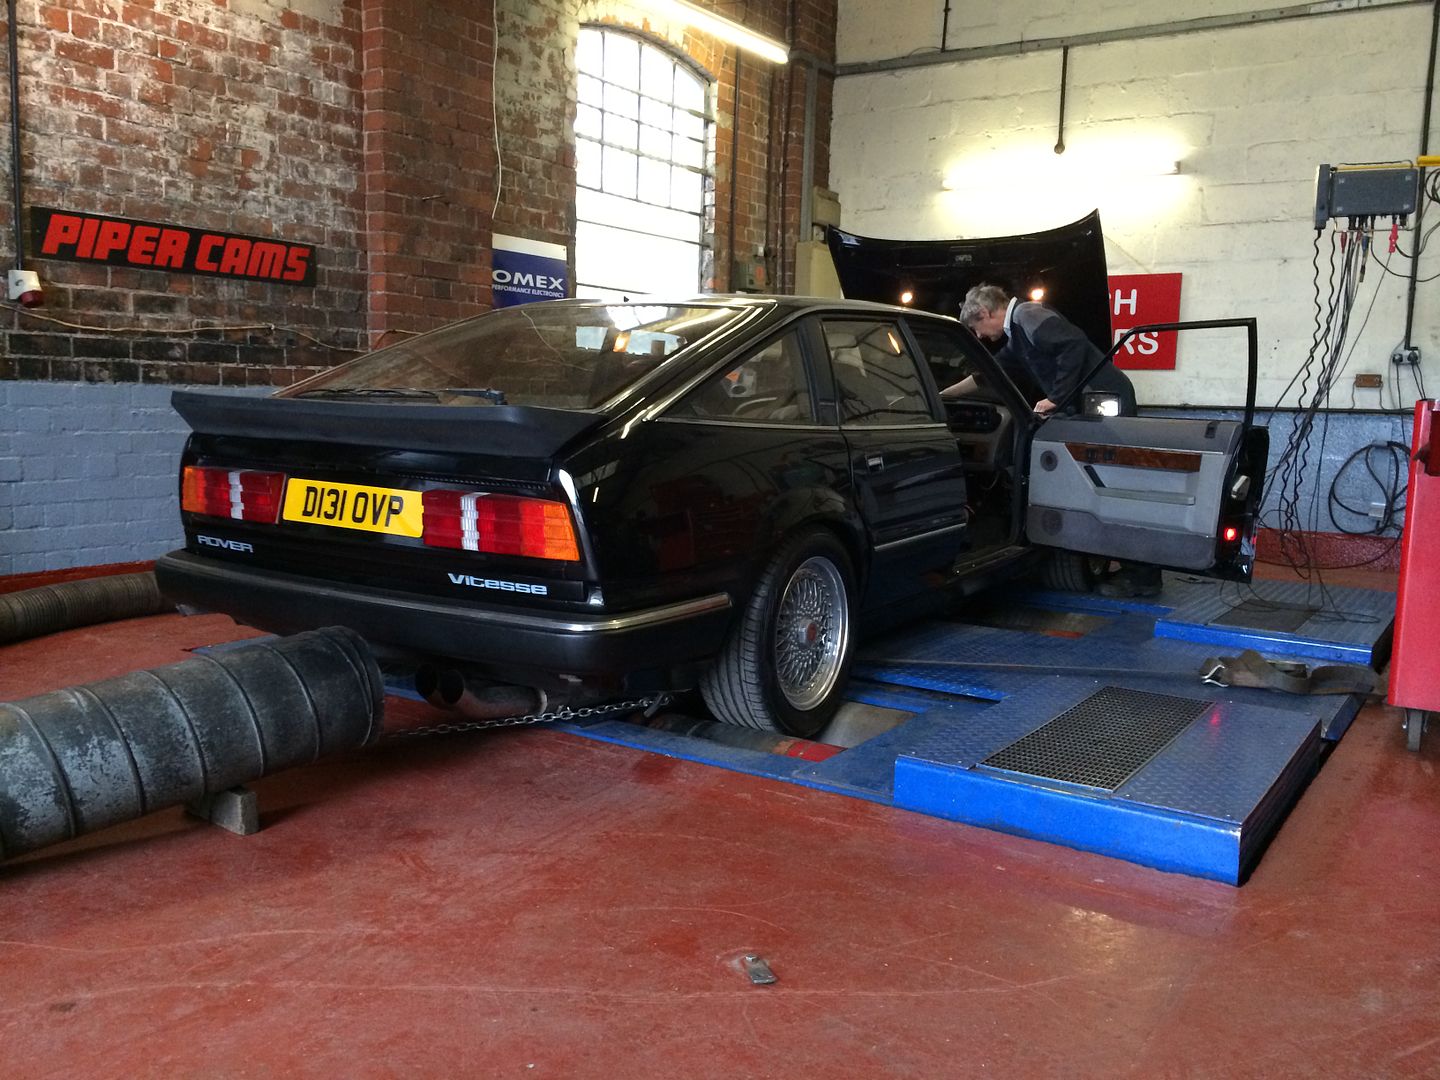
Warming up:
https://www.youtube.com/watch?v=Y_9qmyS01d0
Final power run:
https://www.youtube.com/watch?v=FbRq7iP85Vw
The little puff is where it pinked slightly and the shock wave knocked the carbon off the top of the pistons. Happy to see the engine I built run so nicely and no smoke or rattles. Most importantly the horror of seeing the car full chat on the rollers was not accompanied by the engine going off like a shrapnel grenade.
It made 278 bhp and 295 lbs/ft - very happy with those numbers. Virtually flat torque curve and all available from 1500 rpm which has made it very, very quick. The engine is still very tight from the rebuild and those numbers should go up as it beds in and gets a few more miles. Interestingly the power was still climbing at 6000 rpm but we didn't want to risk revving such a new engine any higher.
This has been set up on the original adjustable system that Dad fitted back in the late 80's (and the same guy, Mark Adams, did the setup then and again for me on Saturday). When I fit a modern fully mapable system and mapped ignition both should bring the power again, each by 10-15 bhp to crack 300 bhp in total - am going to get a couple of thousand miles on it first though.
Needs a good clean and vacuum, obviously:
Also, been set up on the rolling road:
Warming up:
https://www.youtube.com/watch?v=Y_9qmyS01d0
Final power run:
https://www.youtube.com/watch?v=FbRq7iP85Vw
The little puff is where it pinked slightly and the shock wave knocked the carbon off the top of the pistons. Happy to see the engine I built run so nicely and no smoke or rattles. Most importantly the horror of seeing the car full chat on the rollers was not accompanied by the engine going off like a shrapnel grenade.
It made 278 bhp and 295 lbs/ft - very happy with those numbers. Virtually flat torque curve and all available from 1500 rpm which has made it very, very quick. The engine is still very tight from the rebuild and those numbers should go up as it beds in and gets a few more miles. Interestingly the power was still climbing at 6000 rpm but we didn't want to risk revving such a new engine any higher.
This has been set up on the original adjustable system that Dad fitted back in the late 80's (and the same guy, Mark Adams, did the setup then and again for me on Saturday). When I fit a modern fully mapable system and mapped ignition both should bring the power again, each by 10-15 bhp to crack 300 bhp in total - am going to get a couple of thousand miles on it first though.
Gassing Station | Readers' Cars | Top of Page | What's New | My Stuff