WRX RA powered VW 1303 beetle cabrio with a bit of Porsche
Discussion


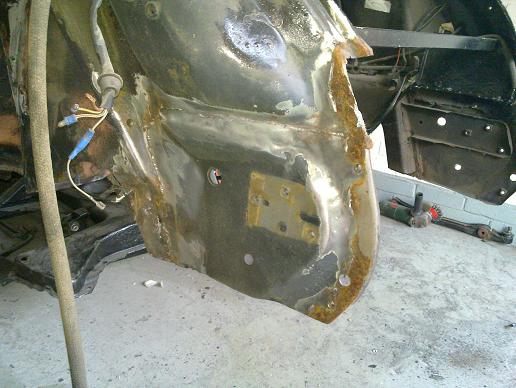
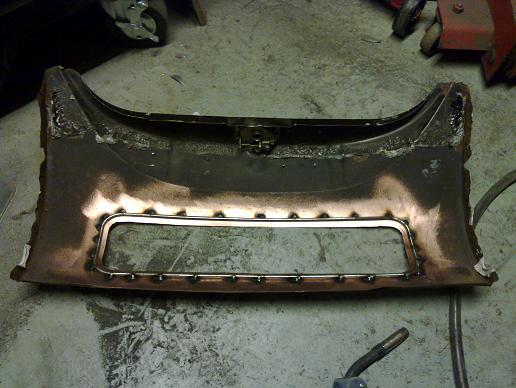
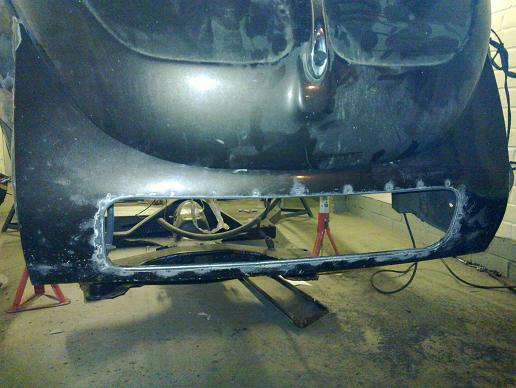
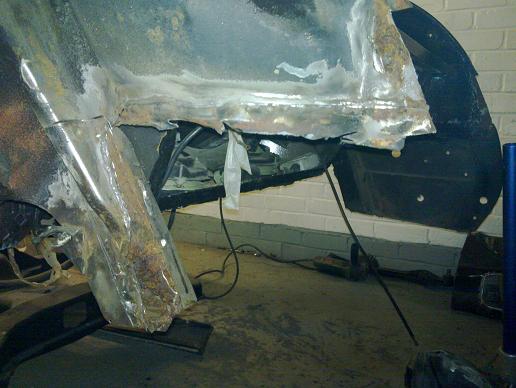
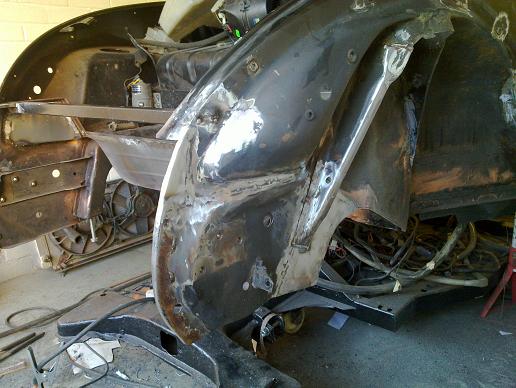
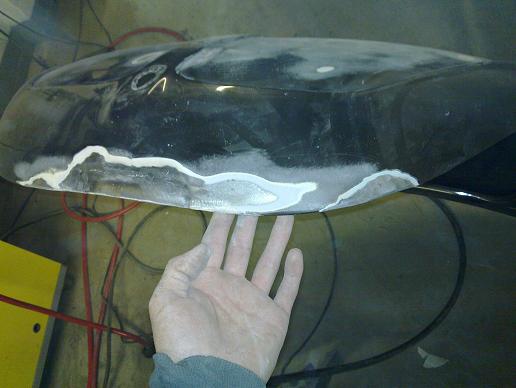
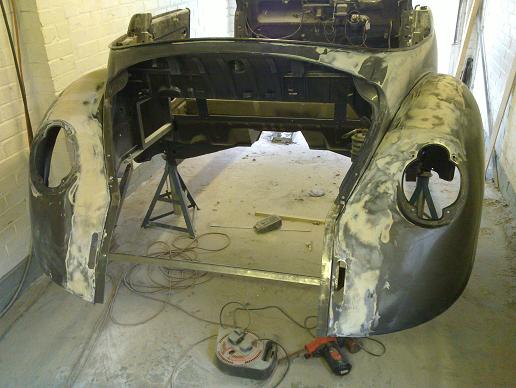
Yet more bodgery! Bumper repair panels poorly welded over rusted edges, overlapping the strut reinforcements and internally the bumper mounts have been stuck on with what can only be descibed as pidgeon s t to the reinforcements. It will all be cut out and done properly, I'm hopefull of being able to re-use the repair panels as there is so much overlap.
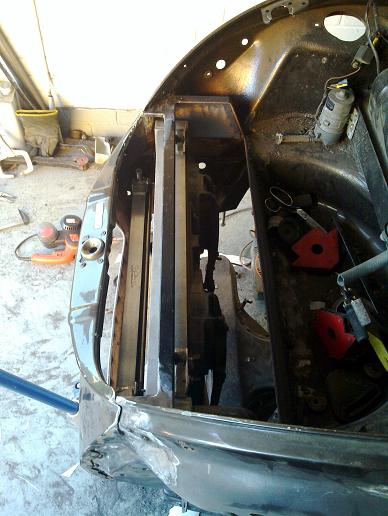
Finally on to the radiator intake! I cut the valance off and cut out this hole (same size as the license plate). I've shaped a bar hoop the same shape but a bit bigger and will tack weld that on the back side, I will then hammer form a nice rolled edge to keep it looking 'right' and will also weld on some captive studs so I can fit some mesh. I'm also considering bonding some letters to the mesh so it can be the numberplate and not restrict air flow.
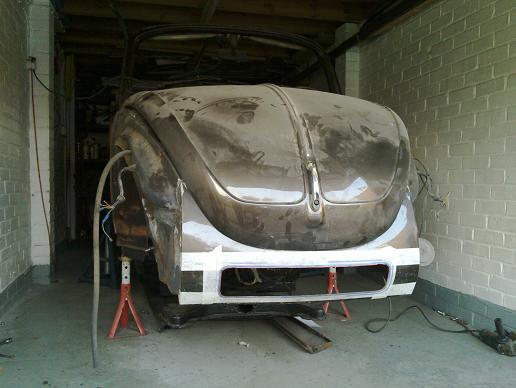
t to the reinforcements. It will all be cut out and done properly, I'm hopefull of being able to re-use the repair panels as there is so much overlap.Finally on to the radiator intake! I cut the valance off and cut out this hole (same size as the license plate). I've shaped a bar hoop the same shape but a bit bigger and will tack weld that on the back side, I will then hammer form a nice rolled edge to keep it looking 'right' and will also weld on some captive studs so I can fit some mesh. I'm also considering bonding some letters to the mesh so it can be the numberplate and not restrict air flow.
I had just about finished both bumper mount panel repairs but then my powerfile sander belt broke and threw a piece of metal straight in the centre of my eye! I was wearing safety glasses but they obviously weren't good enough for that sort of angle.
So, last few weeks I have been in and out of the eye surgery and it still hasn't healed properly. My plan was to paint late july but will have to wait and see how my recovery goes as the last thing I need is to get crap in an unhealed eye wound!
Rich
So, last few weeks I have been in and out of the eye surgery and it still hasn't healed properly. My plan was to paint late july but will have to wait and see how my recovery goes as the last thing I need is to get crap in an unhealed eye wound!
Rich
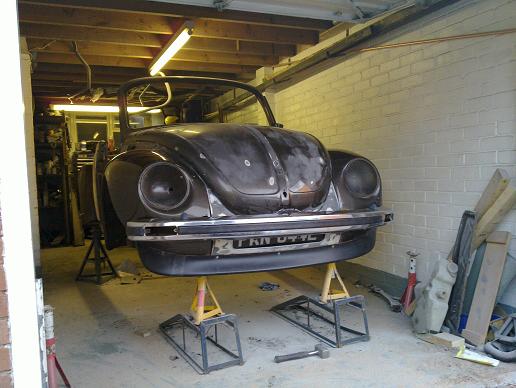
Here are some pics of where I got to though:

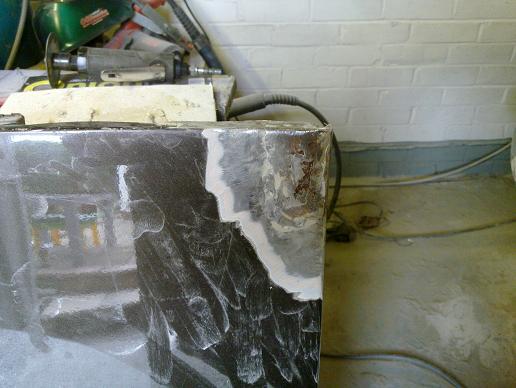
small section still needs repairing on near side...
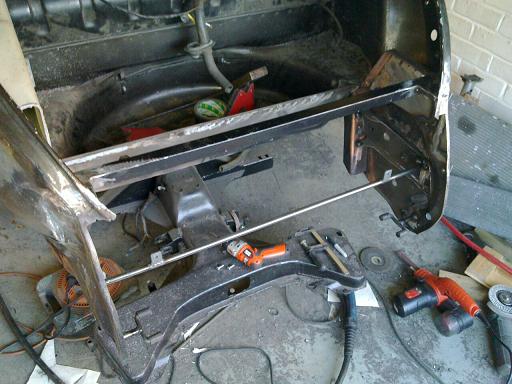
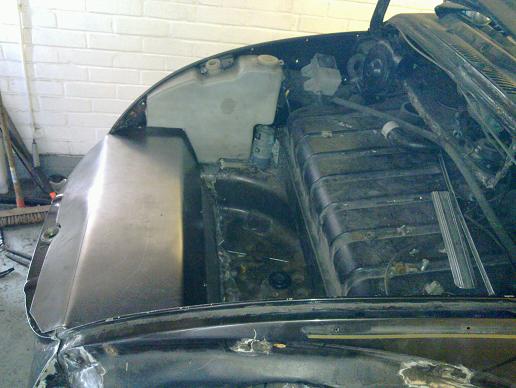
I've also decided to redo the bodywork I did a while back over the back of the radiator. Also trying to come up with a nice compact way of ducting hot air flow into the stock ventilation system in the dash...
small section still needs repairing on near side...
I've also decided to redo the bodywork I did a while back over the back of the radiator. Also trying to come up with a nice compact way of ducting hot air flow into the stock ventilation system in the dash...
Cheers for the words guys, eye is getting much better with the steroids so went out did some work on the bug! It's amazing how many other people have had some nasty eye injuries...
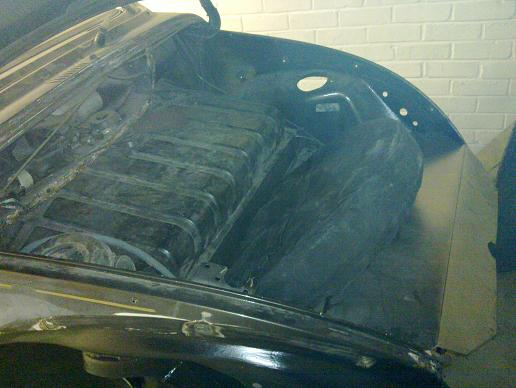
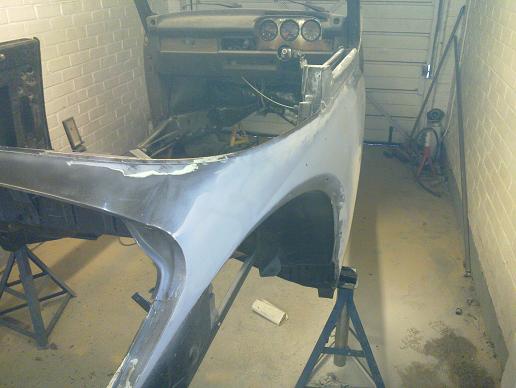
As I was working on the front end I wasn't happy with how I did the new panelwork behind the radiator so I'm redoing it now I have decent access with the body in the air.
Front section of spare wheel well filled in with new beadrolled panel and framework is being made up with captive nuts so a removable cover can go over the top.
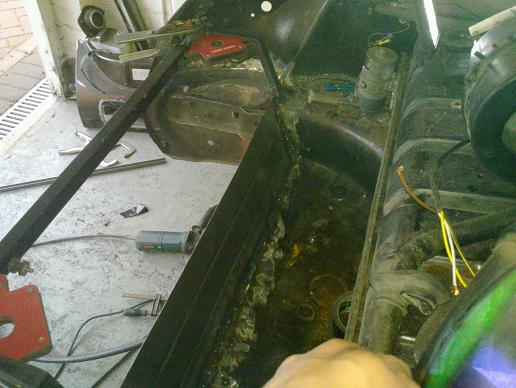
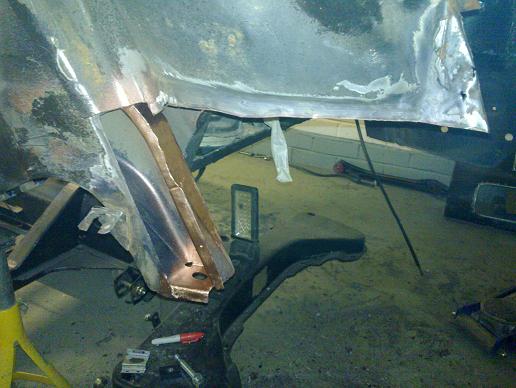
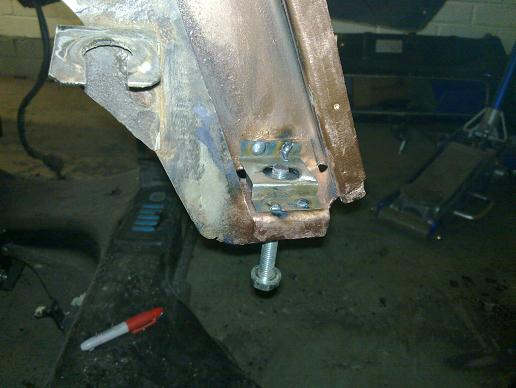
Finished off the NS bumper mount area:
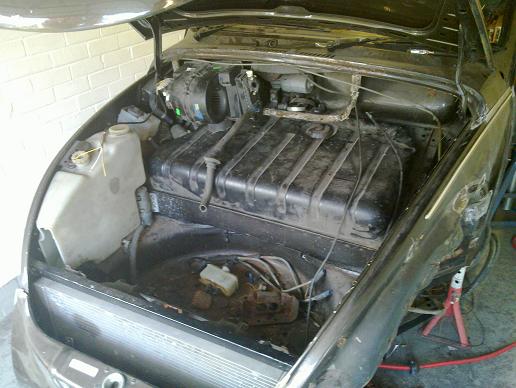
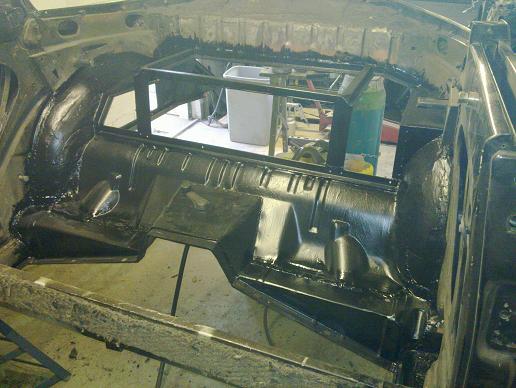
I added some fillet pieces at the top and filled in the sides to seal off the radiator from the underbonnet area.
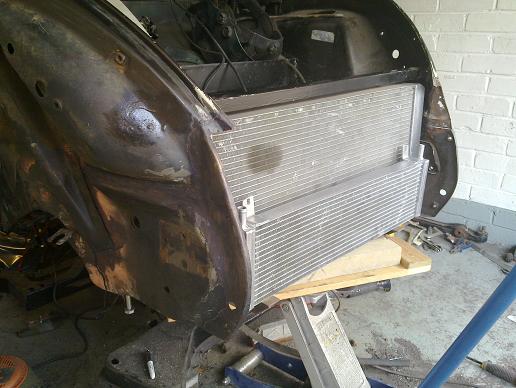
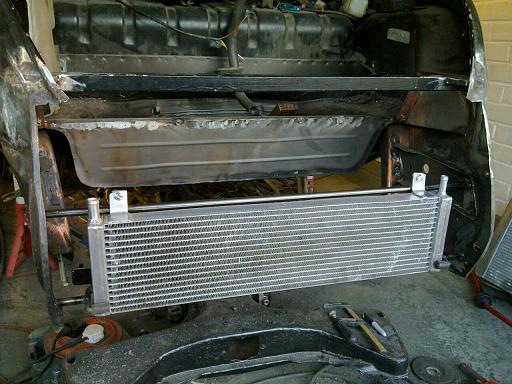
The pace chargecooler radiator only had mounts at the top, so I've welded in a tube with tabs for the top mounts and a Y shaped piece at the bottom of each side that the radiator drops into. The tube is sleeved with rubber tube to give a nice cushioned mounting.
I added some fillet pieces at the top and filled in the sides to seal off the radiator from the underbonnet area.
The pace chargecooler radiator only had mounts at the top, so I've welded in a tube with tabs for the top mounts and a Y shaped piece at the bottom of each side that the radiator drops into. The tube is sleeved with rubber tube to give a nice cushioned mounting.
Had a last play before I go off on holiday for a week...
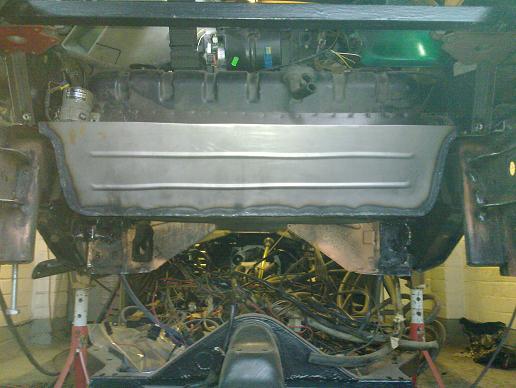
Steel cover to go over the radiators made up and all edges folded back on themselves to avoid sharp edges and scratching the body later on. It also stiffens up the panel nicely. Once I've welded on the front valance panel I'll add an extra couple of fixing points at the front.
Steel cover to go over the radiators made up and all edges folded back on themselves to avoid sharp edges and scratching the body later on. It also stiffens up the panel nicely. Once I've welded on the front valance panel I'll add an extra couple of fixing points at the front.
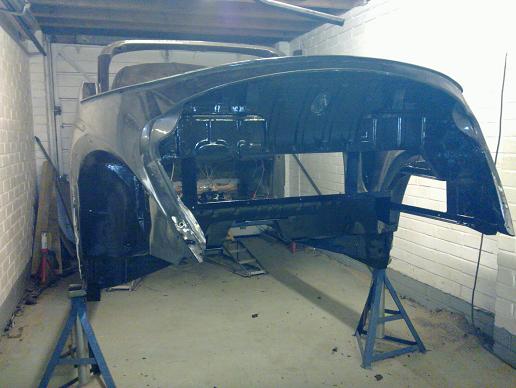
Sorry for the lack of posts recently, the biggest job has been stripping the underneath of the whole body to get it all painted in epoxy mastic. Bloody horrible job!
I took a gamble on a 996/boxster spacesaver wheel fitting and it does with loads of space to spare in a variety of positions! For interest, the tyre size is 105/95R17.
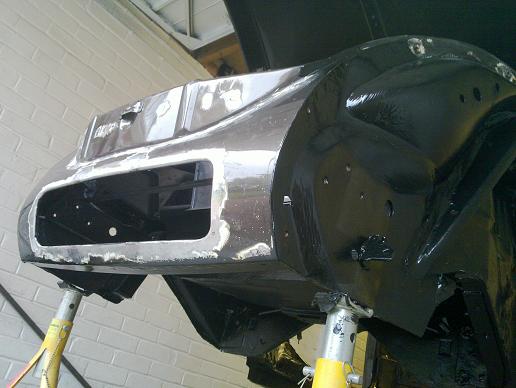
I cleaned up the rear of the front valance and welded on some bolts for the intake mesh, all edges prepped for plug welding on.

50x3mm strip with captive nuts welded on to the bottom between the inner wings to give a rigid mounting face for the air dam.

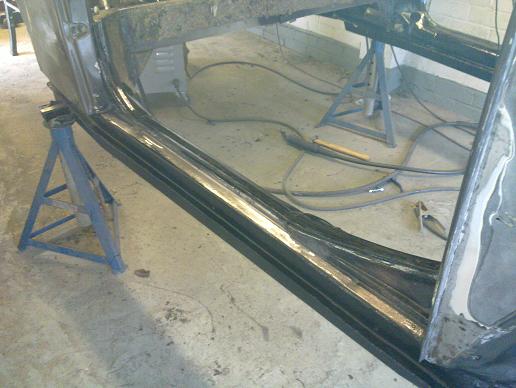
Front valance plug welded back on along the sides and bottom and then painted up in the epoxy. It's made the whole front end incredibly rigid!You can see I also painted the whole underside of the body in epoxy.
Carpet strip plug welded back on to the top of the heater channel and painted.
rear interior modified bodywork given a good epoxy coating
Rear end also got the epoxy treatment. Just about ready to start on the external paint prep now!
I took a gamble on a 996/boxster spacesaver wheel fitting and it does with loads of space to spare in a variety of positions! For interest, the tyre size is 105/95R17.
I cleaned up the rear of the front valance and welded on some bolts for the intake mesh, all edges prepped for plug welding on.
50x3mm strip with captive nuts welded on to the bottom between the inner wings to give a rigid mounting face for the air dam.
Front valance plug welded back on along the sides and bottom and then painted up in the epoxy. It's made the whole front end incredibly rigid!You can see I also painted the whole underside of the body in epoxy.
Carpet strip plug welded back on to the top of the heater channel and painted.
rear interior modified bodywork given a good epoxy coating
Rear end also got the epoxy treatment. Just about ready to start on the external paint prep now!
Bit of an update...
I have done some work recently but not overly exciting for pictures as it's all paint prepwork.
Rear quarter panel skimmed and smoothed...
I welded up the LHD wiper holes
Bonnet needed a few sections replaced due to poor previous repairs rusting

Kamei mocked up again, luckily there is a suitable double bend on the bottom of the front wings to mount to. I plan to make a mould out of the cut down Kamei piece and a metal strip that will be bolted up on to the body, I'll then make up a fibreglass part.
All mocked up to see the final effect. I don't think I'll get away with running the numberplate there unfortunately!

Bodyworking the rear wings now...
I'm changing jobs and have a couple of weeks holiday to use up over the next month so hopefully I might even get it in paint by the end of August!
Rich
I have done some work recently but not overly exciting for pictures as it's all paint prepwork.
Rear quarter panel skimmed and smoothed...
I welded up the LHD wiper holes
Bonnet needed a few sections replaced due to poor previous repairs rusting
Kamei mocked up again, luckily there is a suitable double bend on the bottom of the front wings to mount to. I plan to make a mould out of the cut down Kamei piece and a metal strip that will be bolted up on to the body, I'll then make up a fibreglass part.
All mocked up to see the final effect. I don't think I'll get away with running the numberplate there unfortunately!
Bodyworking the rear wings now...
I'm changing jobs and have a couple of weeks holiday to use up over the next month so hopefully I might even get it in paint by the end of August!
Rich
Quite a few people have said they like the bumperless look and the spoiler does finish off the front end nicely. But when the car is back on the ground the area below the bumperline will not look as big and hopefully disappear to the eye. I'm definitely keeping the bumpers, I think without them late bugs look a bit too bulbous and I have the very rare headlight washers which I want to keep in case I go with HIDs..
I'm still out there working...
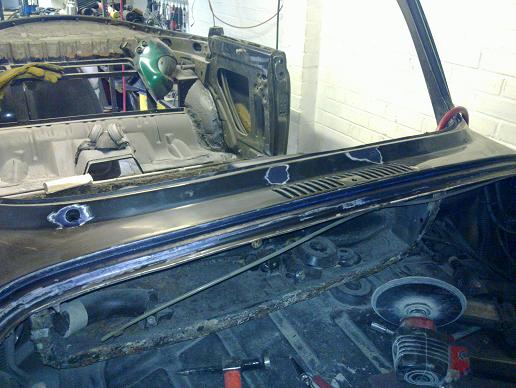
More rust found on the bottom of the door...
and repaired...
More sanding! I have to give praise to the How to guides on [URL="http://www.mig-welding.co.uk/body-filler.htm"]www.mig-welding.co.uk[/URL] for bodywork, especially the ruler trick and also a tip I found elsewhere of adding a bit of fibreglass resin to the filler to make it thinner.
I cut a metal flange piece which was bolted to the body, the remains of the spoiler was then bolted in place and the two bonded together with fibreglass filler. The ends will be reshaped and the whole thing smoothed before I use it as a master to create a mould for a new fibreglass part.
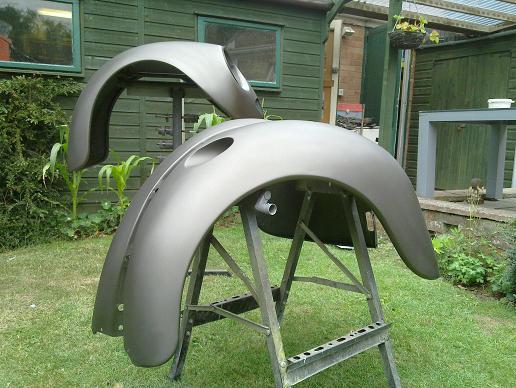
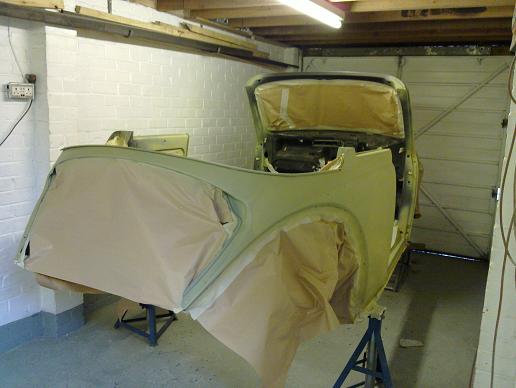
All 4 wings in etch...
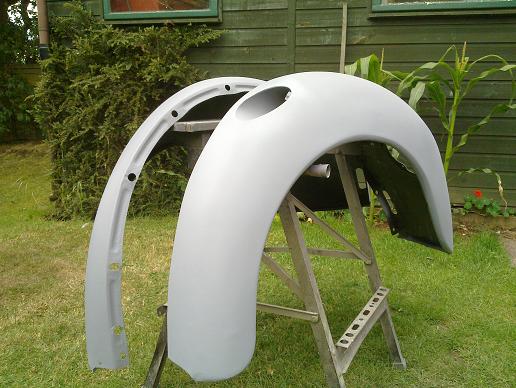
and two coats of high build primer...
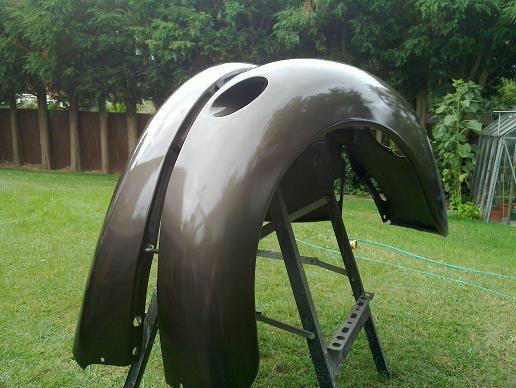
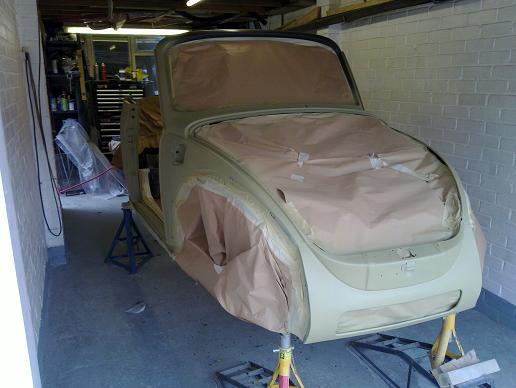
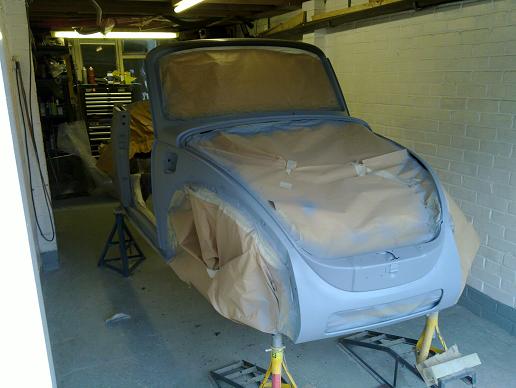
First colour coats!
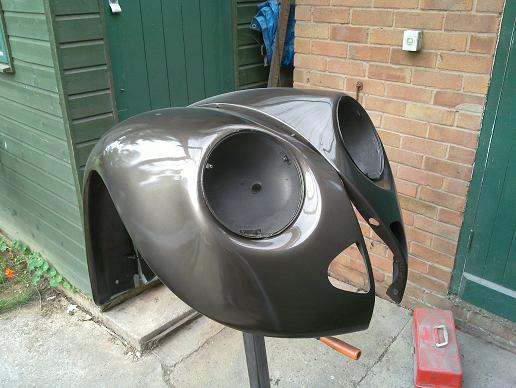
I decided to just finish the wings, the metallic particles are so small I can't see them being painted separately from the body making any difference. I put on some wetter coats of the cellulose metallic and finished off with 3 coats of 1K acrylic clear.
For information, I used a cheapo spray gun for the etch and primer coats, then an Iwata AZ3 HTE2 spray gun with a 1.3mm tip for the colour and clear coats. This was all running from my 3hp 150l compressor that I made up a short copper section with water drain. It has actually given a really nice finish out of the gun with not a single run! A couple of small bits of dirt got in one wing but should easily polish out when it has fully cured. I had to paint the wings in two lots under my workshop porch bit as it was threatening to rain...
More rust found on the bottom of the door...
and repaired...
More sanding! I have to give praise to the How to guides on [URL="http://www.mig-welding.co.uk/body-filler.htm"]www.mig-welding.co.uk[/URL] for bodywork, especially the ruler trick and also a tip I found elsewhere of adding a bit of fibreglass resin to the filler to make it thinner.
I cut a metal flange piece which was bolted to the body, the remains of the spoiler was then bolted in place and the two bonded together with fibreglass filler. The ends will be reshaped and the whole thing smoothed before I use it as a master to create a mould for a new fibreglass part.
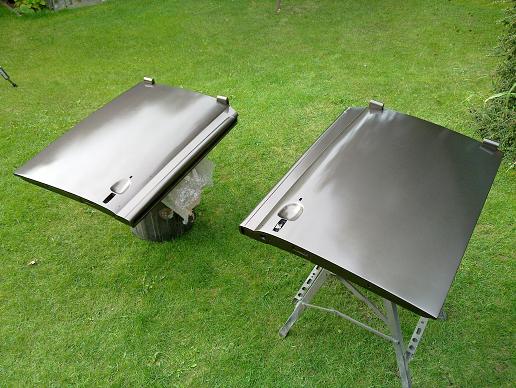
All 4 wings in etch...
and two coats of high build primer...
First colour coats!
I decided to just finish the wings, the metallic particles are so small I can't see them being painted separately from the body making any difference. I put on some wetter coats of the cellulose metallic and finished off with 3 coats of 1K acrylic clear.
For information, I used a cheapo spray gun for the etch and primer coats, then an Iwata AZ3 HTE2 spray gun with a 1.3mm tip for the colour and clear coats. This was all running from my 3hp 150l compressor that I made up a short copper section with water drain. It has actually given a really nice finish out of the gun with not a single run! A couple of small bits of dirt got in one wing but should easily polish out when it has fully cured. I had to paint the wings in two lots under my workshop porch bit as it was threatening to rain...
OK, small update:
Decklid painted, no real problems, although I did sandblast the slats as they were too fiddly to sand nicely.
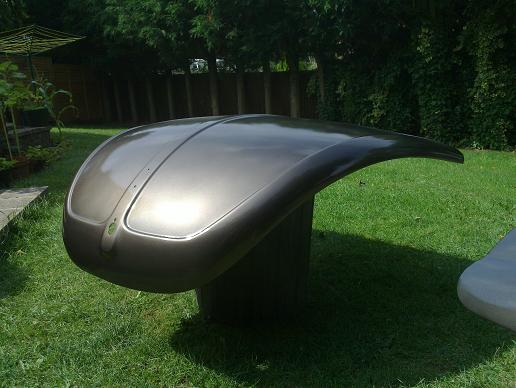
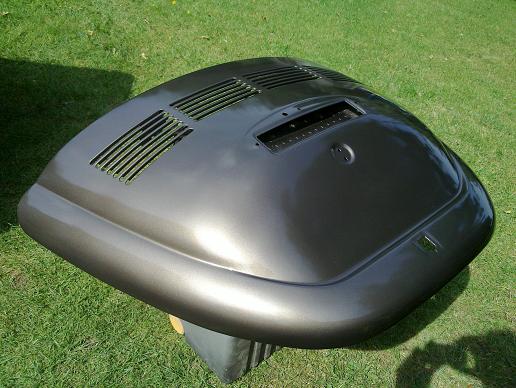
Bonnet finally painted. I've done this 3 times now! First time there was some striping visible in the colour coat as the passes weren't wet enough to flow into each other nicely. Then I got a really good second colour/clear coat and left it in the sun for a few hours to dry before putting it on some cushions in the conservatory just to have it out of the way but they left imprints all over the bonnet! I had to wet sand it all back and paint for a third time, I'm not doing it again!!
I'm working on the doors now and I've found out why somebody had put a gold pinstripe under the normal sidetrim. They had drilled one of the doors in the wrong place and the stripe was to cover it up! So, filler removed and the extra trim clip holes were welded up. Another useful tip: hold a piece of copper against the back of the panel and the weld won't blow through. I also had to repair a few local bits of the door bottom and the copper strip trick also worked well to stop the weld melting away the metal at the edges.
I'm definitely on track for finishing all the paint by the end of the month!
Decklid painted, no real problems, although I did sandblast the slats as they were too fiddly to sand nicely.
Bonnet finally painted. I've done this 3 times now! First time there was some striping visible in the colour coat as the passes weren't wet enough to flow into each other nicely. Then I got a really good second colour/clear coat and left it in the sun for a few hours to dry before putting it on some cushions in the conservatory just to have it out of the way but they left imprints all over the bonnet! I had to wet sand it all back and paint for a third time, I'm not doing it again!!
I'm working on the doors now and I've found out why somebody had put a gold pinstripe under the normal sidetrim. They had drilled one of the doors in the wrong place and the stripe was to cover it up! So, filler removed and the extra trim clip holes were welded up. Another useful tip: hold a piece of copper against the back of the panel and the weld won't blow through. I also had to repair a few local bits of the door bottom and the copper strip trick also worked well to stop the weld melting away the metal at the edges.
I'm definitely on track for finishing all the paint by the end of the month!
I don't mind those links being put on here, the first thing I did was to go and look for them when they were mentioned! If you want to kill a few days, there are some very good ones on: www.build-threads.com
Rich
Rich
Doors painted...
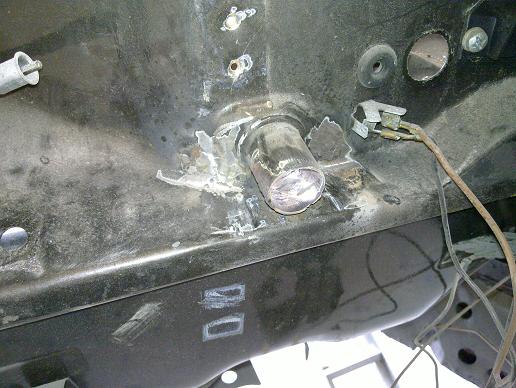
More rust uncovered! This is the drain tube from the scuttle area by the wipers, it's a well known rust trap in 1303s so I wasn't too surprised. Repair from the inside of the car was the easiest way to go. Here I have opened out the rusty areas ready to weld new sections in.
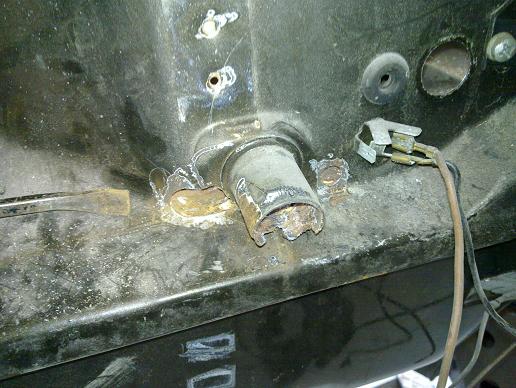
To repair the tube I decided to use another trick I saw, bend some copper strip around the part and weld straight onto the strip creating the new section.
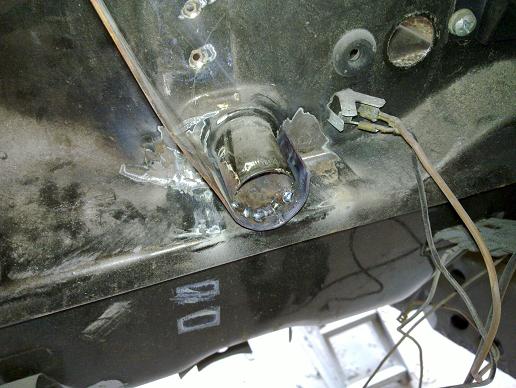
The outside surface is smooth (as it went straight on to the copper surface) but the inside needed some work with the die grinder . All good in the end though!
I've been busy doing minor bodywork too getting the main shell ready for paint, nearly there!
More rust uncovered! This is the drain tube from the scuttle area by the wipers, it's a well known rust trap in 1303s so I wasn't too surprised. Repair from the inside of the car was the easiest way to go. Here I have opened out the rusty areas ready to weld new sections in.
To repair the tube I decided to use another trick I saw, bend some copper strip around the part and weld straight onto the strip creating the new section.
The outside surface is smooth (as it went straight on to the copper surface) but the inside needed some work with the die grinder . All good in the end though!
I've been busy doing minor bodywork too getting the main shell ready for paint, nearly there!

Gassing Station | Readers' Cars | Top of Page | What's New | My Stuff