Rotrex powered R32
Discussion


aka_kerrly said:
SO so so so nice. Fantastic respray, outstanding mechanical parts and great to see it used properly - it can't get much better!
I'm being ultra critical (baring in mind I'd have to sell a kidney to build a similar car!) is the lower bumper grills, if you could modify the intercooler pipe to allow a standard trim to be fitted there would be no clues about the supercharger.
Thanks I'm being ultra critical (baring in mind I'd have to sell a kidney to build a similar car!) is the lower bumper grills, if you could modify the intercooler pipe to allow a standard trim to be fitted there would be no clues about the supercharger.

I'm looking at options for hiding the pipework, been toying with getting it powder coated black to make it less obvious. However as you say if it could be hidden it would look a lot better.
Glassman said:


C7 JFW said:
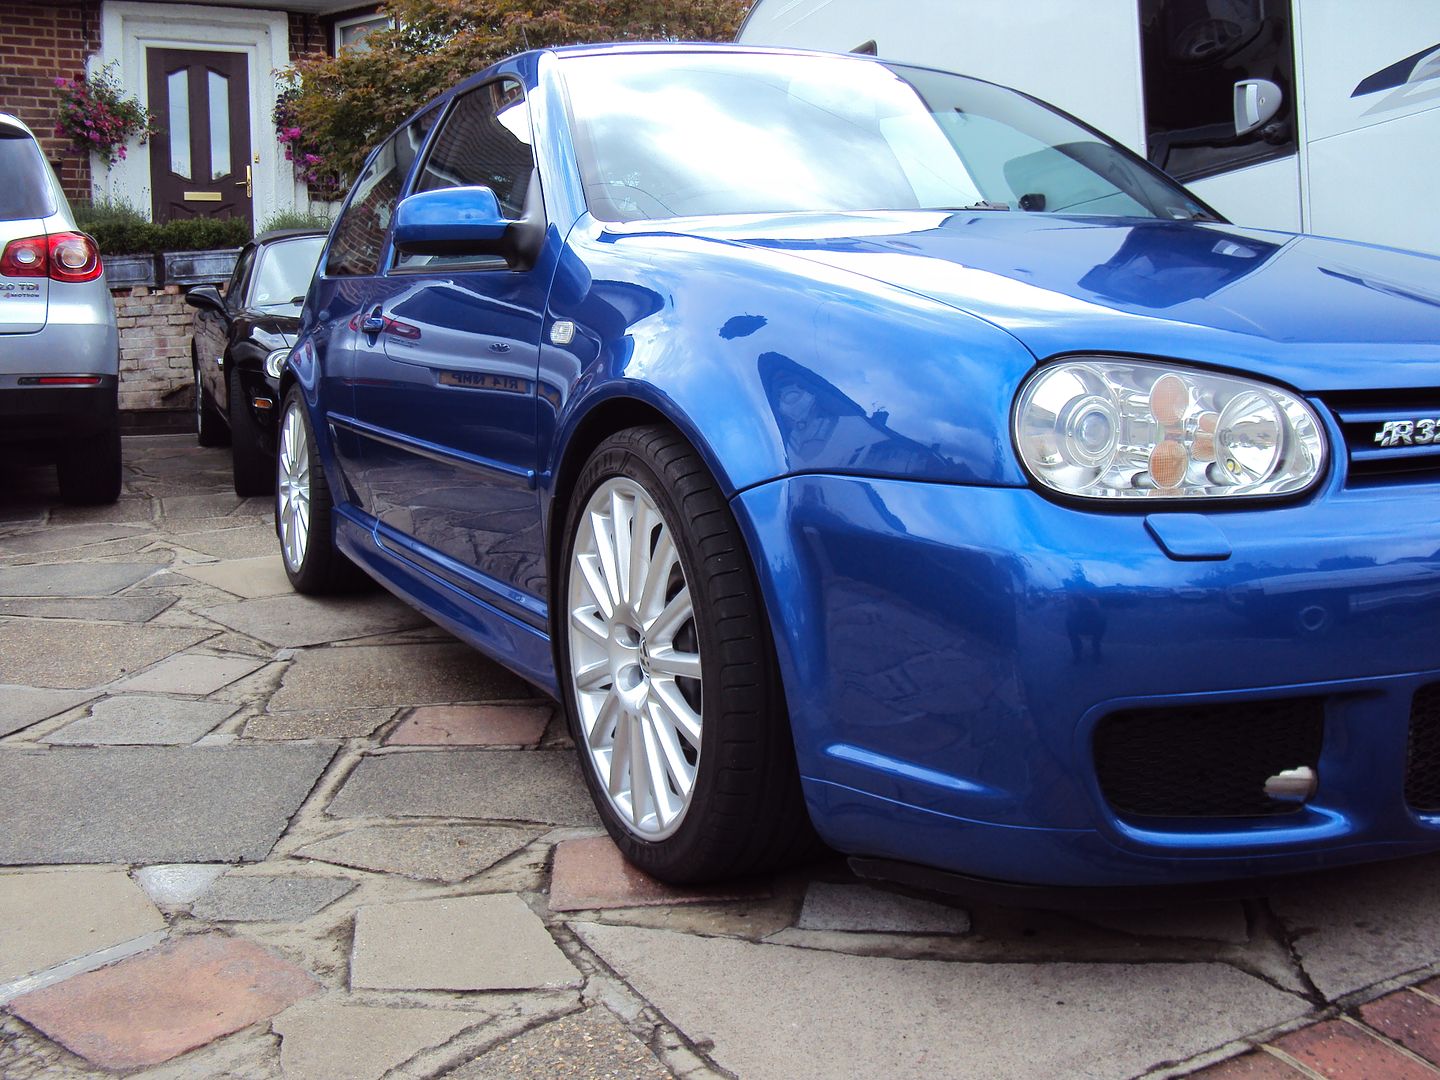
£6k for a respray but my word it looks it - absolutely phenomenal.
You get exactly what you pay for with paintwork. Always have, always will.
Thanks,You get exactly what you pay for with paintwork. Always have, always will.
Latest update, firstly the car needs a wash (Detailing world members look away now)
I had to use some country lanes this week due to the M25 being broken.
The car had it’s first service last week since the C38 was fitted, the service consisted of:
Engine oil and filter,
Fuel filter,
6X NGK spark plugs,
Pollen filter
Also the latest version of the United Motorsport Haldex software was flashed into the Haldex ECU.
It’s been one of those days today…
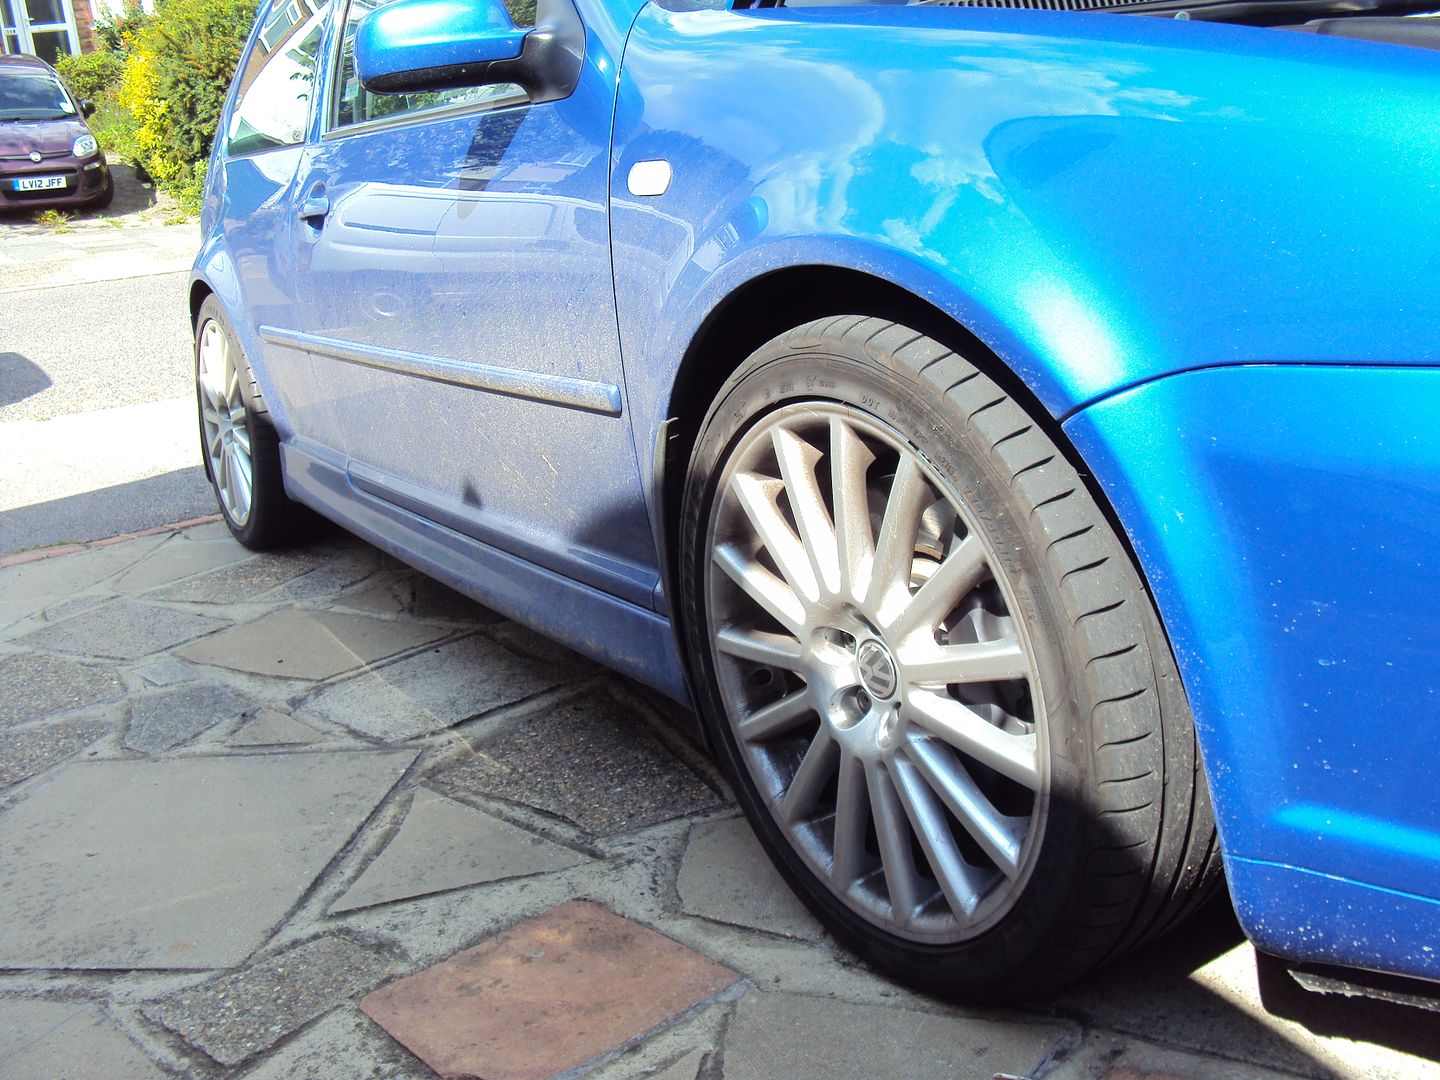
I managed to curb the front right wheel

I wanted to change the brake fluid, as it hadn’t been changed for a couple of years. Started with 1L of VW’s finest dot 4 fluid.
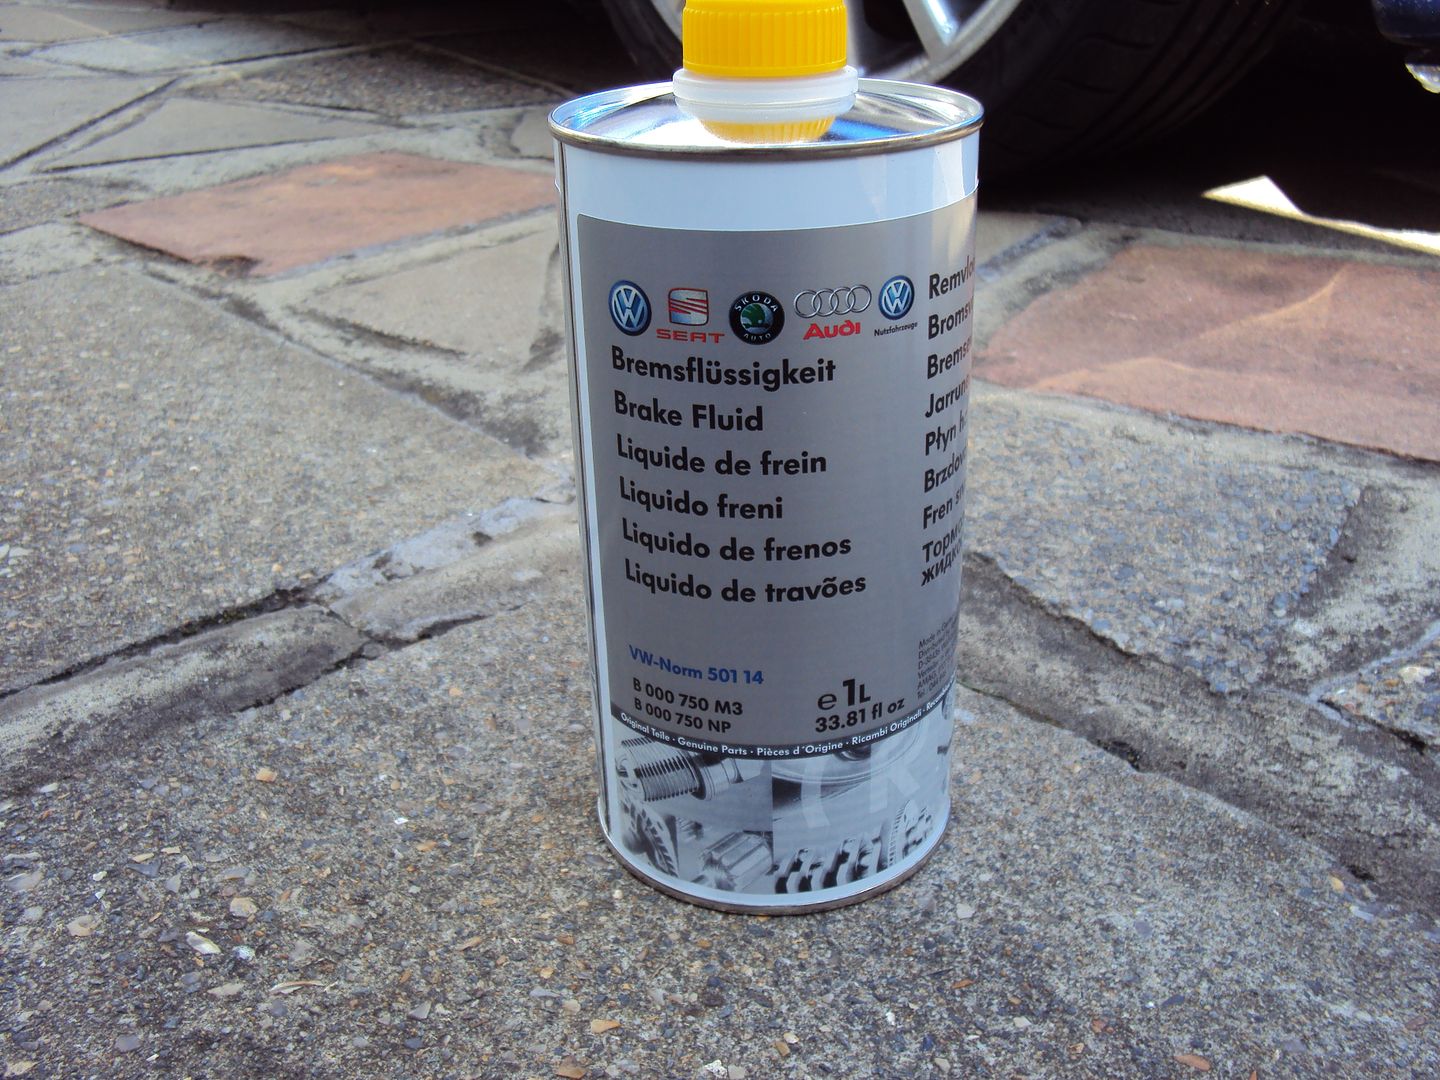
In preparation for this I bought a air operated vacuum brake bleeder.
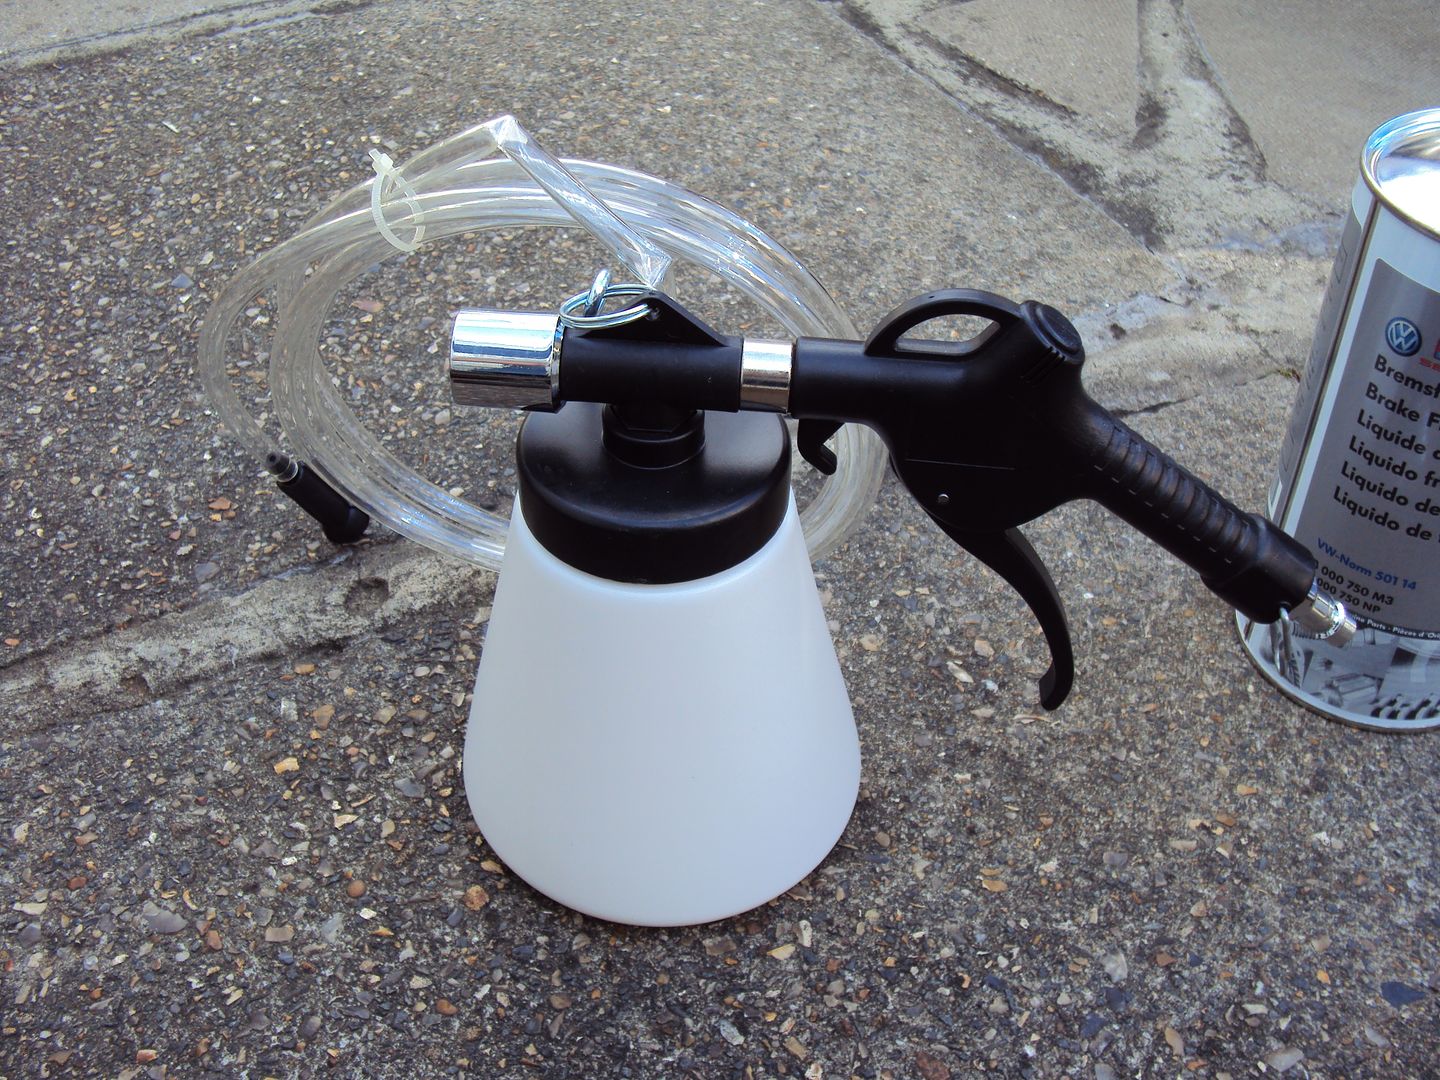
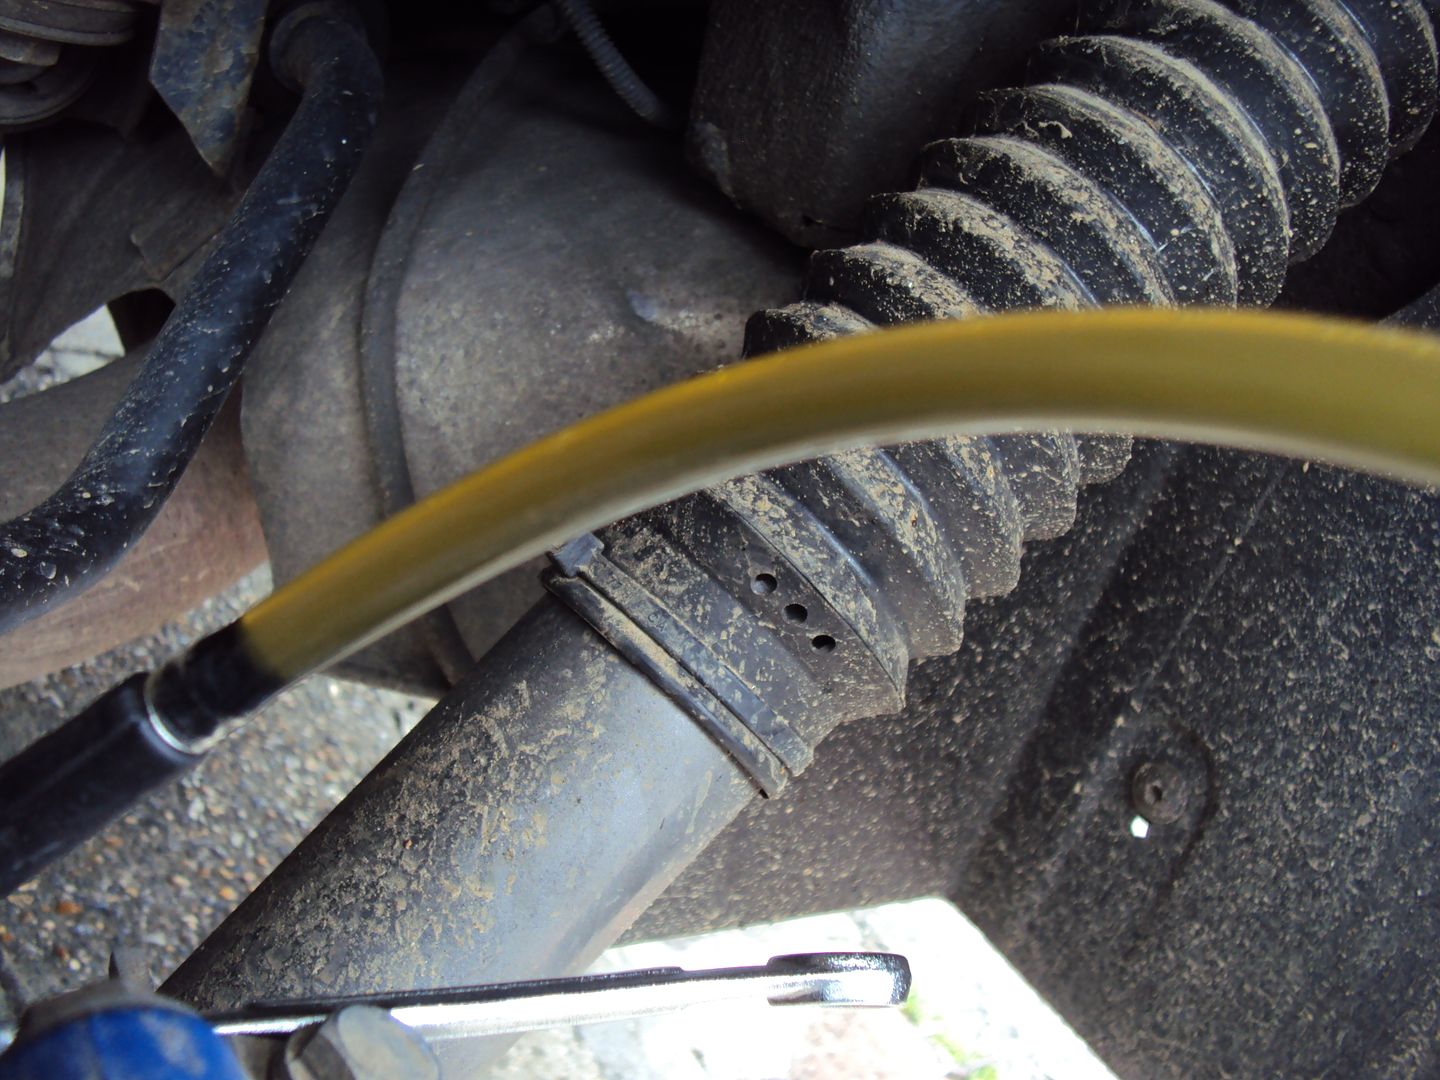
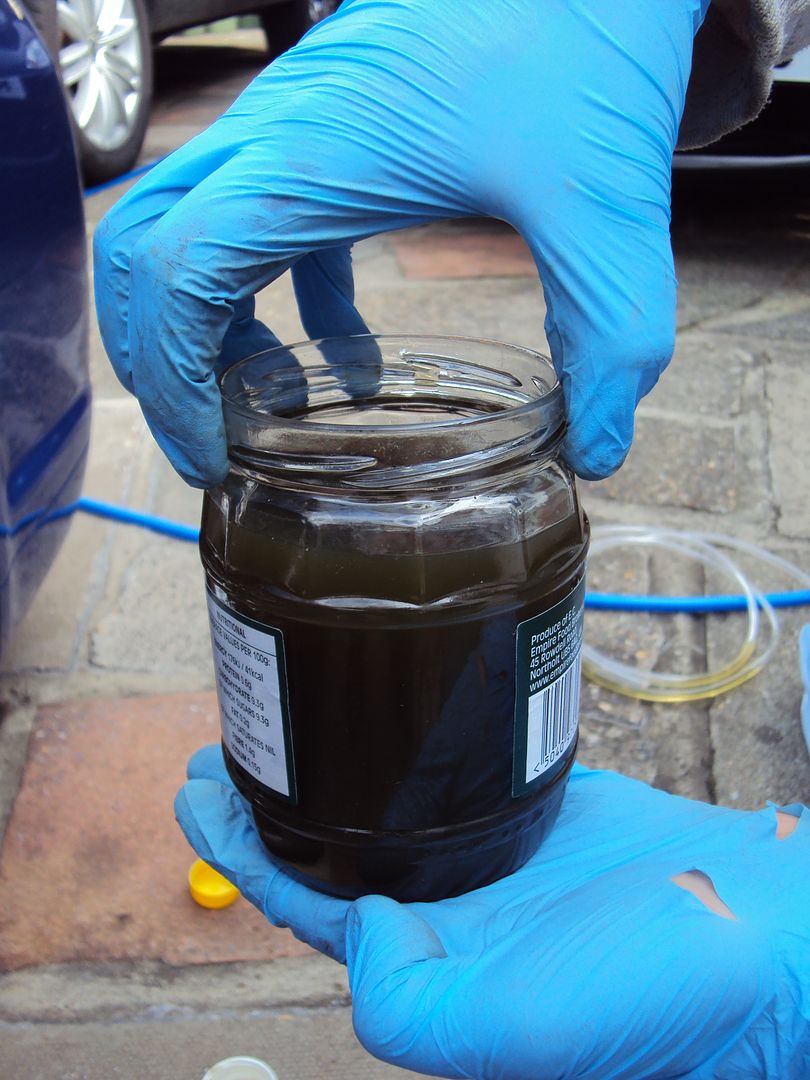
I started with the rear left as it’s the furthest away from the master cylinder, hooked up the brake bleeder and after a few seconds got some pretty grim looking fluid out
 .
.
After going through ½ the new fluid it still wasn’t any better so I had a look at the master cylinder and noticed even though I had been adding fresh fluid it was still looking grim.
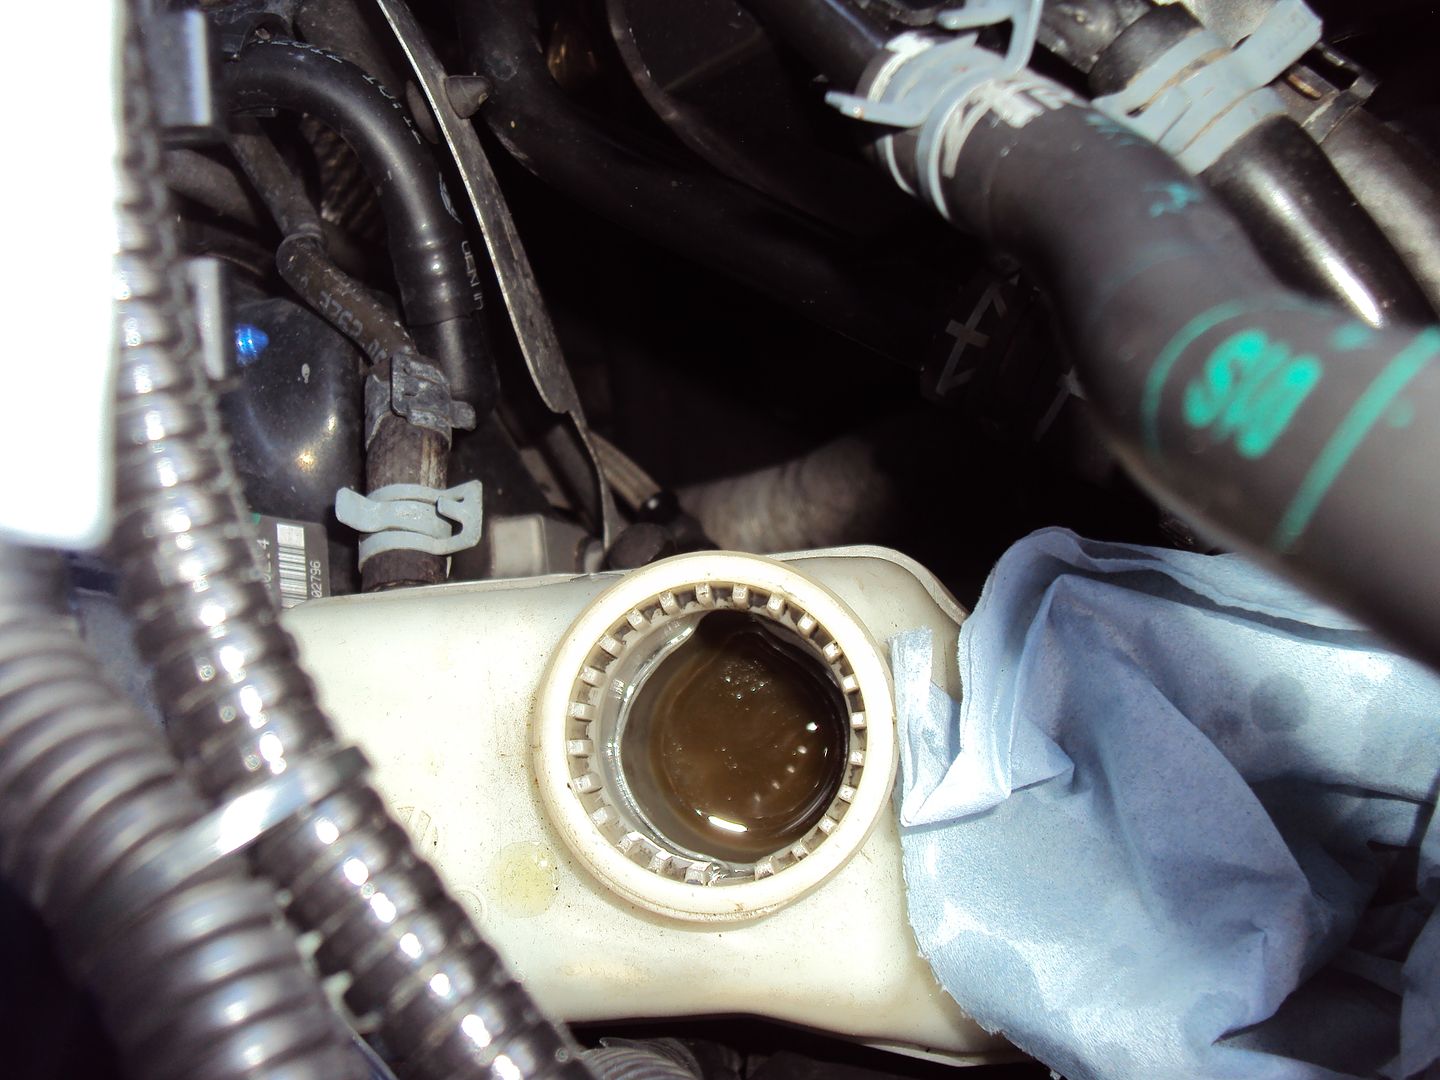
The filter was covered in a film of grime
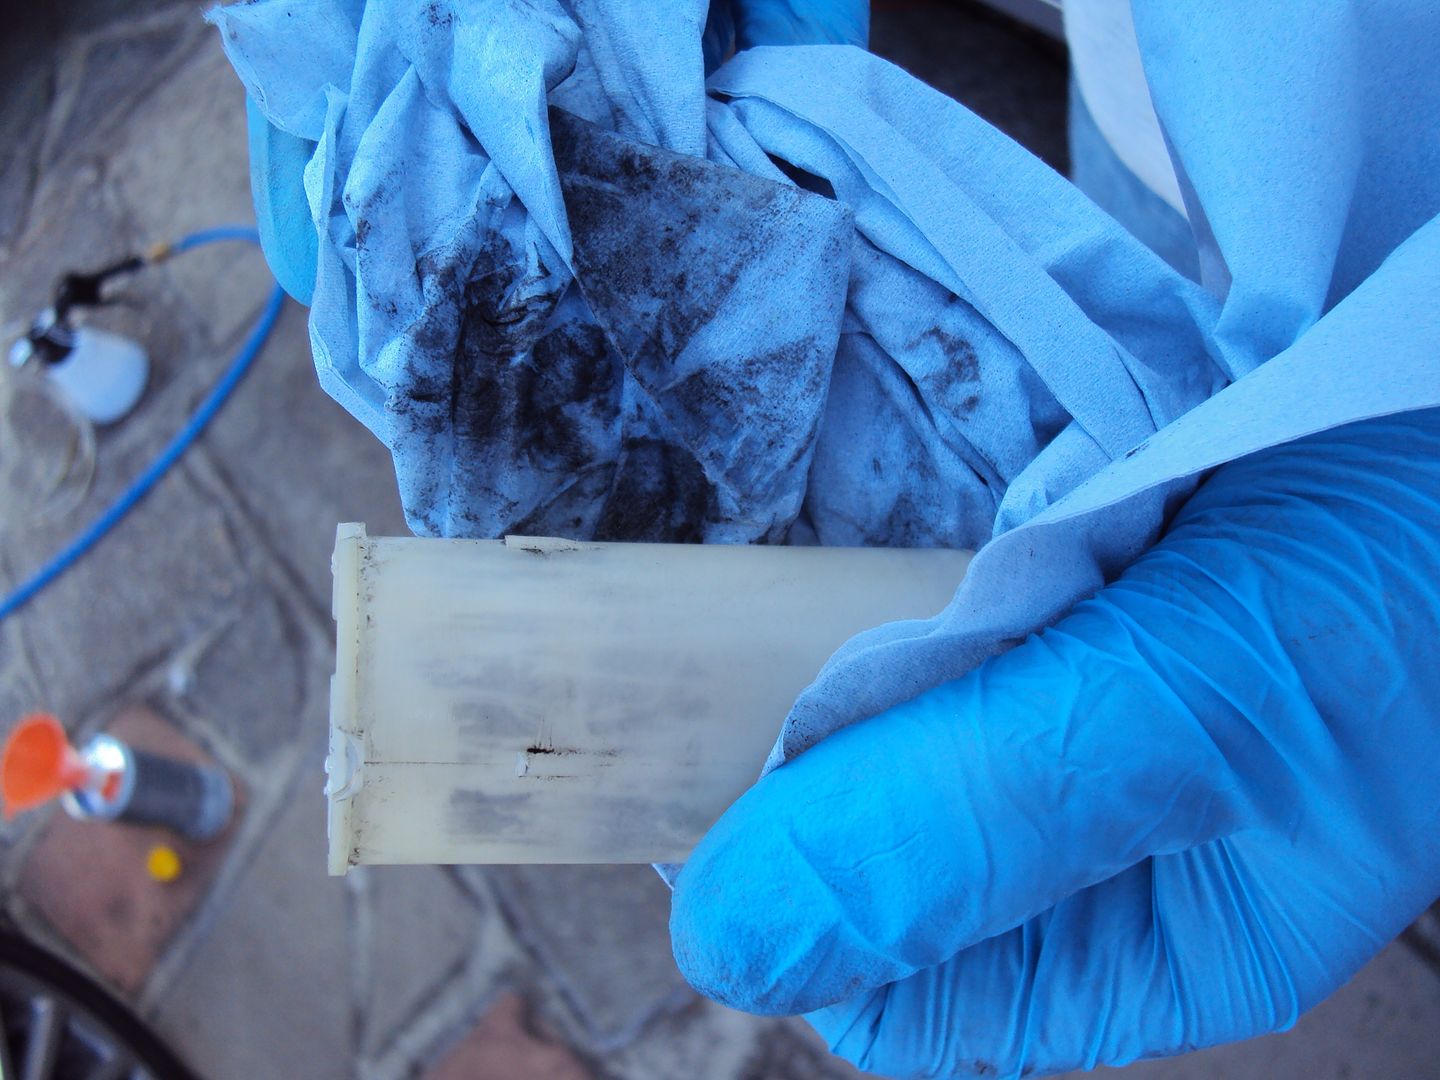
Grime from around the inside of the neck,
I ended up using the vacuum bleeder to vacuum as much of the fluid out of the reservoir as possible.
After a few more re-fills and some pumping on the brake pedal the fluid started to look cleaner.
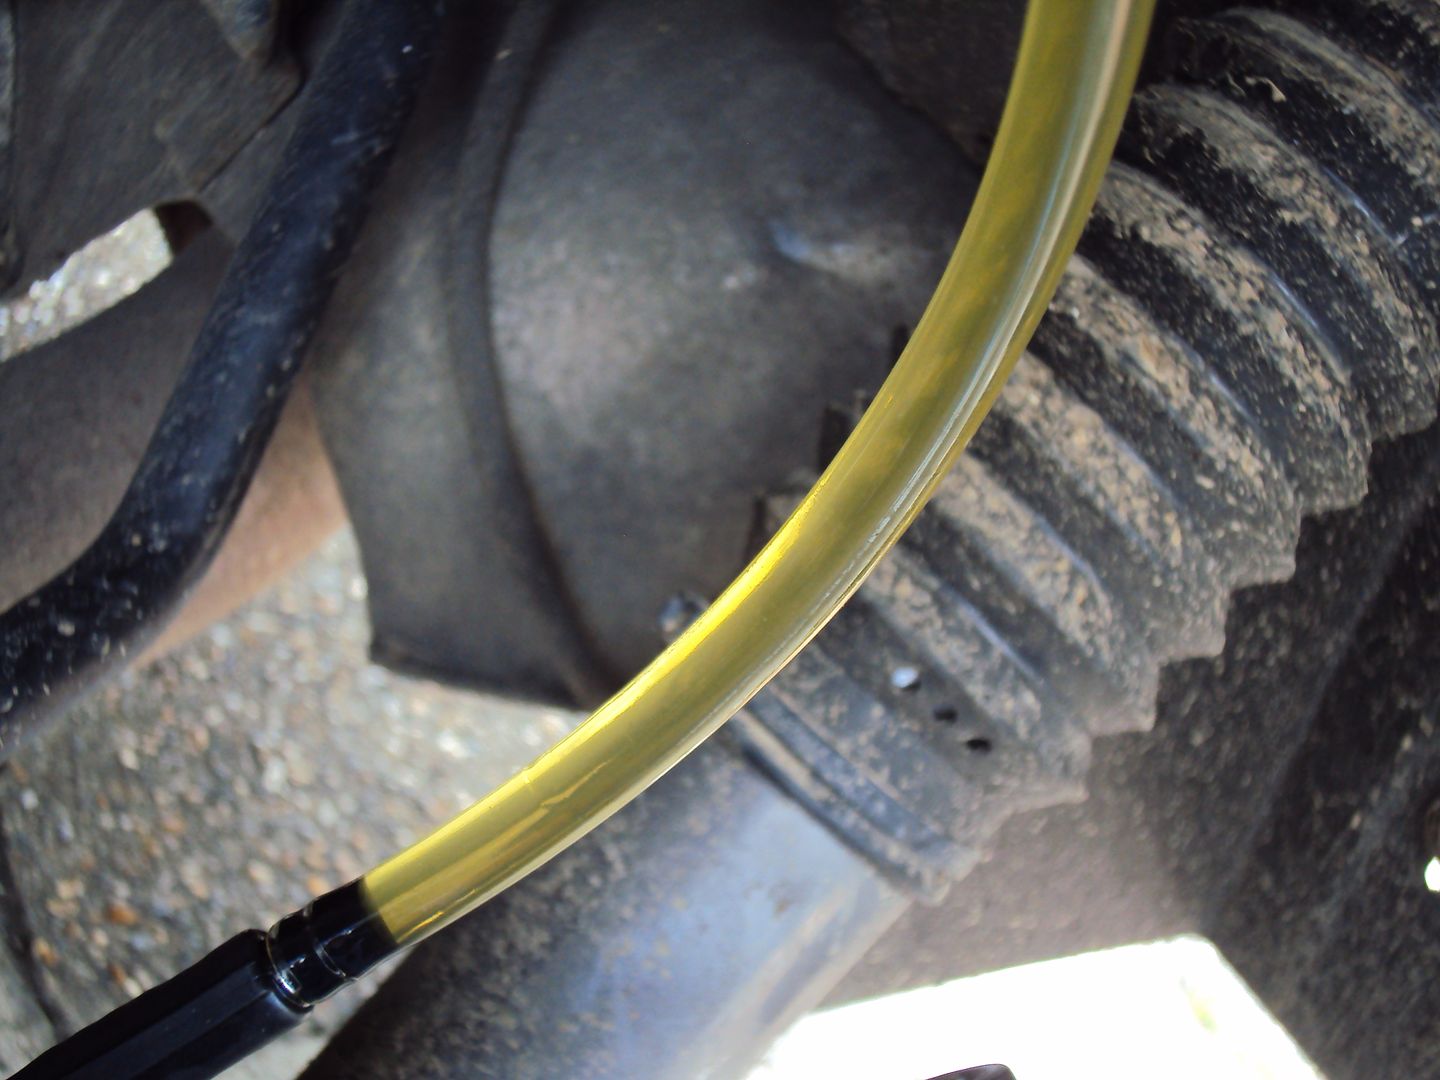
At this point I had to stop as there wasn’t enough new brake fluid to do the remaining 3 corners.
This is what I got out of the system so far!
Just as I was about to re-fit the wheel, I noticed a bit of metal in the tread of the tyre, gave it a pull but stopped when I got it this far…
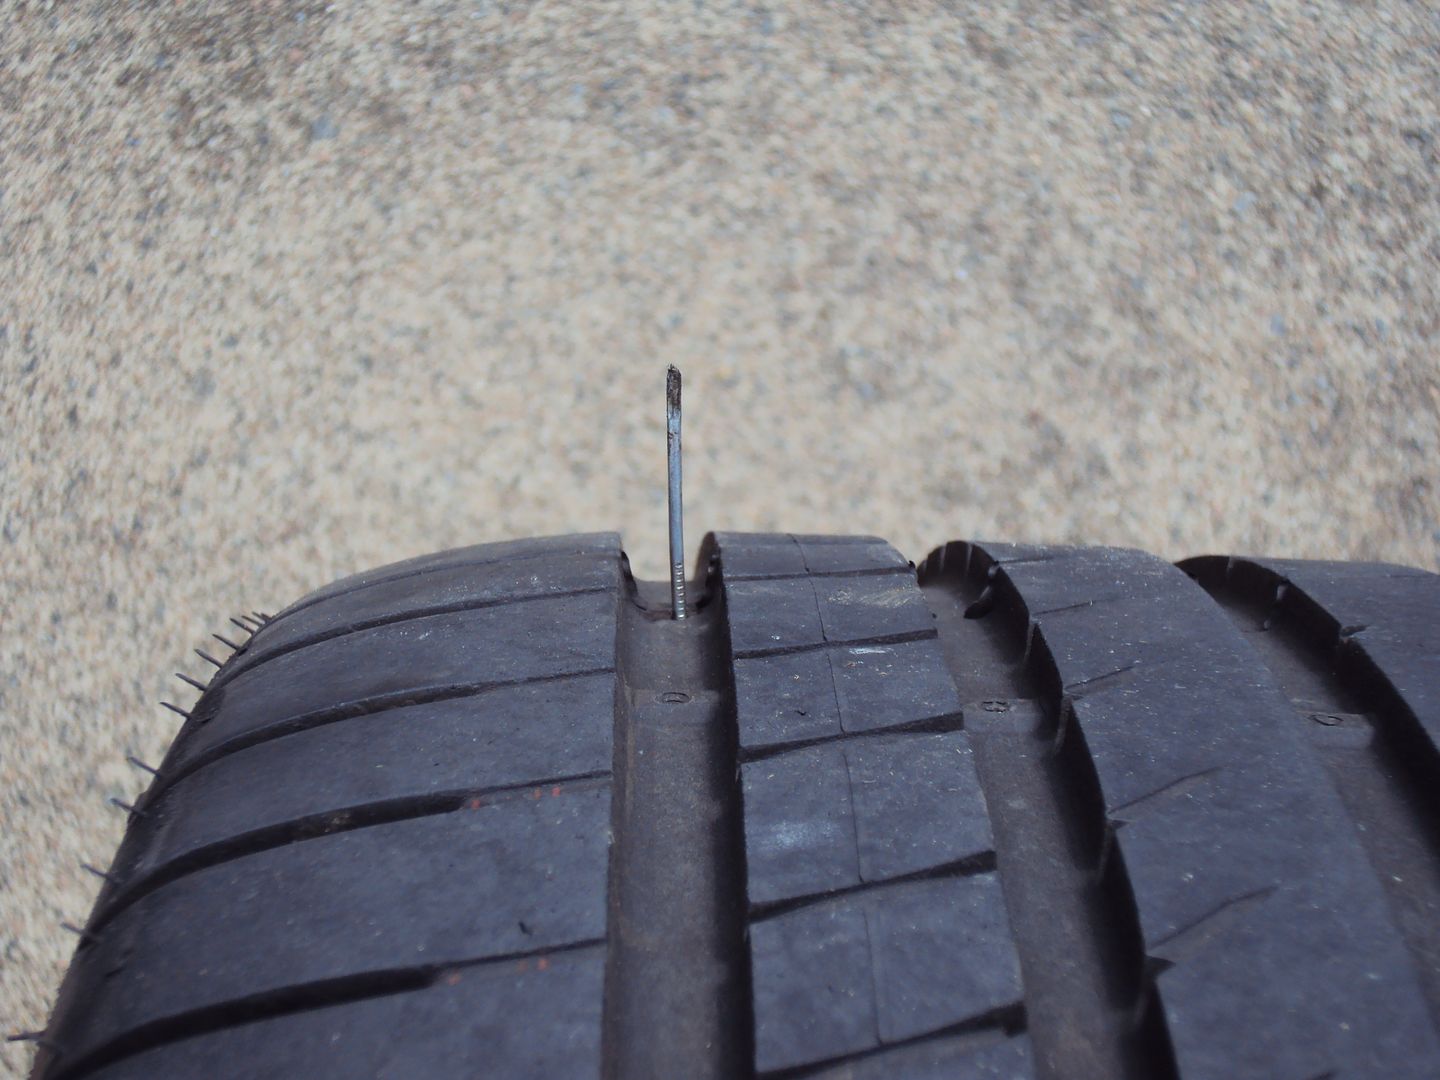
I pushed it back in and refitted the wheel and went to a place that provides the “rapid fitting” of tyres to get it repaired.
Only to be told that I had apparently damaged the tyre by driving on it, the fitter showed me a mark on the sidewalls (was showing on both sides) where it was damaged due to under inflation and explained I would need a new tyre.
The fitter asked me if I wanted the same tyre again, to which the obvious answer was yes, after a quick check they found they had the correct tyre in stock. Great I thought, after a short wait the new tyre was fitted and I was on my way.
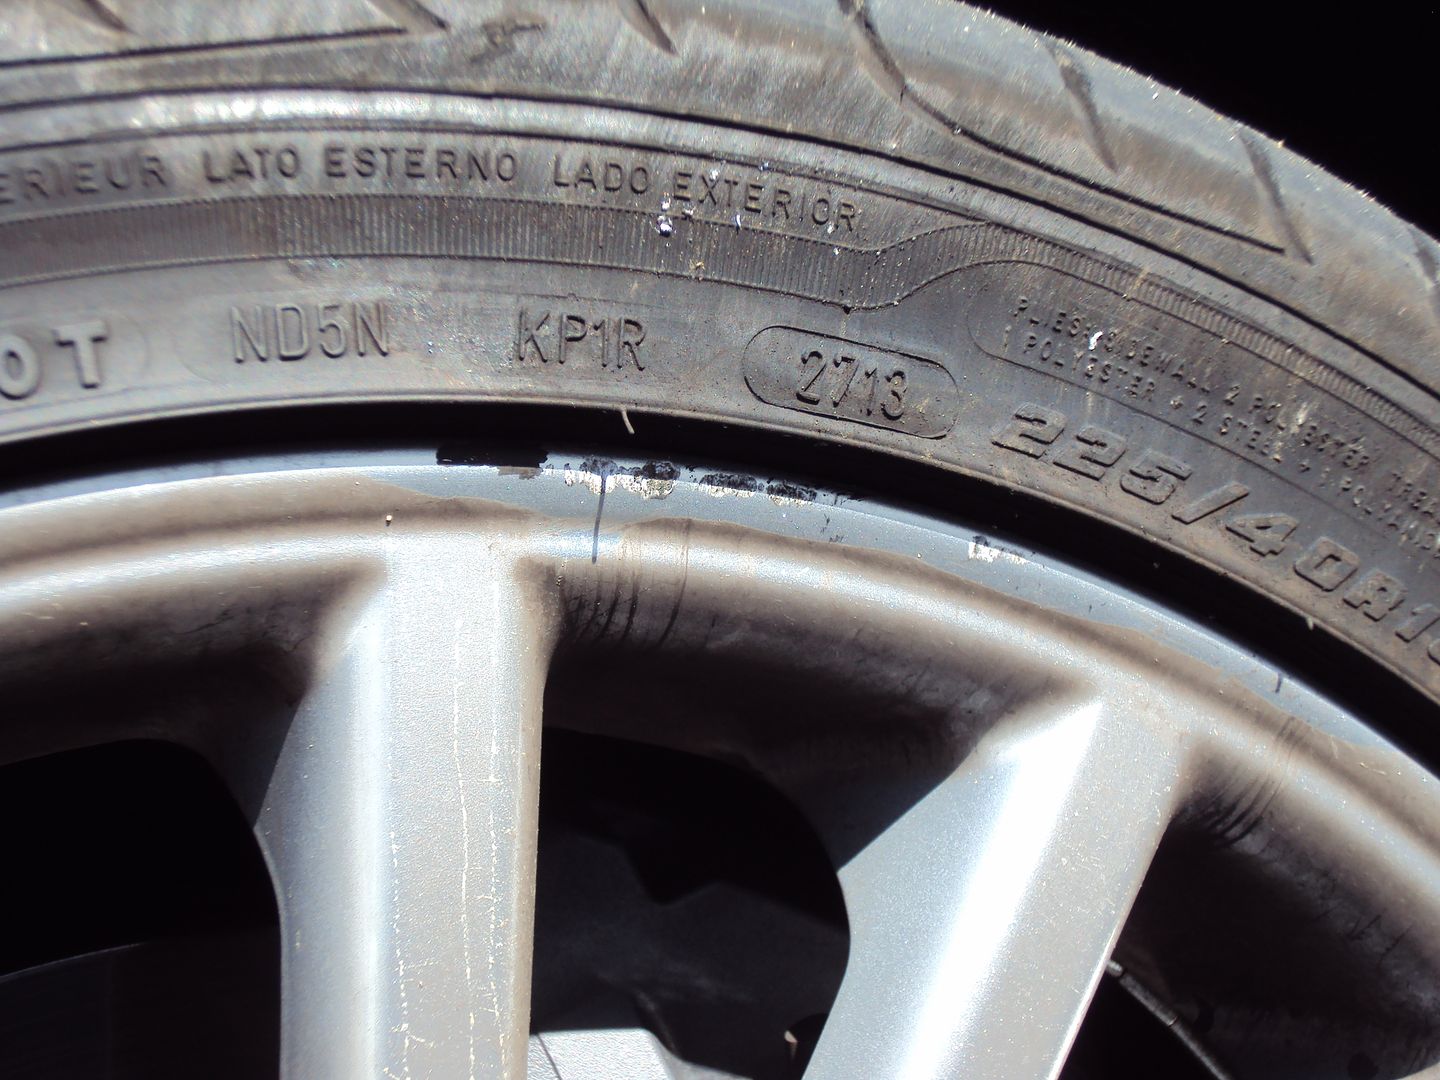
When I got home I was about to clean the tyre soap off the sidewalls and noticed 2 problems, the first was they have damaged the alloy
 and second they have fitted a Goodyear efficient grip instead of a Eagle F1 asymmetric like the original
 . So tomorrows task is to go back and try and get a matching Eagle F1 and get the damaged alloy sorted (yes I do feel silly for not checking before I left
 ).
). 
Seems a great re-spray. The factory spray isn't so good - on my BMW for example, you open the bonnet and you can see where the robot misses with the top coat, so it just looks unfinished. Pretty poor on a car that cost that much ...
A proper spray booth, equipment and attention to detail can't be beaten.
Out of interest, do you know the type of paint they used? Was it a 2 pack based paint, or acrylic - and do you know how many coats they applied and what depth the lacquer is ?
Cheers!
A proper spray booth, equipment and attention to detail can't be beaten.
Out of interest, do you know the type of paint they used? Was it a 2 pack based paint, or acrylic - and do you know how many coats they applied and what depth the lacquer is ?
Cheers!
Test driver said:
Lovely motor. Have you upgraded the haldex yet?
Mechanically and electrically the Haldex is as it came out of the factory, the software has been changed so it engages quicker and sends more power to the rear (up to 40% I think, as it's a 60/40 split).More info here: http://forums.vwvortex.com/showthread.php?6947845-...
stuart-b said:
Seems a great re-spray. The factory spray isn't so good - on my BMW for example, you open the bonnet and you can see where the robot misses with the top coat, so it just looks unfinished. Pretty poor on a car that cost that much ...
A proper spray booth, equipment and attention to detail can't be beaten.
Out of interest, do you know the type of paint they used? Was it a 2 pack based paint, or acrylic - and do you know how many coats they applied and what depth the lacquer is ?
Cheers!
Sorry no idea about the paint process or type of paint. I'll see if I can find out. A proper spray booth, equipment and attention to detail can't be beaten.
Out of interest, do you know the type of paint they used? Was it a 2 pack based paint, or acrylic - and do you know how many coats they applied and what depth the lacquer is ?
Cheers!
The car is booked in with KDS to get the wheels re furbished and gtechniq c5 applied to them to keep the brake dust at bay.
I fitted a new MAF today as the car hasn’t felt like it is pulling like it should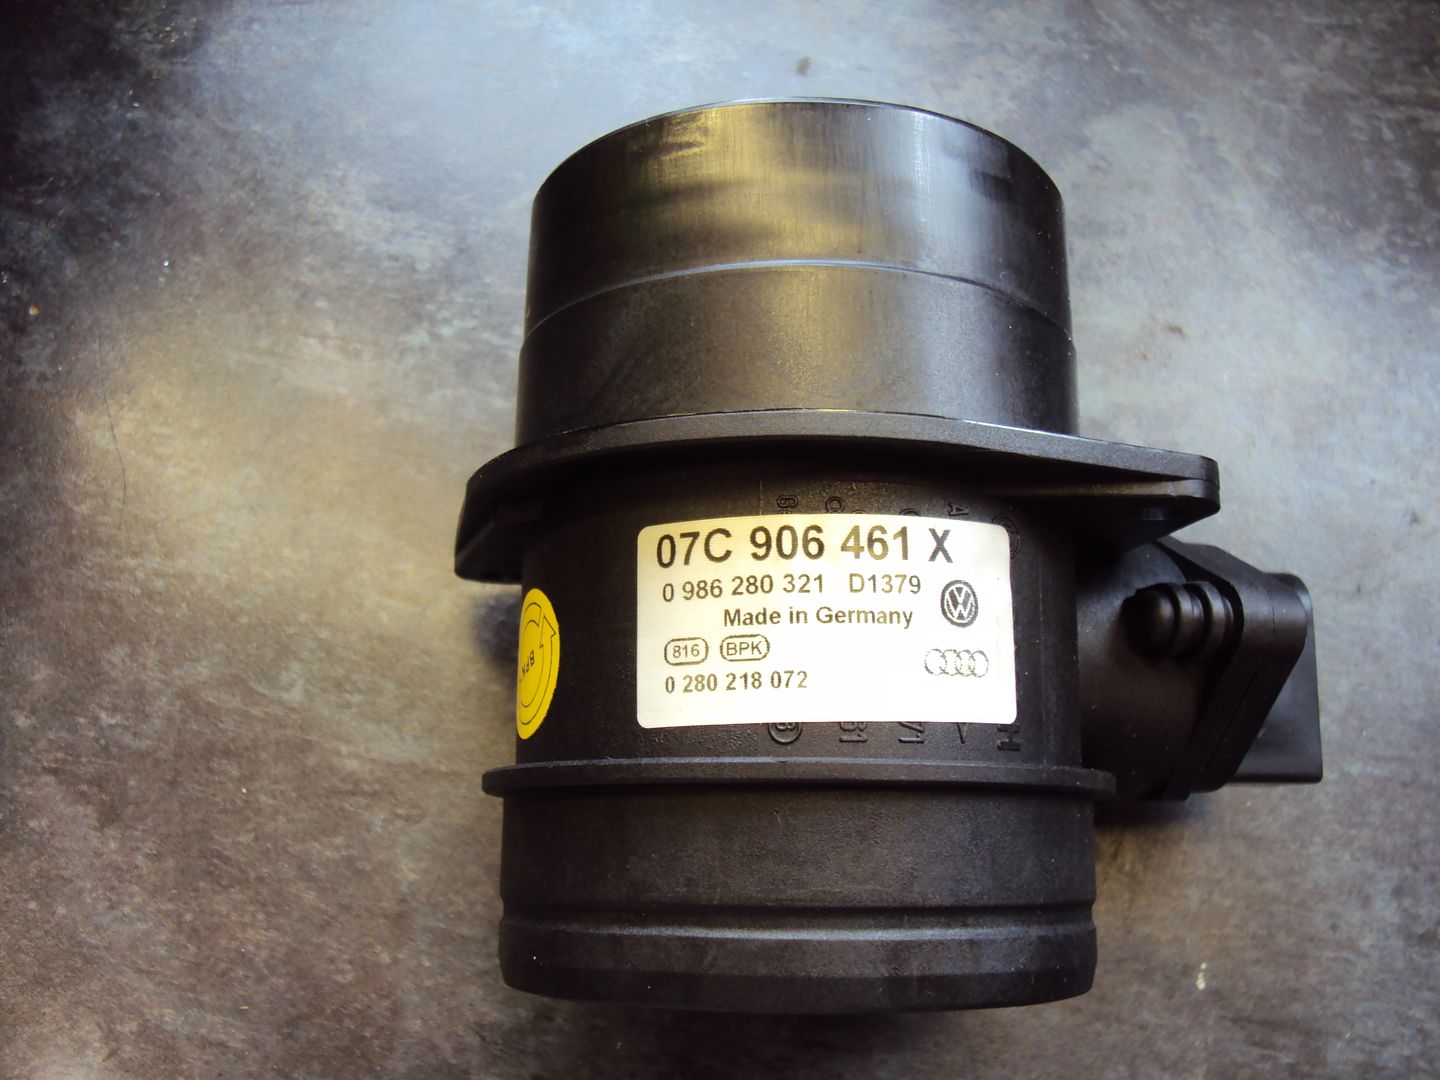
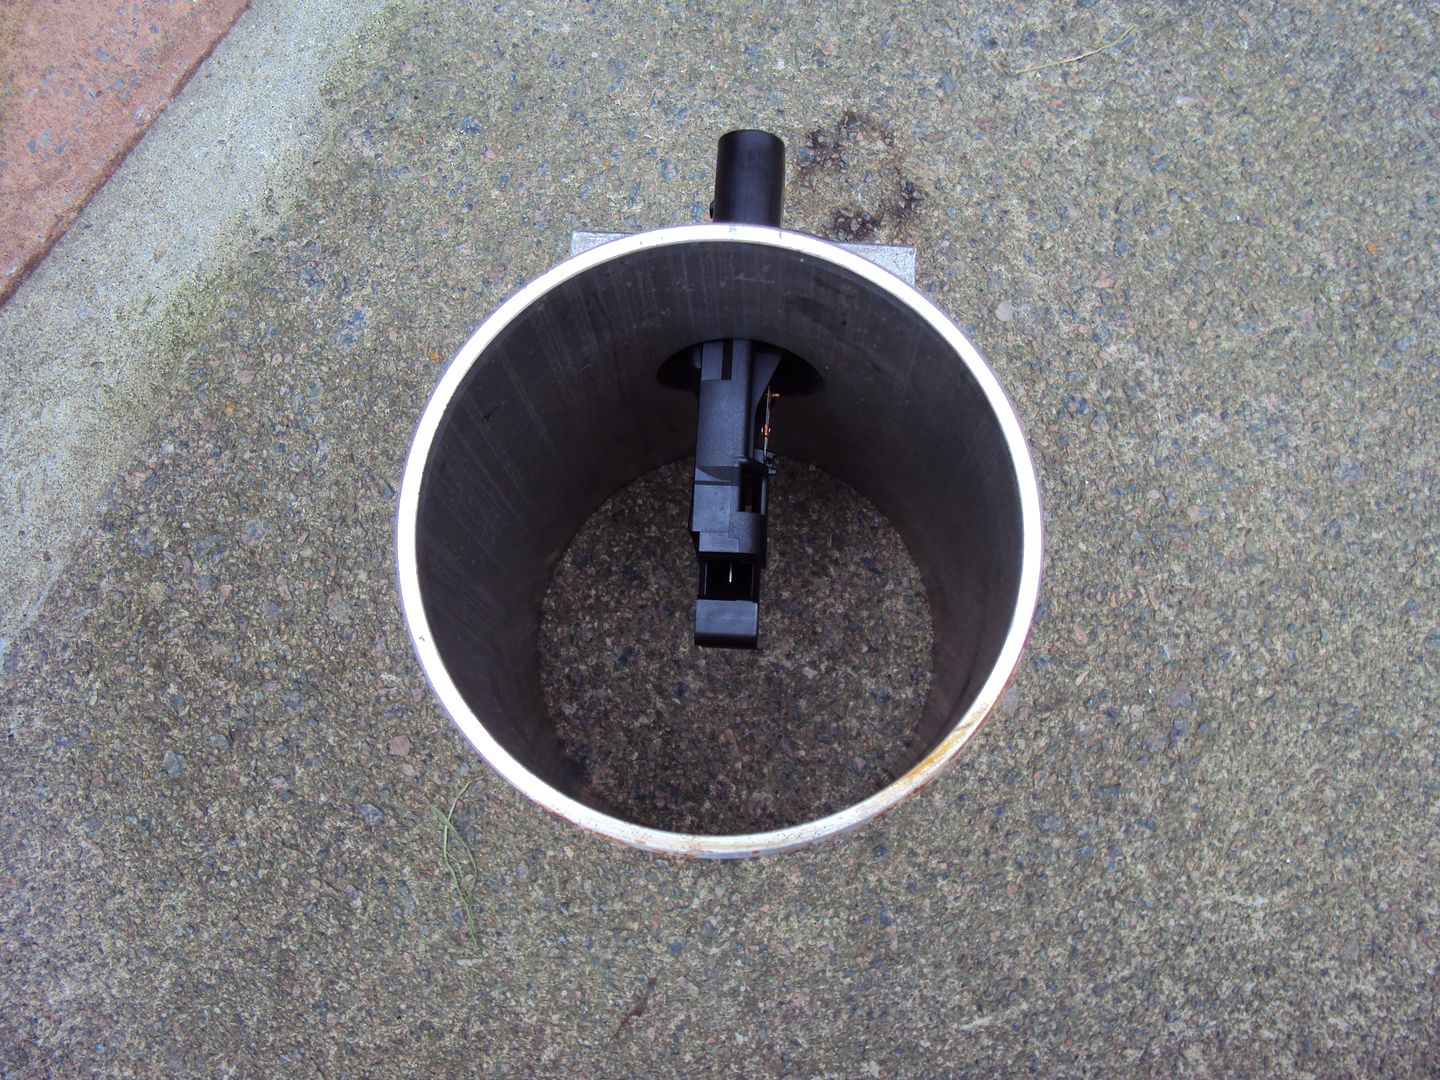
I had to swap the sensor from the OEM housing to the 4” housing
While swapping replacing the MAF I noticed a oil leak which needs sorting.
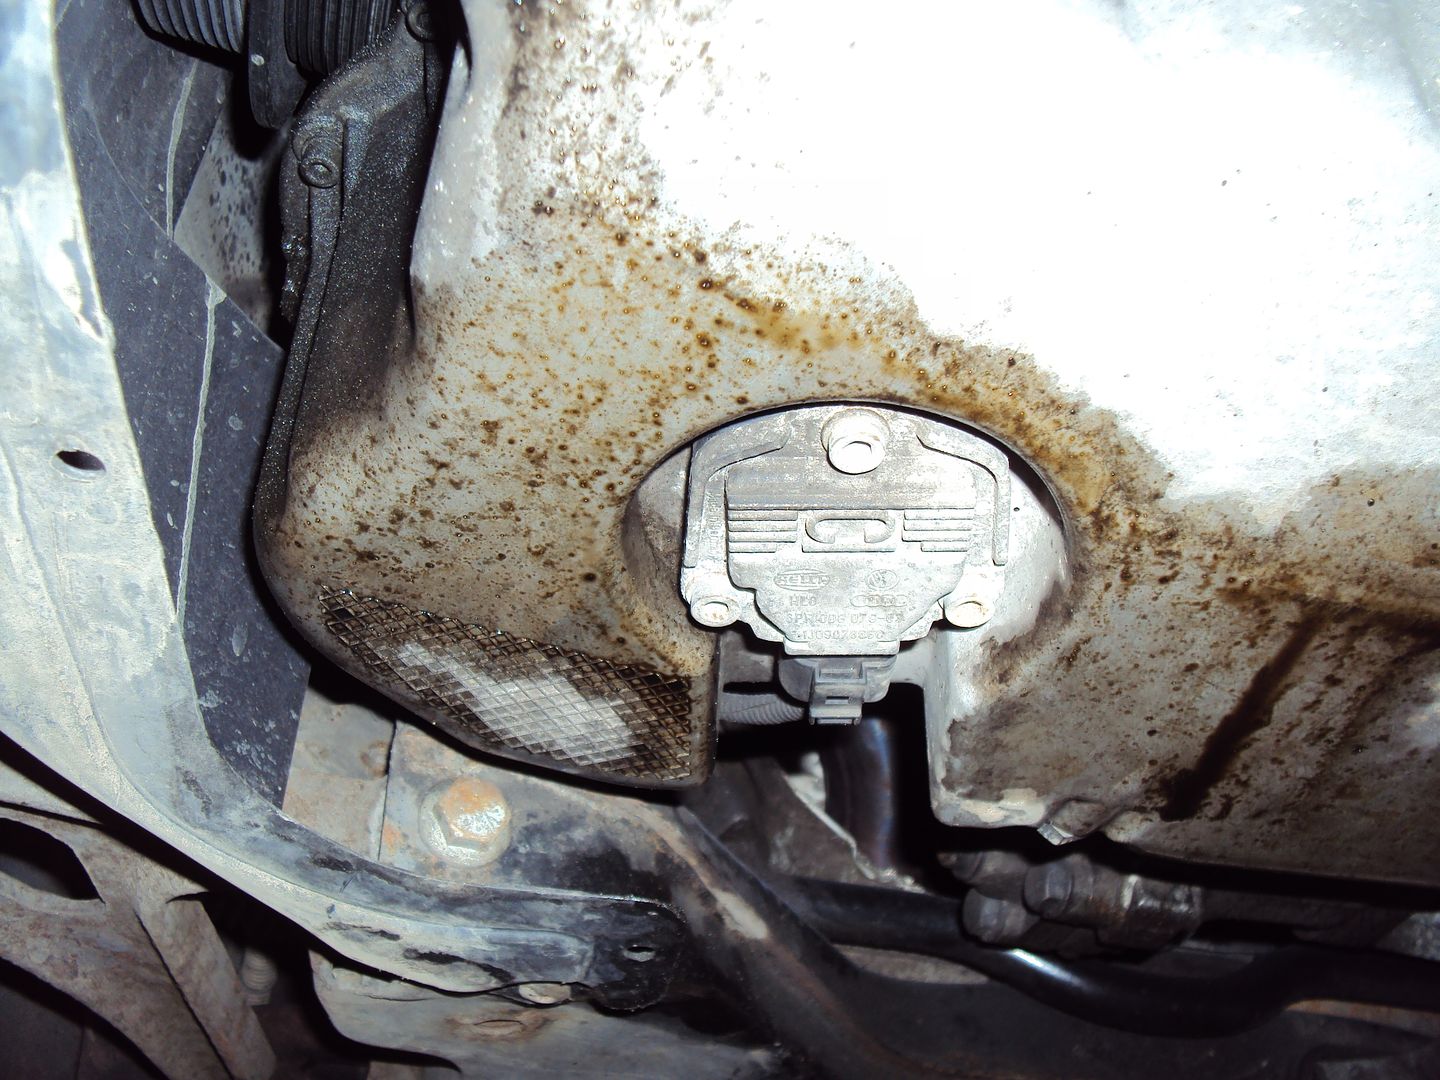
It looks like it is leaking from the sump, the sump is glued to the block with sealant so this will need replacing.
I am also looking at adding some aluminium honeycomb mesh to the 4” MAF. The OEM MAF has a plastic mesh which helps to stabilise the airflow.
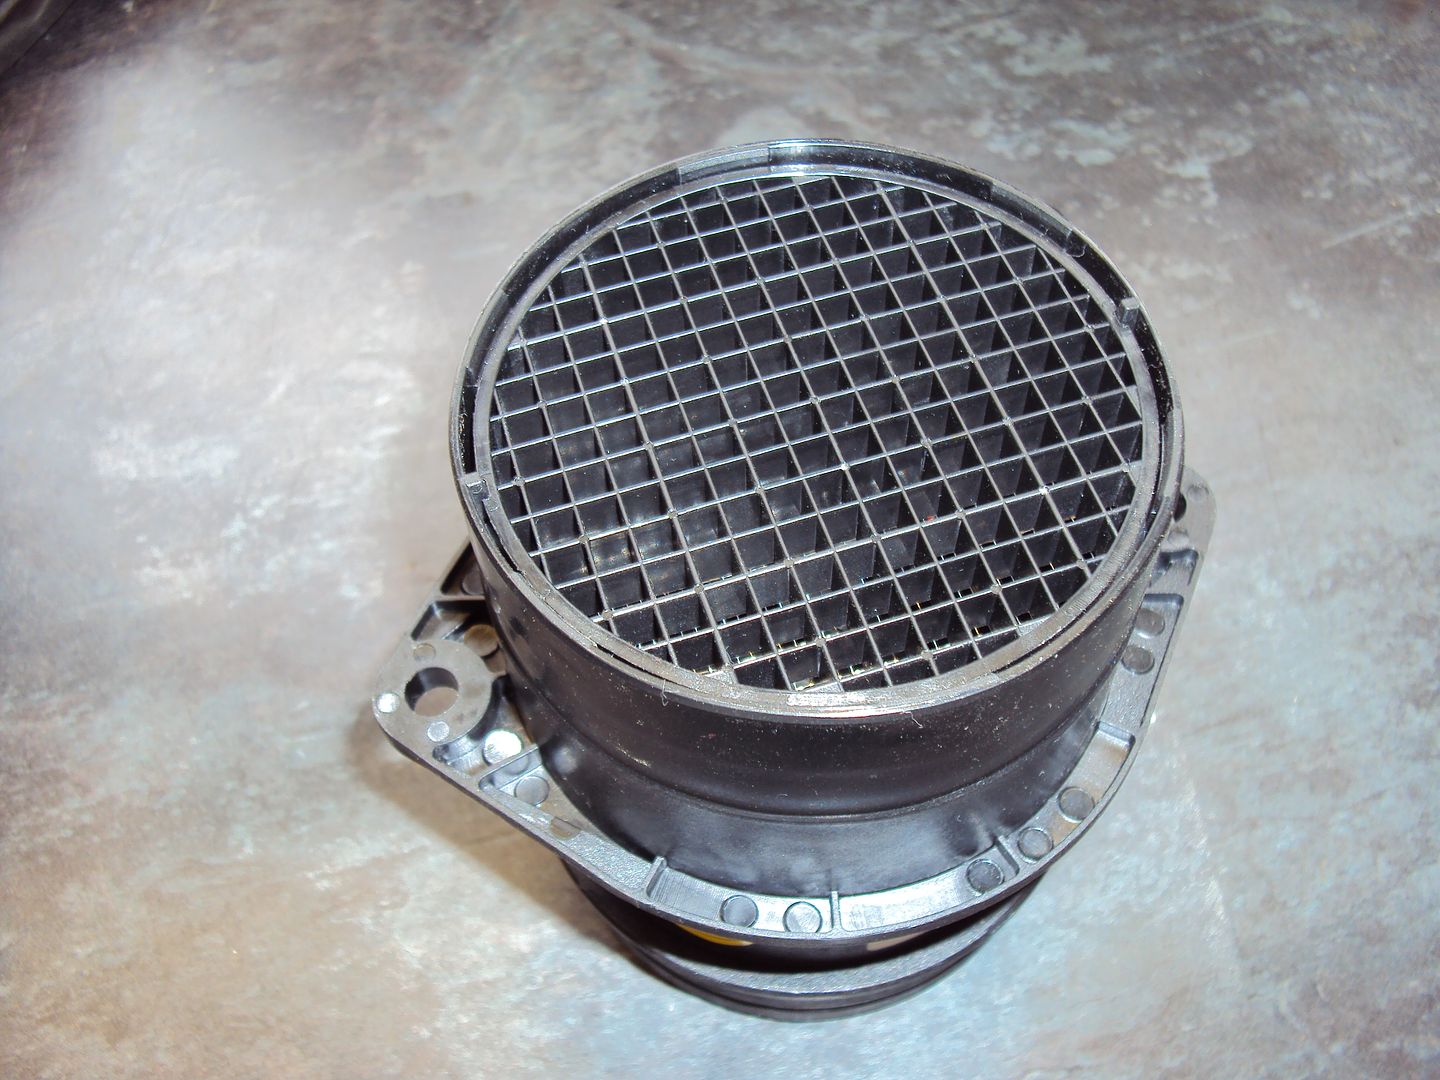
There aren’t any problems with how the car runs, but as the OEM MAF had the mesh I thought it can’t hurt to add.
I fitted a new MAF today as the car hasn’t felt like it is pulling like it should
I had to swap the sensor from the OEM housing to the 4” housing
While swapping replacing the MAF I noticed a oil leak which needs sorting
.It looks like it is leaking from the sump, the sump is glued to the block with sealant so this will need replacing.
I am also looking at adding some aluminium honeycomb mesh to the 4” MAF. The OEM MAF has a plastic mesh which helps to stabilise the airflow.
There aren’t any problems with how the car runs, but as the OEM MAF had the mesh I thought it can’t hurt to add.
stuart-b said:
Seems a great re-spray. The factory spray isn't so good - on my BMW for example, you open the bonnet and you can see where the robot misses with the top coat, so it just looks unfinished. Pretty poor on a car that cost that much ...
If you mean the paint under bonnet has no gloss lacquer, most BMWs are that way, with an occasional clear coated one- doesnt seem to be a pattern to it either. Neither our Alpina E46 or the BMW E91 have lacquer.Not much of an update, I visited The Phirm this week to get the oil leak from the sump seen to. The sump had to be removed so that new sealant could be applied.
I didn’t get any pics of the sump, but apart from a bit of discoloration inside it was clean, no bits of metal (wasn’t expecting any) or any other contamination.
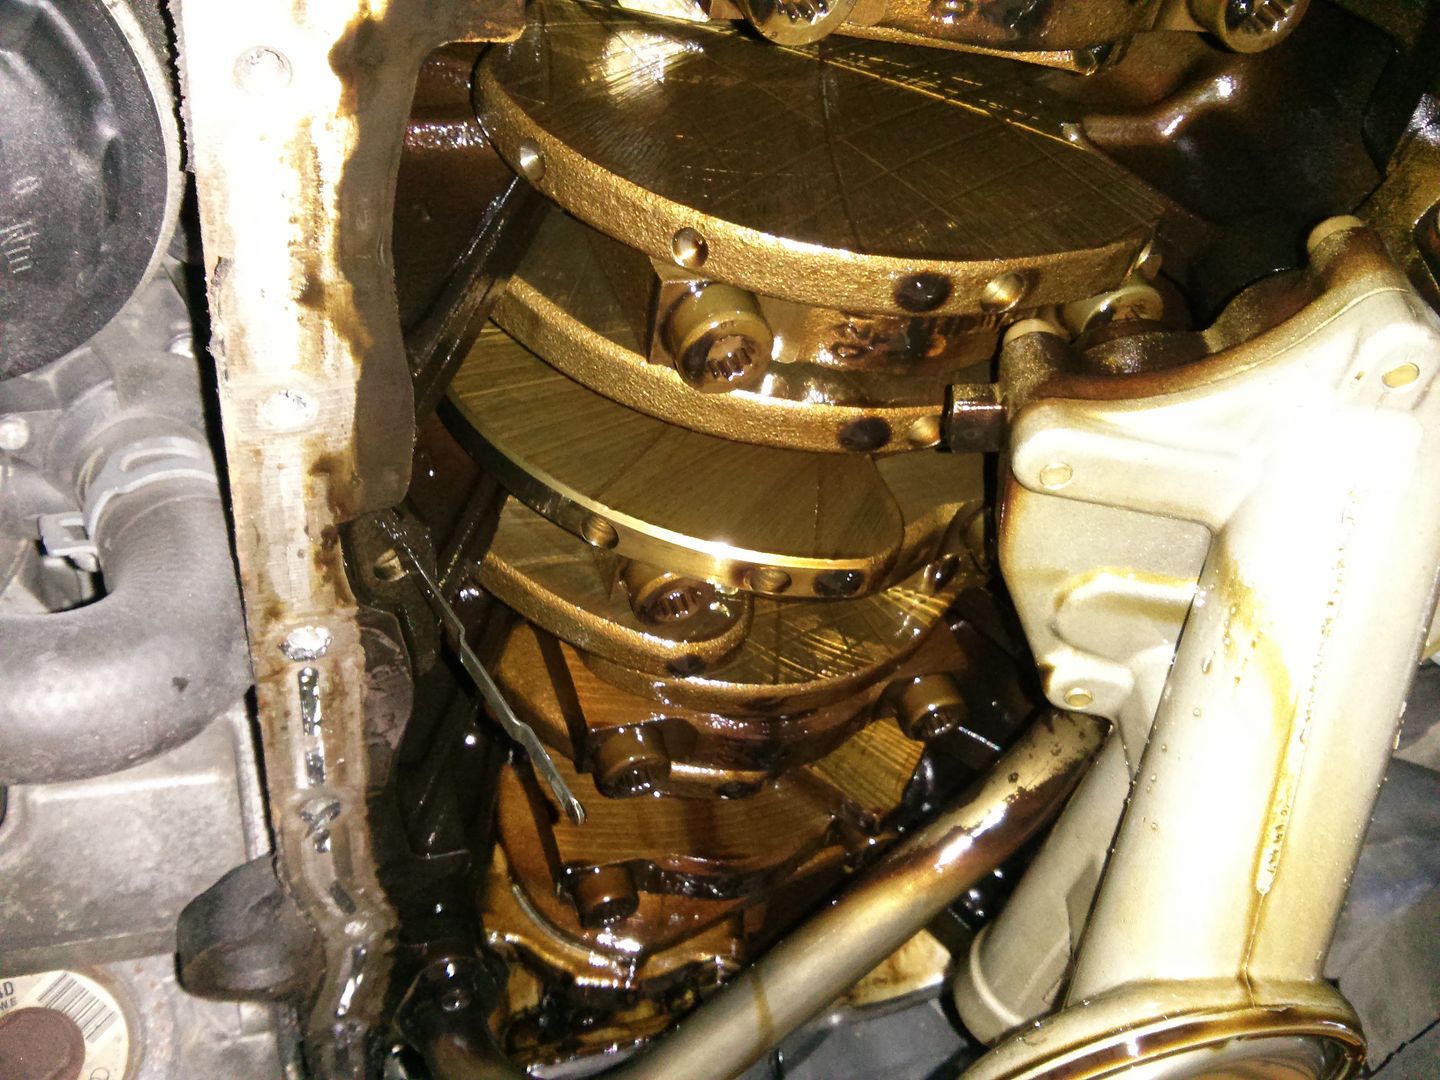
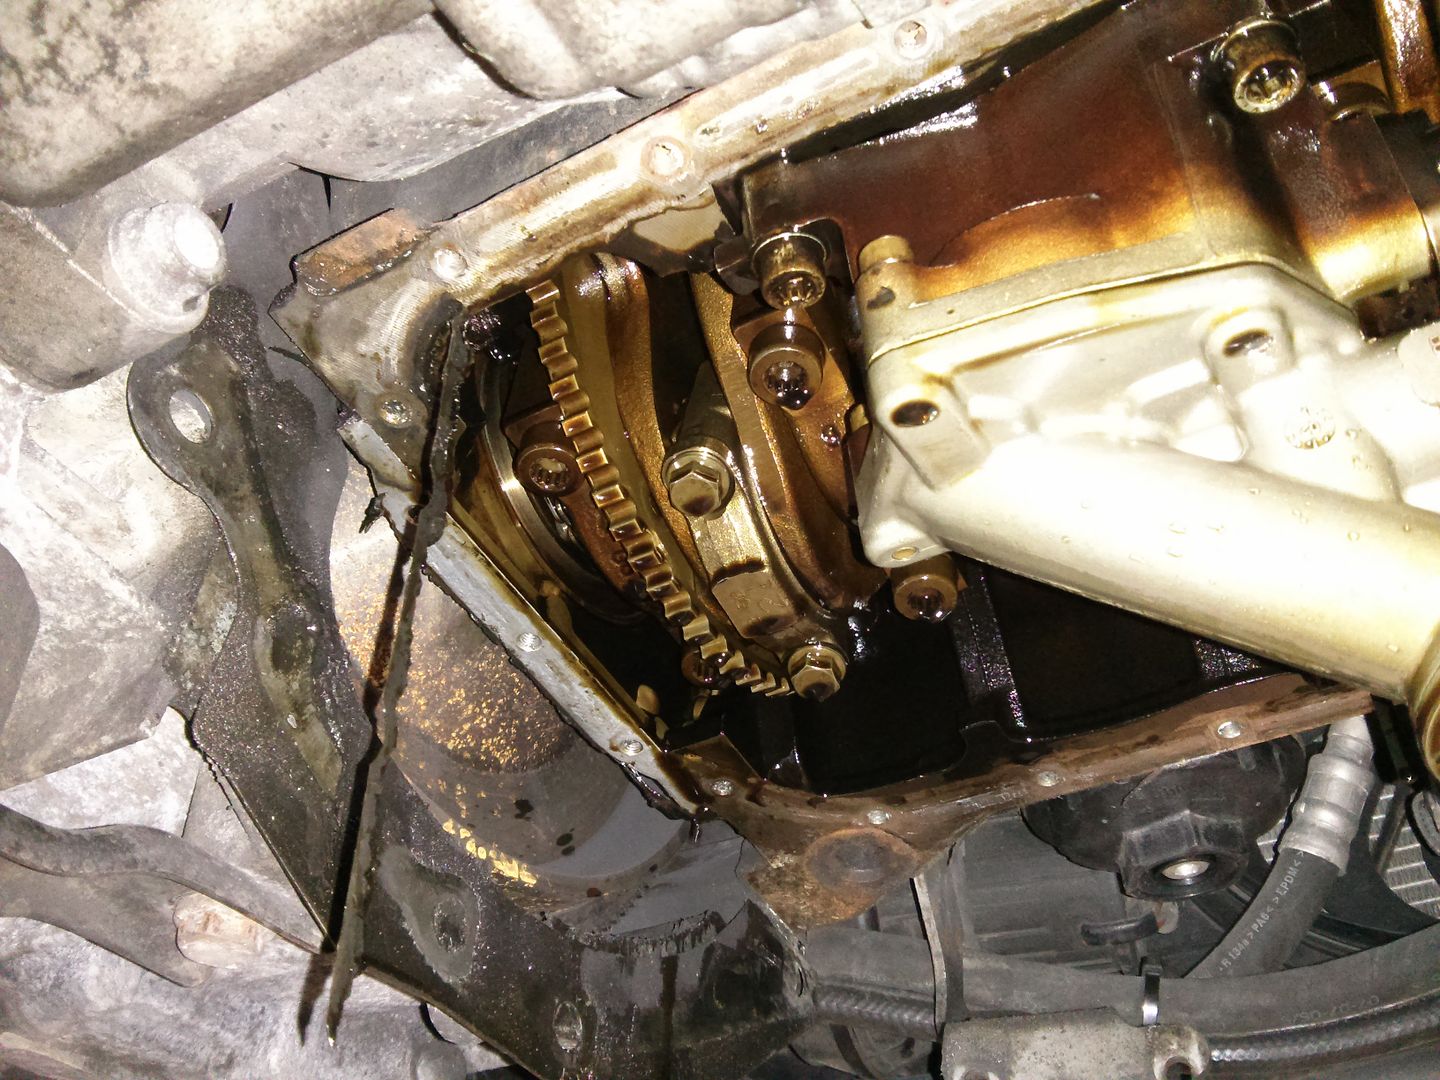
I got a few pics of the bottom end, which was in good condition, the oil pickup was clean so nothing to worry about here either.
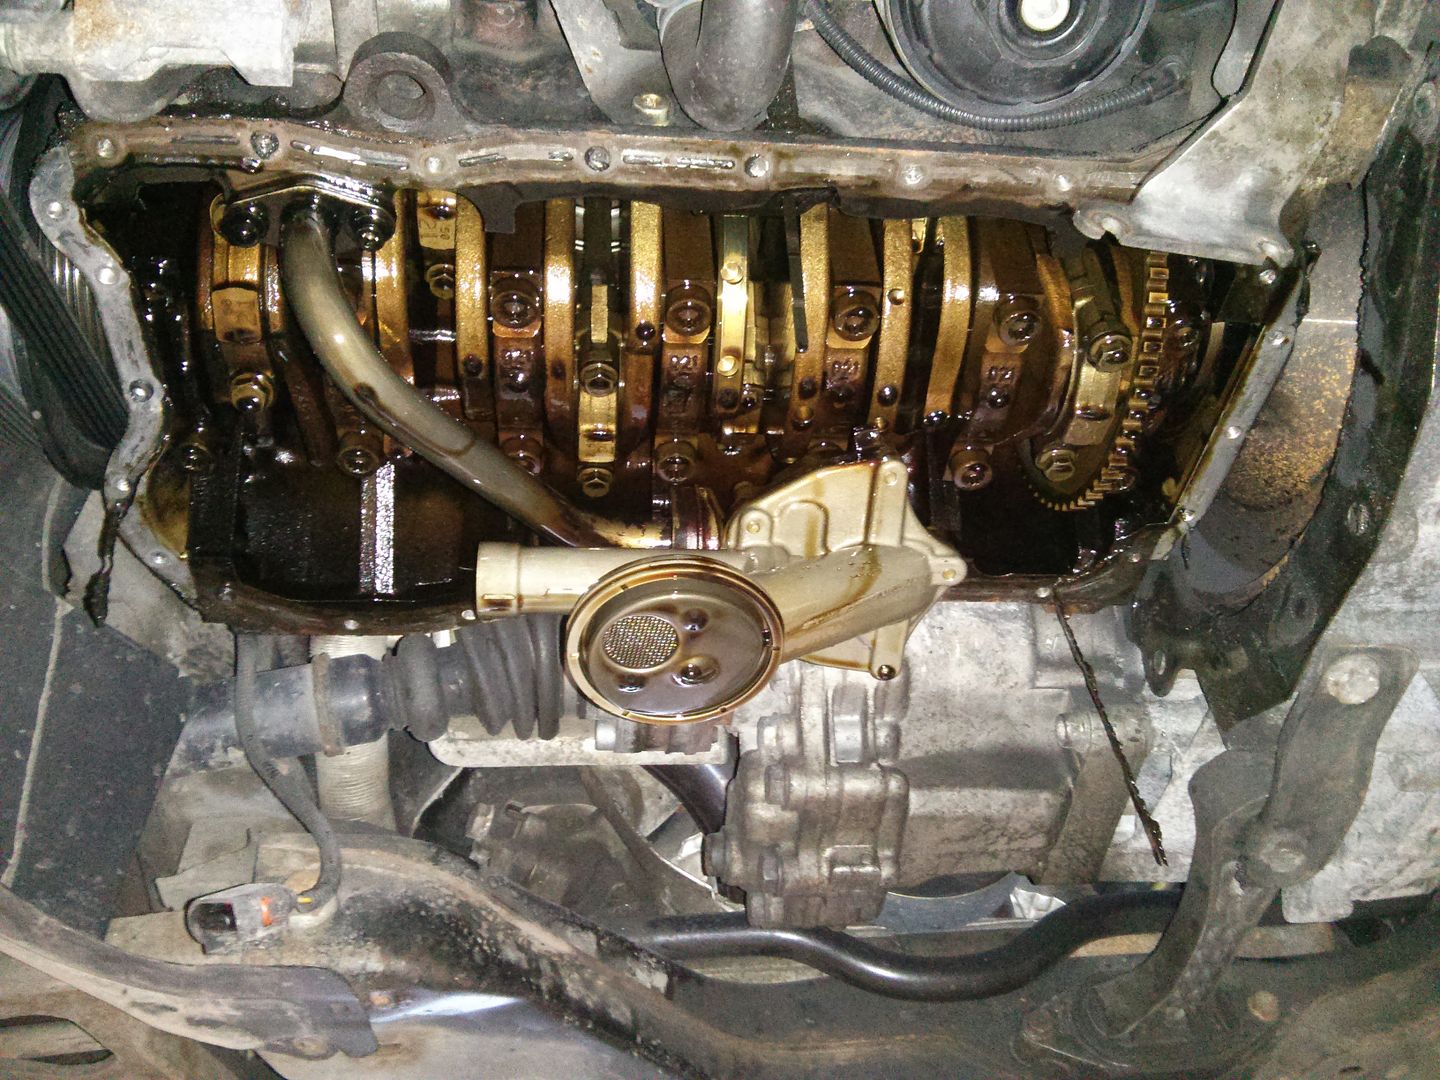
I was concerned that the crank oil seal on the gear box end might be leaking as it looked like oil was leaking from the clutch housing, however on inspection the back of the flywheel was clean and oil free and the clutch housing was dry as well.
I didn’t get any pics of the sump, but apart from a bit of discoloration inside it was clean, no bits of metal (wasn’t expecting any) or any other contamination.
I got a few pics of the bottom end, which was in good condition, the oil pickup was clean so nothing to worry about here either.
I was concerned that the crank oil seal on the gear box end might be leaking as it looked like oil was leaking from the clutch housing, however on inspection the back of the flywheel was clean and oil free and the clutch housing was dry as well.
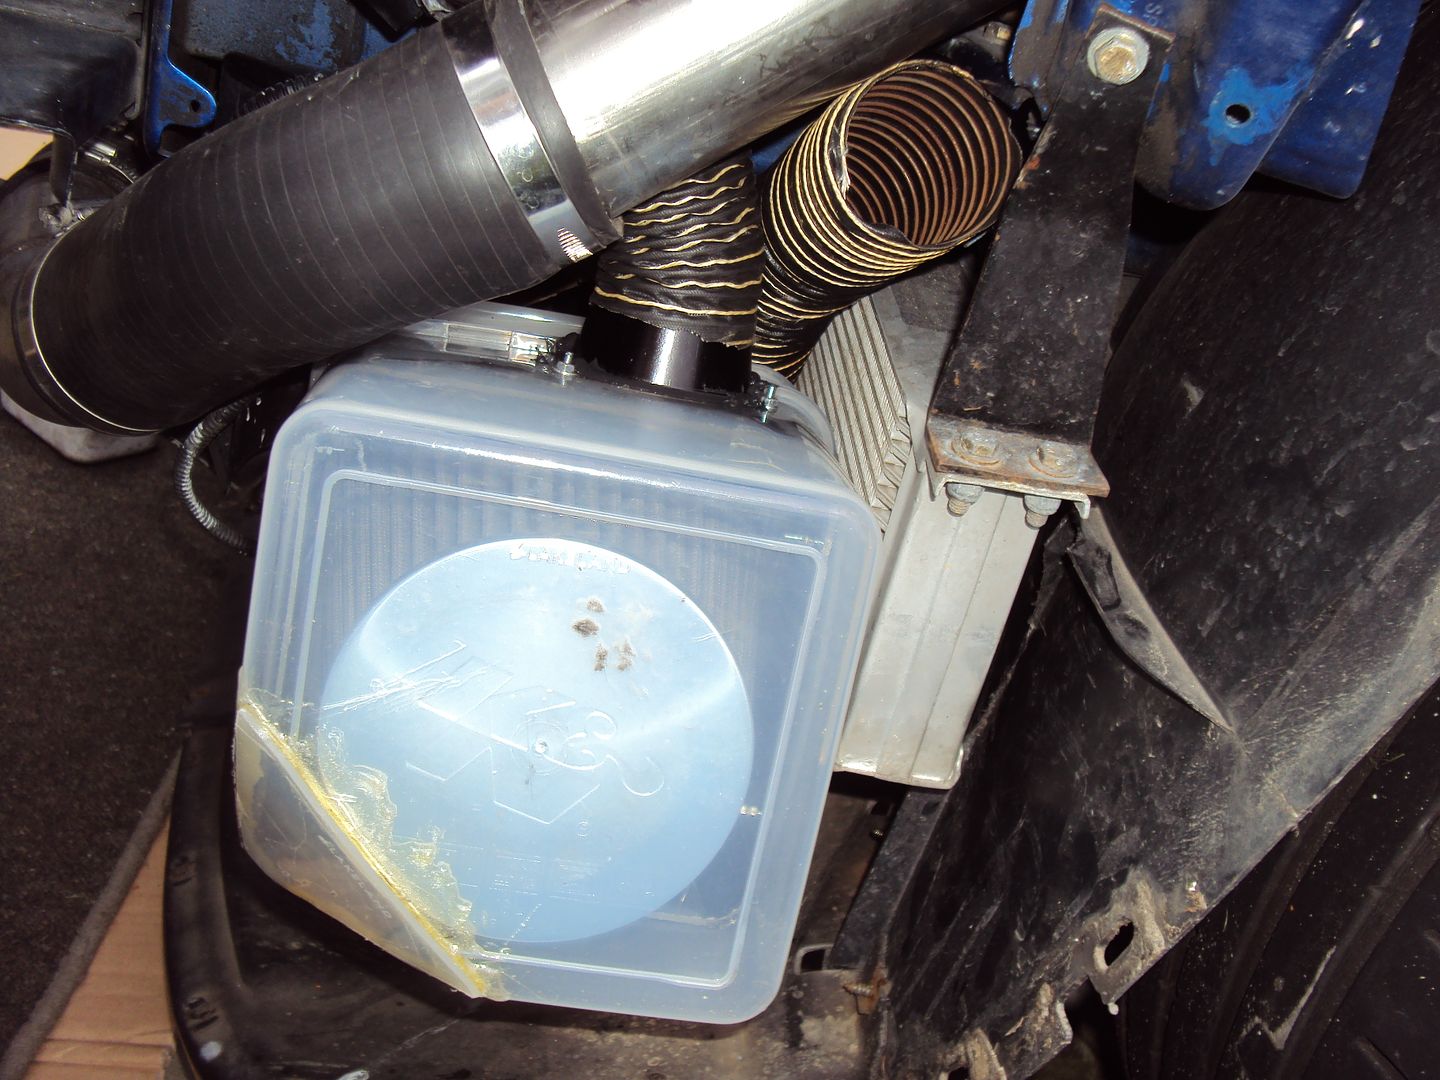
Due to the lovely weather we are getting at the moment, I thought it was about time I finished off the air filter housing shown earlier in the thread, as I didn’t want a repeat of this: https://www.youtube.com/watch?v=rgRnTJwjs9g&li...
To finish the housing off I needed to add some inlets to connect the hoses to as the hoses ran up into the engine bay, hopefully away from any water splashes.
[IMG]http://i252.photobucket.com/albums/hh28/kieranp_photos/DSC01477_zps2194b4a5.jpg[/IMG
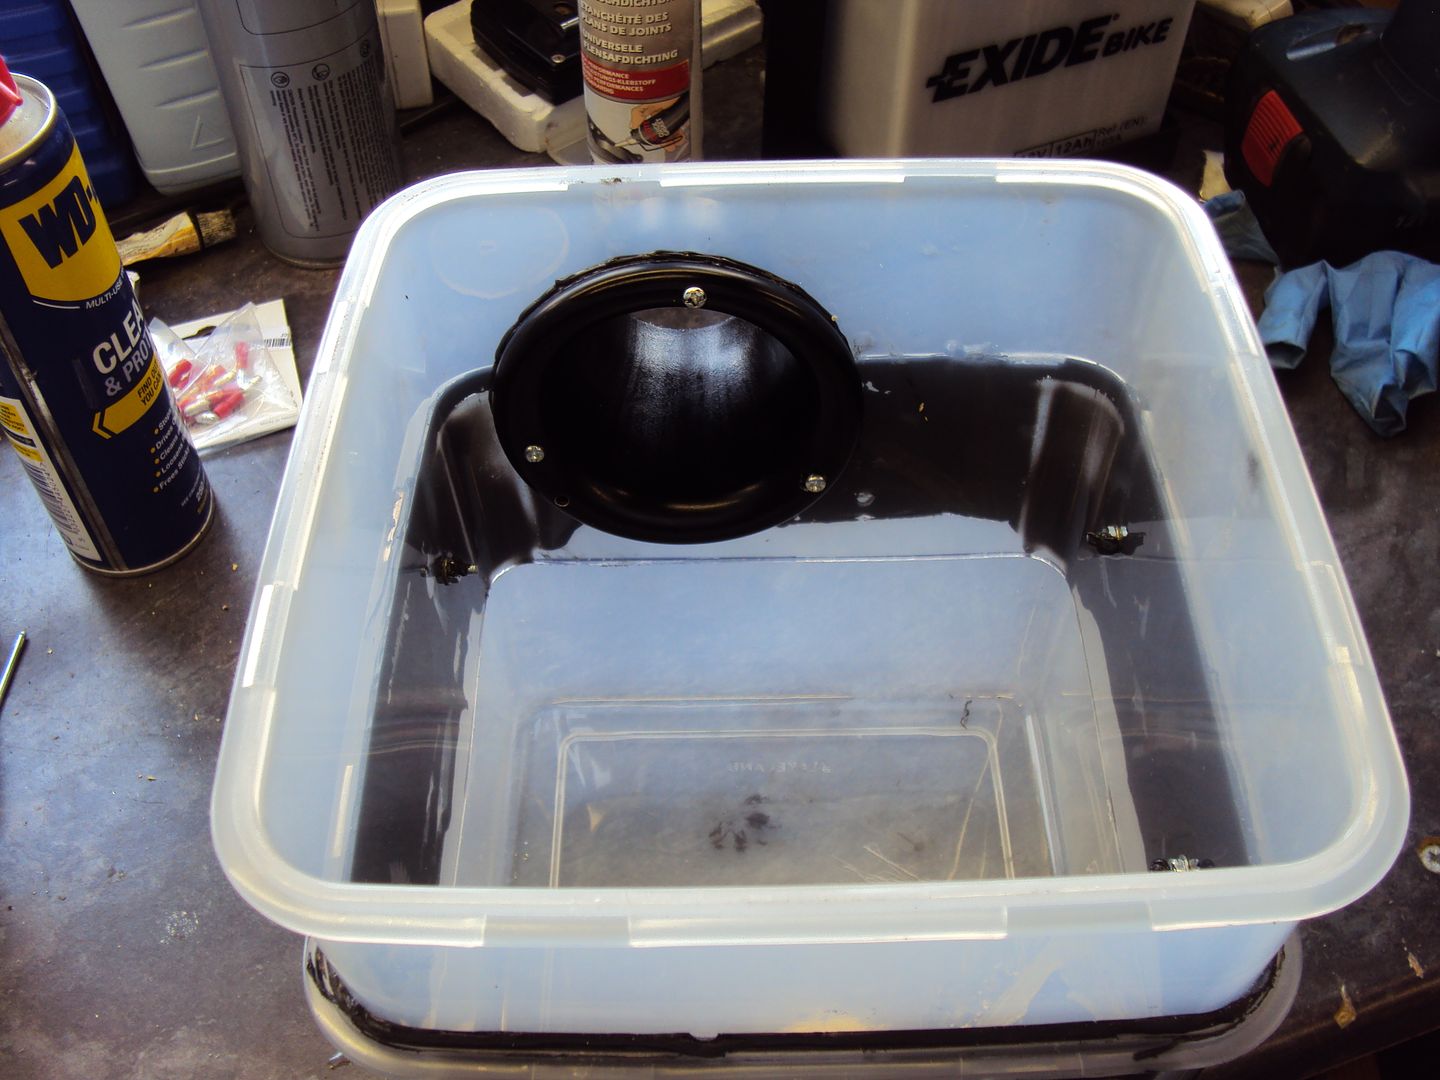
The inlets are held in place with bolts and silicone sealant.
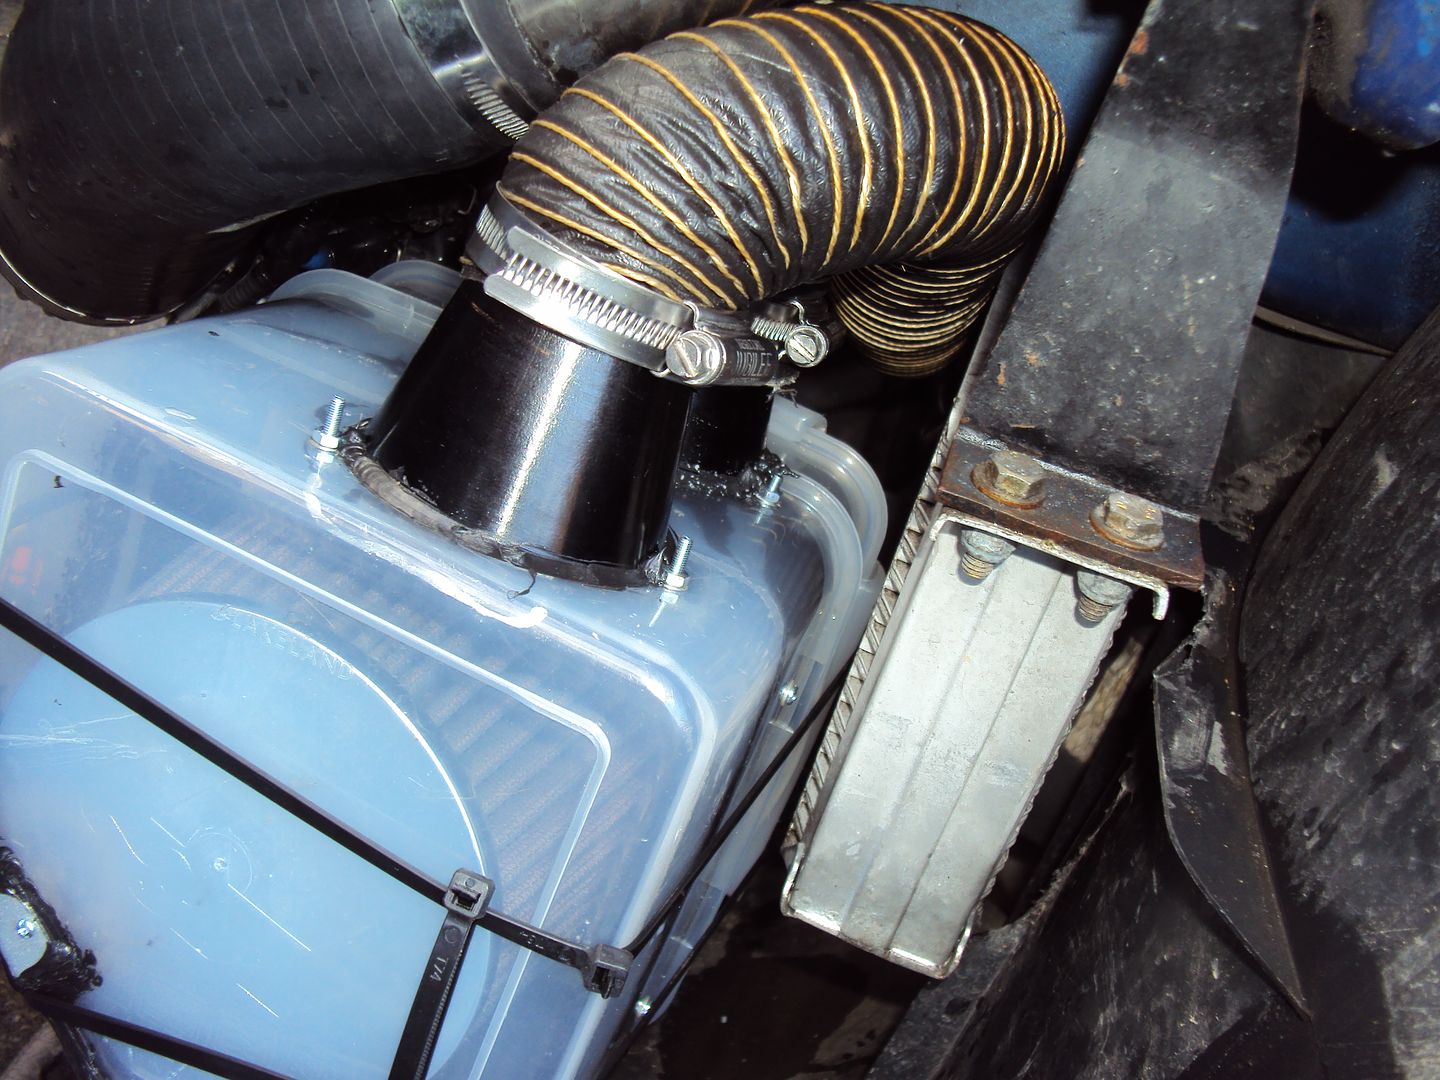
Quick test fit before adding the second inlet
The air filter was sealed to the lid using more silicone

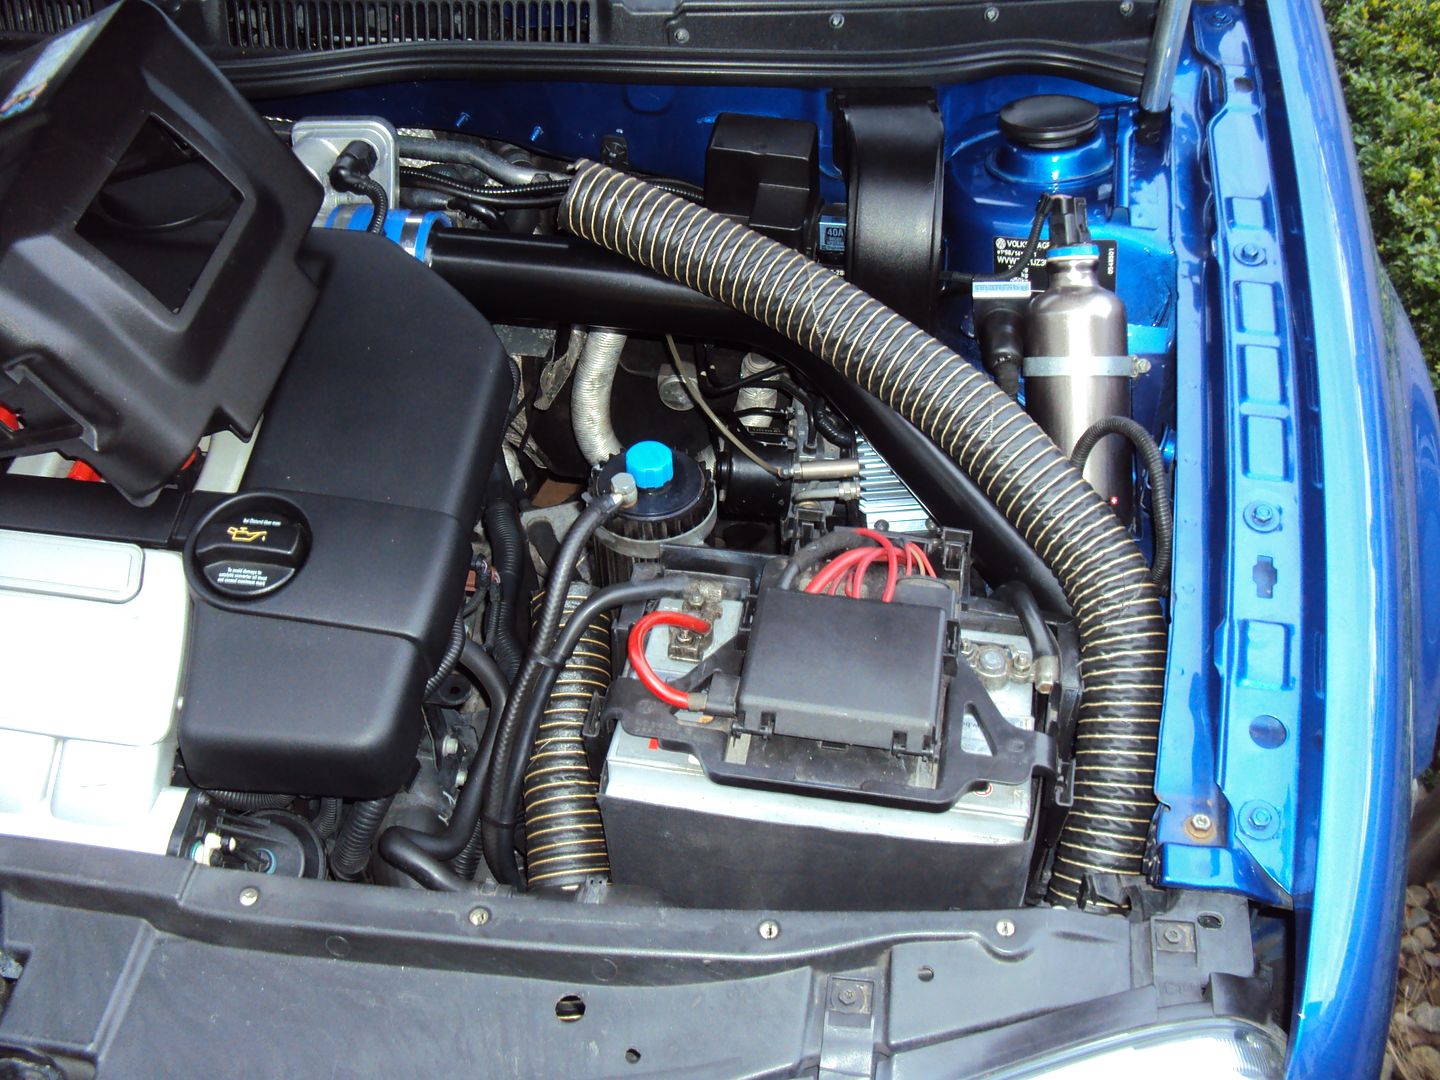
Intake pipe location in the engine bay
Finally fitted with both intakes connected, I added some zip ties just to make sure the lid doesn’t pop off from vibration etc..
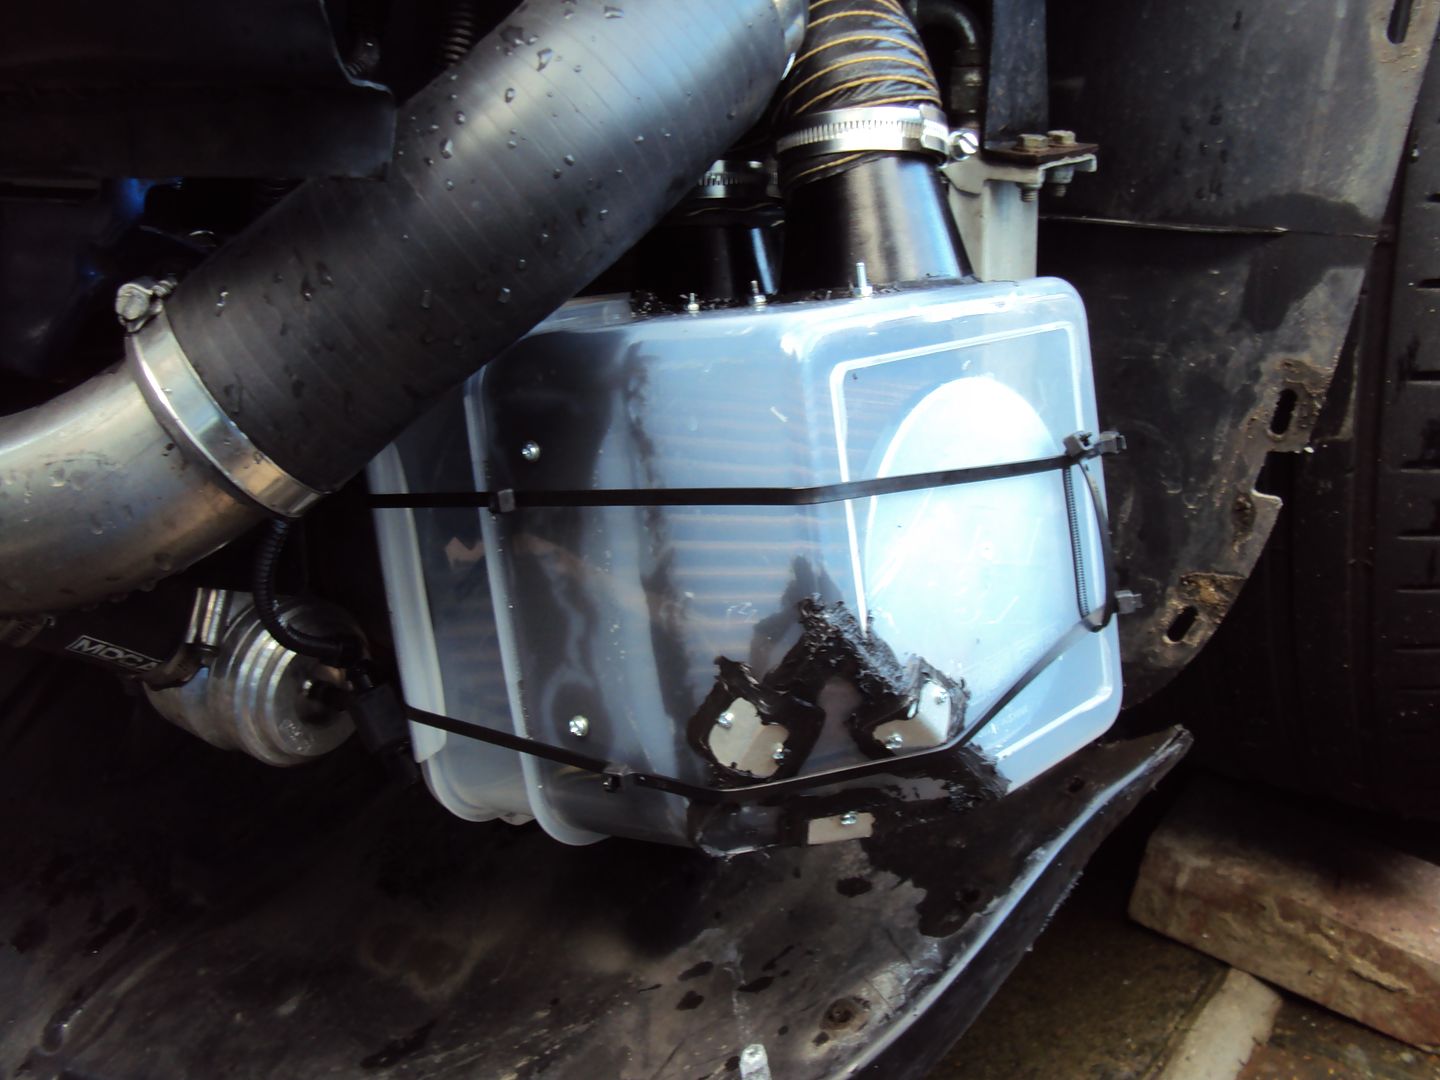
I know it looks a bit bodge tastic and the intake setup allows it to draw hot air from the engine bay, but I would rather that than a rod through the side of the block!
Once the weather settles down a bit I'll take it off.
To finish the housing off I needed to add some inlets to connect the hoses to as the hoses ran up into the engine bay, hopefully away from any water splashes.
[IMG]http://i252.photobucket.com/albums/hh28/kieranp_photos/DSC01477_zps2194b4a5.jpg[/IMG
The inlets are held in place with bolts and silicone sealant.
Quick test fit before adding the second inlet
The air filter was sealed to the lid using more silicone
Intake pipe location in the engine bay
Finally fitted with both intakes connected, I added some zip ties just to make sure the lid doesn’t pop off from vibration etc..
I know it looks a bit bodge tastic and the intake setup allows it to draw hot air from the engine bay, but I would rather that than a rod through the side of the block!
Once the weather settles down a bit I'll take it off.
I have had to back to the drawing board with the air filter housing as it started rubbing on the Rotrex oil cooler, so had to remove it before it caused any damage.
Anyway, another little project I have been working on:
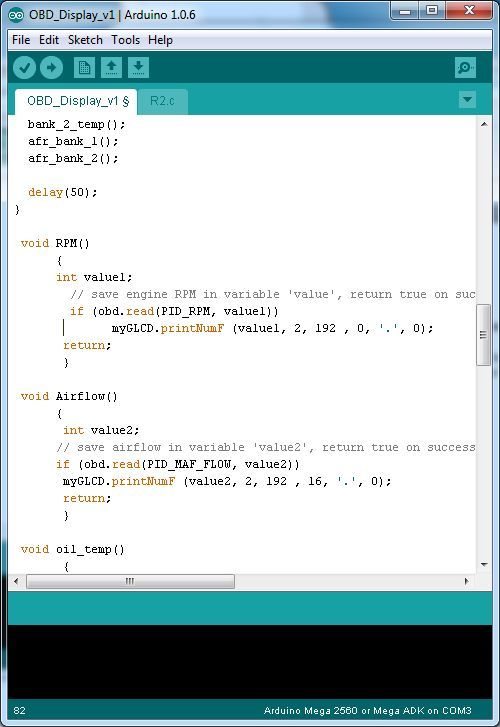
I built myself a monitor to keep an eye a few important parameters when the car is running to save having a laptop and VAGCOM in the car. Also I want to improve my software writing skills so it seamed like a good little project.
The monitor uses a Arduino MEGA 2560 microcontroller board which is connected to a 3.2” 320x240 pixel TFT display to show the readings. The Arduino communicates with the ECU via OBD-II to UART adapter.
Code
Start up screen
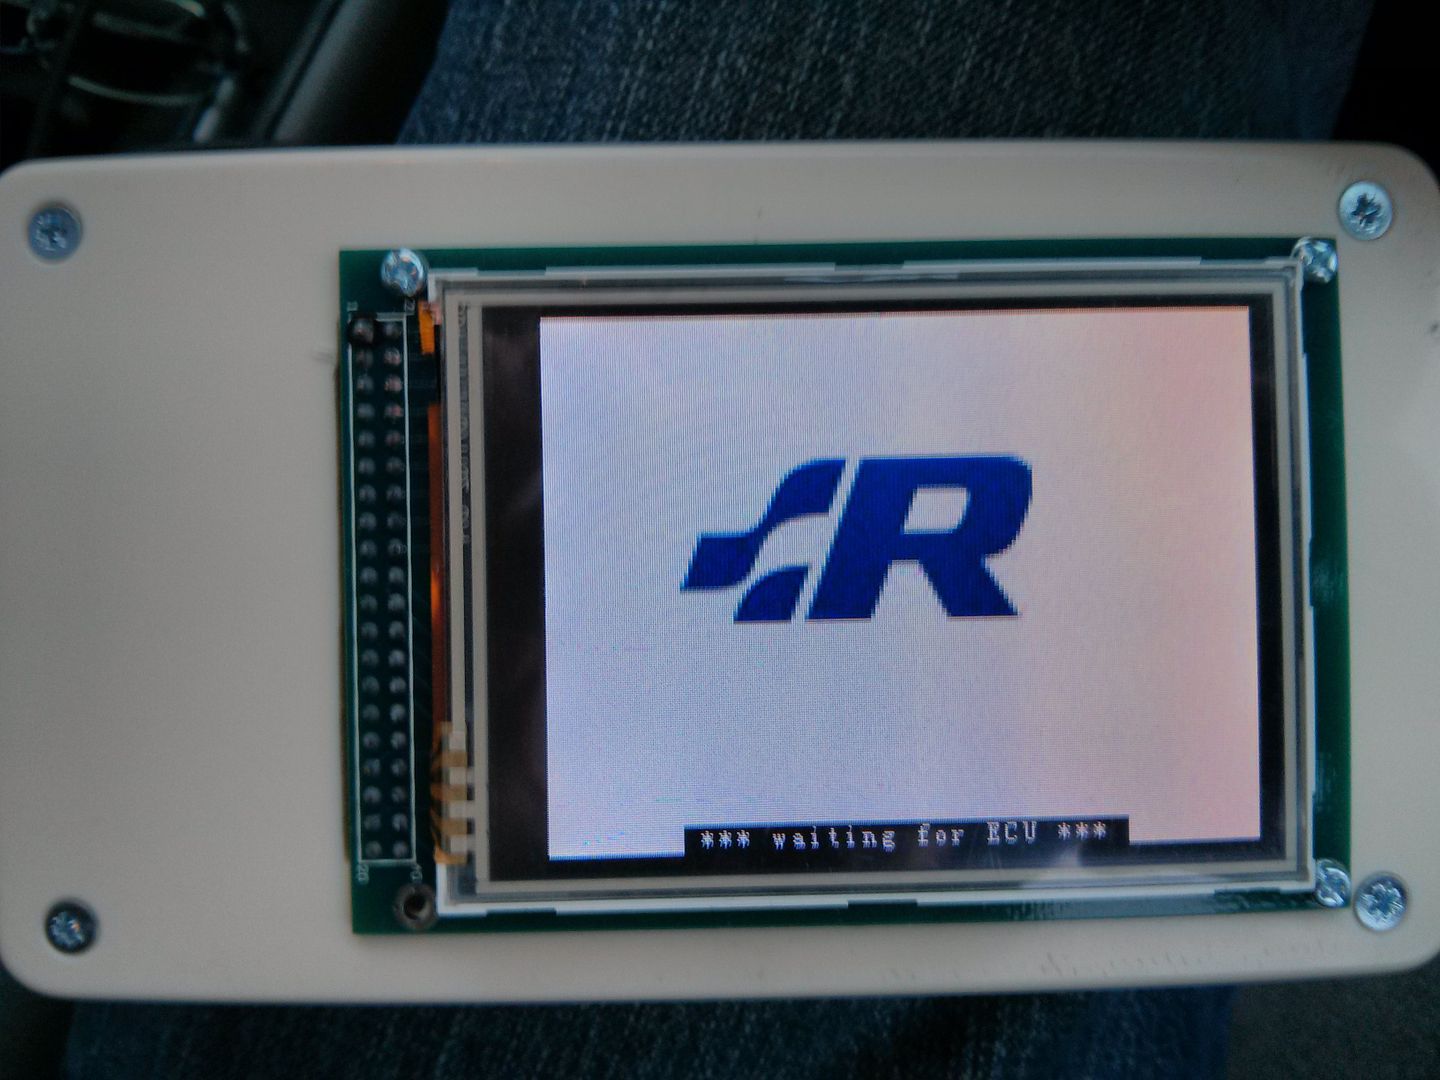
Communicating with ECU
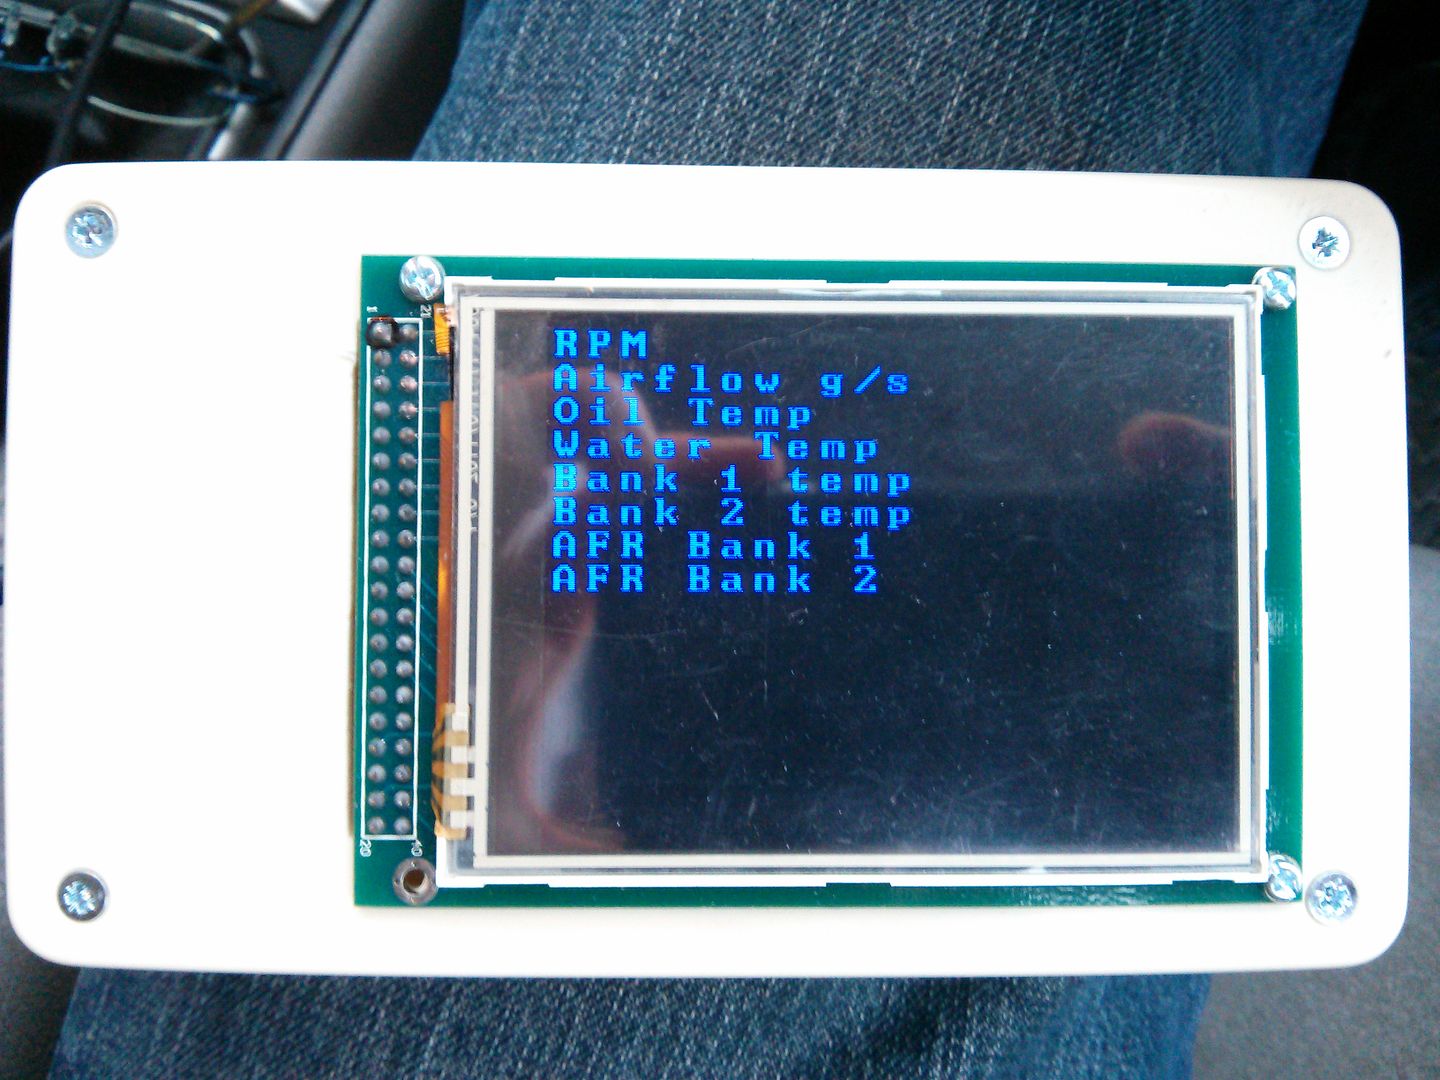
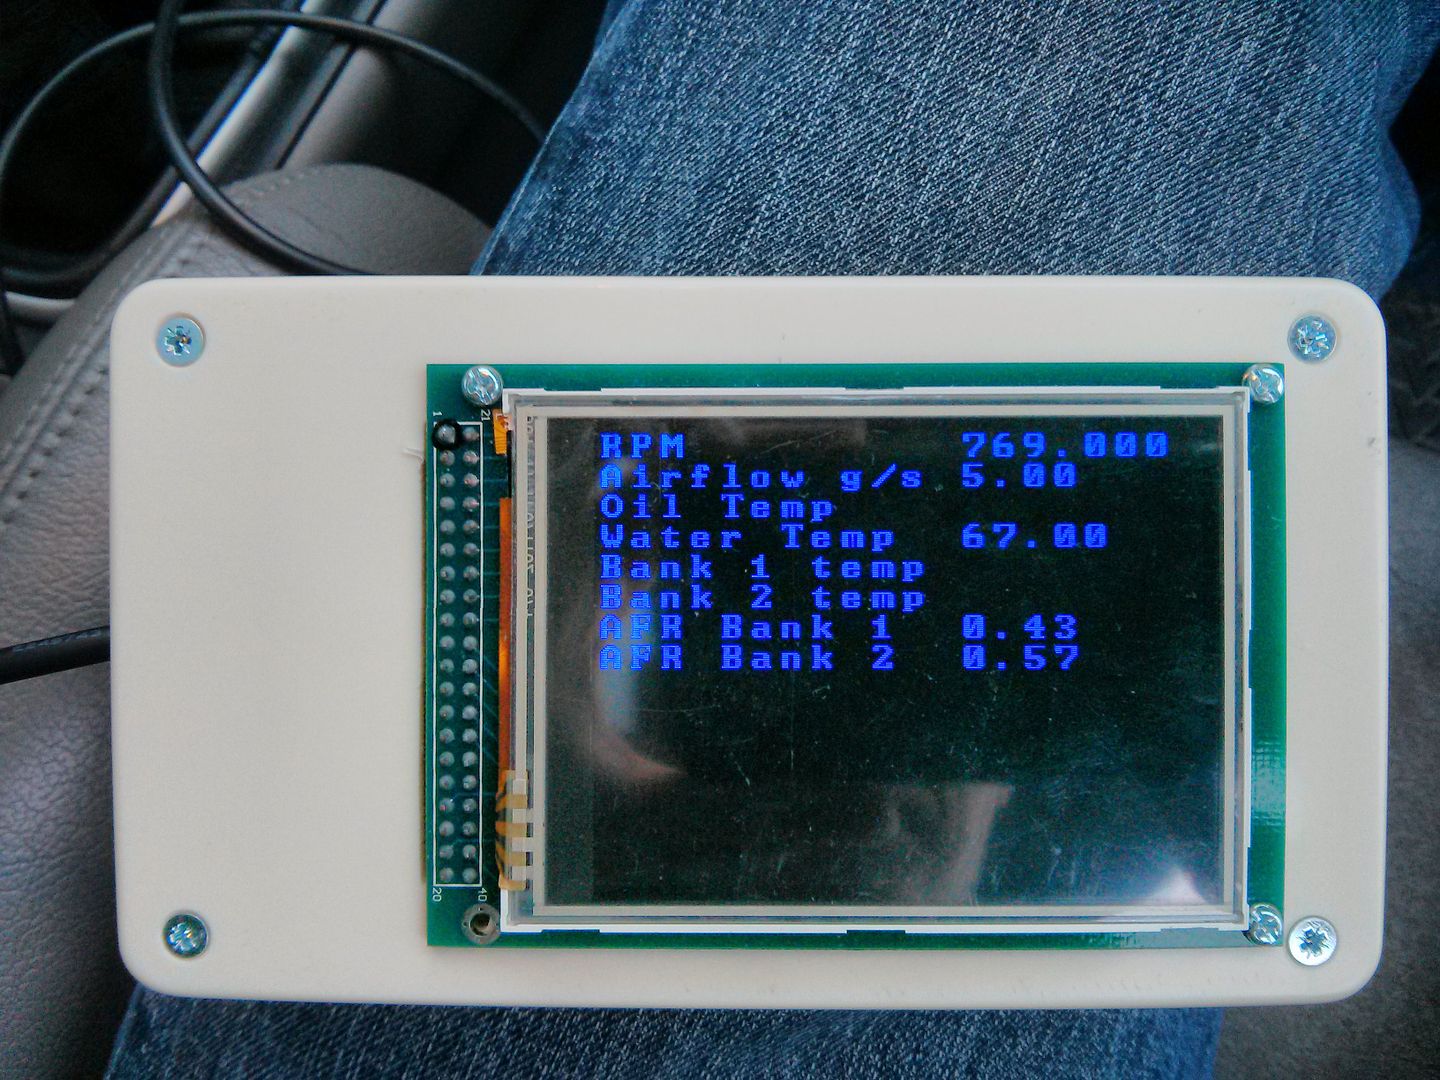
Readings with engine running
The code needs a little finessing and I need to check some commands as I’m not sure if they are supported by the ECU, but not bad for a mornings work.
Future plans are to set warning values e.g. if the water temp exceeds 100c the text will change colour and sound a warning.
Also I’m looking to replace the display with one which uses a SPI interface to reduce the amount of wiring as I plan to mount the display in the sun visor. The curent display uses a 40-way ribbon cable to connect to the Arduino, which won’t look too good running up the side of the windscreen
Anyway, another little project I have been working on:
I built myself a monitor to keep an eye a few important parameters when the car is running to save having a laptop and VAGCOM in the car. Also I want to improve my software writing skills so it seamed like a good little project.
The monitor uses a Arduino MEGA 2560 microcontroller board which is connected to a 3.2” 320x240 pixel TFT display to show the readings. The Arduino communicates with the ECU via OBD-II to UART adapter.
Code
Start up screen
Communicating with ECU
Readings with engine running
The code needs a little finessing and I need to check some commands as I’m not sure if they are supported by the ECU, but not bad for a mornings work.
Future plans are to set warning values e.g. if the water temp exceeds 100c the text will change colour and sound a warning.
Also I’m looking to replace the display with one which uses a SPI interface to reduce the amount of wiring as I plan to mount the display in the sun visor. The curent display uses a 40-way ribbon cable to connect to the Arduino, which won’t look too good running up the side of the windscreen
aka_kerrly said:
Love the homemade diagnostics display, brilliant work! Group buy and suitable for OBD1 an 2?
Thanks not sure if it supports OBD1A couple of weeks ago I had s ride in a 8P S3 The Phirm had just finished. The 2L TFSI engine in the S3 has been turned up to 11 and is running over 500hp + 400lb/ft. The thing that stood out for me was how well the DSG worked with it and how smooth it was with full throttle gear changes.
So this got me thinking….
The MKIV R32 was available with DSG in Europe and I know at least 1 right hand drive MKIV has been converted to DSG, so how hard can it be?
After trawling through ELSAwin and ETKA (VW/AUDI service manuals and parts catalogue) I compiled a list of everything needed for the conversion.
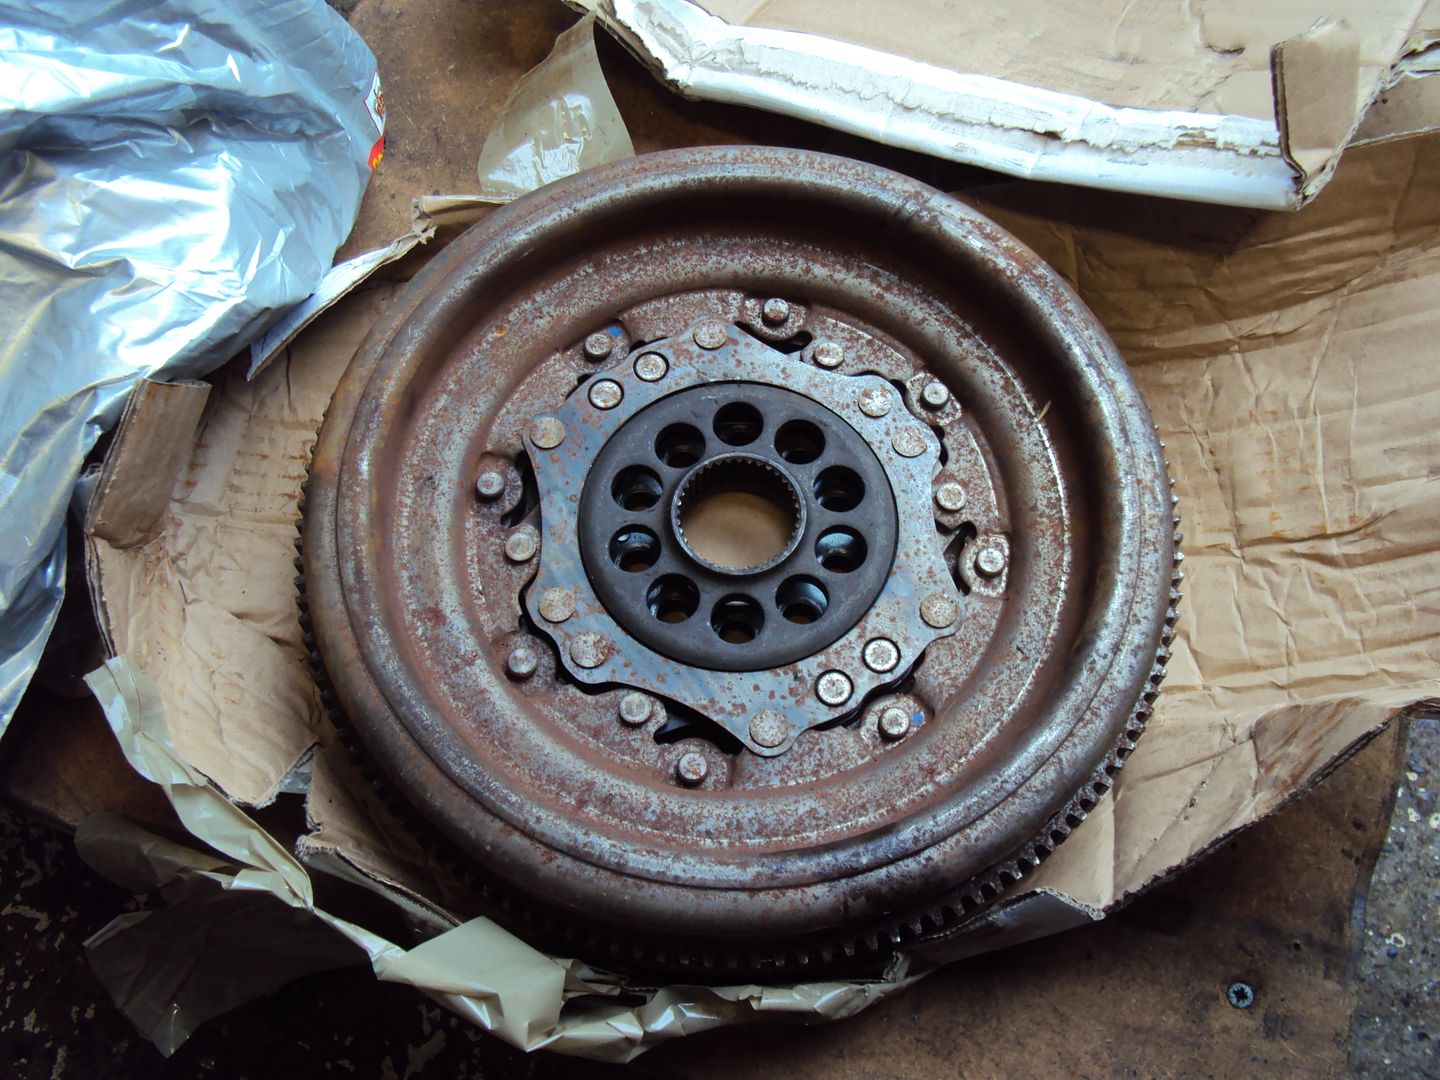
I found a place selling 02E DSG gear box which had covered 56k from a 3.2FSI B6 Passat, along with the gear box I also got the transfer case (sends drive to the rear) and a dual mass flywheel.
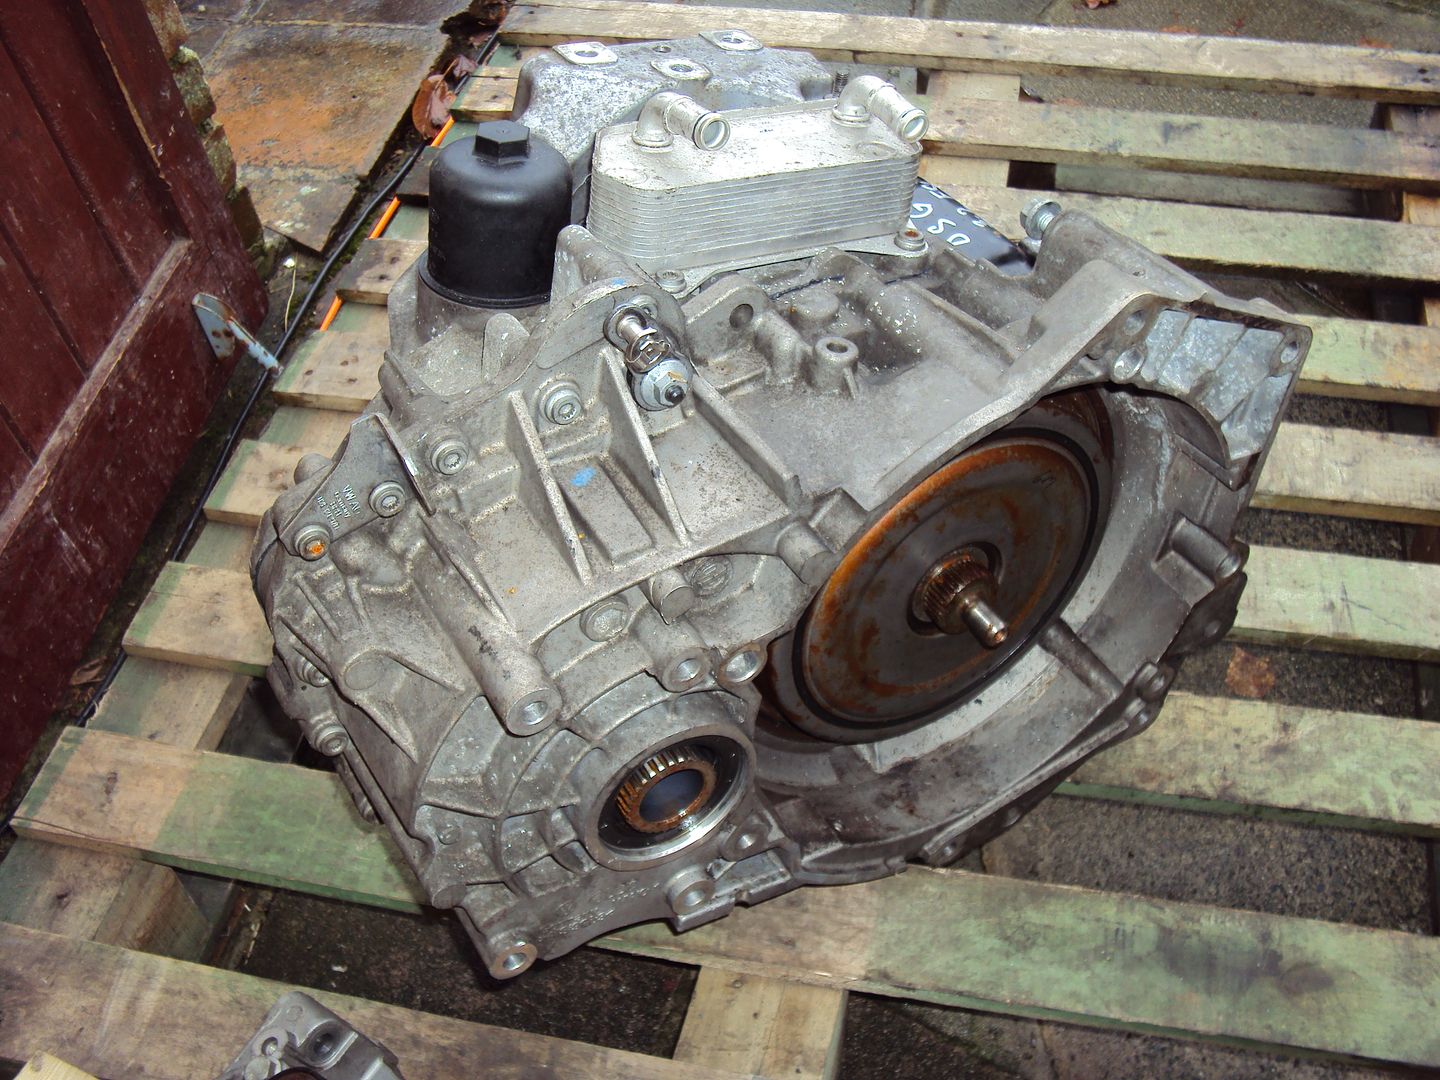
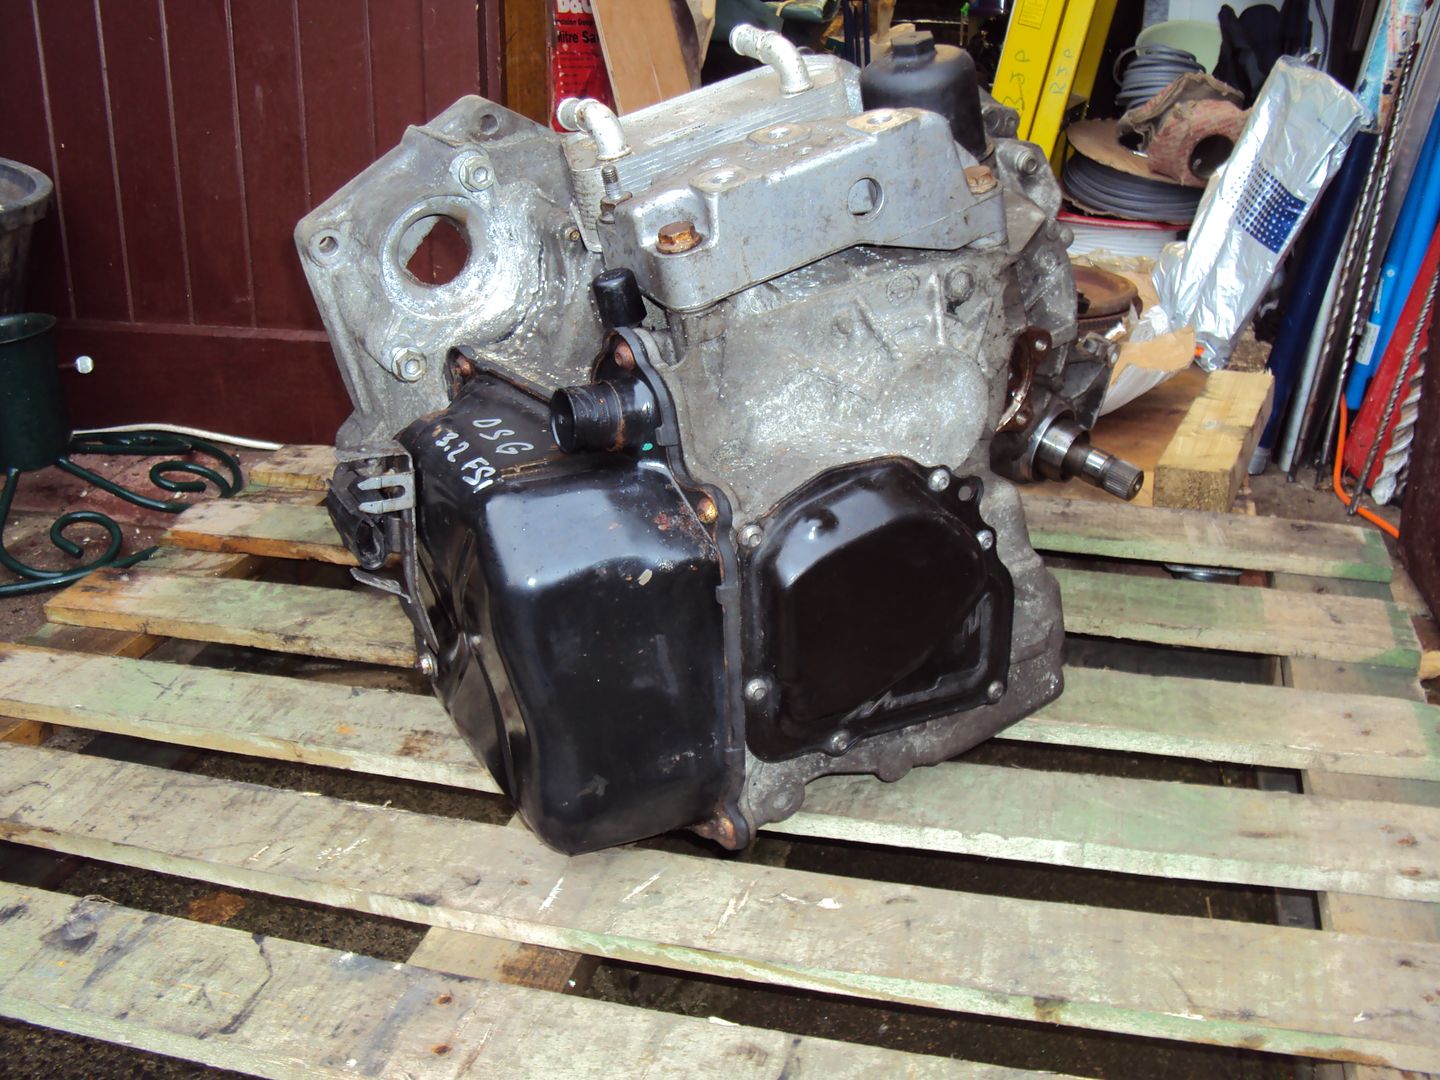
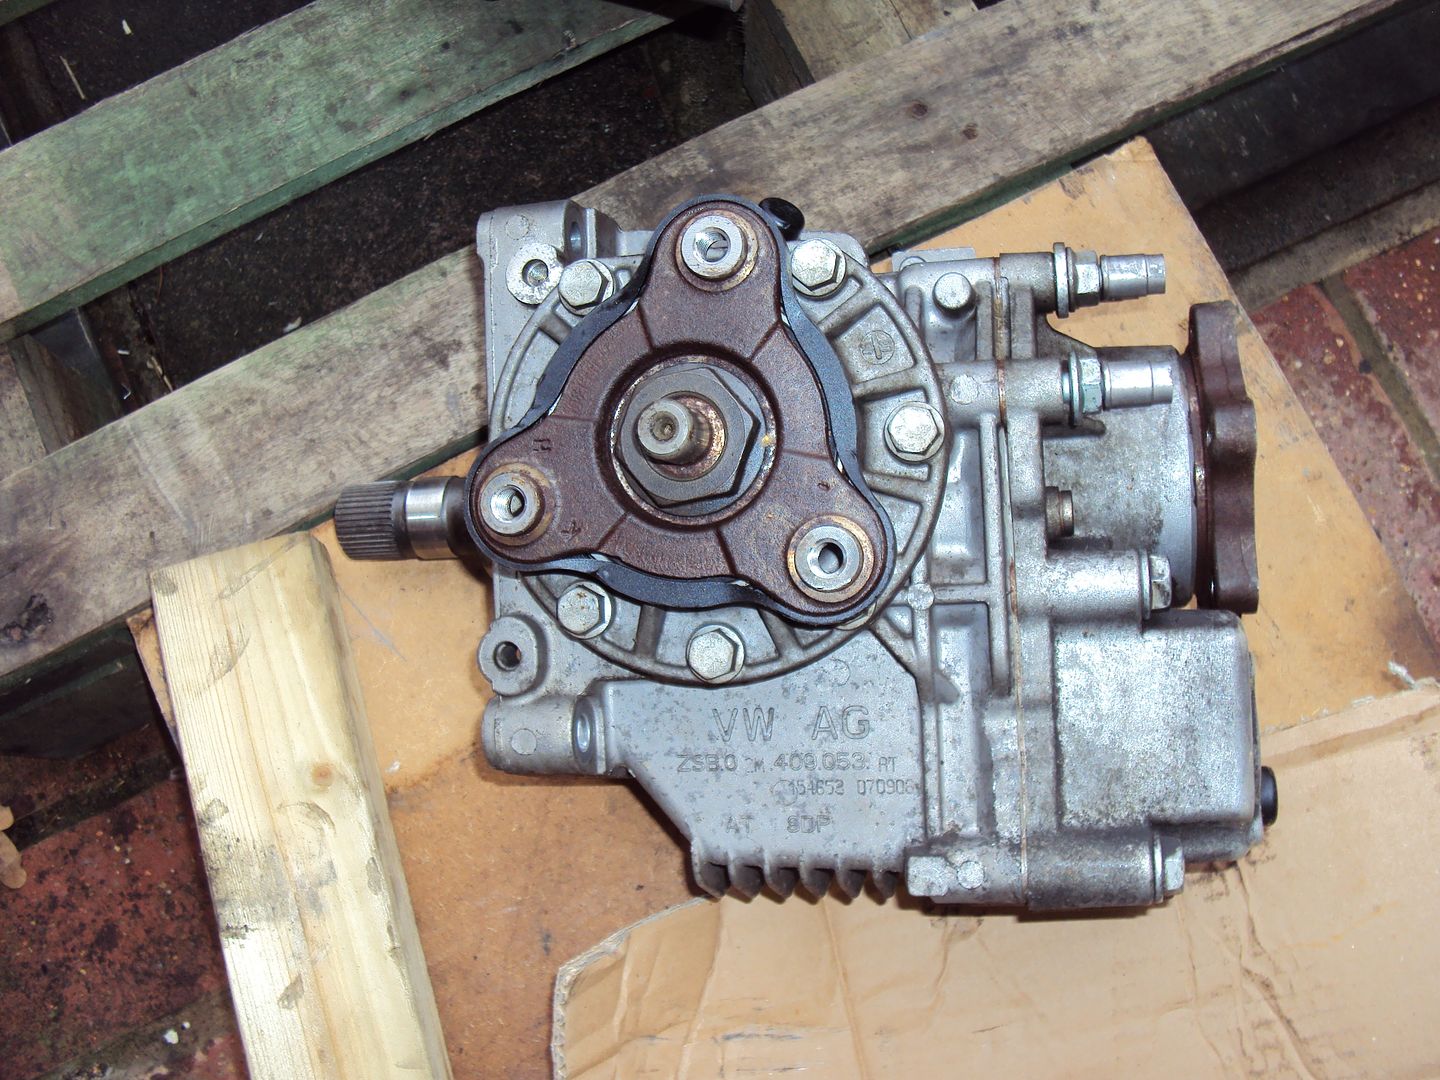
I went for this one over a MK1 Audi TT gearbox as it has the later mecatronic unit which is more reliable and has better software from the factory
The plan is to collect all the remaining parts over the next few months (to spread the cost) for the conversion to take place some time next year.
Parts left to get:
Gear selector + trim
Front drive shafts (inner CV joints are different between manual and DSG)
Coolant hoses for DSG oil cooler
Starter motor
Starter inhibitor + reverse light relay
Wiring and connectors
Some will think I’m mad for doing this to a 11 year old car, however I haven’t seen anything else I’d like to replace it with and I’m not overly keen on the looks of the MKV R32. And as big engine hatchbacks are now a thing of the past, I'd like to keep this one going for as long as possible
Gassing Station | Readers' Cars | Top of Page | What's New | My Stuff