Discussion


Looks a great project. Nice to see something a little different. Always been a fan of DB Drag ever since I heard the Top Fuel Challengers at Donny show one year.
http://www.youtube.com/watch?v=SePL2w5f6dE&fea...
samuelellis said:
It is weird being in these vehicles as you just start laughing - as far as i can work out it causes the bit of the brain that still goes "ugg ugg me kill dinosaur" to think your being attacked so just get a hit of adrenaline and god knows what else
You might find this video interesting.http://www.youtube.com/watch?v=SePL2w5f6dE&fea...
Cheers for the link - it was interesting
So a bit more of an update
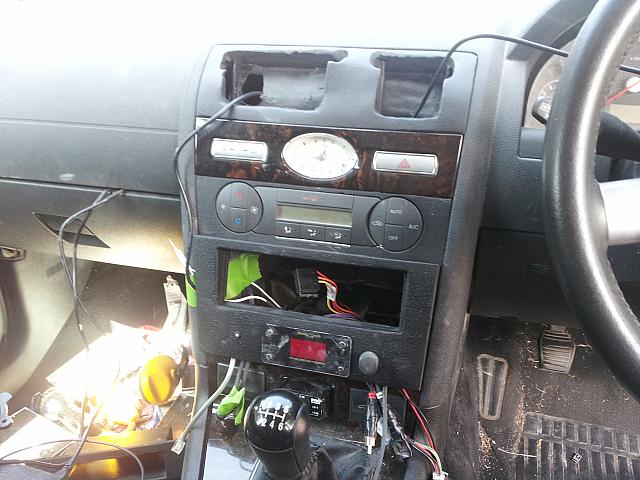
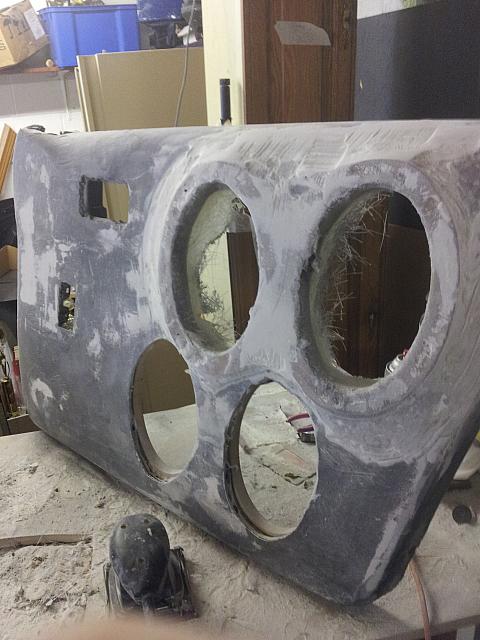
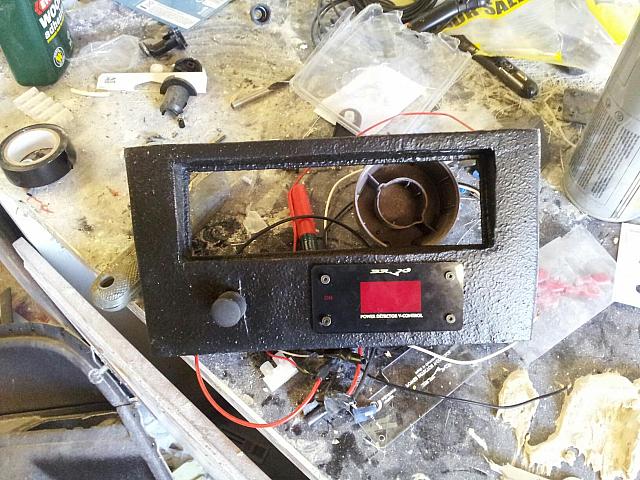
The Brax is utterly 100% dead but as im going to replace it with another Brax i can use this as a template so this is the facia adapter for the headunit as it stands now

On the left hand side is the Epicentre LED status - inbetween is the Brax voltmeter and on the far side is the epicentre dial. I am currently just waiting for the coat of paint i put on the dry, it may need sanding off and a layer of the textured stuff putting down and then a layer of the black matt paint
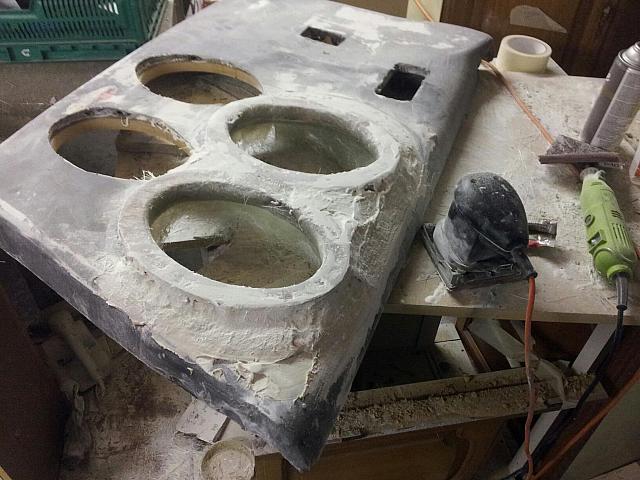
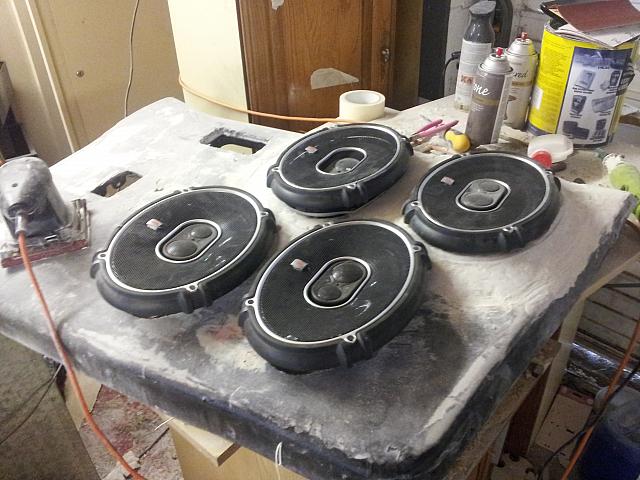
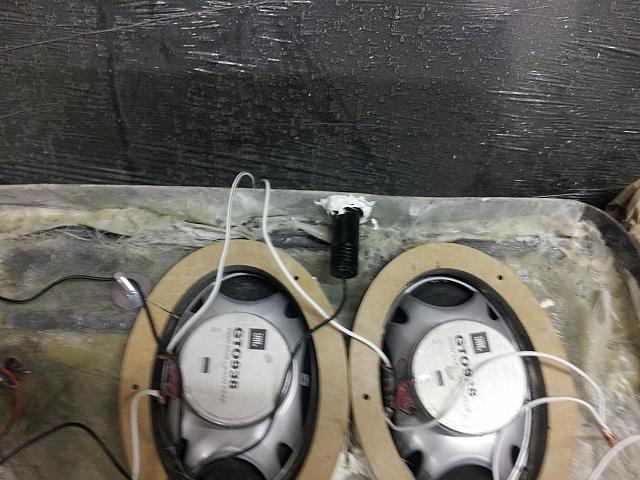
So the doorcards
Today i got the delivery of the 6x9 baffles i ordered so i can start looking at how to lay them out, i came up with the ideas below
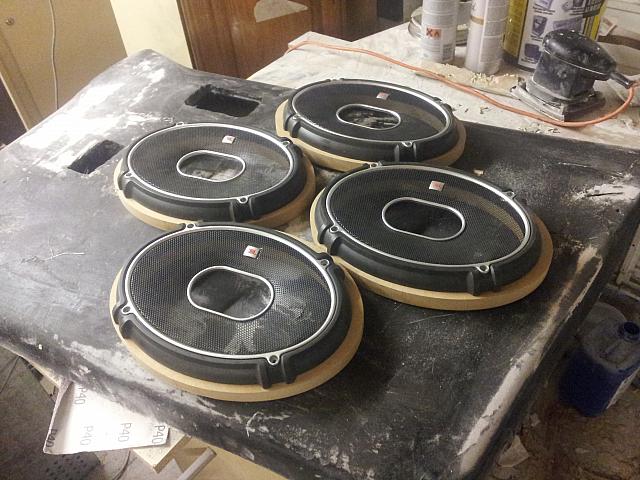
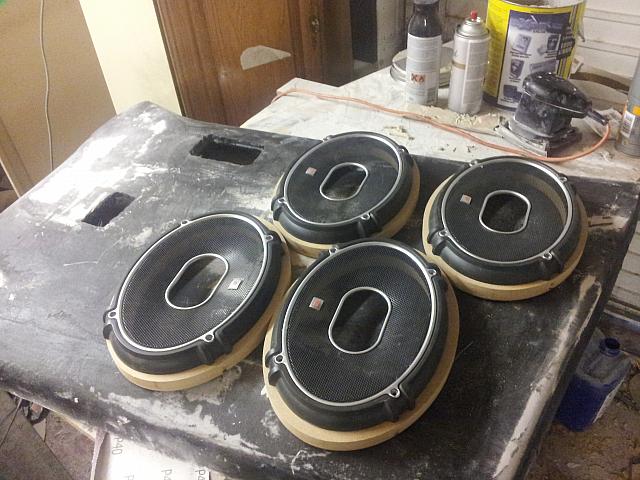
So i was going to take them to the doorcard and try it on the car to make sure nothing fowls but the heavans have opened so i cant do that - i intend to do it tomorrow, most of the baffes will go behind the doorcard but i think the speaker(s) at the top of the card will need the baffle ontop of the card due to depth but we shall see tomorrow
So a bit more of an update
The Brax is utterly 100% dead but as im going to replace it with another Brax i can use this as a template so this is the facia adapter for the headunit as it stands now
On the left hand side is the Epicentre LED status - inbetween is the Brax voltmeter and on the far side is the epicentre dial. I am currently just waiting for the coat of paint i put on the dry, it may need sanding off and a layer of the textured stuff putting down and then a layer of the black matt paint
So the doorcards
Today i got the delivery of the 6x9 baffles i ordered so i can start looking at how to lay them out, i came up with the ideas below
So i was going to take them to the doorcard and try it on the car to make sure nothing fowls but the heavans have opened so i cant do that - i intend to do it tomorrow, most of the baffes will go behind the doorcard but i think the speaker(s) at the top of the card will need the baffle ontop of the card due to depth but we shall see tomorrow
So todays update
resprayed the head unit adapater so it now looks better - just waiting on my replacement BRAX to arrive before i fit it
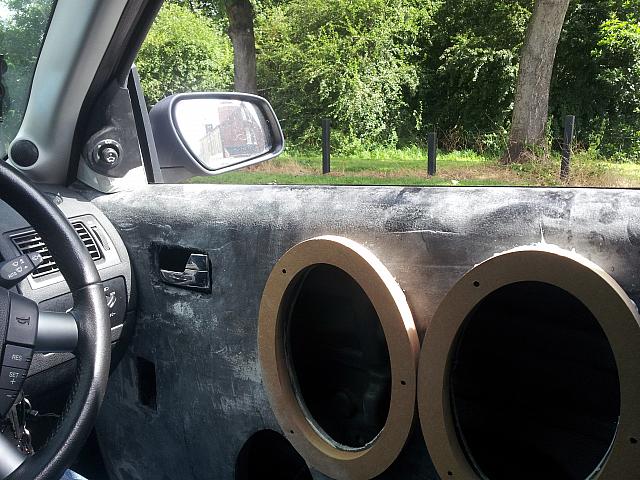
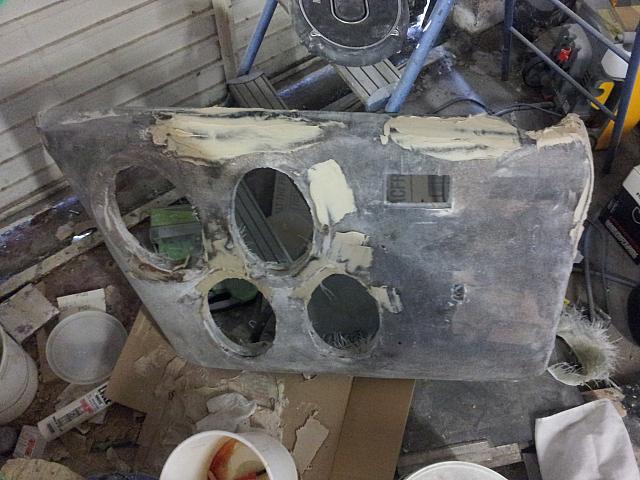
Cut the holes for the speakers in the doorcards and mounted the card to the door
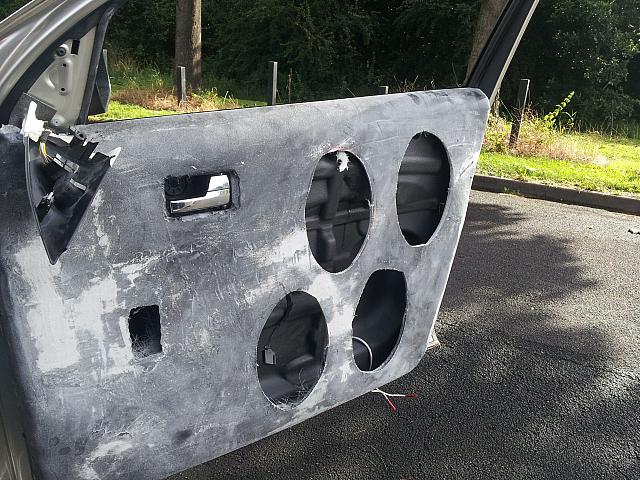
This was so i could check that i had enough mounting depth, unfortunatly due to how the door curves i do on the bottom but not on the top so on the bottom the MDF rings have gone behind the door and on the top of the door they need to go onto of the door
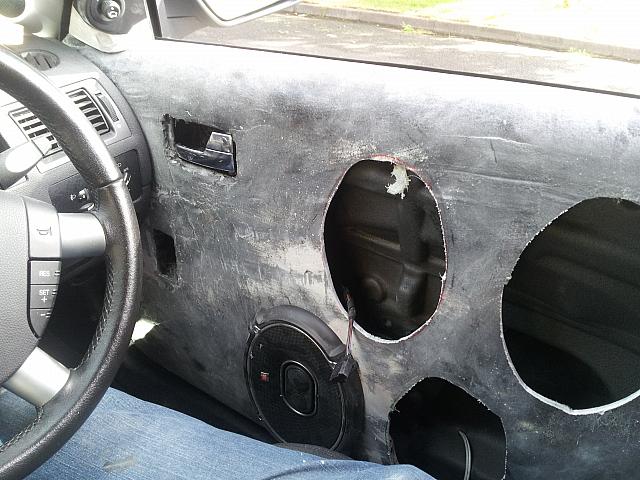
This means i will need to break out the filler to make it look decent but on a quick test they do not get in the way when driving
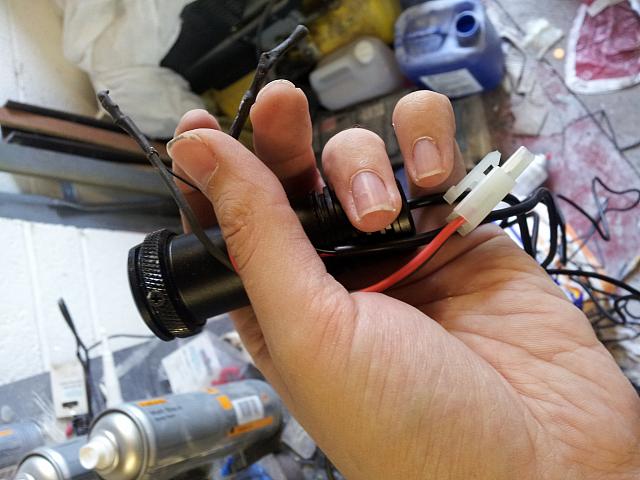
Now i also sorted out hard wiring the RaspberryPi power supply as well, this is what i started with
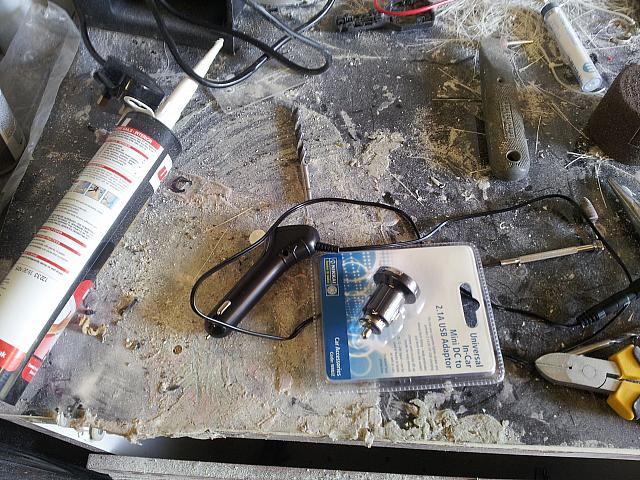
get the cases off
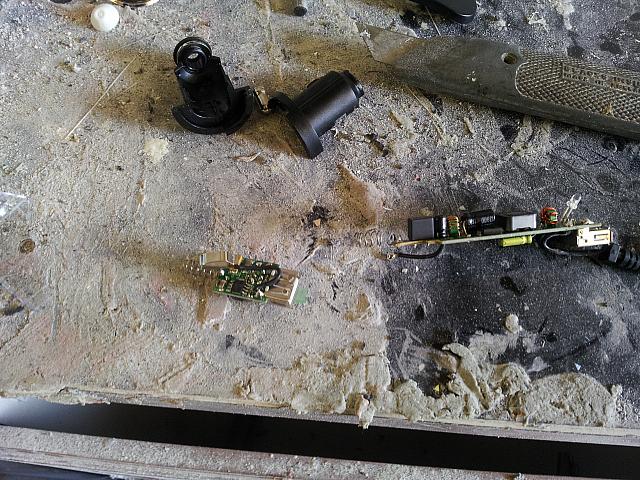
Now solder them together and put a fuse in
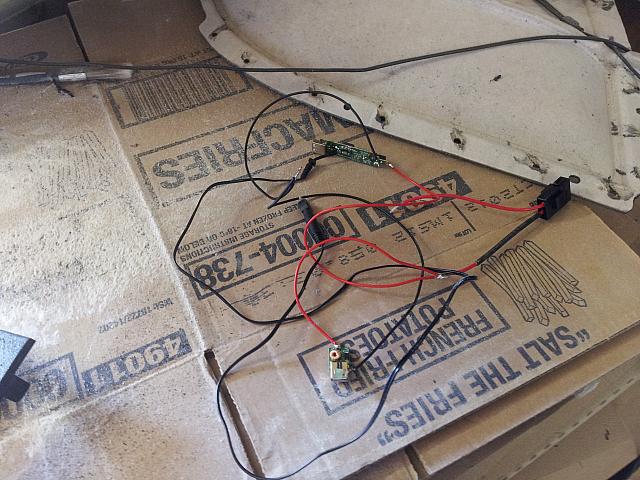
And as you can see the hard wired PSU is working fine in this test
http://www.youtube.com/watch?v=3xm8zL0d40k
resprayed the head unit adapater so it now looks better - just waiting on my replacement BRAX to arrive before i fit it
Cut the holes for the speakers in the doorcards and mounted the card to the door
This was so i could check that i had enough mounting depth, unfortunatly due to how the door curves i do on the bottom but not on the top so on the bottom the MDF rings have gone behind the door and on the top of the door they need to go onto of the door
This means i will need to break out the filler to make it look decent but on a quick test they do not get in the way when driving
Now i also sorted out hard wiring the RaspberryPi power supply as well, this is what i started with
get the cases off
Now solder them together and put a fuse in
And as you can see the hard wired PSU is working fine in this test
http://www.youtube.com/watch?v=3xm8zL0d40k
 Looking forward to seeing the finished article!
Ok so a bit more of an update, i got the drivers doorcard pretty much done


So now im onto the passenger door - agian that was covered in fabric, a layer of resin put over it, holes then cut for the speakers and the rings mounted
Currently waiting for fibreglass and resin to dry on the passenger doorcard
So now im onto the passenger door - agian that was covered in fabric, a layer of resin put over it, holes then cut for the speakers and the rings mounted
Currently waiting for fibreglass and resin to dry on the passenger doorcard
So updates
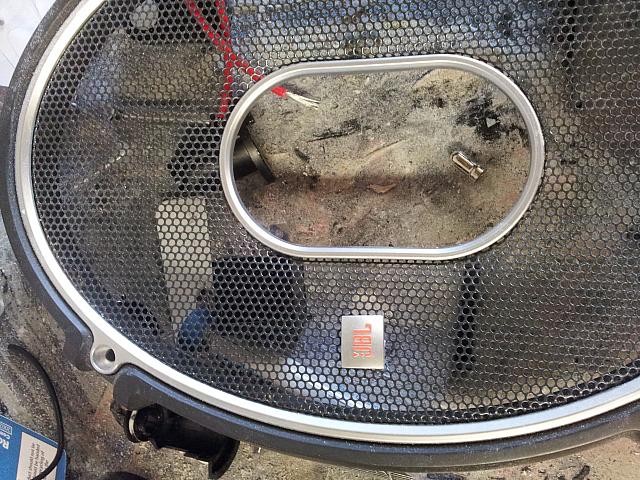
On my doors i have puddle lights in the wing mirrors - these are a bit weedy so i wanted to add a bit of a trick with them
So find the wires in the door loom, cut into them and solder on my own extra plug
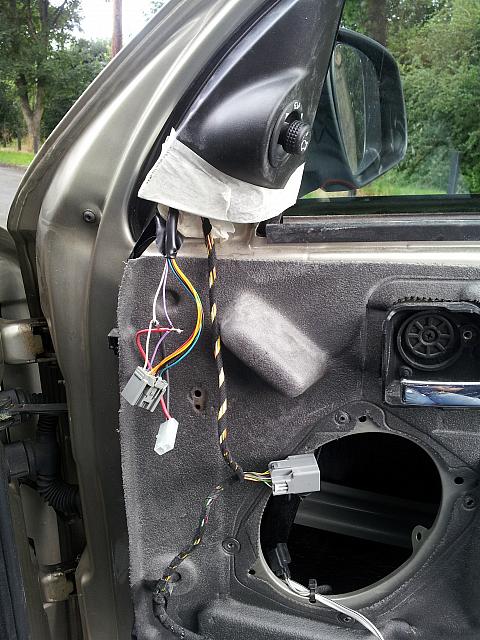
Then solder the other plug onto the LED projector
This is an LED projector that will do the following on the ground when the door is opened
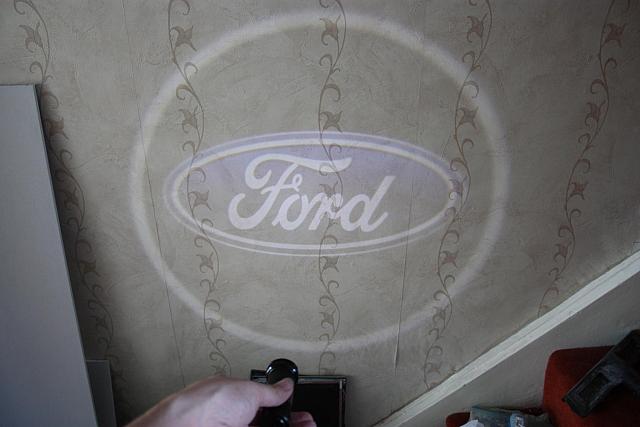
So then mount the projector in the doorcard
now the drivers doorcard is pretty much done - just need to tidy the wiring up a bit
Onto the passenger doorcard
Final bits of sanding
Coat of the textured paint
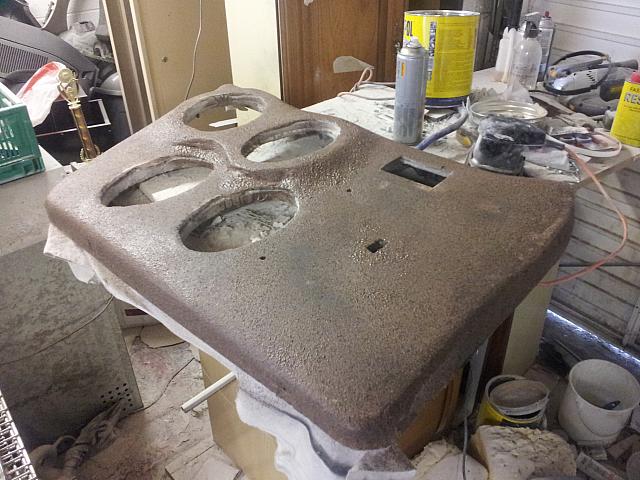
Started to spray the doorcard black but ran out of paint - will have to finish tomorrow
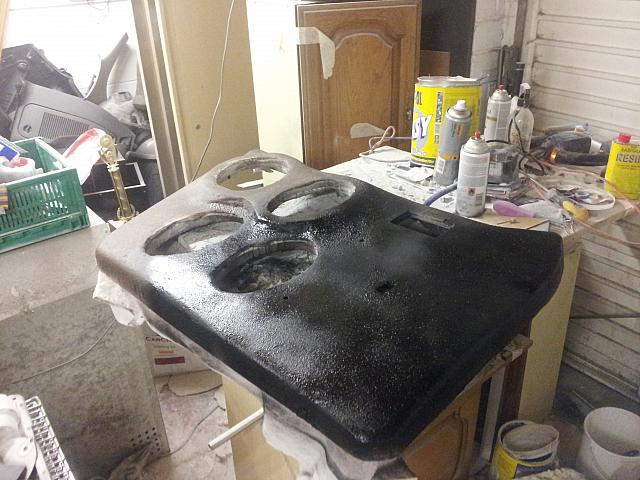
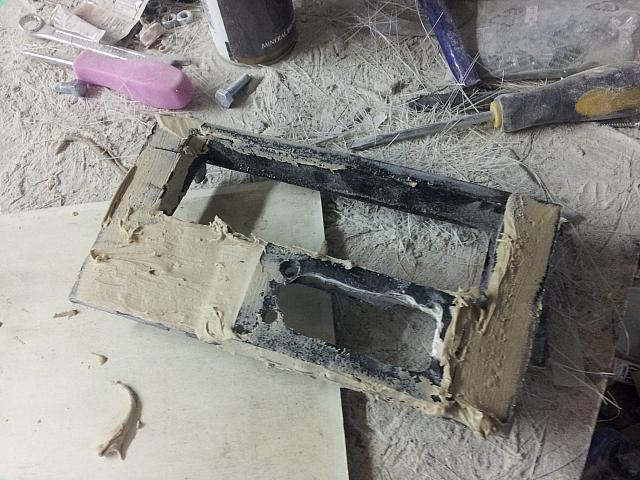
So the centre console
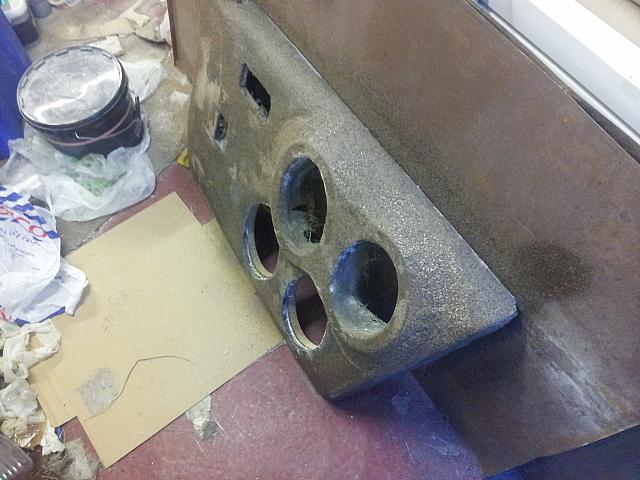
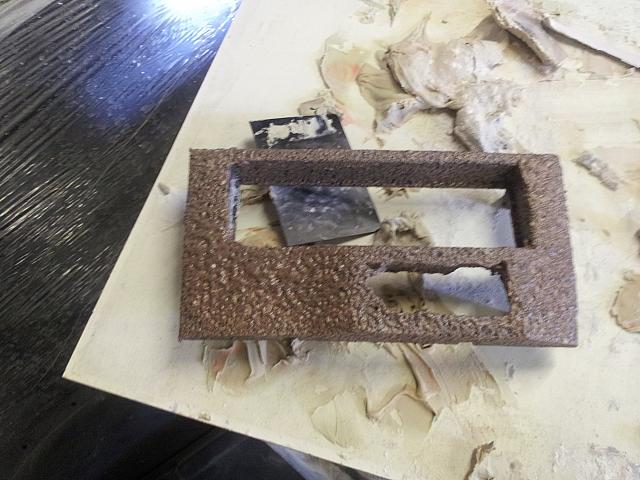
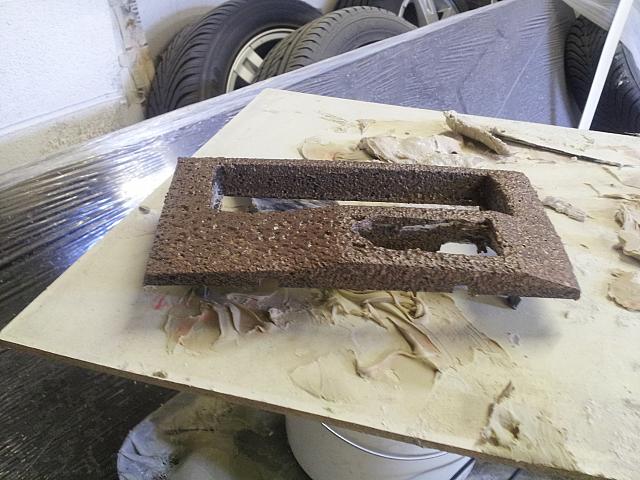
The headunit facia adapter i made did not really work so i had another attempt at it
build up layers of bodyfiller to make the brax stand proud
Then once sanded smooth spray with textured paint and let dry
Just waiting for the black paint to dry then in the morning i can unblock the epicentre dial hole and make some adjustments if needed
On my doors i have puddle lights in the wing mirrors - these are a bit weedy so i wanted to add a bit of a trick with them
So find the wires in the door loom, cut into them and solder on my own extra plug
Then solder the other plug onto the LED projector
This is an LED projector that will do the following on the ground when the door is opened
So then mount the projector in the doorcard
now the drivers doorcard is pretty much done - just need to tidy the wiring up a bit
Onto the passenger doorcard
Final bits of sanding
Coat of the textured paint
Started to spray the doorcard black but ran out of paint - will have to finish tomorrow
So the centre console
The headunit facia adapter i made did not really work so i had another attempt at it
build up layers of bodyfiller to make the brax stand proud
Then once sanded smooth spray with textured paint and let dry
Just waiting for the black paint to dry then in the morning i can unblock the epicentre dial hole and make some adjustments if needed
So the drivers door has been fitted and quickly hooked up to an amp as a test
lowest gain setting and using an ipod as a source
http://www.youtube.com/watch?v=qKNgY2W9e0Q
Hey ive not had a drivers doorcard for over a year im pretty chuffed
lowest gain setting and using an ipod as a source
http://www.youtube.com/watch?v=qKNgY2W9e0Q
Hey ive not had a drivers doorcard for over a year im pretty chuffed

I got the projectors from here - http://britelightleds.co.uk/onlineshop/index.php?r...
In regards to the clock i really dont notice it
In regards to the clock i really dont notice it
So the headunit facia adapter did not work so i made it again
And after a bit of a fight i got it fitted
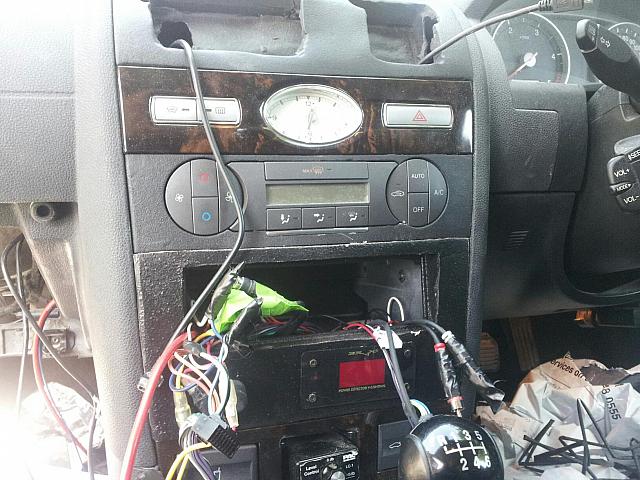
And i got the passenger door finished and fitted - quick video of the doors
http://www.youtube.com/watch?v=hD1h6zqcSVk
Still more to come one i get them turned up and setup as the amp gain is set to the minimum
And after a bit of a fight i got it fitted
And i got the passenger door finished and fitted - quick video of the doors
http://www.youtube.com/watch?v=hD1h6zqcSVk
Still more to come one i get them turned up and setup as the amp gain is set to the minimum
I got the Pi fitted in the car - not neatly but at least its in and working
http://www.youtube.com/watch?v=sogl1JDAv14
As i was using my phone to record i could not show it tethered to the phone for internet or the Android XBMC remote
http://www.youtube.com/watch?v=sogl1JDAv14
As i was using my phone to record i could not show it tethered to the phone for internet or the Android XBMC remote
Sorry, samuel, but do you need to be sooo heavy with the filler that you must use textured paint to cover the imperfections? I was enjoying your work, but I'm afraid this ...
looks like it's been shat on, not painted. Just seems a shame for all the time, effort and money you're putting into this.
looks like it's been shat on, not painted. Just seems a shame for all the time, effort and money you're putting into this.
that one went wrong anyway so i made it again with less textured paint (i will admit i went OTT on that one as i was not paying attention)
The reason for the textured paint was i did not want the doorcards to be glass smooth, i wanted them to be textured like OEm doorcards are
now ive not done a brilliant job of the doorcards i will admit but the doorcards, facia, and centre console were the first time i had ever touched filler so i was learning as i went along and i can tidy it all up a bit now
I just wanted everything working for this Saturday, after that i can go back and tidy things up

Gassing Station | Readers' Cars | Top of Page | What's New | My Stuff