Discussion


rather than just let our negetive comments slide off into the distance, you have tried to be a hero of some kind and stick up for this speaker loving max power soul, and therefore turned his lovely thread into an argument, well done 
instead of trying to make our comments out to be uncalled for, why not tell the op that you love his car and give him some positive comments so that he knows someone does like the work he is doing.
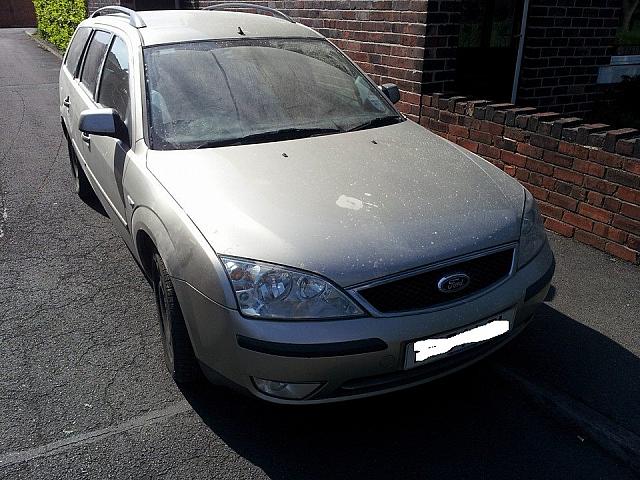
I think the work is good, and its great to see someone like me who does the work themselves and not just pay others to do it, i just think whats hes doing is very dated and a bit odd for a grown man....
continue
instead of trying to make our comments out to be uncalled for, why not tell the op that you love his car and give him some positive comments so that he knows someone does like the work he is doing.
I think the work is good, and its great to see someone like me who does the work themselves and not just pay others to do it, i just think whats hes doing is very dated and a bit odd for a grown man....
continue
Its been a while since i updated the thread as it looks like not a massive amount has happened to the rebuild but a fair bit has, its just one of those massivly awkward jobs, admitedly i have been lax on the build as my Mrs treat me to a new toy - http://www.pistonheads.com/gassing/topic.asp?h=0&a... (yes thats right my Mrs bought me a Jag)
Before i update this thread with what i have been upto i have to say Ford, you thought of everything - a chip holder right in the dash

So Started cutting the old baffle out using my Jigsaw - killed more than a few blades and did not get far
Borrowed my dads bigger saw - agian didnt get very far

Had enough and borrwed my friends big evil scary recipricating saw - still left me with some to get rid of.
At this time i took 5mins to do some box size calcs and lay out some ideas in masking tape just to help visualise
Tried sanding some of the baffle away, shredded sand paper as soon as it looked at it
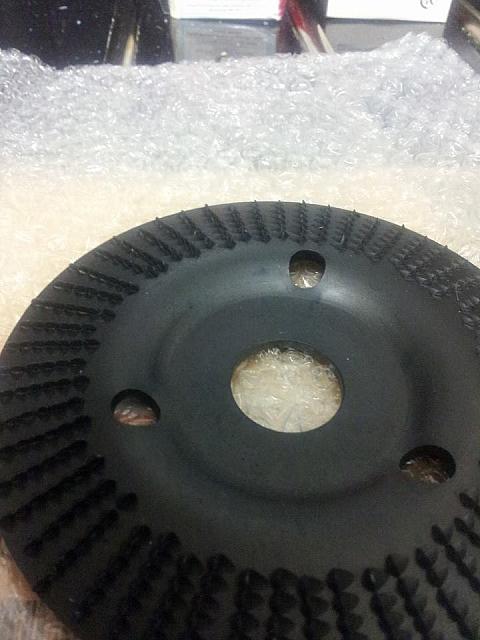
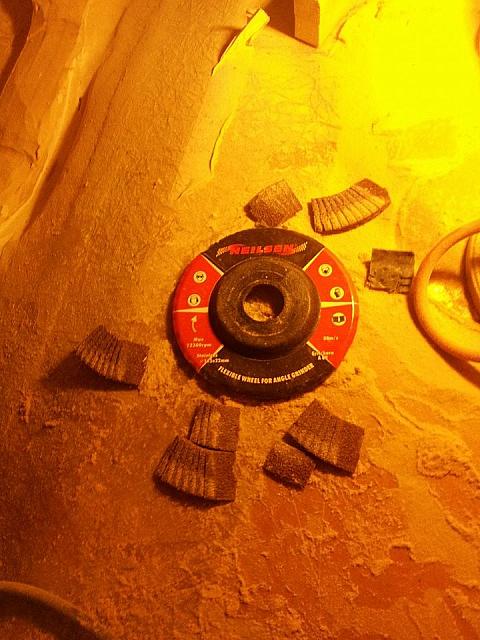
So nuclear option - borrow my dads angle grinder, get some flap discs as well as a rasp disk and attack it
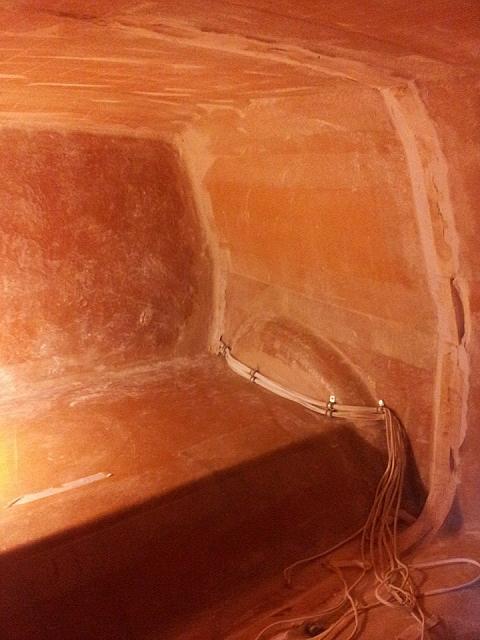
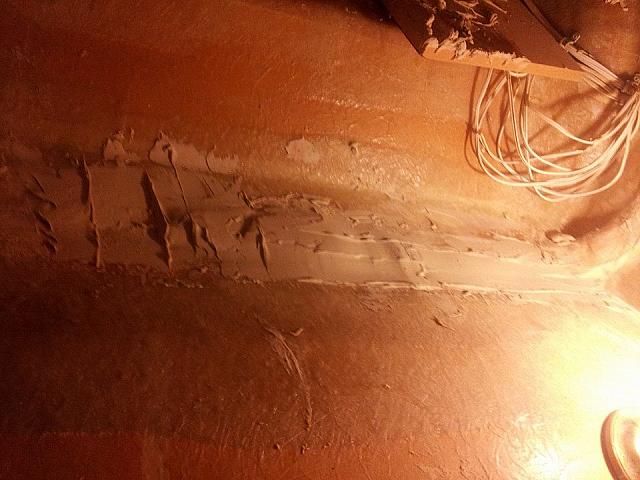
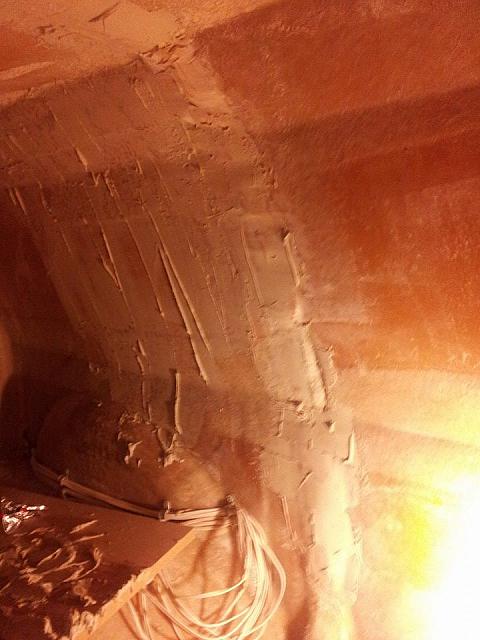
A few days of hell later and what needs to come out is now out. The reason it was so hard to get it to this point was the baffle was a few sheets of 18MM MDF, car body filler and a good 5mm layer of fibreglass resin and matting. As you can guess the dust created was impressive

These were ataken after some cleaning had been done
And always when working with MDF dust - safety first, the dust is go awful

Also power tools can be a risk as well, when a flap disk lets go it does in style and hurts like hell even though jeans so protect your eyes
So the list of things STILL to do is below
-Finish vaccing the sawdust from inside the carcase
-measure up the wood needed to attach to the sides of the carcase for the baffle to bolt to, then buy (if i have the cash)
-Measure up the strengthening wood beams that will go from the baffle to the base of the enclosure, get them at same time as baffles for side and install
-Fill up hole in rear wall where strengthening beam used to go
-Filler the entire carcase to make it as smooth as possible, then prime and paint under wood under the baffle
-Design a mockup of the port (port will be made in MDF - 2sheets of 18mm MDF thick)
-Work out cutlist for the woofer baffle (3 sheets of 18MM external ply thick)
-One baffle inplace fibreglass to carcase for extra strength
-Mount strengthening wood beams from woofer baffle to roof
-Remove old loading wall behind drivers seat (keeping this in until last possible minute to keep the carcase structure solid)
-Fibreglass, filler, prime and paint the visible bits of the enclosure
-Mount 2nd sub amp in boot, acquire wiring for it and install
-Wire a-pillars to amp
-Wire in EQ's etc
Before i update this thread with what i have been upto i have to say Ford, you thought of everything - a chip holder right in the dash
So Started cutting the old baffle out using my Jigsaw - killed more than a few blades and did not get far
Borrowed my dads bigger saw - agian didnt get very far
Had enough and borrwed my friends big evil scary recipricating saw - still left me with some to get rid of.
At this time i took 5mins to do some box size calcs and lay out some ideas in masking tape just to help visualise
Tried sanding some of the baffle away, shredded sand paper as soon as it looked at it
So nuclear option - borrow my dads angle grinder, get some flap discs as well as a rasp disk and attack it
A few days of hell later and what needs to come out is now out. The reason it was so hard to get it to this point was the baffle was a few sheets of 18MM MDF, car body filler and a good 5mm layer of fibreglass resin and matting. As you can guess the dust created was impressive
These were ataken after some cleaning had been done
And always when working with MDF dust - safety first, the dust is go awful
Also power tools can be a risk as well, when a flap disk lets go it does in style and hurts like hell even though jeans so protect your eyes
So the list of things STILL to do is below
-Finish vaccing the sawdust from inside the carcase
-measure up the wood needed to attach to the sides of the carcase for the baffle to bolt to, then buy (if i have the cash)
-Measure up the strengthening wood beams that will go from the baffle to the base of the enclosure, get them at same time as baffles for side and install
-Fill up hole in rear wall where strengthening beam used to go
-Filler the entire carcase to make it as smooth as possible, then prime and paint under wood under the baffle
-Design a mockup of the port (port will be made in MDF - 2sheets of 18mm MDF thick)
-Work out cutlist for the woofer baffle (3 sheets of 18MM external ply thick)
-One baffle inplace fibreglass to carcase for extra strength
-Mount strengthening wood beams from woofer baffle to roof
-Remove old loading wall behind drivers seat (keeping this in until last possible minute to keep the carcase structure solid)
-Fibreglass, filler, prime and paint the visible bits of the enclosure
-Mount 2nd sub amp in boot, acquire wiring for it and install
-Wire a-pillars to amp
-Wire in EQ's etc
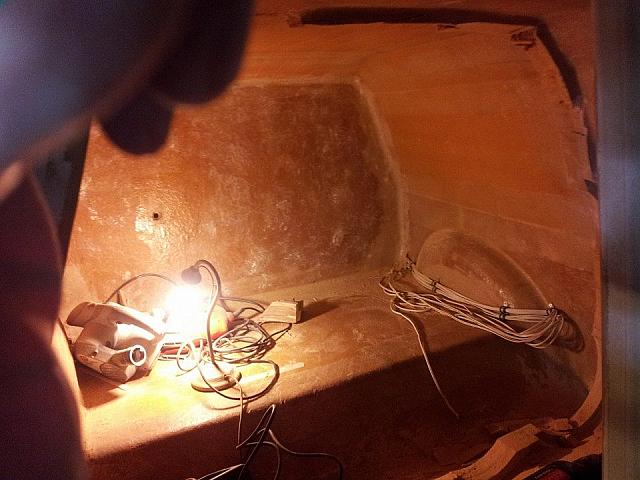
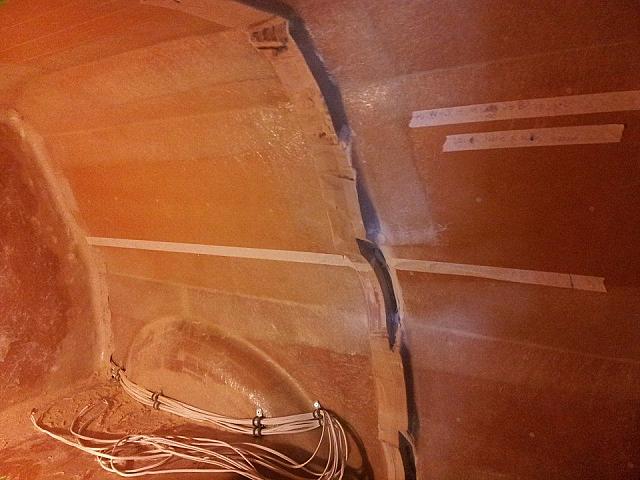
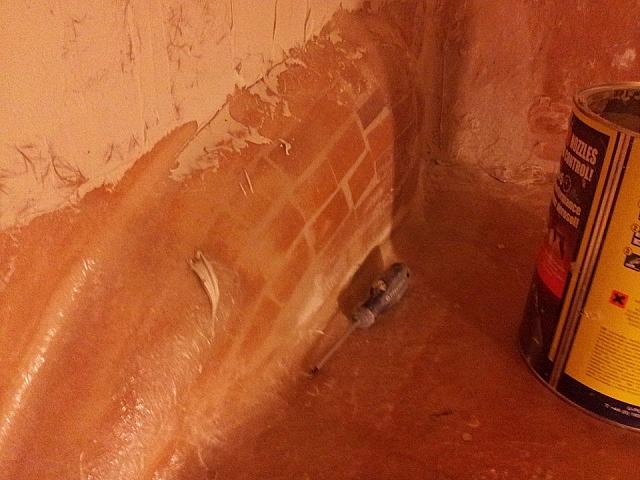
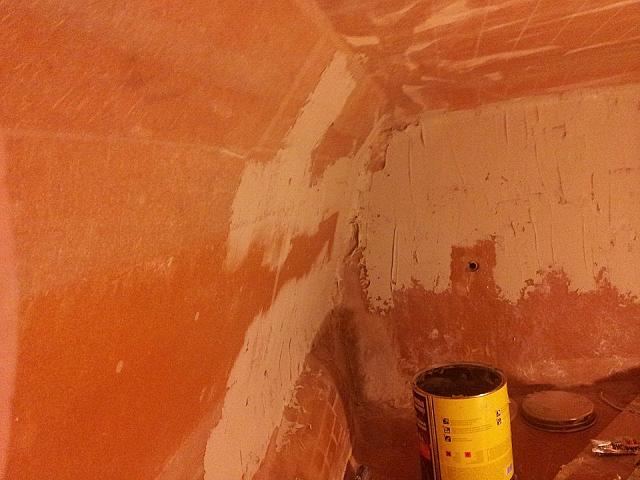
Todays update - not much, first off cleaned the sawsust out of the box so i could see what i was working with after drinding the old baffle away. I filled a Henry vac bag full of dust, still got a ton in the front cabin
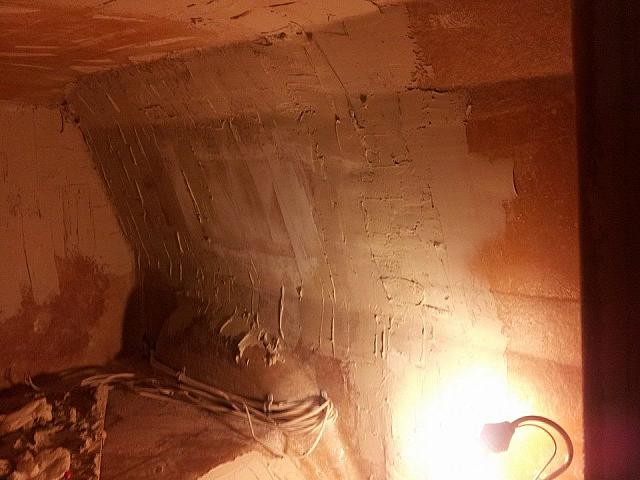
As you can see it has left me with not a smooth surface where i worked and some parts where the carcase was grinded to make the old woofers fit
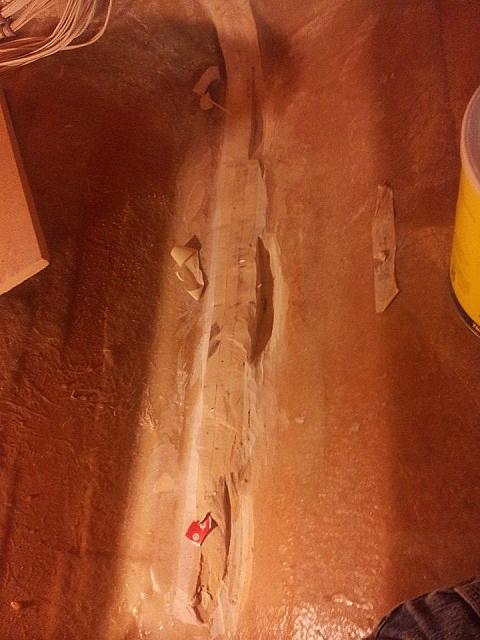
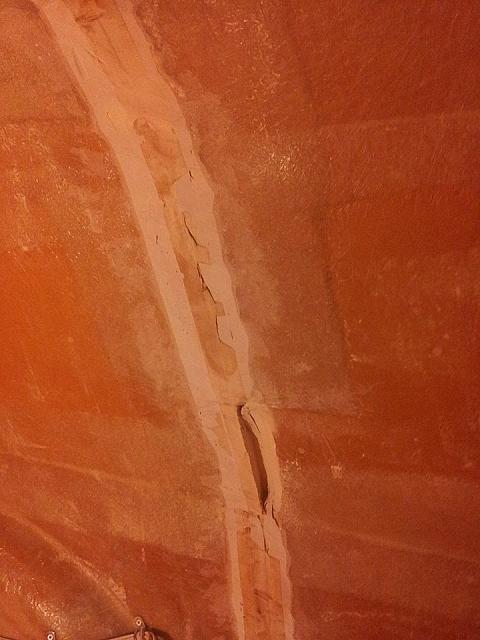
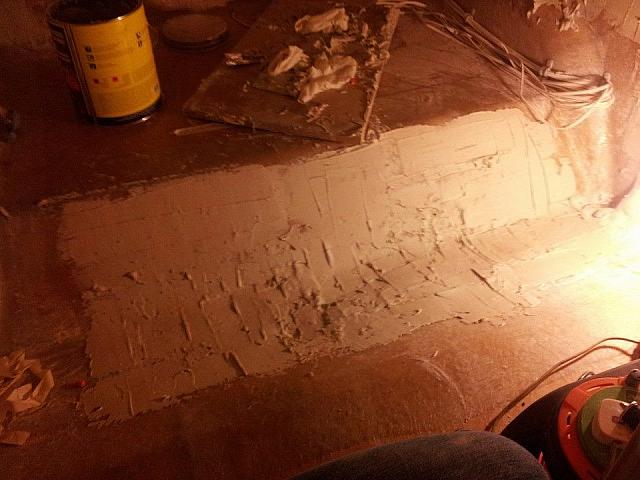
Out comes the filler for the first layer - Yes i know its rough at owt but its just the first layer and it will be sanded smooth, the entire box is getting a layer of filler inside to get rid of rough textures
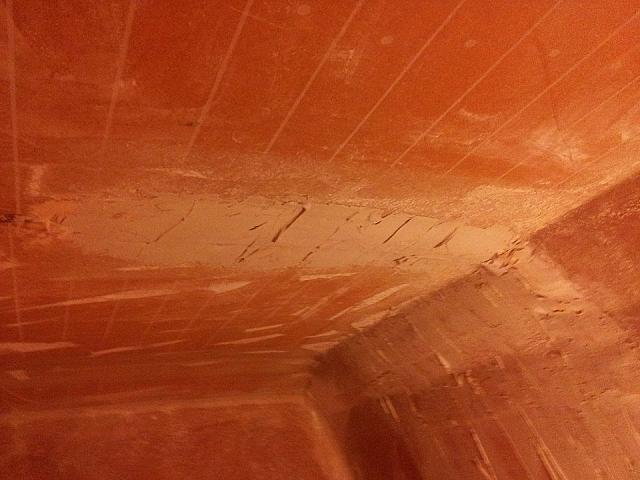
As you can see it has left me with not a smooth surface where i worked and some parts where the carcase was grinded to make the old woofers fit
Out comes the filler for the first layer - Yes i know its rough at owt but its just the first layer and it will be sanded smooth, the entire box is getting a layer of filler inside to get rid of rough textures


not a massive amount done on it, but i have been out ti pick up some more batterys

This will give me 10 hawker genesis batterys in the boot as well as the odessey battery under the bonnet (the hawkers and the odessey batts are made by the same people using the same tech. Just produced for different markets (Odessey - car use, hawker - UPS) and the hawkers are just a odessey cut in half
BTW i dont think Jag ever envisioned someone using the footwell of an XJ to carry a big pile of batteries
Gassing Station | Readers' Cars | Top of Page | What's New | My Stuff