Discussion


Small update from tonight
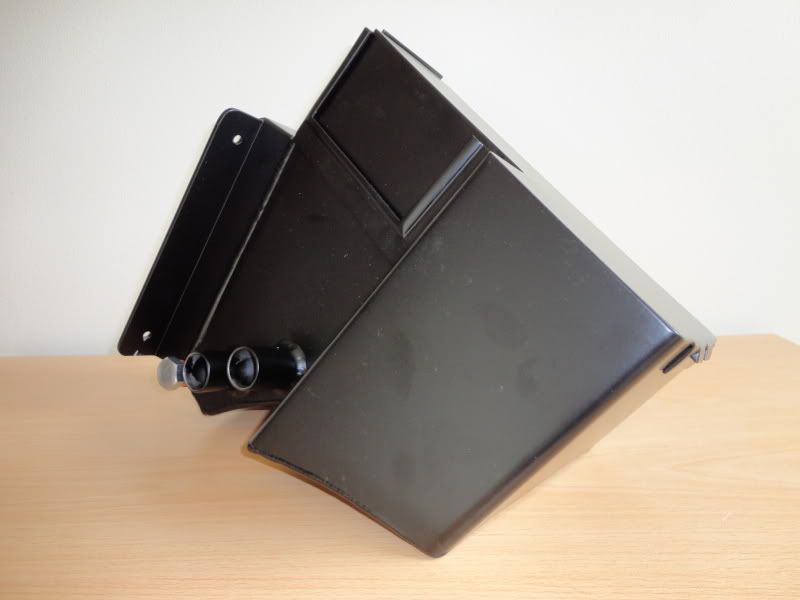
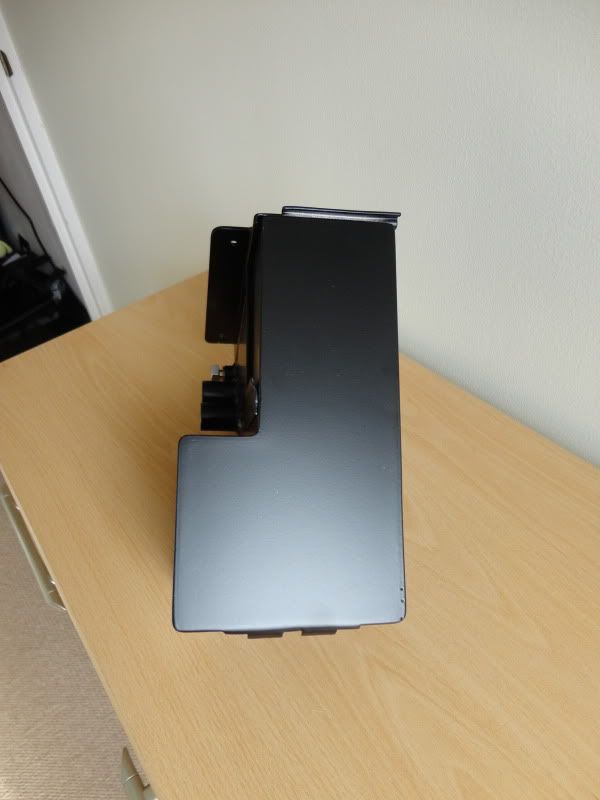
Mounted the final two fire extinguisher spray nozzles.
One on the air box heatsheild, pointing towards the alternator area.
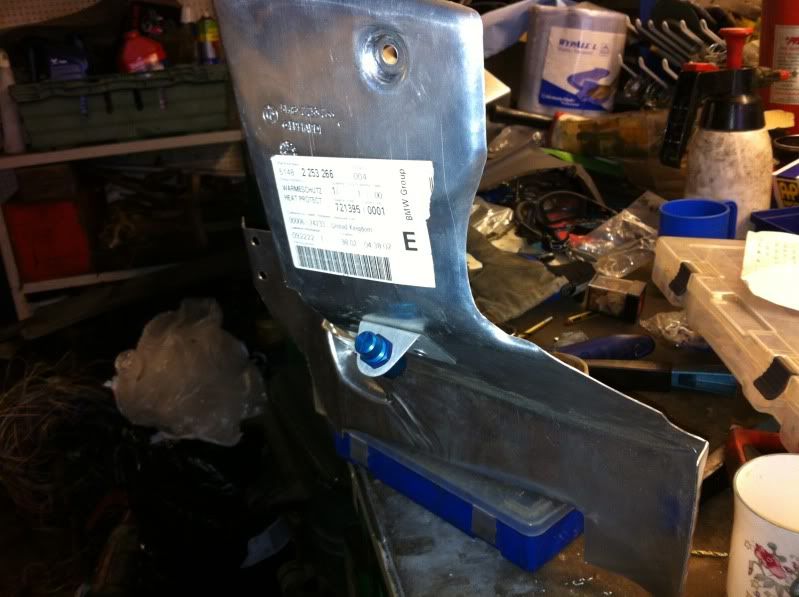
The other under the front slam panel pointing towards the exhaust manifold area.
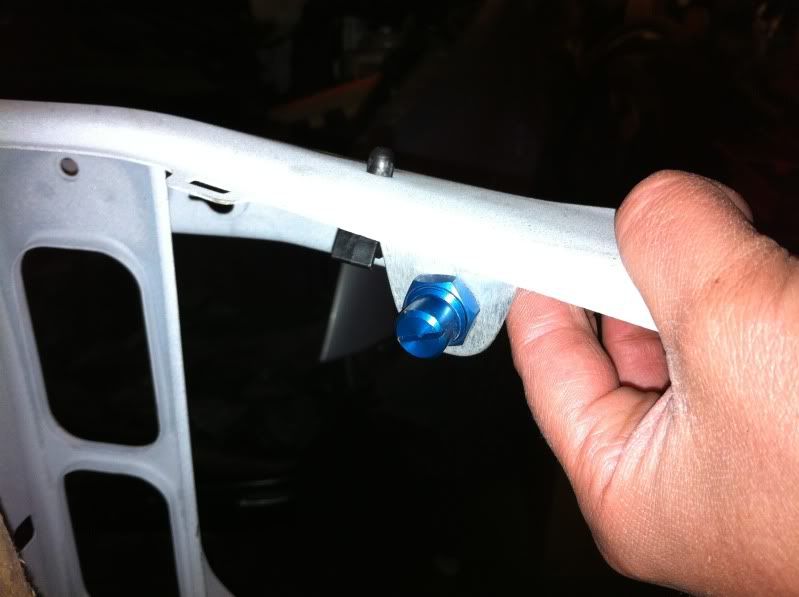
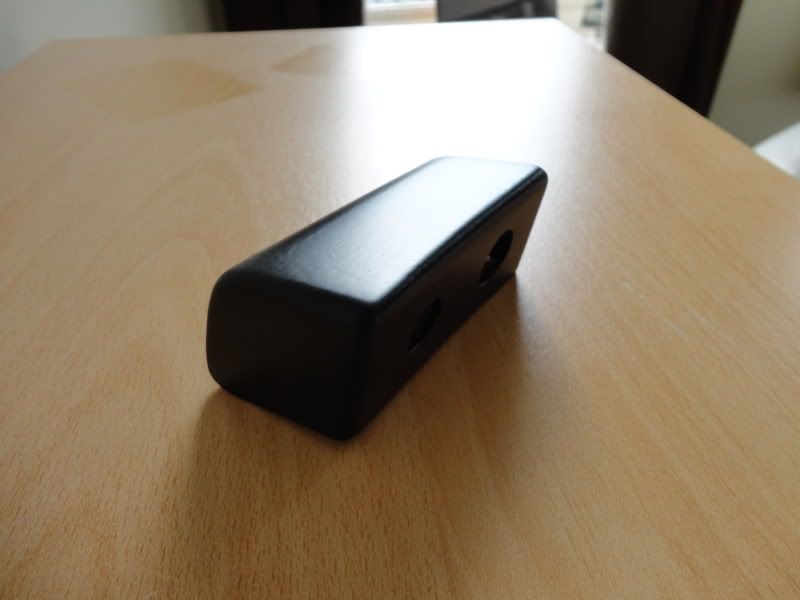
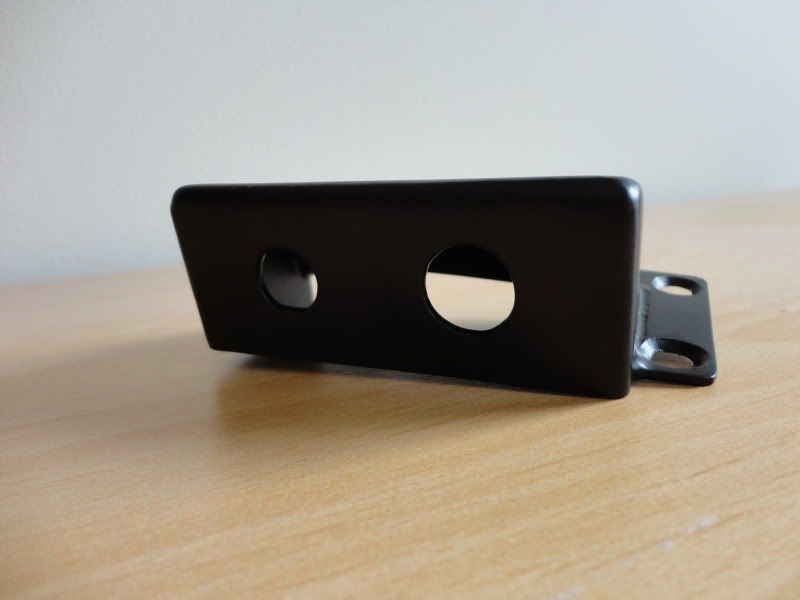
First we had to make a mounting bracket
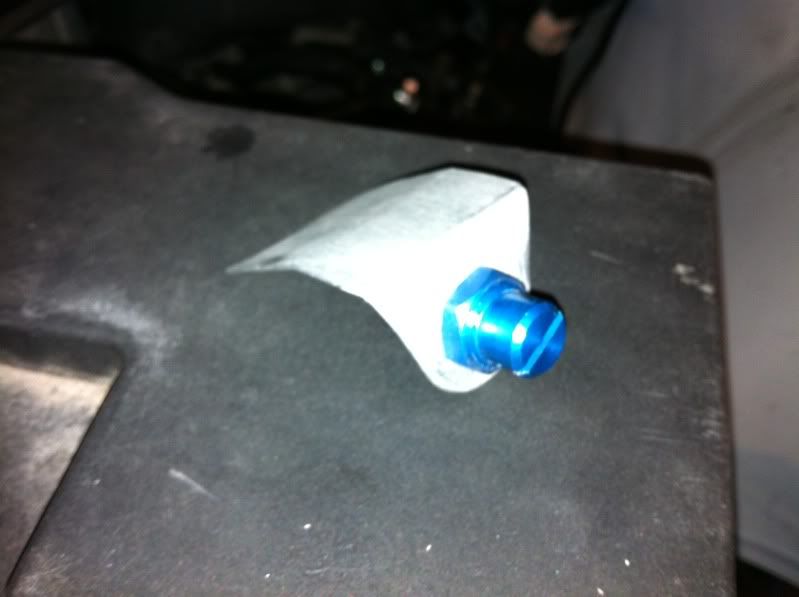
This is how is will fit
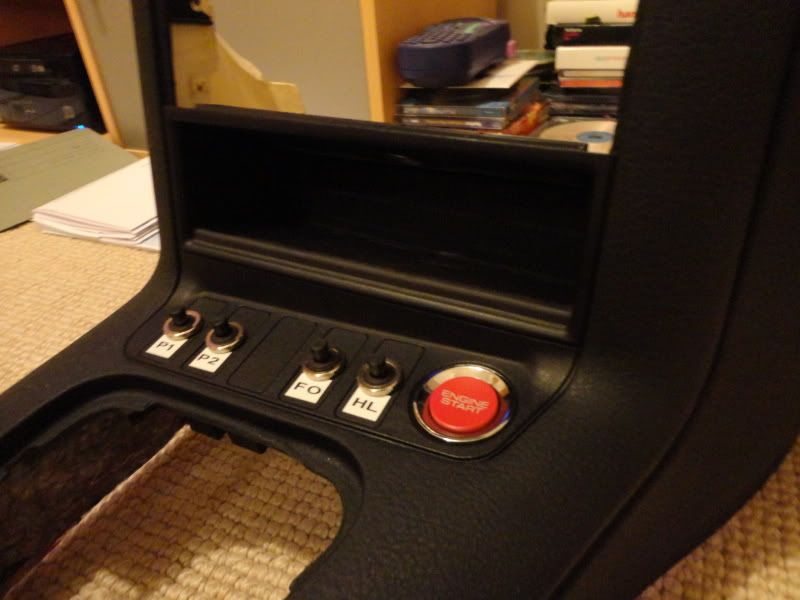
After this we tackled the auxillary switch panel.
Switch panel blanks were drilled to accept switches, not as easy as it may seem as they need to have a flat on them to stop the switches turning.
Came out perfectly
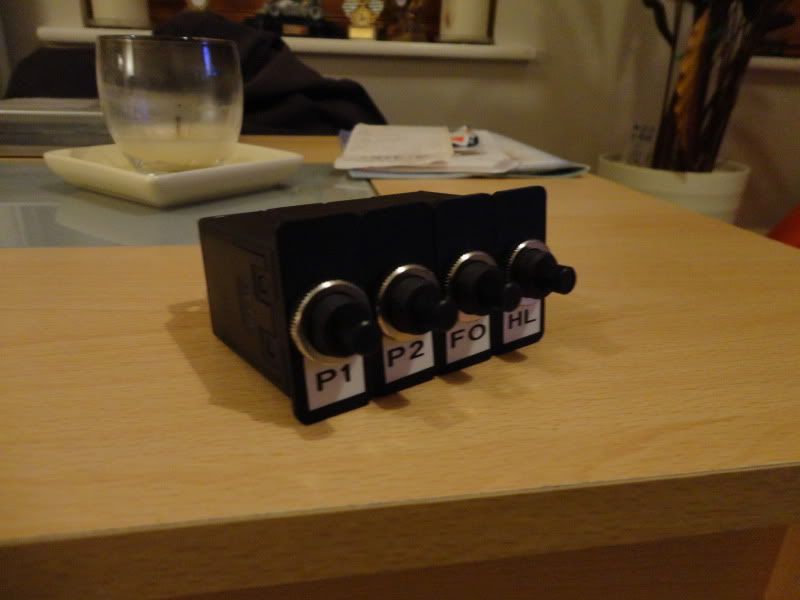
Switches will be
P1 - Lift Pump
P2 - Main Pump
FO - Fan Overide (Set to highest speed at all times)
HL - Headlight flashers
In order to stop them all falling out a metal plate was made to fit behind
The middle hole is blank at the moment but is for a rain light switch if we ever require one, the wiring has also been put in place for this.
How they look in the panel with the starter button
Now that the switches were in the correct positions the wiring for them and the starter button was finished off
We are now starting work on filling, shaping and sanding the dash to fit around the cage before it goes off to be flocked.
We are almost at the stage now where the car can be stripped down for final prep before it goes off to be painted.
Mounted the final two fire extinguisher spray nozzles.
One on the air box heatsheild, pointing towards the alternator area.
The other under the front slam panel pointing towards the exhaust manifold area.
First we had to make a mounting bracket
This is how is will fit
After this we tackled the auxillary switch panel.
Switch panel blanks were drilled to accept switches, not as easy as it may seem as they need to have a flat on them to stop the switches turning.
Came out perfectly
Switches will be
P1 - Lift Pump
P2 - Main Pump
FO - Fan Overide (Set to highest speed at all times)
HL - Headlight flashers
In order to stop them all falling out a metal plate was made to fit behind
The middle hole is blank at the moment but is for a rain light switch if we ever require one, the wiring has also been put in place for this.
How they look in the panel with the starter button
Now that the switches were in the correct positions the wiring for them and the starter button was finished off
We are now starting work on filling, shaping and sanding the dash to fit around the cage before it goes off to be flocked.
We are almost at the stage now where the car can be stripped down for final prep before it goes off to be painted.
Quick update before bed
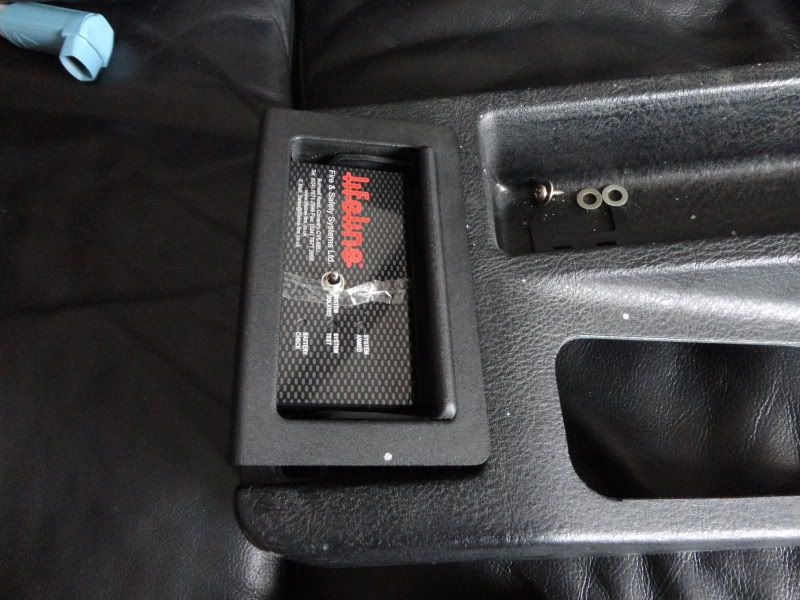
Started mocking up the internal and external kill switch and fire extinguisher buttons.
Internal buttons will sit on a carbon plate inside the centre console ashtray, ashtray will still have lid on so the buttons can be covered when not on track
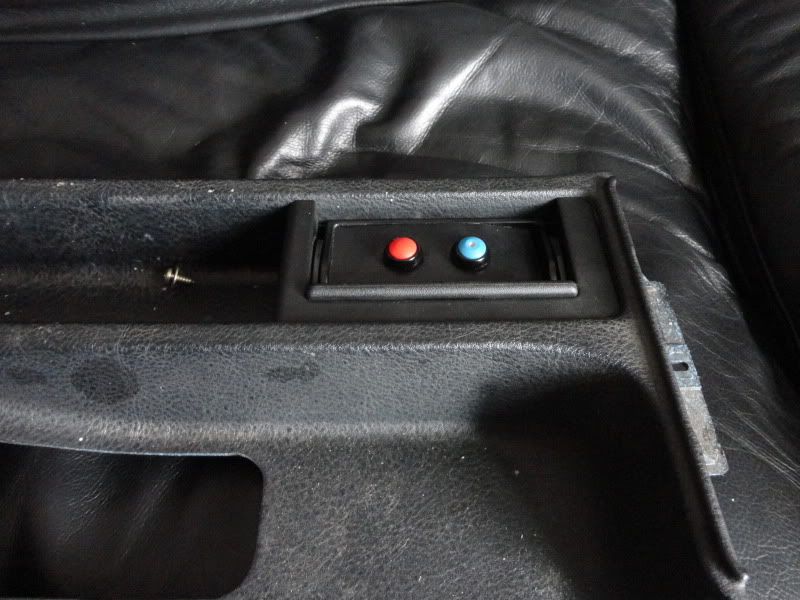
The fire extinguisher module will sit in the rear ashtray in the same way, needs a bit more fettling to fit nicely.
The centre console is an old one for mock up purposes, have a mint one at home
Now that we have cardboard templates made for how the dash needs to fit around the cage, we started to build up the areas with araldite.
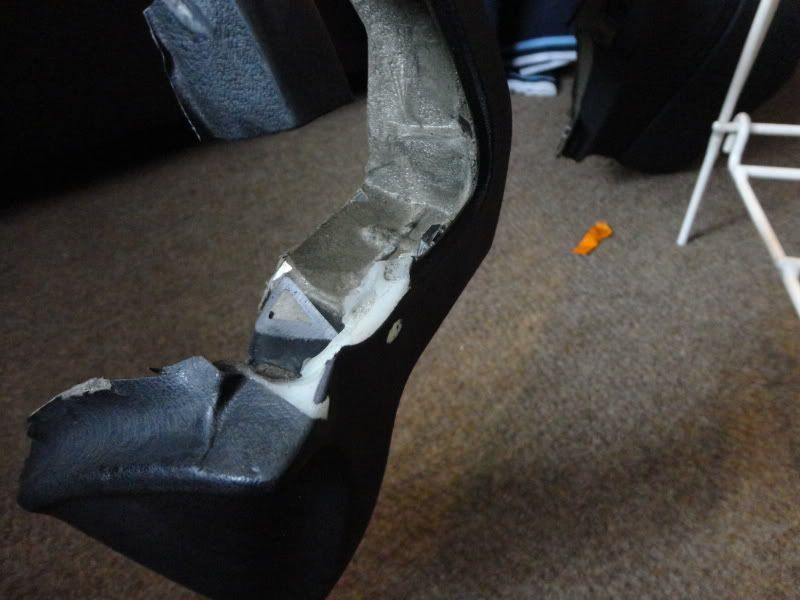
Once this has cured it will be filed and sanded into shape.
Then we test fitted the alloy box which we have had made for the external kill switch and fire extinguisher buttons.
After a tiny bit of filing it fits snuggly into position, with the scuttle trim cut neatly around the box.
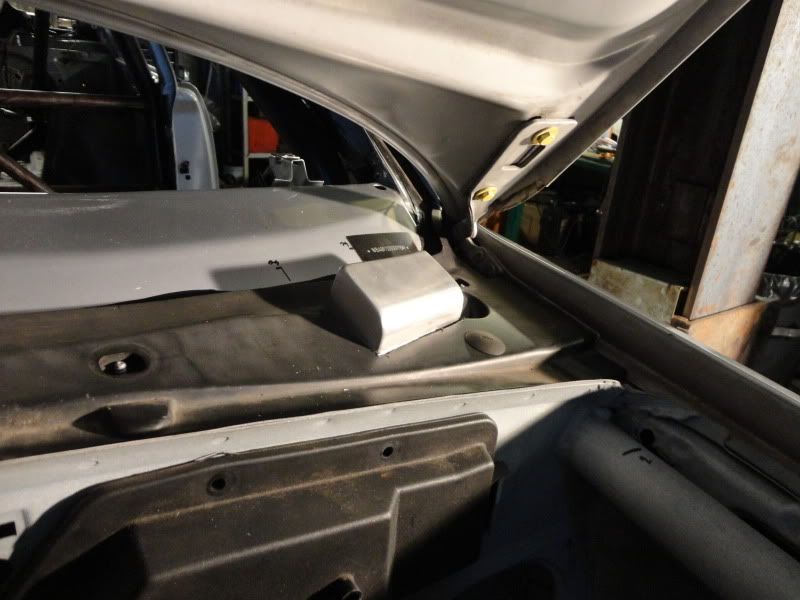
This is how it looks with the bonnet closed.
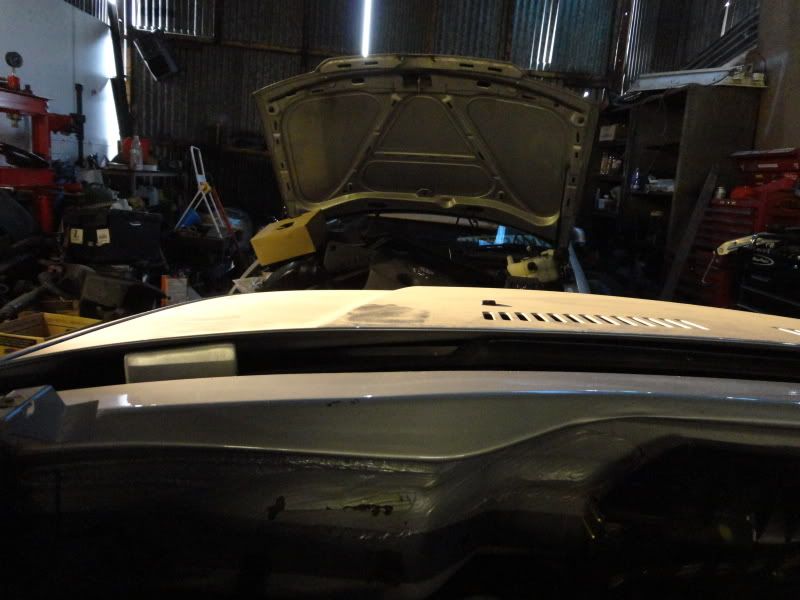
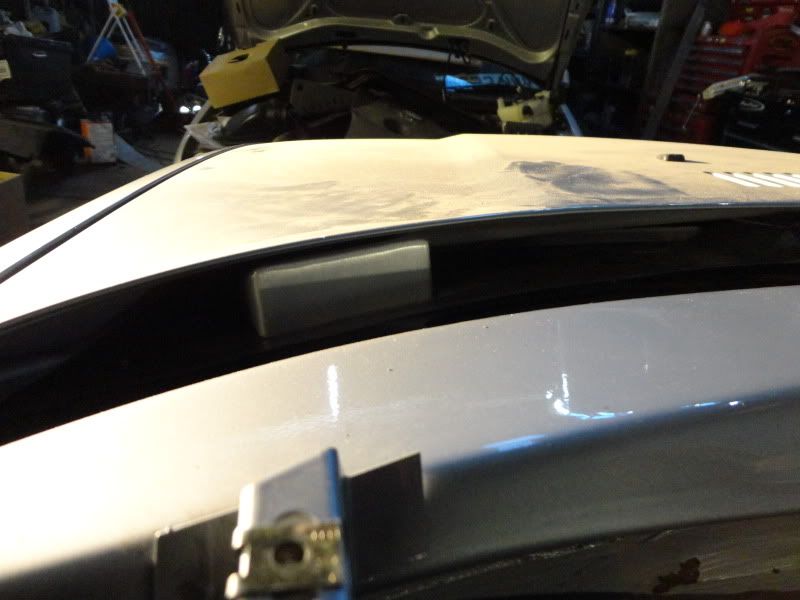
This will now be sent back to pro alloy to finish off and powder coat in satin black to match the scuttle panel.
Catch tank was also test fitted and needs a little bit more work to get a perfect fit but generally is looking good.
Started mocking up the internal and external kill switch and fire extinguisher buttons.
Internal buttons will sit on a carbon plate inside the centre console ashtray, ashtray will still have lid on so the buttons can be covered when not on track
The fire extinguisher module will sit in the rear ashtray in the same way, needs a bit more fettling to fit nicely.
The centre console is an old one for mock up purposes, have a mint one at home
Now that we have cardboard templates made for how the dash needs to fit around the cage, we started to build up the areas with araldite.
Once this has cured it will be filed and sanded into shape.
Then we test fitted the alloy box which we have had made for the external kill switch and fire extinguisher buttons.
After a tiny bit of filing it fits snuggly into position, with the scuttle trim cut neatly around the box.
This is how it looks with the bonnet closed.
This will now be sent back to pro alloy to finish off and powder coat in satin black to match the scuttle panel.
Catch tank was also test fitted and needs a little bit more work to get a perfect fit but generally is looking good.
Edited by Bmdub on Thursday 19th April 23:36
Couple of bits weve been working on this weekend.
External fire extinguisher and kill switch buttons fitted into ali box.
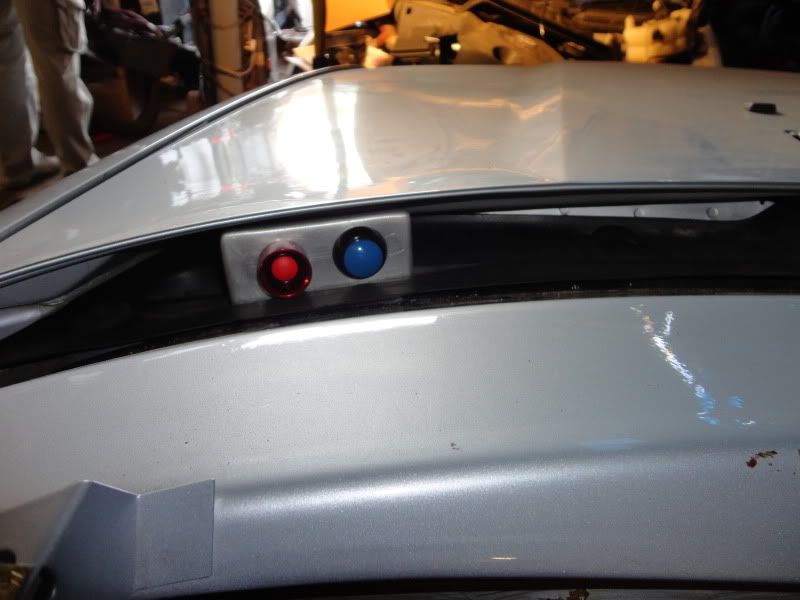
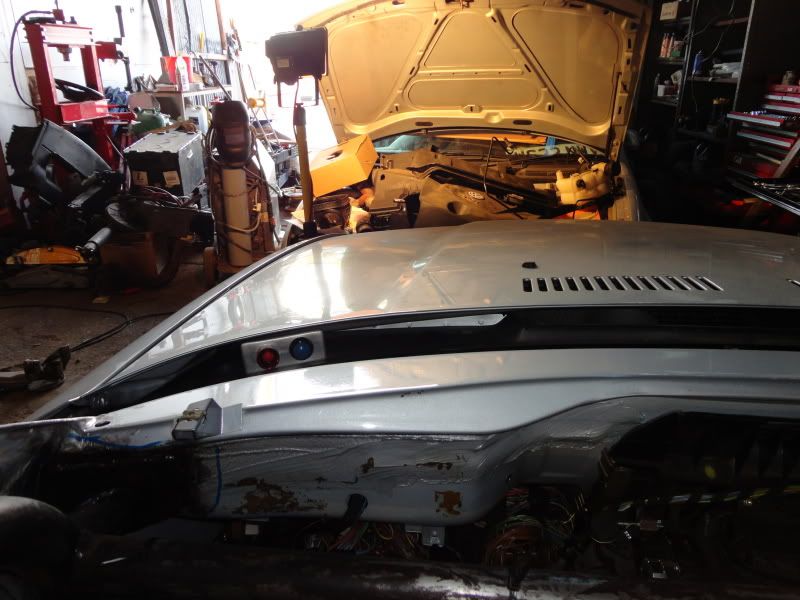
They look wonky but both sit on the same centre line, think its just that they are different sizes... anyway thats me being fussy
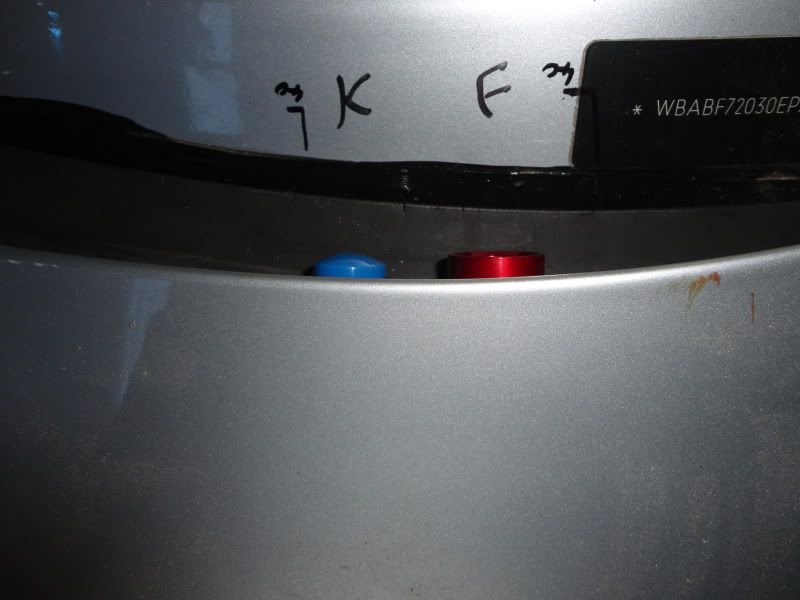
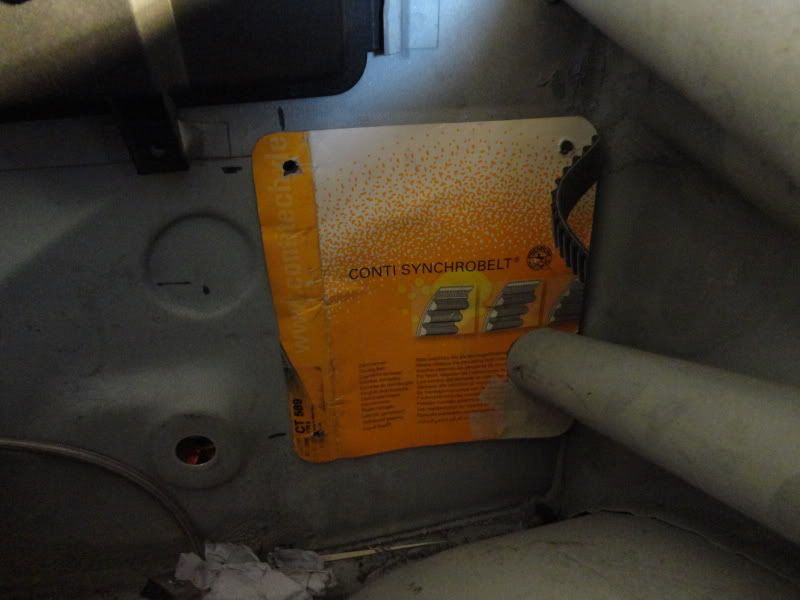
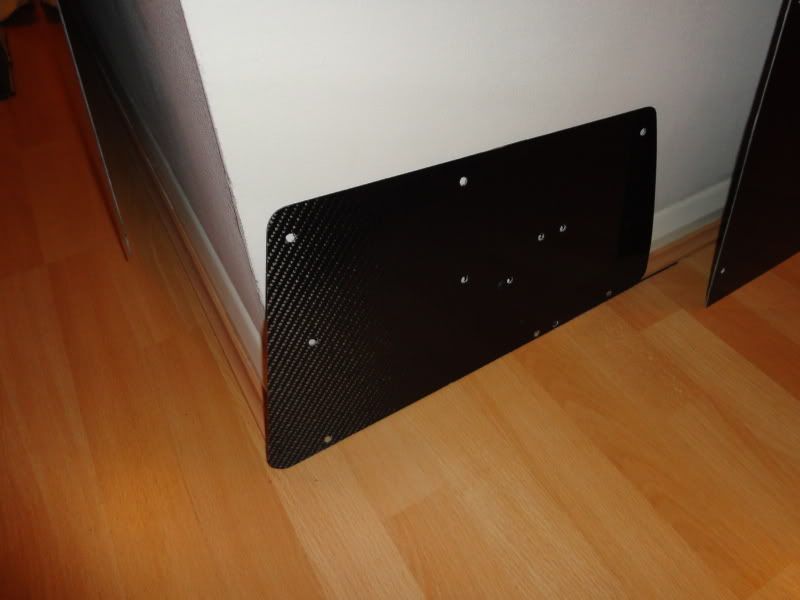
With that done we looked at the hole that is left where the fuse box wiring used to pass into the cabin.

We decided on a carbon fibre plate, so a template was made.
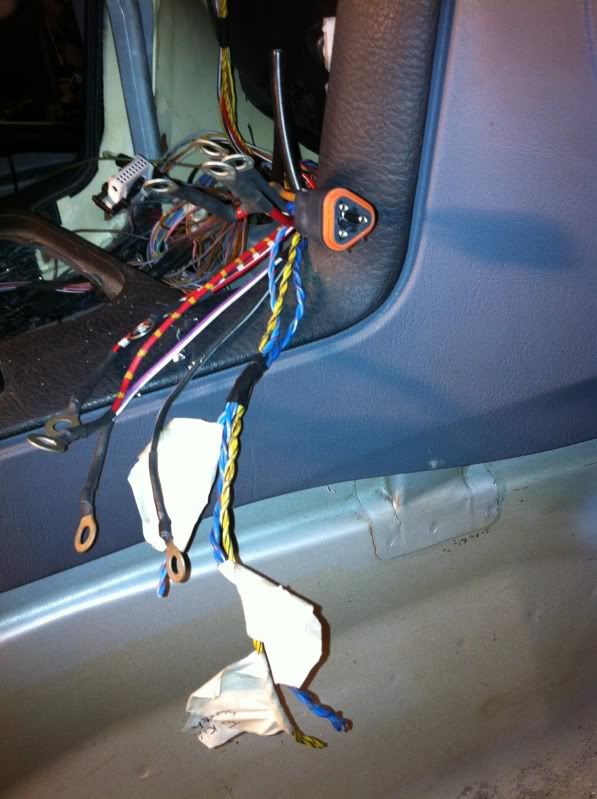
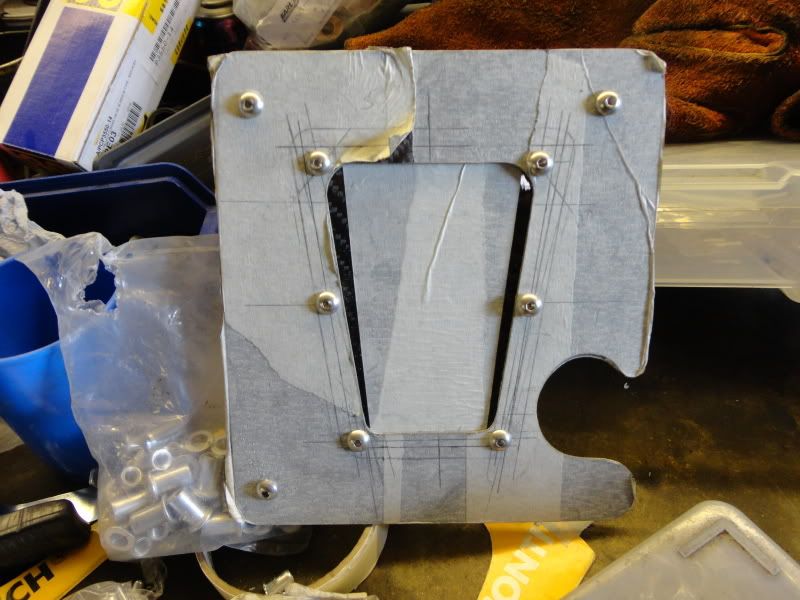
A removable panel was put into the plate, as we are extending the engine wiring loom to go inside to the fuse box, we need a way to be able to pass the large plugs through if we ever need to remove the loom.
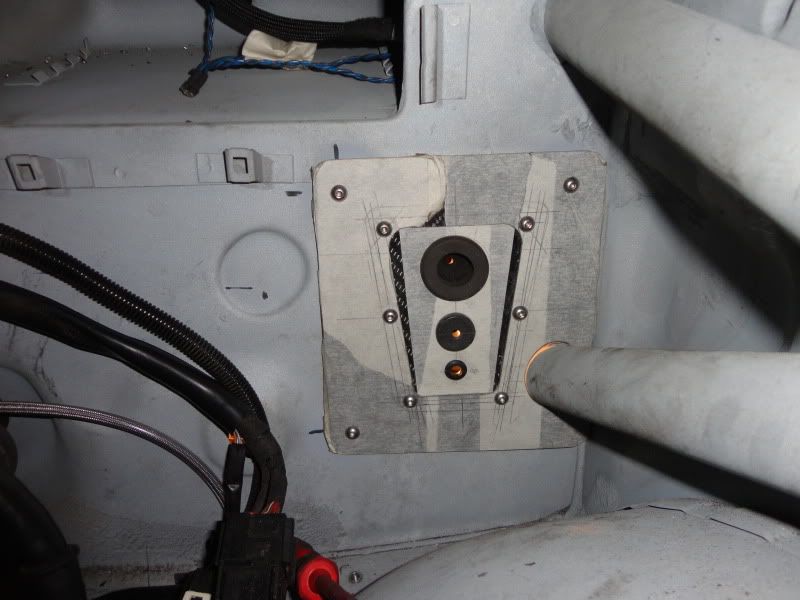
In the car with grommets where loom passes from fuse box in the cabin.
With the plate in place the engine loom was extended as required.
We then started to strip everything back off the car, starting with the rear fuel system, loom etc

The rest of the loom and heater box will come out tonight followed by the engine and box.
With this done, the last of the plates and studs etc will be added or removed as required and the areas treated and primered.
The dash will be made to fit around the cage perfectly before going off to be flocked.
Carbon fibre footwell panels and boot floor need to be cut and fitted.
Doors and boot lid need to be stripped and trial fitted as they are new to the shell.
Then its off to paint on Saturday
Anyway more updates to follow.
External fire extinguisher and kill switch buttons fitted into ali box.
They look wonky but both sit on the same centre line, think its just that they are different sizes... anyway thats me being fussy
With that done we looked at the hole that is left where the fuse box wiring used to pass into the cabin.
We decided on a carbon fibre plate, so a template was made.
A removable panel was put into the plate, as we are extending the engine wiring loom to go inside to the fuse box, we need a way to be able to pass the large plugs through if we ever need to remove the loom.
In the car with grommets where loom passes from fuse box in the cabin.
With the plate in place the engine loom was extended as required.
We then started to strip everything back off the car, starting with the rear fuel system, loom etc
The rest of the loom and heater box will come out tonight followed by the engine and box.
With this done, the last of the plates and studs etc will be added or removed as required and the areas treated and primered.
The dash will be made to fit around the cage perfectly before going off to be flocked.
Carbon fibre footwell panels and boot floor need to be cut and fitted.
Doors and boot lid need to be stripped and trial fitted as they are new to the shell.
Then its off to paint on Saturday
Anyway more updates to follow.
Sorry for lack of updates but been flat out to get the car off to paint.
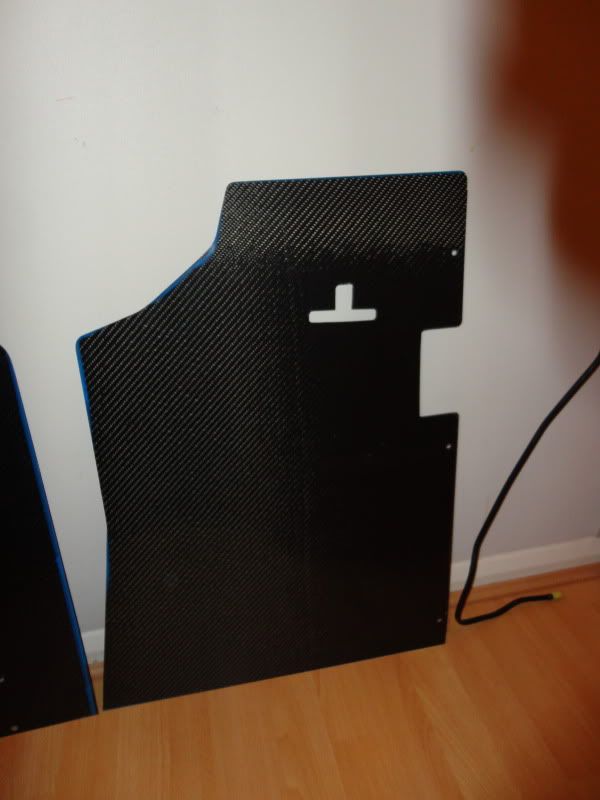
Next job was to make the carbon panels, templates had already been made by myself ages ago, these where then marked out for cutting
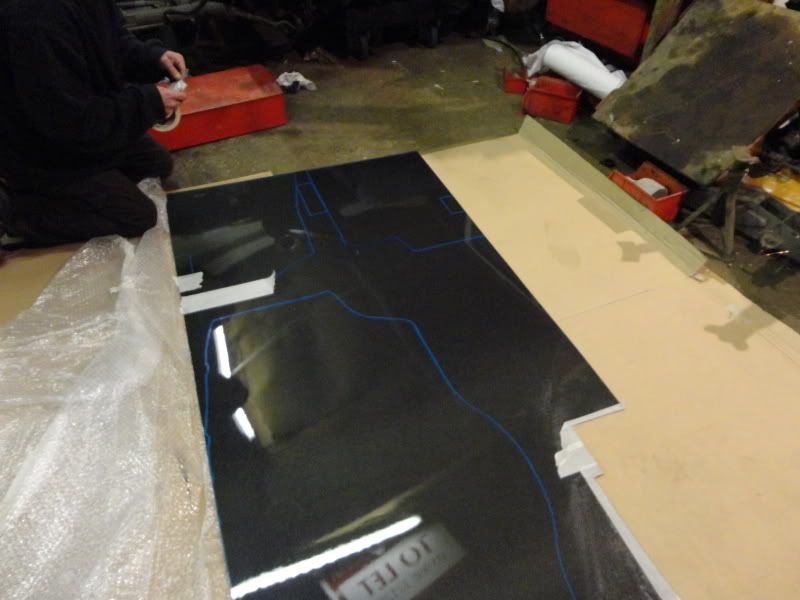
These were then covered in tape and cutting to shape, taking on roughly 3 hours per side to get perfect
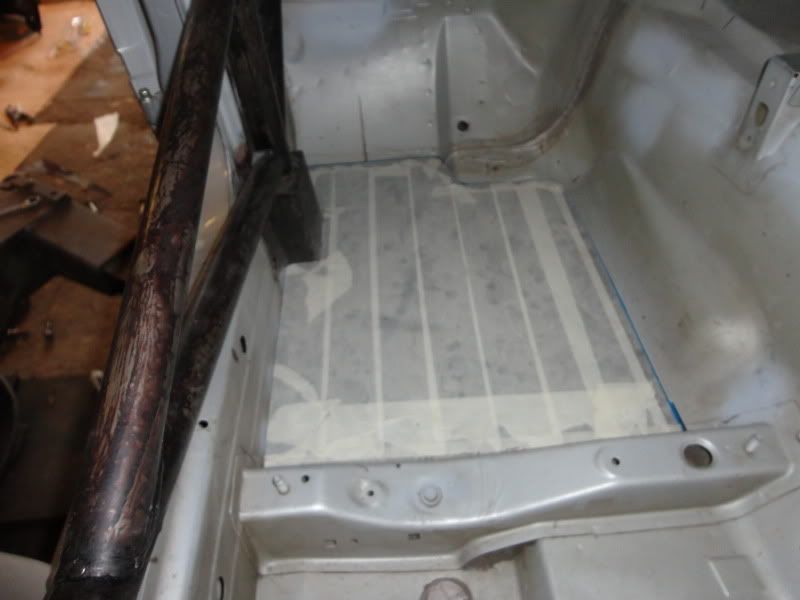
Passenger side
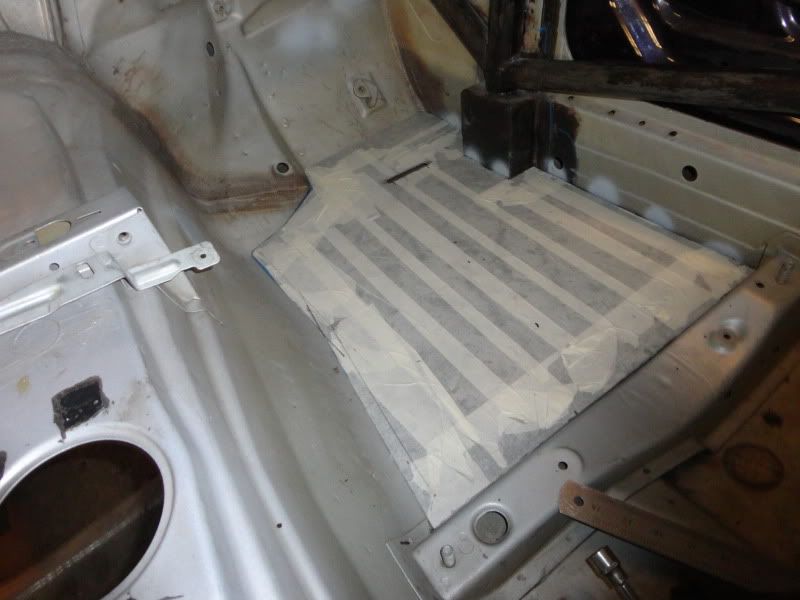
Drivers Side
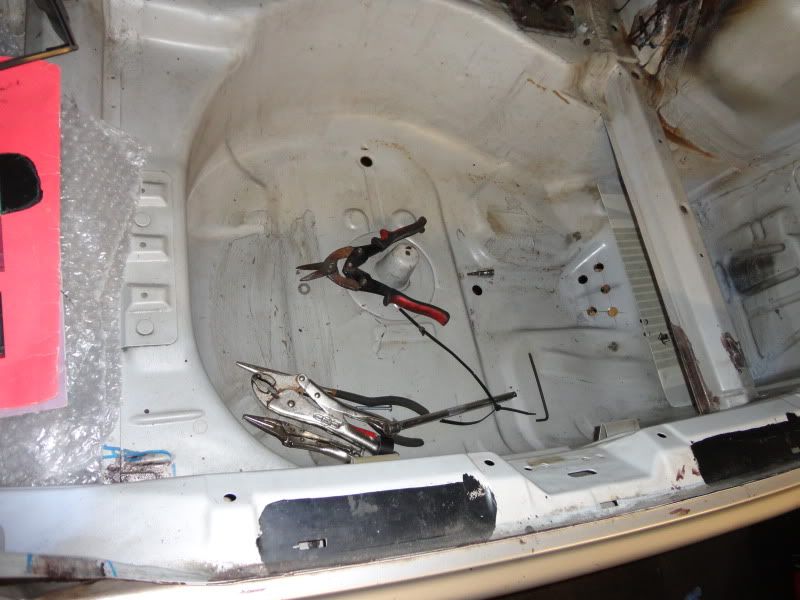
Whilst this was being done i was treating and priming the remaining underfloor areas.
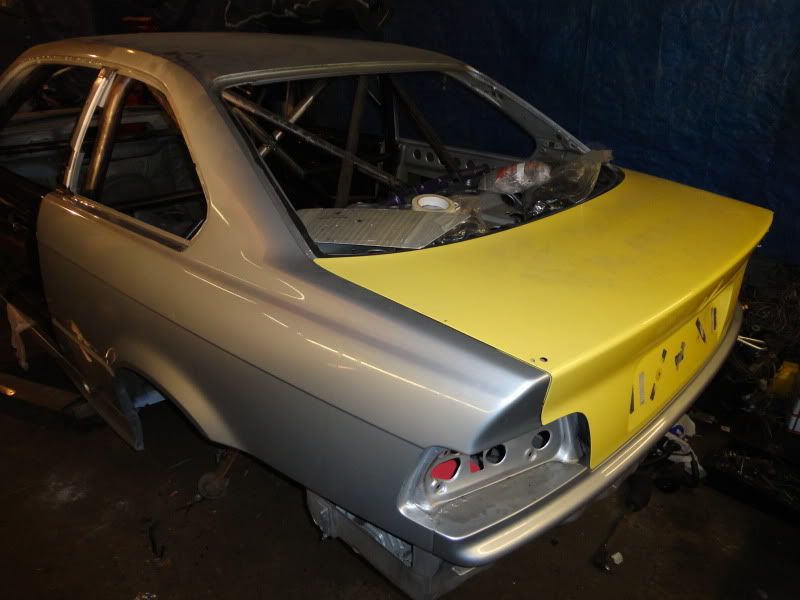
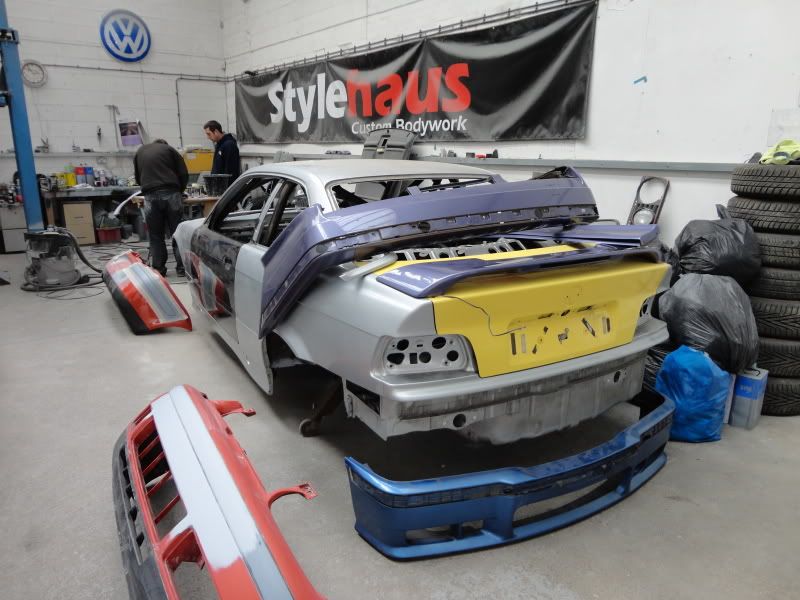
Also put on the new bootlid i got in order to remove the spoiler, the bootlid is a bit rotten and therefore is not being used, but we dropped my spoiler from the M3 so needed a replacement.
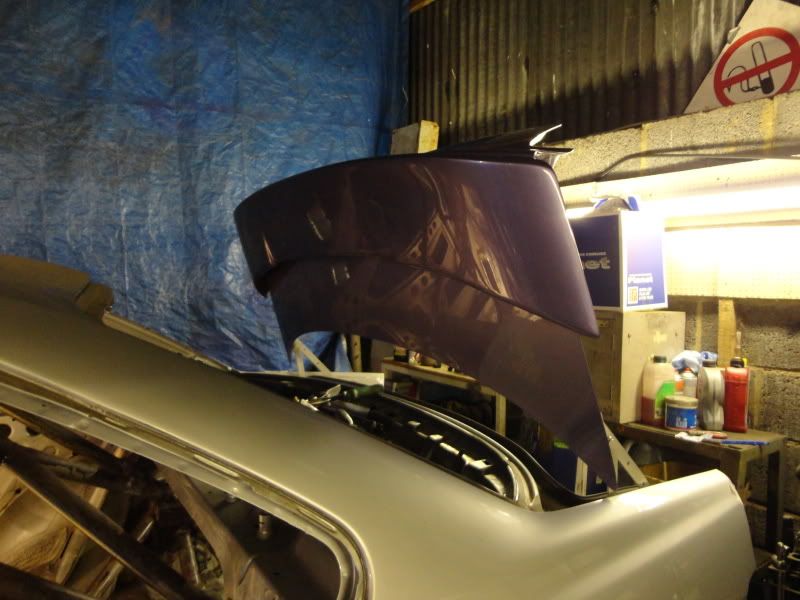
Spoiler came off although one of the studs snapped and is going to be a pain in the arse to remove
With this done the violet bootlid was removed and replaced with the yellow one which will be used.
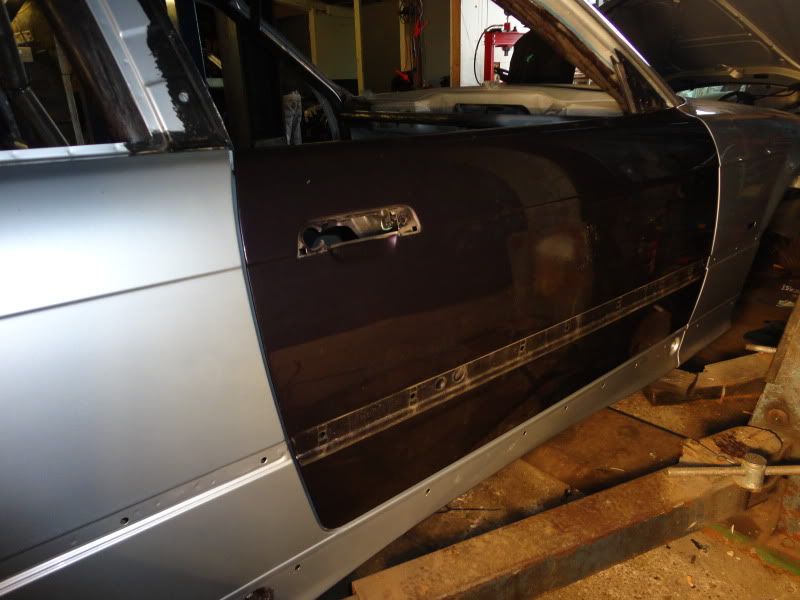
Stripped the ali doors and then fitted them up, this took arouns 2 hours per door to get the fitment correct, even using feeler gauges to ensure equal gap around the doors
Next up the dollys where made, front using an old front subframe and the back bolted into the rear subframe mounting points.
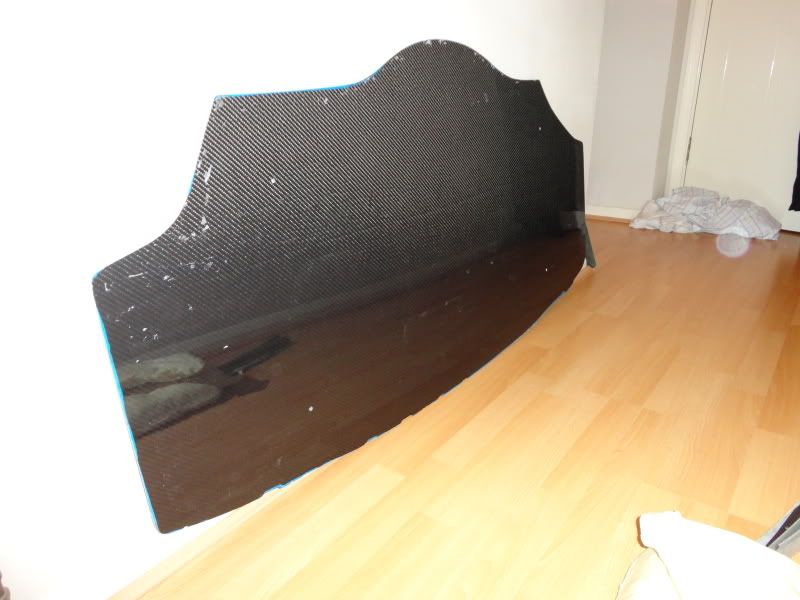
Carbon fibre boot floor was then made, again taking around 8 hours to get perfect, it now fits aorund all the lumps and bumps in the boot
We then attempted to fit my carbon doors cards, however they could not be fitted as one of them is out of shape and will have to go back as it will not fit on the top of door.. not a big problem though ,as doors are ali and doesnt matter if we drill into them after paint.
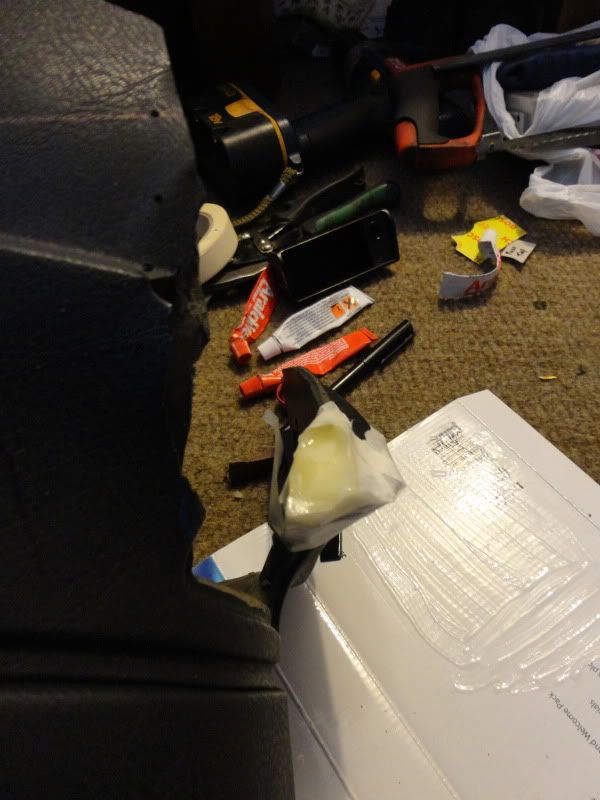
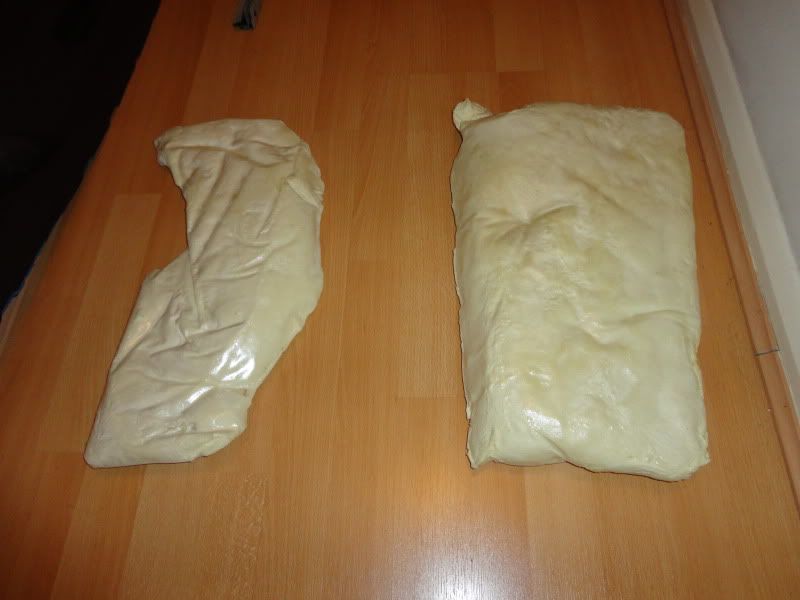
We then needed to fill the voids under the carbon foot plates to make them more rigid.
For this we used a foam kit designed for moulding racing seats.
Firstly we filled the void with the foam mixture inside a bag them placed a piece of wood with a car battery on top to weigh it down.
First attempt didnt go to well as we used to much mixture and when it expanded it lifted the wood and battery about 3 inches in the air.
Anyway we got this cracked and done.
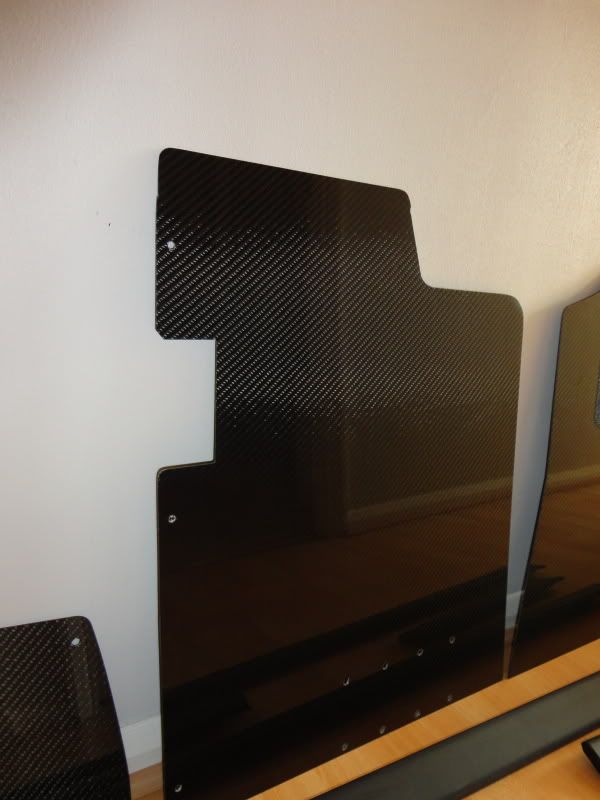
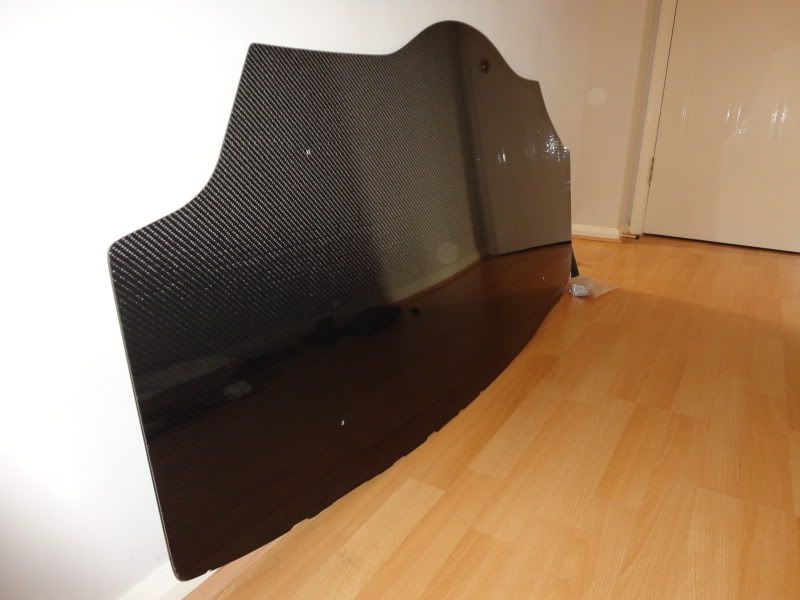
This how the carbon panels look after the tape was removed, need to be finished off with wet and dry and cleaned up still.
Passegner Side
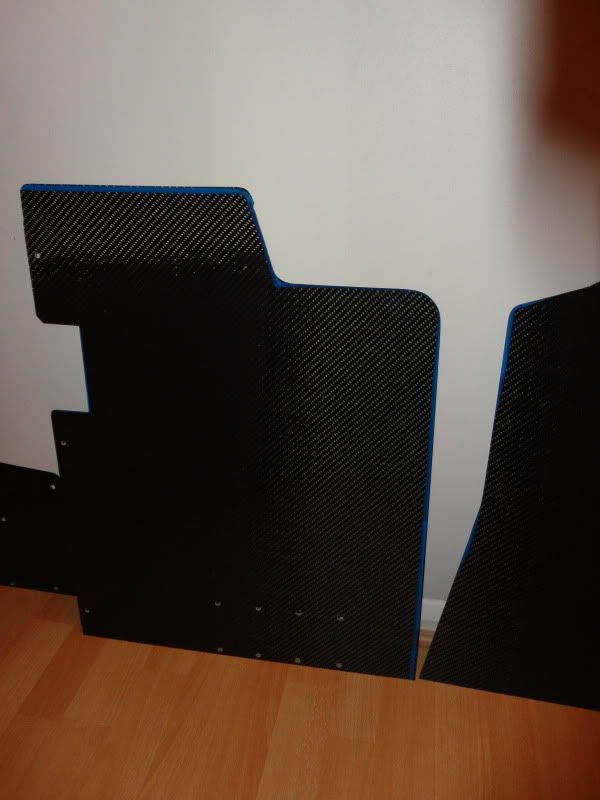
Drivers side, *note notch cut for accelator pedal to fit through as per standard carpet*
Boot floor
Fuel system panel as mentioned earlier in the thread
The car is now at Stylehaus in Northampton awaiting its shiney Alpine White paintjob
Next job was to make the carbon panels, templates had already been made by myself ages ago, these where then marked out for cutting
These were then covered in tape and cutting to shape, taking on roughly 3 hours per side to get perfect
Passenger side
Drivers Side
Whilst this was being done i was treating and priming the remaining underfloor areas.
Also put on the new bootlid i got in order to remove the spoiler, the bootlid is a bit rotten and therefore is not being used, but we dropped my spoiler from the M3 so needed a replacement.
Spoiler came off although one of the studs snapped and is going to be a pain in the arse to remove
With this done the violet bootlid was removed and replaced with the yellow one which will be used.
Stripped the ali doors and then fitted them up, this took arouns 2 hours per door to get the fitment correct, even using feeler gauges to ensure equal gap around the doors
Next up the dollys where made, front using an old front subframe and the back bolted into the rear subframe mounting points.
Carbon fibre boot floor was then made, again taking around 8 hours to get perfect, it now fits aorund all the lumps and bumps in the boot
We then attempted to fit my carbon doors cards, however they could not be fitted as one of them is out of shape and will have to go back as it will not fit on the top of door.. not a big problem though ,as doors are ali and doesnt matter if we drill into them after paint.
We then needed to fill the voids under the carbon foot plates to make them more rigid.
For this we used a foam kit designed for moulding racing seats.
Firstly we filled the void with the foam mixture inside a bag them placed a piece of wood with a car battery on top to weigh it down.
First attempt didnt go to well as we used to much mixture and when it expanded it lifted the wood and battery about 3 inches in the air.
Anyway we got this cracked and done.
This how the carbon panels look after the tape was removed, need to be finished off with wet and dry and cleaned up still.
Passegner Side
Drivers side, *note notch cut for accelator pedal to fit through as per standard carpet*
Boot floor
Fuel system panel as mentioned earlier in the thread
The car is now at Stylehaus in Northampton awaiting its shiney Alpine White paintjob
Edited by Bmdub on Saturday 5th May 20:38
So with the car at paint, i thought id get cracking on the list of jobs i need to get done before it returns.
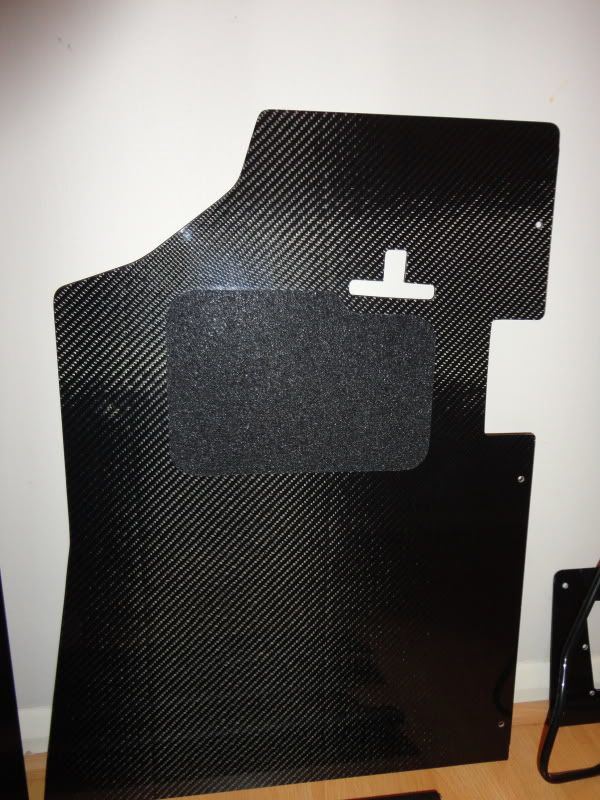
First off, finish the carbon fibre panels, these where cleaned with Auto Glym Intensive Tar Remover to remove traces of masking tape and paint from where templates had been drawn.
I then rubbed down the edges with 400 grit wet and dry before sealing them with wax. Finally giving the whole panel a polish with Dodo Juice Lime Prime.
Passenger side
Boot floor
The drivers side panel recieved the grip pad, which i based on the original pad found on the OEM carpets
Once they were done i thought id do a spot of cleaning.
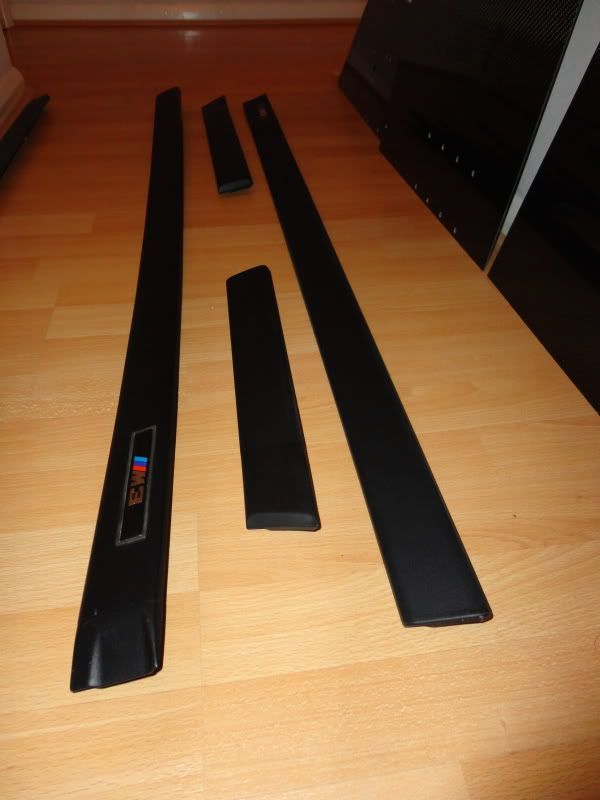
Brake ducts

Side trims
Hoping to get the dash finished this week so that i can send that of to be flocked
First off, finish the carbon fibre panels, these where cleaned with Auto Glym Intensive Tar Remover to remove traces of masking tape and paint from where templates had been drawn.
I then rubbed down the edges with 400 grit wet and dry before sealing them with wax. Finally giving the whole panel a polish with Dodo Juice Lime Prime.
Passenger side
Boot floor
The drivers side panel recieved the grip pad, which i based on the original pad found on the OEM carpets
Once they were done i thought id do a spot of cleaning.
Brake ducts
Side trims
Hoping to get the dash finished this week so that i can send that of to be flocked
Edited by Bmdub on Monday 7th May 20:49
J381 said:
Amazing build mate.
Got a link to one of those swaggers? Not sure what to look for!
Here you go mateGot a link to one of those swaggers? Not sure what to look for!
http://www.ebay.co.uk/itm/6-HOLE-SWAGER-SET-FLARIN...
Sorry for the lack of updates, with the car being at paint there is not to much going on.
However i do have the following updates
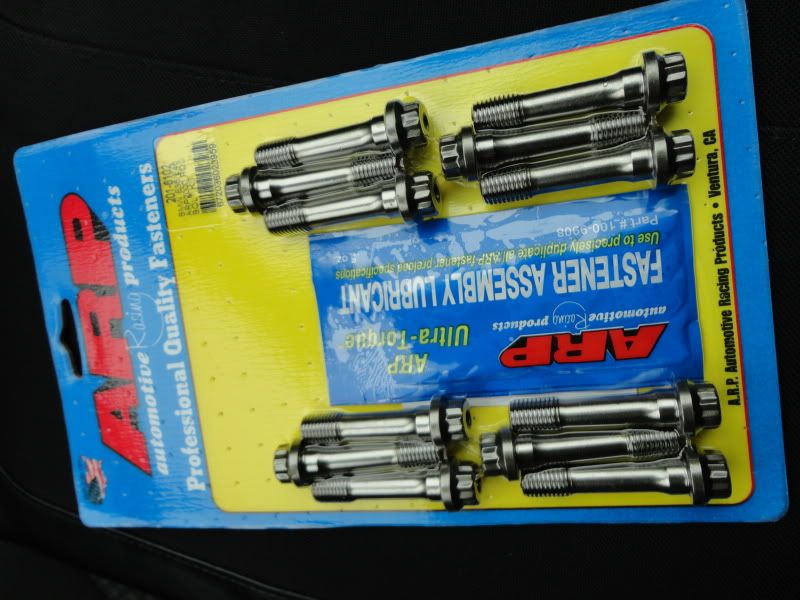
ARP Rod Bolts arrived.
New shells are on order from BMW
Popped up to Pro Alloy today to pick up my bits which have now been powder coated and finshed.
Box for external fire extinguisher and kill switch buttons
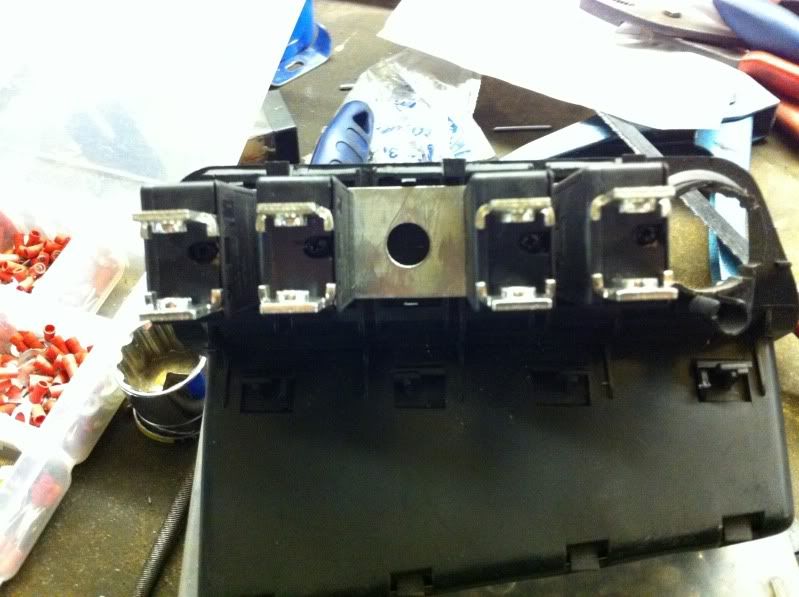
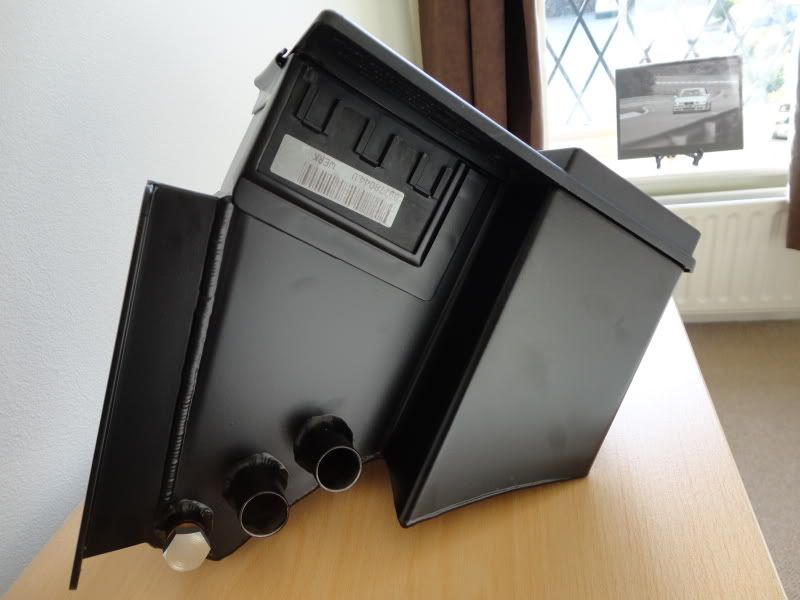
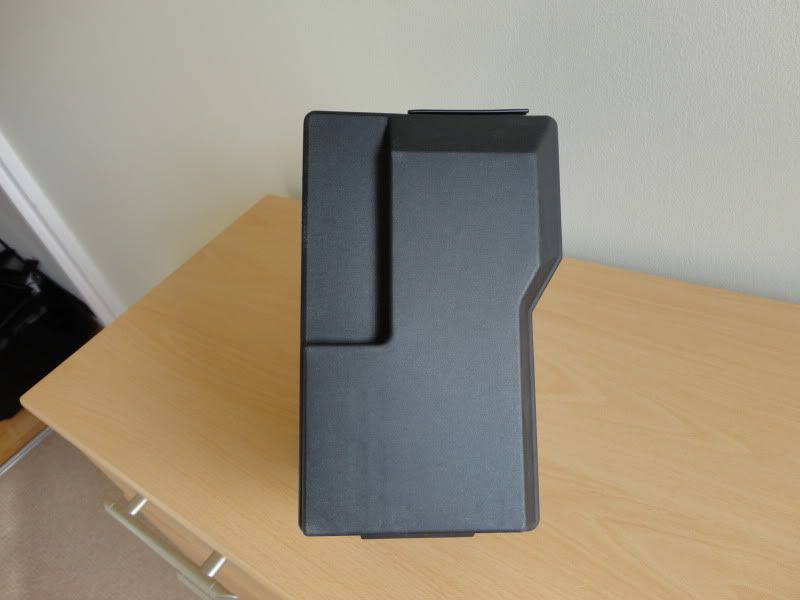
Now those of you who have been following my build will know that we were having a catch tank made to replicate the fuse box and fill the void left now that the fuse box is in the glovebox.
This is the finished result
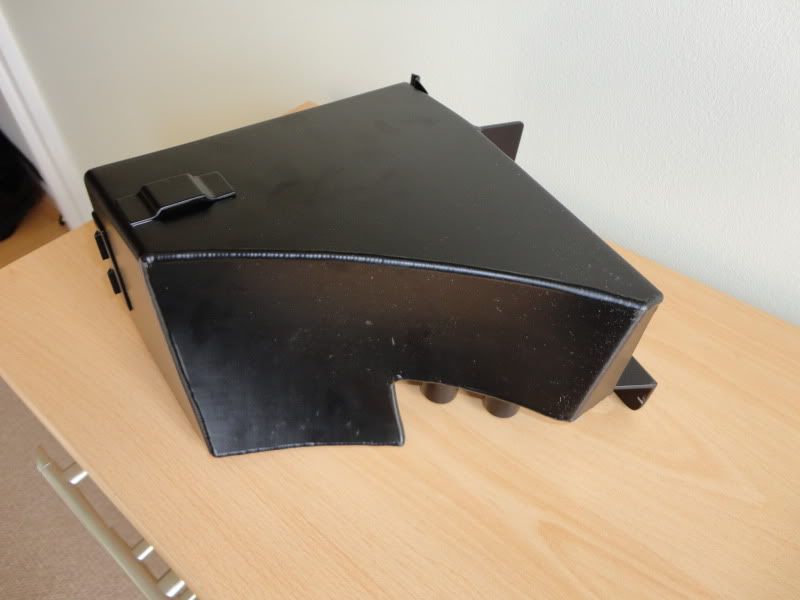
With relay mounting points fitted, this section was cut from the OEM fuse box and fitted into a frame made on the ctach tank
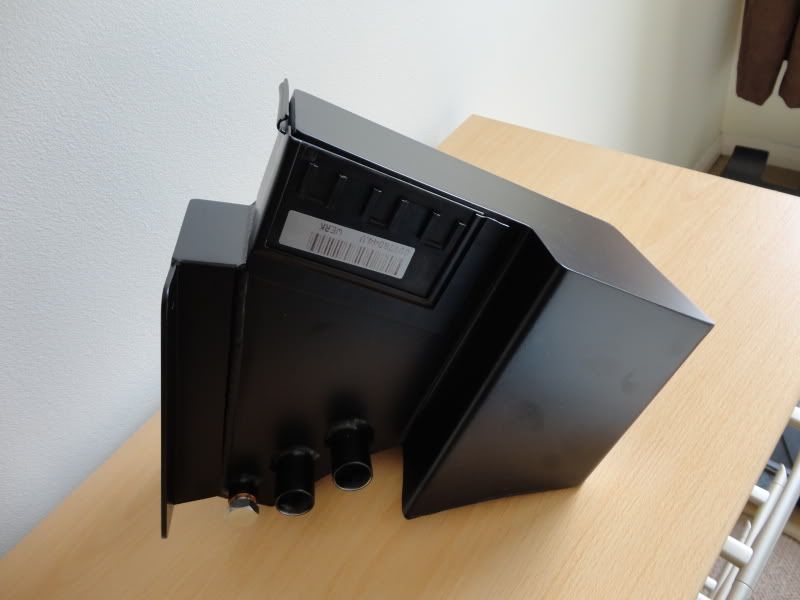
and with the OEM fuse box lid clipped into place

Going to Bilstein tomorrow to drop of my shocks for revalving to motorsport spec, on the way back will pop into Stylehaus to see how the paintjob is coming along
However i do have the following updates
ARP Rod Bolts arrived.
New shells are on order from BMW
Popped up to Pro Alloy today to pick up my bits which have now been powder coated and finshed.
Box for external fire extinguisher and kill switch buttons
Now those of you who have been following my build will know that we were having a catch tank made to replicate the fuse box and fill the void left now that the fuse box is in the glovebox.
This is the finished result
With relay mounting points fitted, this section was cut from the OEM fuse box and fitted into a frame made on the ctach tank
and with the OEM fuse box lid clipped into place
Going to Bilstein tomorrow to drop of my shocks for revalving to motorsport spec, on the way back will pop into Stylehaus to see how the paintjob is coming along
Edited by Bmdub on Wednesday 16th May 18:37
Well progress is very slow at the moment, still waiting for the shell to be painted 
I the meantime i have been doing a couple of other bits that needed to be done.
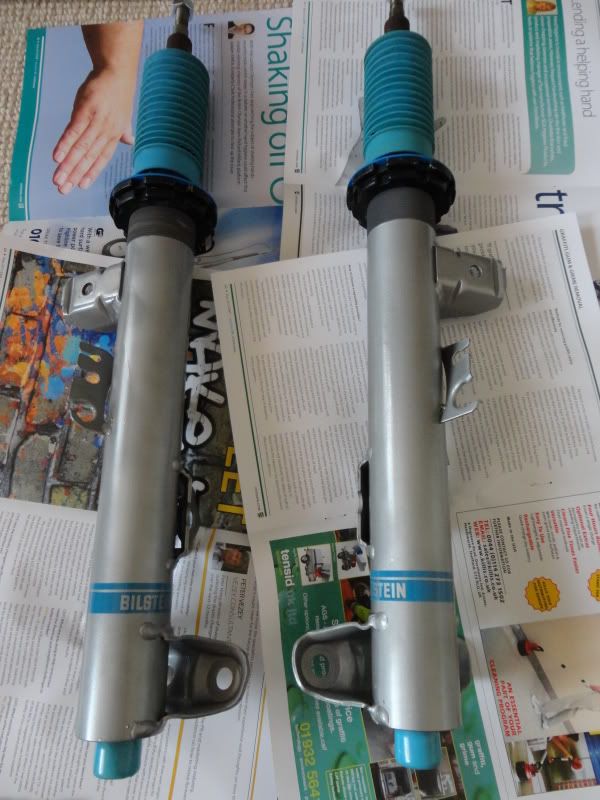
Shocks back from full rebuild at Bilstein, everything is new internally, also they have been re valved to make them stiffer for the track and the springs were tested and rated at eibach, which is on the same estate.
As well as a rebuild, they got the front bodies re-plated as they had corroded very badly.
All of this for just over £400 is great value IMO as they are basically new shocks now.
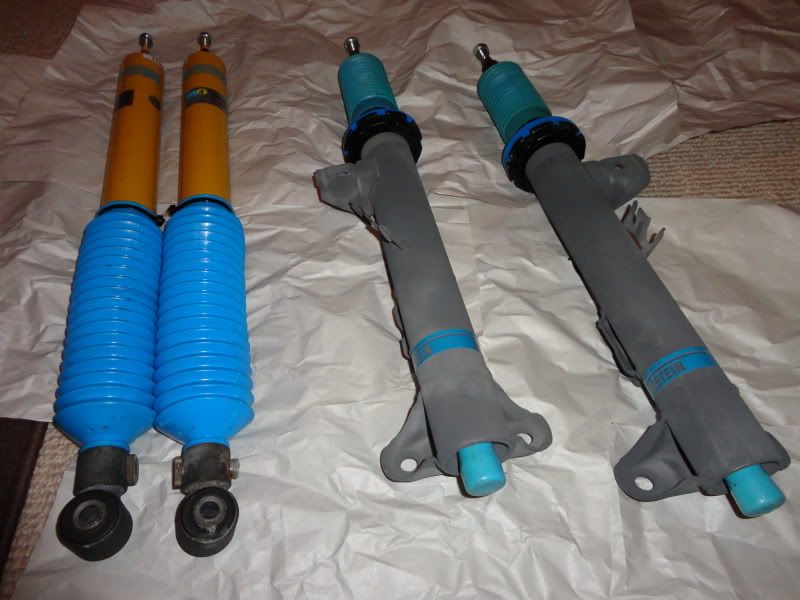
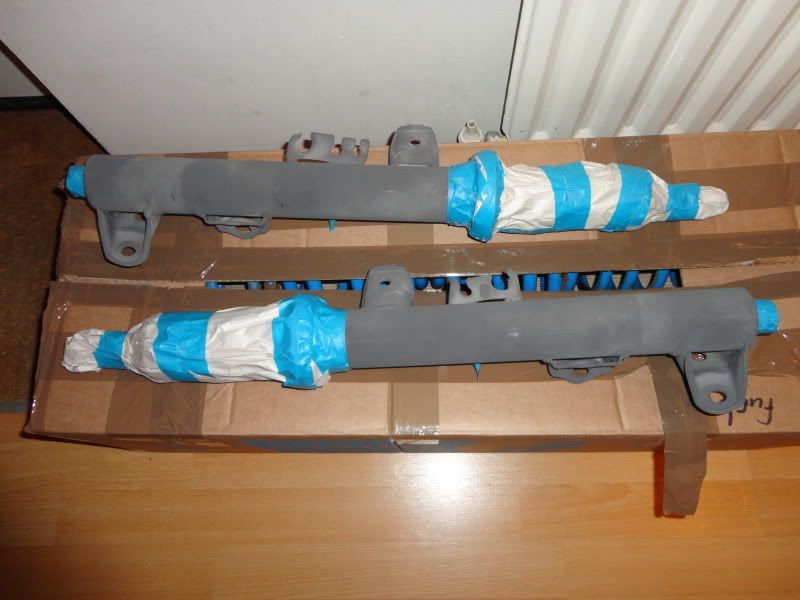
Although the plating is very good and had tidied up the bodies, i want to try and get them back to how they looked when they were new with the shiney silver plating, so i have decided to give them a coat of shiney silver paint, this will also protect them a bit better i hope.
Masked up
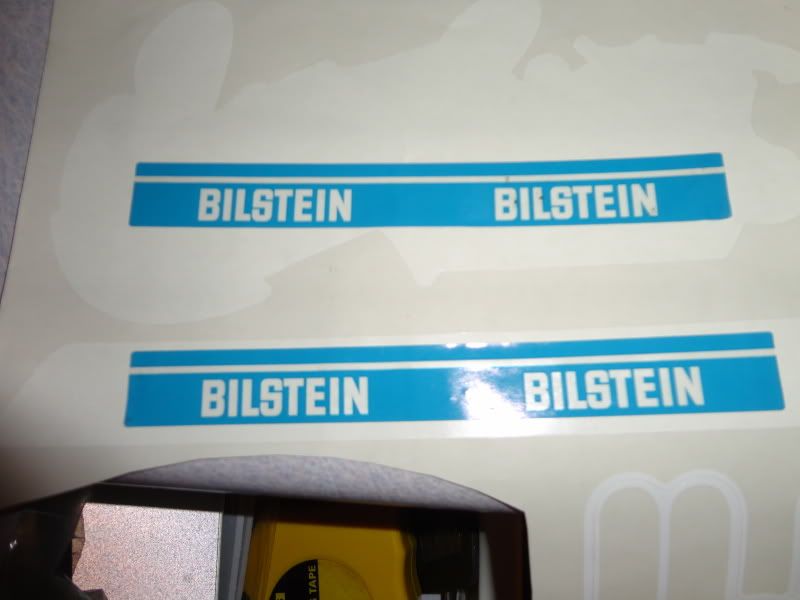
New stickers to go on after paint
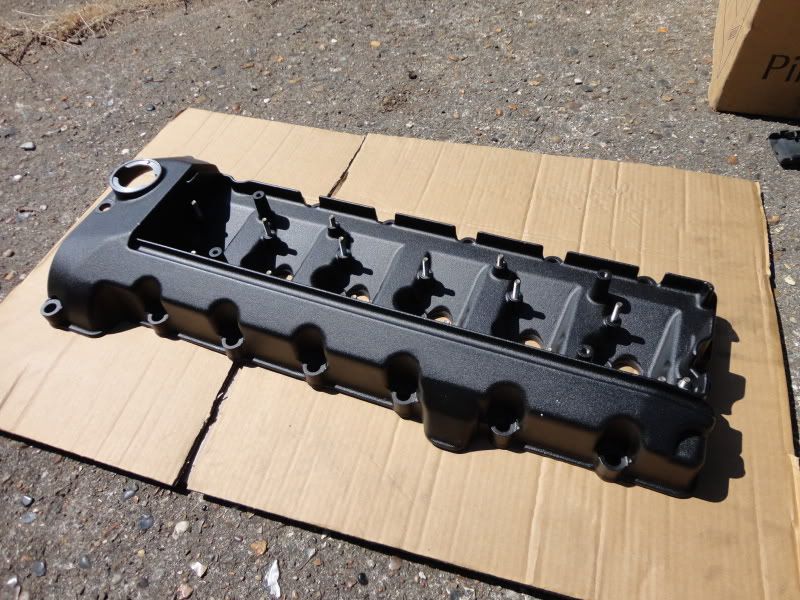
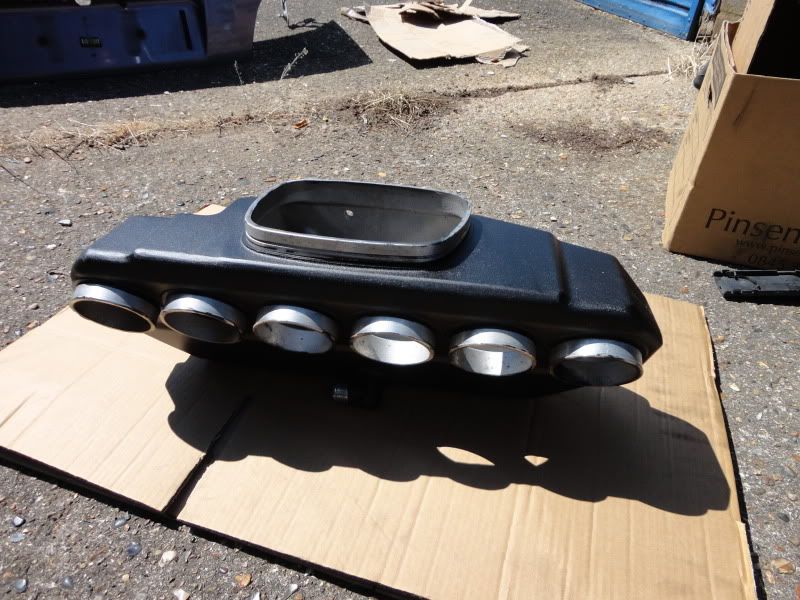
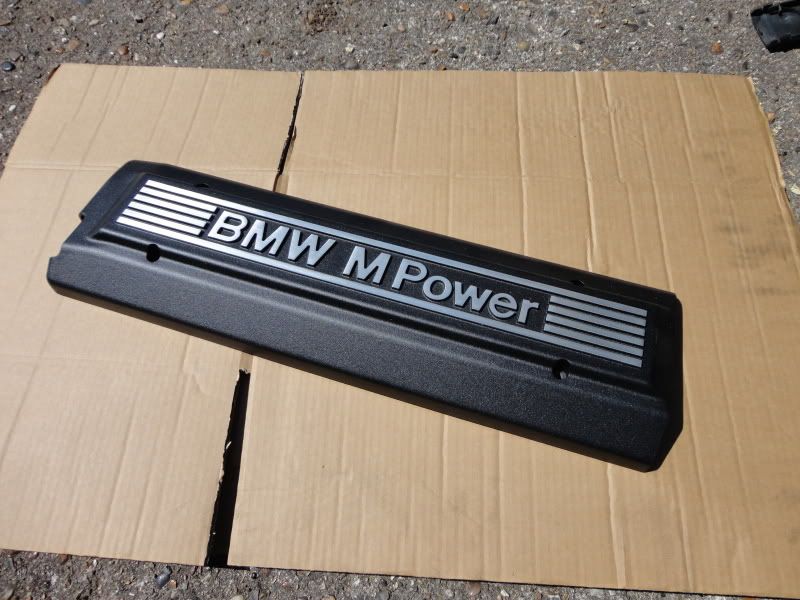
Other than this i have removed the rocker cover, spark plug cover and plenum chamber all of which had been sent off for powder coating in original finish.
I the meantime i have been doing a couple of other bits that needed to be done.
Shocks back from full rebuild at Bilstein, everything is new internally, also they have been re valved to make them stiffer for the track and the springs were tested and rated at eibach, which is on the same estate.
As well as a rebuild, they got the front bodies re-plated as they had corroded very badly.
All of this for just over £400 is great value IMO as they are basically new shocks now.
Although the plating is very good and had tidied up the bodies, i want to try and get them back to how they looked when they were new with the shiney silver plating, so i have decided to give them a coat of shiney silver paint, this will also protect them a bit better i hope.
Masked up
New stickers to go on after paint
Other than this i have removed the rocker cover, spark plug cover and plenum chamber all of which had been sent off for powder coating in original finish.
Dropped off the Dash at Thomas and Vines in Watford today to be flocked, 3/4 black flock. this will be back next friday, cant wait to see the results
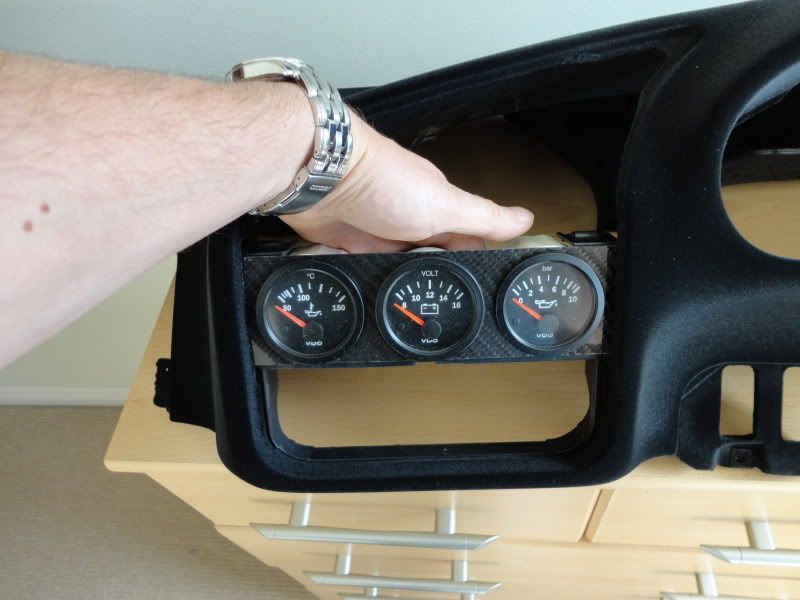
Finihsed off the auxillary guage panel, where once i had my tunes i now have these
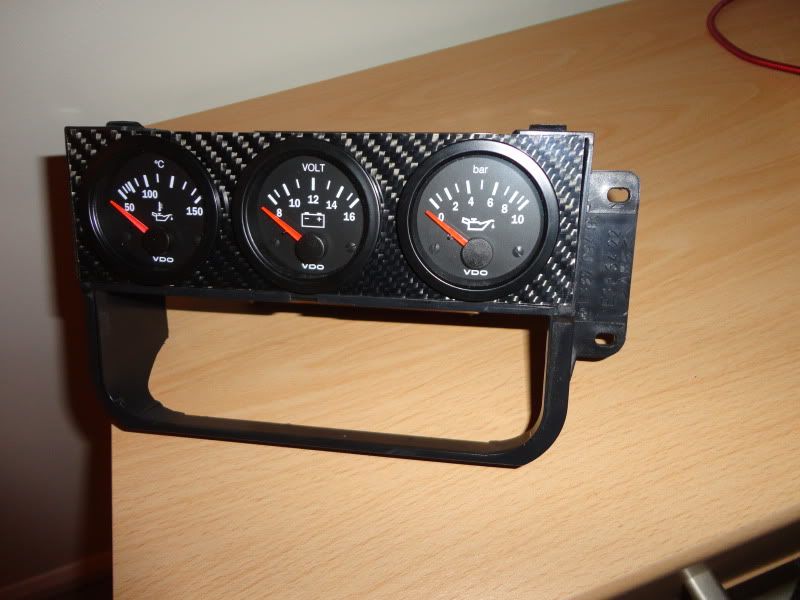
I will miss my music and will have to rig up something temporary for the long drive over to Germany, although i doubt i will hear anything over the road noise!
Aside from this all of my front and rear subframes etc have been dropped off for powder coat along with some other bits and bobs.
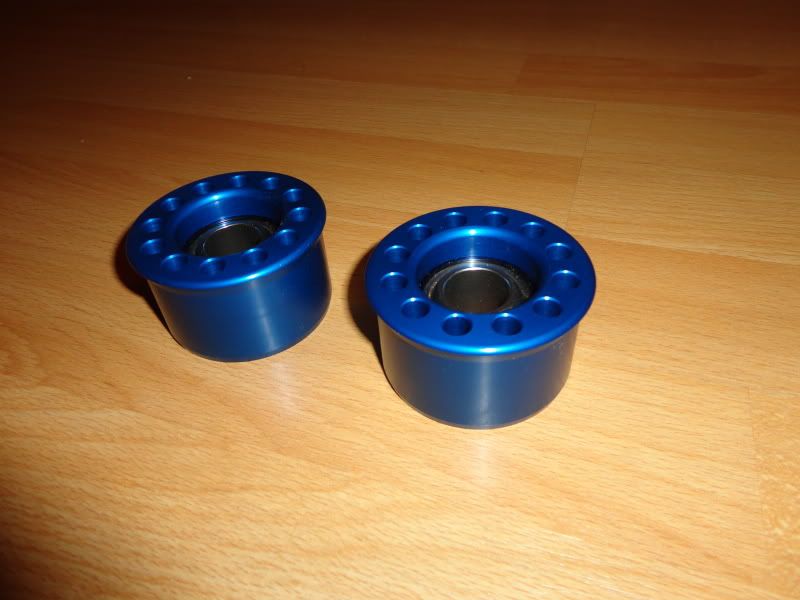
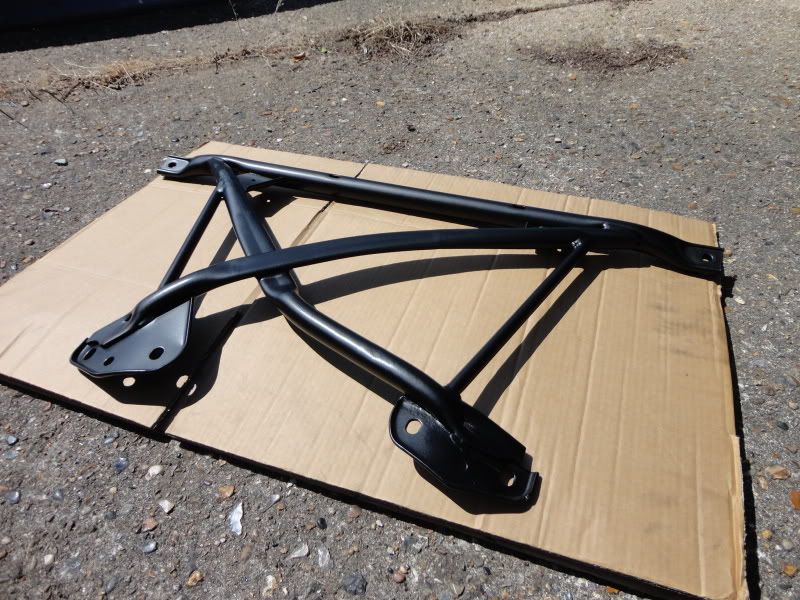
And i have finally managed to pick up a x brace
Finihsed off the auxillary guage panel, where once i had my tunes i now have these
I will miss my music and will have to rig up something temporary for the long drive over to Germany, although i doubt i will hear anything over the road noise!
Aside from this all of my front and rear subframes etc have been dropped off for powder coat along with some other bits and bobs.
And i have finally managed to pick up a x brace
Edited by Bmdub on Thursday 7th June 20:49
ditchvisitor said:
Also you don't have an interest in making more carbon panels do you??
If my car was finished i may consider it for you,however the fact that it took around 15 hours to do the 3 panels we just dont have the timeIf it helps i just brought the sheet from Carbon Mods and made some templates from cardboard and away we went, all the cutting was done using a fine cutting disc on a grinder and finished off with a file.
Popped up to Stylehaus today, the car is progressing, everything has been rubbed down inside from the boot up to mid way through the car.
Hopefully progress will pick up a bit now as i want to try and get the car on track this summer.
Aside from that, the engine has now been stripped and cleaned, the dash flocking will be completed on Friday as will the powder coating.
Hopefully progress will pick up a bit now as i want to try and get the car on track this summer.
Aside from that, the engine has now been stripped and cleaned, the dash flocking will be completed on Friday as will the powder coating.
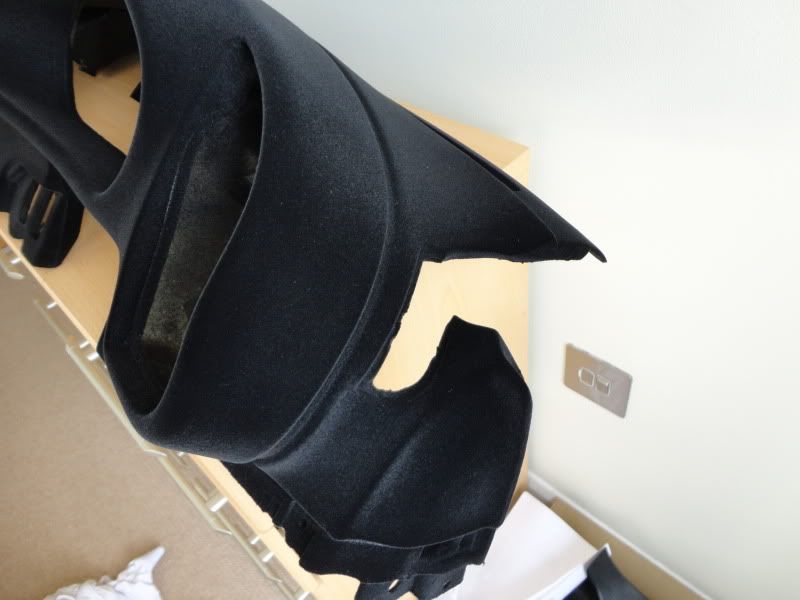
ok, so i just collected the dash from bieng flocked at Thomas & Vines in Watford.
Looks absolutely amazing, and excactly as i had hoped. cannot see where the dash has been filled to go around the cage or anything.
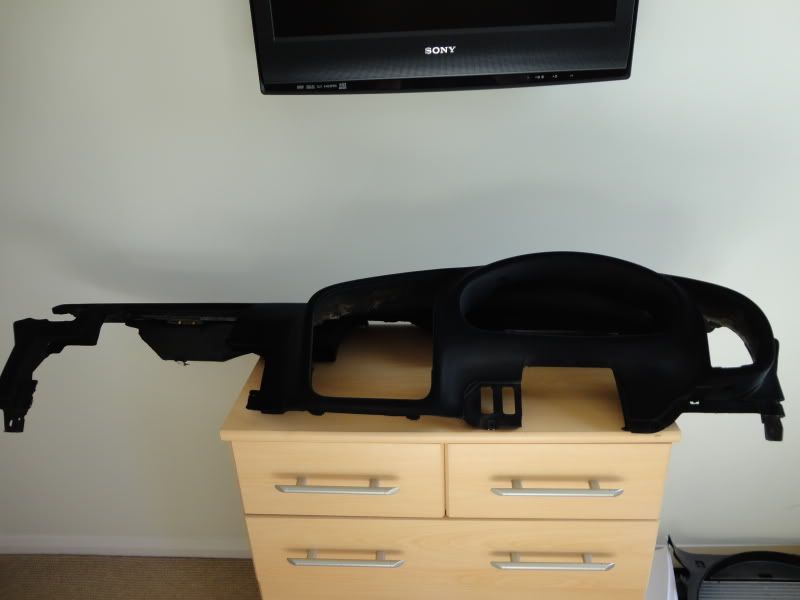
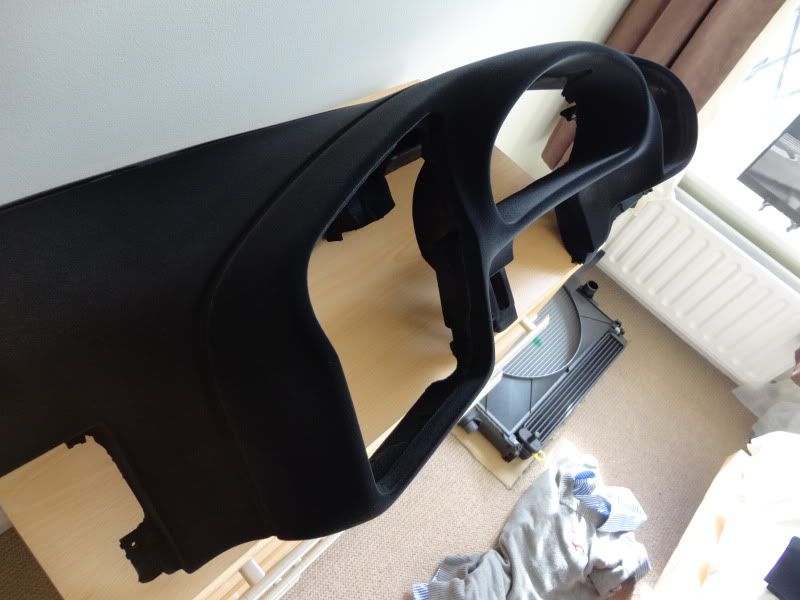
Where the dash has been cut/filled to fit around rollcage.
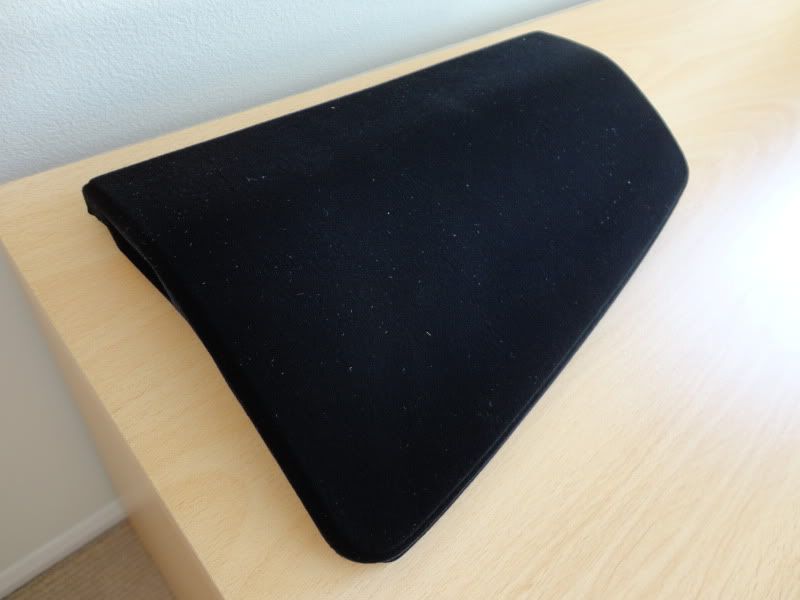
The airbag cover, again the embossed "SRS Airbag" logo had been filled but you cannot see where
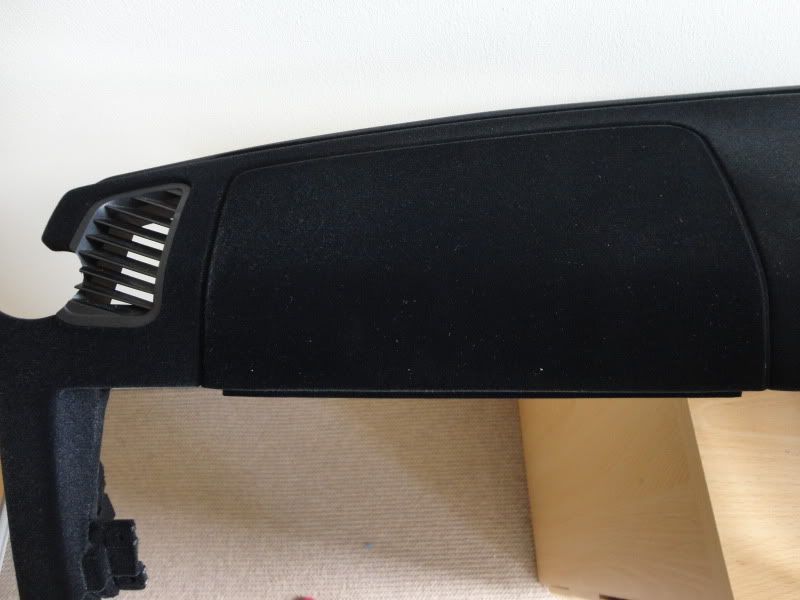
Test fitted airbag cover and one of the air vents, as you can see the air vents have also been modified to fit around the cage
Then thought i slide the stereo/climate mount in, so i could see how the auxillary guages will look.
Looks absolutely amazing, and excactly as i had hoped. cannot see where the dash has been filled to go around the cage or anything.
Where the dash has been cut/filled to fit around rollcage.
The airbag cover, again the embossed "SRS Airbag" logo had been filled but you cannot see where
Test fitted airbag cover and one of the air vents, as you can see the air vents have also been modified to fit around the cage
Then thought i slide the stereo/climate mount in, so i could see how the auxillary guages will look.
Edited by Bmdub on Friday 15th June 17:45
Edited by Bmdub on Friday 15th June 17:52
Been a busy day, on my way back from a work trip to Newcastle i stopped in at Impreziv Finishings Ltd in Darlington, i had sent my rocker cover and plenum up there a couple of weeks ago to be recoated in the OEM black crackle finish.
Came out really well
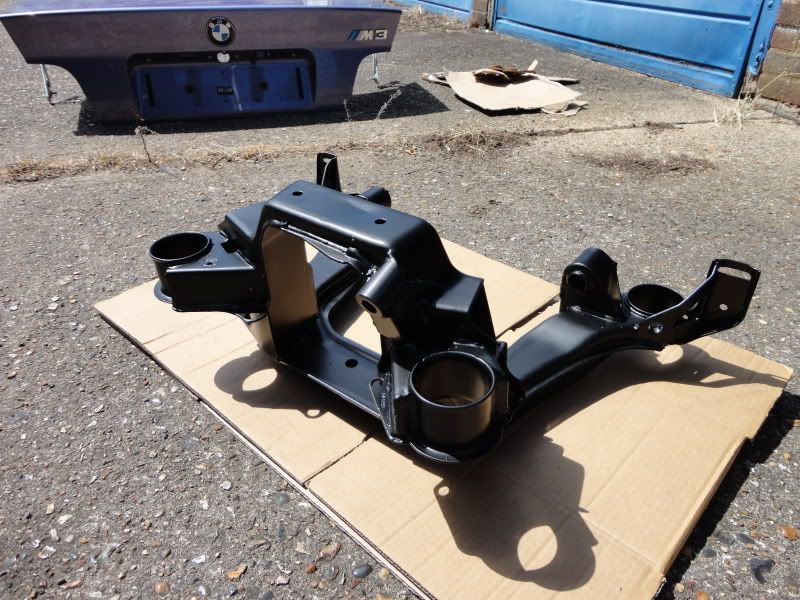
The when i got home i went down to Amwell Blast Coat in Ware to collect the rest of my powder coating which i dropped in last week
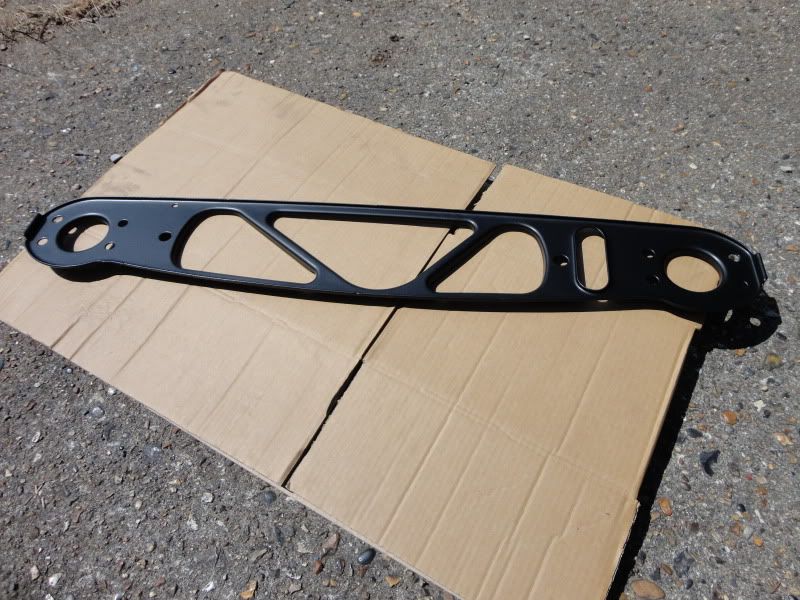
X Brace
Diff Cradle
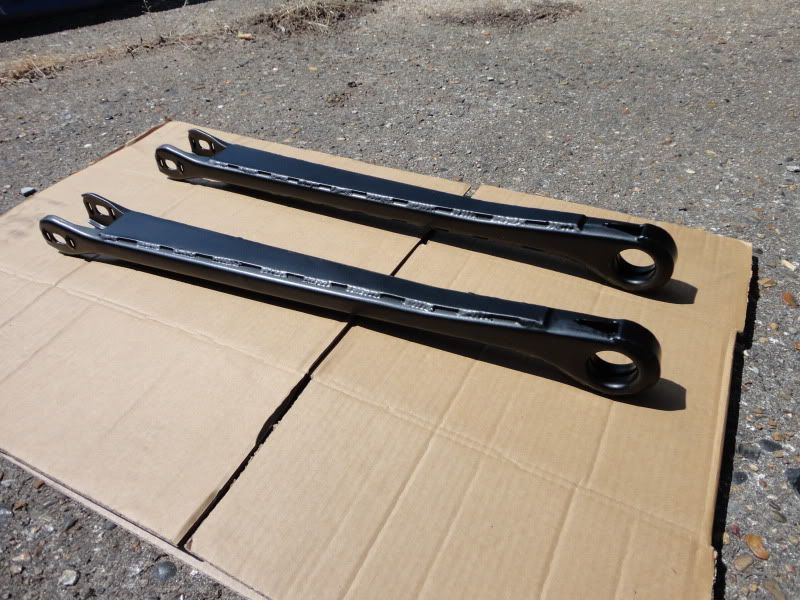
Rear control arms, already stregthened
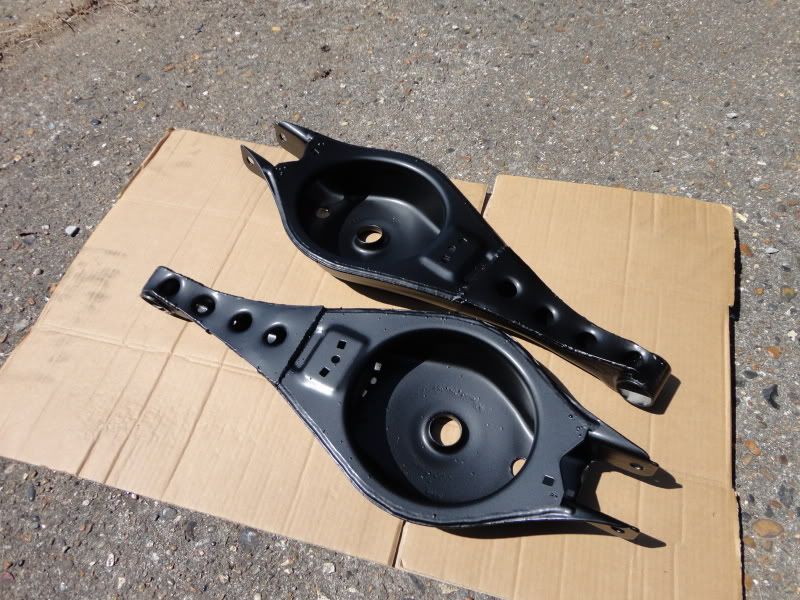
Rear spring platforms, again already strengthened
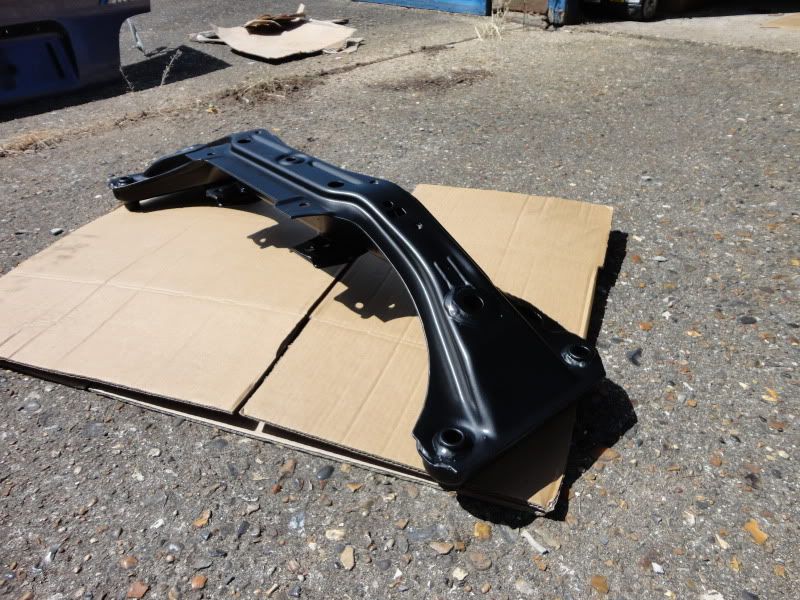
Front Sub Frame
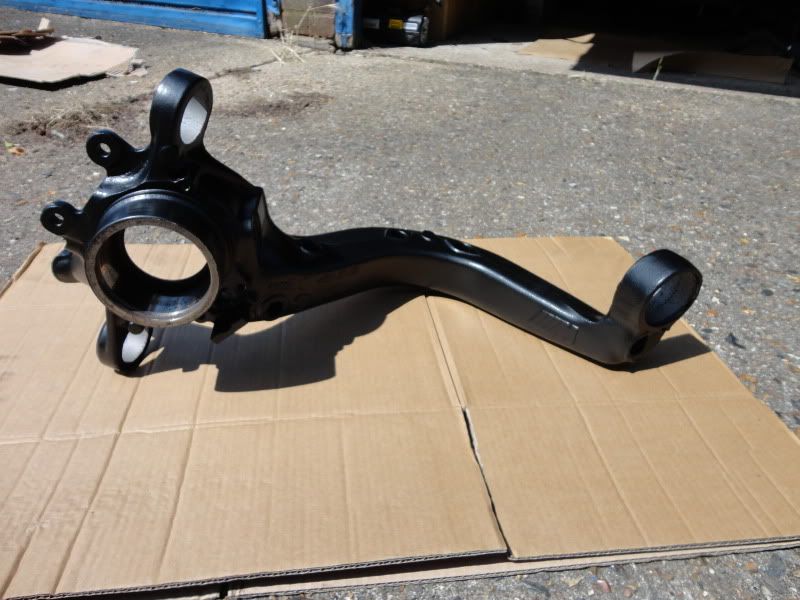
Rear Trailing Arms
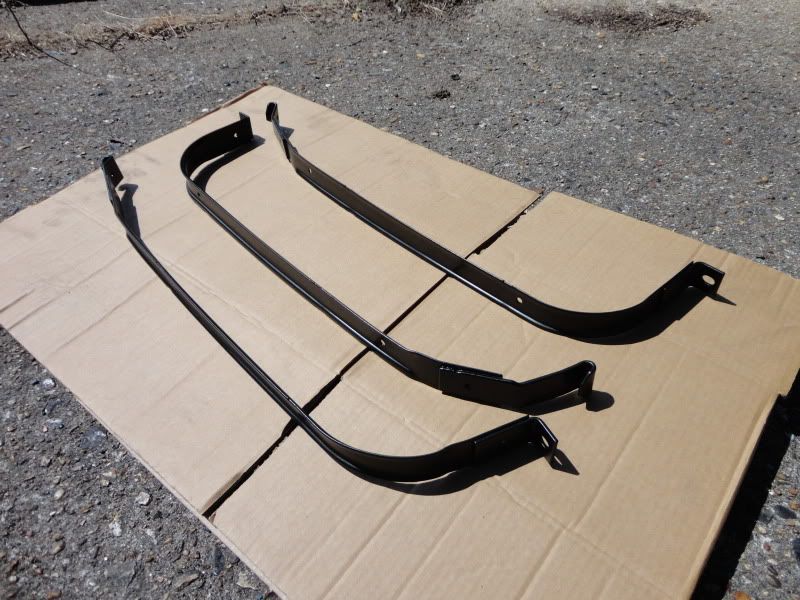
Fuel Tank Straps
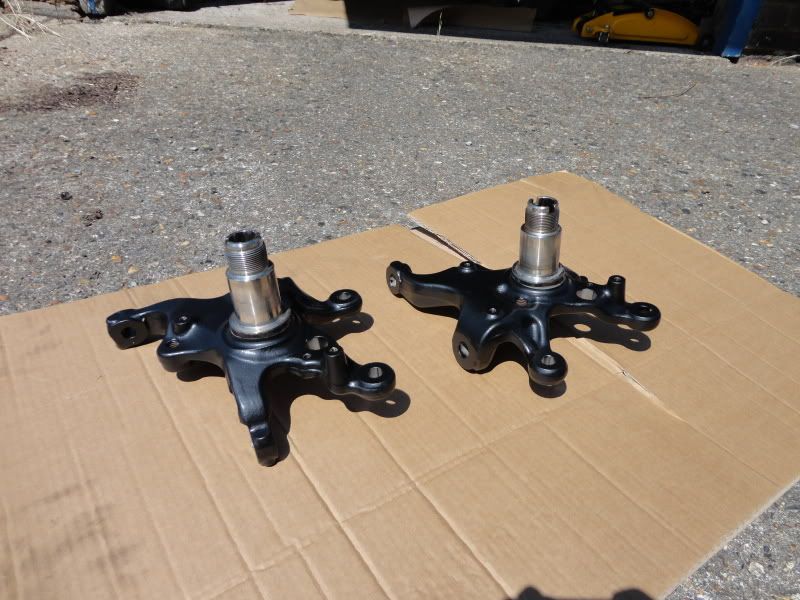
Front Hubs
Front panel
Rear trailing arm mounts, these have been made double thickness using 2 sets of mounts
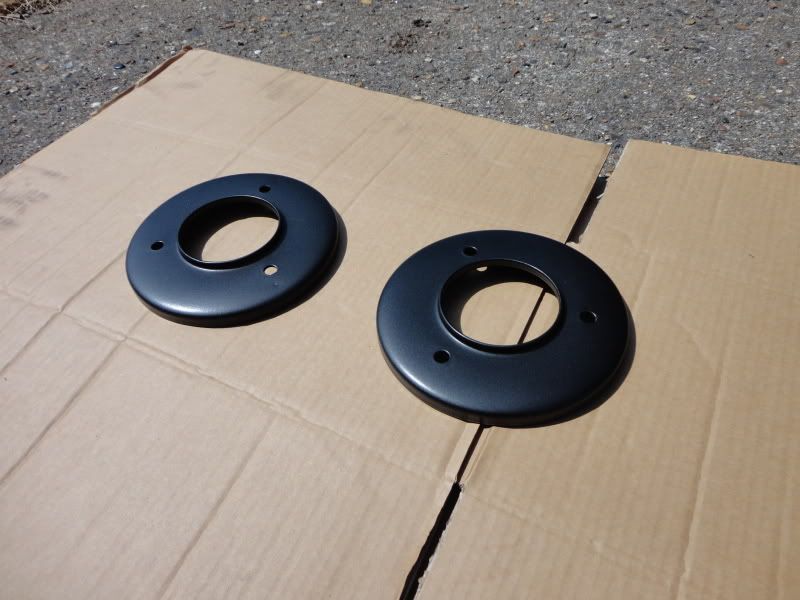
Front Suspension turret reinforcement plates
There are lots more smaller brackets etc that have been done in satin black as well as these silver bits
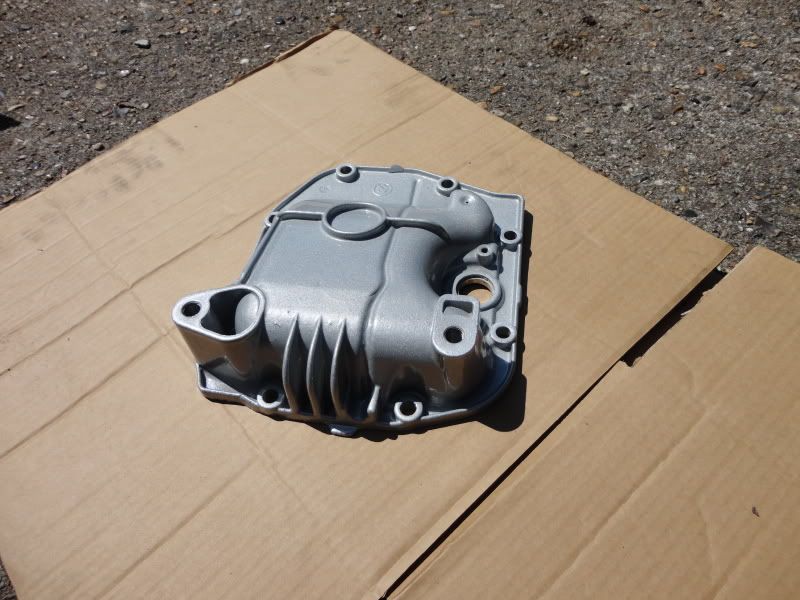
Diff cover plate
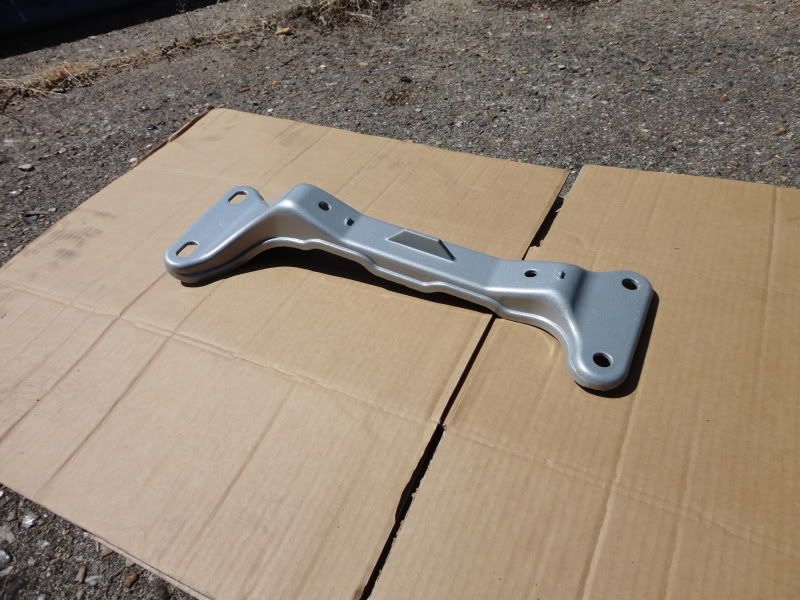
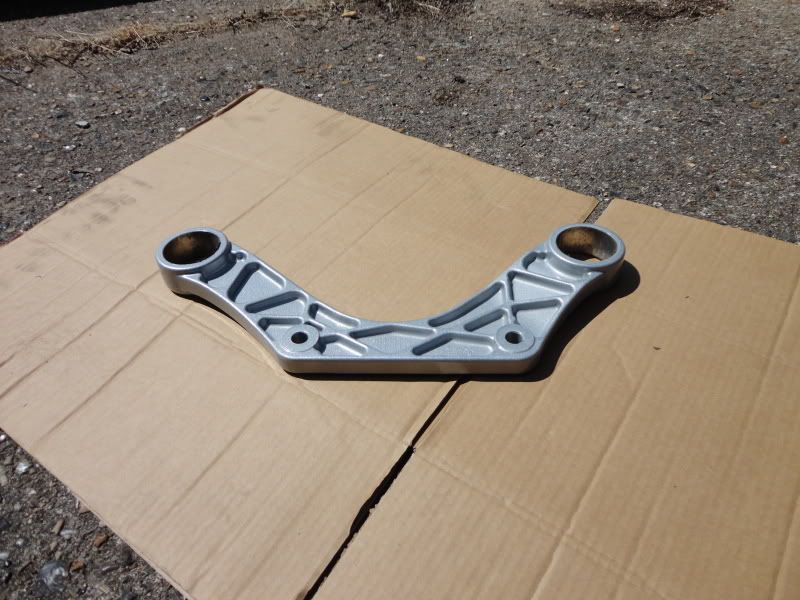
Gearbox mount
Diff mount
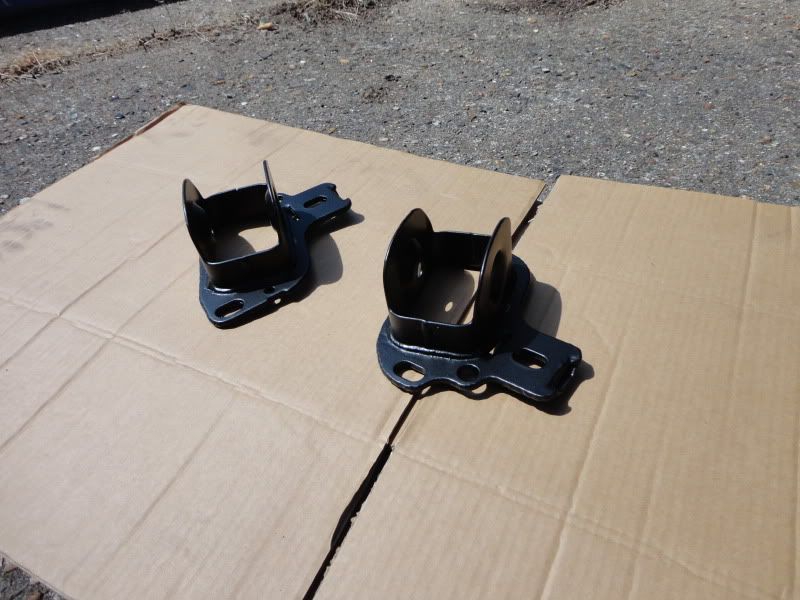
Engine Mounts

and got the springs redone in Bilstein Blue

Came out really well
The when i got home i went down to Amwell Blast Coat in Ware to collect the rest of my powder coating which i dropped in last week
X Brace
Diff Cradle
Rear control arms, already stregthened
Rear spring platforms, again already strengthened
Front Sub Frame
Rear Trailing Arms
Fuel Tank Straps
Front Hubs
Front panel
Rear trailing arm mounts, these have been made double thickness using 2 sets of mounts
Front Suspension turret reinforcement plates
There are lots more smaller brackets etc that have been done in satin black as well as these silver bits
Diff cover plate
Gearbox mount
Diff mount
Engine Mounts
and got the springs redone in Bilstein Blue
Gassing Station | Readers' Cars | Top of Page | What's New | My Stuff