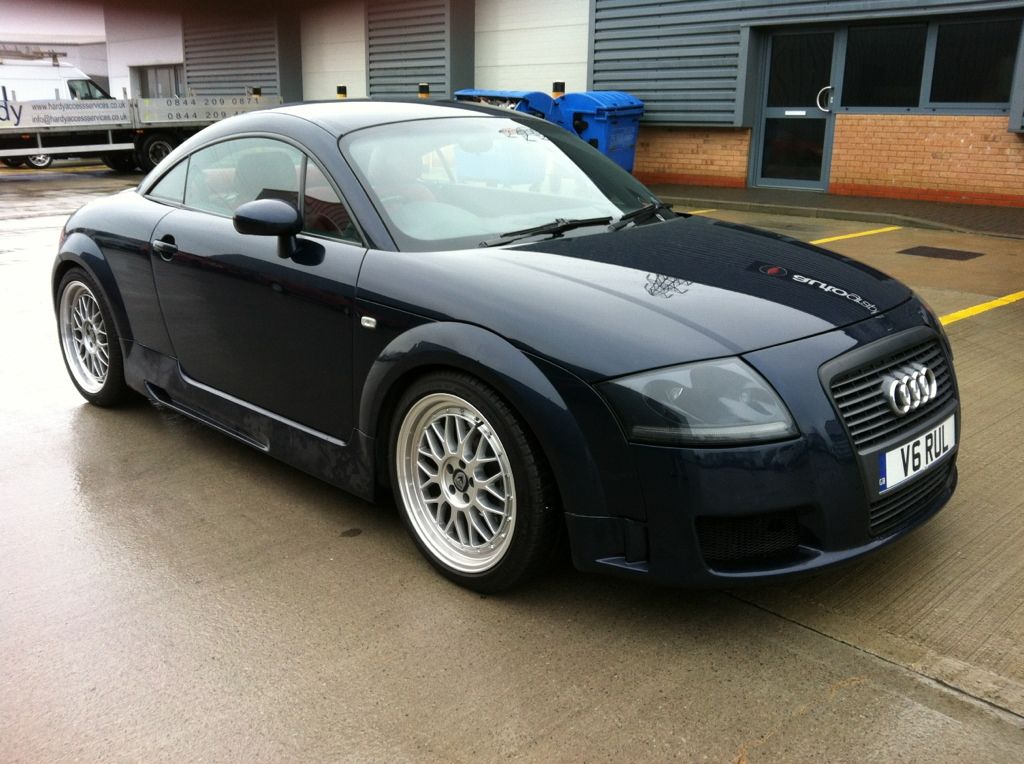
My MK1 3.2 TT Turbo
Discussion


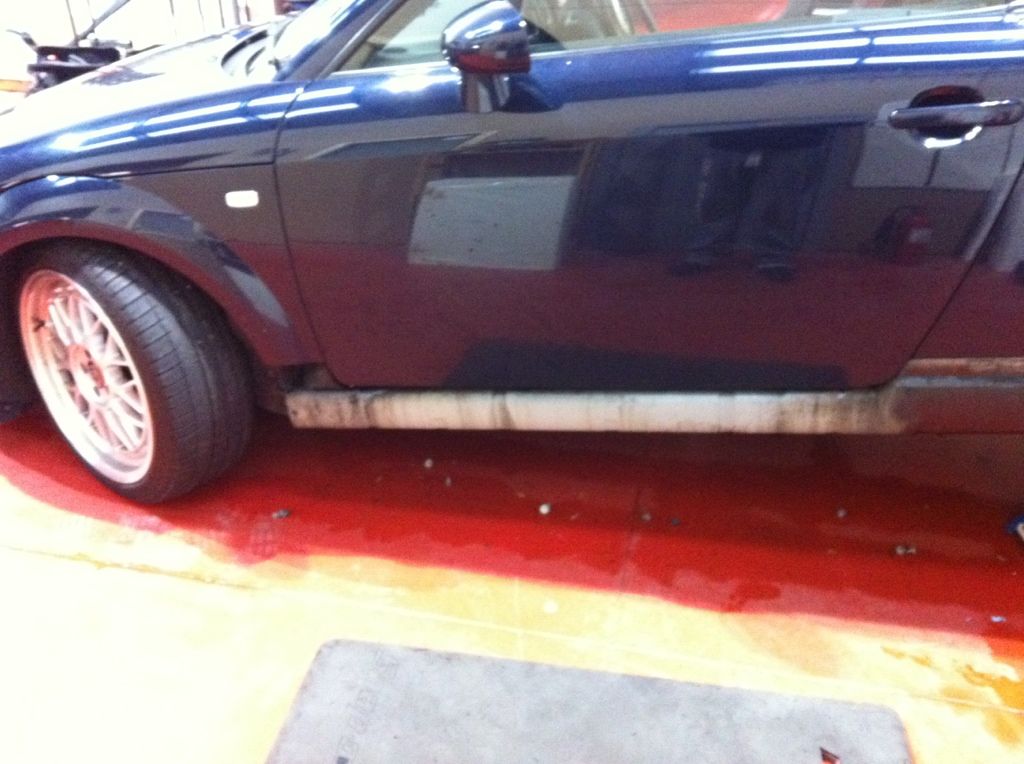
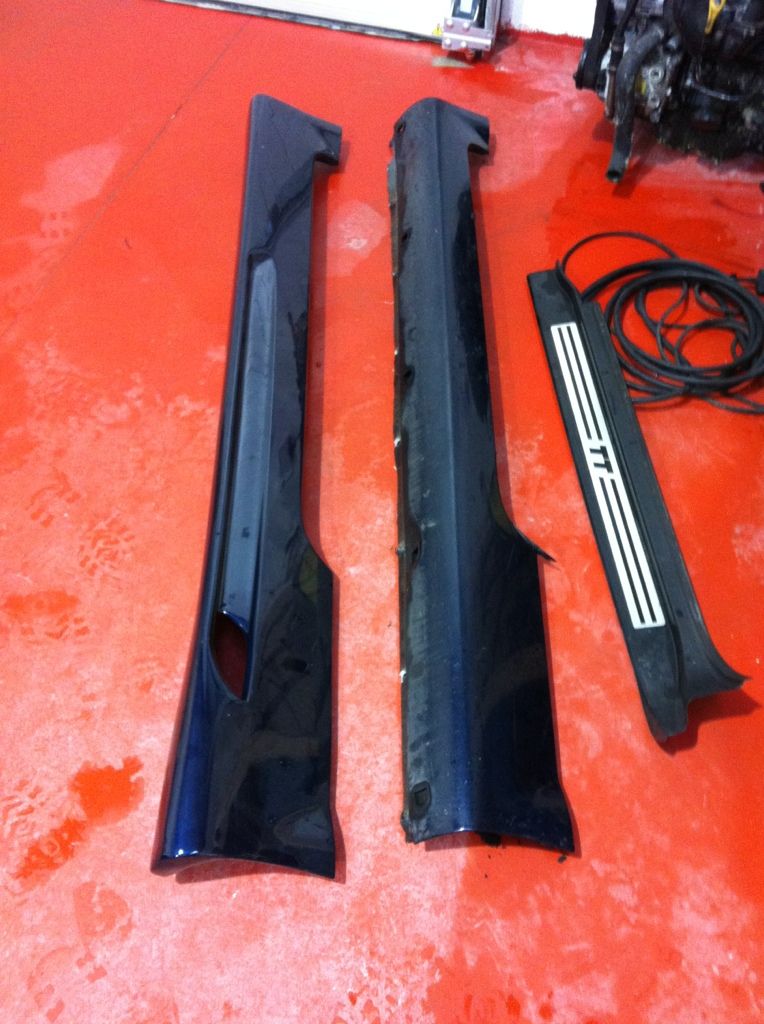
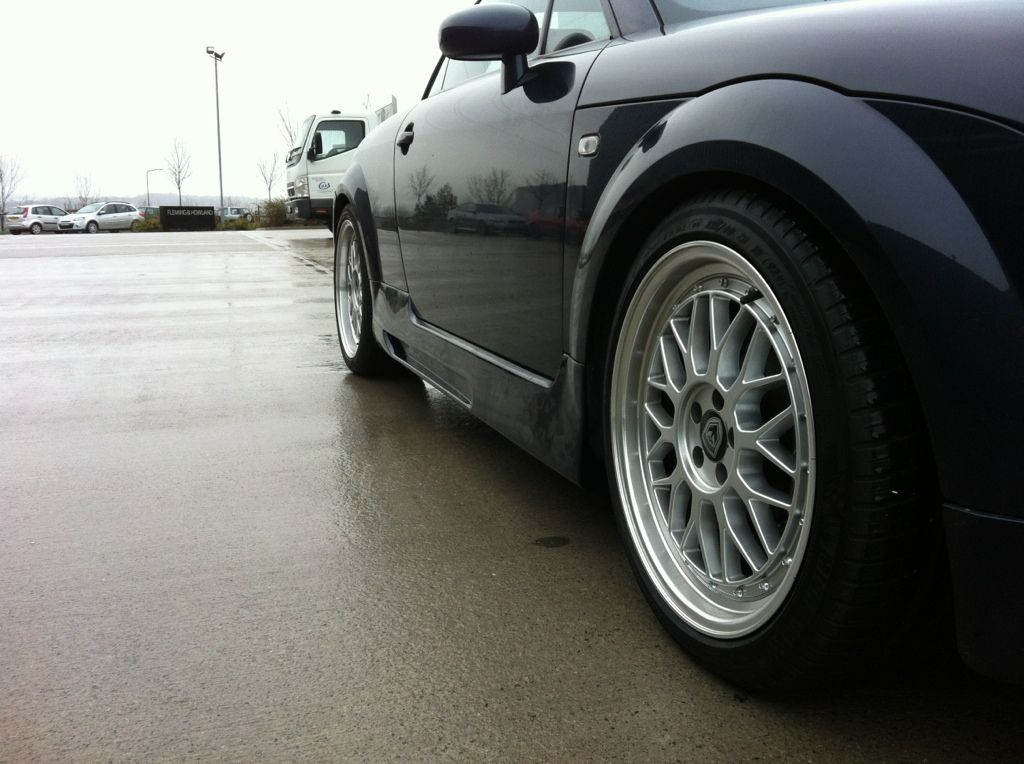
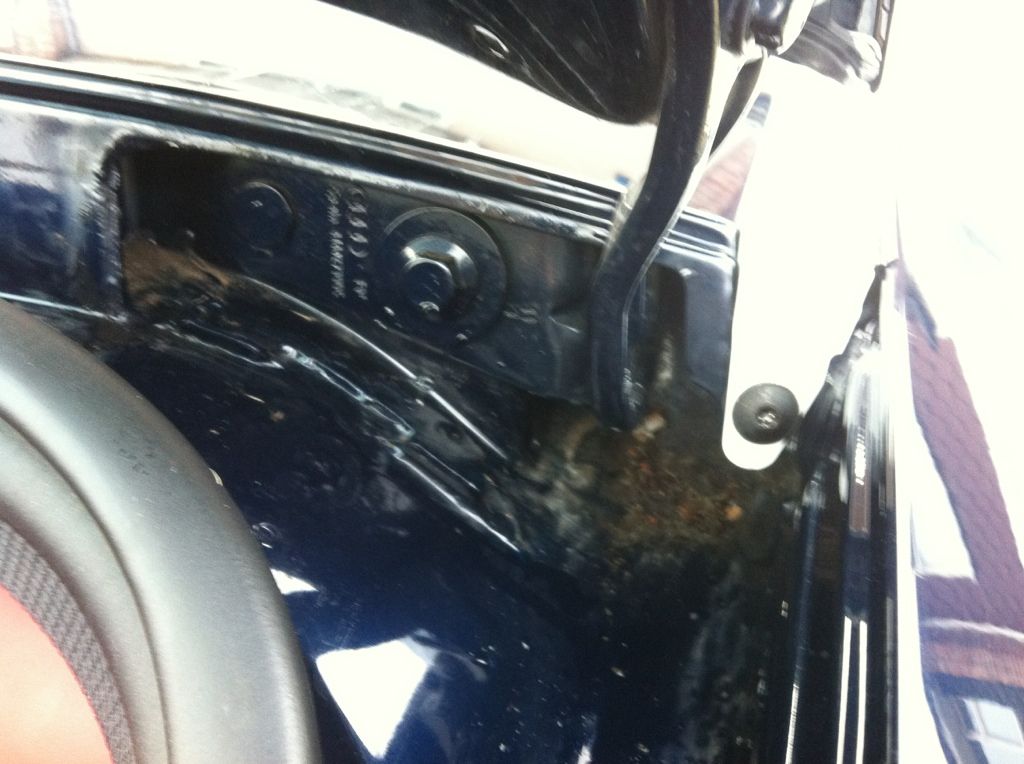
Ive had some replacement sills lying around and decided to get them fitted today.
The OEM ones had a few dents and the waxoil underseal on, which, when i am getting it wrapped in a few weeks won't look good. I got the new sills off a forum member for a decent price..
A few more things happening next week, whilst im offshore.
Steve
The OEM ones had a few dents and the waxoil underseal on, which, when i am getting it wrapped in a few weeks won't look good. I got the new sills off a forum member for a decent price..
A few more things happening next week, whilst im offshore.
Steve
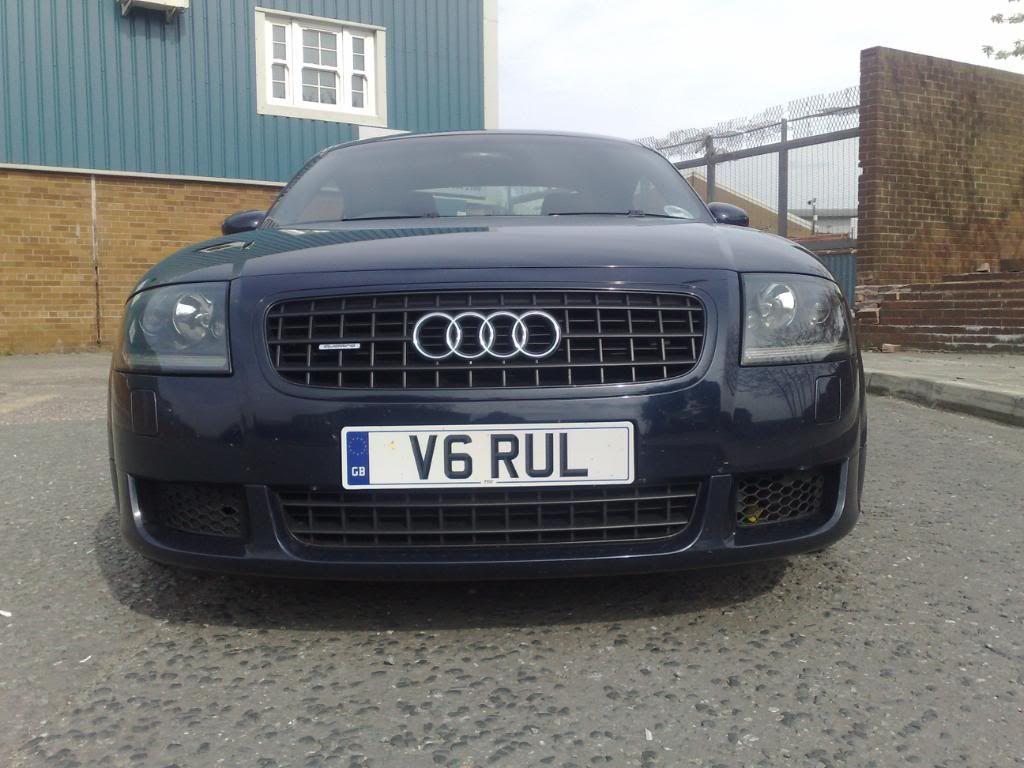
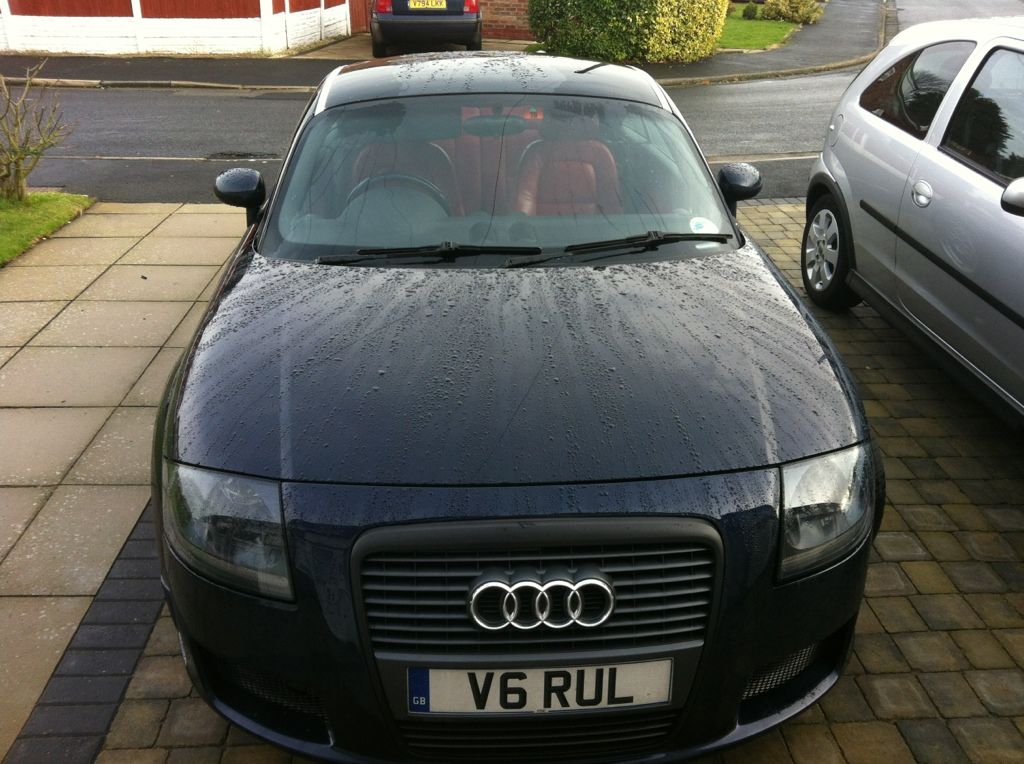
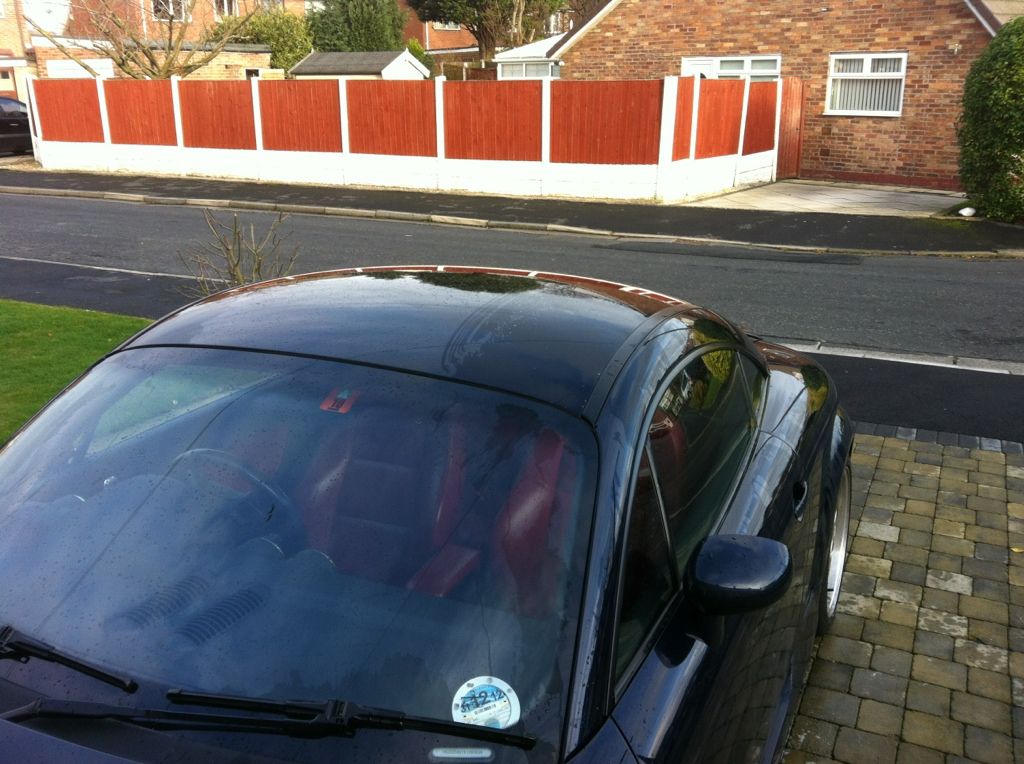
This is how she used to look on the front with OEM bumper..
I split the headlights and colour coded them moro blue.
I also have clear corners fitted.
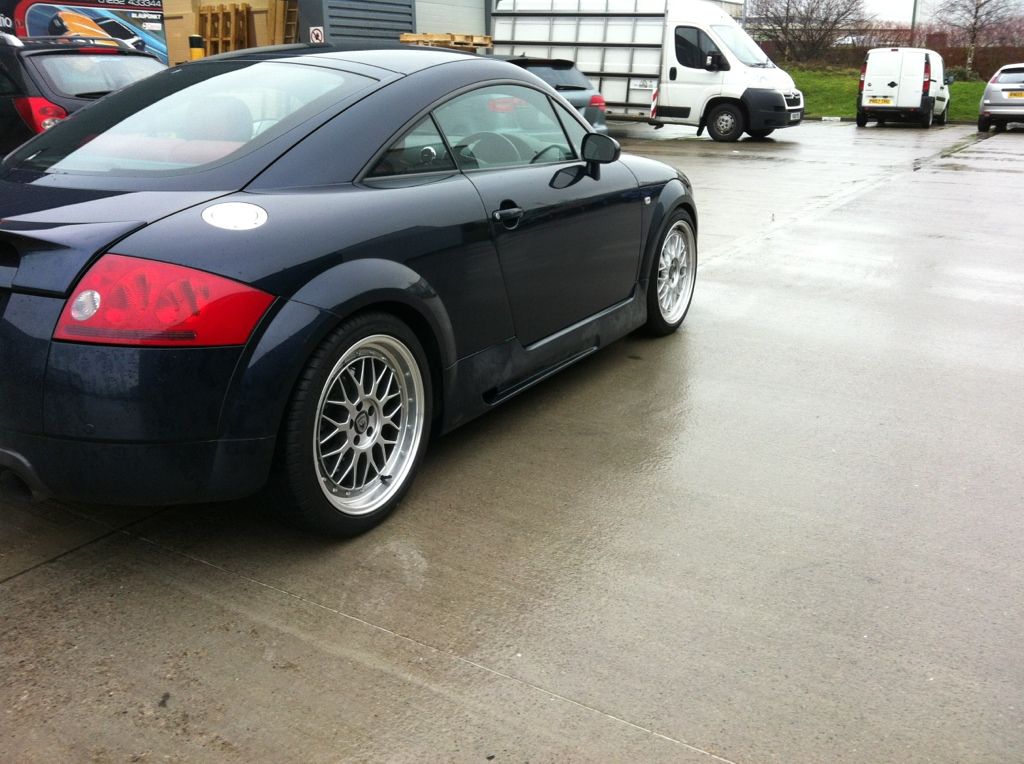
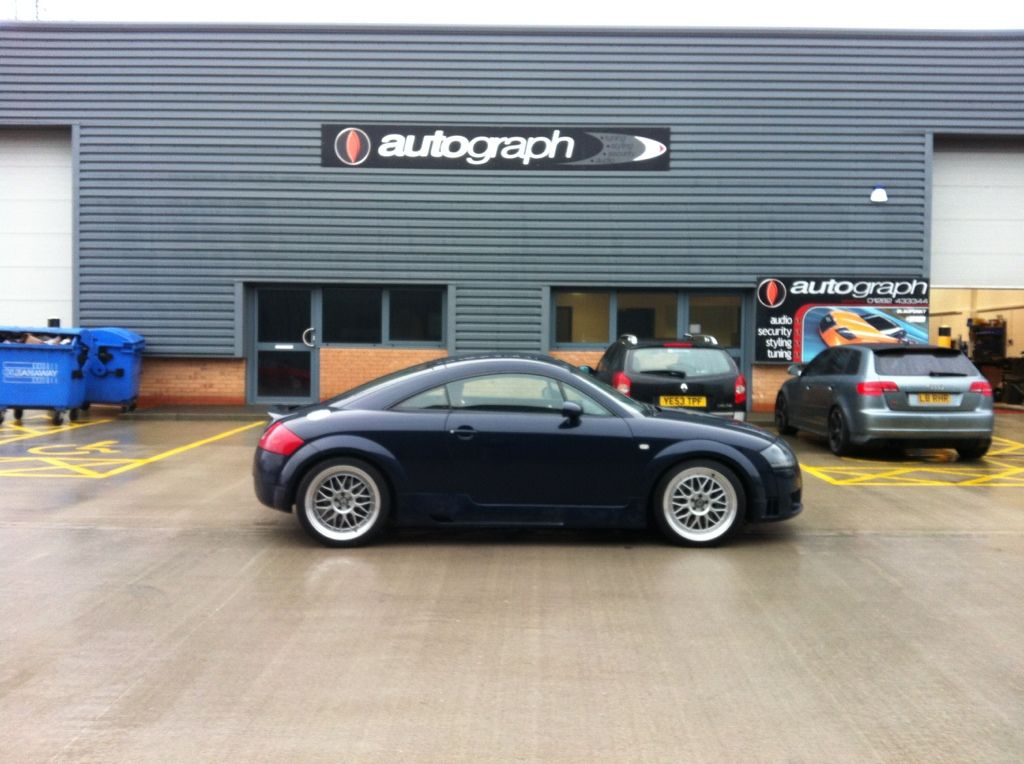
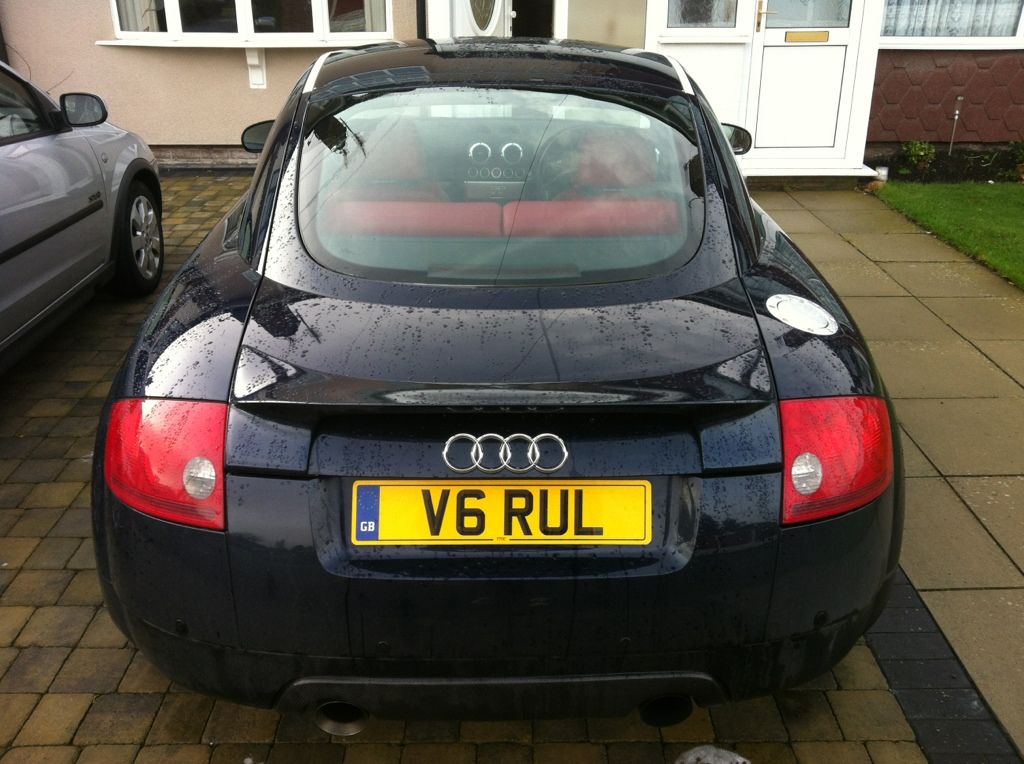
This is how she currently looks..
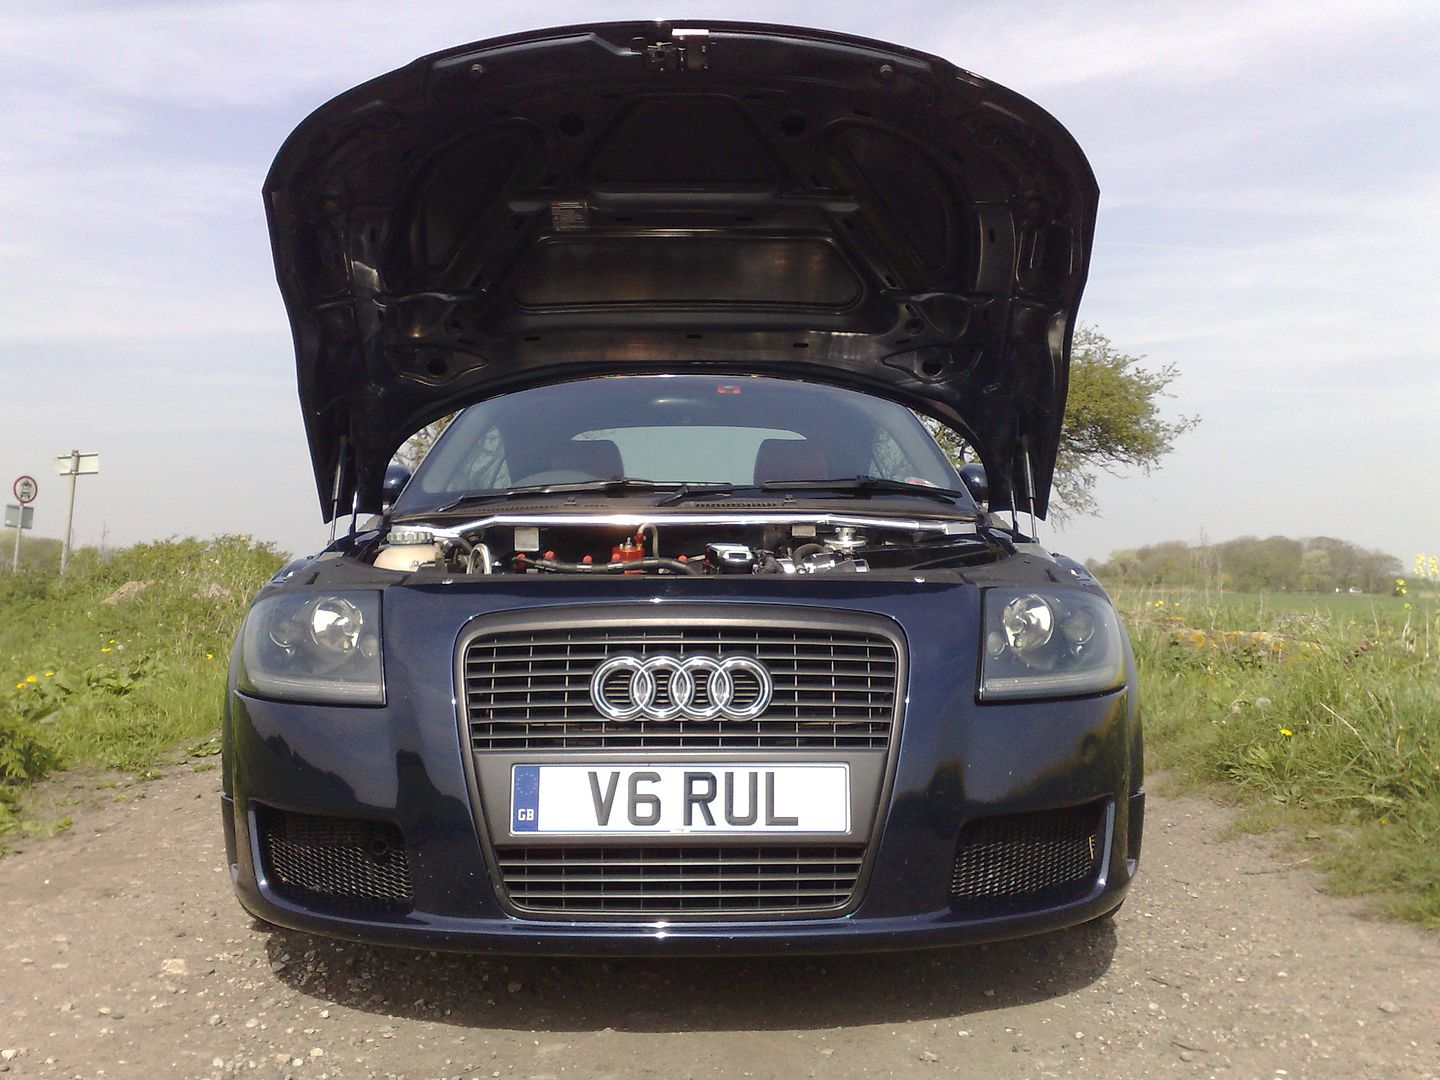
This aftermarket bumper allows more air flow with the larger grilles.
In 2 weeks she will be fitted with this Rieger bumper as it will be a better fit as show season is coming round..it will be painted moro prior to wrapping..

Steve
I split the headlights and colour coded them moro blue.
I also have clear corners fitted.
This is how she currently looks..
This aftermarket bumper allows more air flow with the larger grilles.
In 2 weeks she will be fitted with this Rieger bumper as it will be a better fit as show season is coming round..it will be painted moro prior to wrapping..
Steve
Edited by V6RUL on Tuesday 27th November 15:40
Mighty fine example, read about one similar in a magazine not too long ago. I love my TT, amazing cars and if i could afford it would love to do something similar. Looks to be a cracking project which youve done a great job on, love the wheels too! 10/10 for effort and 11/10 for execution 
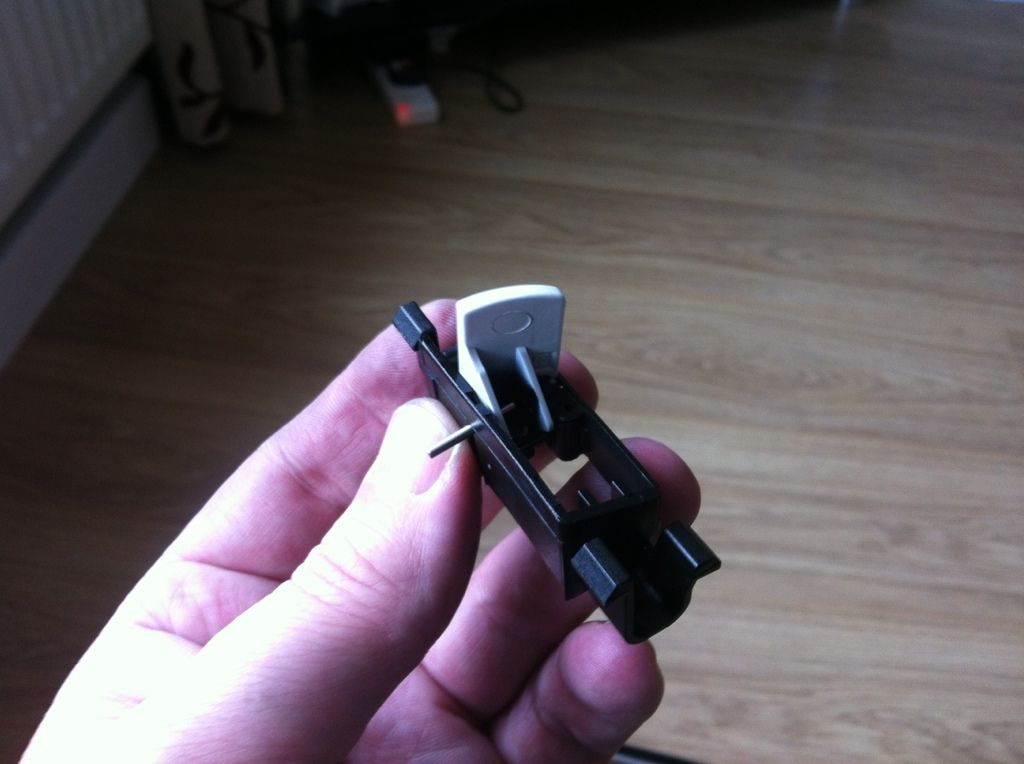
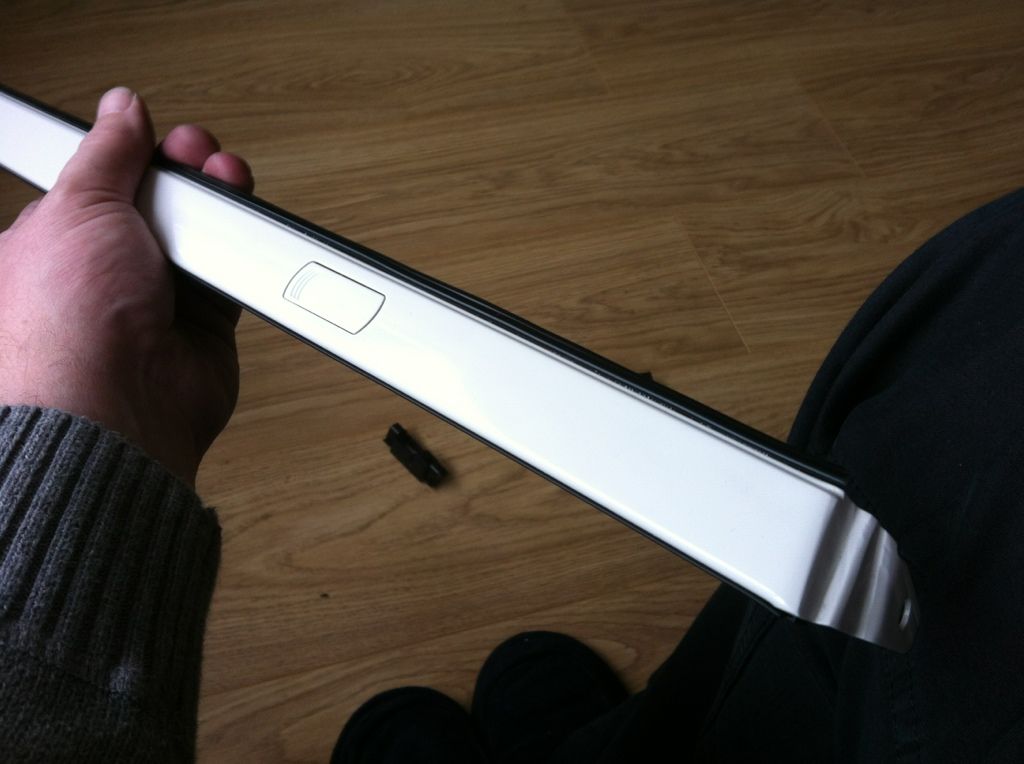
Decided it was time to fit my new roof rails and to do a little how to..
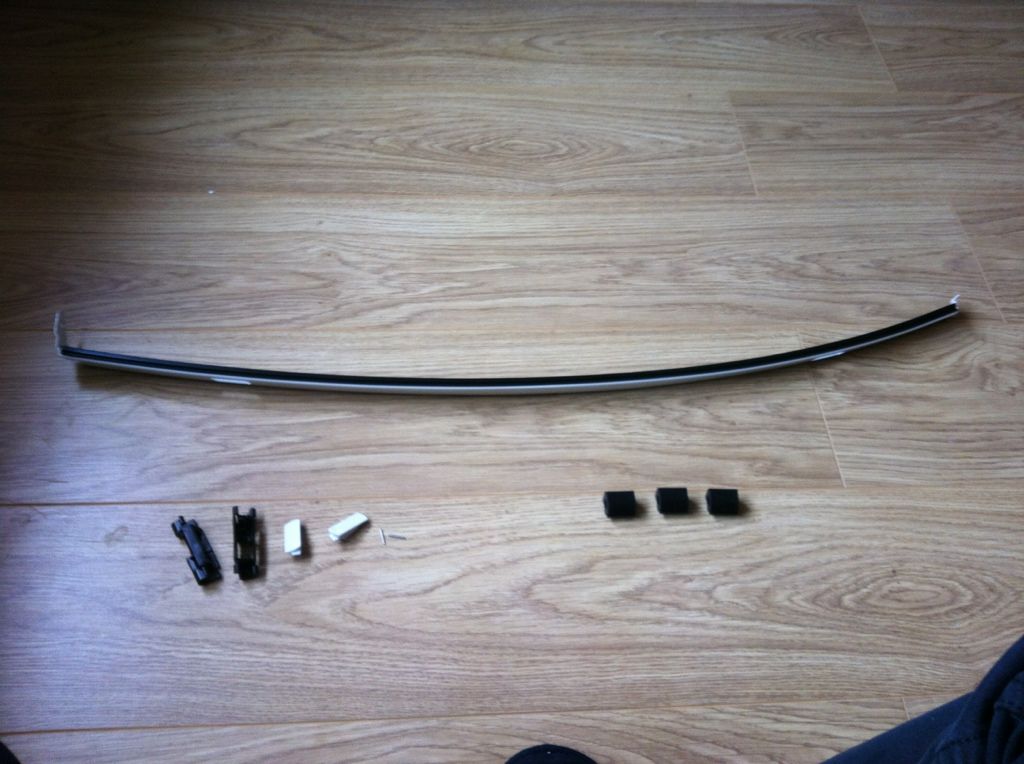
New trims from Audi..
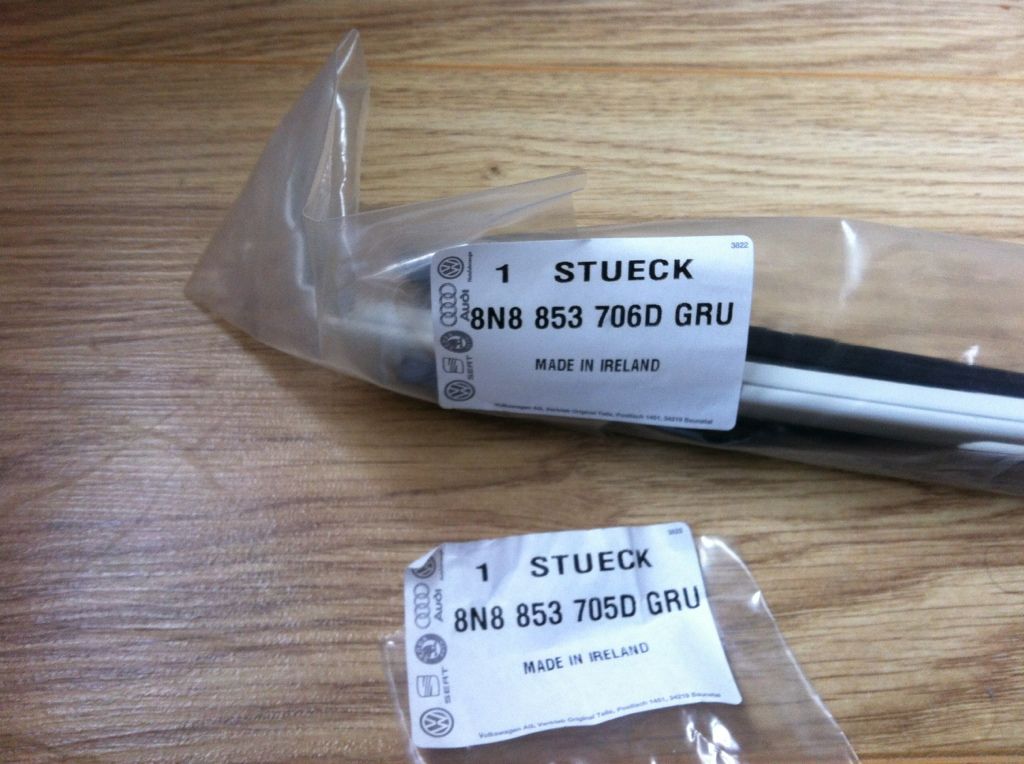
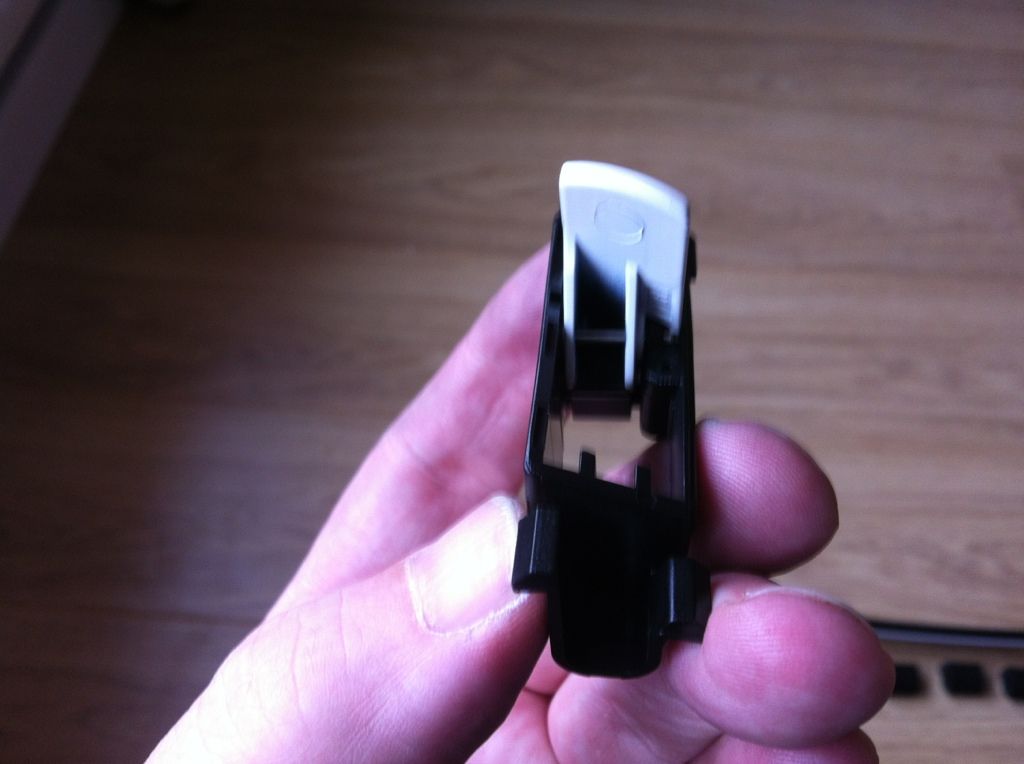
Split the pack to see one of the kits..
The rubbers are sided and should only be fitted one way.
Its a good idea to use a little soapy water as these suckers don't go on easy.
An extra set of hands would be quicker, start at one end and slide the rubber all the way along then inspect to ensure the rubbers are correctly in the track..

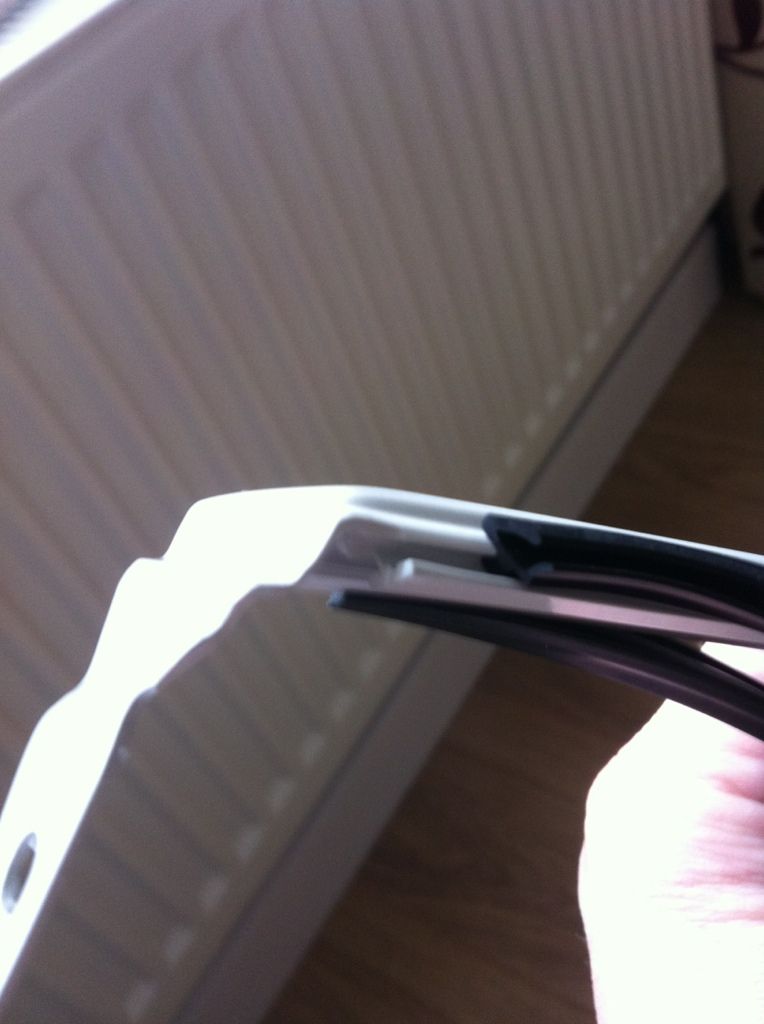
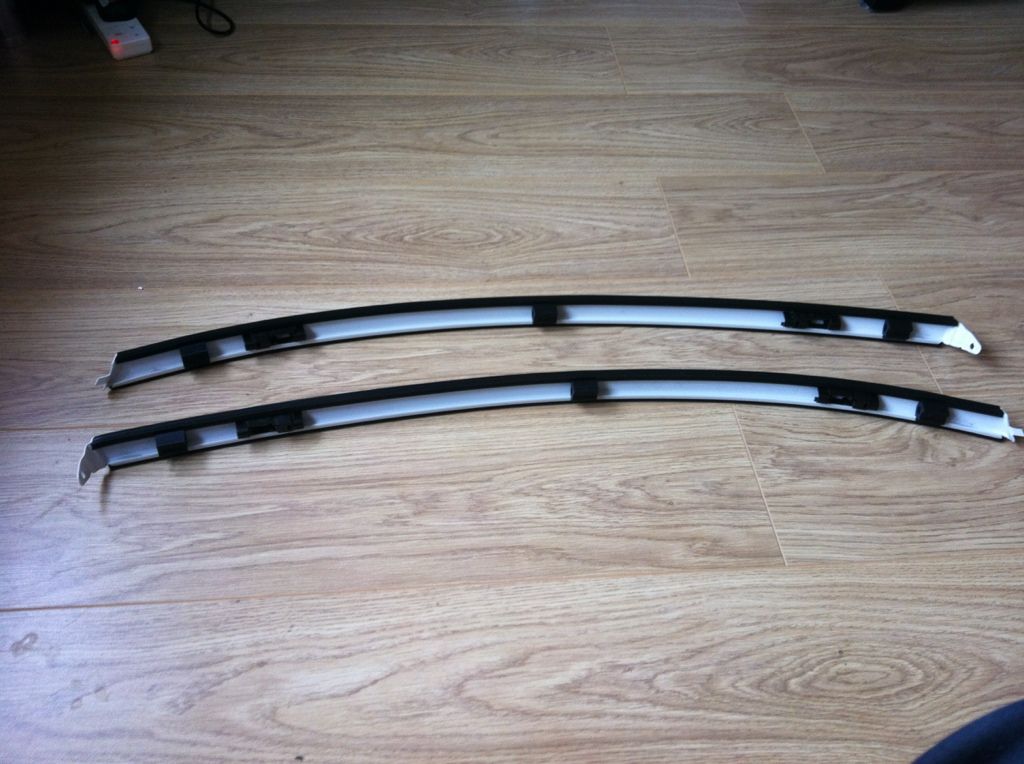
Rubbers installed..
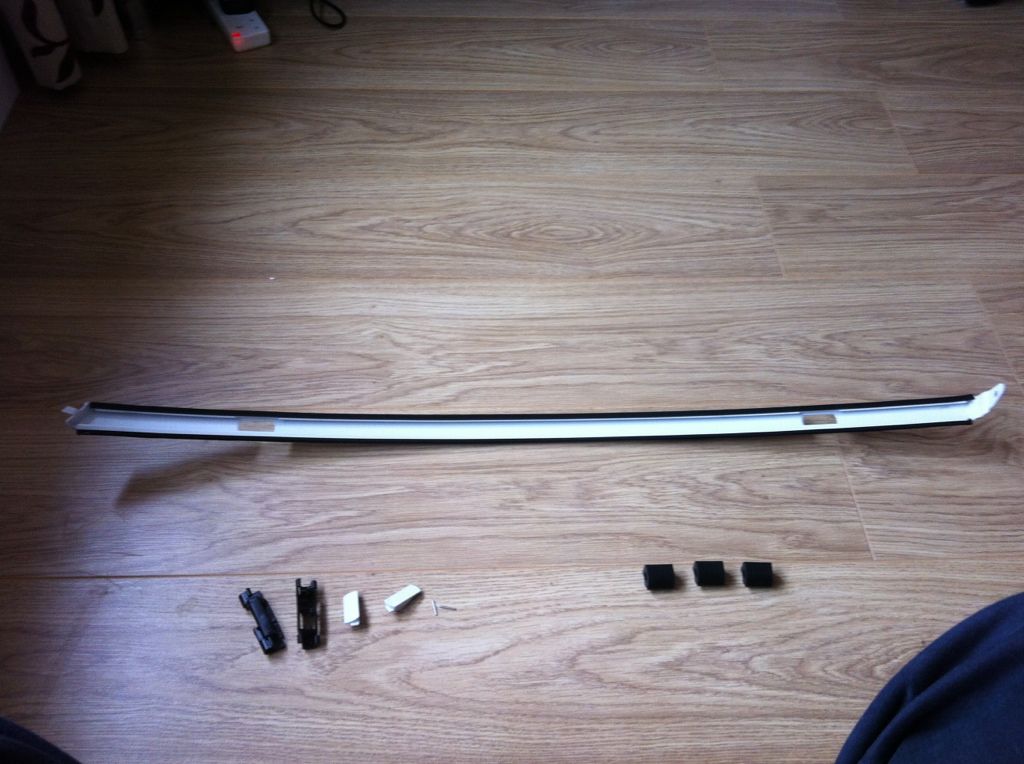
There is vinyl sticky tape which protects the screw hole from metal on metal.
Time to build the access hatch up. It doesn't matter which door goes on which frame.
The door sits on the frame and a pin goes through the locating holes to hold them in place..

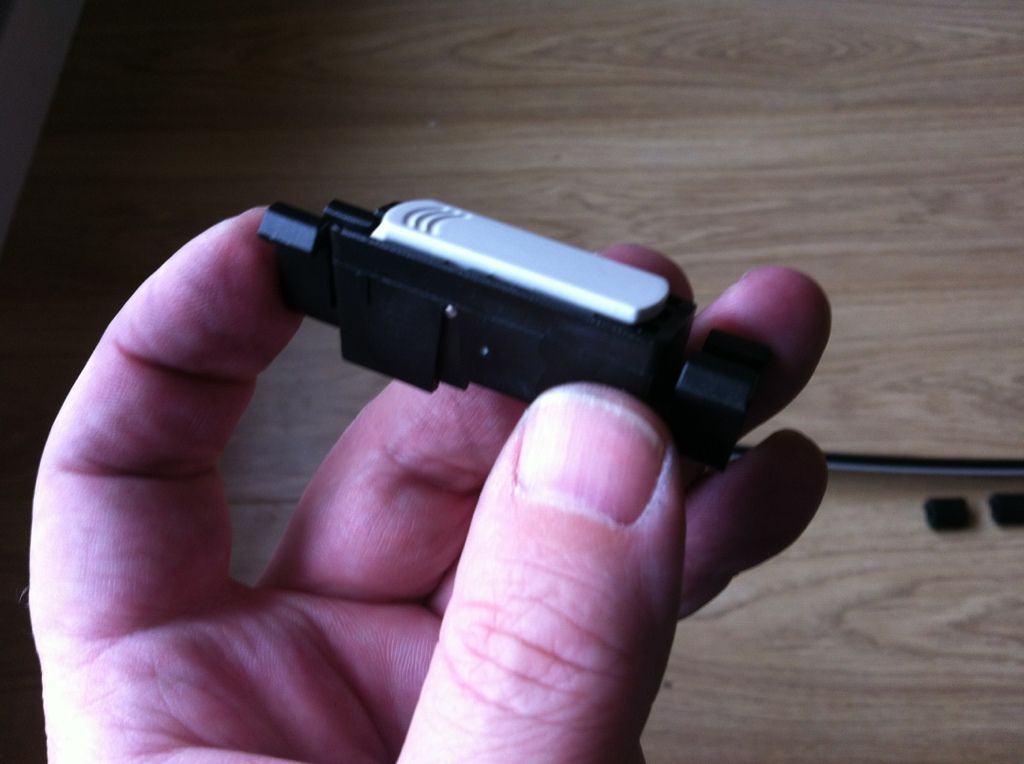
Once built up, there is RR [rear] and FR [front] stamped into the door frame, this identifies which door assembly goes where and they will not fit if it is mixed up. The assembly clips into the rail once you've got the clip the right way round..
Three rubber standoffs can be clipped in once the old assembly comes off the car and you can copy where and which way round they go..
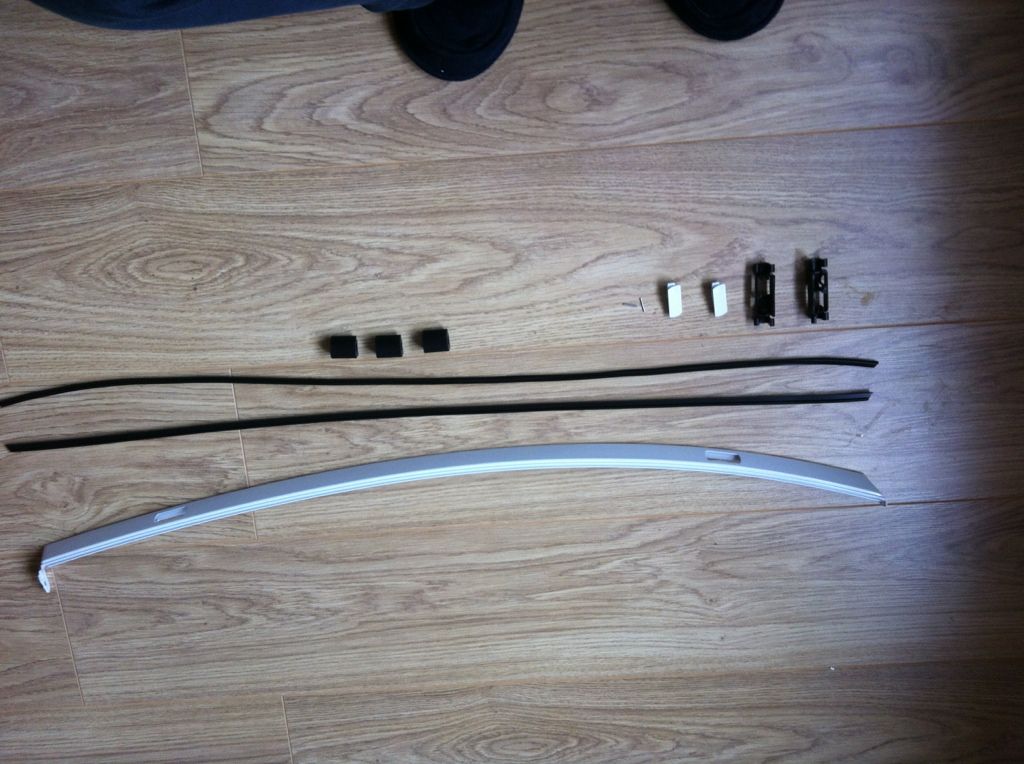
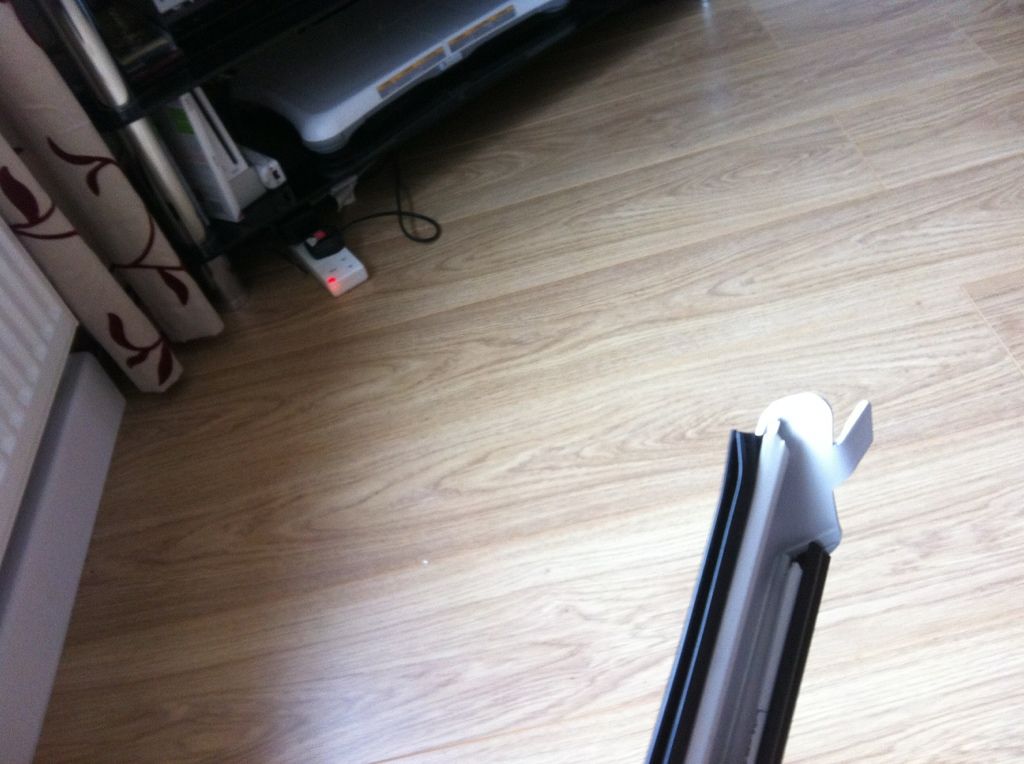
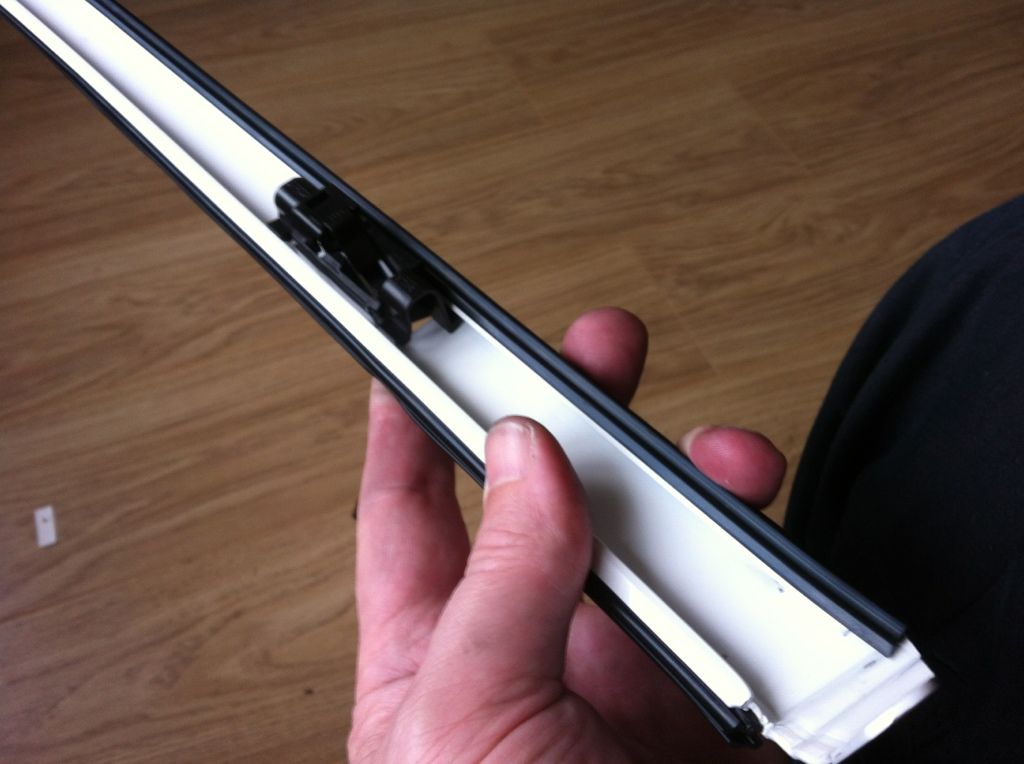
To remove the old trims..
Open the boot and remove the plastic cover [finger in the hole and prise out from the bottom]..
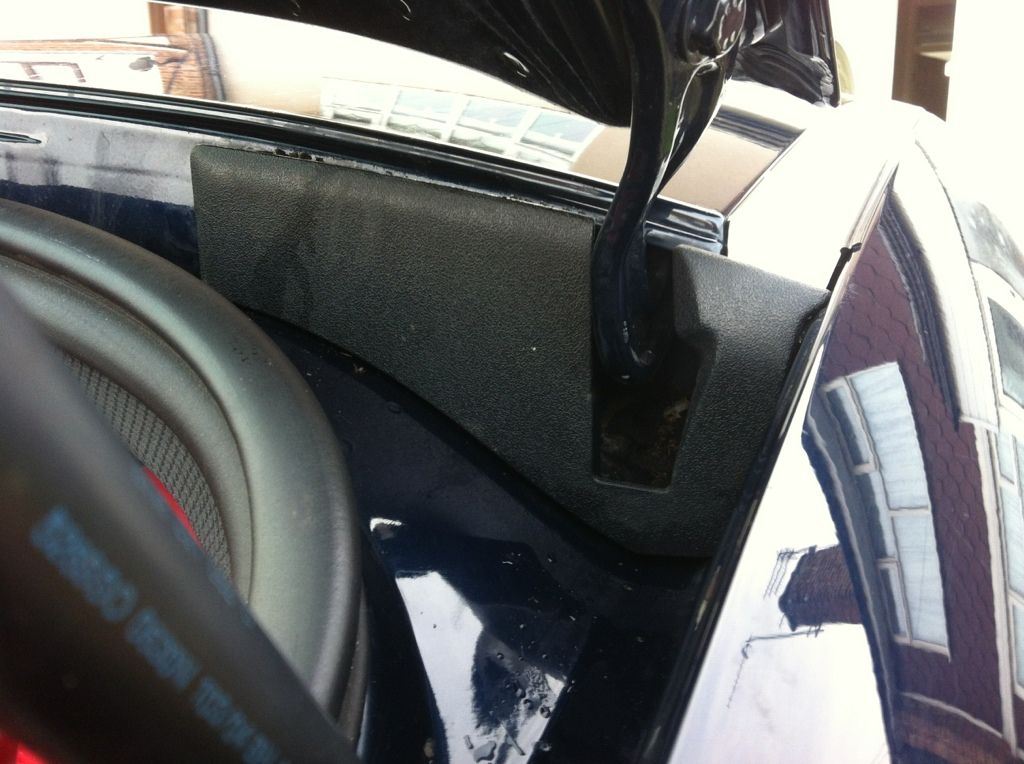
This will reveal 1 Torx screw holding the rail in place..
Remove this screw and prize the rail out [just lift the rail an inch at the back and slowly ease the rail up until the front is freed and then slide the whole assembly away]
Clean and dry the exposed channel.
Install is the reverse of the removal but ensure to use soapy water when installing the new rail as the rubbers will be tight.
Apply lots of pressure evenly to ensure the rail is sitting flush..
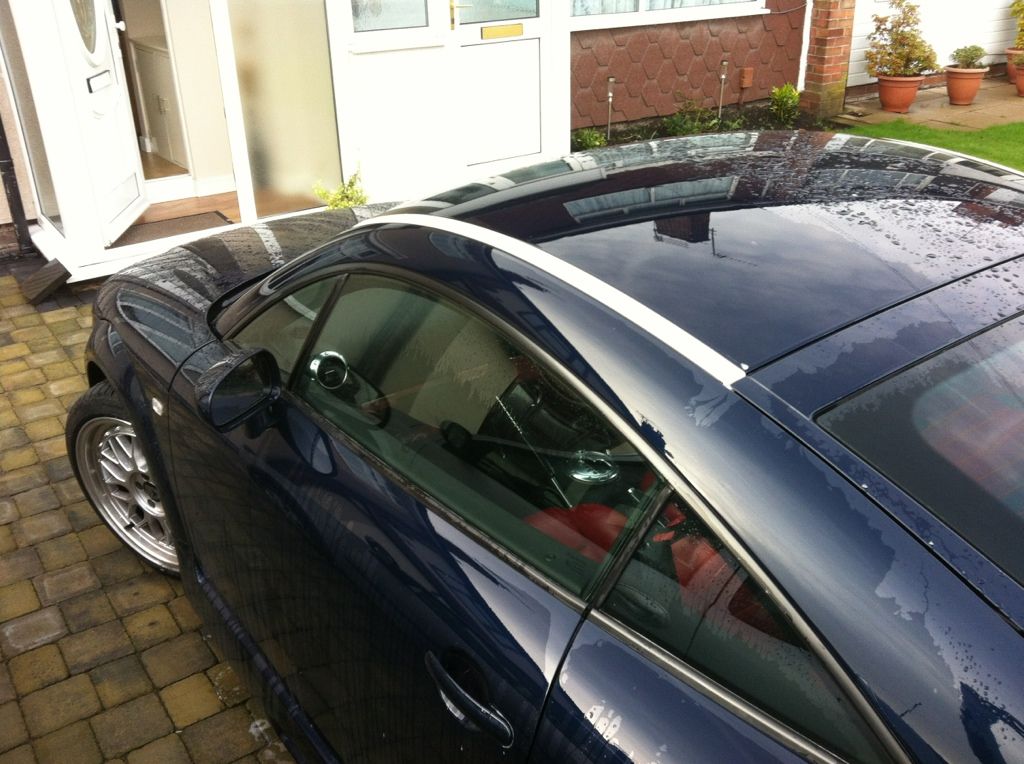
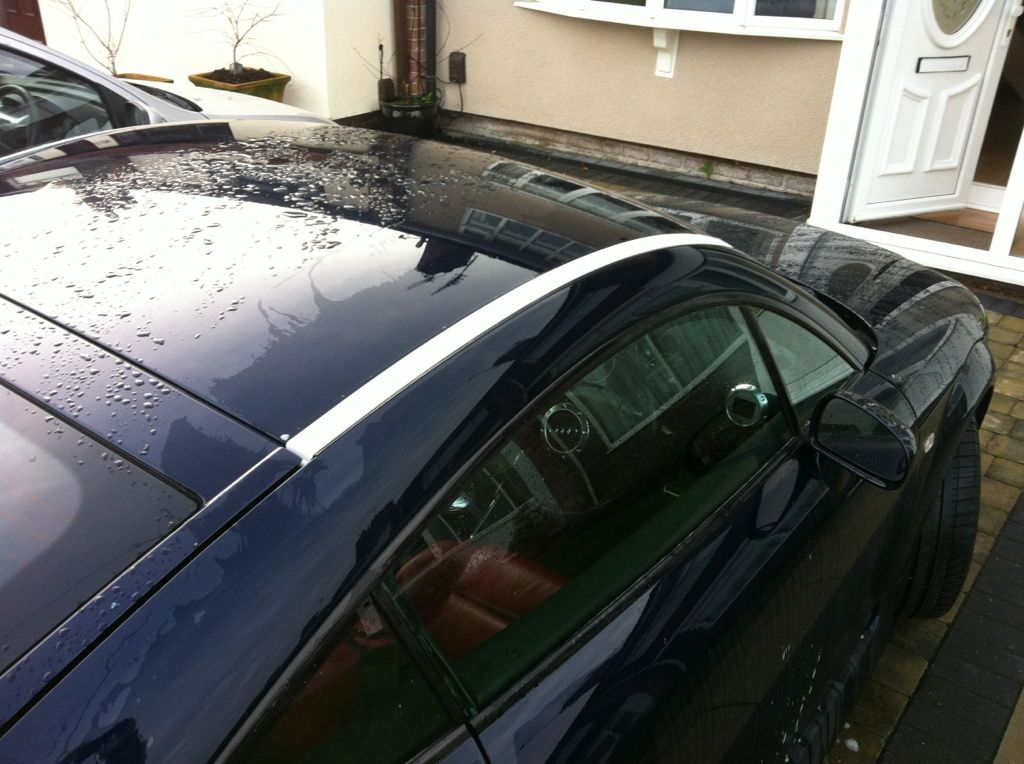
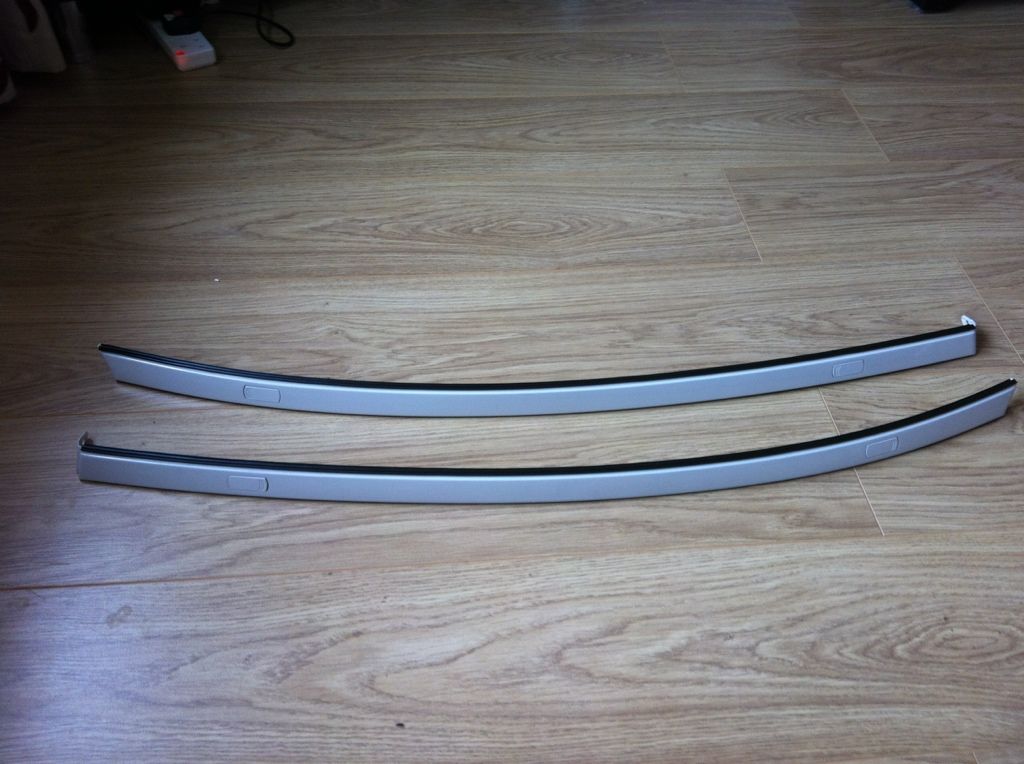
Ok guys, the test fit was yesterday and here is what they look like now..satin black to match the grille

Steve
New trims from Audi..
Split the pack to see one of the kits..
The rubbers are sided and should only be fitted one way.
Its a good idea to use a little soapy water as these suckers don't go on easy.
An extra set of hands would be quicker, start at one end and slide the rubber all the way along then inspect to ensure the rubbers are correctly in the track..
Rubbers installed..
There is vinyl sticky tape which protects the screw hole from metal on metal.
Time to build the access hatch up. It doesn't matter which door goes on which frame.
The door sits on the frame and a pin goes through the locating holes to hold them in place..
Once built up, there is RR [rear] and FR [front] stamped into the door frame, this identifies which door assembly goes where and they will not fit if it is mixed up. The assembly clips into the rail once you've got the clip the right way round..
Three rubber standoffs can be clipped in once the old assembly comes off the car and you can copy where and which way round they go..
To remove the old trims..
Open the boot and remove the plastic cover [finger in the hole and prise out from the bottom]..
This will reveal 1 Torx screw holding the rail in place..
Remove this screw and prize the rail out [just lift the rail an inch at the back and slowly ease the rail up until the front is freed and then slide the whole assembly away]
Clean and dry the exposed channel.
Install is the reverse of the removal but ensure to use soapy water when installing the new rail as the rubbers will be tight.
Apply lots of pressure evenly to ensure the rail is sitting flush..
Ok guys, the test fit was yesterday and here is what they look like now..satin black to match the grille
Steve
There are a few boosted R32s around but peeps seem to leave the V6 TT alone, not me.
Unfortunately the TT looks fast when stood still, so peeps expect it to be a sports car anyway, so my aim was to not dissappoint.
This is my daily and is quite docile due to the DSG, untill i squeeze the throttle, then the gates of hell start to open and there is very little that will be tailgating me.
Steve
Herman Toothrot said:
V6RUL said:
I have a performance haldex fitted for the mo and it seems to be coping fine.
I havnt done any driving vids yet as im waiting for the bigger numbers to start coming through.
The turbo fits in quite nicely between the block and the bulkhead..
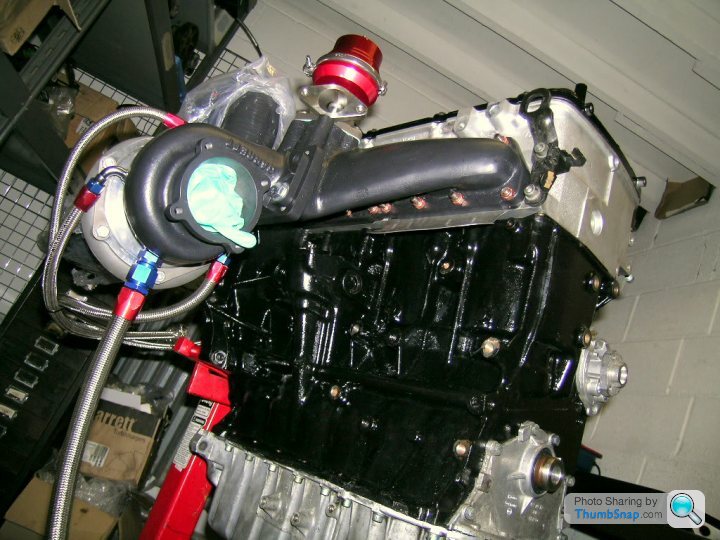
Steve
I knew they were a narrow angle V6, but i didn't realise they were so narrow they are more or less a stright 6. Bit different the 2.7 & 2.8 Audi V6's.I havnt done any driving vids yet as im waiting for the bigger numbers to start coming through.
The turbo fits in quite nicely between the block and the bulkhead..
Steve

and then you see this ofc

Edited by Dave Hedgehog on Sunday 22 January 08:36
stunning build OP
have you considered black rings?
http://www.ebay.co.uk/itm/AUDI-GLOSS-BLACK-FRONT-G...
have you considered black rings?
http://www.ebay.co.uk/itm/AUDI-GLOSS-BLACK-FRONT-G...
Im not really into the super stealth look as i want some semblance of an OEM look.
I want a kinda MK1.5 version and with the added knowledge that it is a Q underneath.
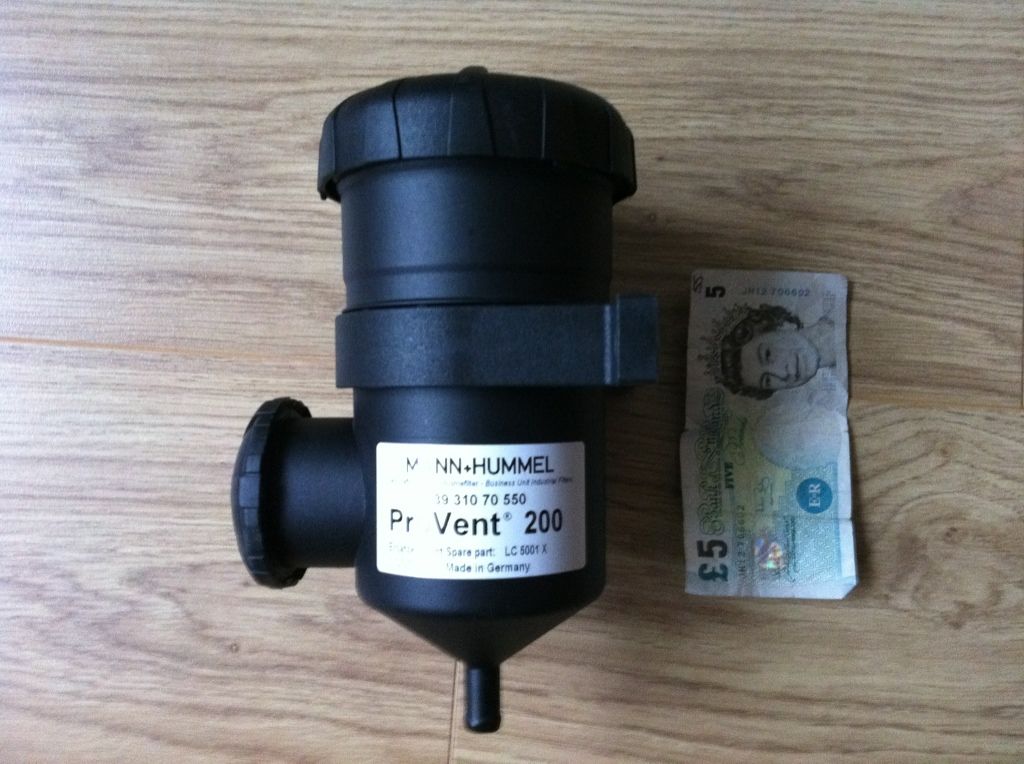
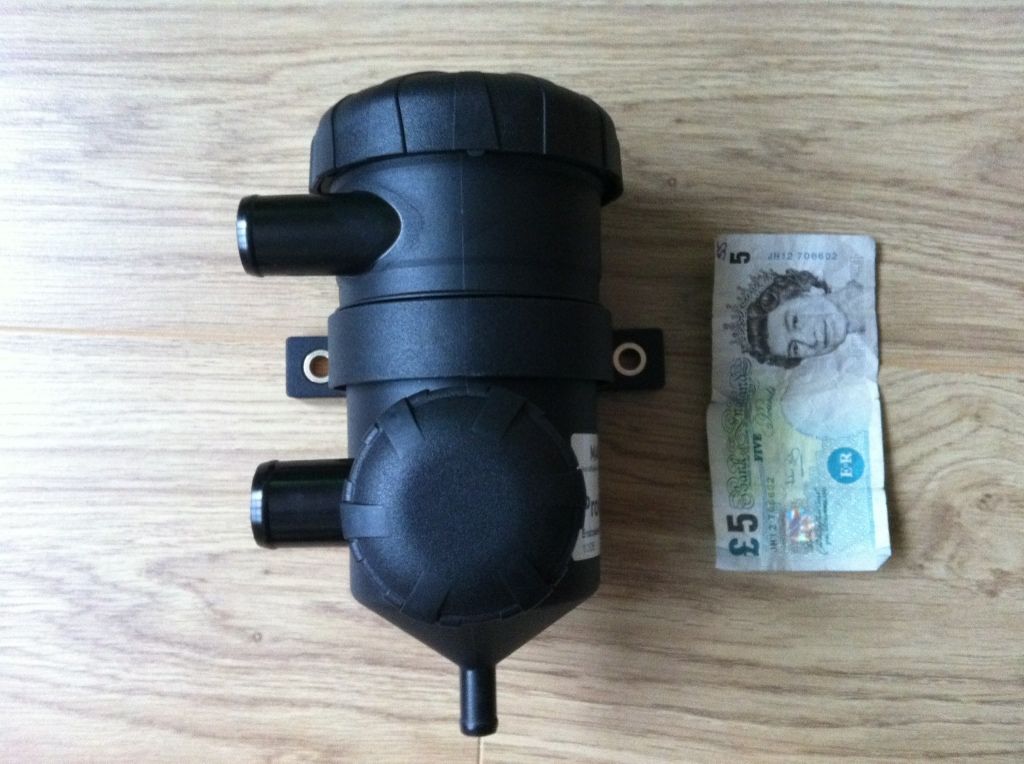
There are a few changes afoot as im going offshore for work today and the indie will be installing
a few additional items.
I will post up when i get info and pics back.
Steve
I want a kinda MK1.5 version and with the added knowledge that it is a Q underneath.
There are a few changes afoot as im going offshore for work today and the indie will be installing
a few additional items.
I will post up when i get info and pics back.
Steve


Gassing Station | Readers' Cars | Top of Page | What's New | My Stuff