Scotty's MR2 TURBO project
Discussion


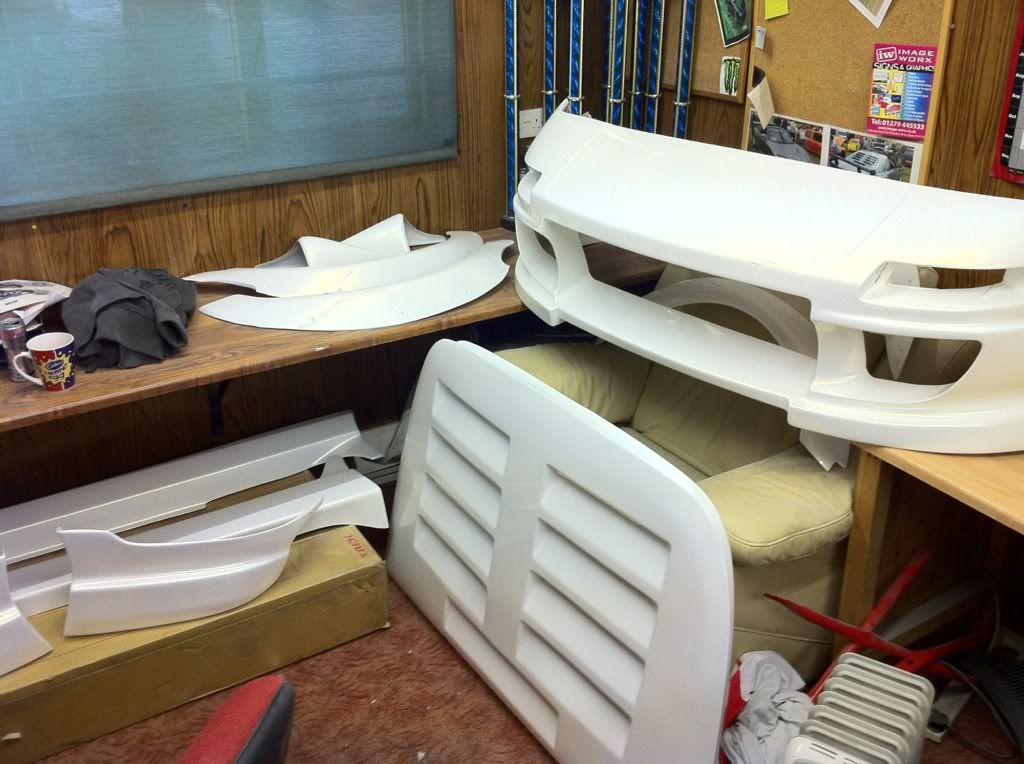
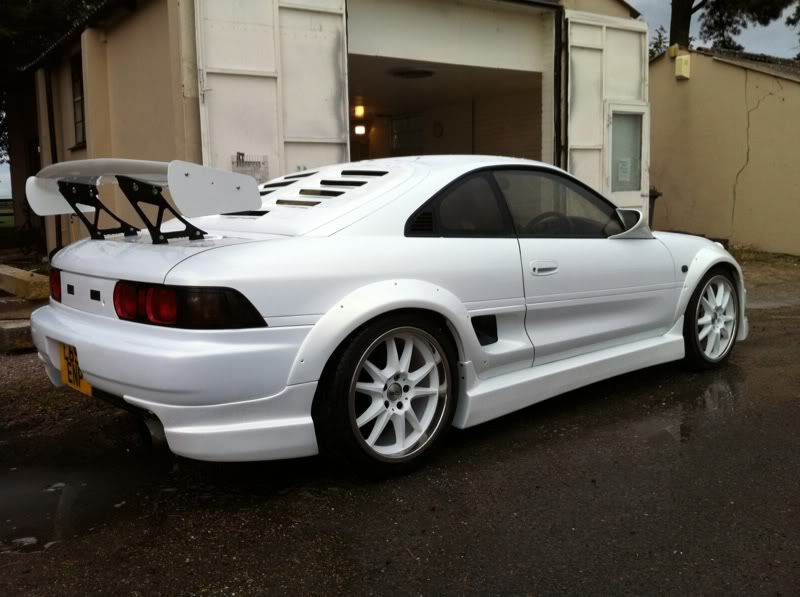
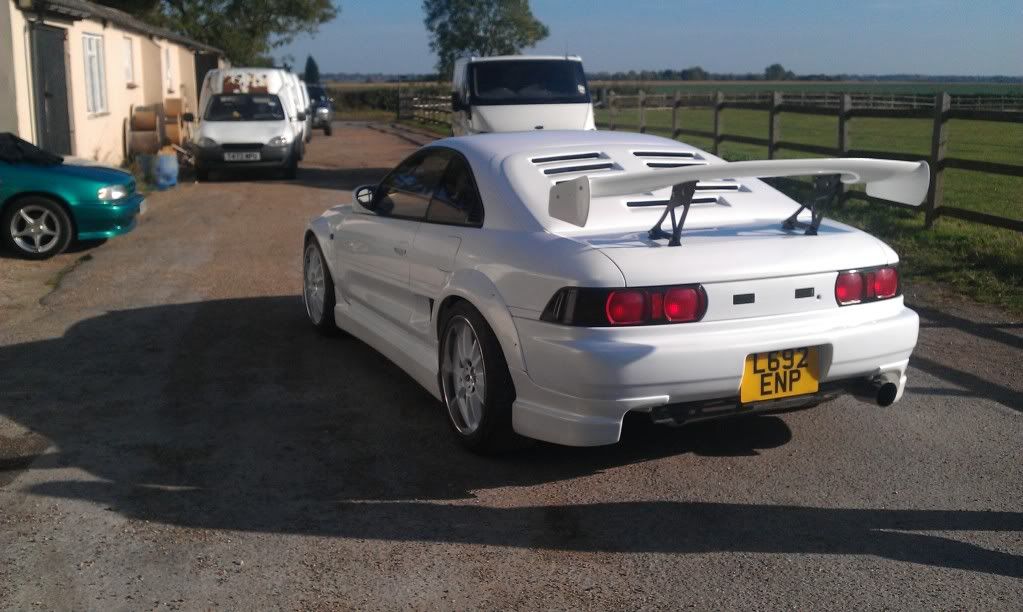
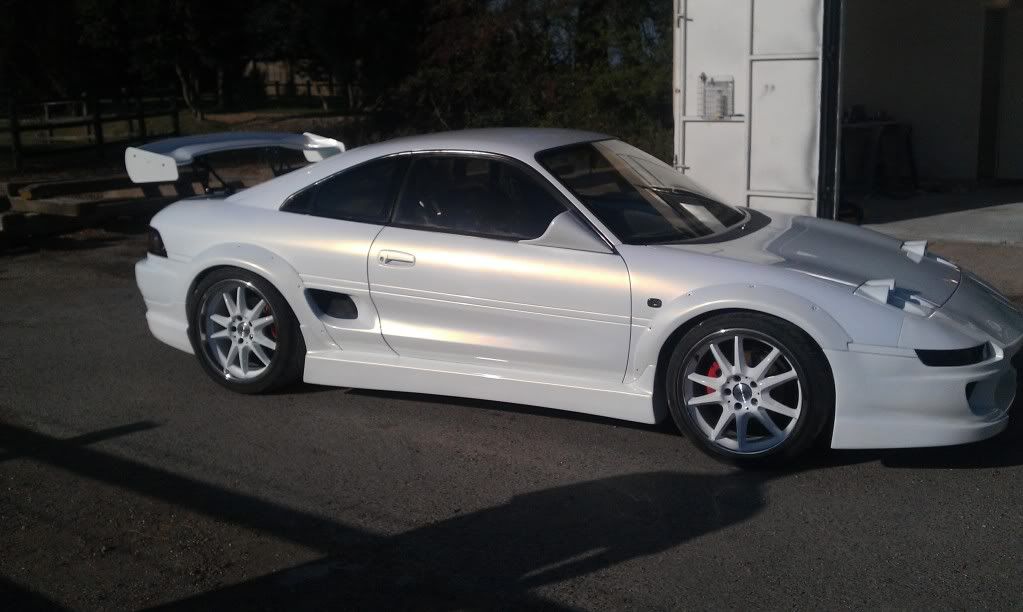
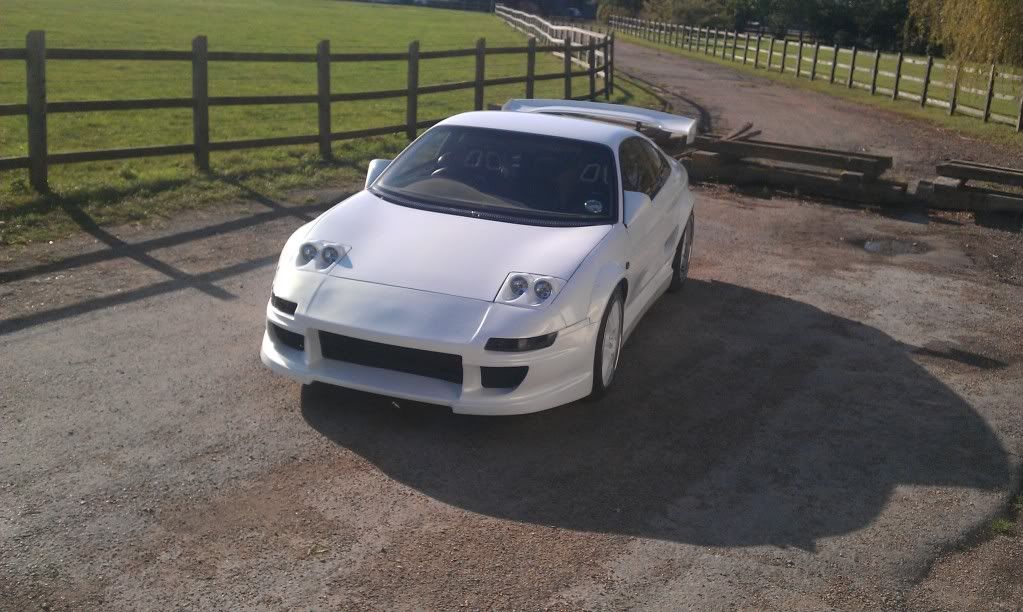
Not sure about wheel arches either doesn’t look like the wheels need them, but the engine cover looks really interesting (saw one before when I had mine but never found out much about them). Part from significantly reducing the rear view when driving I could see them being a fairly useful upgrade, must improve aero dynamics at high speeds and the extra space must help engine temperatures also, reminds me of the differences between an Exige and an Elise so presumably some function to it.
Gaz. said:
There's a more shapely version of the engine cover floating about somewhere that looks a lot nicer and it's perspex too. I cannot for the life of me remember who makes it though. RyanG's TRD2000GT had one if it jogs any memories?
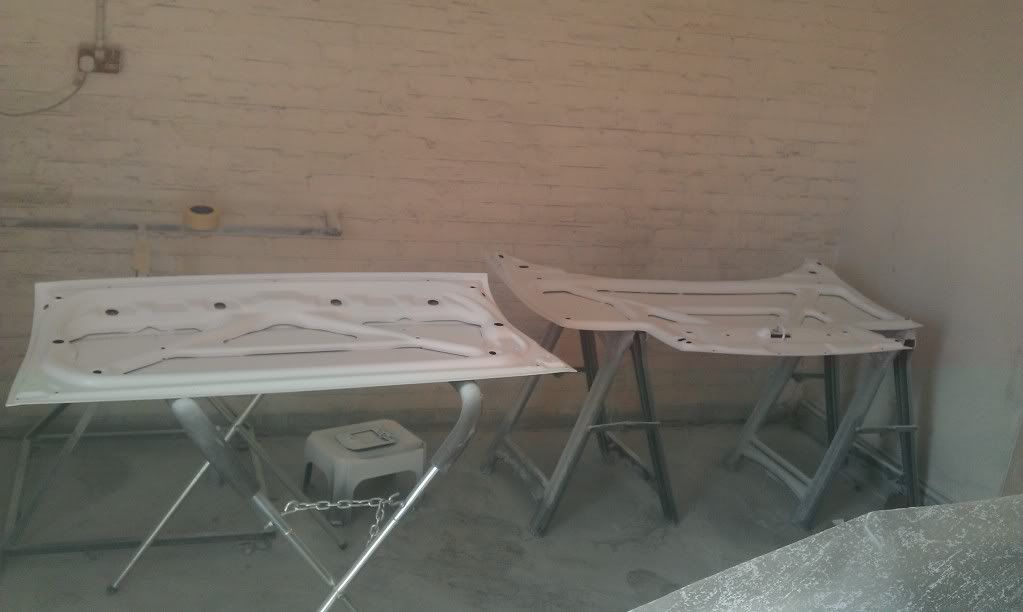
Yes the original version was by ASK Sport. This is the very first of a better updated version of that. The original had hinges at the top and tended to sag in the middle where as this one has a lip that runs around the whole lid. What this lip does is makes it possable to simply slide the lid into place and just click onto the original catch, nice and simple and it sits extremly tight and will not come off without the use of hinges!There have been some perspex versions of the original made they are still the same shape, i dont know of any other type.
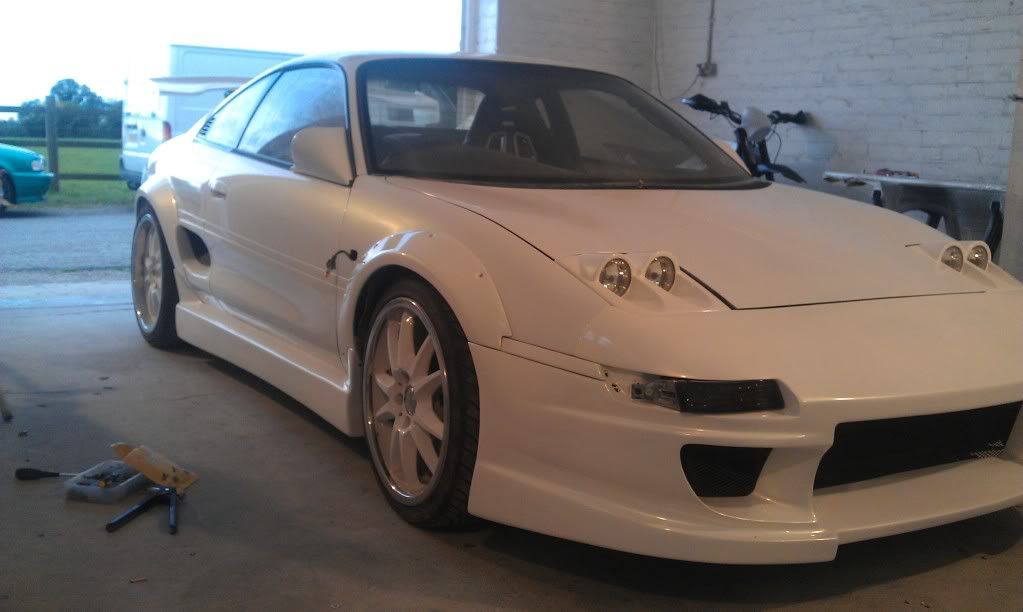
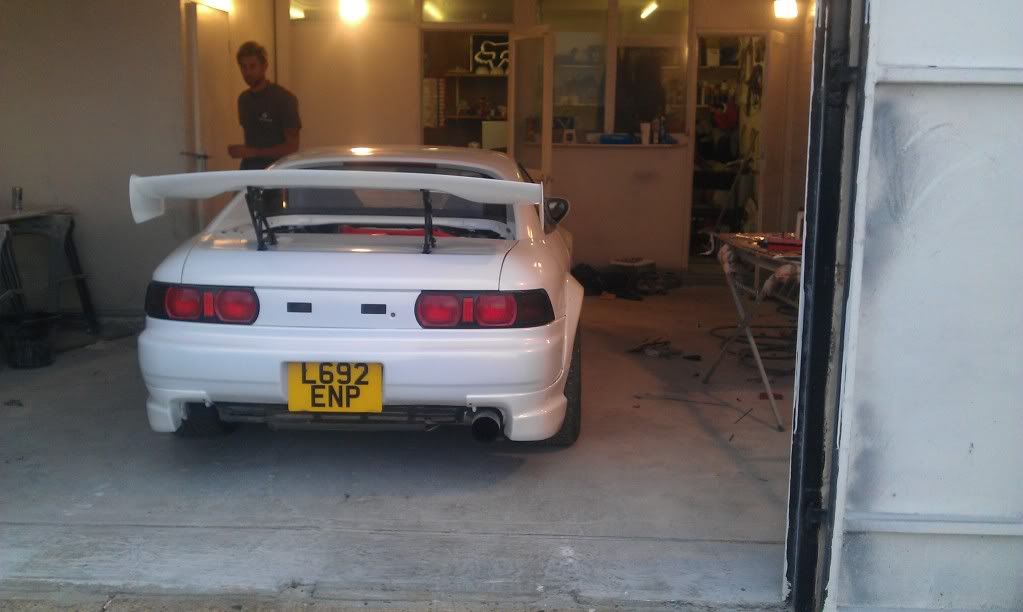
It will all come together once it has been to the body shop. There are alot of parts not fully fitted, spacers are yet to be fitted but it is getting there! As for number plate ill be getting a smaller plate made up which will be fitted in the middle, the indicators are going in the side ducts!
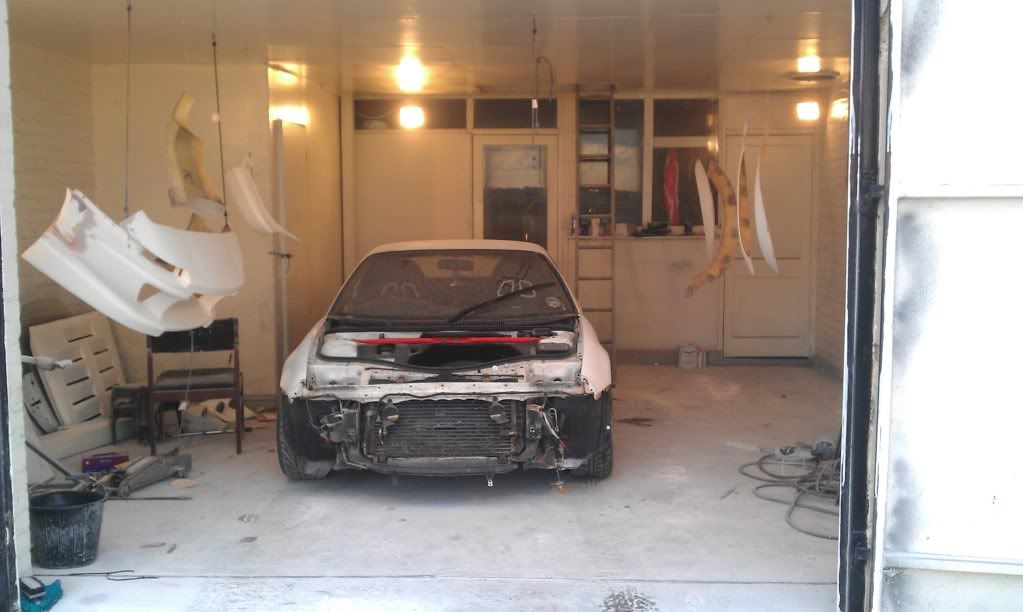
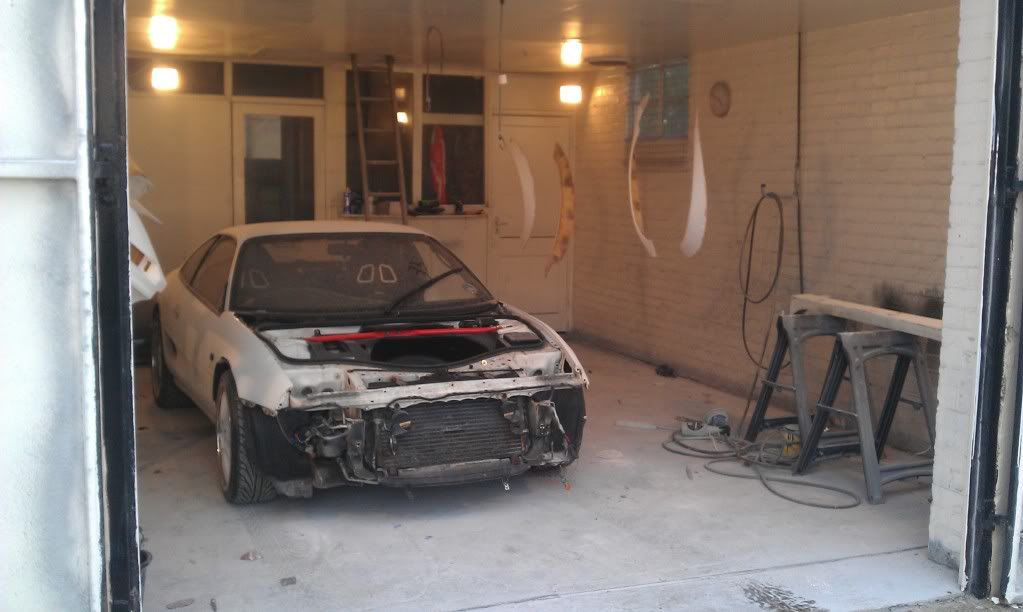
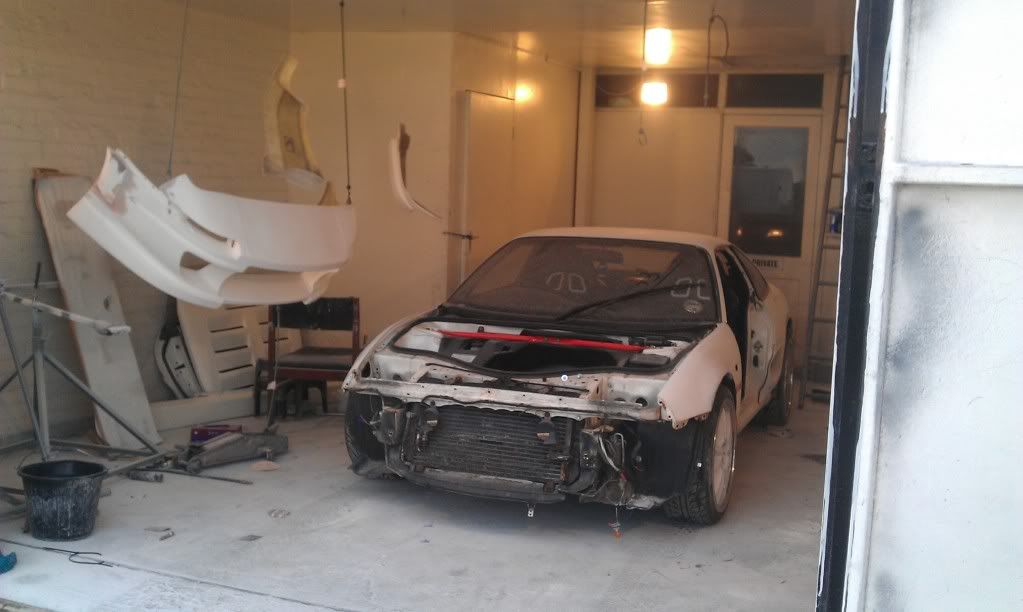
Right here we go! The car is still in the bodyshop after problems, delays and just about everything else that can happen!
Im afraid that i havent been able to get pictures of everything because of the delays i didnt have enough holiday left to take the extra days.
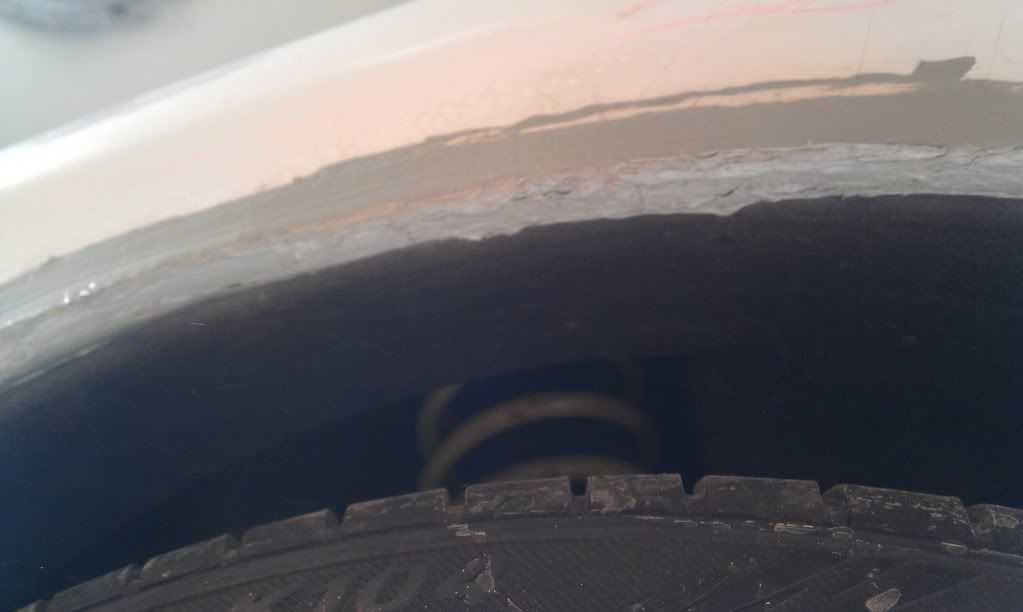
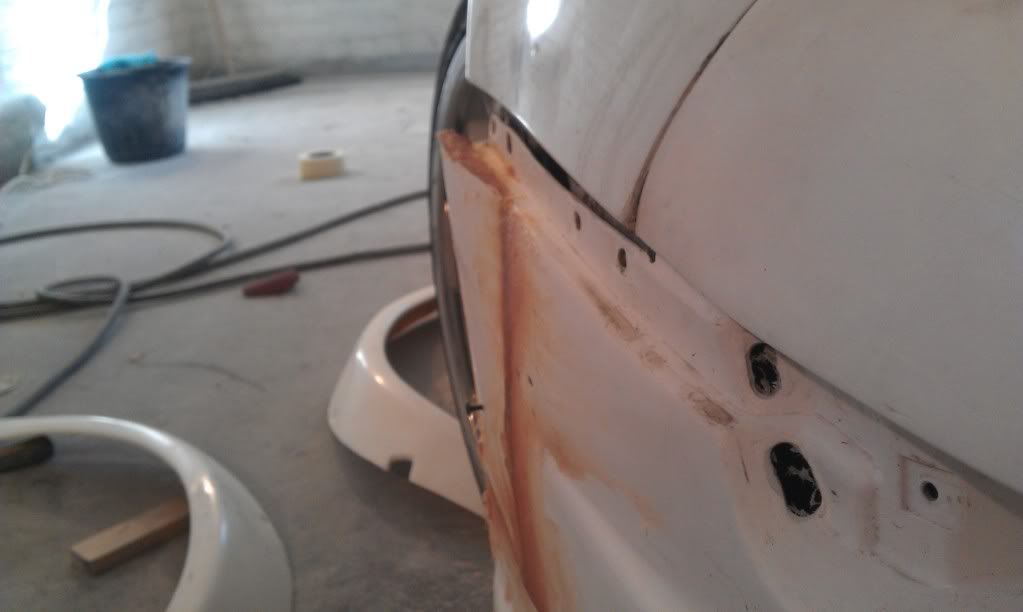
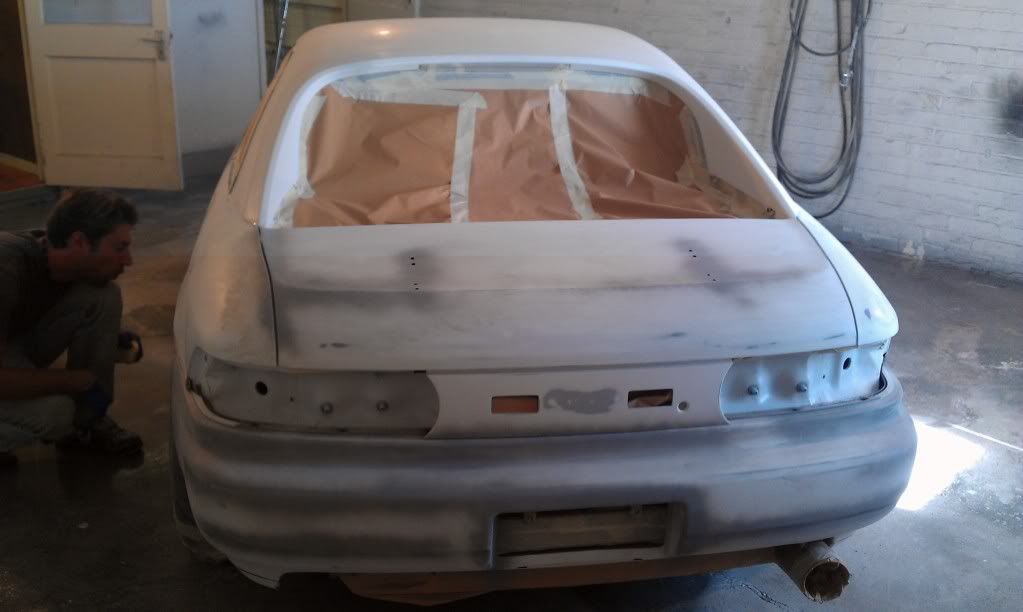
Ant doesnt weld so the car had to be cut end welded else where, here are the rear arches after the welding
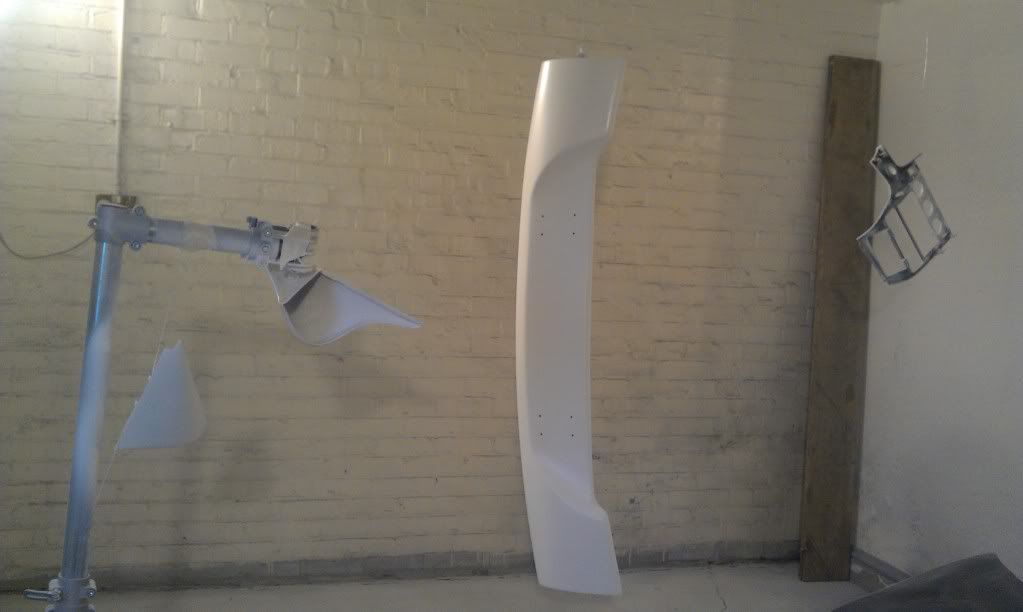
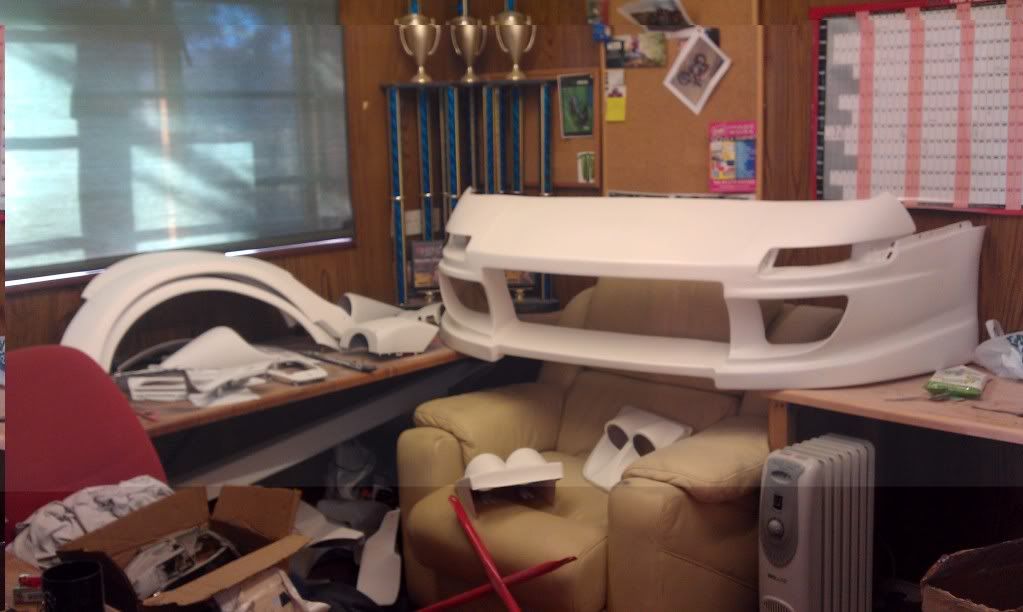
I decided to have my carbon spoiler painted with the car as im not a fan of carbon
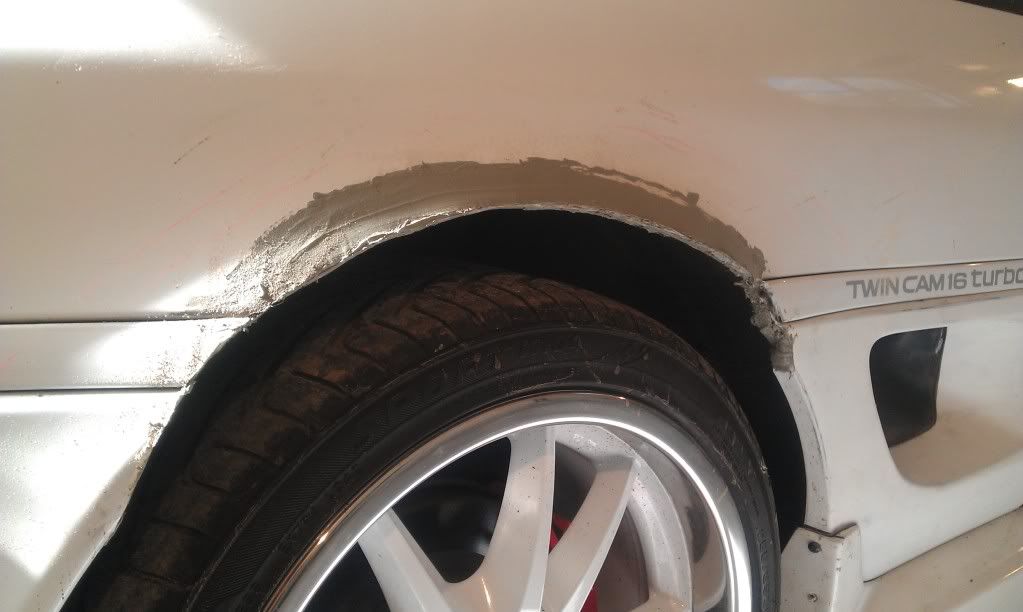
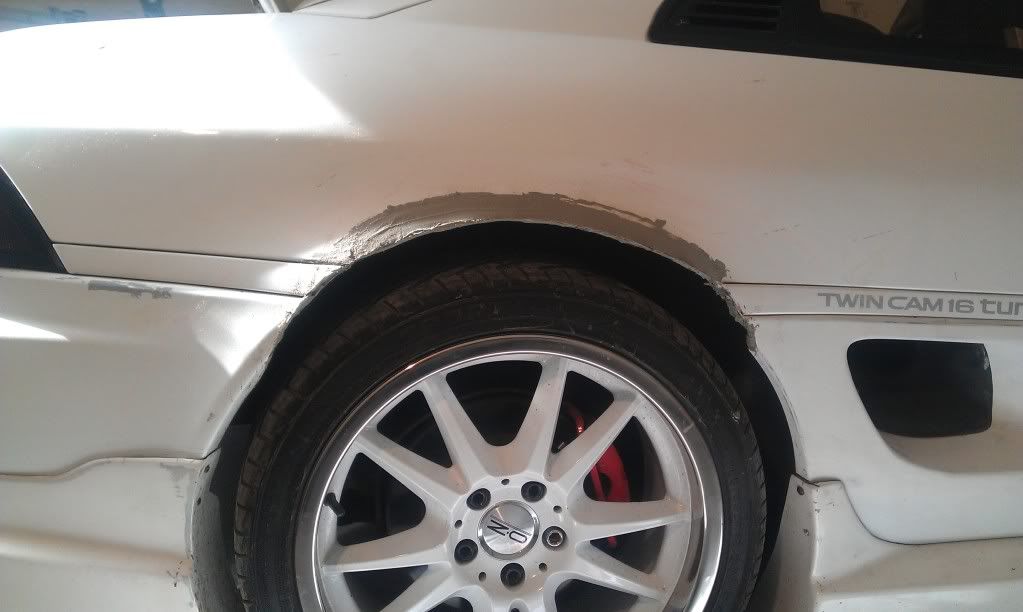
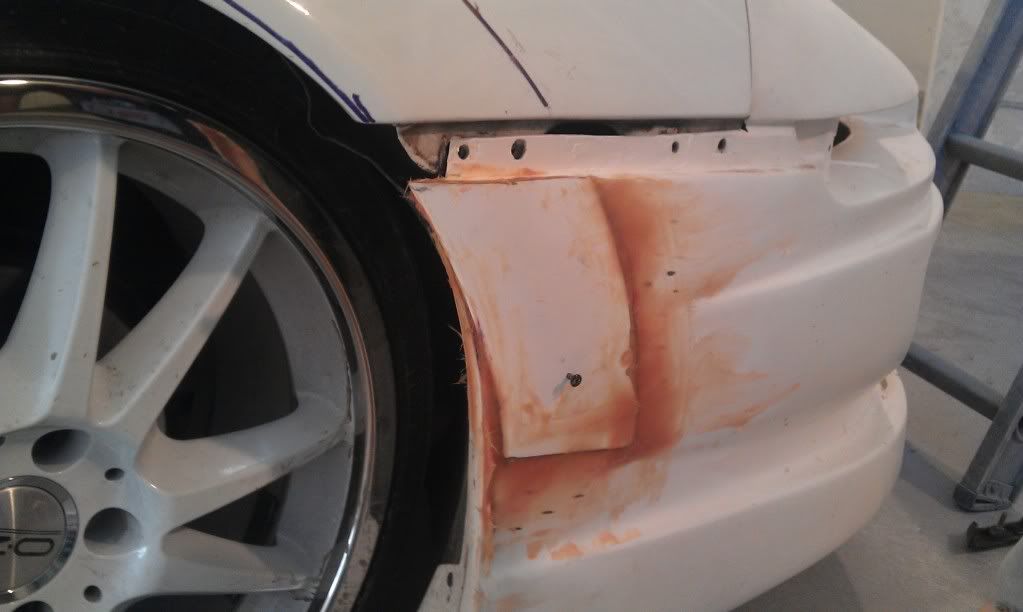
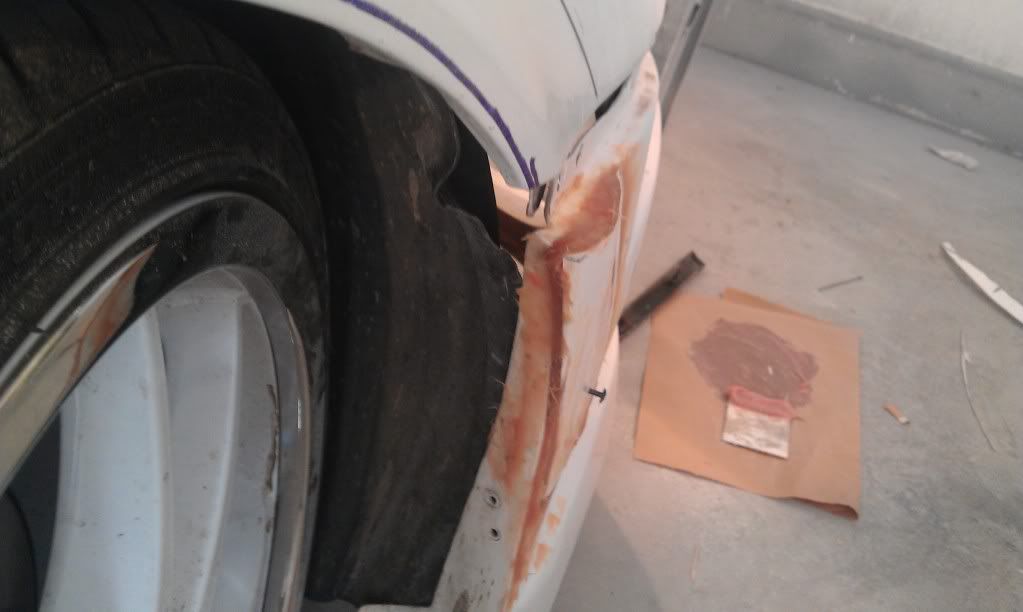
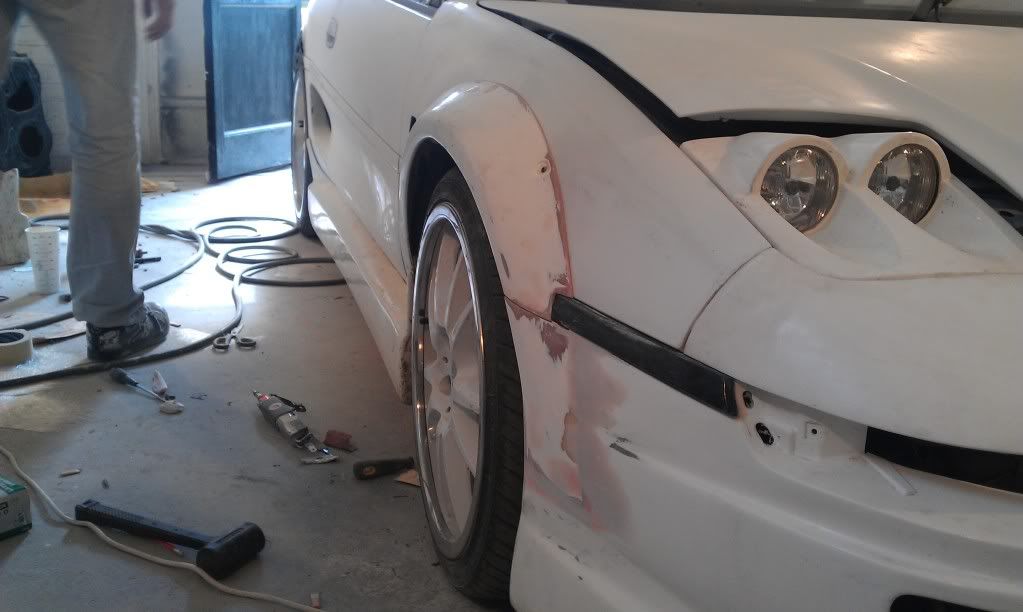
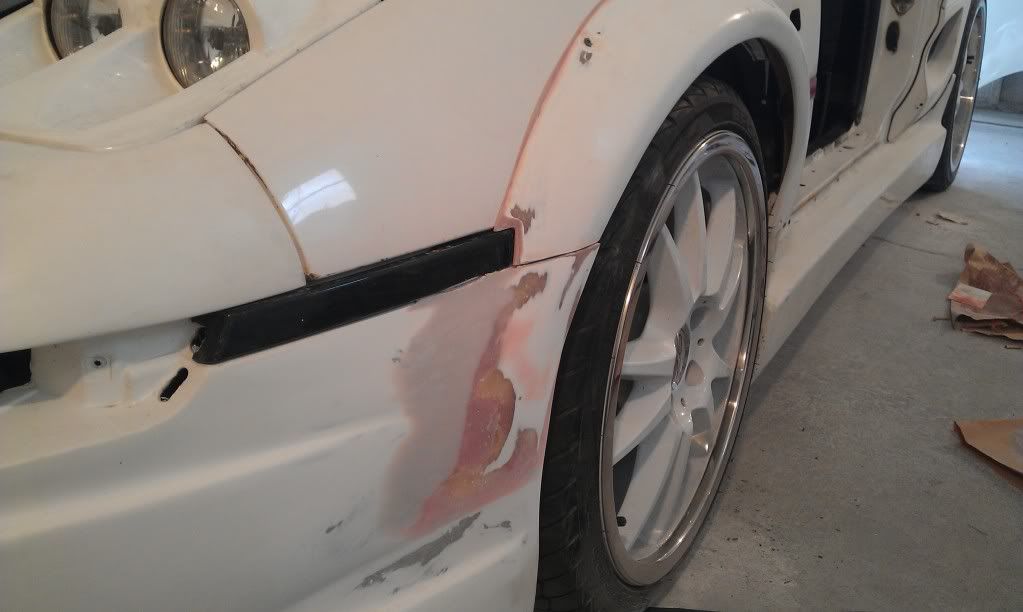
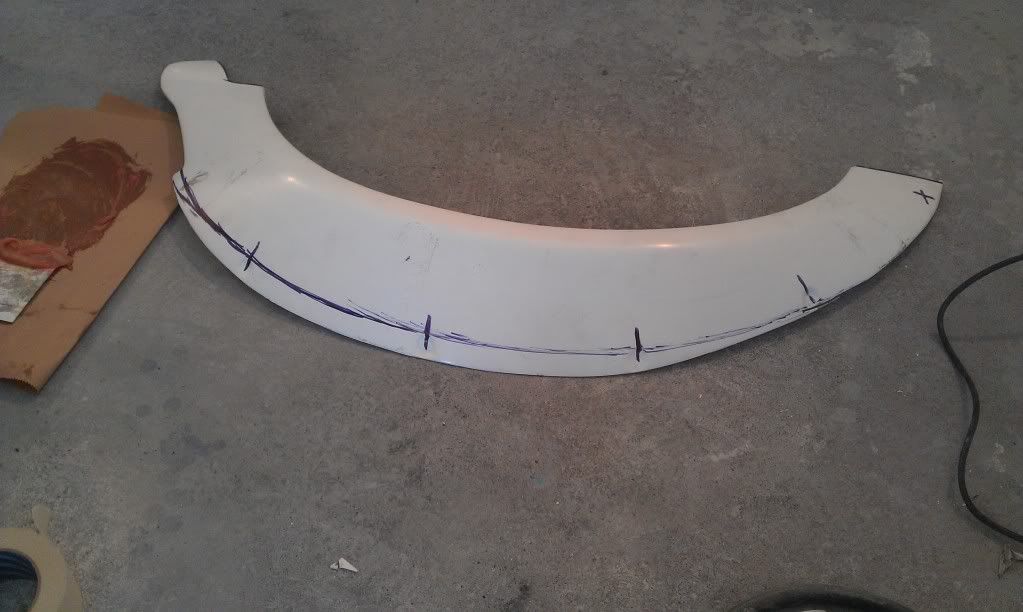
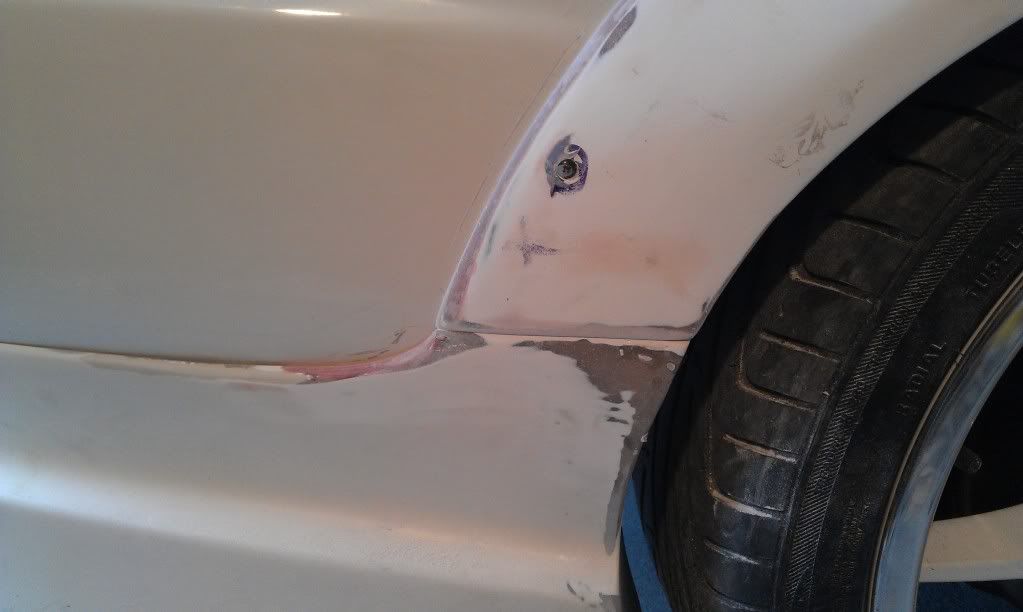
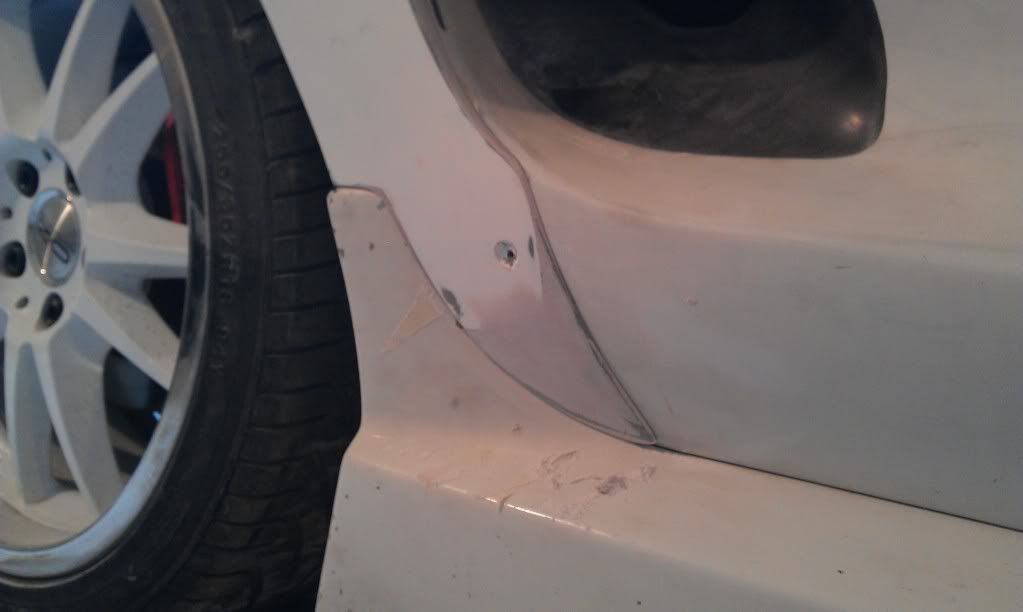
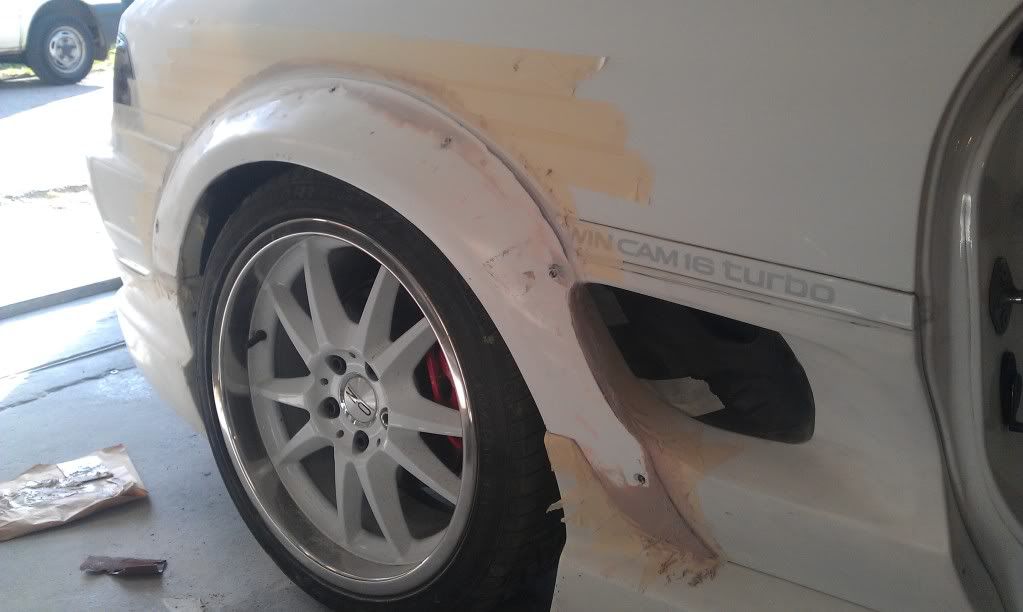
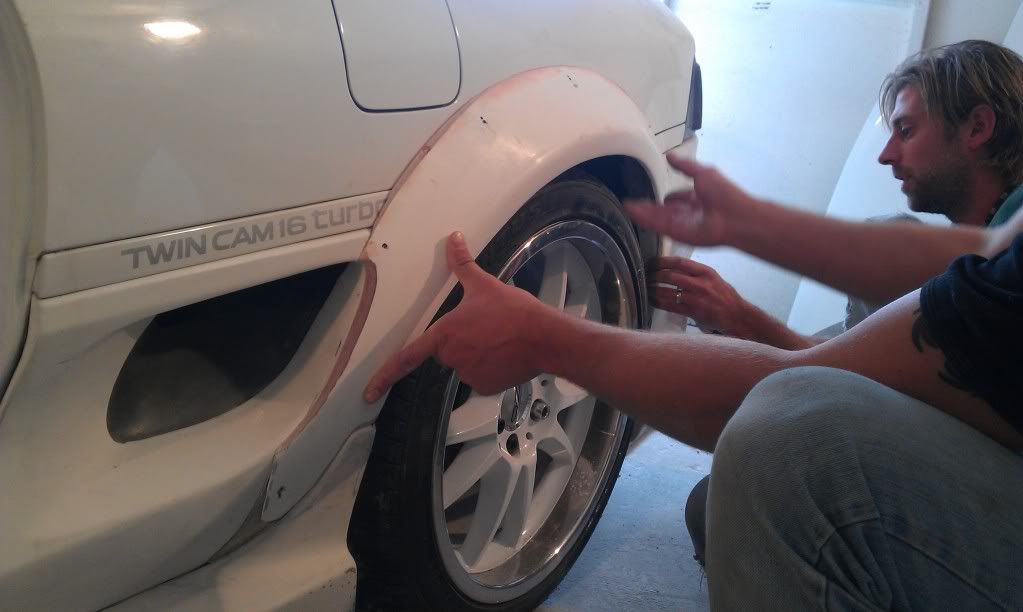
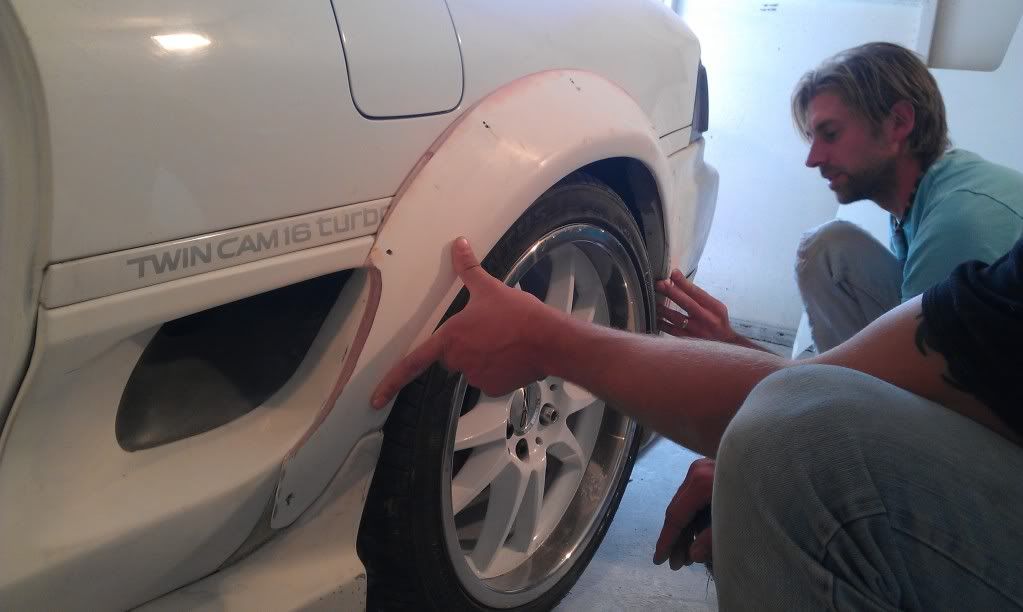
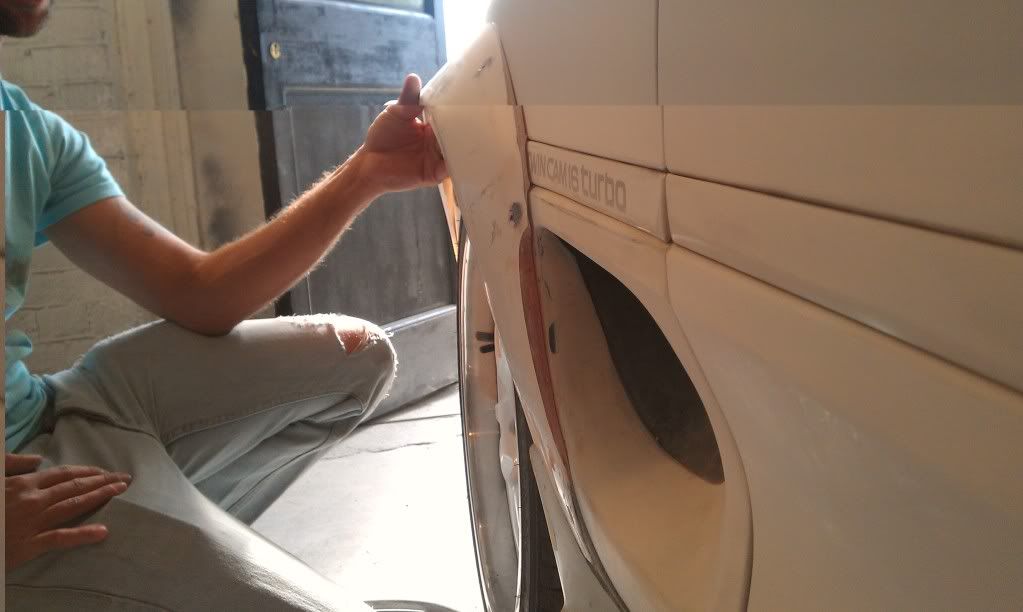
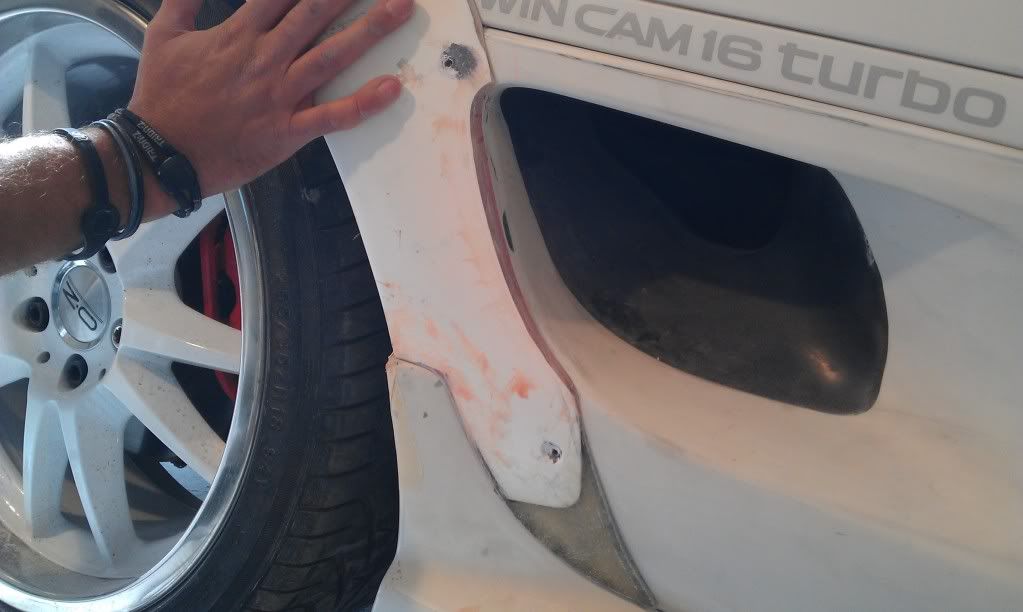
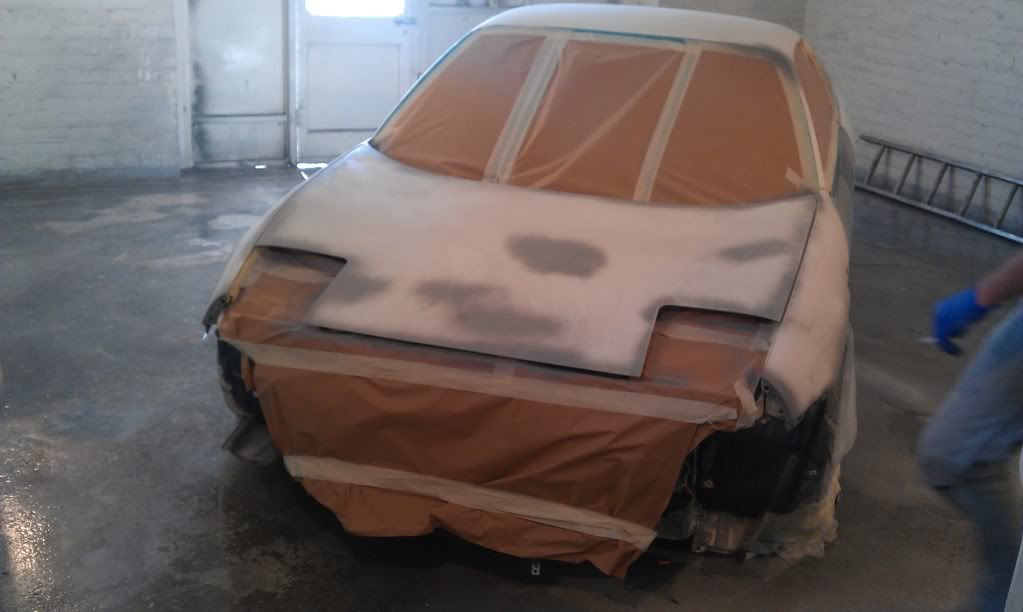
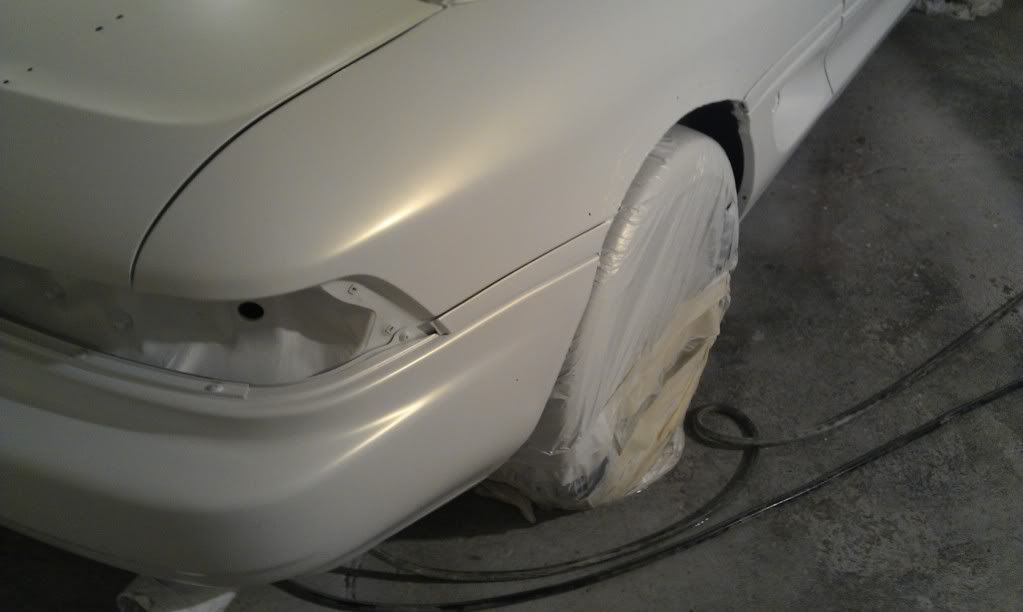
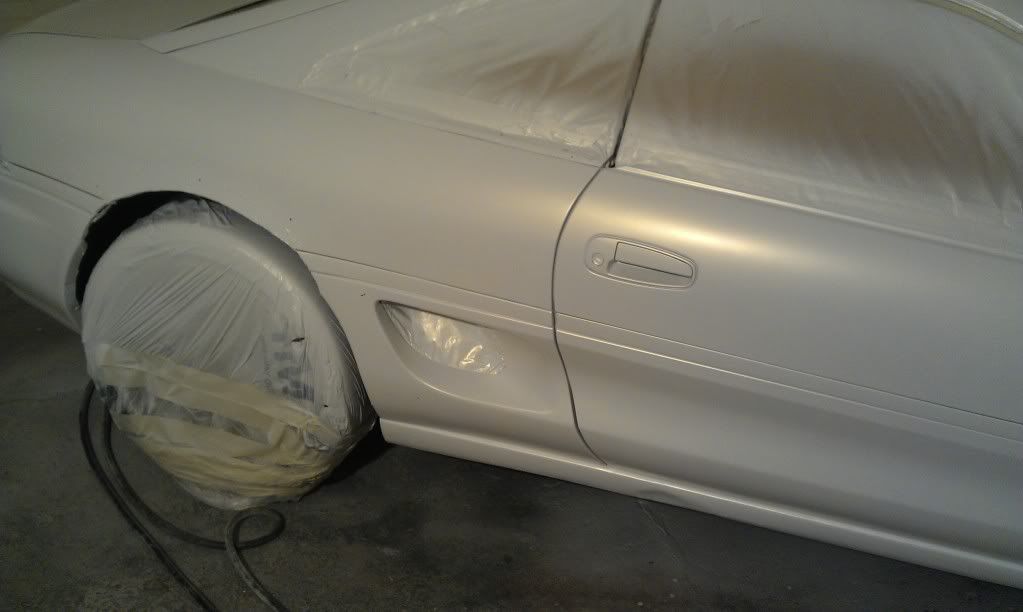
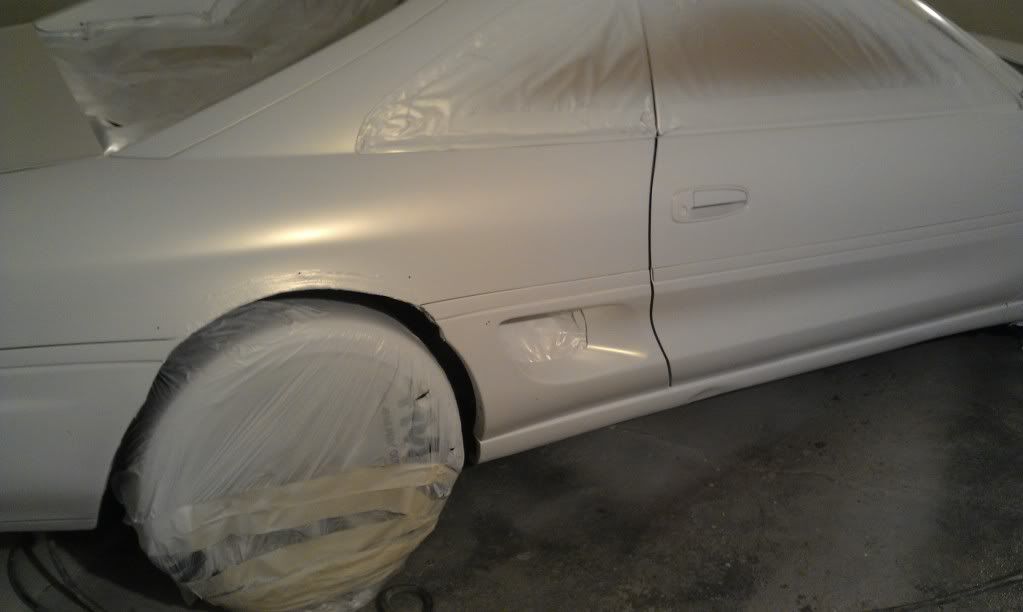
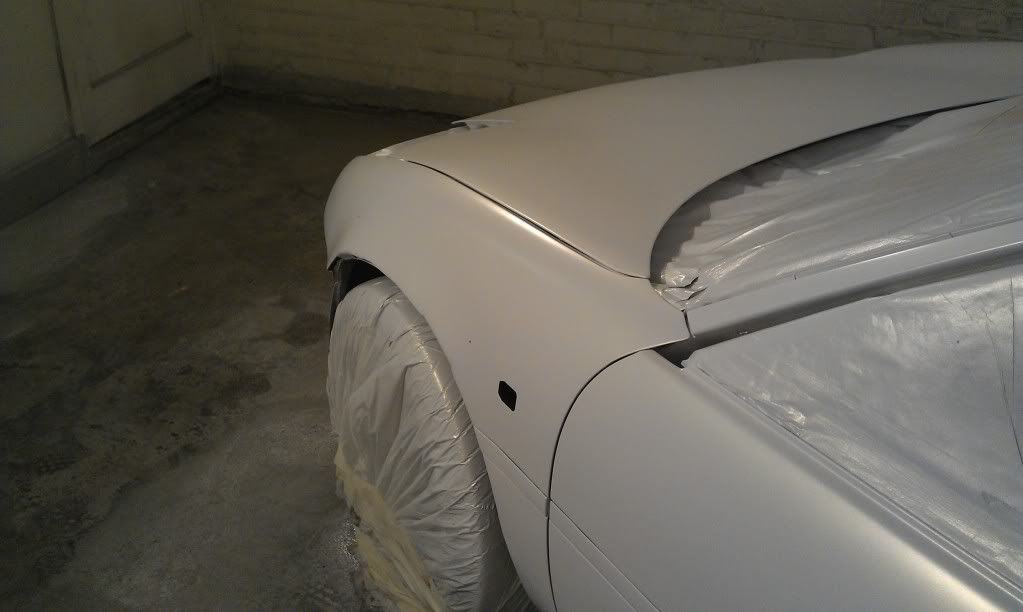
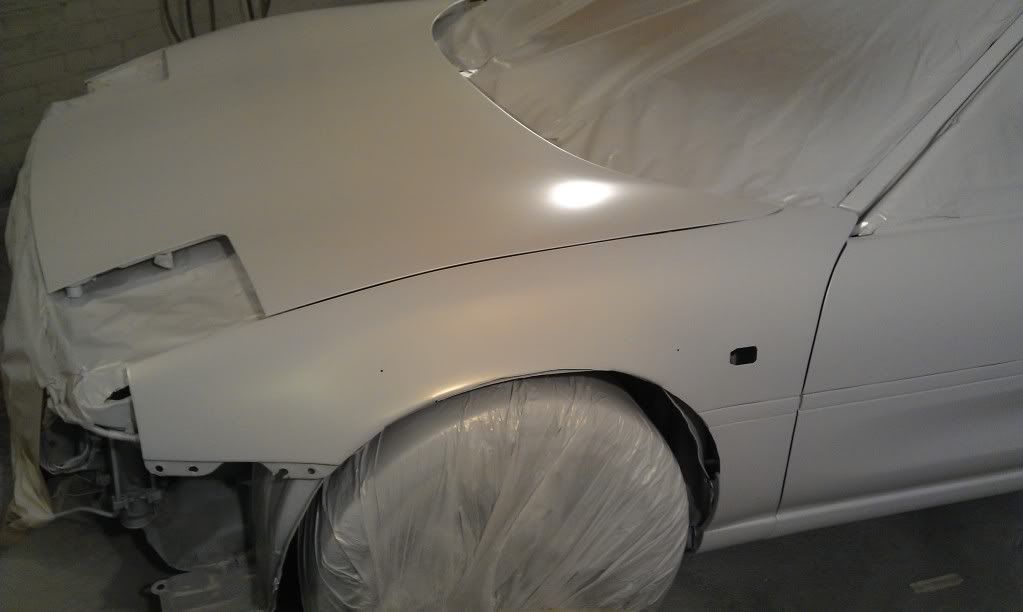
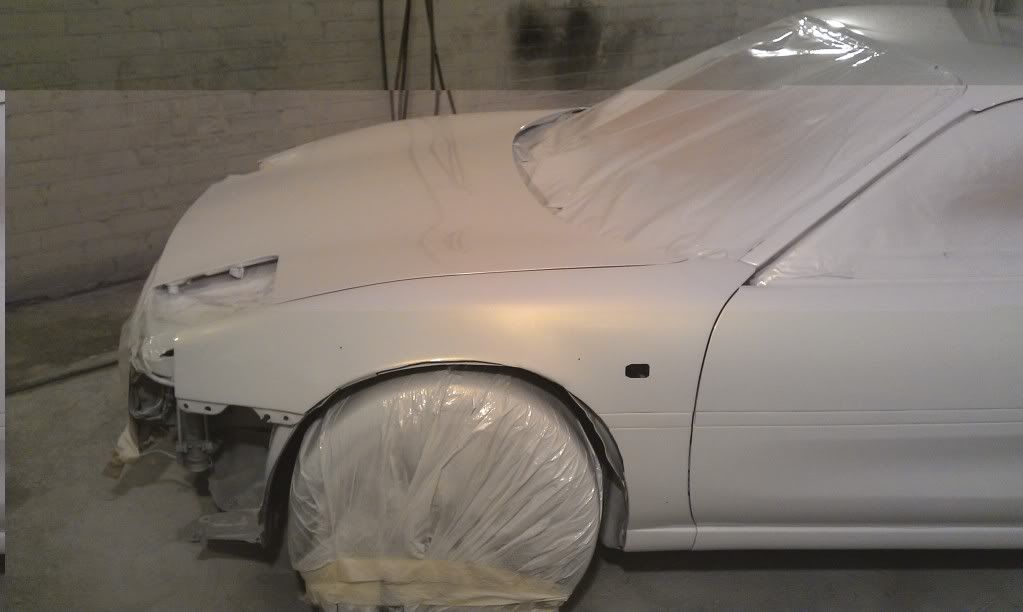
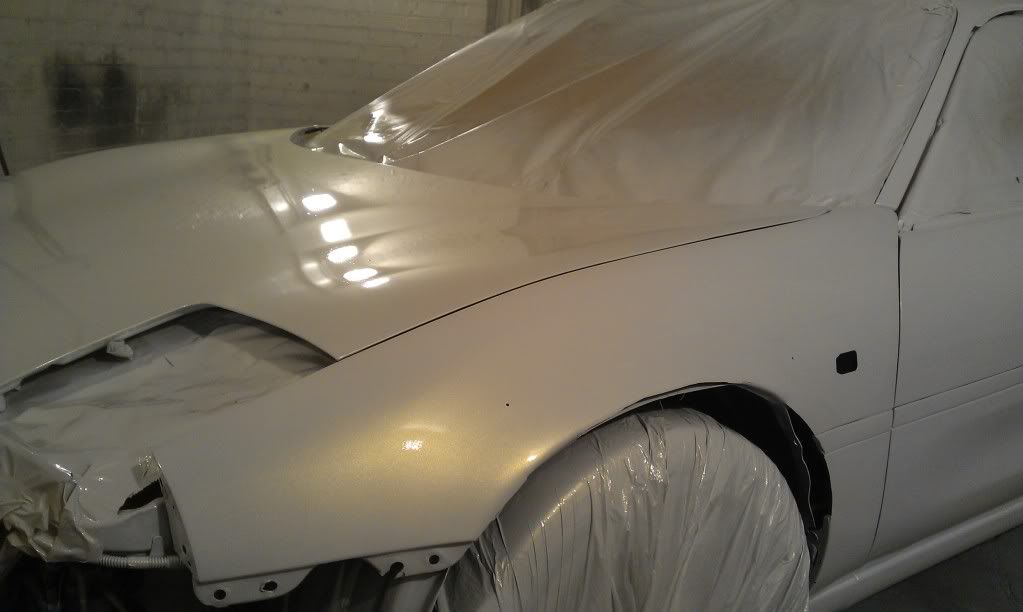
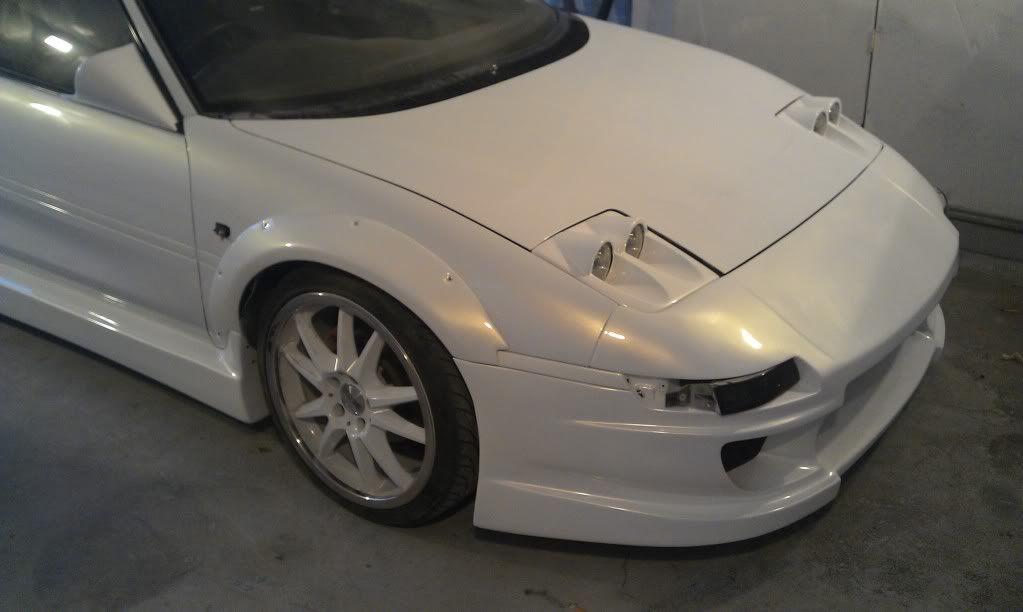
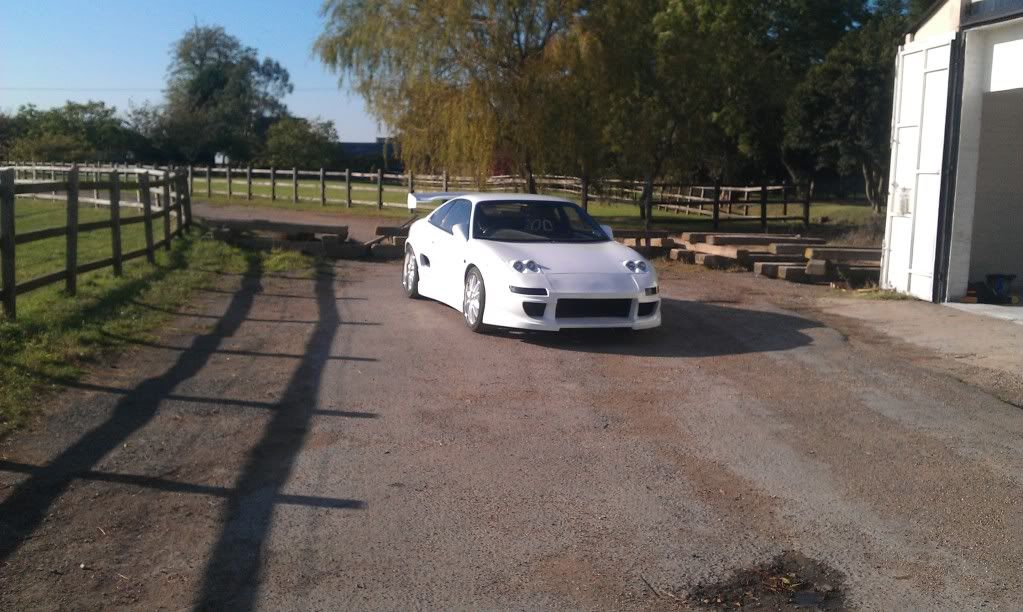
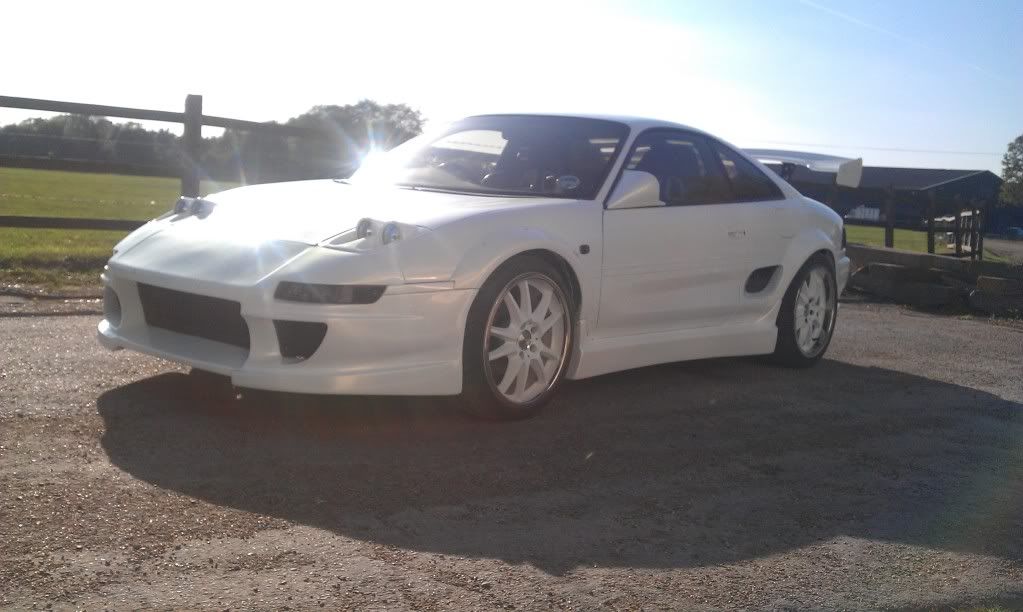
Once the car was back from the welders Ant set about getting the front arches to sit perfectly and also blend the front of the arches into the bumper and cut them so the lines carry on and they can also be removed.

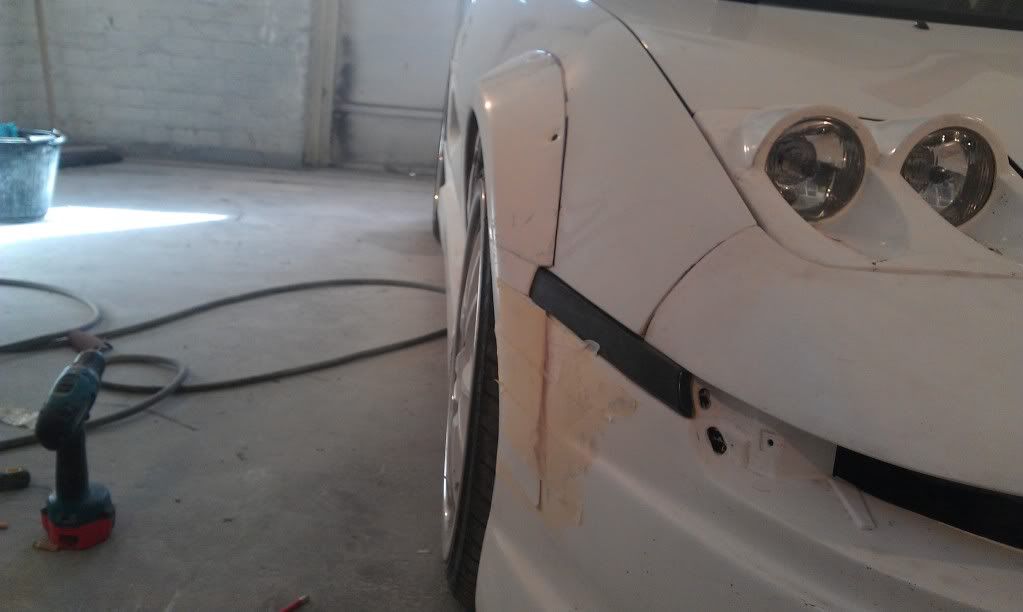
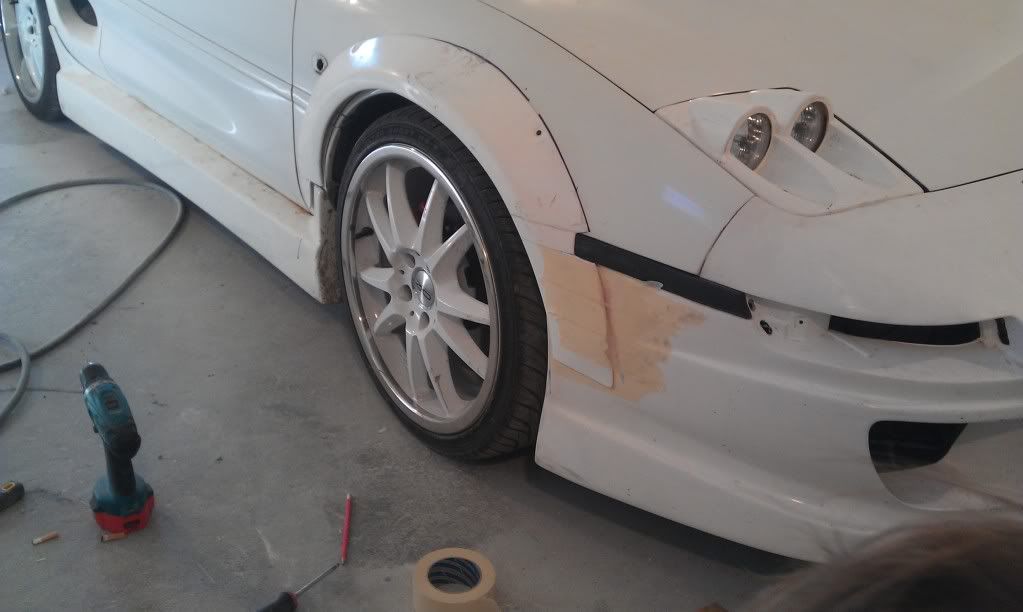
CUT
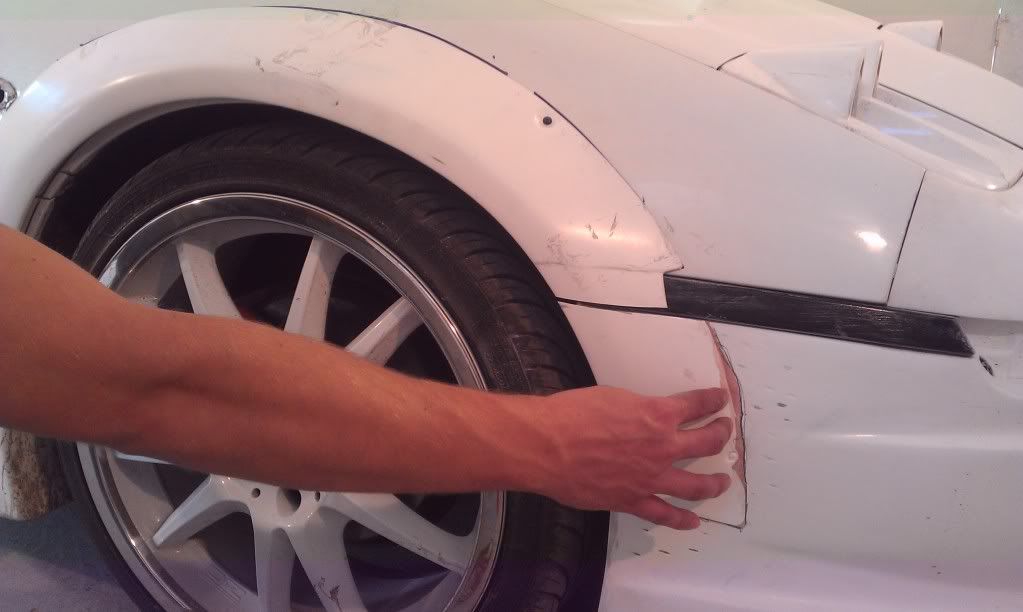
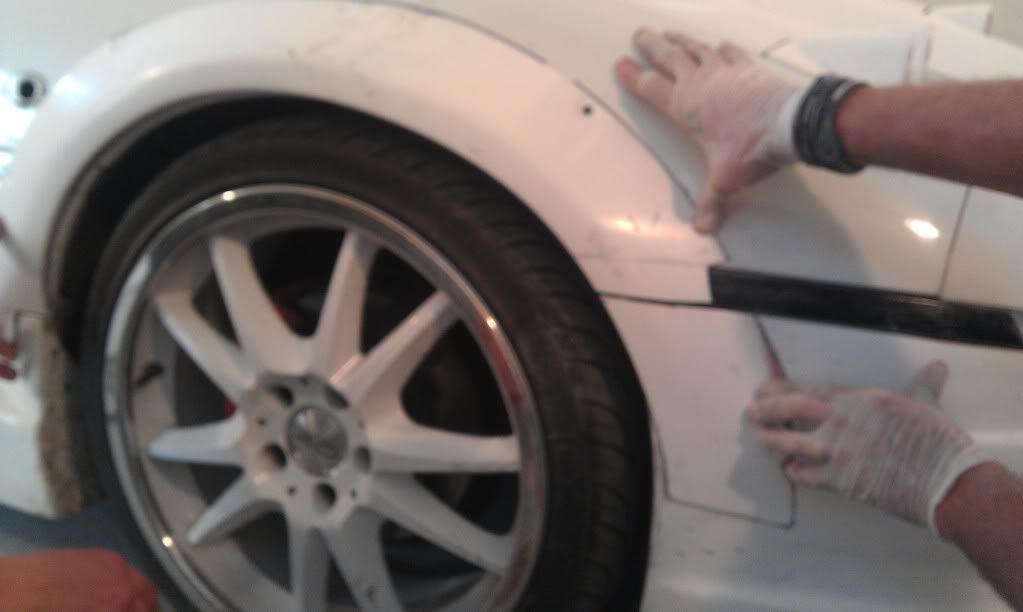
BLENDED
Im afraid that i havent been able to get pictures of everything because of the delays i didnt have enough holiday left to take the extra days.
Ant doesnt weld so the car had to be cut end welded else where, here are the rear arches after the welding
I decided to have my carbon spoiler painted with the car as im not a fan of carbon
Once the car was back from the welders Ant set about getting the front arches to sit perfectly and also blend the front of the arches into the bumper and cut them so the lines carry on and they can also be removed.
CUT
BLENDED
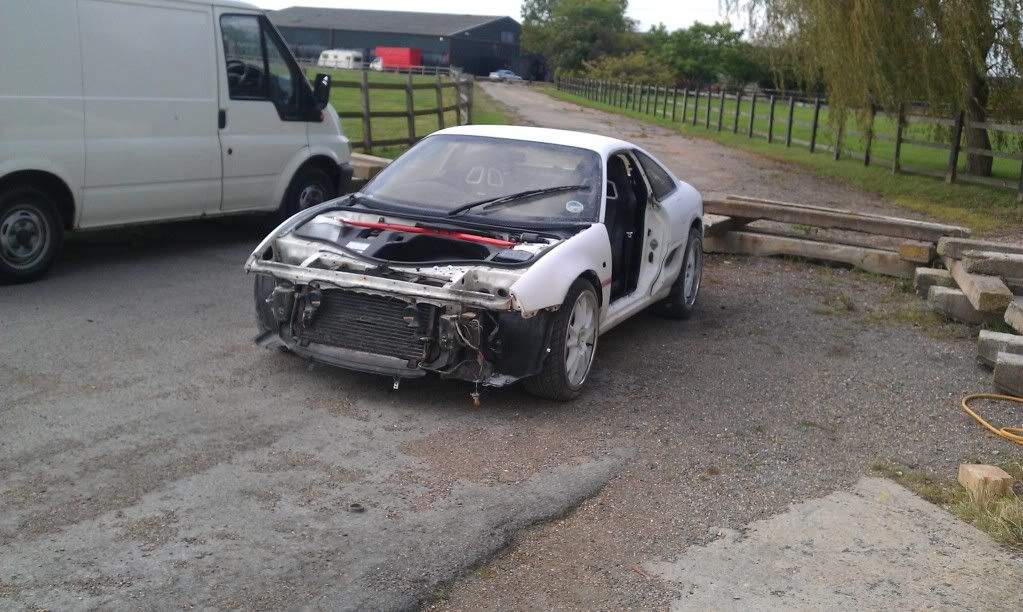
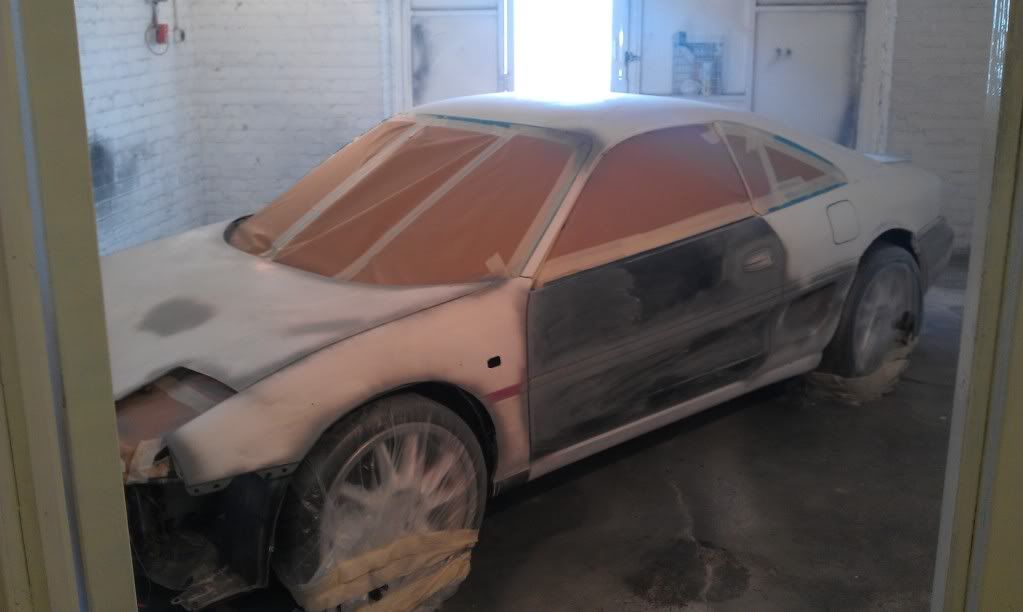
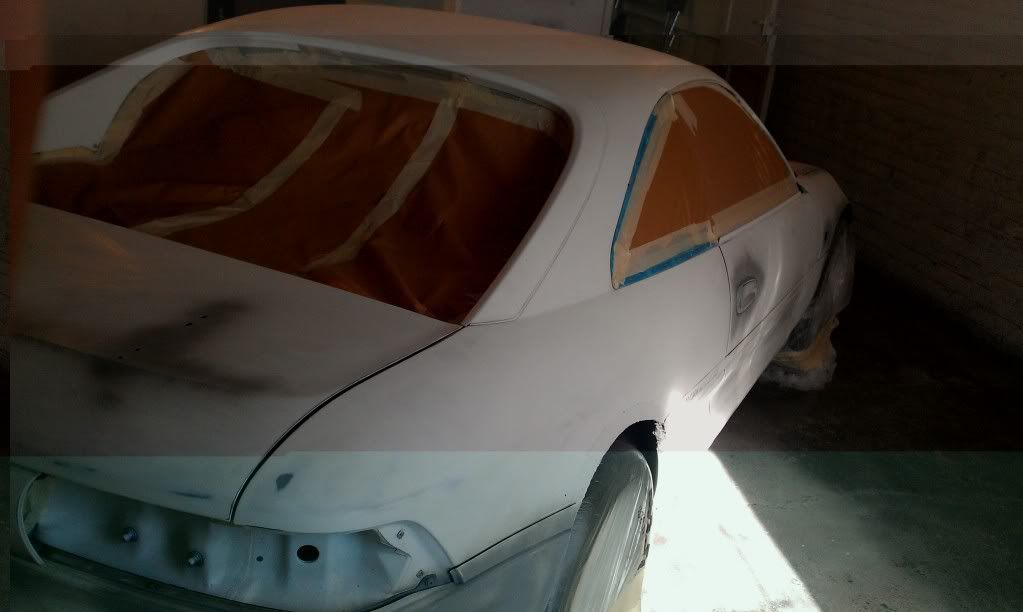
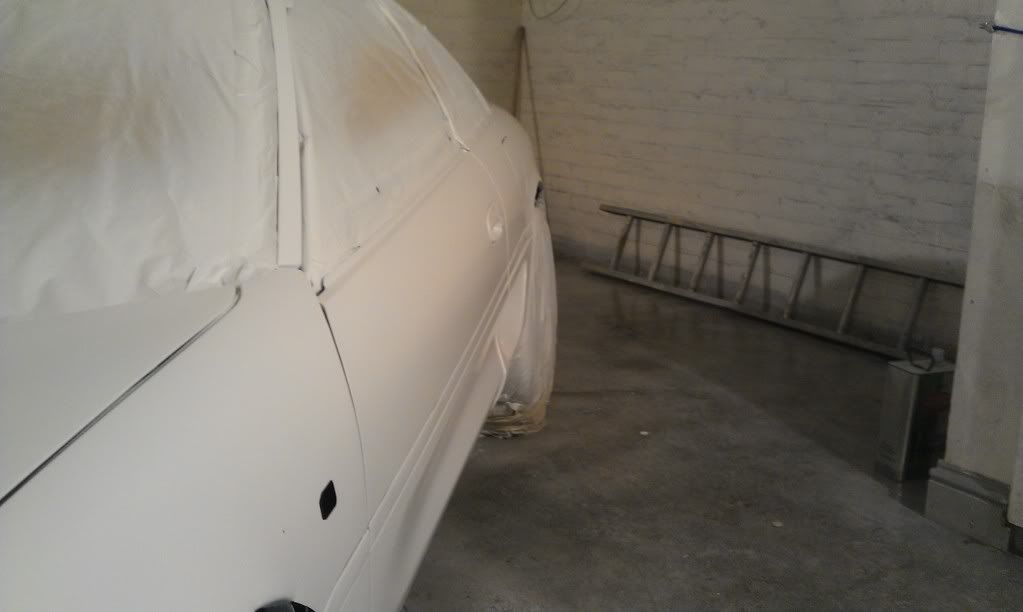
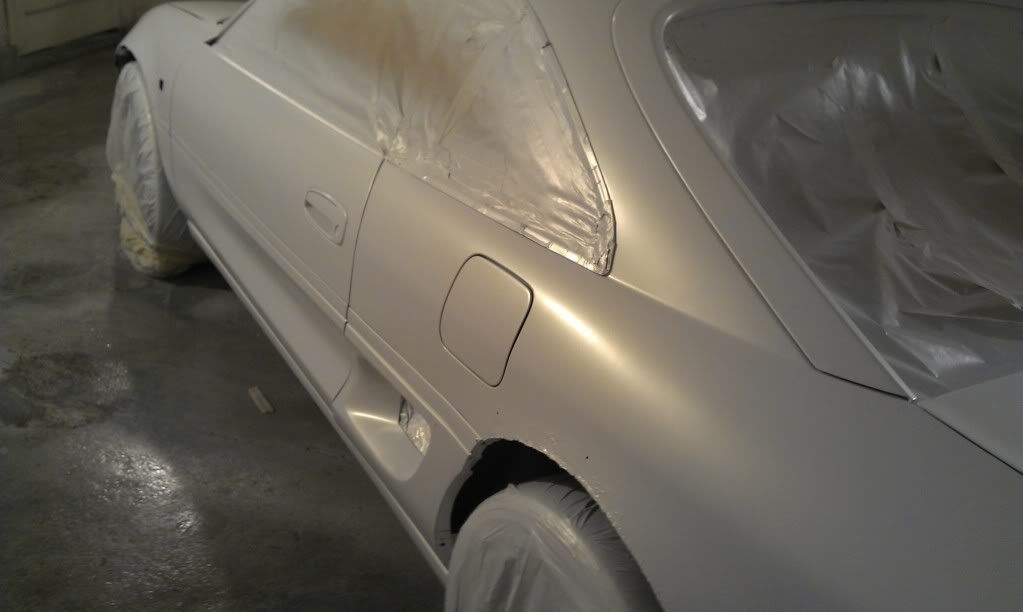
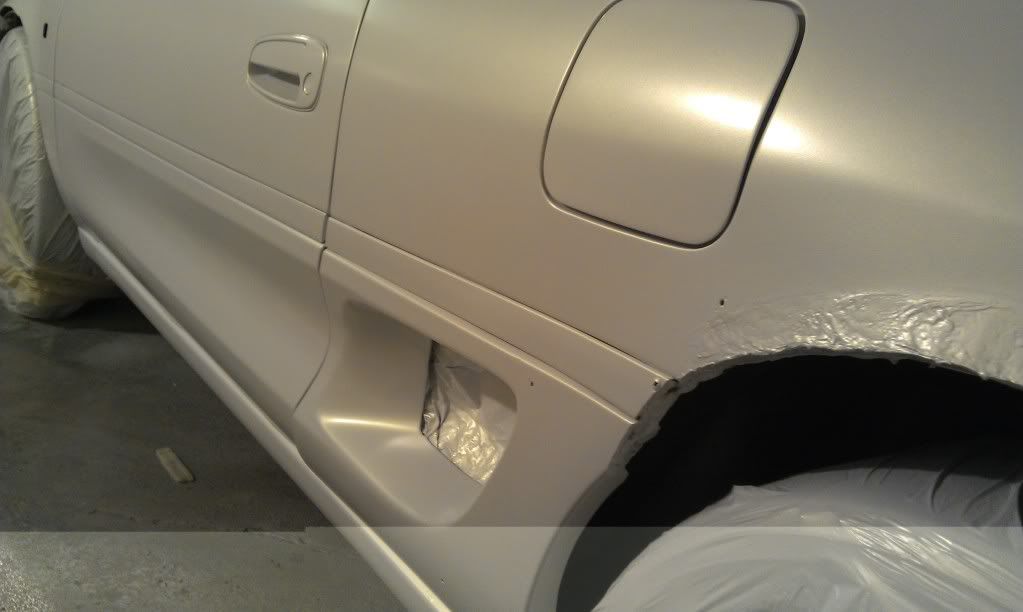
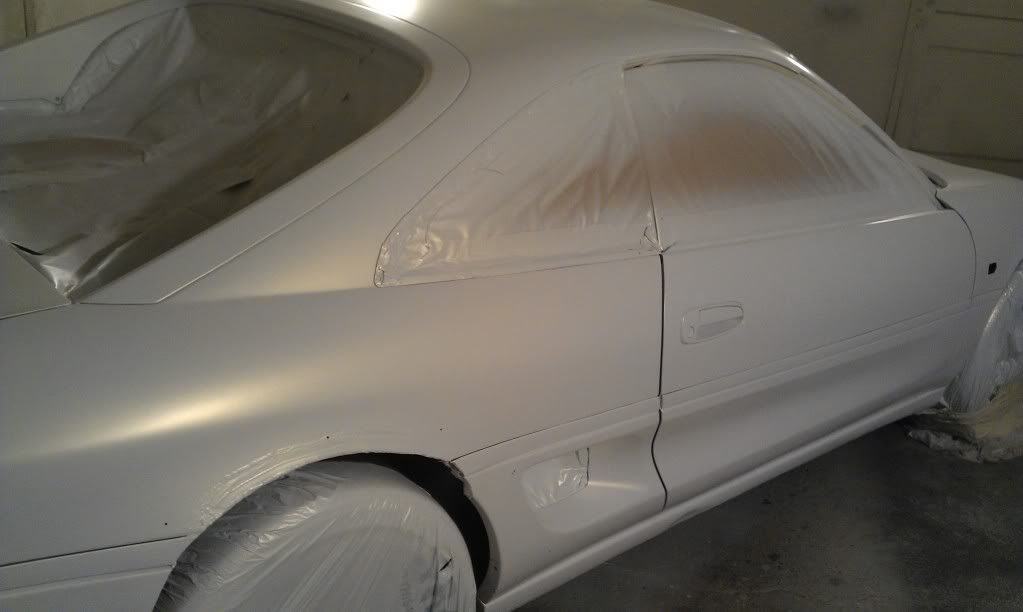
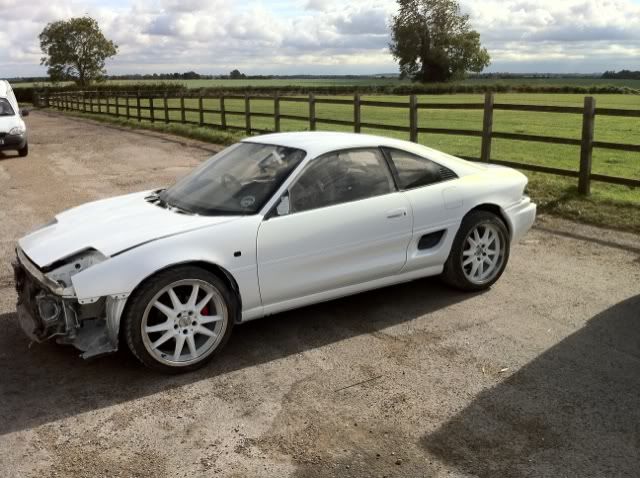
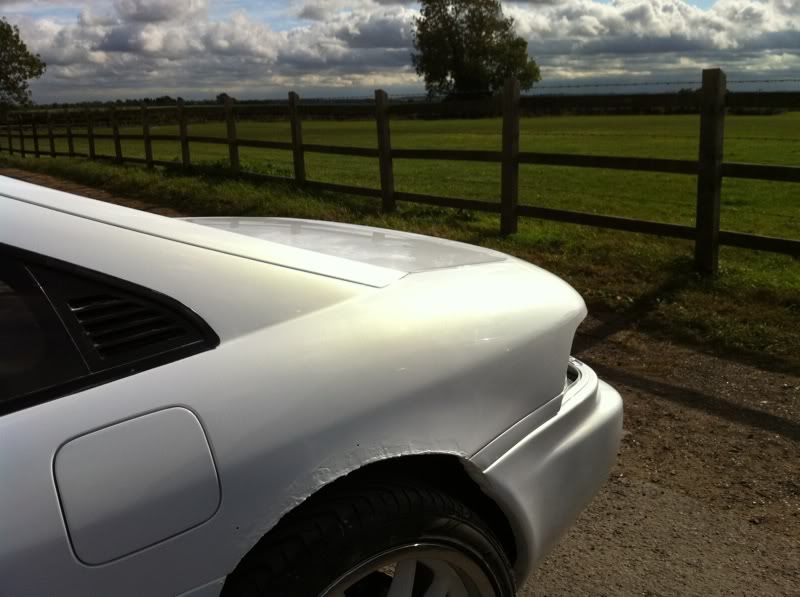
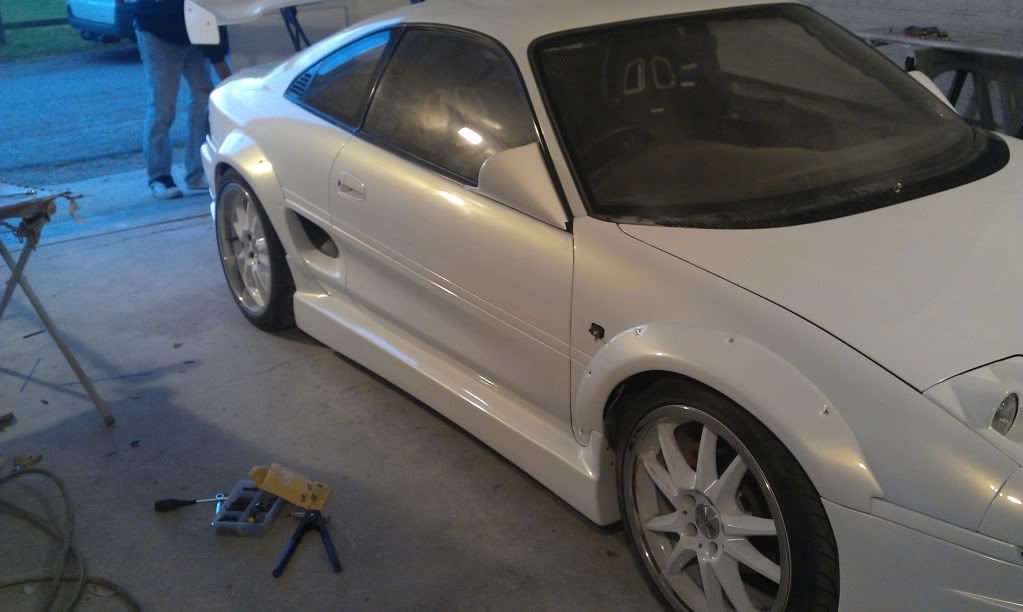
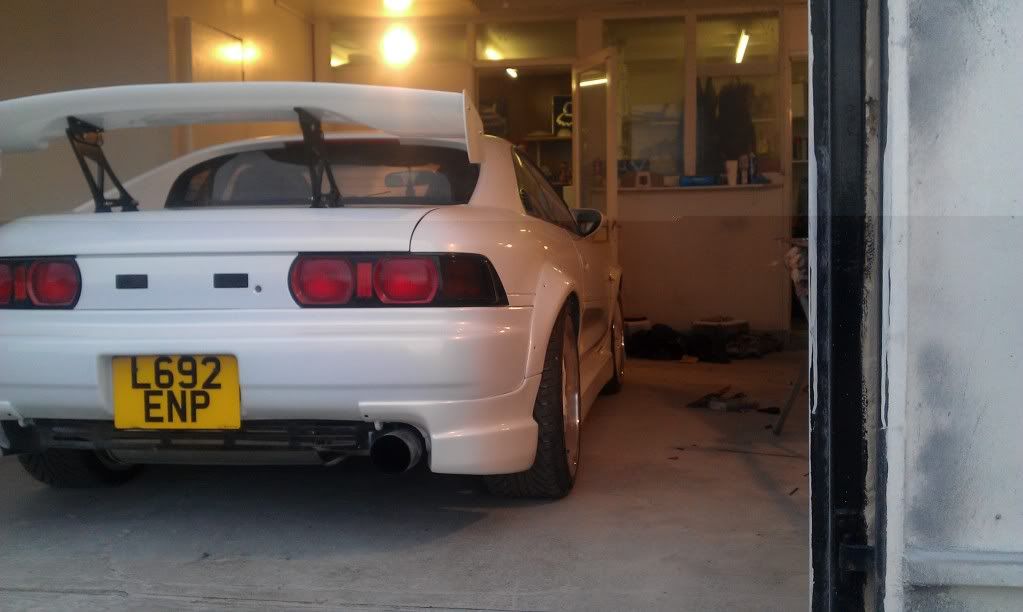
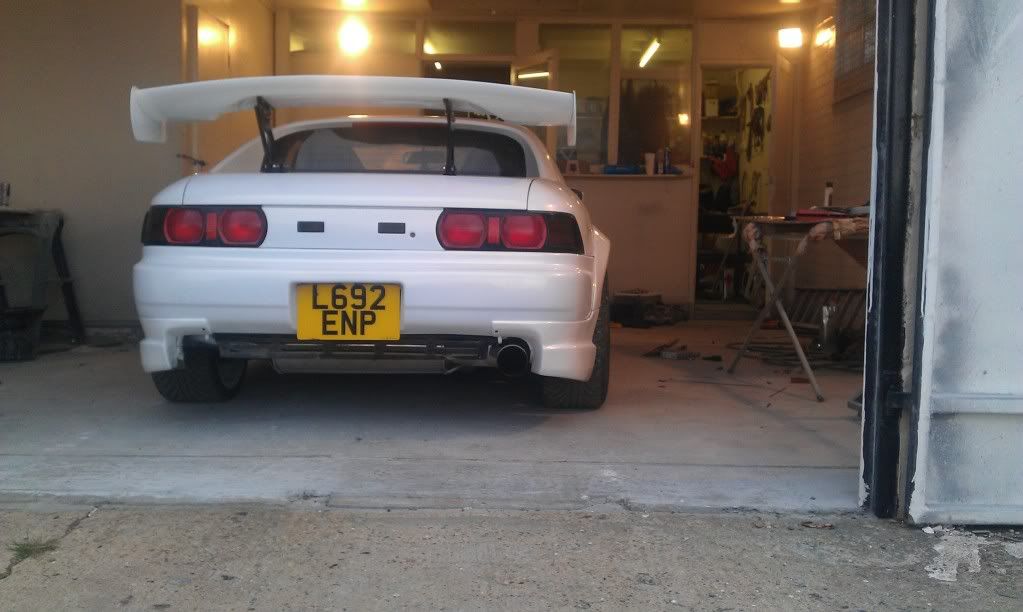
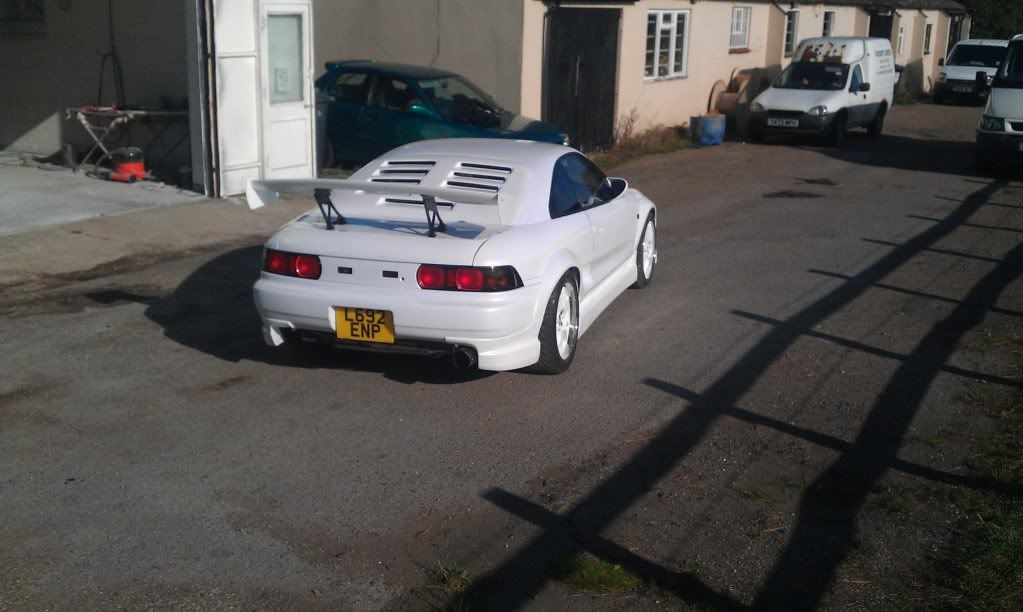
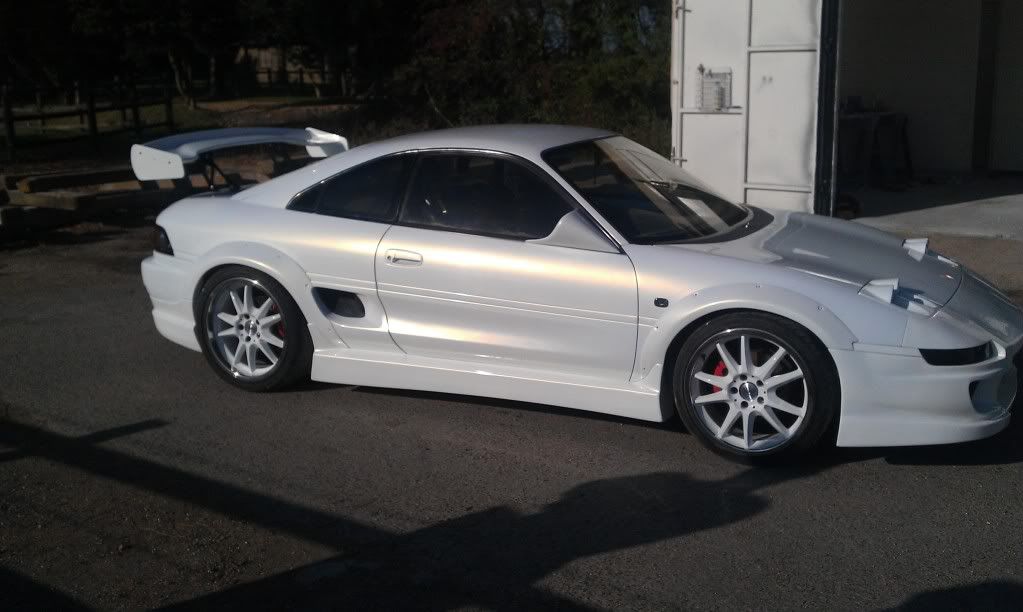
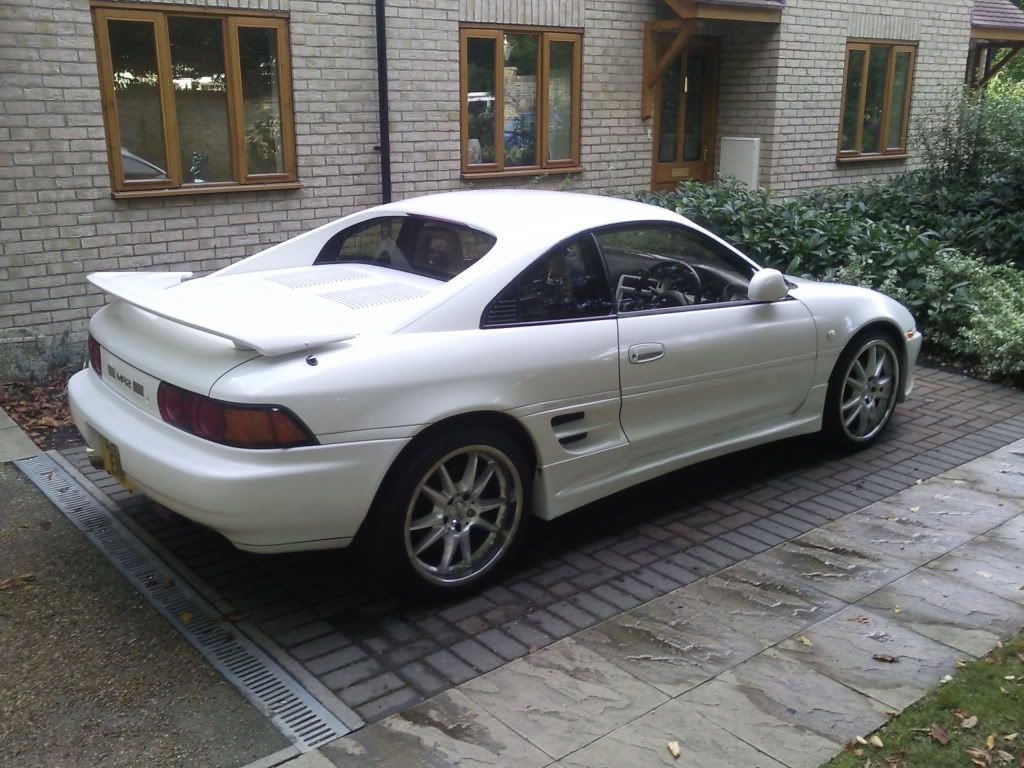
Ok next up was the rear arches. Personally i always thought they were too bulbas for me and Ant agreed so we cut about 1inch to 1 1/2 inches off them.
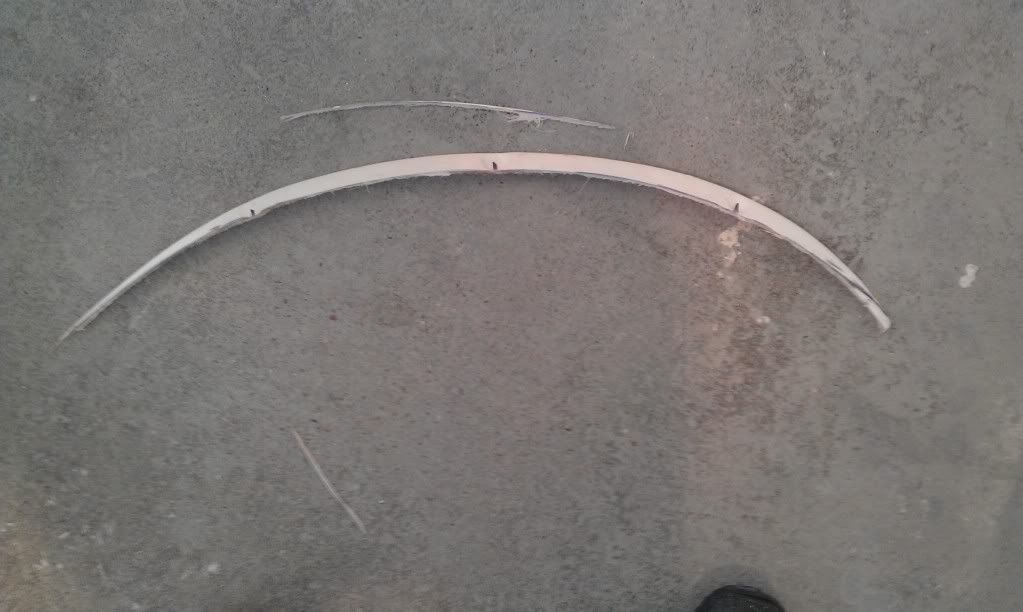
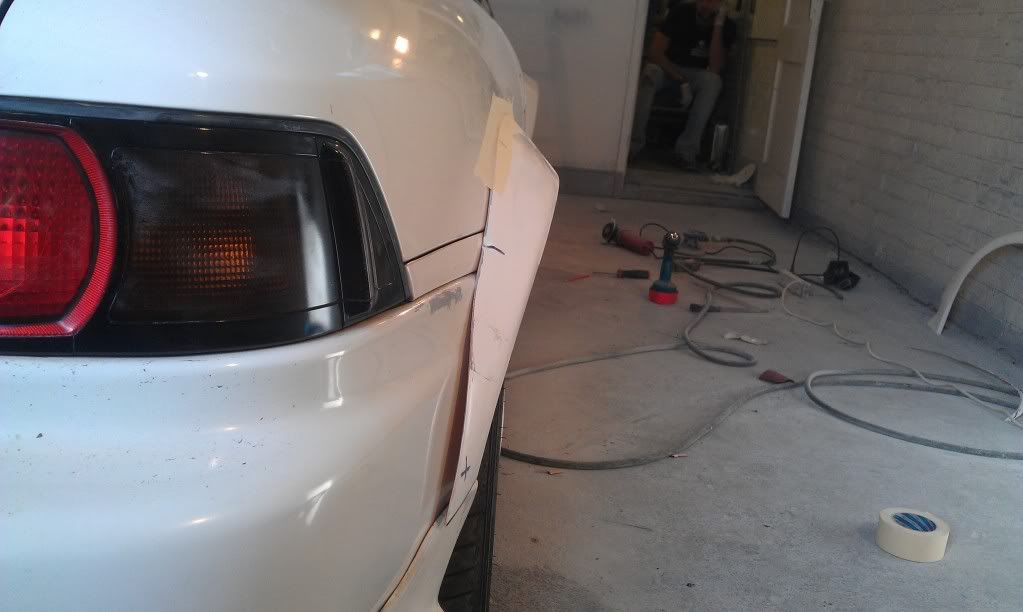
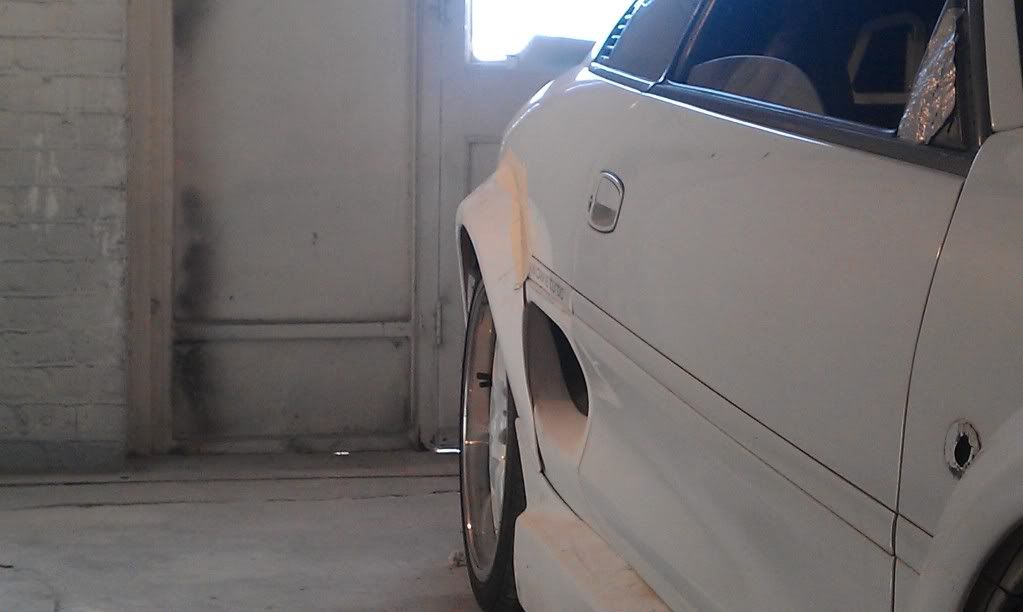
As you can see compaired to the pics outside my garage they look better now. What we also did was shave down a bit of the rear spats to make the lines follow and extend the rear arches by the air intake to make them flow better.

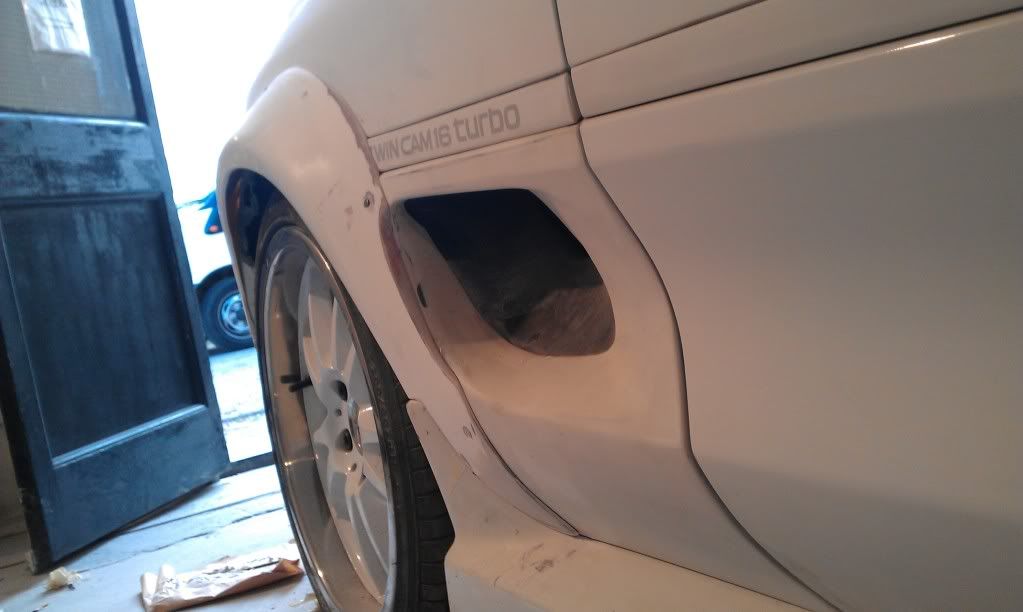
As you can see compaired to the pics outside my garage they look better now. What we also did was shave down a bit of the rear spats to make the lines follow and extend the rear arches by the air intake to make them flow better.


Ok more pics from last night!
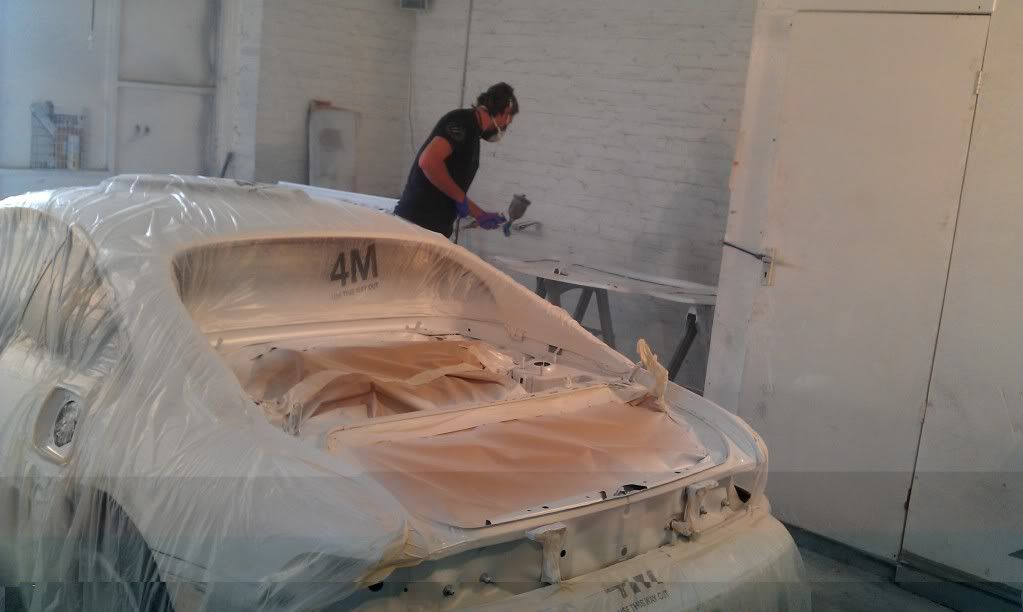
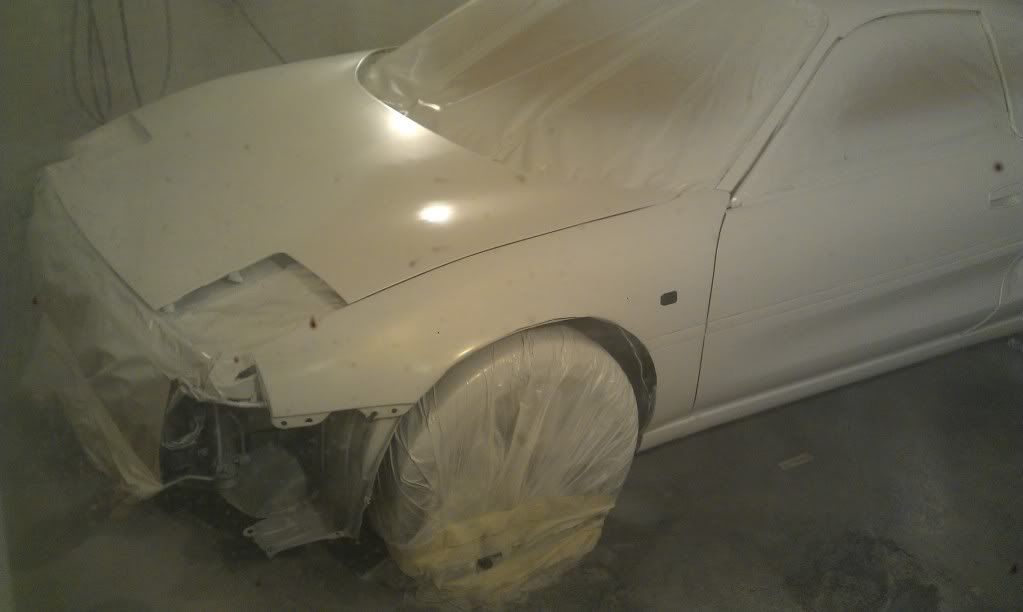
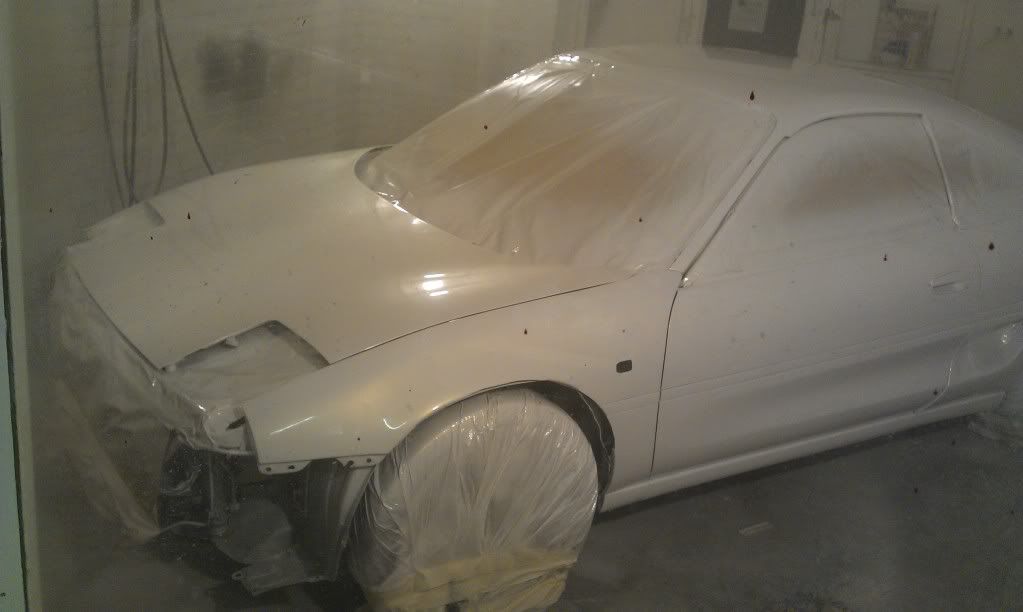
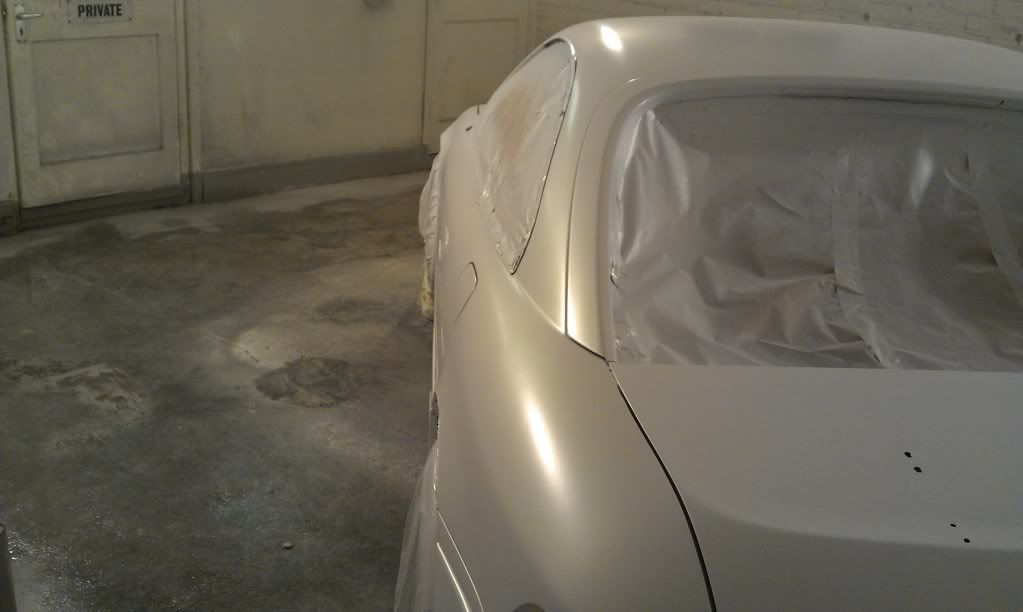
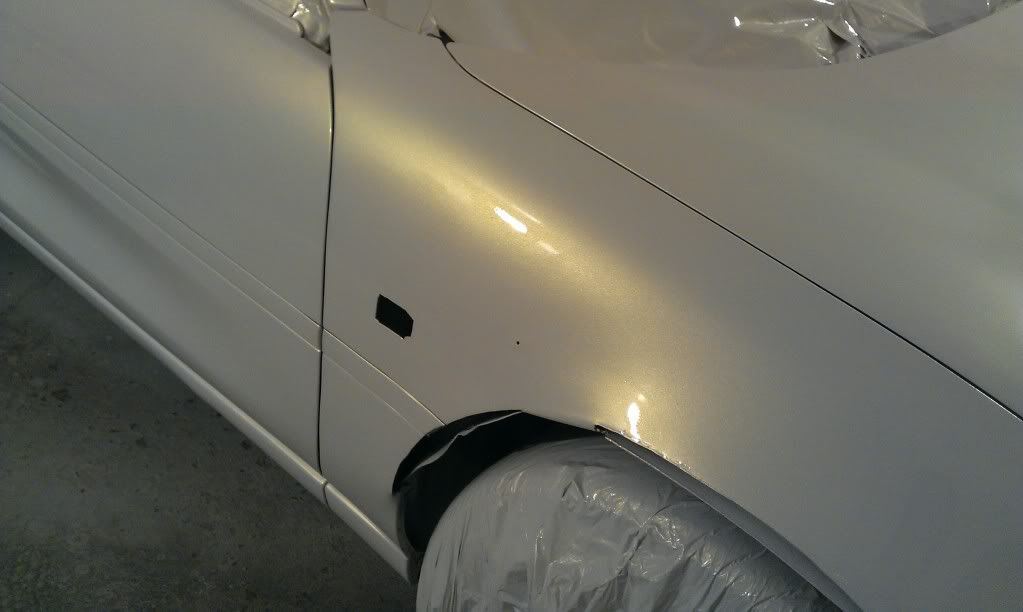
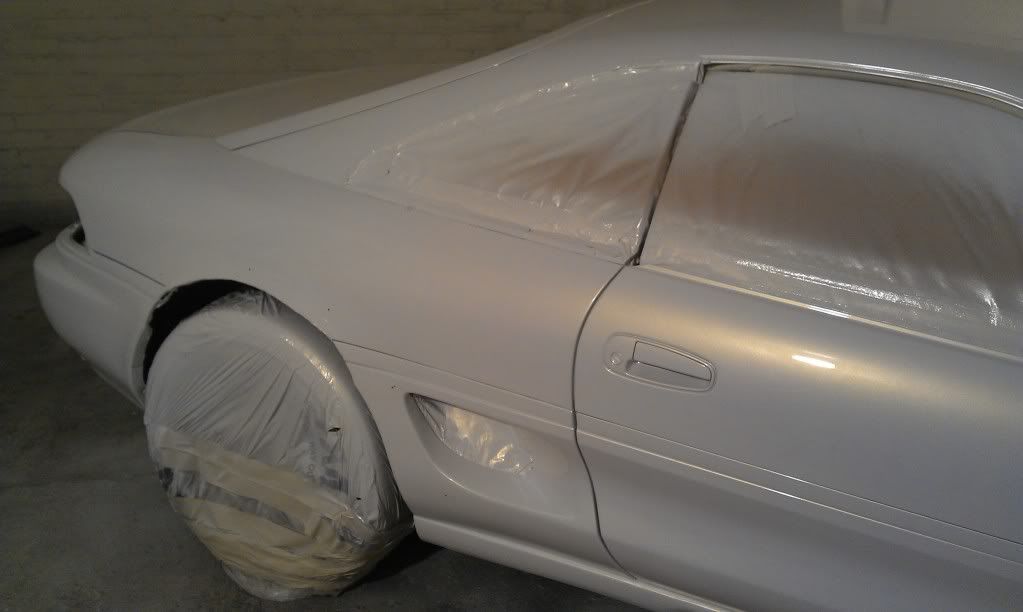
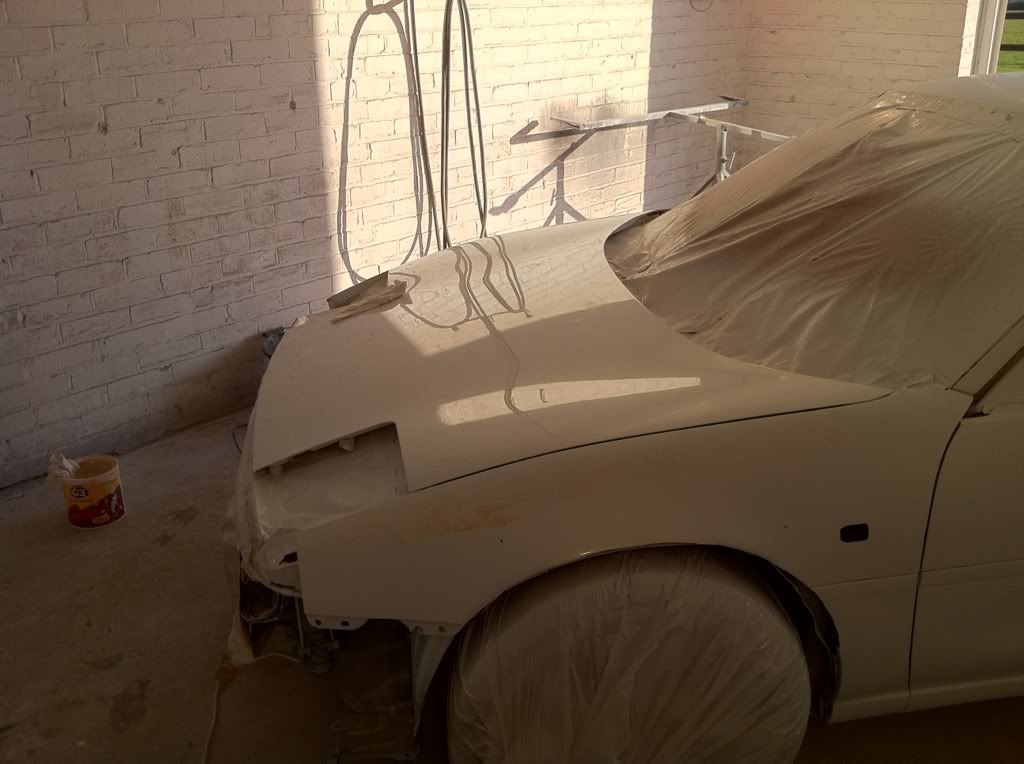
Just sorting any small imperfections before base coat
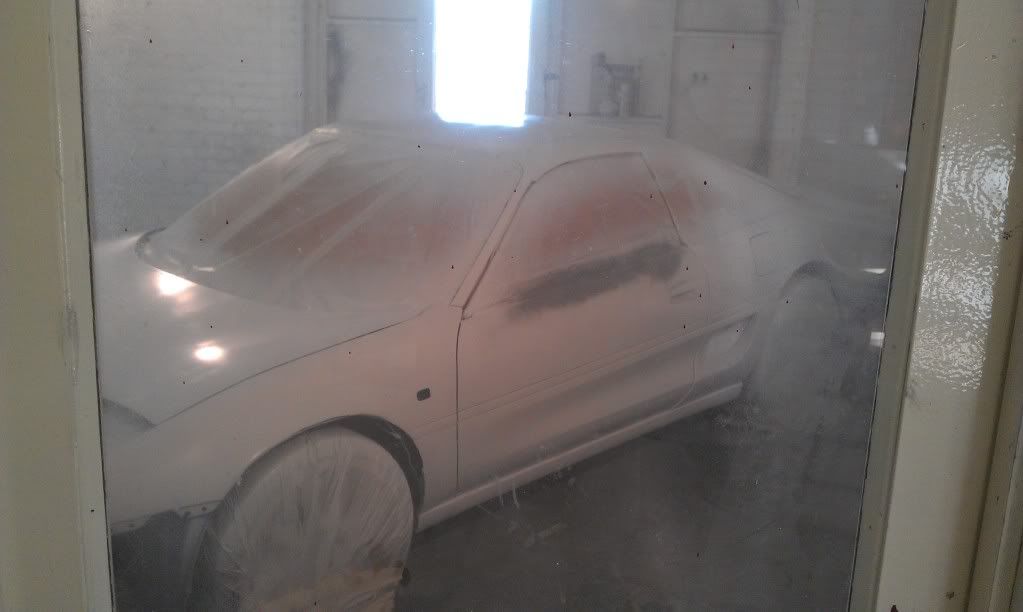
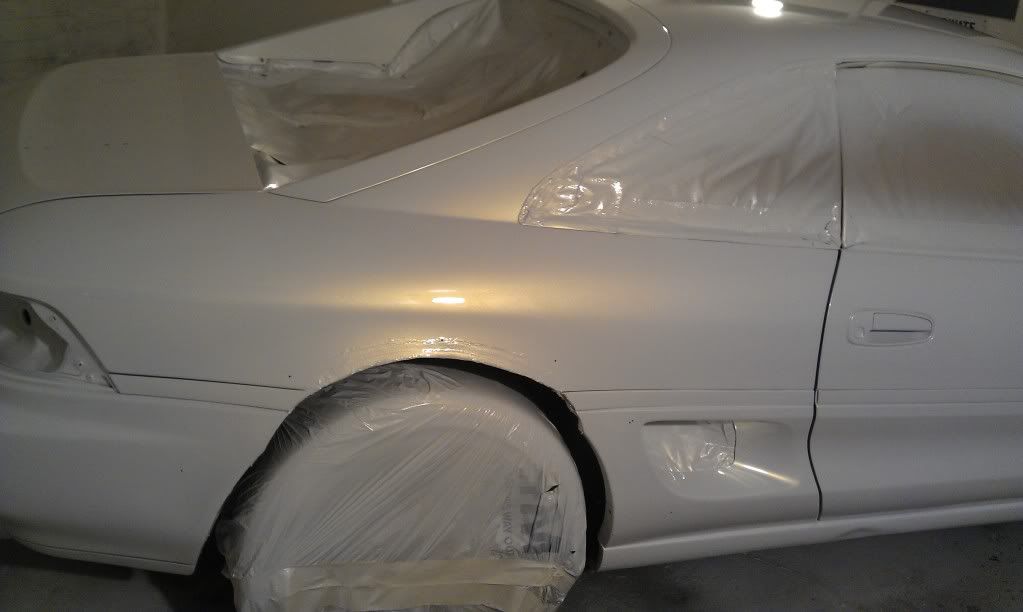
1st coat of pearl! Its a shame as the camera doesnt pick up the colours of the pearl very well, i can however tell you the paint looks soo much better in the flesh!
Some pics were taken through the office door window which is why they have dots on and look dirty!
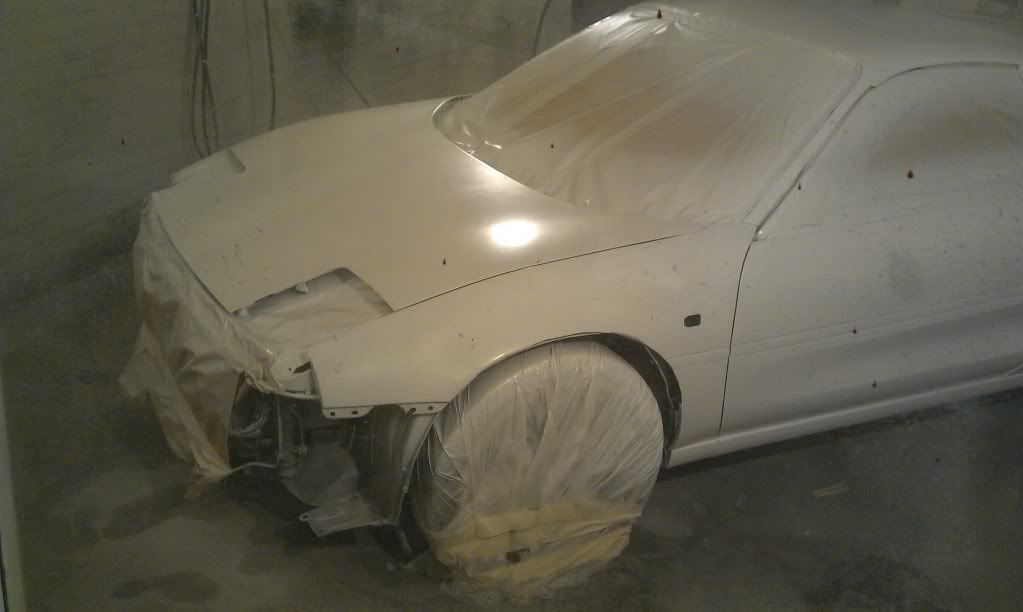
2nd coat followed by 3rd!
Just sorting any small imperfections before base coat
1st coat of pearl! Its a shame as the camera doesnt pick up the colours of the pearl very well, i can however tell you the paint looks soo much better in the flesh!
Some pics were taken through the office door window which is why they have dots on and look dirty!
2nd coat followed by 3rd!


Ok, and these are from yesterday!
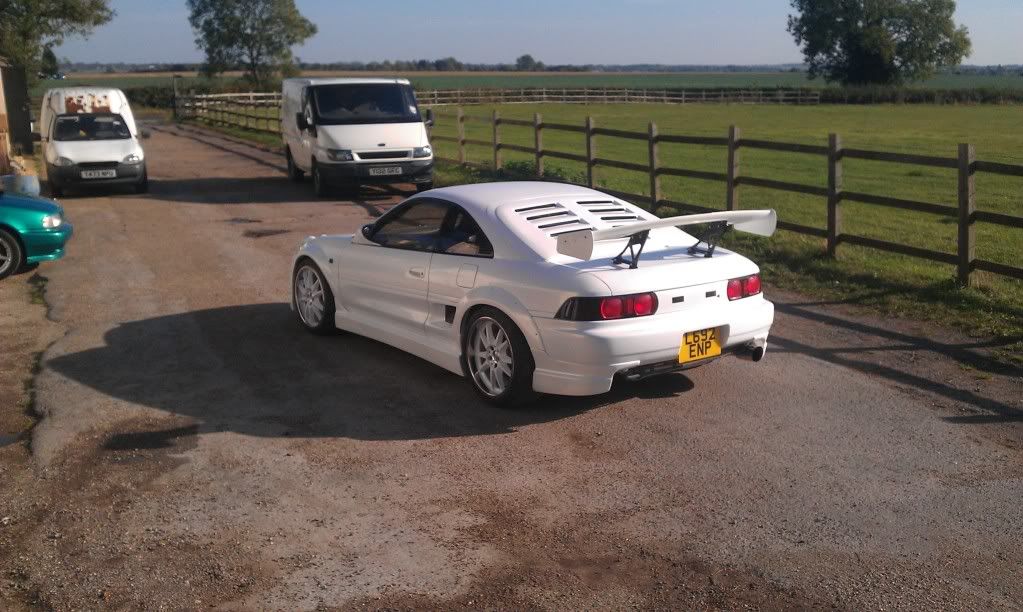
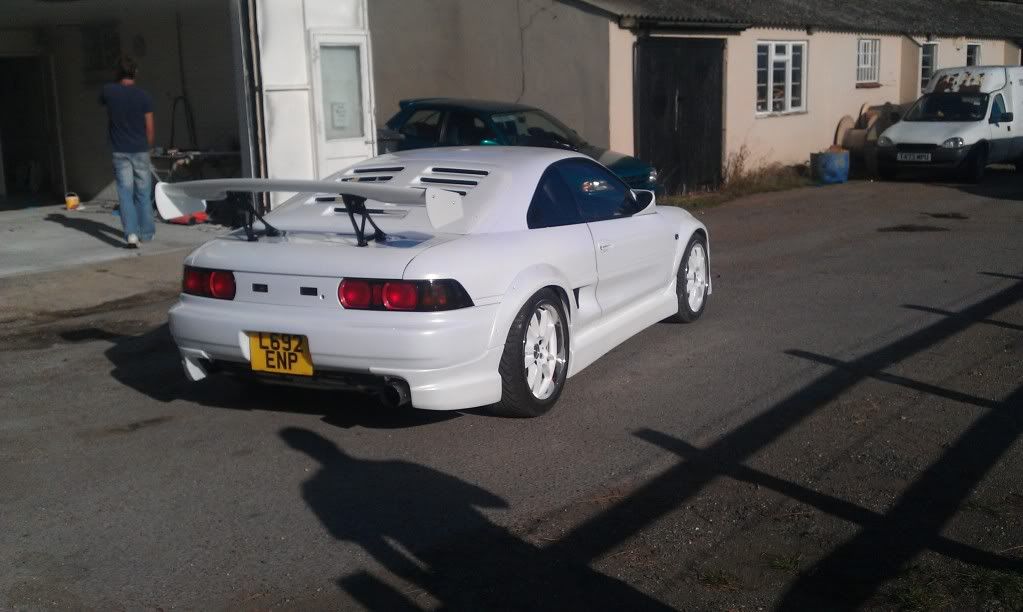
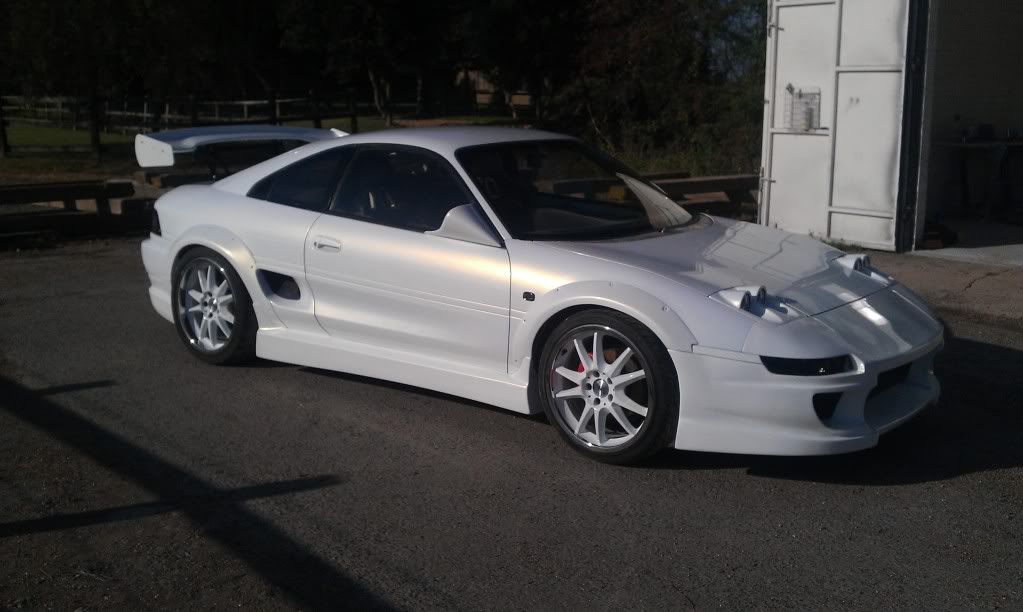
Bodykit is all on and i fitted one of the rear spacers to see how it looks!
None of the front spacers are on yet and there are a few other parts to go back on
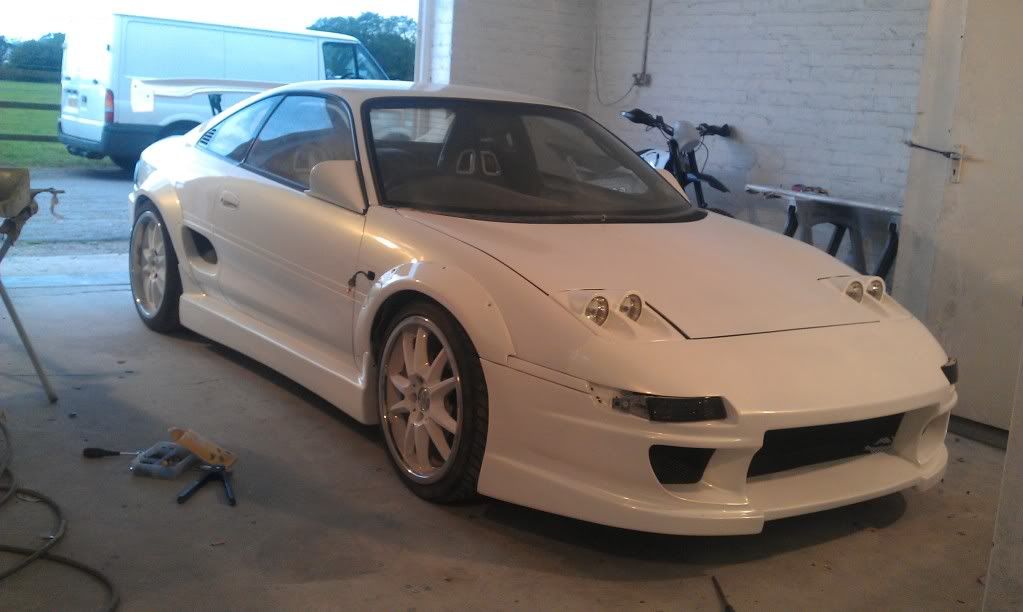
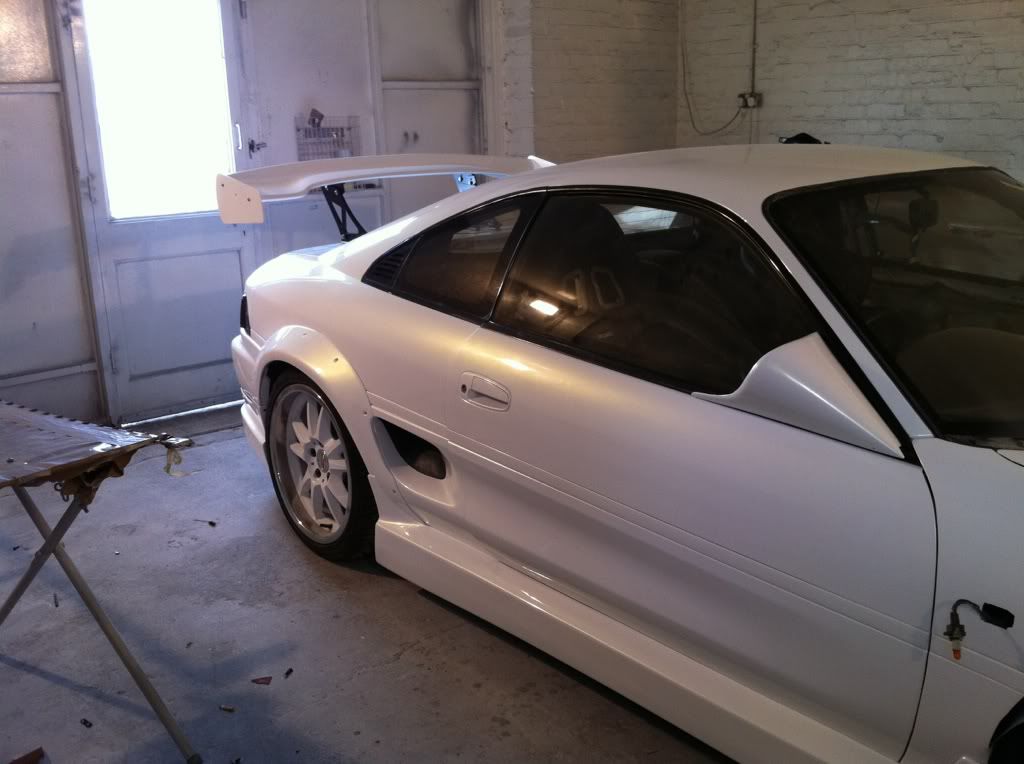
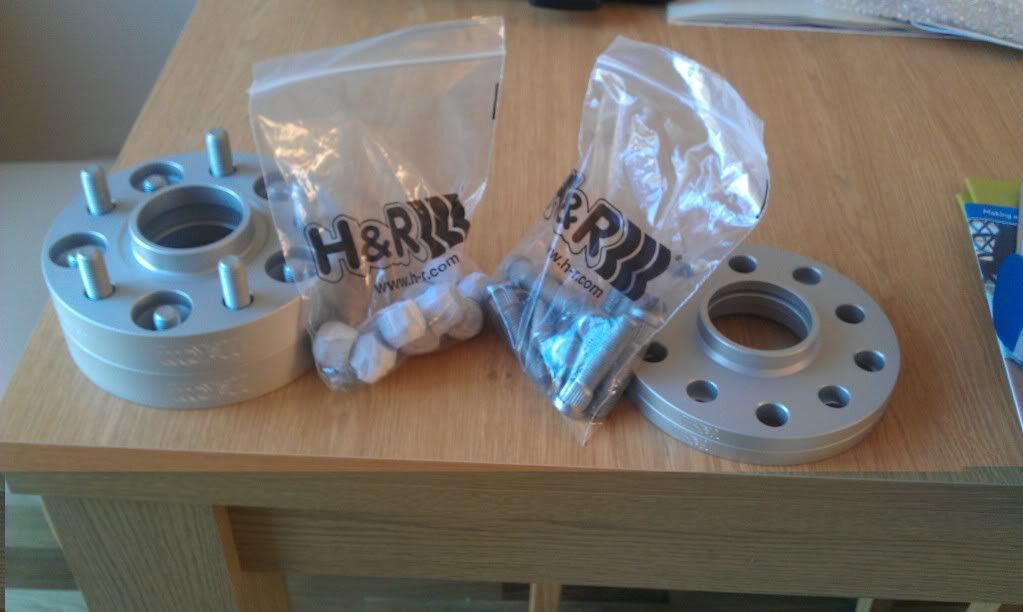
The spacers i went for in the end were H&R 25mm rears and H&R 10mm fronts. Not as big as i thought i needed!
Hope you like so far!
Bodykit is all on and i fitted one of the rear spacers to see how it looks!
None of the front spacers are on yet and there are a few other parts to go back on
The spacers i went for in the end were H&R 25mm rears and H&R 10mm fronts. Not as big as i thought i needed!
Hope you like so far!
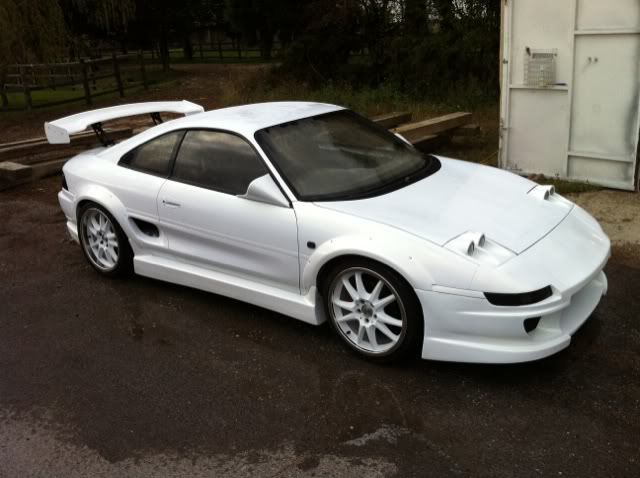
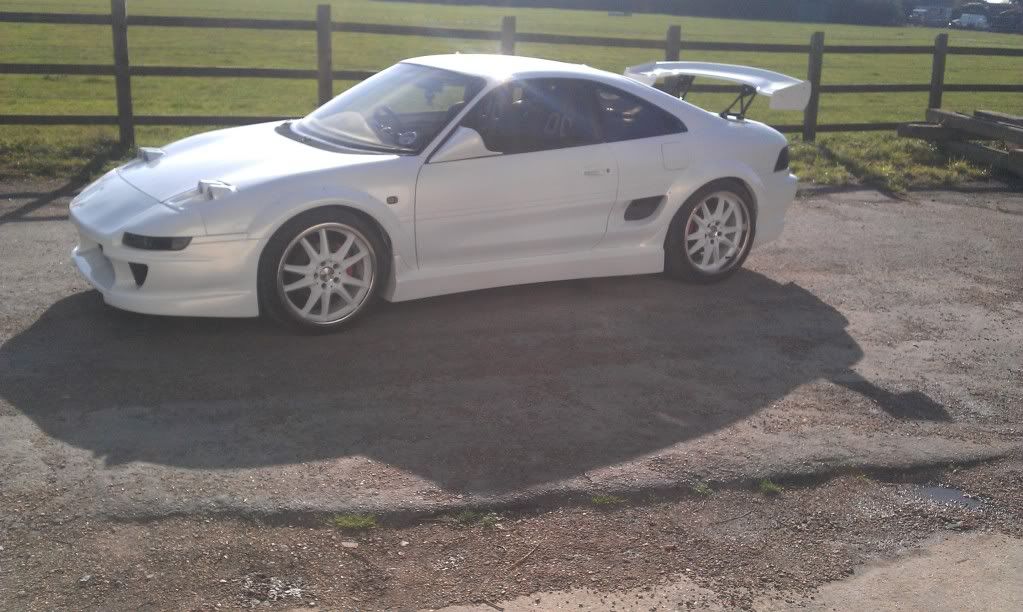
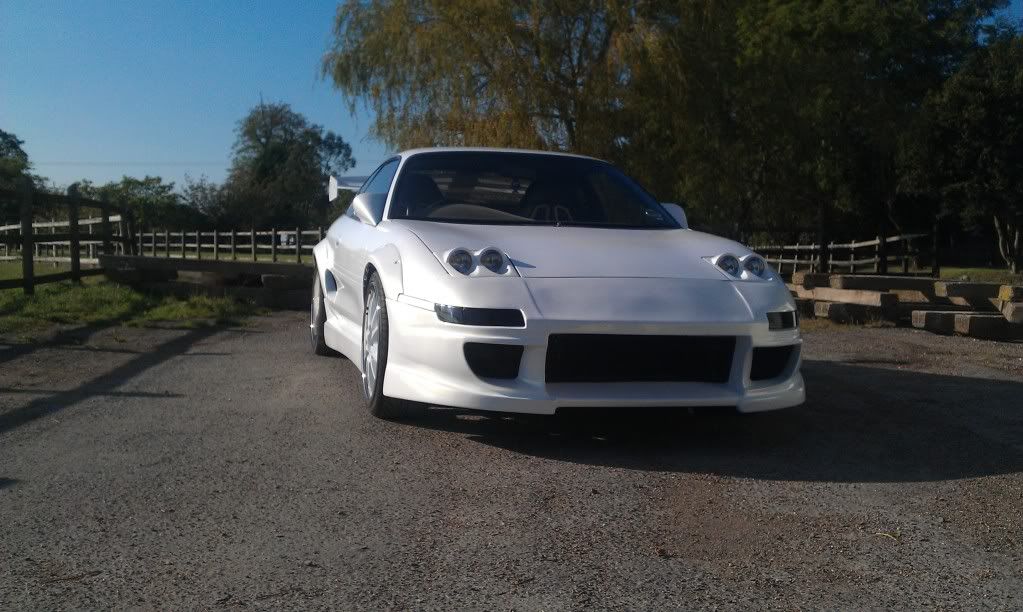
Ok guys and girls here we are! The sun was out yesterday and the pearl really popps it looks fantastic!
I wouldnt say the car was 'finished' but the exterior is done! The plan for next year is to get my car on a show stand and im going to have to start saving for an interior refresh, forged engine and big turbo! :lol:
The work was carried out by Ant at NV AUTOSTYLING. He is based near Bishops Stortford. And his phone number is 07984 180 161, just tell him you got his number from me and he will sort you out.

Gassing Station | Readers' Cars | Top of Page | What's New | My Stuff