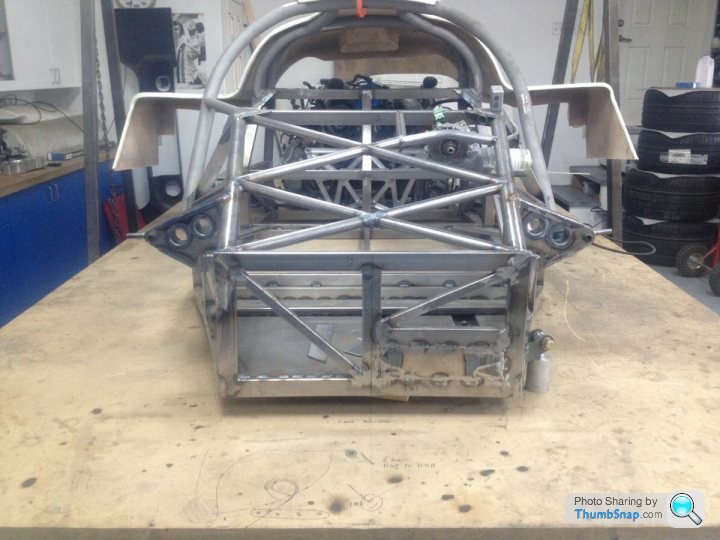
962 recreation with a GT3 Heart...
Discussion


Clive, quick question regarding work flow when building the frame,
Do you follow this sequence of steps
1 Cut and position all tubes (as far as practical)
2 Tack tubes in place
3 with all tubes tacked in place weld frame, completing part of each joint at any one time before moving to opposing joint…..sequence like torqueing up flywheel or wheel bolts….
4 with frame fully welded tack in place suspension pick up point
5 test suspension geometry for motion, binding, clearance
6 fully weld suspension pick up points
Regards Ryan
ezakimak said:
thanks bloke.
ill be steeling that and using it on the 40.
No Problem glad I can help....ill be steeling that and using it on the 40.
And yes that sequence sounds about right...
Remember the chassis may move when you weld it don't be to worried as long as the structure is there,
if its a little off by a few mm here and there your still ok. Just when you build the pickup point for the suspension make sure there correct just means some brackets may not be identical left to right...
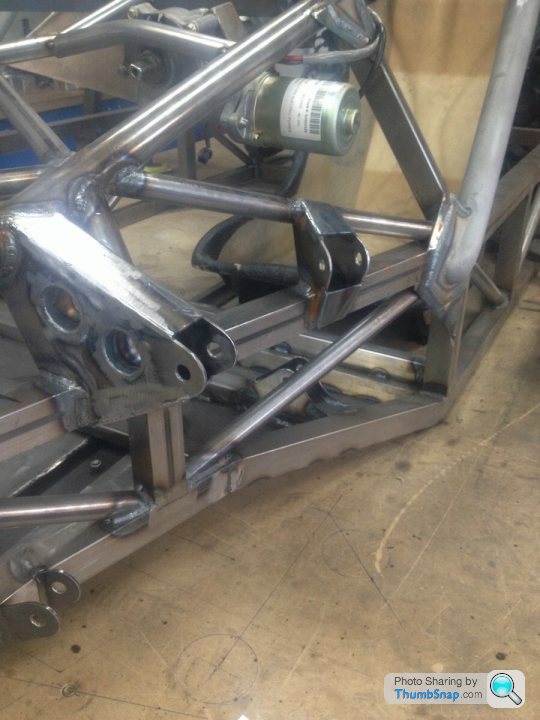
Todays fun...
Nicely Tig'ed up box with some tubes welded in for strength

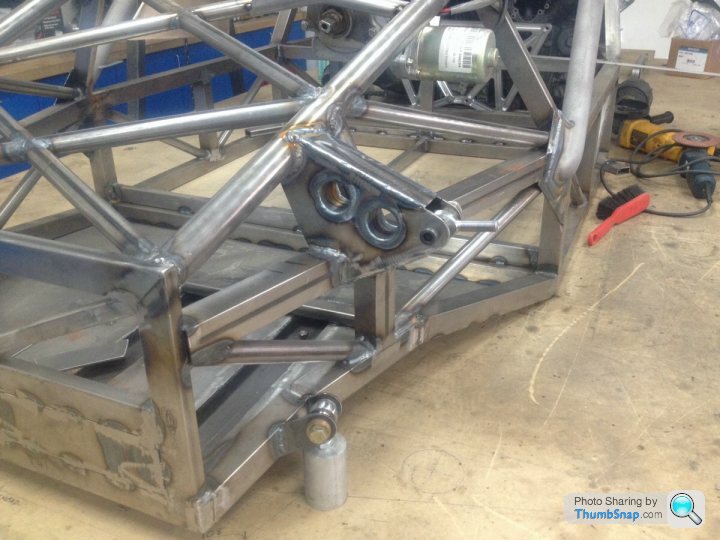
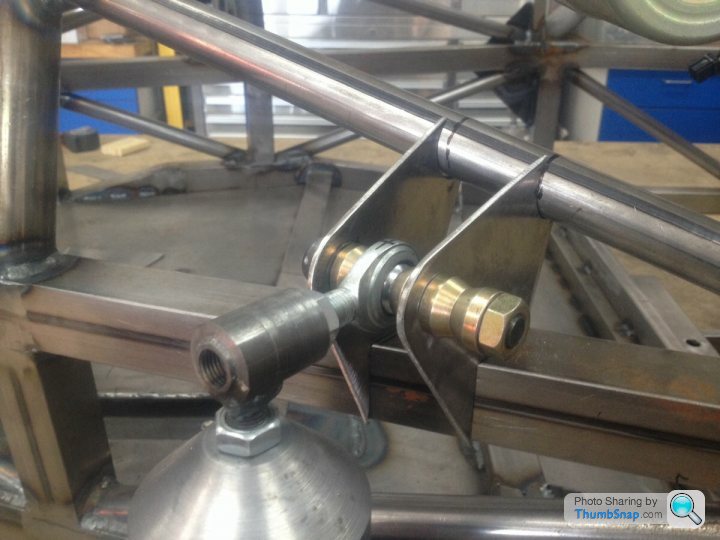
The back pickup point of the lower wishbone, had to do some Cad sims before I was happy which way to go,
but in the end I've Sliced a 38x38 box down the length as I wanted it vertical and the floors got 12 deg slant. The floors 2mm so Ive just stitched it to that to make a nice easy mount for the tabs....Pic to follow..
Nicely Tig'ed up box with some tubes welded in for strength
The back pickup point of the lower wishbone, had to do some Cad sims before I was happy which way to go,
but in the end I've Sliced a 38x38 box down the length as I wanted it vertical and the floors got 12 deg slant. The floors 2mm so Ive just stitched it to that to make a nice easy mount for the tabs....Pic to follow..
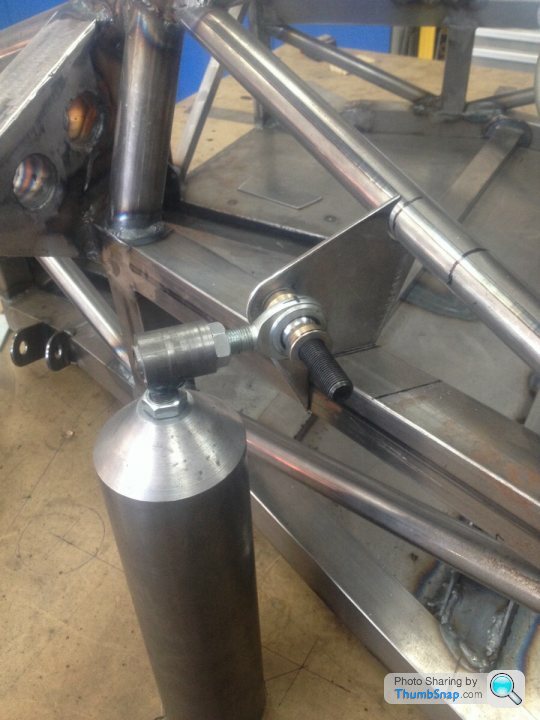
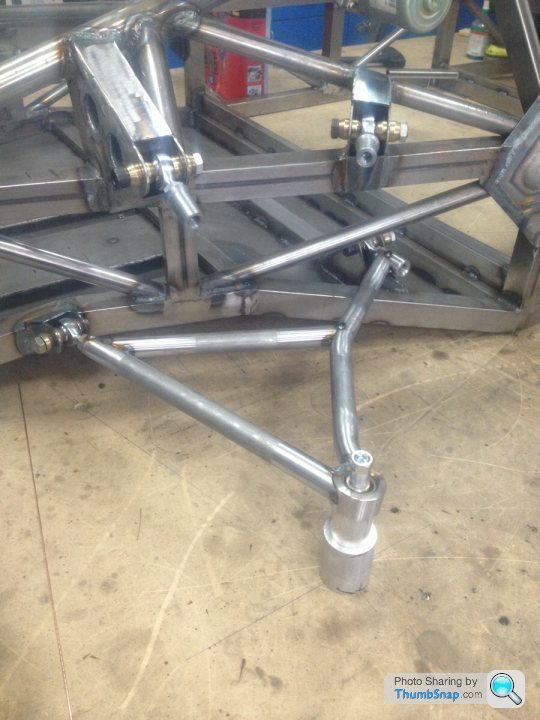
Of Course there are many benefits for building a Chassis on a Flat surface, you can use a old school marking out pointer to project the height of some thing over other tubes..

The beam between the 2 points is also at a height so I can use it for the Ally skin that will be the raised floor in=front of the seats..

The beam between the 2 points is also at a height so I can use it for the Ally skin that will be the raised floor in=front of the seats..
GTRCLIVE said:
Thanks for taking the time to do the videos. Explains everything so well. Total talent envy.


Gassing Station | Porsche General | Top of Page | What's New | My Stuff