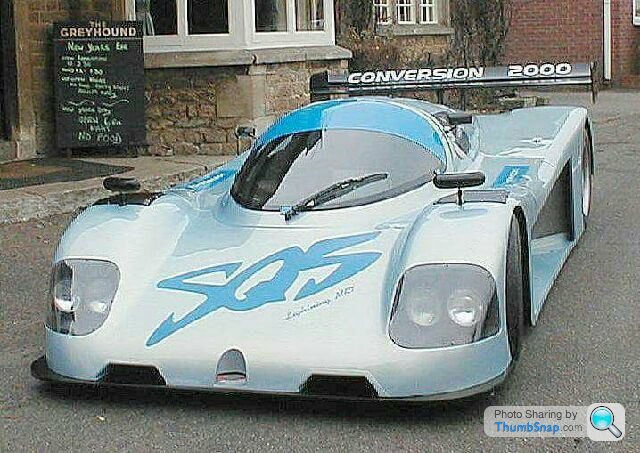
962 recreation with a GT3 Heart...
Discussion


j80jpw said:
Sorry to ask a very basic question on such an amazing build but what are the little grey and yellow pin type things you're using to hold the body together? I'm guessing some kind of temporary rivet? How do they work? Do you use a special tool to insert them?
If it's what I think you're asking about. They are called rivet clamps. Used to be used a lot in aircraft manufacturing (maybe still are) Exactly as you say though they go in the same whole as the rivet as a temporary fix.
j80jpw said:
Sorry to ask a very basic question on such an amazing build but what are the little grey and yellow pin type things you're using to hold the body together? I'm guessing some kind of temporary rivet? How do they work? Do you use a special tool to insert them?
This may helphttp://youtu.be/dq0FCHZybWU
I'm not sure why he wears what look to be skiing gloves, but it shows how they work.
I know them as 'Skin Pins' they are fitted and set by hand with the knurled wheel on the end.
The ones shown in the vid posted earlier are 'Clecos'. They are spring loaded and need a special set of pliers to both fit and remove them.
At the working end they are much the same.

As you can see there are 2 parts that slide against each other. When they are aligned they fill the rivet hole size. When the sliding part is forward the hook can pass through the hole but hooks onto the back of the metal when the parts slide back together.
Clecos are used where you need assembly speed. The manual skin pins are good for our use and have a higher and more controlled clamping force.
Steve
The ones shown in the vid posted earlier are 'Clecos'. They are spring loaded and need a special set of pliers to both fit and remove them.
At the working end they are much the same.
As you can see there are 2 parts that slide against each other. When they are aligned they fill the rivet hole size. When the sliding part is forward the hook can pass through the hole but hooks onto the back of the metal when the parts slide back together.
Clecos are used where you need assembly speed. The manual skin pins are good for our use and have a higher and more controlled clamping force.
Steve
If you want to see many, many of them in use then take a look at the Bloodhound project.
http://www.bloodhoundssc.com/
Or read this thread
http://www.pistonheads.com/gassing/topic.asp?h=0&a...
If you have any engineering interest the Bloodhound project is really at the cutting edge.
Paul
http://www.bloodhoundssc.com/
Or read this thread
http://www.pistonheads.com/gassing/topic.asp?h=0&a...
If you have any engineering interest the Bloodhound project is really at the cutting edge.
Paul

Only one draw back with the Manual Skin pins, is that if the panel is to thick then you can't get though with the stepped piece and they don't grip, where as the Cleco pins expand nicely even in deep holes. Only just starting to use Cleco pins and I must admit to preferring them, but I've used so many recently I had to break out my old stock of Skin pins.... horses for courses i suppose....
On a more positive note the driver door is now on its pivots and I feel I'm finally getting some traction on the body... Pic's tomorrow...
On a more positive note the driver door is now on its pivots and I feel I'm finally getting some traction on the body... Pic's tomorrow...
Storer said:
Holy s t now that's a build thread
GTRCLIVE said:
Only one draw back with the Manual Skin pins, is that if the panel is to thick then you can't get though with the stepped piece and they don't grip...........
I agree on the length issue so use 2 different length pins. The normal ones are fine to hold an ali skin to a chassis tube but GF is often too thick so the longer pins are used.Steve
Only ever seen one length, where do you get them from Bud ??
Positioned the panel the lower hinge attaches to, and bracketed it back to the ally frame to hold it. So finally laminated the panel back on. Made a new bottom hinge plate as the wall it attaches to has now moved, and allowed for a nice simple bracket instead of the one that came with the body.

Welded a threaded insert into the cage for the top hinge rod end, then mounted the billet upper.
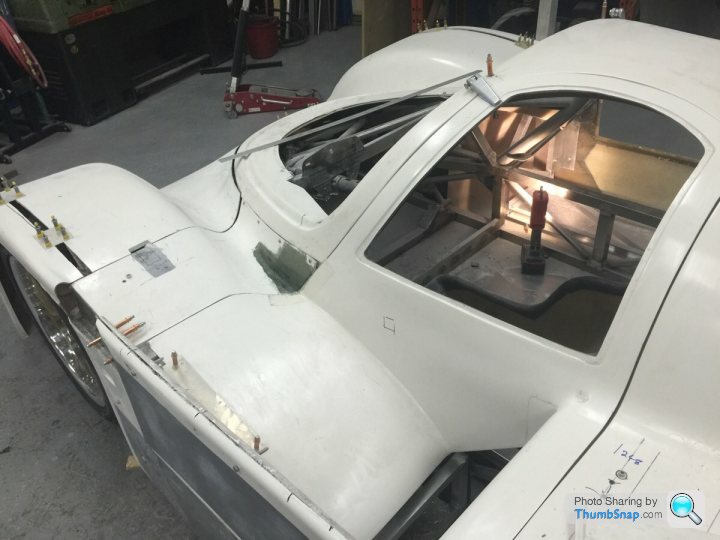
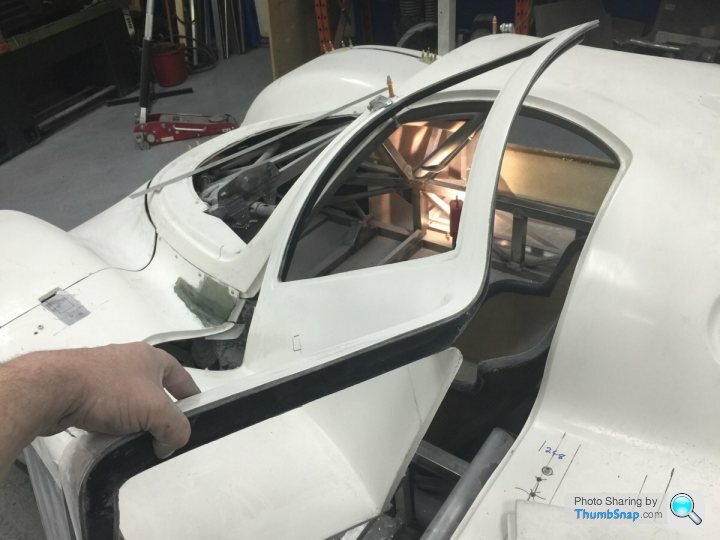
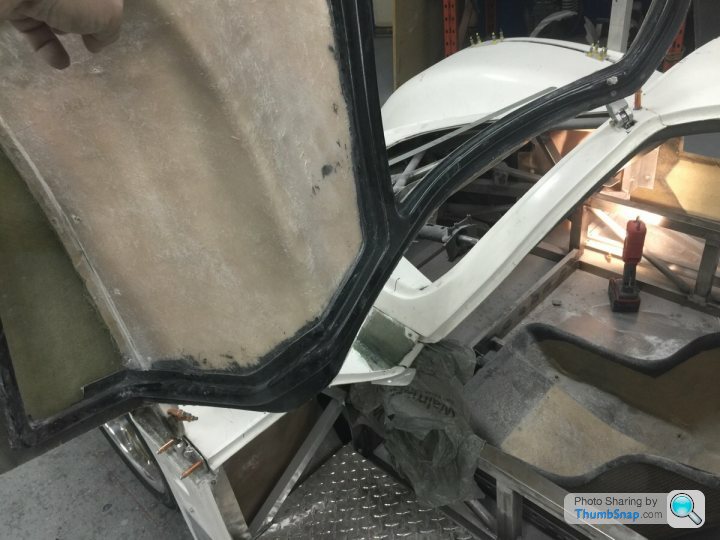
So finally have the drivers side alignment I'm happy with.
I've started the passenger door but it seems it's going to need a similar butchering to get it in spec... Oh well progress is good so I'm not so concerned now as I can see the light at the end of the tunnel...
Positioned the panel the lower hinge attaches to, and bracketed it back to the ally frame to hold it. So finally laminated the panel back on. Made a new bottom hinge plate as the wall it attaches to has now moved, and allowed for a nice simple bracket instead of the one that came with the body.
Welded a threaded insert into the cage for the top hinge rod end, then mounted the billet upper.
So finally have the drivers side alignment I'm happy with.
I've started the passenger door but it seems it's going to need a similar butchering to get it in spec... Oh well progress is good so I'm not so concerned now as I can see the light at the end of the tunnel...


GTRCLIVE said:
There is something therapeutic about Tig welding Aluminium....well when it goes well of course, but like my old apprentice trainer said practice practice practice ....
Cheers for the comments guys
TIG will be next but my research pointed me to mig to start. I've got a few years to practice before my car needs new ally tanks... Cheers for the comments guys
Edited by GTRCLIVE on Thursday 28th January 17:32

dom9 said:
Oh? Tell us more!
No, don't ask.Another thread that takes too much of my time.
Steve
Oh, go on then
http://www.pistonheads.com/gassing/topic.asp?h=0&a...
Edited by Steve_D on Thursday 28th January 22:50
Gassing Station | Porsche General | Top of Page | What's New | My Stuff