Tilton Slave, Zircotech Headers and Injector cleaning
Discussion


Adambul said:
Have a set of Helicoils handy when you refit your headers. I put ACT gaskets on mine after re-fitting which shortens the bite on the bolts by a mm or two. On top of that some previously heavy handed person had been there before me and I ended up re-threading 8 out of 16 of the exhaust bolts. The aluminium is so soft it was an easy job and provides a better thread so may be worth doing anyway IMO.
Thanks for that Adam, that's very interesting and much appreciated. When I was removing the headers I was wondering why every bolt had two washers, now I know why. Thanks, you've probably saved me a world of pain there. I'll measure how deep The bolts can go to make sure they firmly hold the headers in place. Sound!Edited by aide on Sunday 3rd January 20:10
aide said:
I need to order a few straps to use wth the the engine crane.
Looking at stuff on MachinMart
Can someone let me know if I only need a couple of straps?
Many thanks
Aide
Only took a couple to lift my engine out. Happy to post them over if you'd like?Looking at stuff on MachinMart
Can someone let me know if I only need a couple of straps?
Many thanks
Aide
djstevec said:
aide said:
I need to order a few straps to use wth the the engine crane.
Looking at stuff on MachinMart
Can someone let me know if I only need a couple of straps?
Many thanks
Aide
Only took a couple to lift my engine out. Happy to post them over if you'd like?Looking at stuff on MachinMart
Can someone let me know if I only need a couple of straps?
Many thanks
Aide
Nice profile pic

YHM!
Aide

aide said:
djstevec said:
aide said:
I need to order a few straps to use wth the the engine crane.
Looking at stuff on MachinMart
Can someone let me know if I only need a couple of straps?
Many thanks
Aide
Only took a couple to lift my engine out. Happy to post them over if you'd like?Looking at stuff on MachinMart
Can someone let me know if I only need a couple of straps?
Many thanks
Aide
Nice profile pic
YHM!
Aide
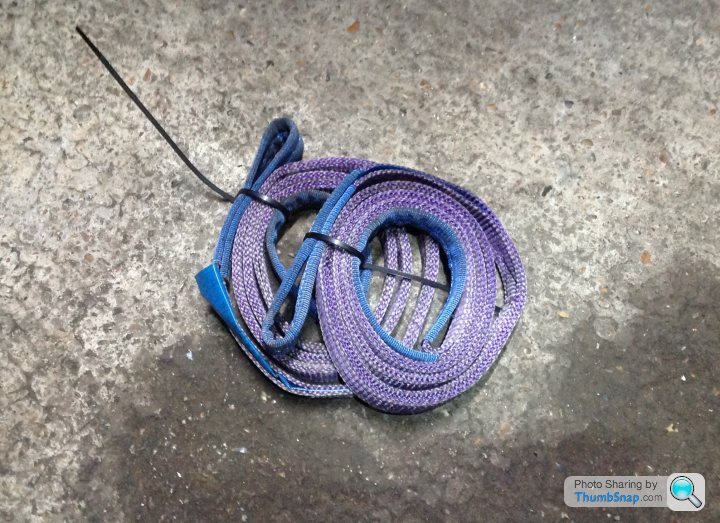
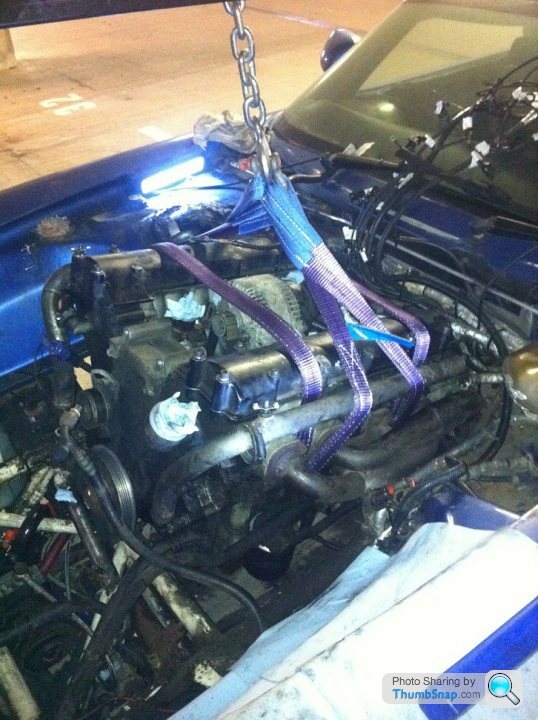
These engine straps will be put to good use.
Some more progress today.
My headers and decats should be collected this week by Zircotech and I've more or less decided what essential work needs to be done to the engine.
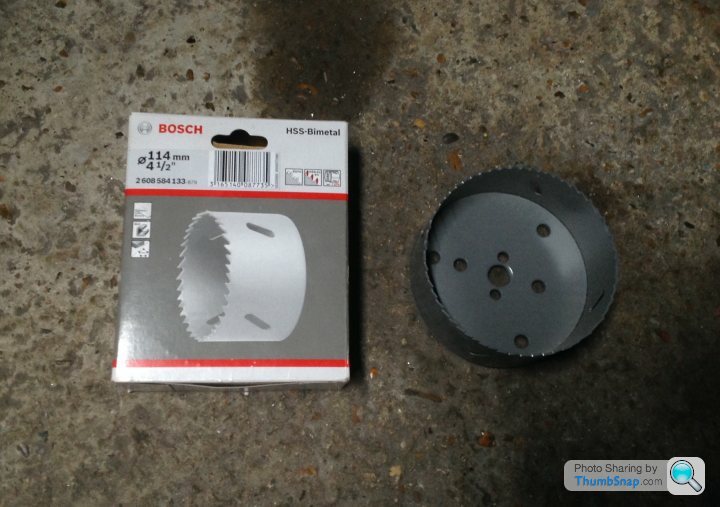
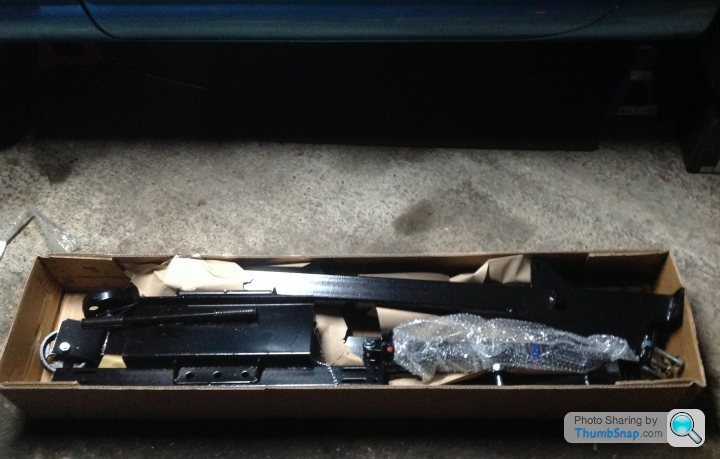
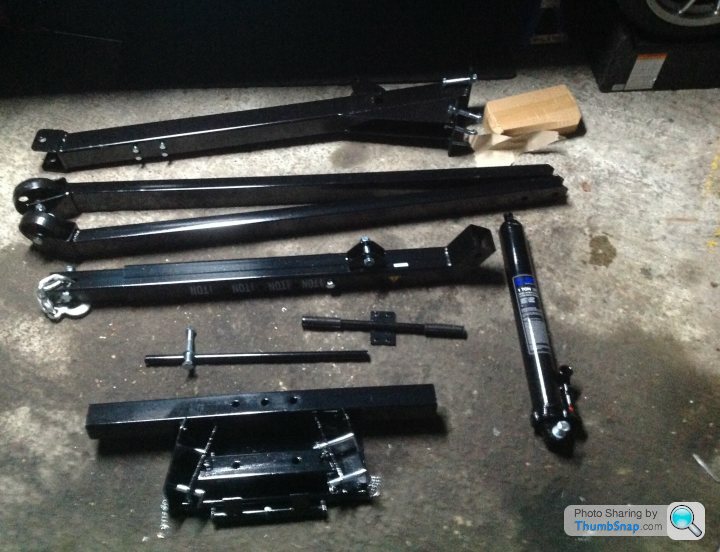
And I got some more tools.
Hole saw:
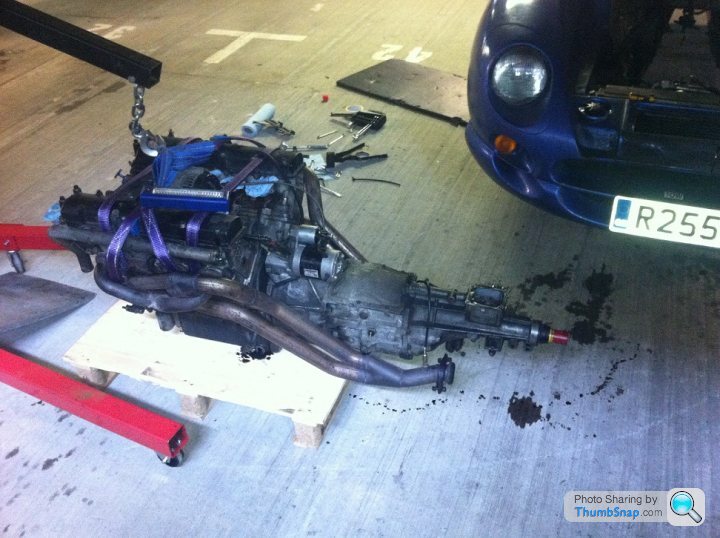
Engine Crane:
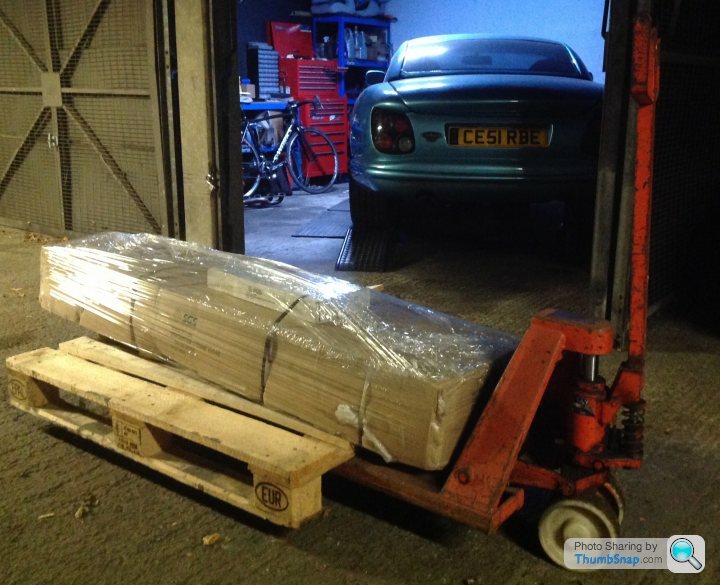

Engine Dolly:
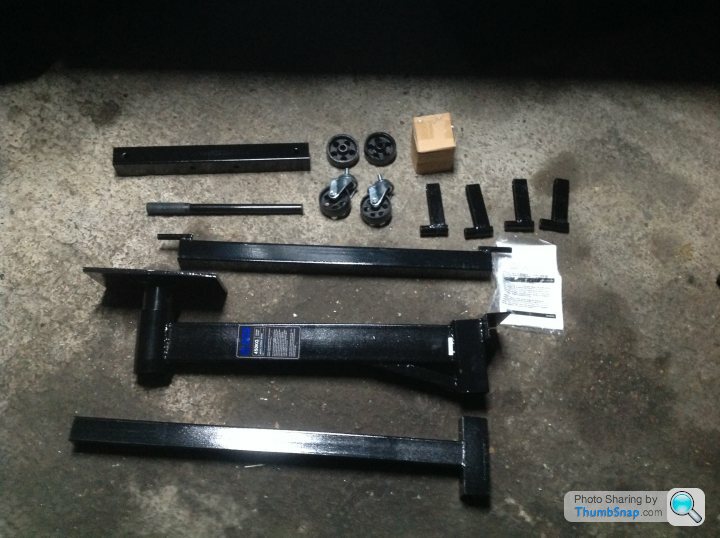
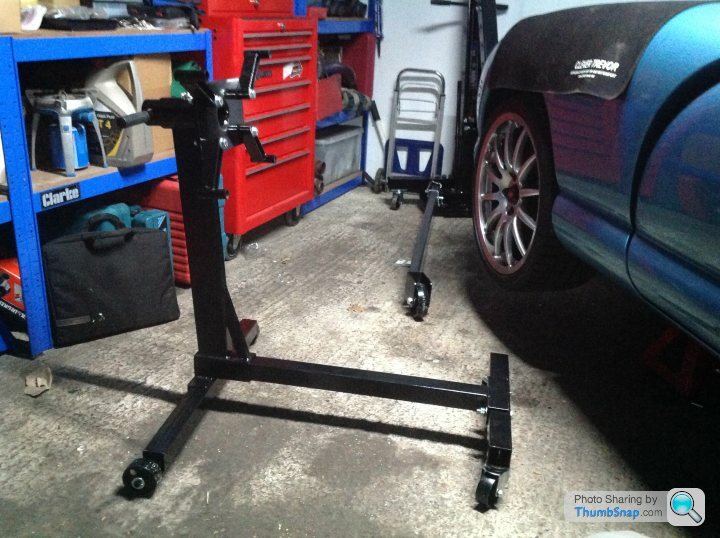
I'll remove the engine this week and then strip the fuel rail, tag the injectors and send them off for a refurb.
Will also order the Tilton parts and have a think about how I'm going to fit the new slave such that future clutch replacement can be done as easily as possible.
Best wishes
Aide
My headers and decats should be collected this week by Zircotech and I've more or less decided what essential work needs to be done to the engine.
And I got some more tools.
Hole saw:
Engine Crane:
Engine Dolly:
I'll remove the engine this week and then strip the fuel rail, tag the injectors and send them off for a refurb.
Will also order the Tilton parts and have a think about how I'm going to fit the new slave such that future clutch replacement can be done as easily as possible.
Best wishes
Aide
http://www.pistonheads.com/gassing/topic.asp?h=0&a... contains some photos of mine when complete. I found the easiest way of fitting it back on the car was to put the gearbox back in the car, but slid back down the transmission tunnel as per step 11 here http://www.thetvrsite.com/cerbera/how-to-replace-t... Then fit the bellhousing to the gearbox, you'll now be able to see inside the bellhousing to get the clutch slave hoses correctly routed and orientated so they won't foul the clutch. Finally slide the bellhousing & gearbox forward onto the clutch and bolt in place.
Fitting the slave onto the gearbox was pretty easy in my opinion, and the instructions on Tilton's website clearly explains all the measurements you need to take to ensure correct fitment of the slave cylinder. Personally I found getting the gearbox back into the transmission tunnel was the hardest part, but you may not even need to remove it in the first place. With the benefit of hindsight I'd have probably left it as per the photo in the clutch change guide, shoved back down the transmission tunnel, resting on the manifolds.
Fitting the slave onto the gearbox was pretty easy in my opinion, and the instructions on Tilton's website clearly explains all the measurements you need to take to ensure correct fitment of the slave cylinder. Personally I found getting the gearbox back into the transmission tunnel was the hardest part, but you may not even need to remove it in the first place. With the benefit of hindsight I'd have probably left it as per the photo in the clutch change guide, shoved back down the transmission tunnel, resting on the manifolds.
Edited by CerbWill on Wednesday 6th January 12:53
Revvit said:
It would be great to see some pictures of the slave in-situ and your view on how easy it was to install.
My finger is hovering over the purchase button, as having the car in bits at the moment it seems madness to have it put back together using the same old fragile parts.
Hi, will post detailed photos and notes as I progress. Np, AideMy finger is hovering over the purchase button, as having the car in bits at the moment it seems madness to have it put back together using the same old fragile parts.
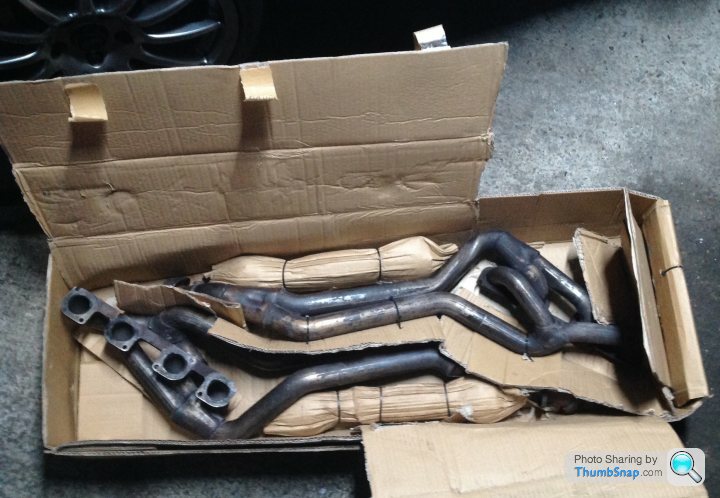
Some more progress..
Boxed up the headers and decats for collection by Zircotech tomorrow.
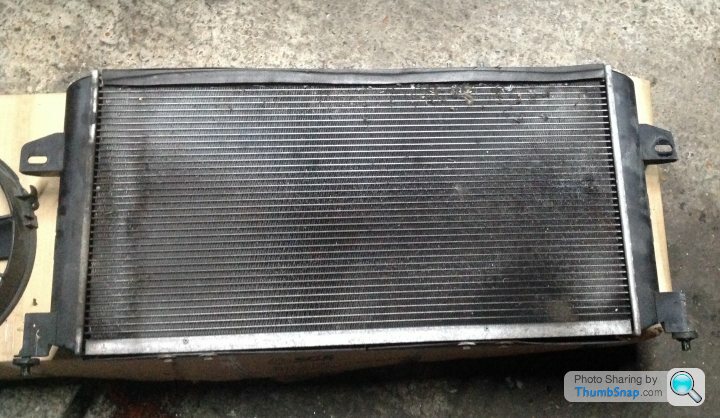
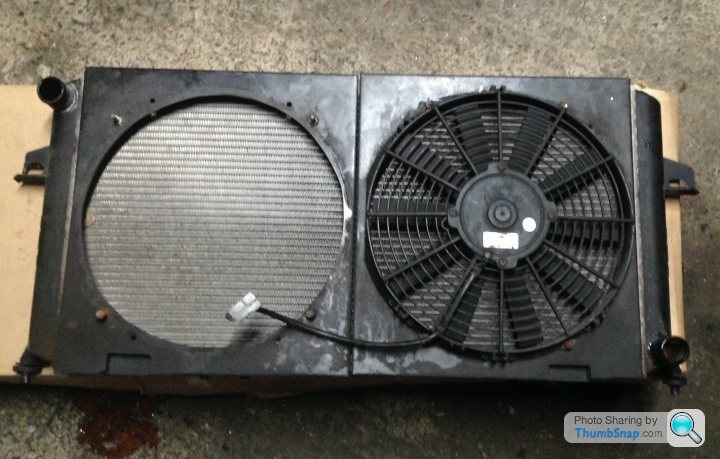
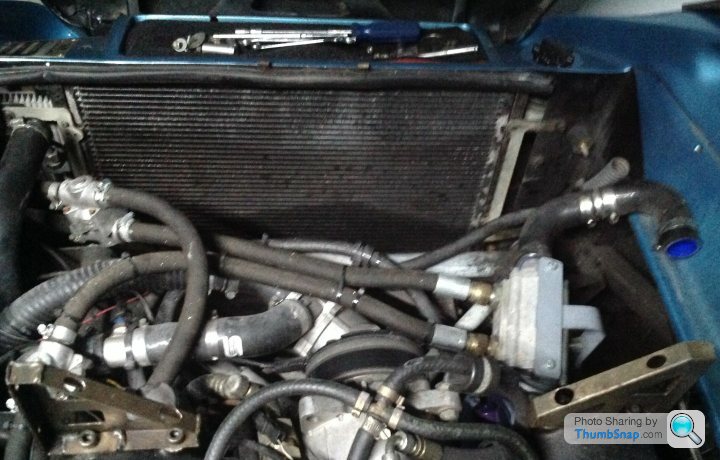
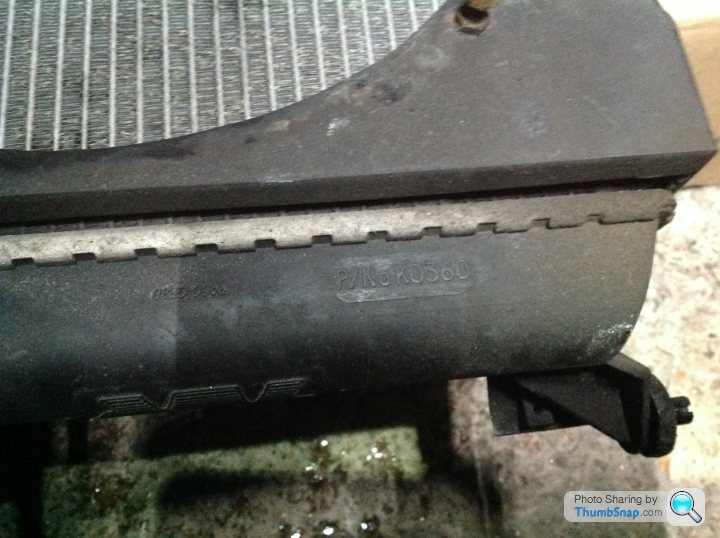
Removed the radiator to have it recored on Saturday:
I'll remove the engine next and then work on the Tilton solution with full access to the engine, bellhousing and gearbox.
It should be easier to test and measure everything that way.
Best wishes!
Aide
Boxed up the headers and decats for collection by Zircotech tomorrow.
Removed the radiator to have it recored on Saturday:
I'll remove the engine next and then work on the Tilton solution with full access to the engine, bellhousing and gearbox.
It should be easier to test and measure everything that way.
Best wishes!
Aide
djstevec said:
Hey Aide,
Hows it all going? Hopefully a successful weekend
Hey Steve, Hows it all going? Hopefully a successful weekend
Going good so far.
-o- Headers arrived at Zircotech today
-o- rad being recored (I'll get a new condenser and new receiver drier while it's all stripped)
-o- Injectors to be sent tomorrow or Thursday
-o- Will order Tilton parts tomorrow and
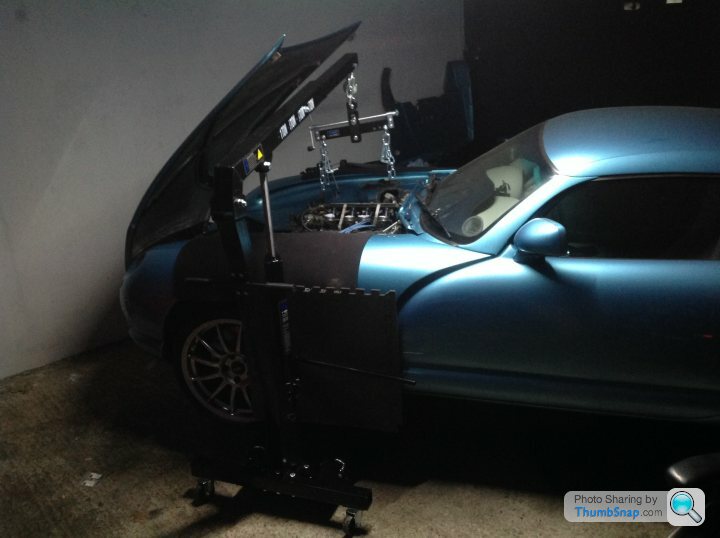
-o- remove the engine Friday evening
I then just need to check to see if my bellhousing and engine are square. The (RP) slave has failed many times and I want to check to see if it actually engages squarely before I mod the bellhousing.
While I'm waiting for the headers to come back I'll get a few bits powder coated and clean up the engine bay.
TBh the chassis rails near the headers are in pretty good shape - there is only the slightest of surface rust - so I'll clean it all up, treat it and add some more shielding.
Does any one know how hot the AJP headers can get?
Aide
Headers and decats should be back in 10 days or so, went for Perfromance Matt Black.
Removed the PAS and Oil feeds attached to the engine this evening.
The magnetic sump drain plug was perfectly free of any metallic particles.
I wanted to remove the fuel rail and get the injectors ready to send off for cleaning.
However, I'm a bit stumped...
I want to remove the engine, it's resting on its mounts and propped up level at the rear, under the sump, wiith wooden blocks. So all that is holding it in place are the mounts.
I should be able to remove the aircon pump, but I'm not sure how to go about removing the fuel rail and electrics on the top.
Can someone let me know how to strip the fuel rail off and prep the top to get the engine ready to lift out?
I really don't want to balls up anything as I'm disassembling.
Any help would be greatly appreciated.
Thanks!
Aide
Evening aide
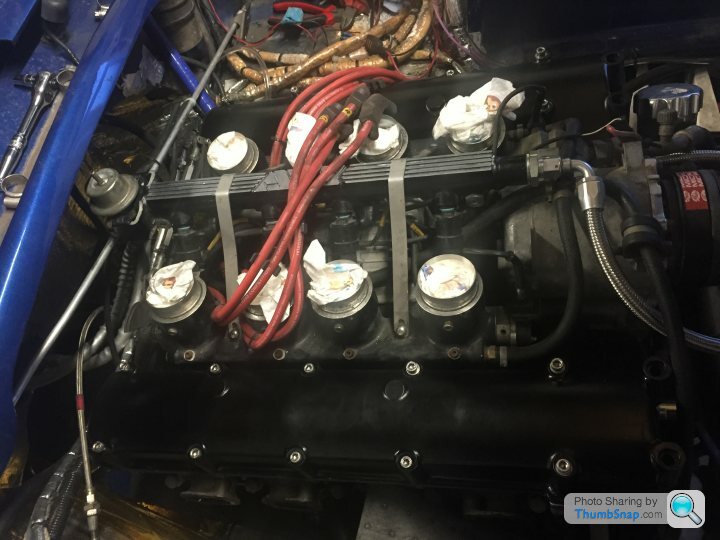
The fuel rail has two straps that hold the rail down. There is a bolt probably Allen bolt from memory on either end of the straps they are stainless steel bent into a v but upside down as it is bolted to the throttle bodies. The return to tank regulator is on the end which can be left on. Once the straps are off just pull the fuel rail up. You'll find some injectors will stay in the throttle bodies and some will come out with the rail. Disconnect the plugs label them easier to unplug throttle pots as well all on the same part of the loom. You can see the straps in my photo.
The fuel rail has two straps that hold the rail down. There is a bolt probably Allen bolt from memory on either end of the straps they are stainless steel bent into a v but upside down as it is bolted to the throttle bodies. The return to tank regulator is on the end which can be left on. Once the straps are off just pull the fuel rail up. You'll find some injectors will stay in the throttle bodies and some will come out with the rail. Disconnect the plugs label them easier to unplug throttle pots as well all on the same part of the loom. You can see the straps in my photo.
Edited by pmessling on Wednesday 13th January 23:57
Edited by pmessling on Thursday 14th January 00:02
pmessling said:
Evening aide
The fuel rail has two straps that hold the rail down. There is a bolt probably Allen bolt from memory on either end of the straps they are stainless steel bent into a v but upside down as it is bolted to the throttle bodies. The return to tank regulator is on the end which can be left on. Once the straps are off just pull the fuel rail up. You'll find some injectors will stay in the throttle bodies and some will come out with the rail. Disconnect the plugs label them easier to unplug throttle pots as well all on the same part of the loom. You can see the straps in my photo.
Hi Peter, The fuel rail has two straps that hold the rail down. There is a bolt probably Allen bolt from memory on either end of the straps they are stainless steel bent into a v but upside down as it is bolted to the throttle bodies. The return to tank regulator is on the end which can be left on. Once the straps are off just pull the fuel rail up. You'll find some injectors will stay in the throttle bodies and some will come out with the rail. Disconnect the plugs label them easier to unplug throttle pots as well all on the same part of the loom. You can see the straps in my photo.
Edited by pmessling on Wednesday 13th January 23:57
Thanks for your help
I’ll remove and tag everything this evening.
Will any fuel leak out of the rail once it’s removed?
Thanks
Aide
Edited by aide on Thursday 14th January 10:41
Some good progress this evening.
-o- Removed, bagged and tagged the injectors for posting tomorrow
-o- Stripped and tagged the injector loom
-o- Removed the HT leads and drew a diagram of where each lead connects to the coil packs
-o- Removed the fuel lines
Will post the injectors tomorrow and then remove the air con compressor and bonnet so I can lift the engine.
The front crank seal is leaking and so are the cam covers.
Plus, some of the head bolts are weeping around the washers.
I have a stripped bolt (bellhousing to engine)
On top of that the PAS pump coupling is loose.
I'm leaning toward sending the engine off to a garage. At the very least I'll get all the above issues attended to plus the tappets.
I'd say the engine is fine - it ran 414bhp on SRR a while ago (running tesco petrol and with the cats in)
Aide
Gassing Station | Cerbera | Top of Page | What's New | My Stuff