Tilton Slave, Zircotech Headers and Injector cleaning
Discussion


Aide, I'm in the process of coming up with a more sensible routing for the clutch hose. It's occurred to me that as I've got the hole for the clutch hydraulics cut in the top of the bellhousing the best way might be to run the hose up the bulkhead at the back of the engine bay, the across to the offside wing and into the wing through the 2x rubber grommets that are already there for brake servo hose, throttle cable & water temp capillary and directly into the master cylinder, bypassing the driver's wheel arch entirely. That should keep it well away from the exhaust. It'll mean having to drill a hole in the pedal box to get the hose through though.
Hi Will
That's a really great idea and if the new line is run along the top of the greabox (like the lambda sensors) it'll be safe from manifold heat.
Just thinking about it - the RP slave - I wonder why they didn't just swap the bleed hose for the feed from the master cylinder in the first place? (Probably because it's easier to get all the air out when bleeding if the bleed hose is situated on the top?)
Which begs the question, do you have to position the Tilton slave such that the bleed hose line is at the top?
I've also been thinking about how to route the lines so that we can remove the gearbox with the Tilton still attached and the bellhousing still in situ.
Aide
To remove the gearbox, and attached Tilton slave, you'd have to cut a slot in the rear of the bellhousing for the hydraulic lines, rather than a hole in the top like I went for. The Tilton installation instructions say the cylinder should be orientated so the bleed hose is at the top of the cylinder for ease of bleeding.


- EDIT** - Hole cut, hose run. Just waiting for one of these adapters to join the master cylinder end.
Edited by CerbWill on Monday 18th January 18:06
Hi Will
Yes - that's what I was thinking - running both the line from the master cylinder and the bleed line in between the gearbox and bellhousing via a slot or groove cut into the bellhousing.
That way, if you wanted to change the clutch you wouldn't even have to drain the fluid.
Running the feed from the master to the salve in your pic's is the absolute best way to route that line.
I think all the above plus the Tilton itself (and a Kevlar clutch) will completely rid the Cerbera of it's Achilles tendon for good.
Aide
where are you based aide? It a shame cos if you were anywhere near me you could have used a two post ramp sitting idle in my garage. Getting the engine out as the first thing would've made the manifold etc easy, and it doesn't really take that long to do.
I had one chap who hired a trailer for the day and by the evening he was going home with the car and engine secured to different bits of the trailer.
I had one chap who hired a trailer for the day and by the evening he was going home with the car and engine secured to different bits of the trailer.
julian64 said:
where are you based aide? It a shame cos if you were anywhere near me you could have used a two post ramp sitting idle in my garage. Getting the engine out as the first thing would've made the manifold etc easy, and it doesn't really take that long to do.
I had one chap who hired a trailer for the day and by the evening he was going home with the car and engine secured to different bits of the trailer.
Thanks Julian, that is a very kind offer and sincerely much appreciated. Having a two post ramp would certainly make life easier. I had one chap who hired a trailer for the day and by the evening he was going home with the car and engine secured to different bits of the trailer.
I did manage to make some progress today.
Aide
FarmyardPants said:
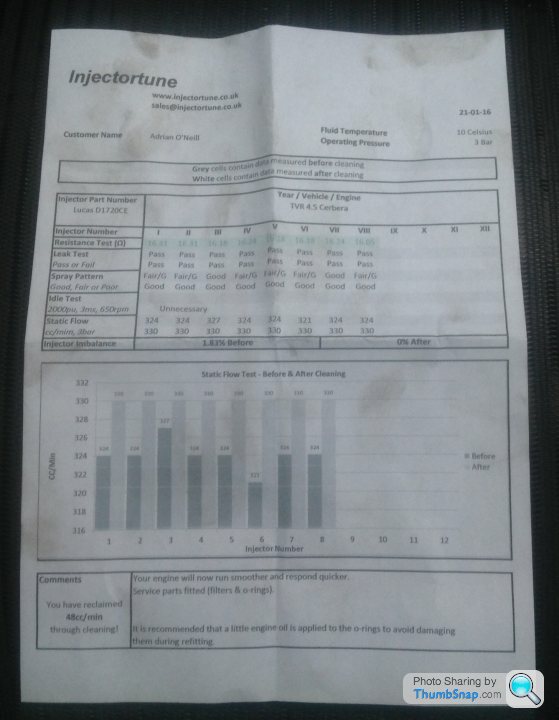
Your injectors weren't too bad, then, but nice to have them all equal. I'm always a bit suspicious of the "after" numbers - they are always all spot on 
Well, afterwards they are back to full flow for the injector.. I think unless the injector is buggered, with new filters and cleaning they can be returned to 100%.Claimed a similar amount back to mine Aide. I think the return of spray pattern is key also.
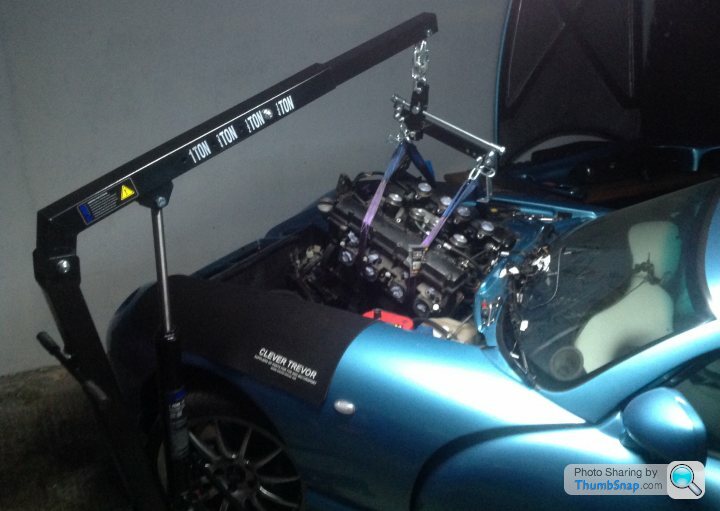
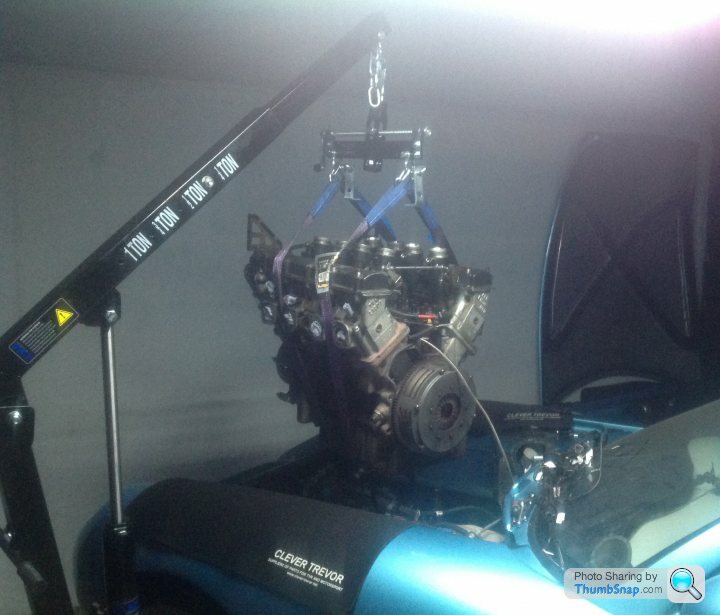
More progress this evening.
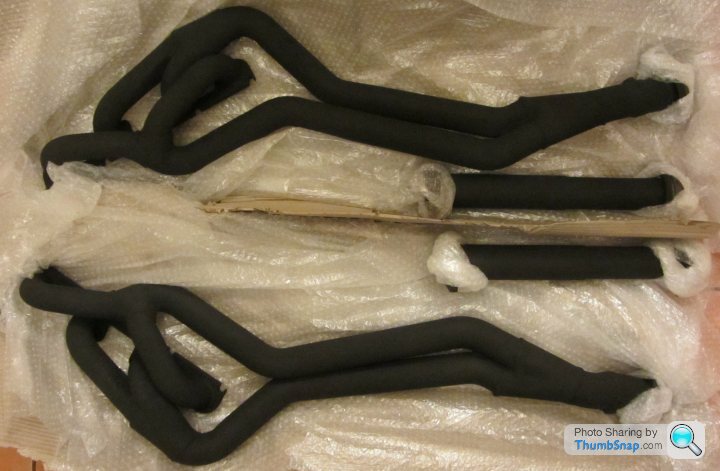
The Zircotech headers are ready and the radiator has been recored, so I should have those back this week.
Took a few pictures and some measurements for the slave installation.
The engine is being collected this week and while it's away I'll work on fitting the Tilton slave and clean up the engine bay.
Some pictures..
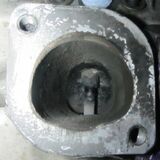
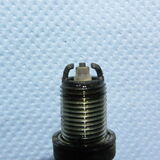
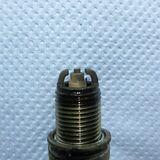
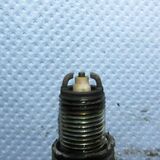
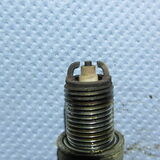
2, 4, 6, 8 Exhaust Ports and Spark Plugs:
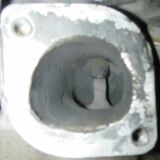
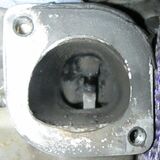
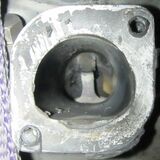
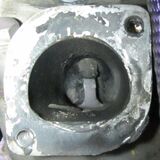
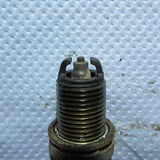
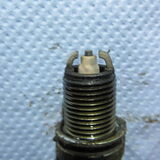

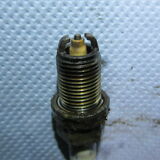
1, 3, 5, 7 Exhaust Ports and Spark Plugs:


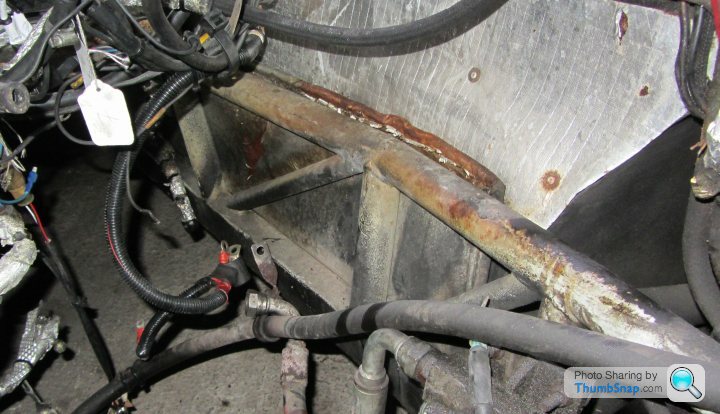
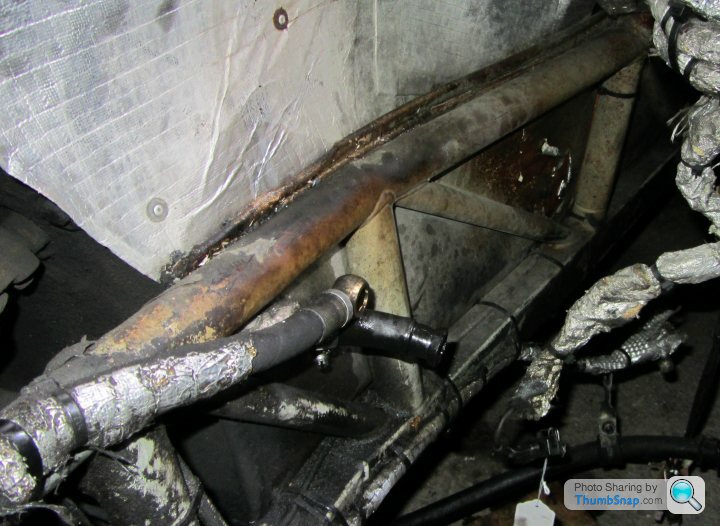
Chassis Rails look pretty ok, I'll replace the heat shielding and check them all round.
N/S:
O/S:
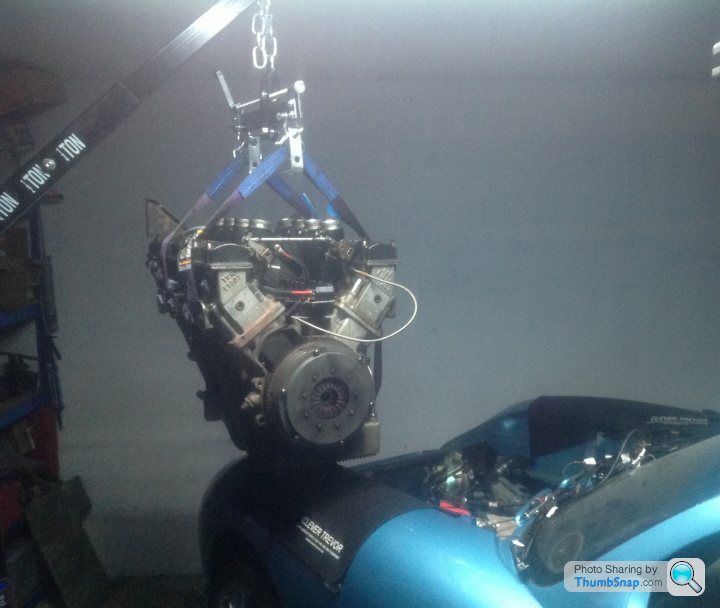
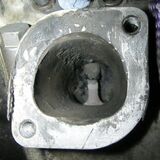
The Tilton Slave install guide says that you need to measure the depth from the face of the bellhousing to the diaphragm fingers:

And also need to allow for the thickness of the ruler:

Aide
The Zircotech headers are ready and the radiator has been recored, so I should have those back this week.
Took a few pictures and some measurements for the slave installation.
The engine is being collected this week and while it's away I'll work on fitting the Tilton slave and clean up the engine bay.
Some pictures..
2, 4, 6, 8 Exhaust Ports and Spark Plugs:
1, 3, 5, 7 Exhaust Ports and Spark Plugs:
Chassis Rails look pretty ok, I'll replace the heat shielding and check them all round.
N/S:
O/S:
The Tilton Slave install guide says that you need to measure the depth from the face of the bellhousing to the diaphragm fingers:
And also need to allow for the thickness of the ruler:
Aide
Jhonno said:
I think unless the injector is buggered, with new filters and cleaning they can be returned to 100%.
You misunderstood me. I agree they should be returned to 100%. What I am surprised by is that "100%" for every injector report I've seen exactly matches the manufacturers spec, never a single cc/min under or over. One would imagine that manufacturing tolerances and wear might occasionally give a single cc/min difference but I've never seen it, aside from the occasional one being 'beyond repair' as Aide says. NilsP said:
So you went in for a clutch slave and ended up doing an engine rebuild 
Well that escalated quite fast
I always knew it was on the cards. After seeing it out on the ground, with easy access and to be able to have a really good look, I'm delighted I decided to pull it out sooner rather than later. Have to admit, it is a slippery slope Well that escalated quite fast
NilsP said:
Top Job btw. Will come in handy when I get in there for a flywheel and some other things
Thanks, glad to help.Aide
I want to cut two ball nosed slots on the bellhousing face that mates with the gearbox, so that I can run the bleed and master cylinder lines in-between the gearbox and bellhousing.
Ordered a 12mm Ball Nosed Slot Drill from http://www.drill-service.co.uk to cut out the slots.
I should be able to use the depth gauge on my drill keep the slot roughly the same depth and then finish them off smoothly with a file, sandpaper and some scotchbrite.
Aide
Ordered a 12mm Ball Nosed Slot Drill from http://www.drill-service.co.uk to cut out the slots.
I should be able to use the depth gauge on my drill keep the slot roughly the same depth and then finish them off smoothly with a file, sandpaper and some scotchbrite.
Aide
Gassing Station | Cerbera | Top of Page | What's New | My Stuff