The rebuild begins......again.
Discussion


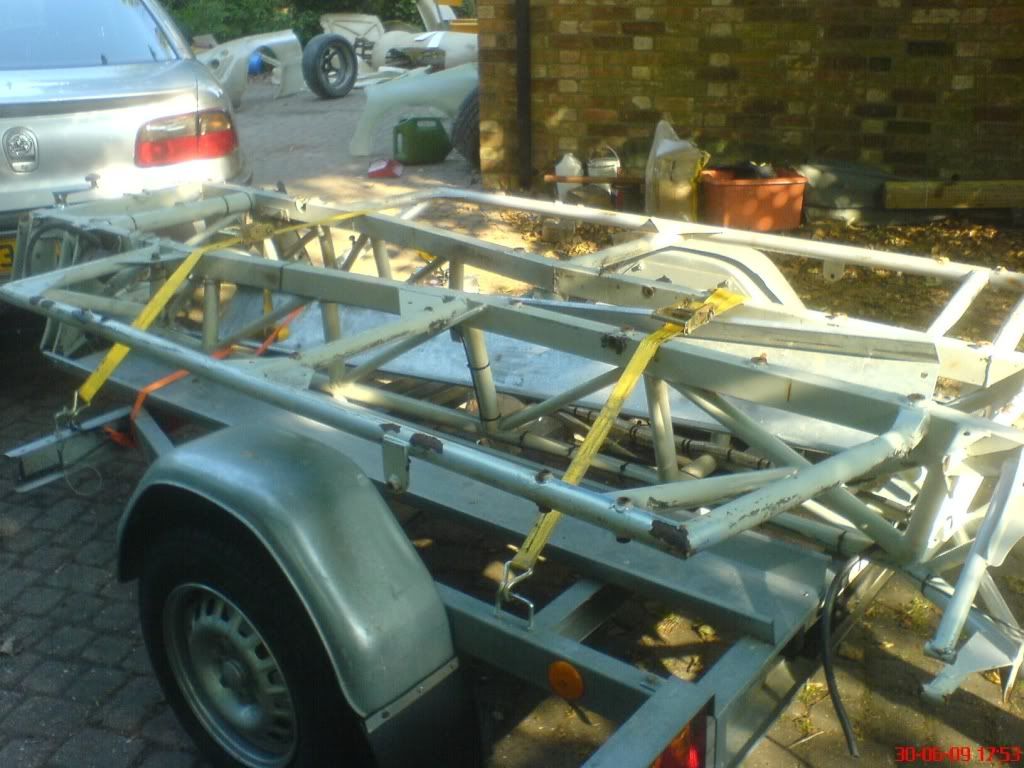
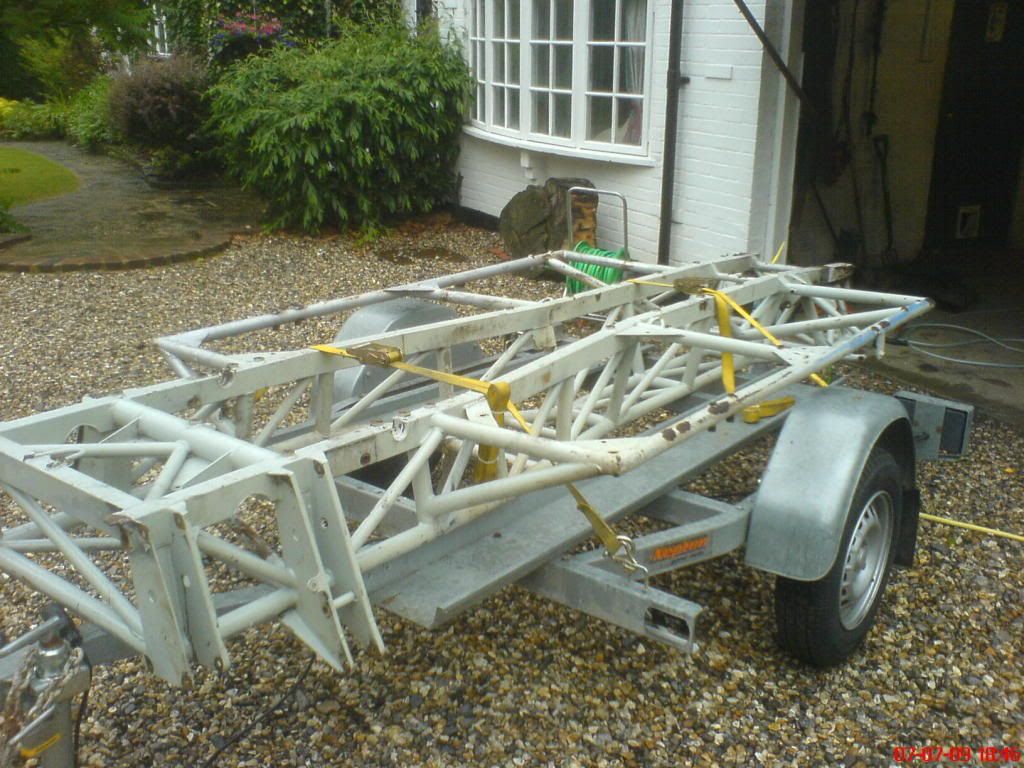
Picked up the chassis and a few other bits yesturday - rather tired after about 700 miles of driving!
It is at Plasticman's house as one of the outriggers needs some attention and he is also going to alter the shock mounts to make them sit in a more upright position.
I have got the later type tuscan wishbones on plasticman's recommendation to improve the handling. The uprights will need to be altered to fit the wishbones. Hopefully in the next week or so I will take it to the shot blasters to be blasted, zinc coated and then powder coated.
Edited by markh1 on Wednesday 1st July 09:16

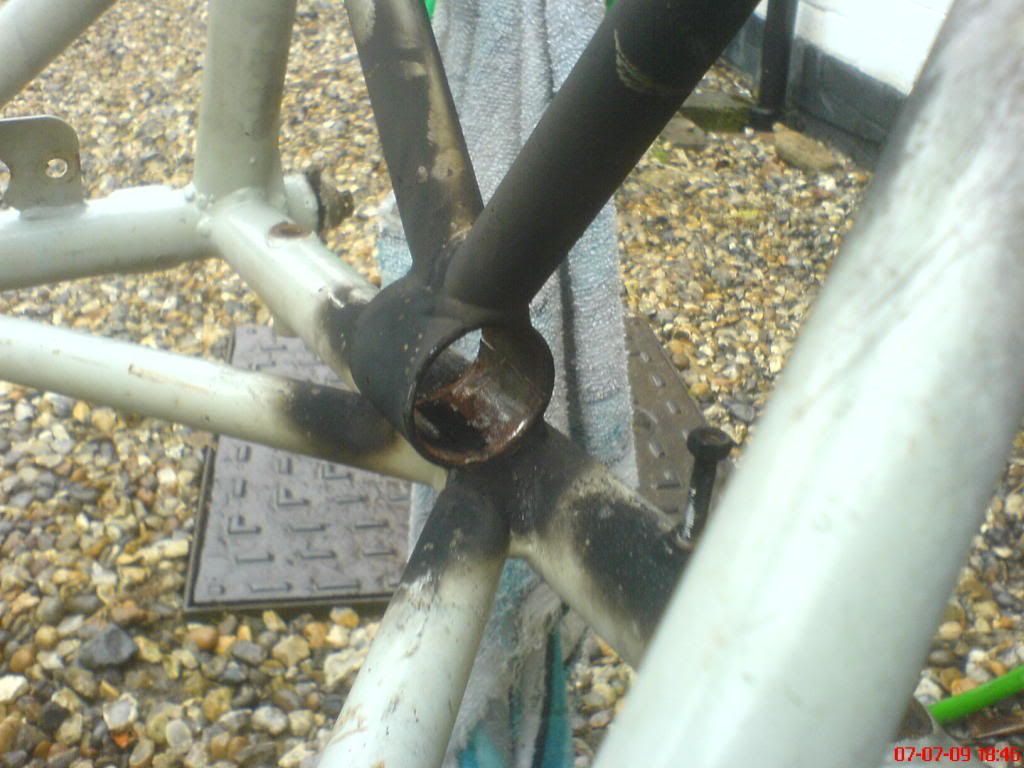
Yes I have been following that thread. I am not sure what is going to happen to my chassis. One of the outriggers needs to be replaced on the new one so I will be using at least one of the outriggers from mine. The main chassis rails are also pretty distorted so not sure if it is usable or not.
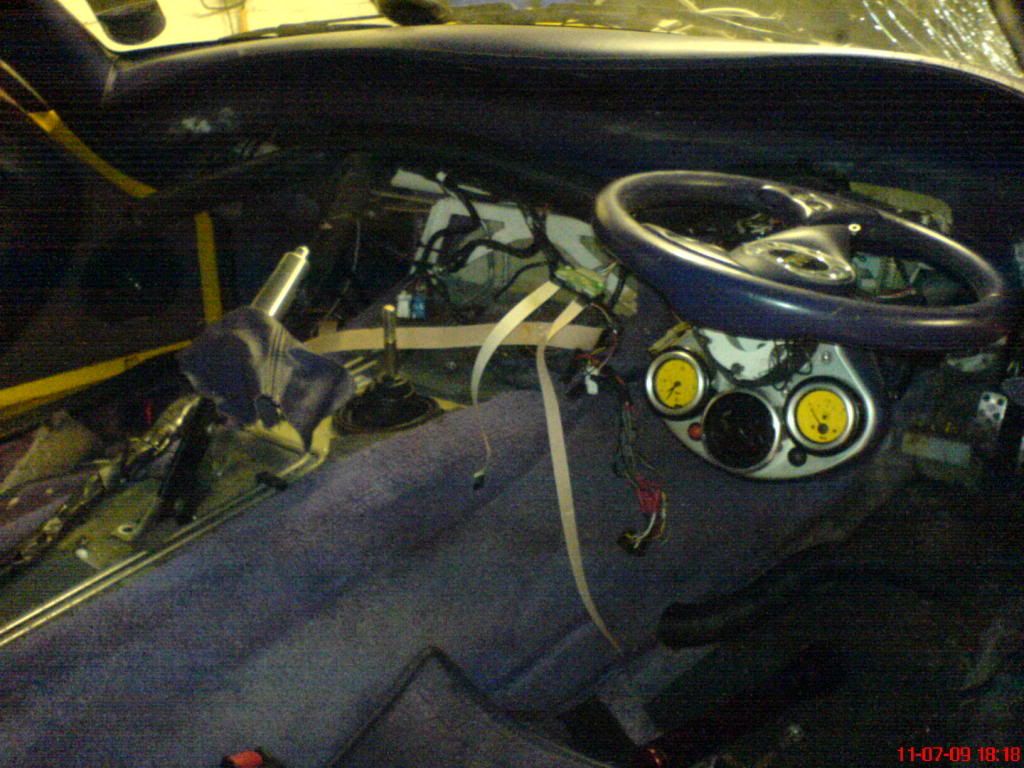
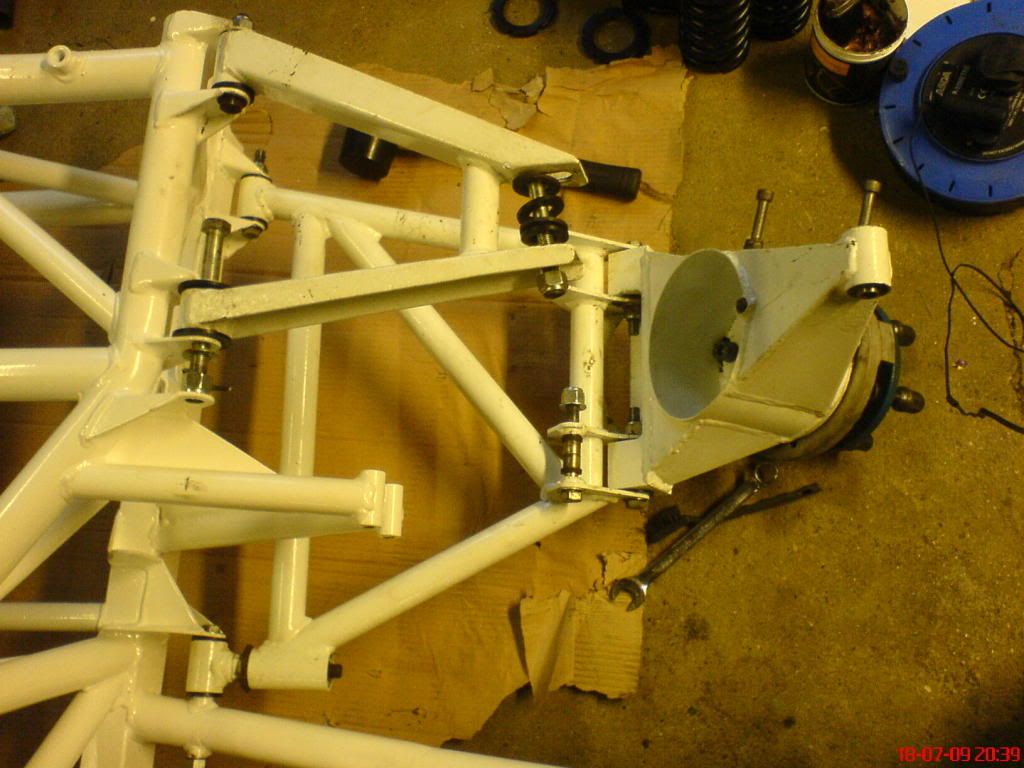
I have now removed all wishbones and uprights, removed all body bolts and got the interior out pretty much. I have started to paint the new caliper and remove the bushes from the wishbones I have aquired. Tonight I am picking up the chassis from plasticman and taking it to be shot blasted zinc and powder coated tomorrow night.
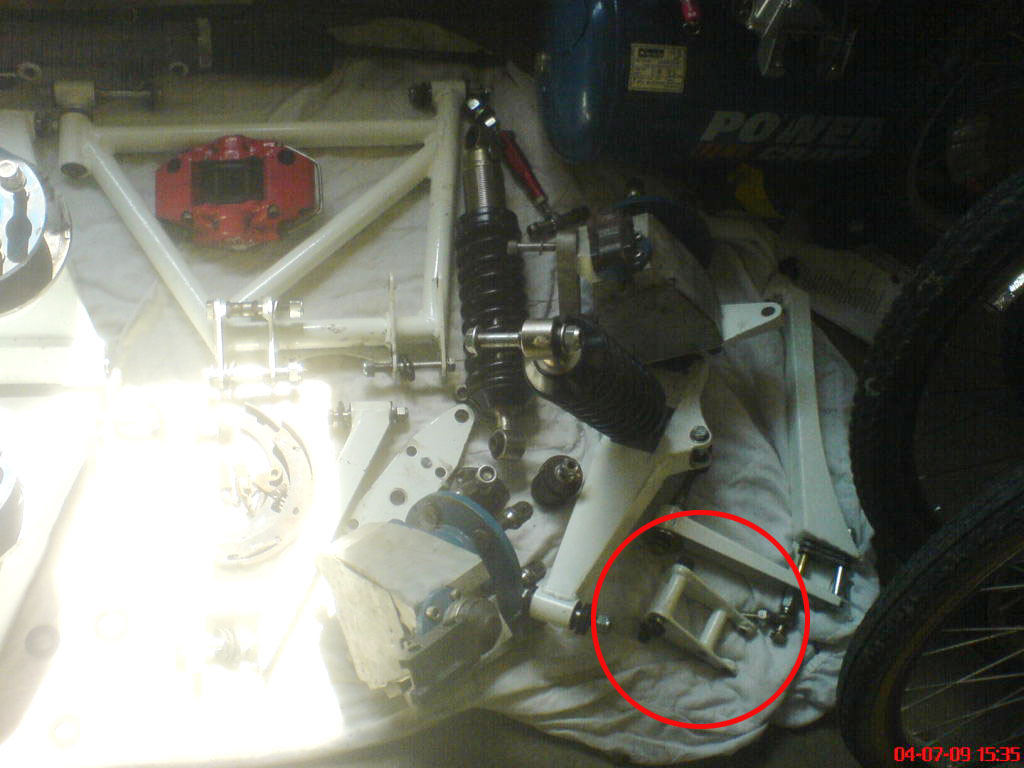
Here are a couple of pics of the removed parts....
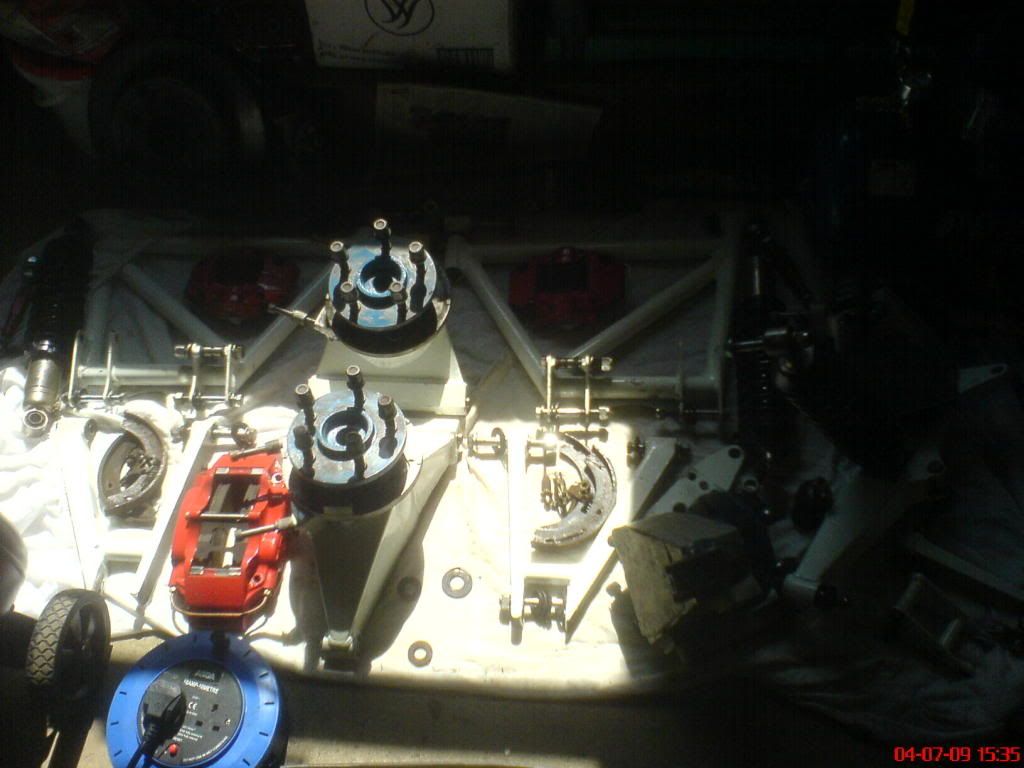
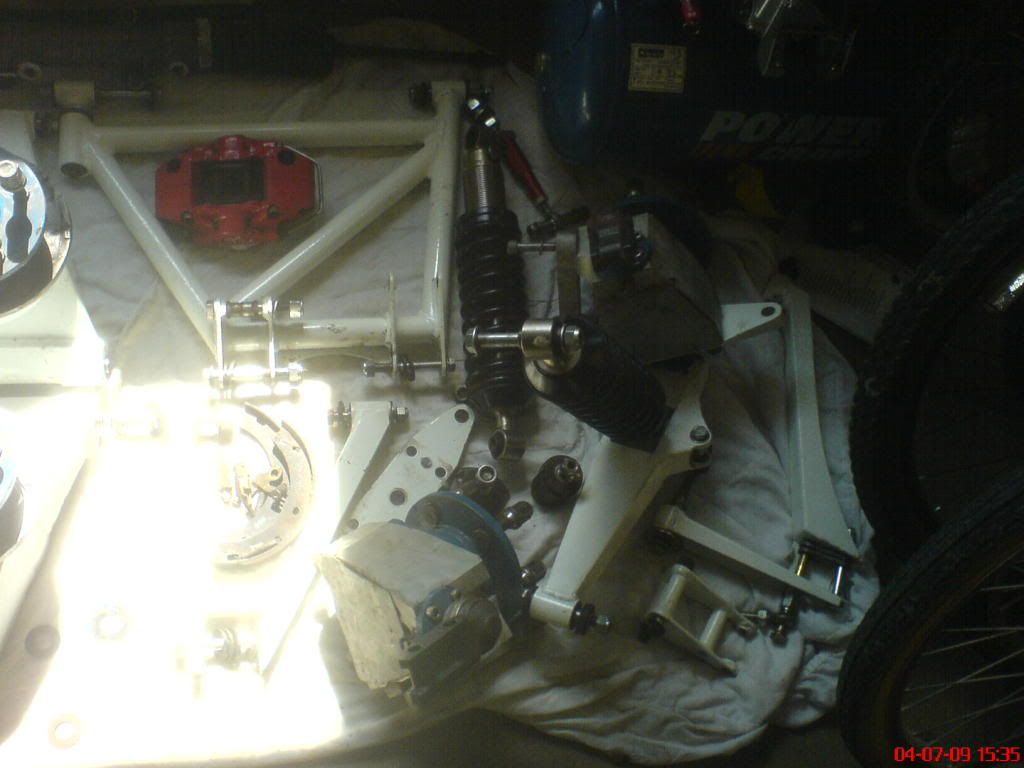
All the wishbones came off really easily as they were only put on a few months ago, having air tools makes life a lot easier too!
Here are a couple of pics of the removed parts....
All the wishbones came off really easily as they were only put on a few months ago, having air tools makes life a lot easier too!
The chassis went down to the shotblasters to be treated on Tuesday and I should have it back by the end of next week.
I had to get the rear diff bush out by burning the rubber centre out with a blow torch. I then took a junior hacksaw to the outer sleeve. It took fifteen minutes tops. However I would not want to do it with the body in place!
I had to get the rear diff bush out by burning the rubber centre out with a blow torch. I then took a junior hacksaw to the outer sleeve. It took fifteen minutes tops. However I would not want to do it with the body in place!
Edited by markh1 on Thursday 20th August 20:50
Some more progress this weekend. Main jobs were to remove fuel tank, get the last bits of interior out and remove the remaining body bolts.
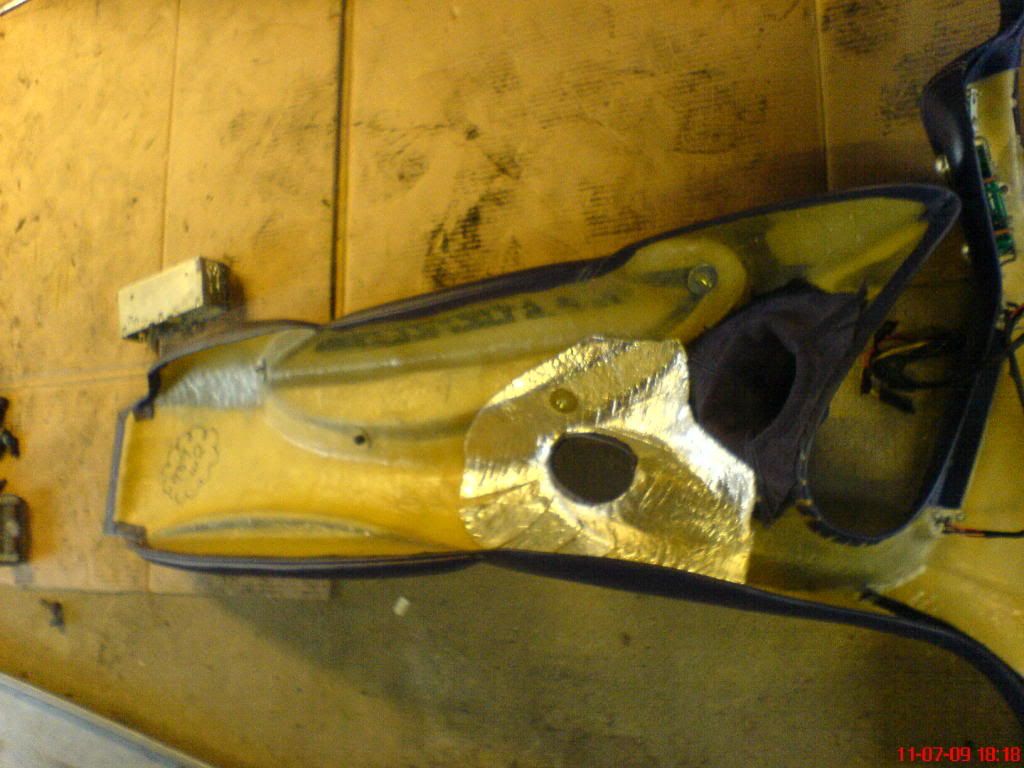
transmission tunnel now removed. Be very careful when taking it out as the bit that swoops down from the dash to transmission tunnel cover is quite weak.
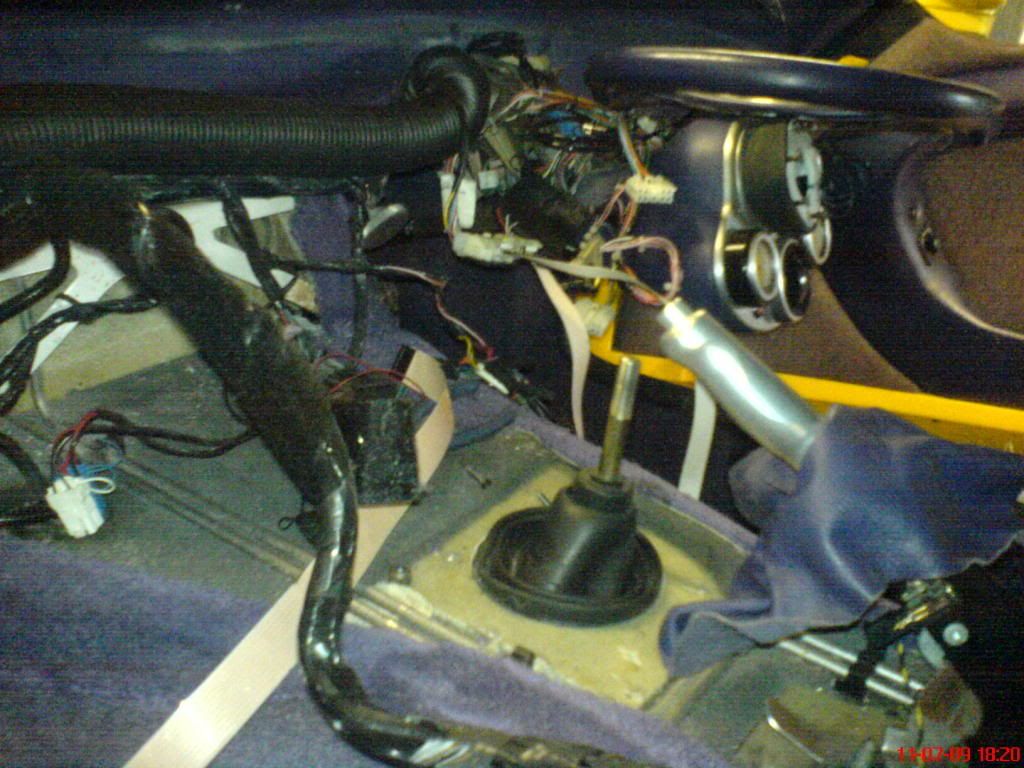
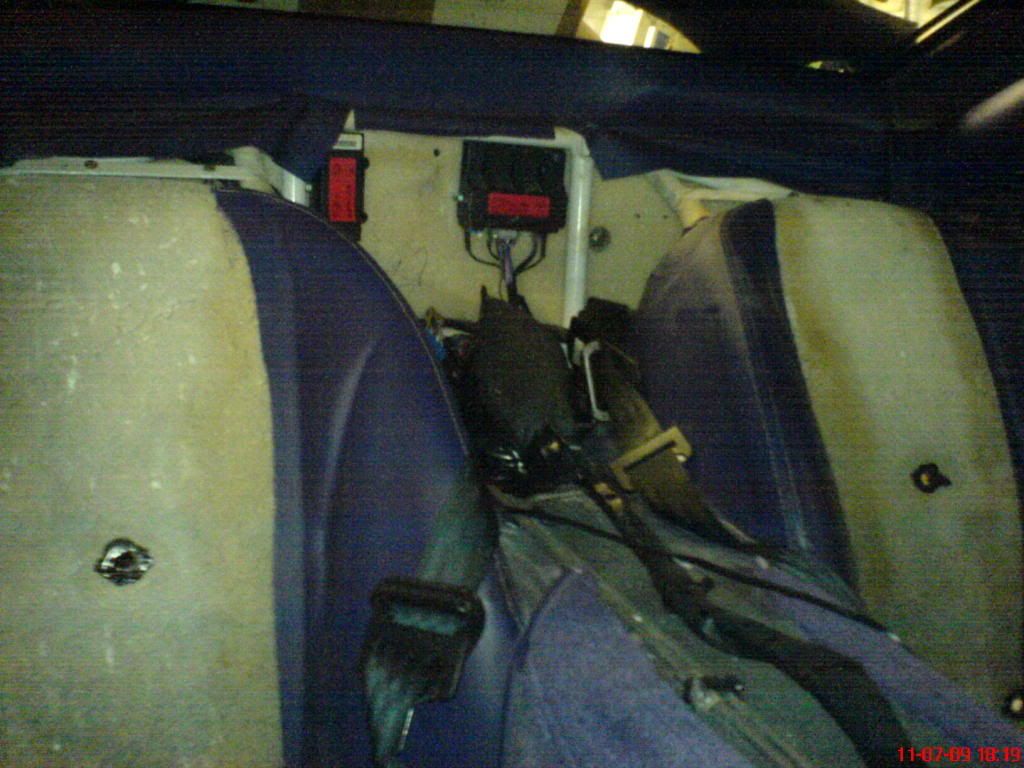
This is the underside of the transmission tunnel cover. You can just about make out the bolts that hold the padded arm rest on. These bits are going to be removed to be retrimmed.
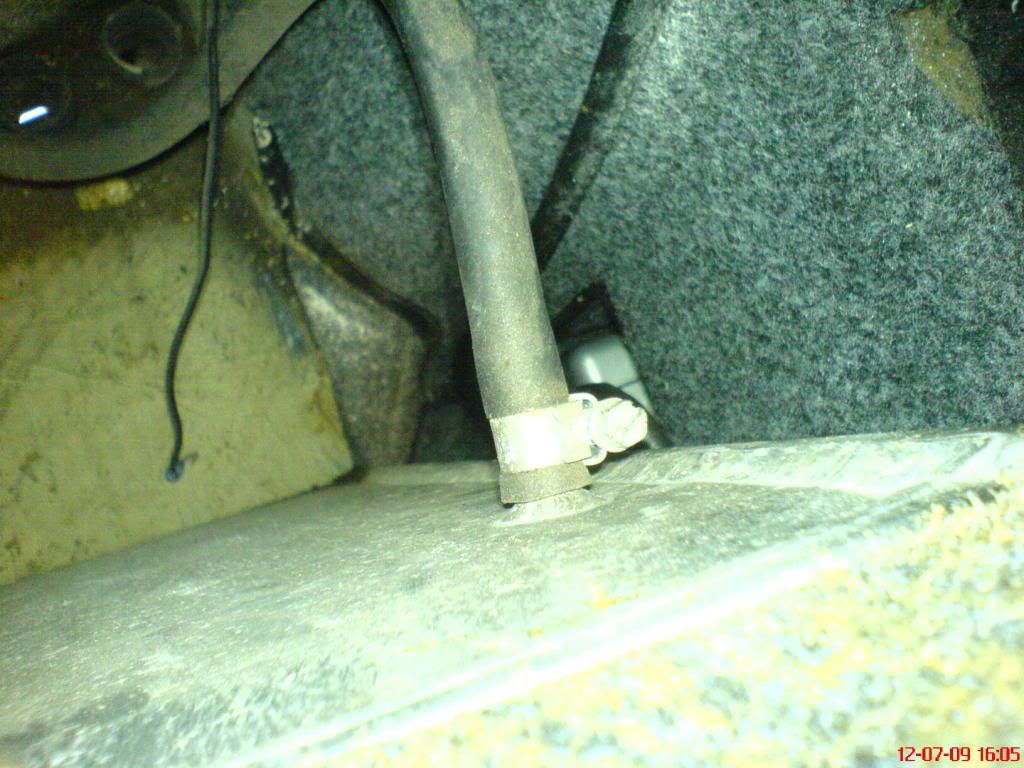
Next job was removing the tank. The fuel filler neck is held on by a jubilee clip with the rubber part of the neck (which can be got at quite easily) The metal part is silkaflexed on. I removed it by very slowly levering it upwards.

The tank is held on by two straps that run down the tank. The straps do not need to be removed, just the bolts do.
This is one of the bolts at the top of the tank...
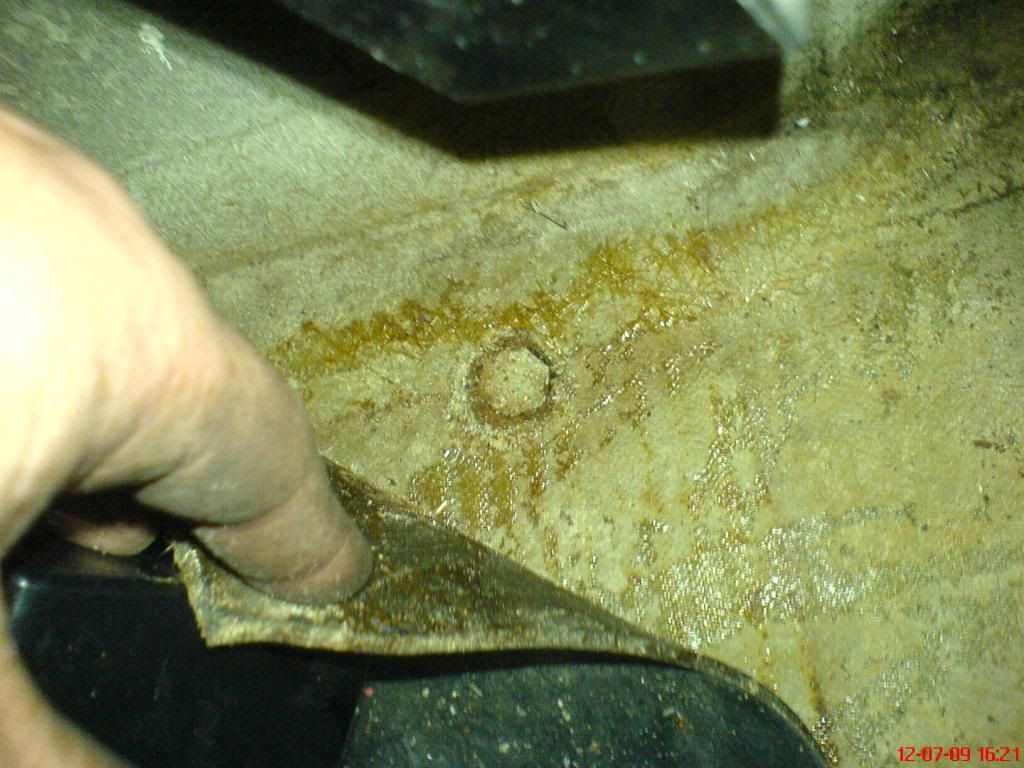
You have to peel or cut the carpet out the way to get at the ones at the bottom...
These bottom bolts cannot be removed until the heat shield for the exhausts is removed. Behind the shield is another nut holding the bolt in.

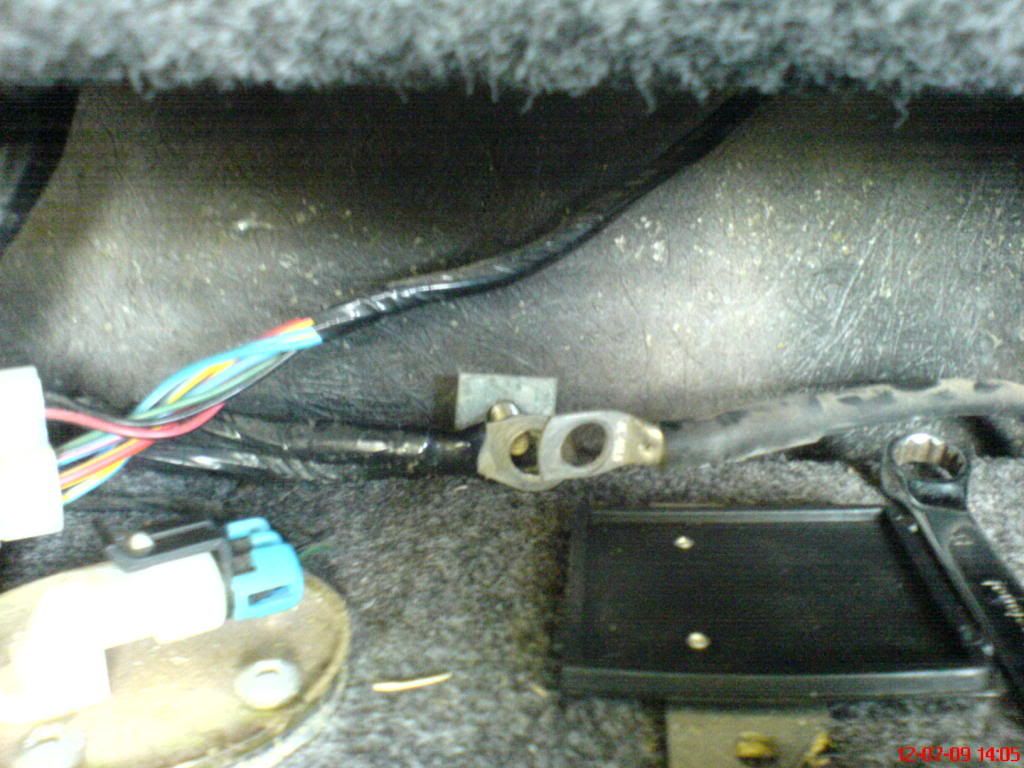
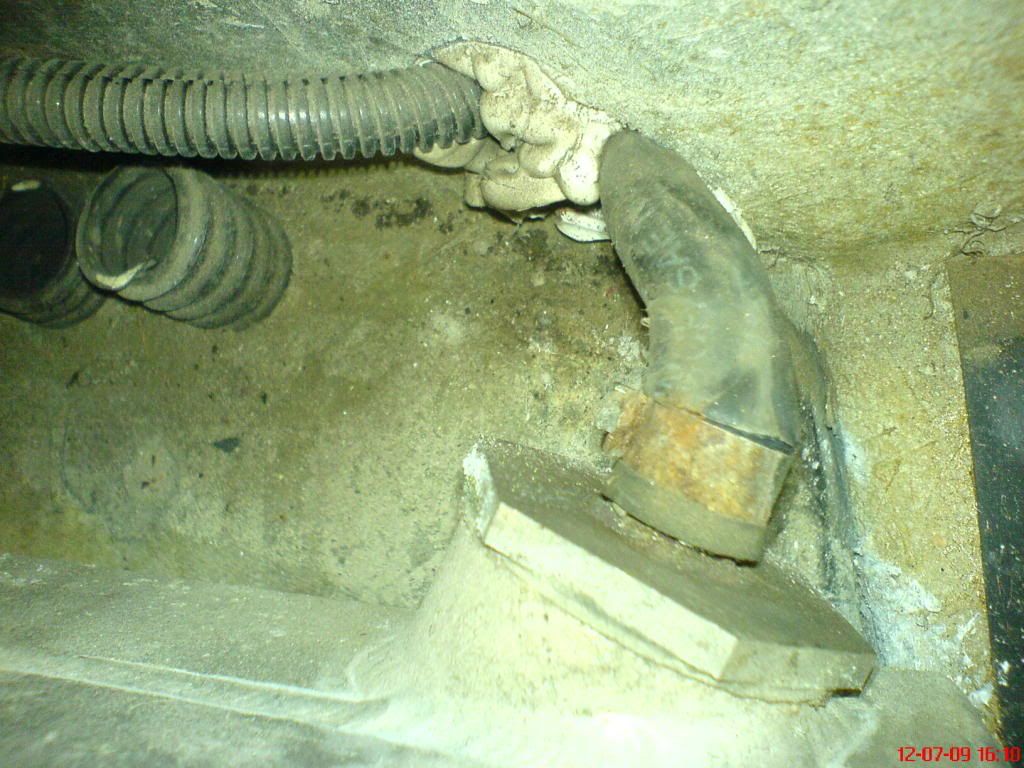
Once the bolt are removed there are a few pipes that have to be removed. The return pipe on the drivers side of the tank (this picture is taken looking down behind the tank)
On the passenger side of the tank there is the main pipe that runs to the engine. There is not much play in this so it will restrict how much you cna wiggle the tank. I have not removed this pipe as I have been able to move the tank enough to get to the body bolts behind.
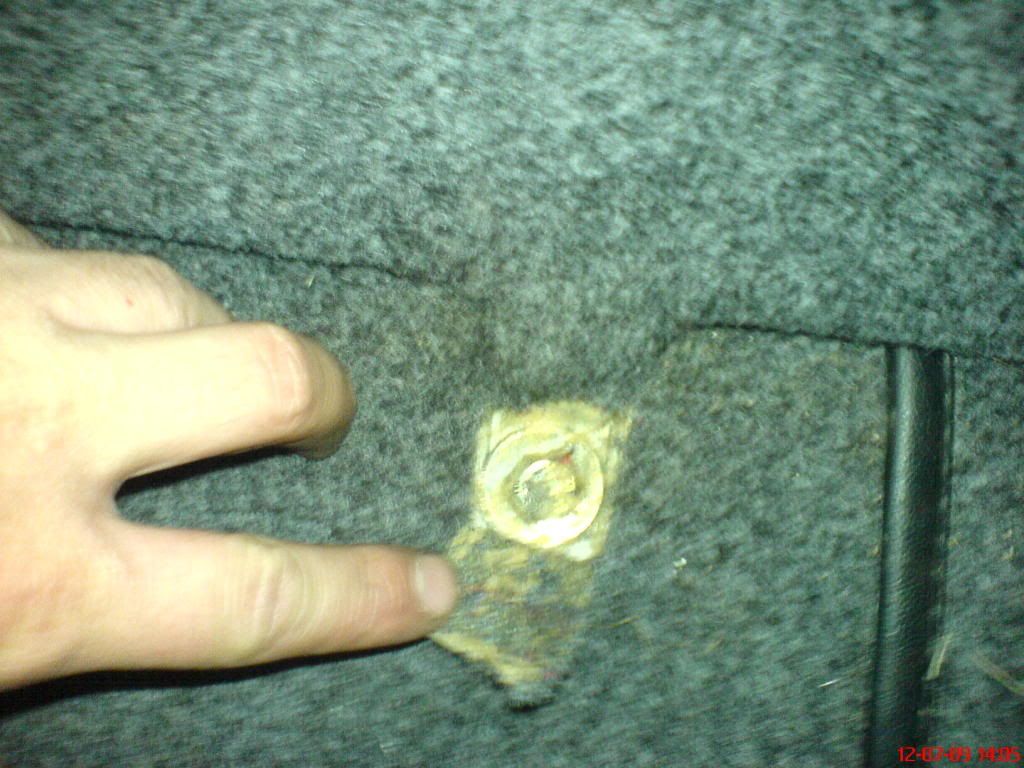
Underneath the rubber mat that is under the tank are the bolts for the body. There are also a pair of bolts on the vertical part of the body behind the tank but these are very obvious when the tank is out the way.
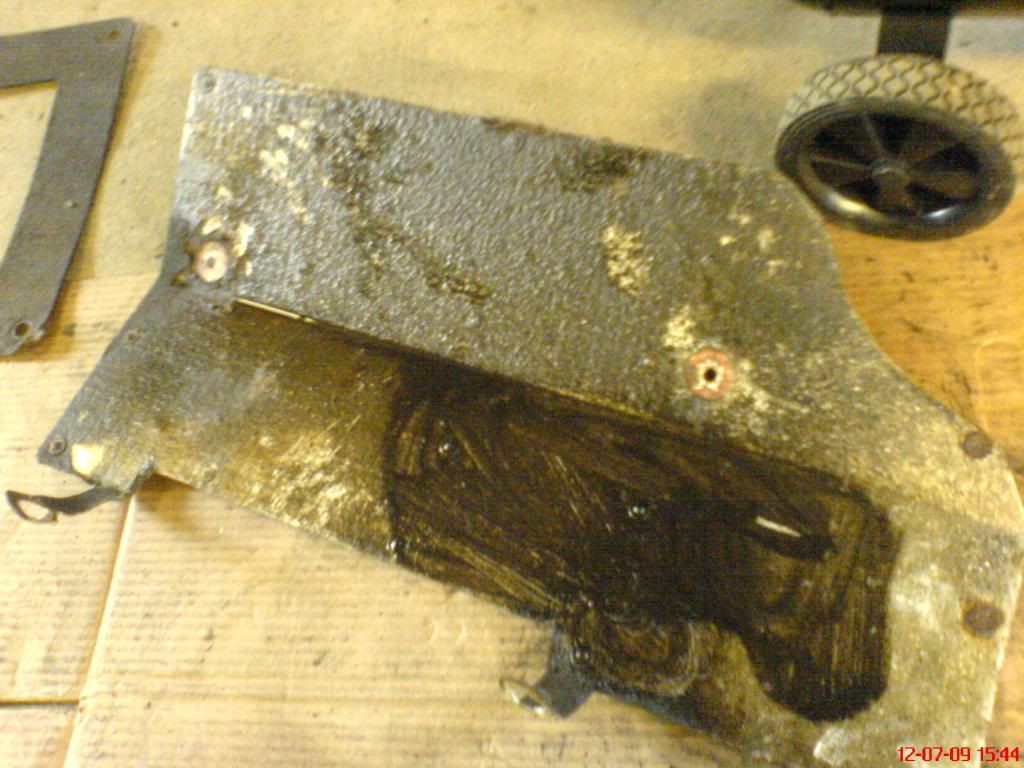
Here is the removed heat shield. It was sprayed in underseal and you can see here I have sprayed some degreaser on here to remove the underseal as I can't imagine it does much good for the heat reflecting properties!
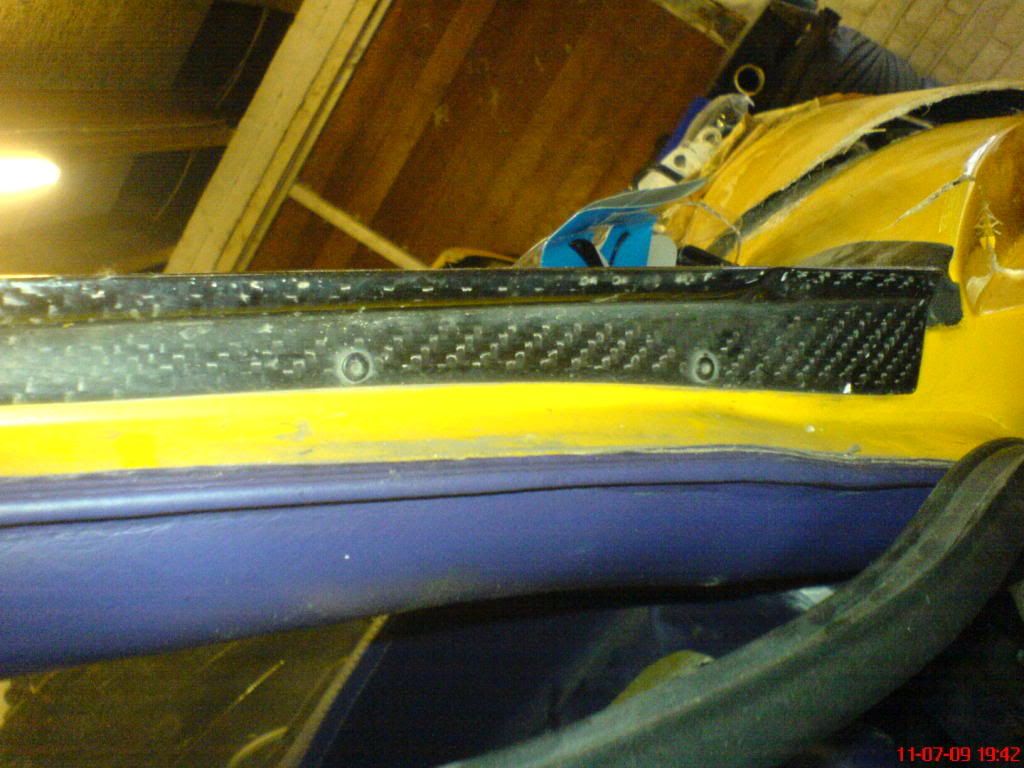
One of the other things I did was remove the carbon windscreen trims bits as the screen needs to be replaced. They are held on with three rivets and some silkalex. The rivets were easily drilled off and the carbon trim bits came off very easily. Any windscreen company that says that cannot be saved are talking rubbish.
I must mention that I have been told how to do all this by plasticman. His assistance is invaluable!
transmission tunnel now removed. Be very careful when taking it out as the bit that swoops down from the dash to transmission tunnel cover is quite weak.
This is the underside of the transmission tunnel cover. You can just about make out the bolts that hold the padded arm rest on. These bits are going to be removed to be retrimmed.
Next job was removing the tank. The fuel filler neck is held on by a jubilee clip with the rubber part of the neck (which can be got at quite easily) The metal part is silkaflexed on. I removed it by very slowly levering it upwards.
The tank is held on by two straps that run down the tank. The straps do not need to be removed, just the bolts do.
This is one of the bolts at the top of the tank...
You have to peel or cut the carpet out the way to get at the ones at the bottom...
These bottom bolts cannot be removed until the heat shield for the exhausts is removed. Behind the shield is another nut holding the bolt in.
Once the bolt are removed there are a few pipes that have to be removed. The return pipe on the drivers side of the tank (this picture is taken looking down behind the tank)
On the passenger side of the tank there is the main pipe that runs to the engine. There is not much play in this so it will restrict how much you cna wiggle the tank. I have not removed this pipe as I have been able to move the tank enough to get to the body bolts behind.
Underneath the rubber mat that is under the tank are the bolts for the body. There are also a pair of bolts on the vertical part of the body behind the tank but these are very obvious when the tank is out the way.
Here is the removed heat shield. It was sprayed in underseal and you can see here I have sprayed some degreaser on here to remove the underseal as I can't imagine it does much good for the heat reflecting properties!
One of the other things I did was remove the carbon windscreen trims bits as the screen needs to be replaced. They are held on with three rivets and some silkalex. The rivets were easily drilled off and the carbon trim bits came off very easily. Any windscreen company that says that cannot be saved are talking rubbish.
I must mention that I have been told how to do all this by plasticman. His assistance is invaluable!
Edited by markh1 on Monday 13th July 08:30
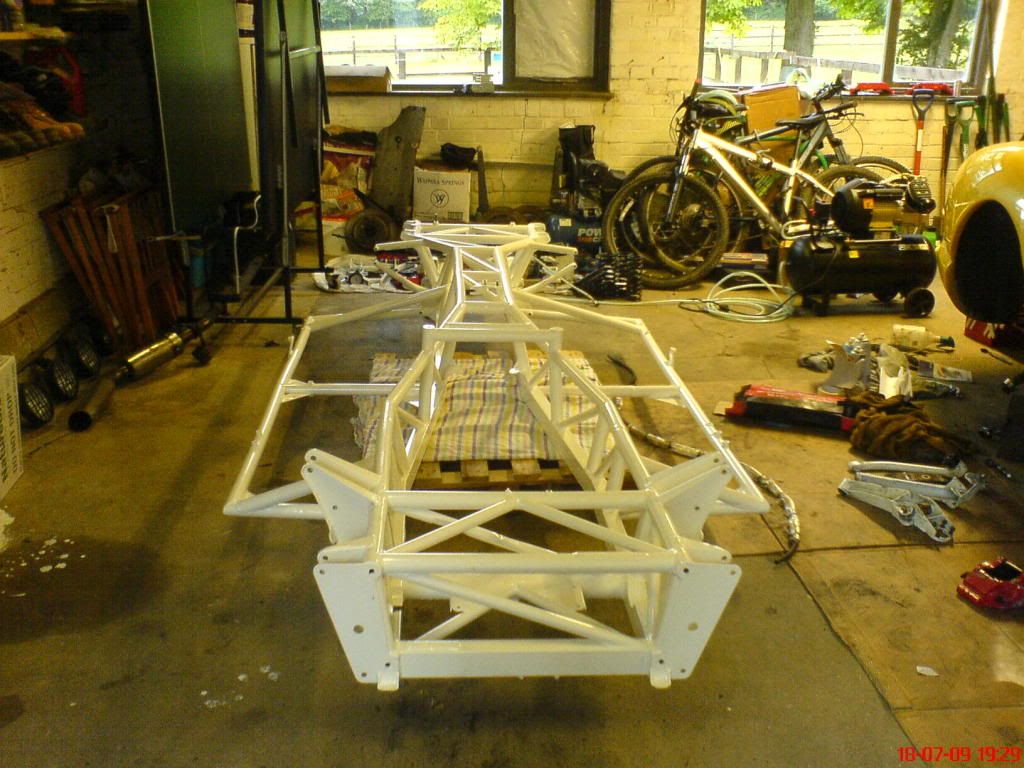
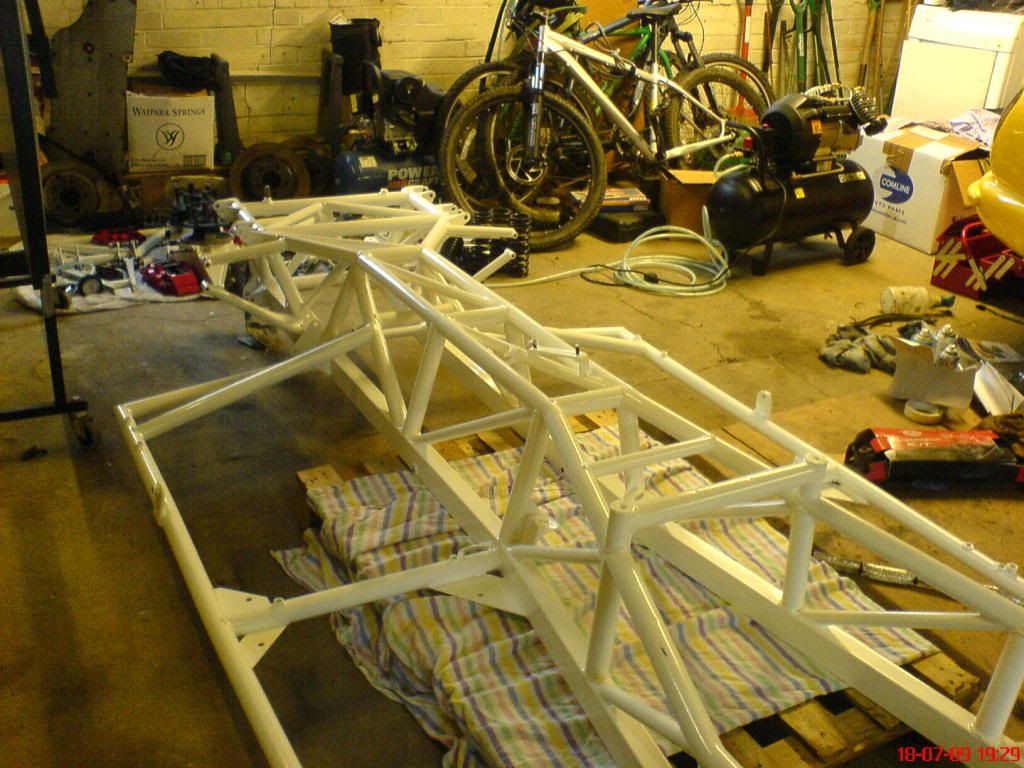
Collected the chassis this weekend. I thas been blasted, zinc coated and then powdercoated.
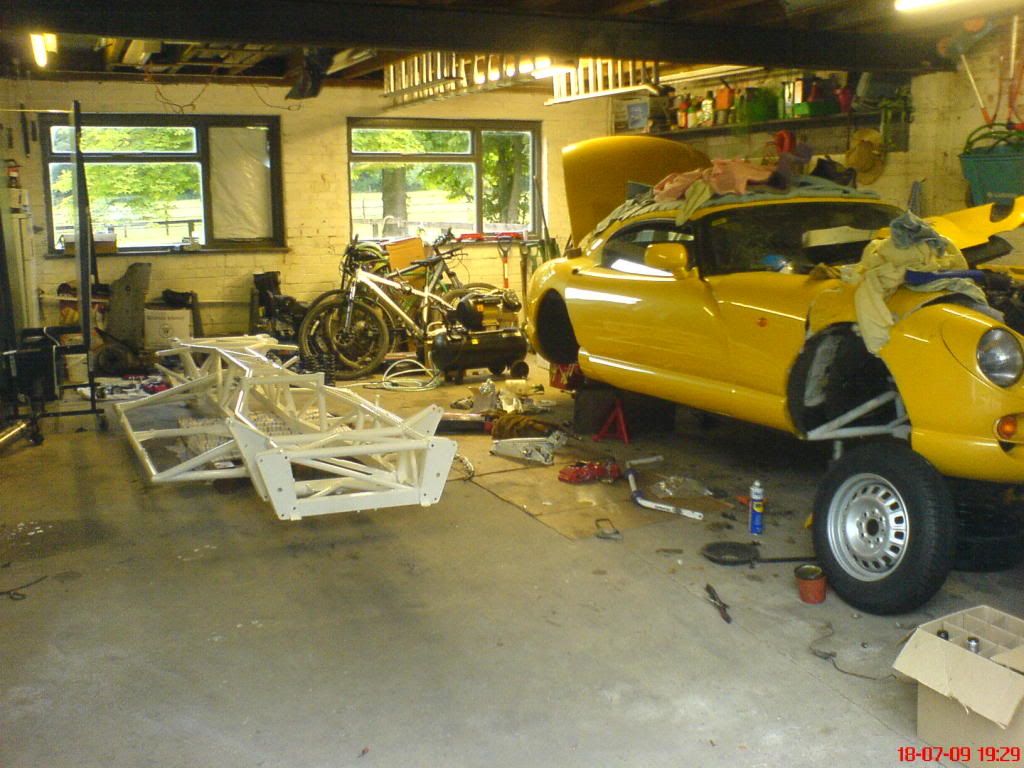
I have fitted the rear upper and lower rear wishbones and the power steering rack. Most of the weekend was taken up with disconecting the engine (throttle cable, coolant hoses etc) The three oil pipes that connect to the engine from the oil cooler are causing me grief. I can't get at them to get them off and to get them off from the oil cooler end it looks like you have to cut into the fibreglass.
I have fitted the rear upper and lower rear wishbones and the power steering rack. Most of the weekend was taken up with disconecting the engine (throttle cable, coolant hoses etc) The three oil pipes that connect to the engine from the oil cooler are causing me grief. I can't get at them to get them off and to get them off from the oil cooler end it looks like you have to cut into the fibreglass.
The body off lift is going to happen on the last two days of this month (thursday and friday 30th and 31st) if anyone wants to come and see how it is going to be done you are more than welcome. I will probably do a BBQ on Fri night and maybe thursday eve too if the weather is good. If you do want to come PM me. I am by Epsom in Surrey.
VPower said:
Looking good Mark.
Question-
With the body damage, is there any problem with a 2 man lift?
Will it fold in half or split more???
Steve
Plasticman's initial plan is to use engine crane to lift the rear and use a jack where the front of the sills are. This however may change on the day! It does certainly make it difficult with the fibre glass damage. Normally It would be supported through the wheel arches but in this case that is not possible.Question-
With the body damage, is there any problem with a 2 man lift?
Will it fold in half or split more???
Steve
Last night I got the braided hoses mounted, all bar one of the remaining body bolts out and one of the diff bushes in. It was a pig to get in so I adopted an idea I saw someone post on here about getting bushes in and out.
I got the long bolt that the front drop link uses and with some washers put it through the bush, on the other side I used the old retaining plate for the front ARB as a big washer. I then tightened it up and much to my delight it went straight in!
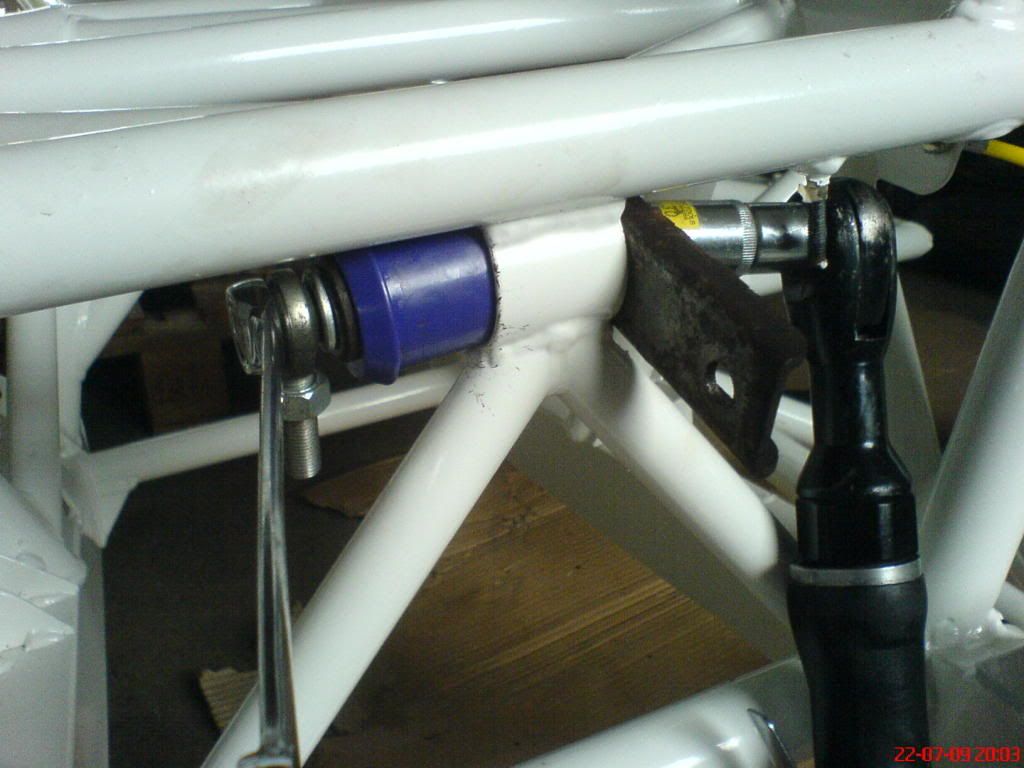
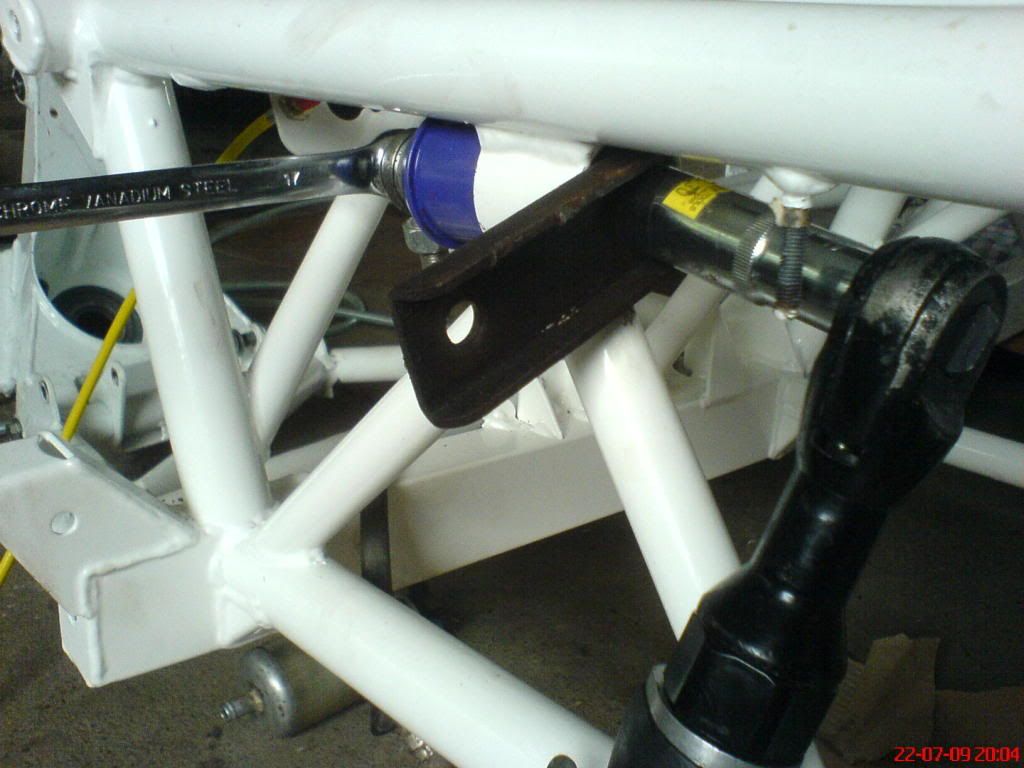
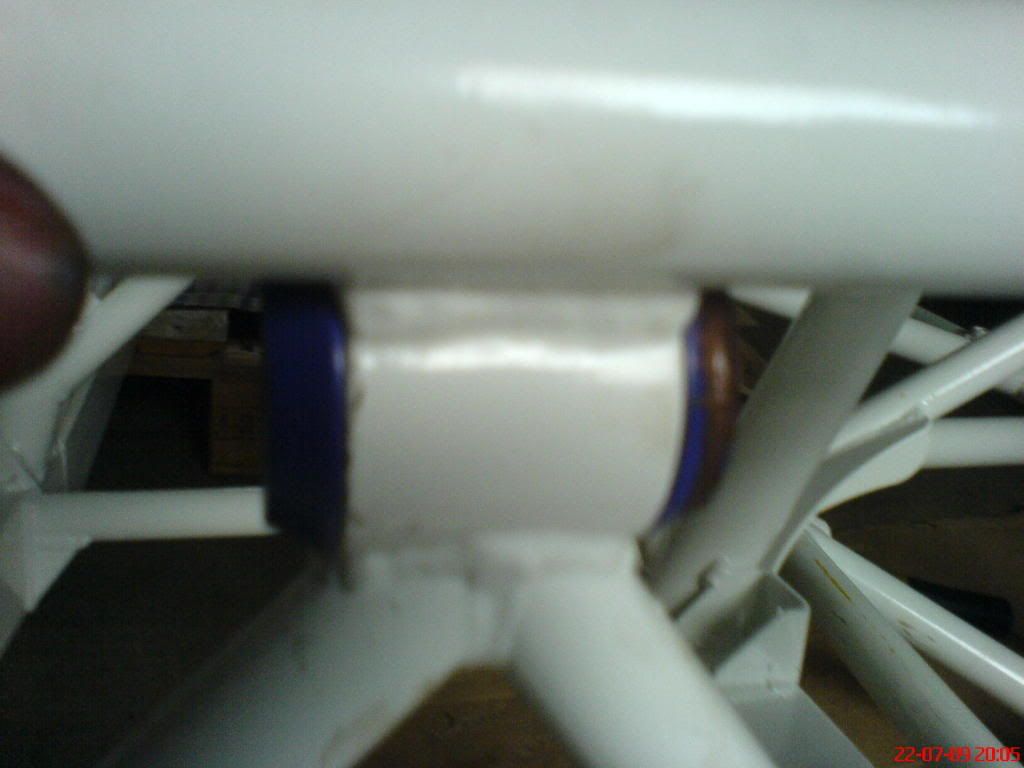
I got the long bolt that the front drop link uses and with some washers put it through the bush, on the other side I used the old retaining plate for the front ARB as a big washer. I then tightened it up and much to my delight it went straight in!
Gassing Station | Cerbera | Top of Page | What's New | My Stuff