Is there a guide to change the seals on the clutch slave
Discussion


Dear All,
sorry to ask this (in more ways than one) but it looks like it's my turn to "do the deed".
Does anyone have, or know of the whereabouts, to do the job ?
Do I have to take the motor out ?
Can it be tilted in situ.
What about prop-shaft, catalyser, looms et al ?
How many tea-bags should I stock-up with ?
Any and all help, derisory comments and advice would be sincerely appreciated.
Ahh Thank You !
Mr.N.
Car in air
Disconnect battery
Chassis brace and exhaust off
Prop off
Remove rear gearbox mount reach up with a small 13mm ratchet and undo gear stick cover plate from top of gearbox (don't loose the plastic cup from the end of the lever)
Remove Lambda sensors
Undo box from bellhousing and move box back onto exhausts
Detach clutch pressure line and cut cable tie retaining the bleed scre in the engine bay
Undo bell housing bolts and electrical connections from starter motor
Take bell housing out
Remove 4 screws retaining slave (may need to be punched round as they should be loctited in)
Check for surface damage to cylinder and remove sharp edges from seal grooves
Replace seals and refit using brake fluid or a brake fluid compatible grease.
Refit slave with the 2 holes at 12 and 6 o'clock with bew countersunk hex screws (M6 x 16 from memory) and loctite thread lock (only a small blob about 2-3mm in diameter)
Refit it all.... lol
Get a friend to help you bleed.
Job done, about 4-5 hours if you're quick, longer if not.
as ridds said,,, but this link might help aswell
http://www.thetvrsite.com/engine/4-engine/16-clutc...
http://www.thetvrsite.com/engine/4-engine/16-clutc...
Stunning RIDDS. You are a STAR 
As it took me 4-5 hours to read it then I guess I'll allow 4-5 weeks.
Ummmm, as the standard seals are obviously crap, is there anywhere recommended to get upgraded/reasonable lifetime versions ?
Ta for everything, Sir
Cheers Graham,
That's the sort of blow-by-blow guide I was hoping for.
Thanks a lot
(and Cheers to MadMark for the steps)
Edited by Mr.Cerbera on Saturday 5th June 15:47
Cheers Alan,
Good advice on pre-tools.
Did you know that you joined PH on the day of my 50th birthday ?
One little doubt I have in my mind. Everyone is talking metric and I thought that these things were put together with Imperial.
I realise that measurements can be "älmosr there" but I just had a little fear about being exact with heads that would be out of reach/sight ?
Still, I believe your combined genius and will proceed with my kit (which is largely metric)
Mr.Cerbera said:
Cheers Alan,
Good advice on pre-tools.
Did you know that you joined PH on the day of my 50th birthday ?
One little doubt I have in my mind. Everyone is talking metric and I thought that these things were put together with Imperial.
I realise that measurements can be "älmosr there" but I just had a little fear about being exact with heads that would be out of reach/sight ?
Still, I believe your combined genius and will proceed with my kit (which is largely metric)
The allen bolts are definatly metric,when removing the screws that hold the slave cylinder in the bellhousing you will need an impact driver to get them out,even then they are a pig to remove,I had to get two of mine drilled out.As Ridds said,when reassembling the slave cylinder make sure you line the holes up correctly or you wont be able to bleed the clutch.(I would fit a new one if I were you,but make sure its the correct one,there are 3 different ones.Also if your clutch plates are worn get them re-lined,I did this and have done 13k miles on the clutch without a problemGood advice on pre-tools.
Did you know that you joined PH on the day of my 50th birthday ?
One little doubt I have in my mind. Everyone is talking metric and I thought that these things were put together with Imperial.
I realise that measurements can be "älmosr there" but I just had a little fear about being exact with heads that would be out of reach/sight ?
Still, I believe your combined genius and will proceed with my kit (which is largely metric)
Good Luck
Al(ESSO)
When i did mine, i found once id removed the screws holding the clutch slave into the bell housing, the slave was still stuck solid in the bell housing.
i little heat via a blow lamp on the bell housing helped loads, and the slave soon dropped out on its own
Also when putting the slave back in the bell housing, stick the bell housing in the oven at around 60 C for ten mins, this will expand it and you ll find the slave drops back in a treat
Just make sure your lass is not around when doing this
Edited by Gray_101 on Saturday 5th June 20:50
Gray_101 said:
When i did mine, i found once id removed the screws holding the clutch slave into the bell housing, the slave was still stuck solid in the bell housing.
i little heat via a blow lamp on the bell housing helped loads, and the slave soon dropped out on its own
Also when putting the slave back in the bell housing, stick the bell housing in the oven at around 60 C for ten mins, this will expand it and you ll find the slave drops back in a treat
Just make sure your lass is not around when doing this
Hmmmm, reminds me of the time I tried to un-jam a Yamaha gearbox by heating it up in t'oven. Forgot to clean off the oil and managed to stink out the whole ground floor for weeks.i little heat via a blow lamp on the bell housing helped loads, and the slave soon dropped out on its own
Also when putting the slave back in the bell housing, stick the bell housing in the oven at around 60 C for ten mins, this will expand it and you ll find the slave drops back in a treat
Just make sure your lass is not around when doing this
but, as you say, 'the lass' left with the odour

Went to the Lux MotorFactors yesterday. Described the problem as best I could and they sold me this.....

Edited by Mr.Cerbera on Sunday 6th June 10:44
Cheers for that Gaz 'n' Al.
Ummm, both guides say "remove exhaust" - do they mean the manifolds as well ?
If so, then where they say "rest gearbox on exhausts" do they mean ón the exhausts that are now lying on the floor' ?
Sorry to be so dumb.
"Never trust a programmer with a screwdriver in his hand"
Ummm, both guides say "remove exhaust" - do they mean the manifolds as well ?
If so, then where they say "rest gearbox on exhausts" do they mean ón the exhausts that are now lying on the floor' ?
Sorry to be so dumb.
"Never trust a programmer with a screwdriver in his hand"


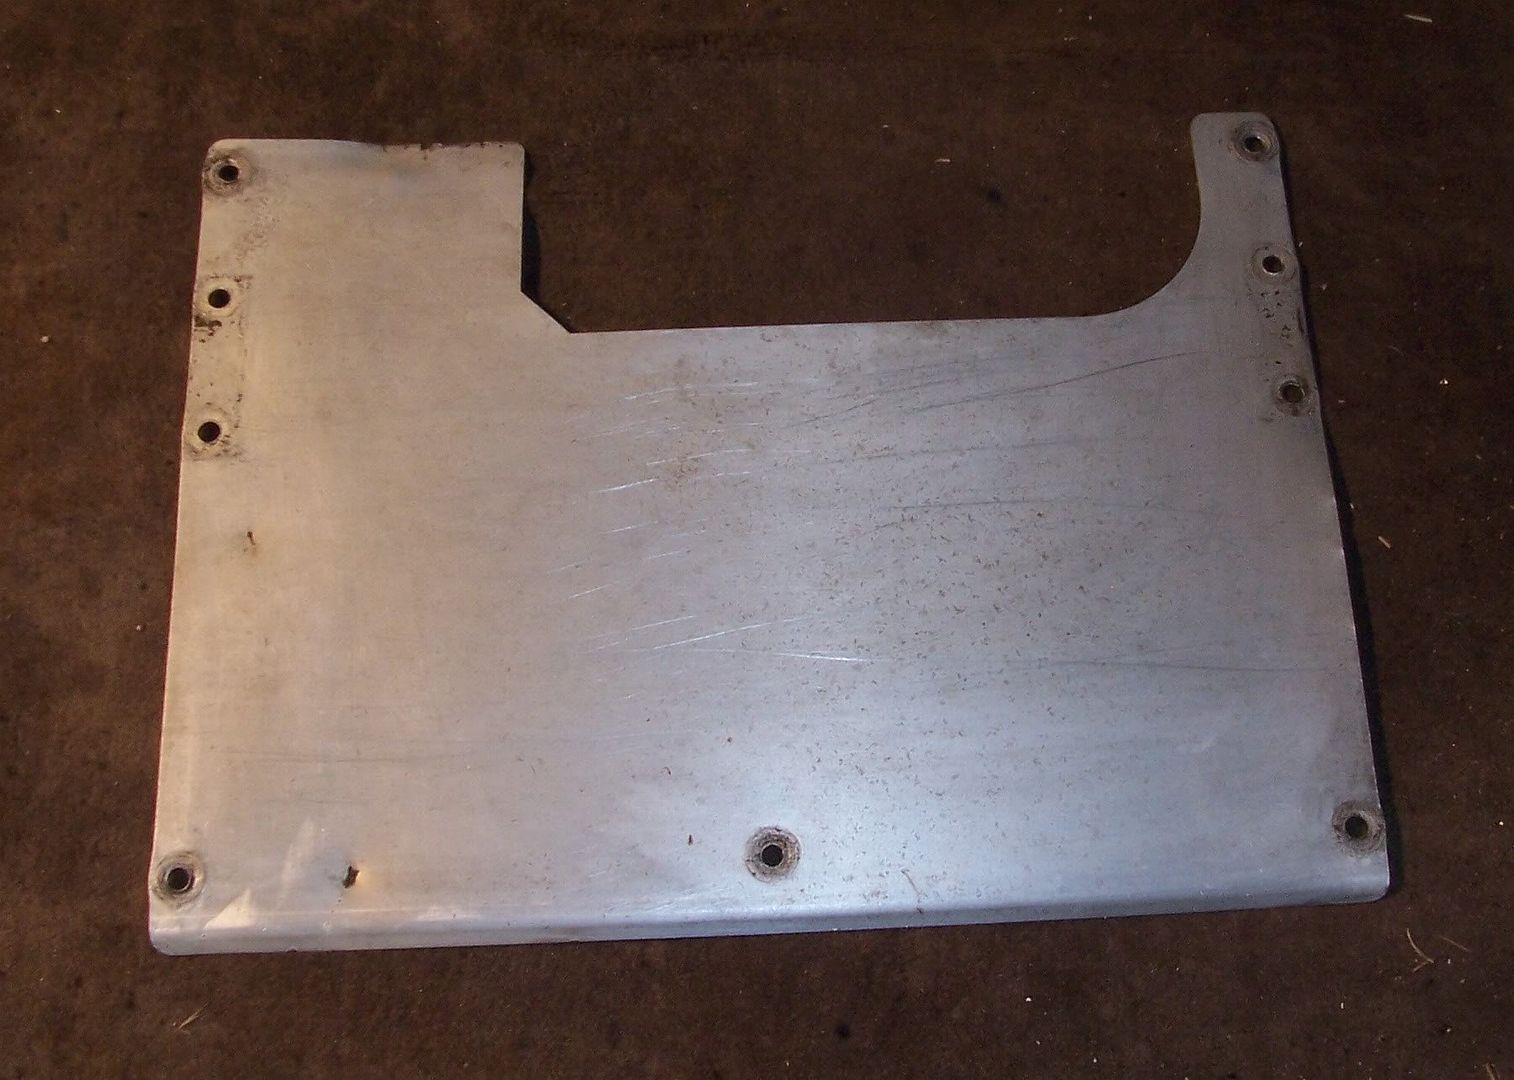
Phew ! Well, it turned out that 20 of them didn't need removing AND that they were self-tappers and not rivets so good news there.
BUT they were mild steel and two had become an itegral part of the chassis so, after a LOT of grinding wheel action they and the heat cover are off - Yeeehaaa !
HOWEVER....
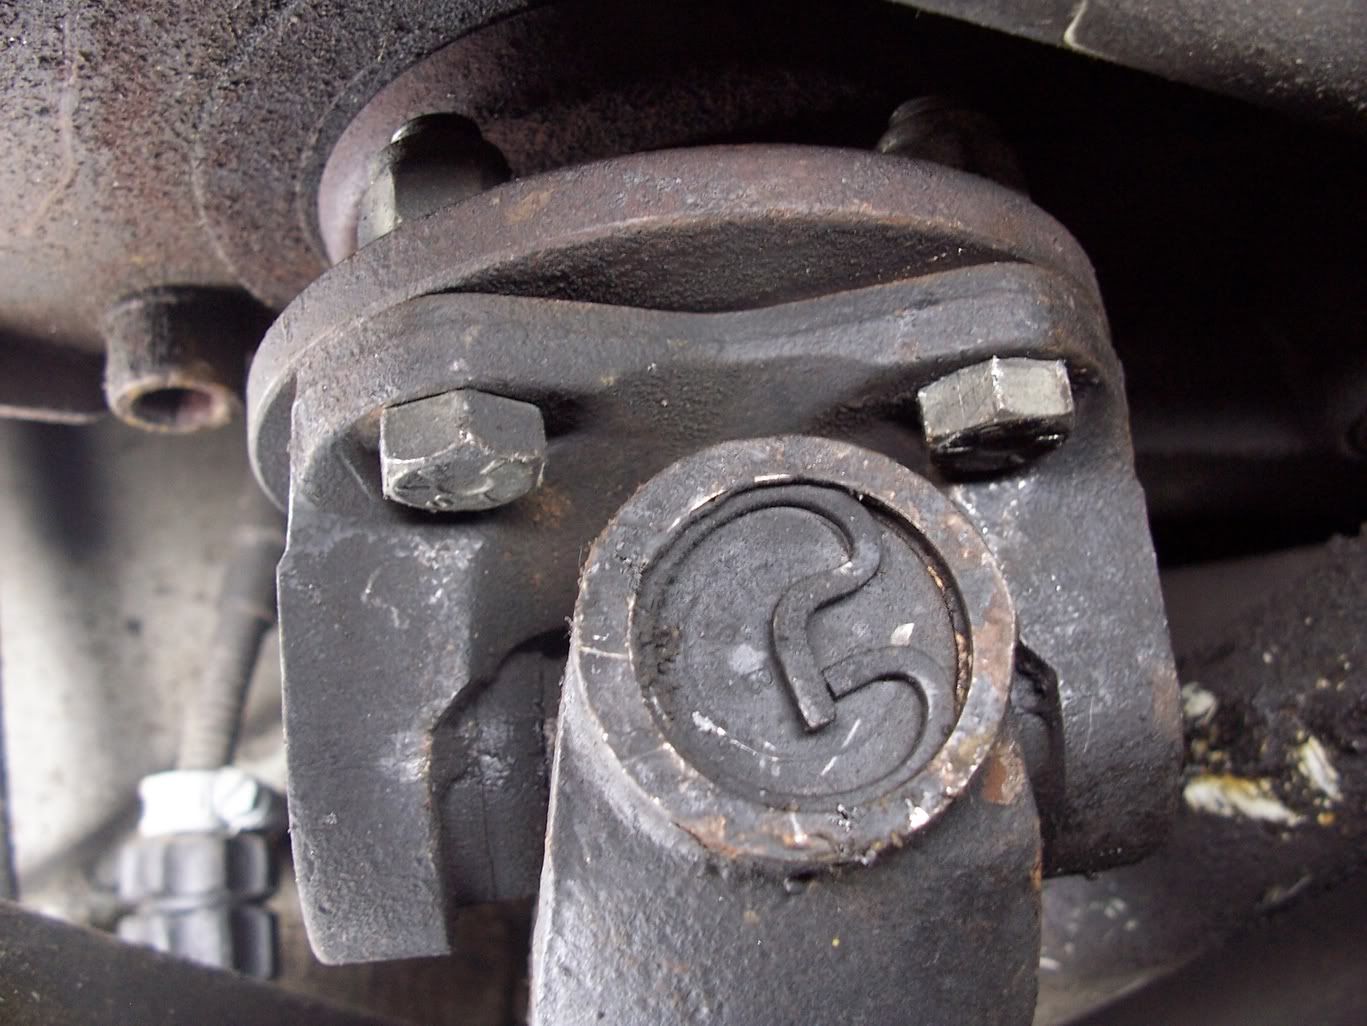
now I have to remove the prop-shaft and the back flange is impossible to get to as there's a chassis cross-member in the way.
Anyone with a suggestion....
Is there some sort of swan-necked open-ended spanner for this ?
My rings won't get around to my nuts(oooeeerrr)
Flangs nuts cleverly concealed bhind chassis crossmember

A little closer ...
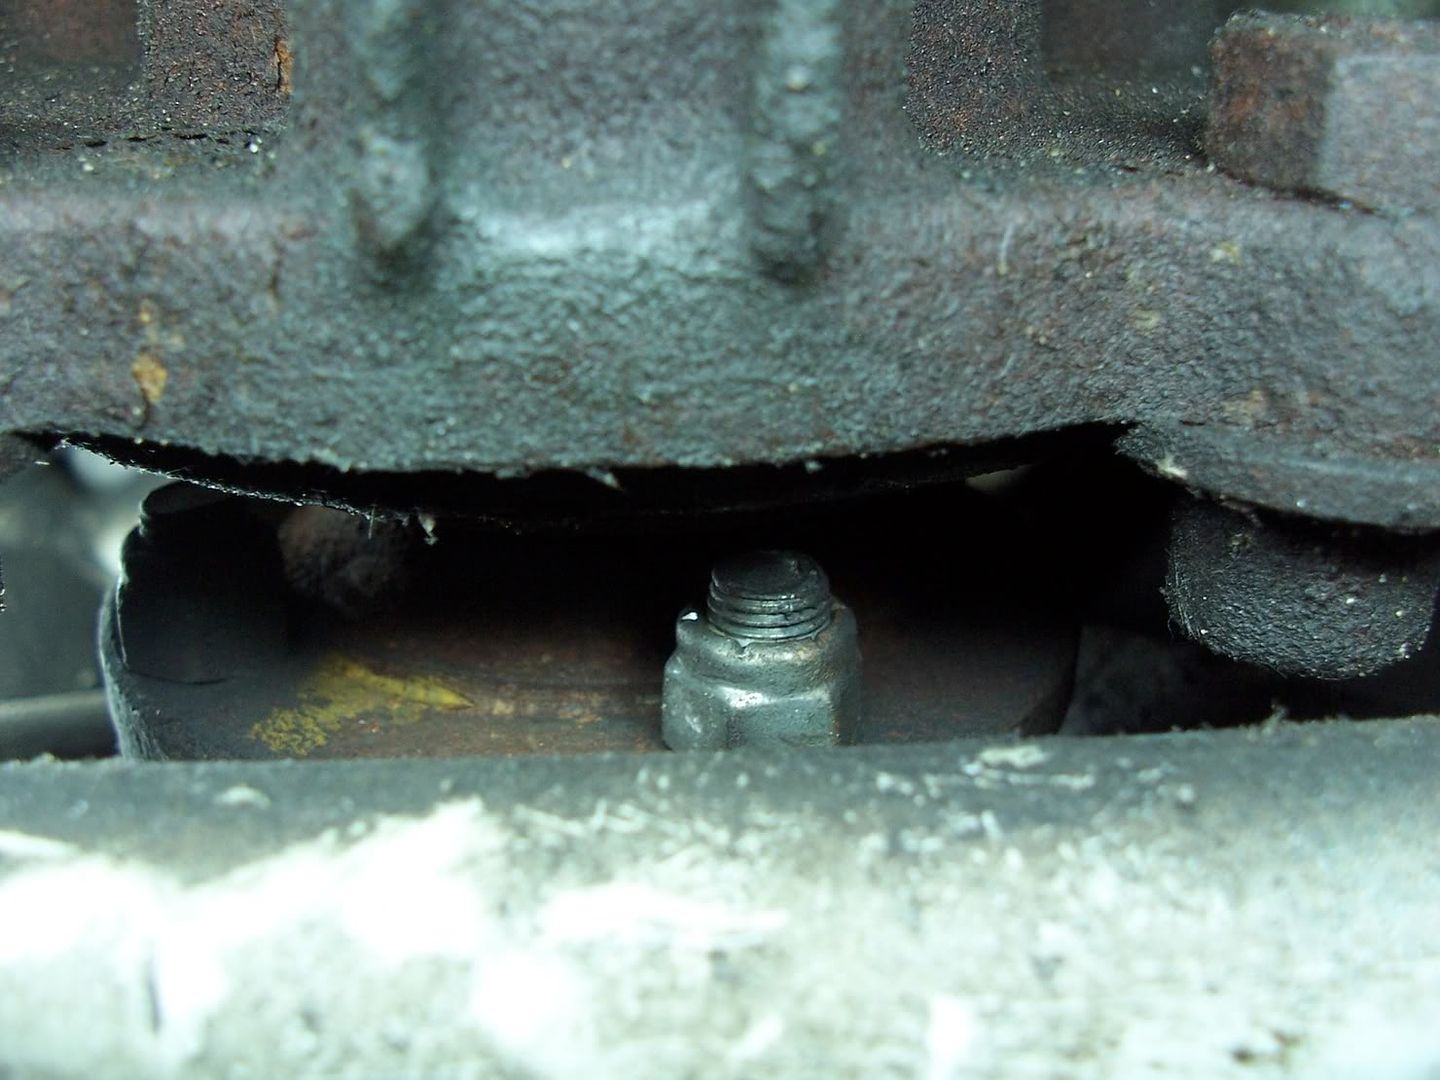
and the box I tried to use, to anchor the bolt head, didn't have enough space.
Is there some sort of waisted box for anchoring the bolt head ?
BUT they were mild steel and two had become an itegral part of the chassis so, after a LOT of grinding wheel action they and the heat cover are off - Yeeehaaa !
HOWEVER....
now I have to remove the prop-shaft and the back flange is impossible to get to as there's a chassis cross-member in the way.
Anyone with a suggestion....
Is there some sort of swan-necked open-ended spanner for this ?
My rings won't get around to my nuts(oooeeerrr)
Flangs nuts cleverly concealed bhind chassis crossmember
A little closer ...
and the box I tried to use, to anchor the bolt head, didn't have enough space.
Is there some sort of waisted box for anchoring the bolt head ?
Not done this job so can only comment on the photos. If you can’t get a spanner on the bolt head, it looks like you will be able to wedge a flat blade screwdriver between the head and prop body to stop it turning.
If you can’t get the ring spanner to fit over the nut then you could grind the spanner head thinner or use a crow foot spanner/socket attachment maybe.
If you can’t get the ring spanner to fit over the nut then you could grind the spanner head thinner or use a crow foot spanner/socket attachment maybe.
shoggyraminator said:
Not done this job so can only comment on the photos. If you can’t get a spanner on the bolt head, it looks like you will be able to wedge a flat blade screwdriver between the head and prop body to stop it turning.
If you can’t get the ring spanner to fit over the nut then you could grind the spanner head thinner or use a crow foot spanner/socket attachment maybe.
Thanks Andy, have tried an assortment of screwdriver tips without success yet. I did think of tryinmg to find an engineering shop to grind a ring down (so to speak) but "crow foot spanner/socket" is a new term to my very-limited engineering vocabulary so I'll Google-off and see waht comes up.If you can’t get the ring spanner to fit over the nut then you could grind the spanner head thinner or use a crow foot spanner/socket attachment maybe.
Many thanks for all the suggestions
Gassing Station | Cerbera | Top of Page | What's New | My Stuff