Well that didn’t take long
Discussion


You knew I wouldn’t last long before I started taking things apart. 
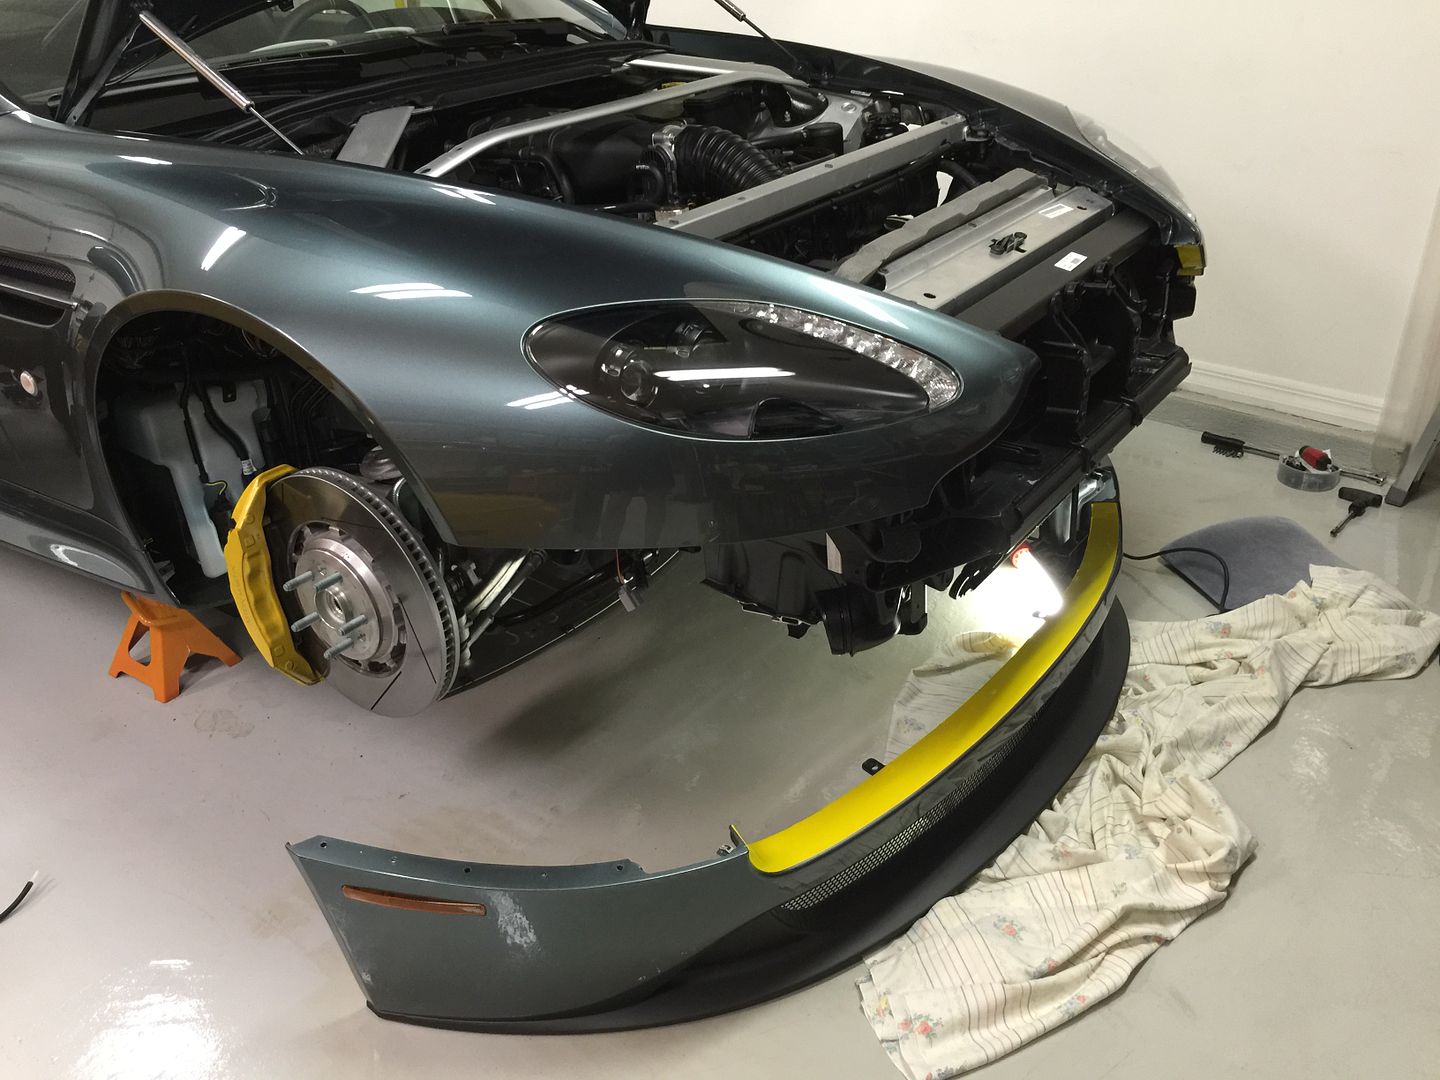
I had to take the front and rear bumpers off in order to install the AM carbon fiber splitter and diffuser. I also took the opportunity to install the AM carbon fiber side strakes and a set of compact Italian air horns to replace the standard Ford large sedan-sounding horn with something that sounds more exotic.
I had ordered the parts separately from the dealer earlier so they did not come pre-installed by the factory, but it’s not like I wouldn’t take the challenge to install them myself as I have in the past. The parts are genuine AM OEM (made by CarboTech) so they are beautifully finished and had the center seam in the weave pattern which matches my carbon fiber grille.
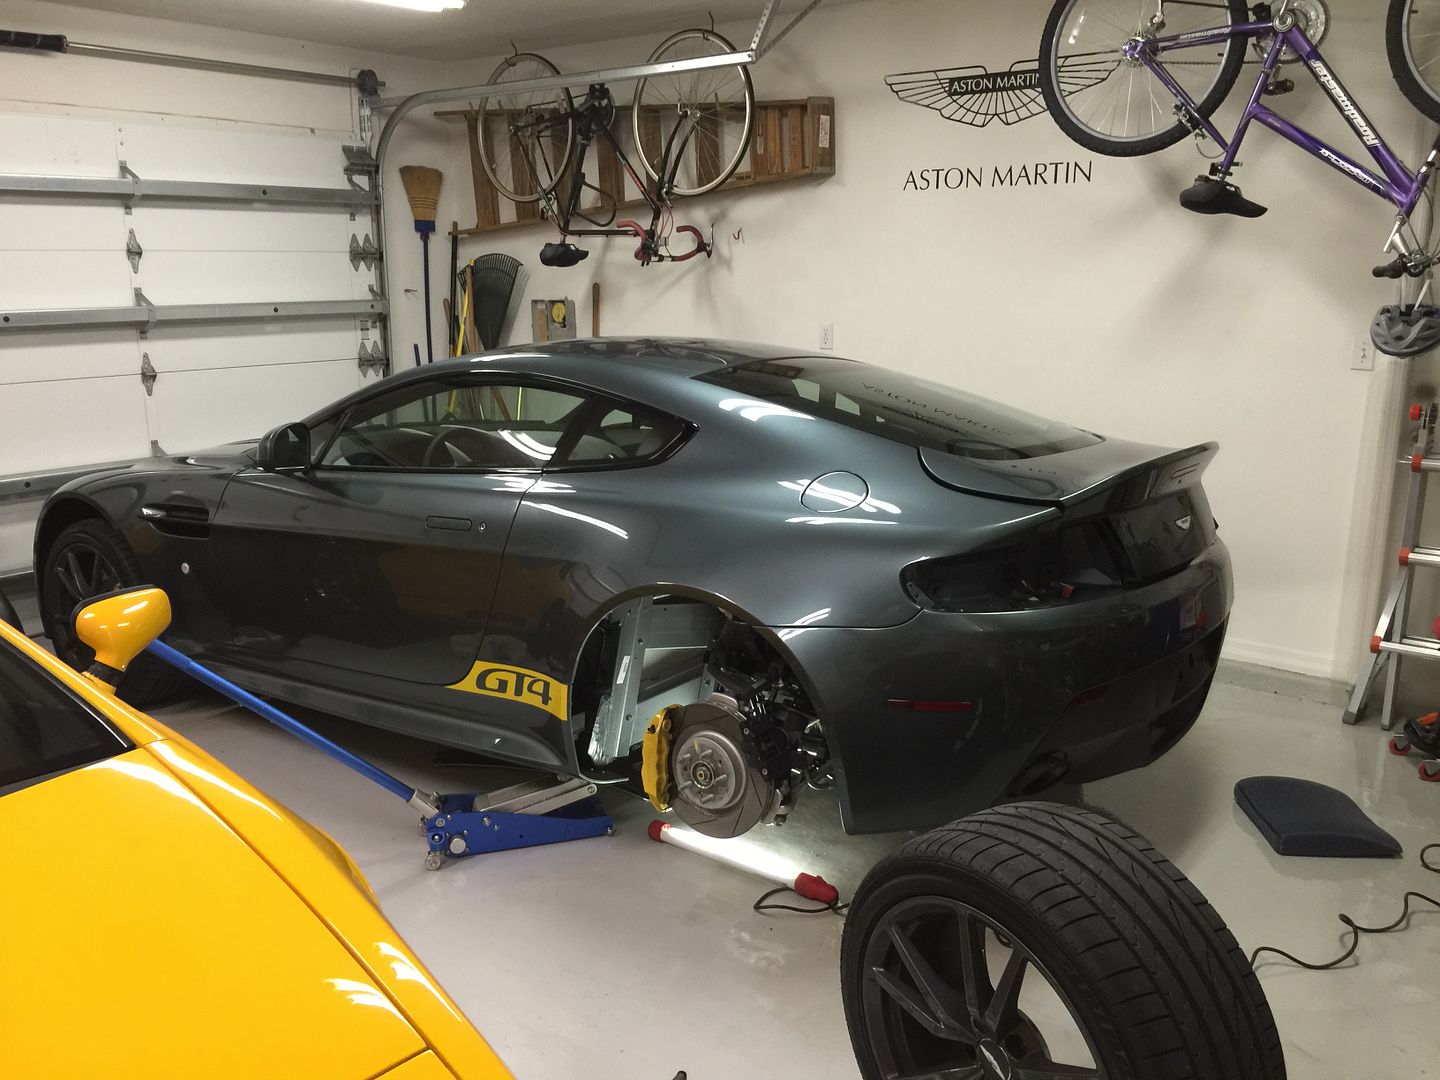
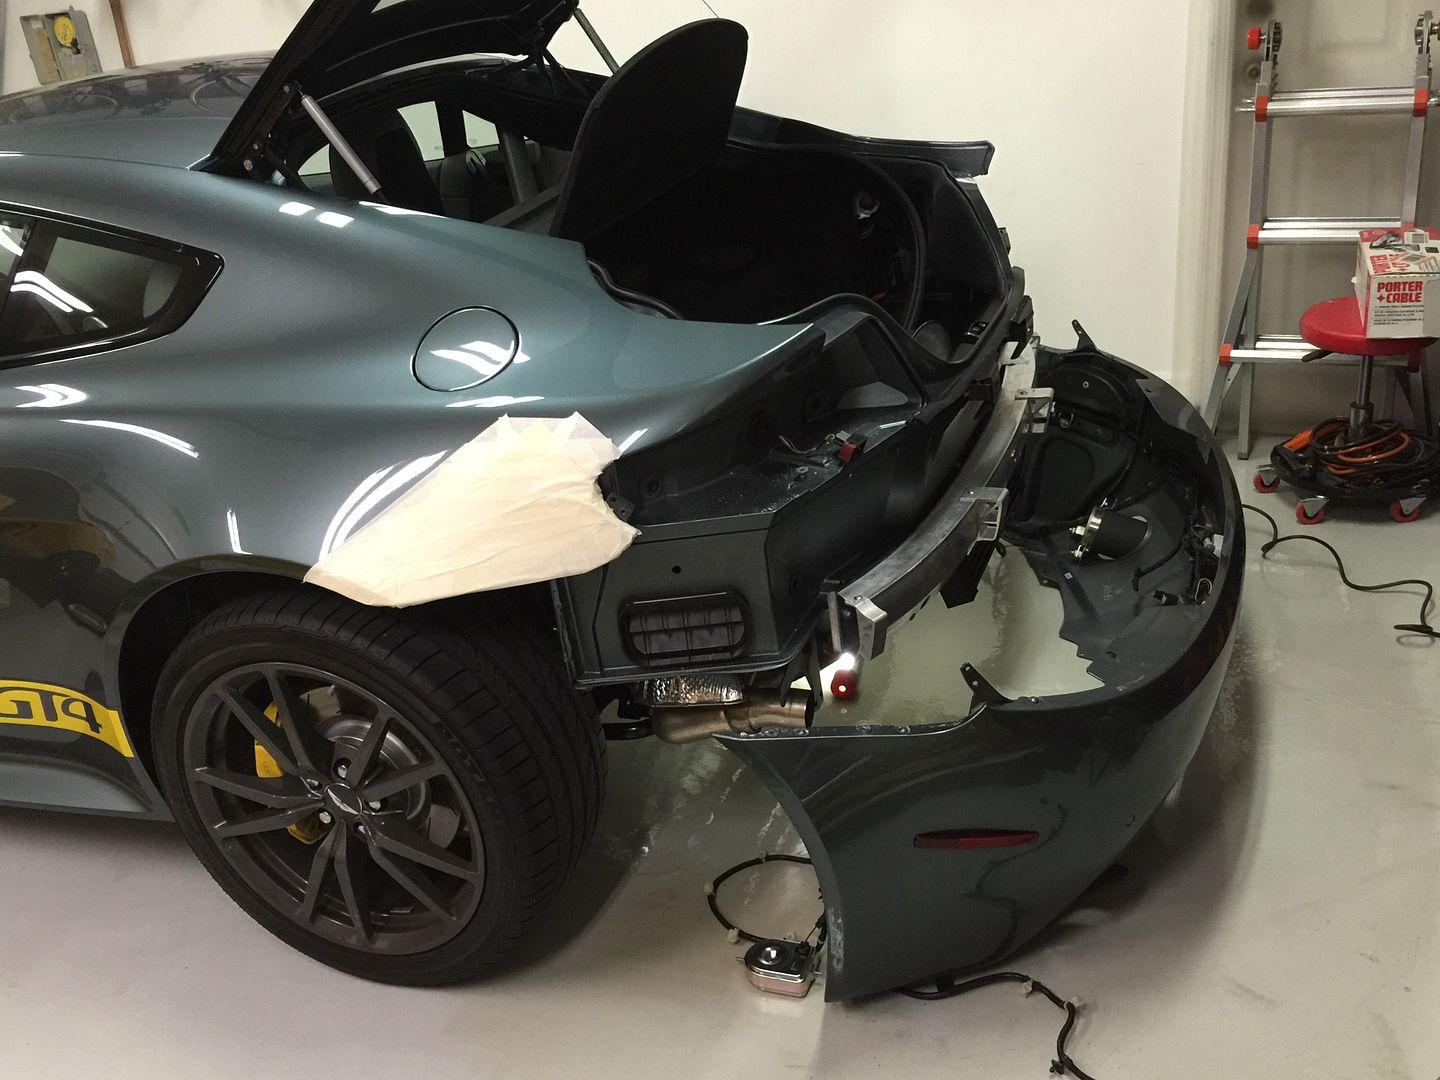
(The masking tape on the rear wings is to protect the paint whilst removing the bumper.)
Here is a closer look at the splitter. If you peek through the grille at the right side of the picture you can see the new horn hiding behind. I painted it matte black to make it less noticeable.
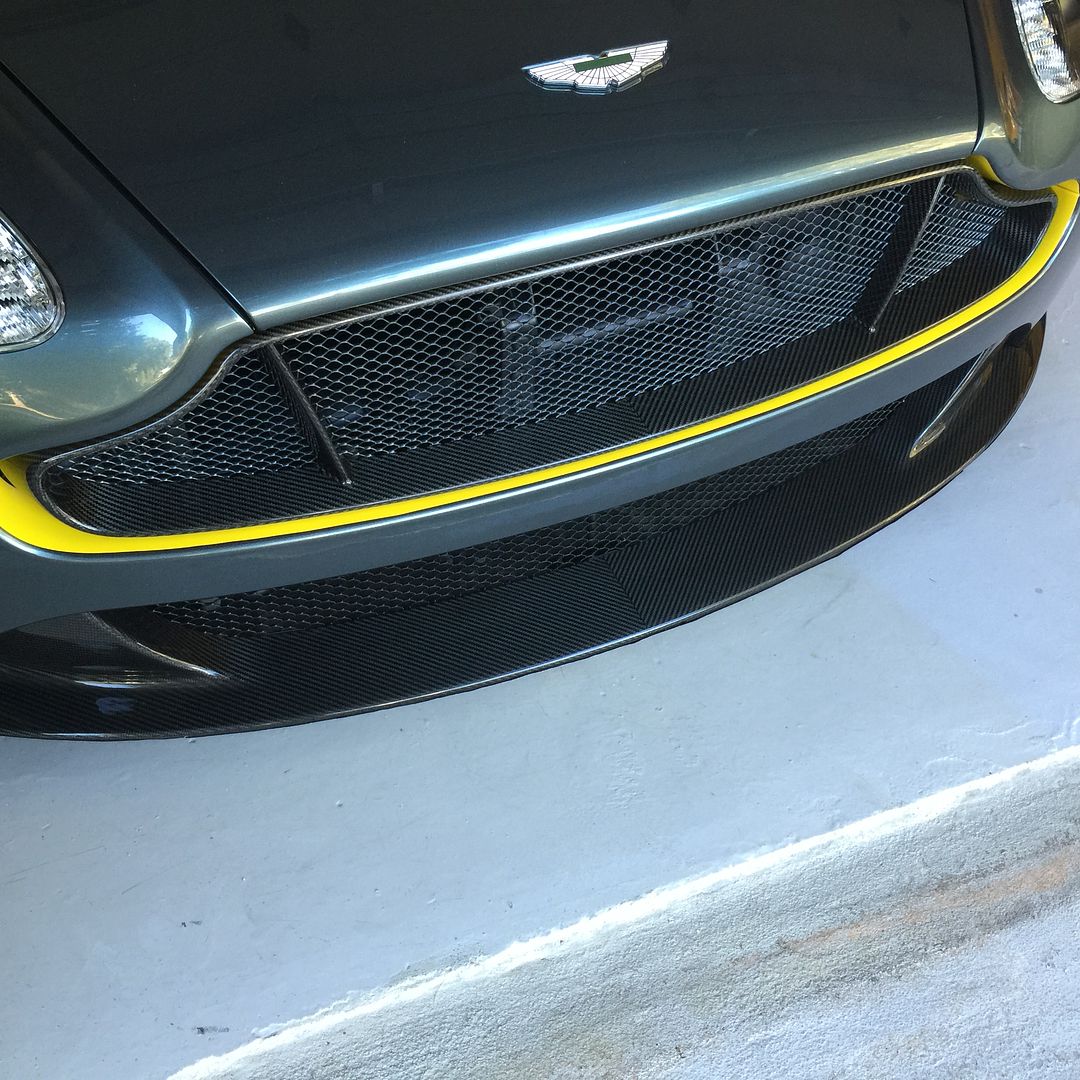
Seeing all the people who have issues with curb scratches on the lower surface of the carbon splitter made me paranoid that mine would face such fate. So I built some aluminum skid plate panels that are attached to the lower surface of the splitter to protect it. They are the black metal strips seen in this picture.
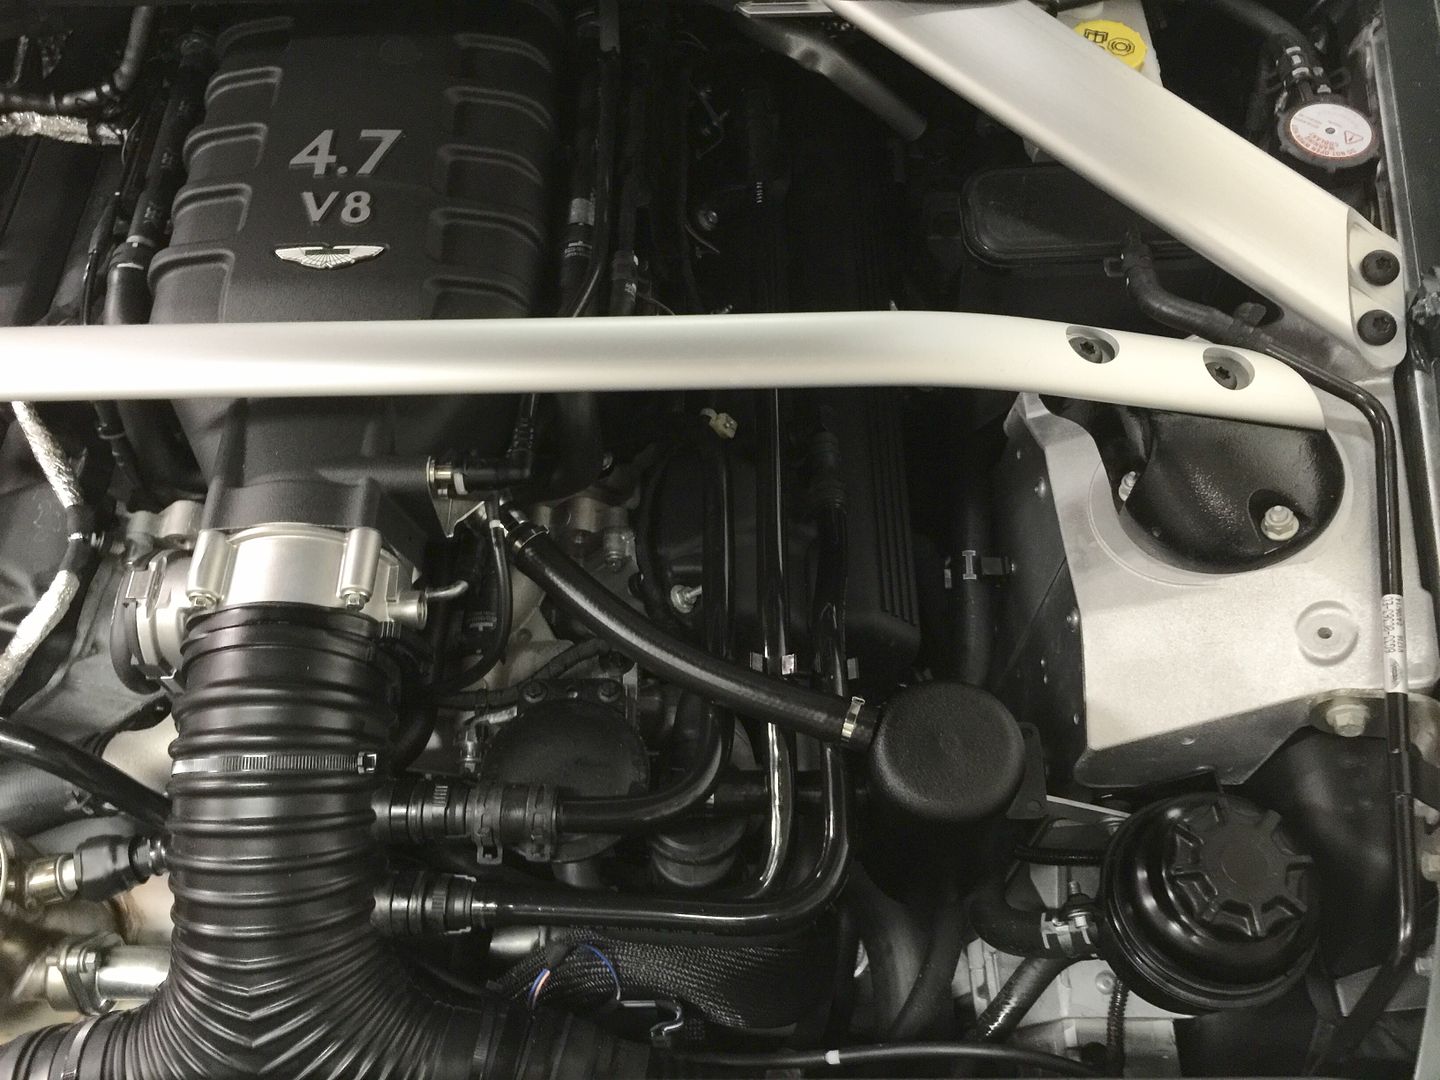
While I was at it, I also installed an oil catch can that one of our forum members (telum01) on 6Speed designed. It can be seen connected to the diagonal hose coming from the intake plenum in this picture.
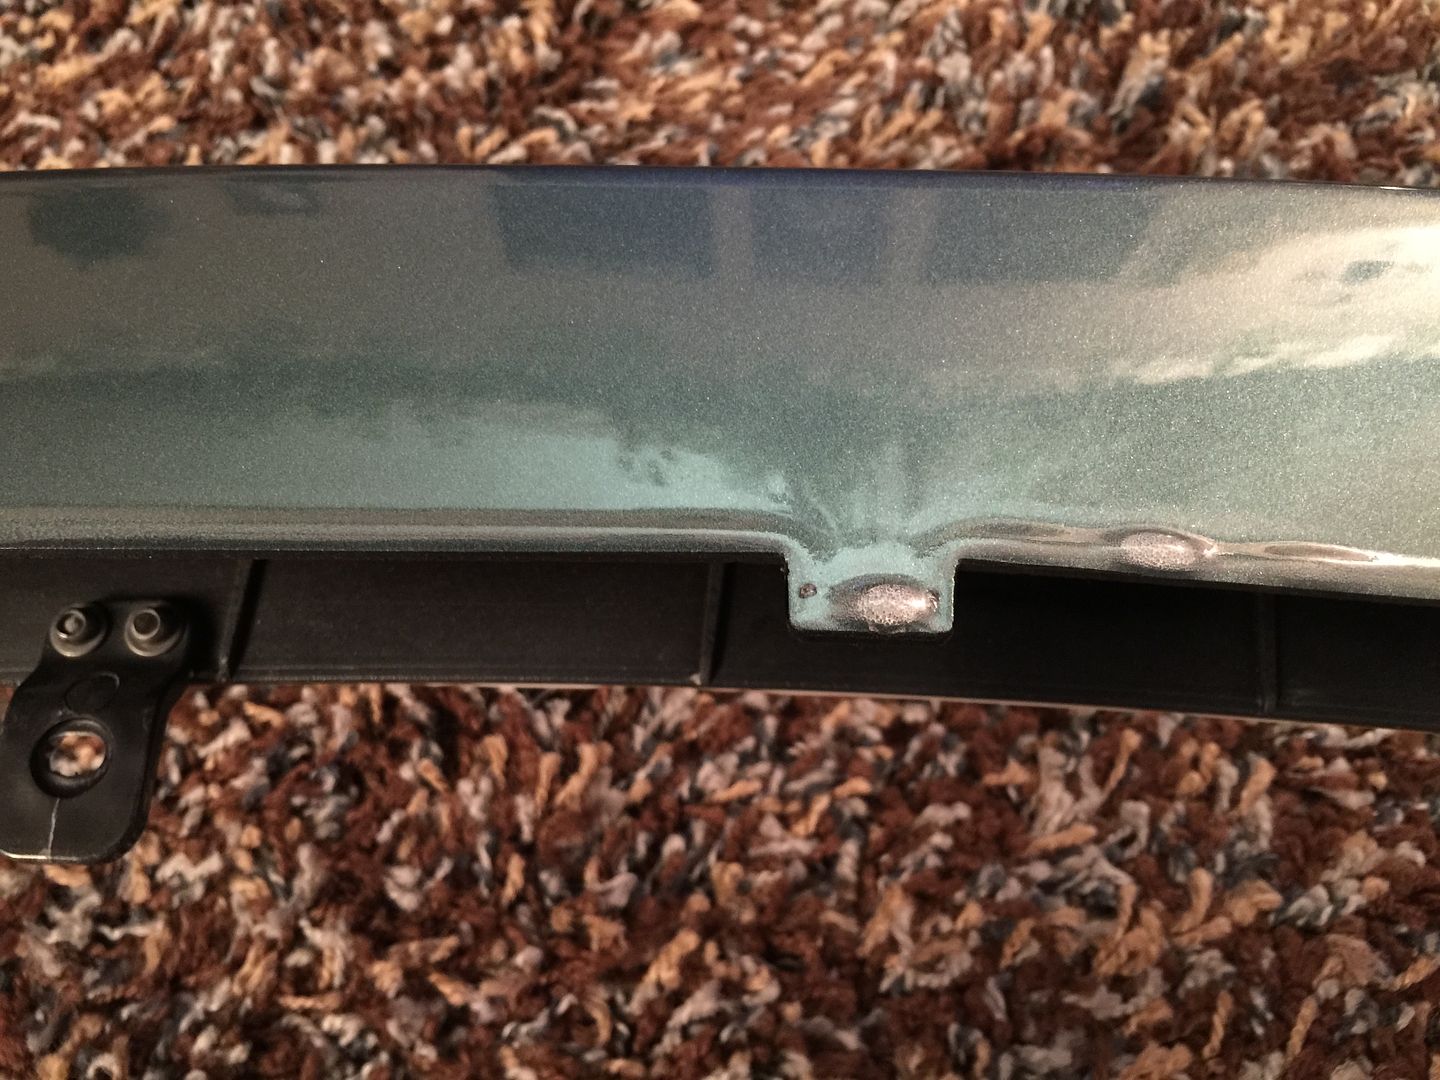
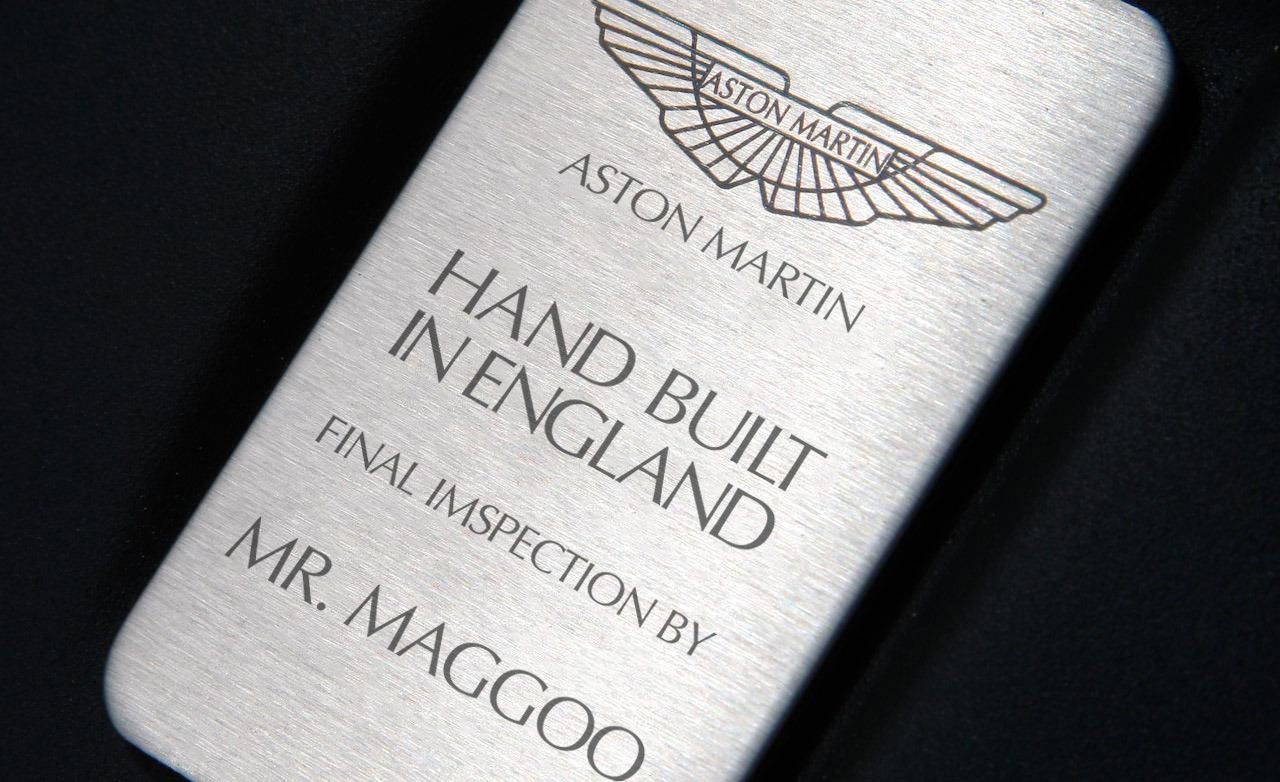
Mr. Maggoo strikes again.
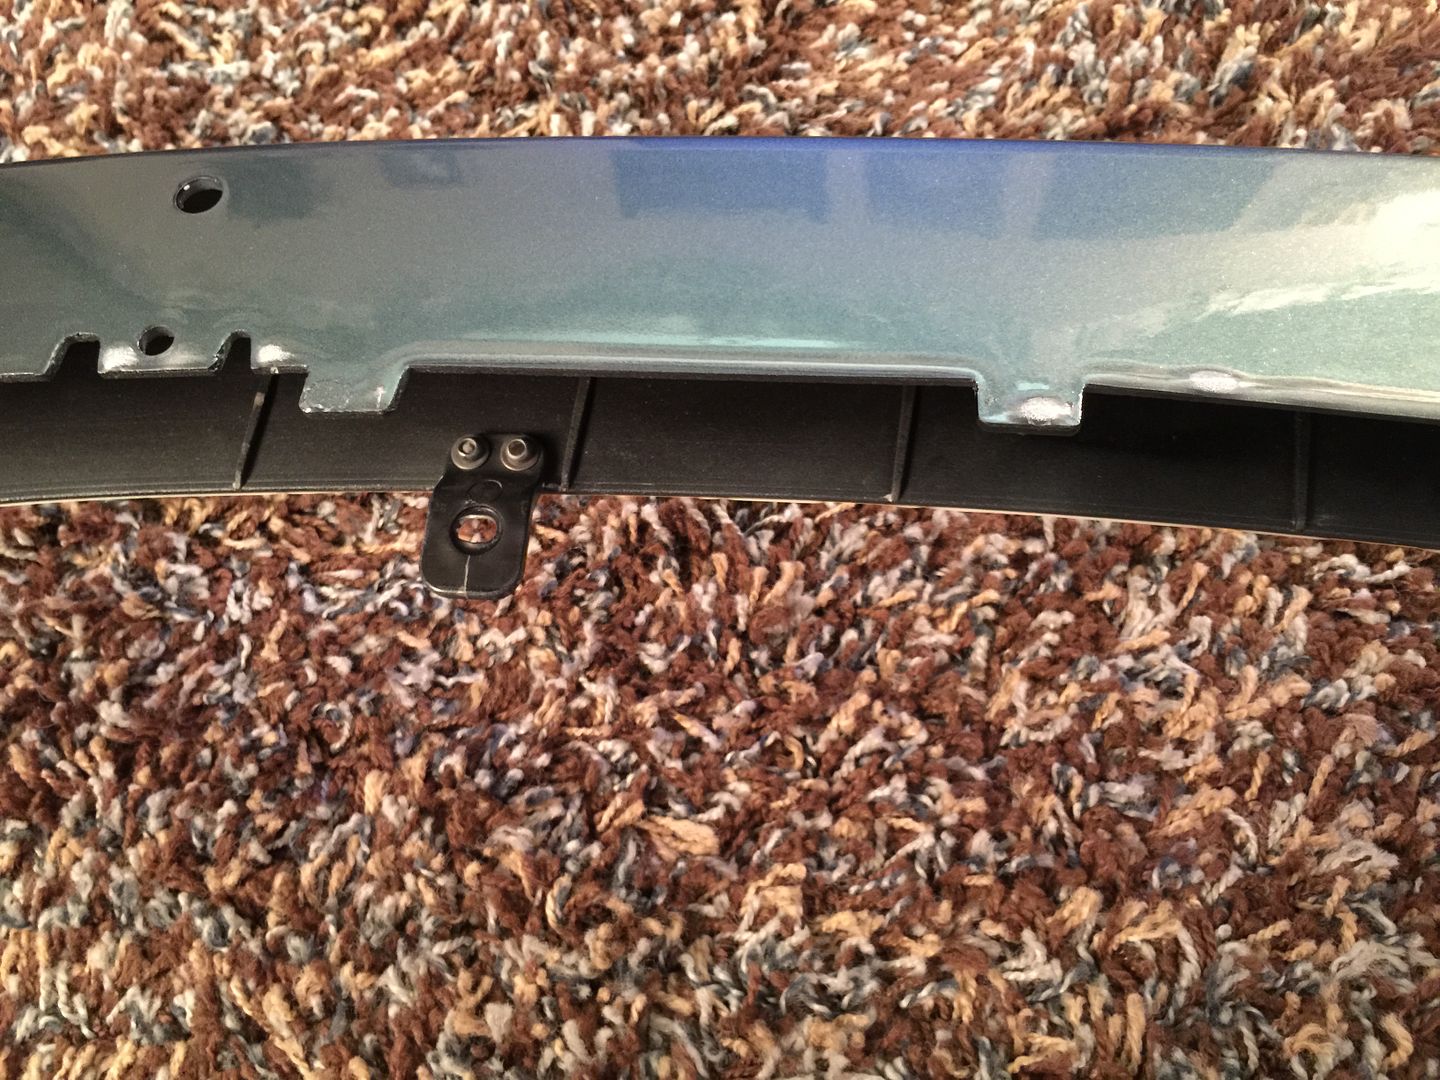
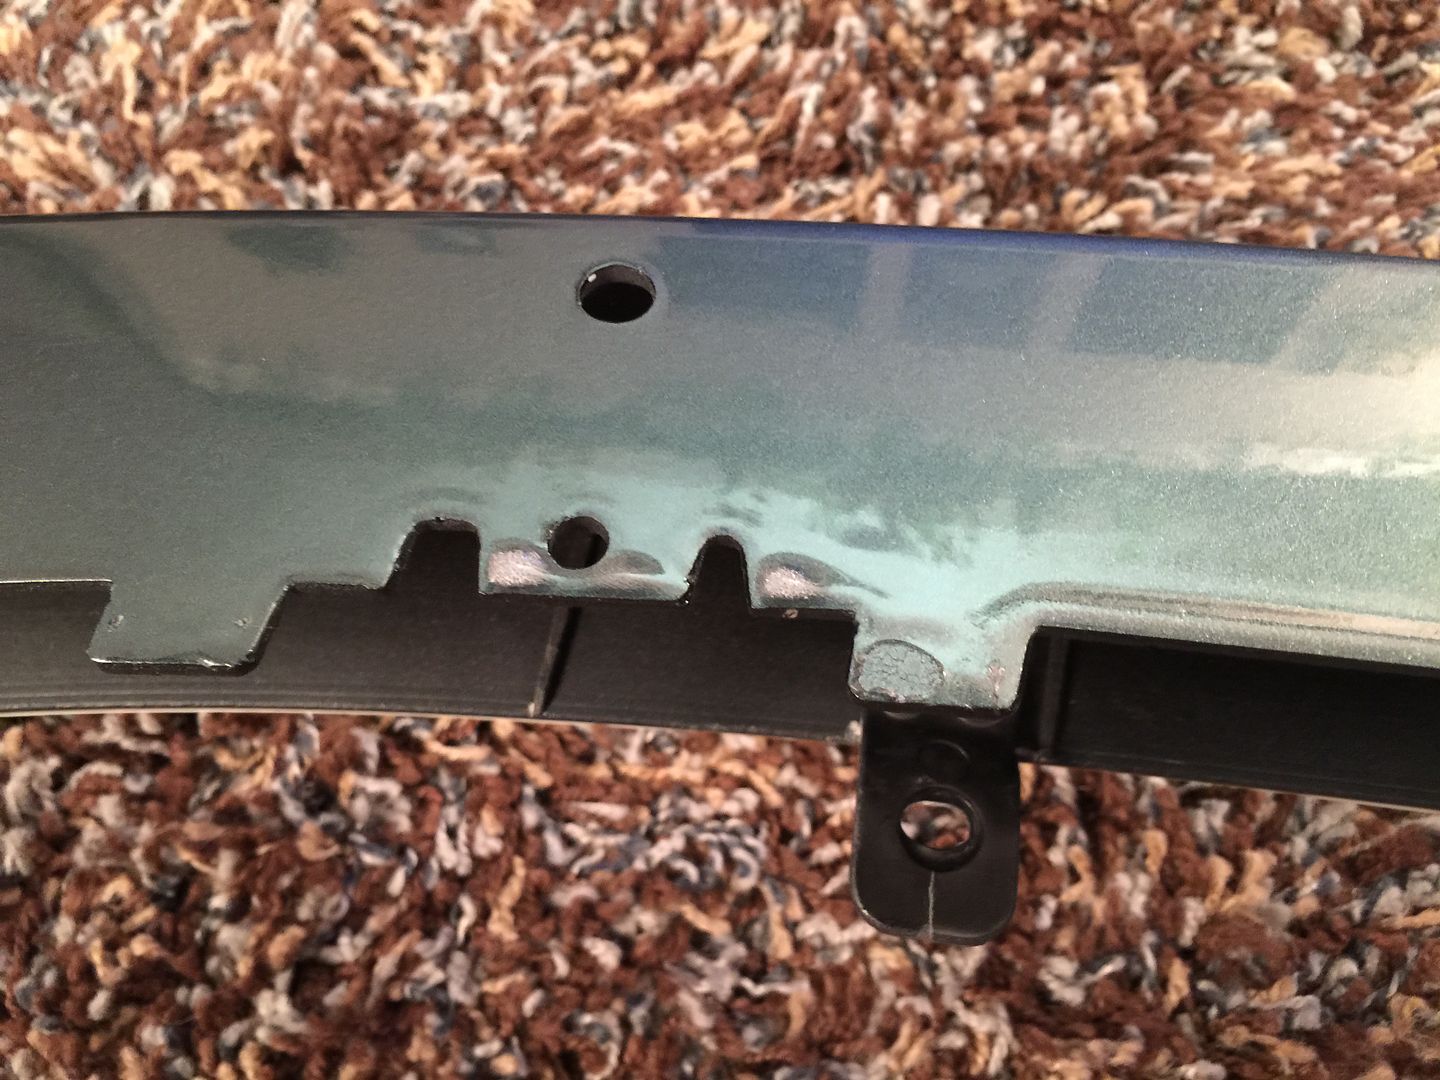
I am still surprised at how some things get past final inspection. These pictures show the underside of the painted are above the front lower grille mesh. As you can see, the clear coat pooled and bubbled in this area. You have to be on the ground looking straight up to even see it and most of the worst of it is actually behind the mesh itself, but somehow I expect more from someone who makes a final inspection.
A few other observations:
I had to take the front and rear bumpers off in order to install the AM carbon fiber splitter and diffuser. I also took the opportunity to install the AM carbon fiber side strakes and a set of compact Italian air horns to replace the standard Ford large sedan-sounding horn with something that sounds more exotic.
I had ordered the parts separately from the dealer earlier so they did not come pre-installed by the factory, but it’s not like I wouldn’t take the challenge to install them myself as I have in the past. The parts are genuine AM OEM (made by CarboTech) so they are beautifully finished and had the center seam in the weave pattern which matches my carbon fiber grille.
(The masking tape on the rear wings is to protect the paint whilst removing the bumper.)
Here is a closer look at the splitter. If you peek through the grille at the right side of the picture you can see the new horn hiding behind. I painted it matte black to make it less noticeable.
Seeing all the people who have issues with curb scratches on the lower surface of the carbon splitter made me paranoid that mine would face such fate. So I built some aluminum skid plate panels that are attached to the lower surface of the splitter to protect it. They are the black metal strips seen in this picture.
While I was at it, I also installed an oil catch can that one of our forum members (telum01) on 6Speed designed. It can be seen connected to the diagonal hose coming from the intake plenum in this picture.
Mr. Maggoo strikes again.
I am still surprised at how some things get past final inspection. These pictures show the underside of the painted are above the front lower grille mesh. As you can see, the clear coat pooled and bubbled in this area. You have to be on the ground looking straight up to even see it and most of the worst of it is actually behind the mesh itself, but somehow I expect more from someone who makes a final inspection.
A few other observations:
- Someone forgot to put a couple of the screws holding the driver side rear wheel well liner in place.
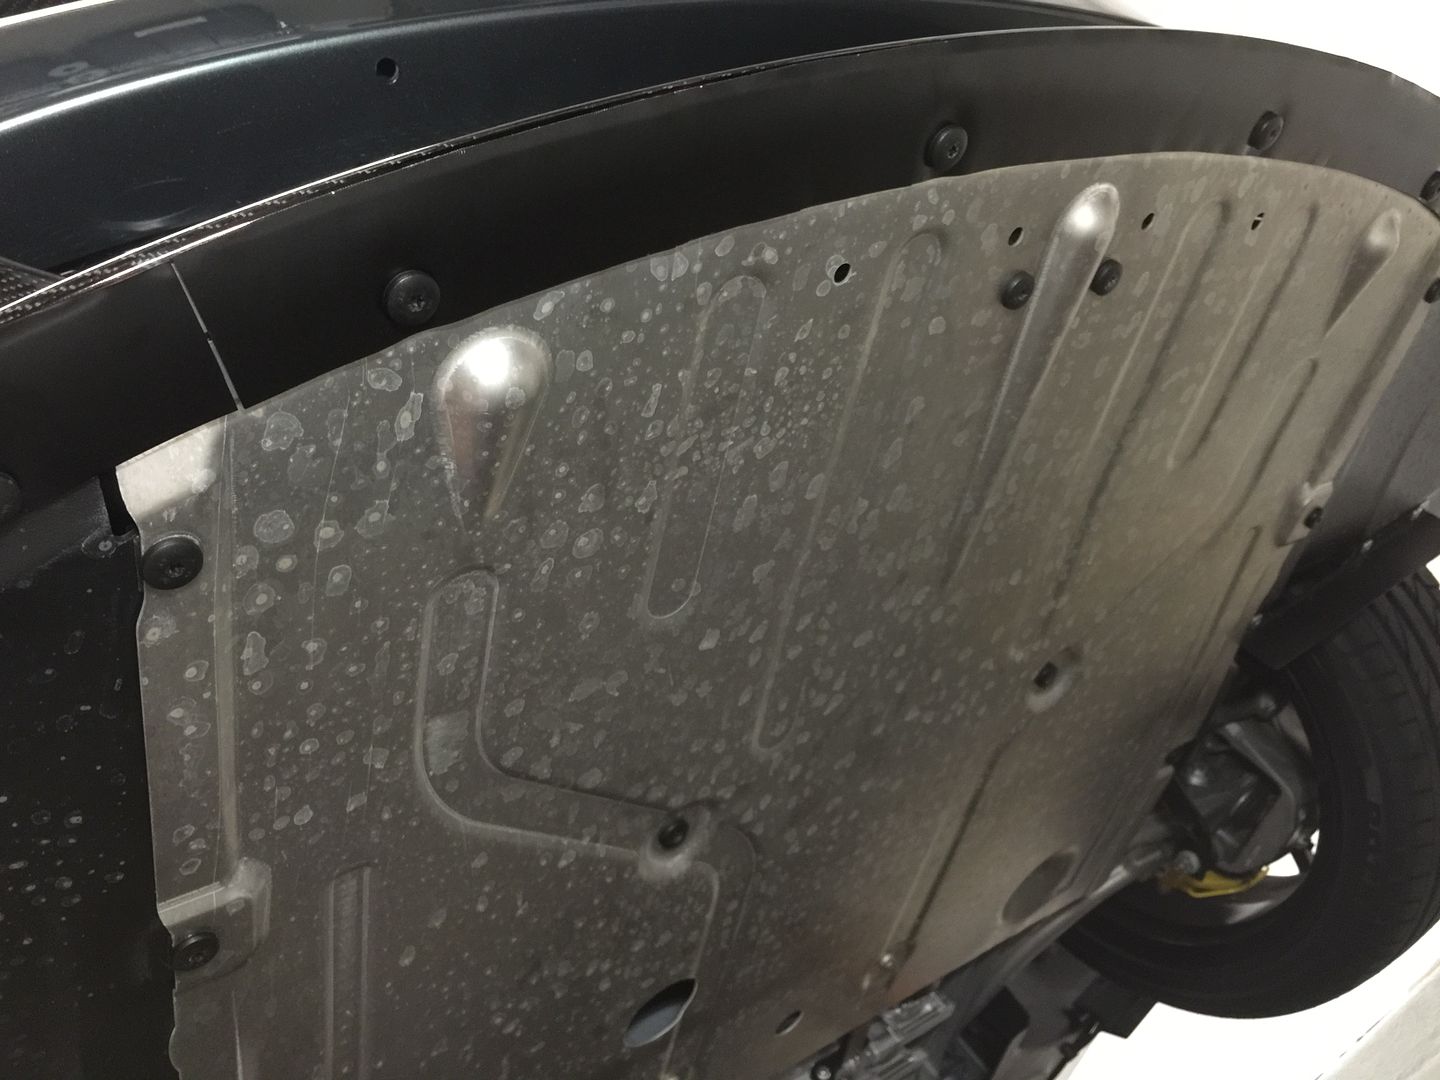
- Whoever re-designed the rear undertray on the newer cars should be shot. It now covers a single screw used to attach the leading edge of each rear wheel well liner. These means you now have to remove the entire (rather large) undertray and the 22 bolts that hold it in place in order to remove that single screw any time you want to access anything that requires a wheel well liner to be removed.
- The sensors on the front and rear suspension that are used for auto-leveling of the HID lights have been deleted. The lamps still cycle up and down when lit, so I don’t know what mechanism is being used to determine when they are level now.
- The bolt in the door frame that holds the trailing edge of the side strakes was changed from a hex head to the standard button TORX head used throughout the car. This makes it extremely more difficult to remove the bolt since clearance is very limited and you run the risk of scratching the paint on the door. I wound up making a specialized tool by cutting the length of a TORX bit to about 1cm in order to make it fit. I replaced the bolt with a standard hex head as was used in earlier models when I installed the carbon strakes to facilitate access in the future. I then used the two spare TORX head bolts to replace the two missing bolts in the wheel liner mentioned earlier.


Neil1300r said:
 Top Work As usual.
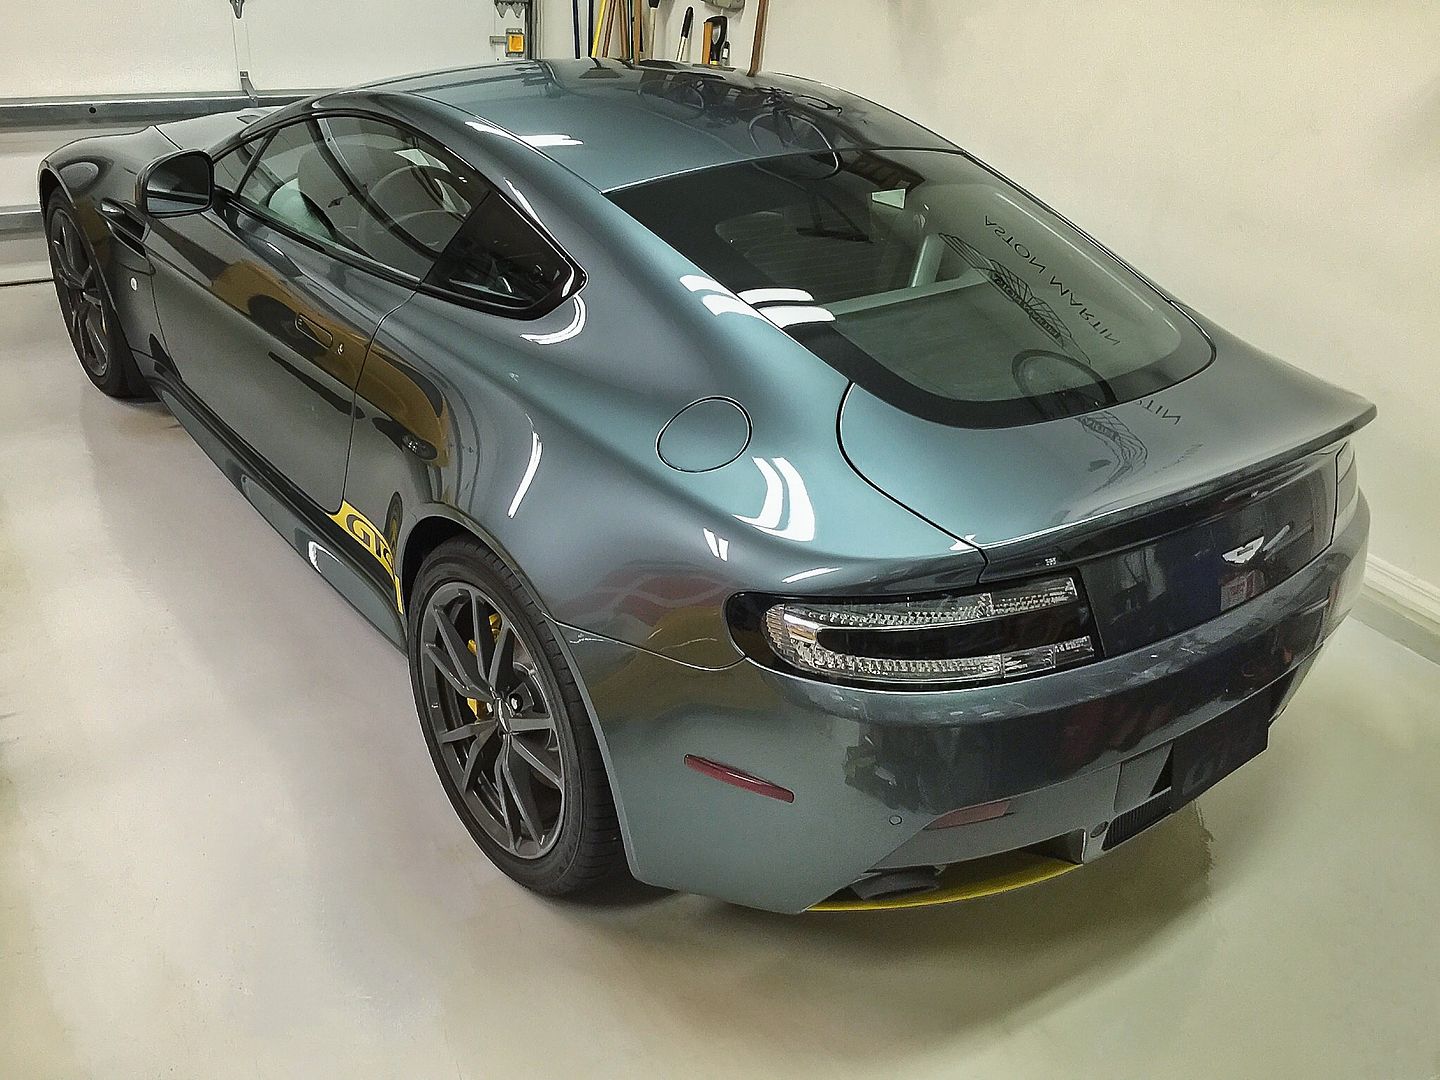
Can we have a decent shot of your rear

I vote you and Danieldenham to take over Q branch!
It was dark when I got done yesterday so I took the pictures in the garage and the darn thing is so shiny that it reflected everything on the workbench behind it. In the meantime, here's this one:
Karl, on the first photo you have an axle stand under the jacking point. How did you do this as there doesn't seem enough room to jack up car with trolley jack and then place stand under same position. Nice cars by the way. I have just got some Porterfield pads for my DB9 from reading your previous posts. Have them fitted on my Ferrari can say no dust.
There is a small clearing in the side sill, about 6 inches aft of where the jacking point is. I place the jack there and lift using a hockey puck that has been carved and shaped to only make contact with the metal frame rail and not the plastic side sill. I can then place the stand on the jacking point, lower the car onto it and remove the jack.
Edited by KarlFranz on Wednesday 8th October 22:27
telum01 said:
Fantastic work as always! I'm kind of surprised that the paint had those issues, since it's done by hand and Aston's paint work is usually top notch (or at least that's what I've been led to believe!)
You need to take a closer look 
"Fast Track" colours are sprayed by robot, only special order and pearls are done manually
The human prep is often the issue
Karl great work as ever!
KarlFranz said:
Mr. Maggoo strikes again.
I am still surprised at how some things get past final inspection. These pictures show the underside of the painted are above the front lower grille mesh. As you can see, the clear coat pooled and bubbled in this area. You have to be on the ground looking straight up to even see it and most of the worst of it is actually behind the mesh itself, but somehow I expect more from someone who makes a final inspection.
If someone does a final inspection, surely the car is fully assembled by that point. So how is he supposed to notice something, that you have only noticed when dis-assembling parts? Are you suggesting when inspecting the car, Aston now dis-assemble the car they have just assembled?I am still surprised at how some things get past final inspection. These pictures show the underside of the painted are above the front lower grille mesh. As you can see, the clear coat pooled and bubbled in this area. You have to be on the ground looking straight up to even see it and most of the worst of it is actually behind the mesh itself, but somehow I expect more from someone who makes a final inspection.
George29 said:
If someone does a final inspection, surely the car is fully assembled by that point. So how is he supposed to notice something, that you have only noticed when dis-assembling parts? Are you suggesting when inspecting the car, Aston now dis-assemble the car they have just assembled?
You must be mistaken, George. The meshes are installed after the car is painted so the paint guy should have caught it first. Then, once the car is assembled, you can still see the clear coat paint runs if you crouch down in front of the car and look up. I first noticed it when I was doing some paint correction to remove some of the sanding marks that were left behind—something that also should have been caught during the final inspection. Edited by KarlFranz on Friday 10th October 06:45
Gassing Station | Aston Martin | Top of Page | What's New | My Stuff