Moto Guzzi Cali Cafe Racer Build thread
Discussion


Thats a V7 Racer, a 750 I think.
I cant do much this weekend on the bike, as I'm waiting on a couple of parts to be machined next week. While I dont want to order any more parts until I know how much the tuning work on my 888 is going to cost, which is also being done this week. So in best Blue Peter fashion I cut out the shape of the reverse cone megas I'm thinking of buying (16 inches long, 3 3/4 wide), just to see how they might look.. I need to decide between high level XR750 style or traditional low level, one either side style????
HIGH
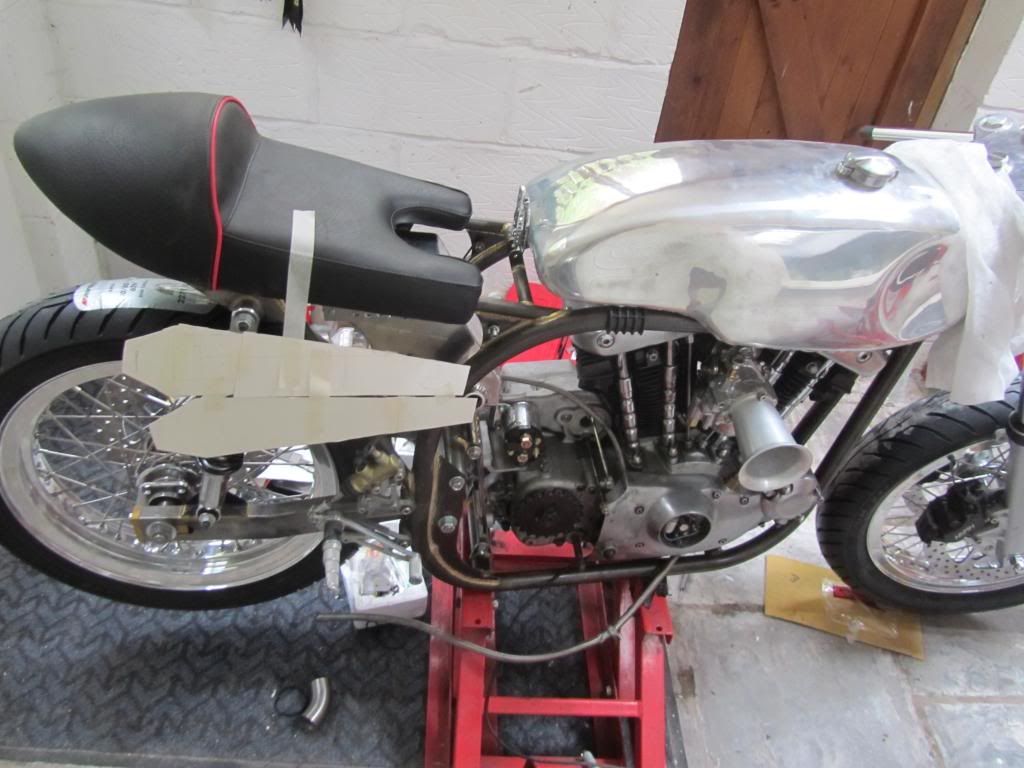
Or LOW


I guess I wont know till I try if the high level option will toast my leg or not. The good news is that the megas I'm thinking of getting arent handed, so they could be used for both options. When my 888 is back home and the work paid for, I'll order the megas and a few more parts such as a headlamp from the same place.

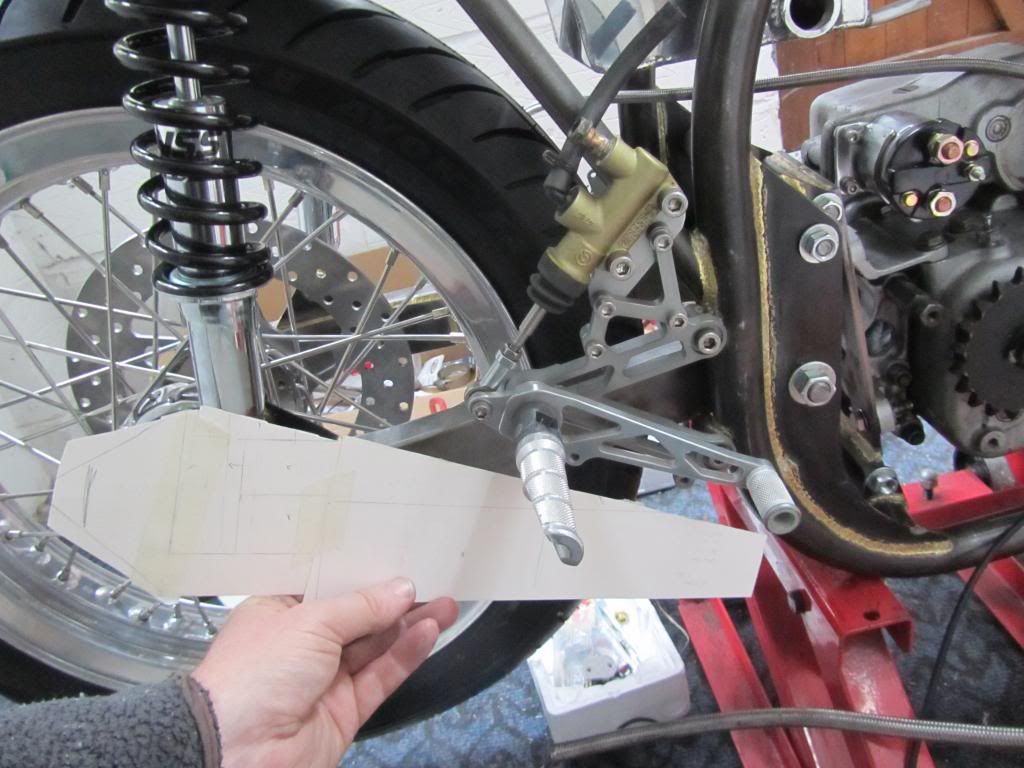
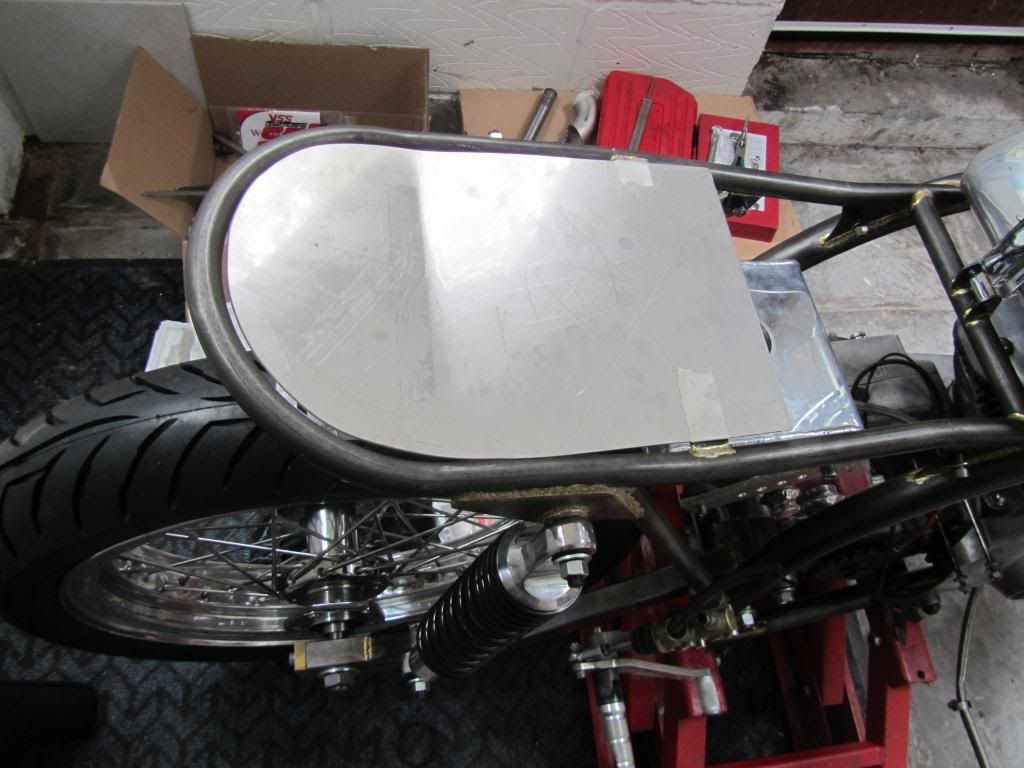
One easy job was to make an undertray to sit beneath the seat hump, as thats where most of the electrics will be going. So in best Blue Peter style, I cut up a cereal box to make a simple template..
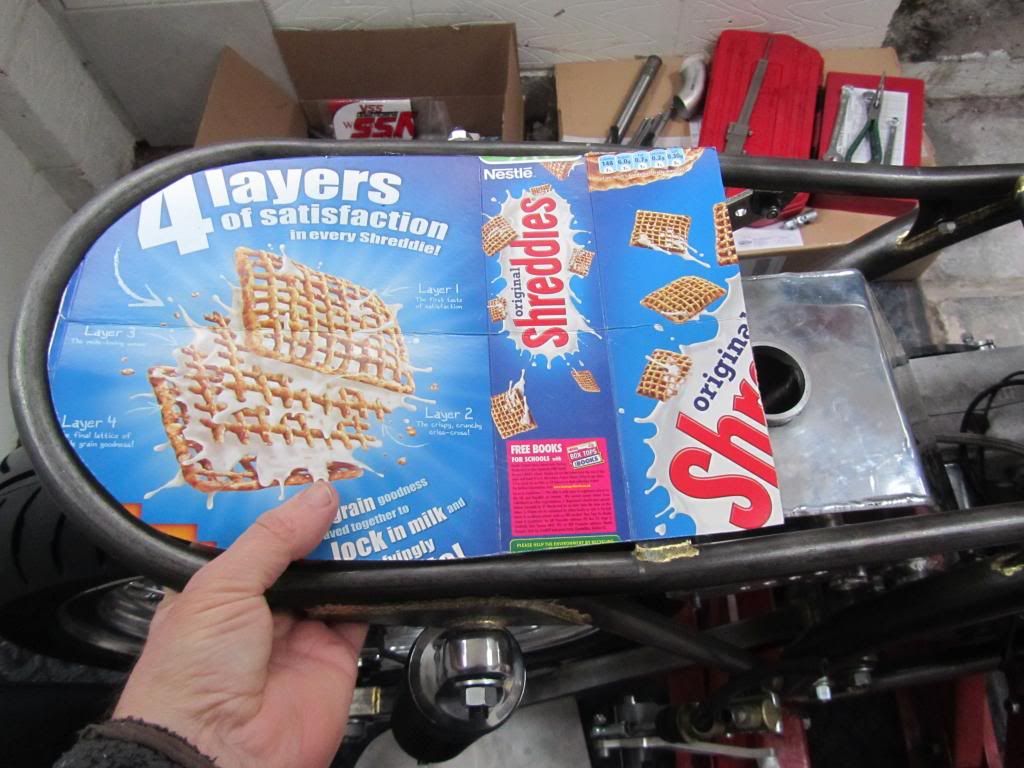
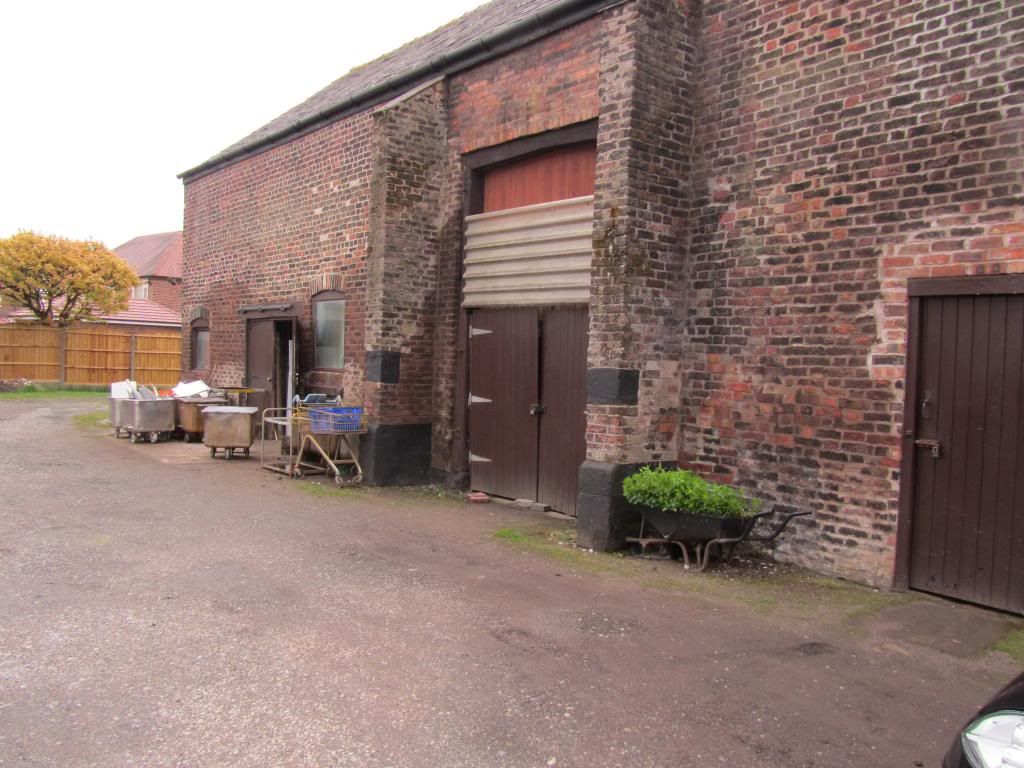
I made it longer than expected, so I can use it to mount the seat a little further forward if needed, I can always cut it back a little to look neater. Then to save myself a lot of hassle, I went over to a local fabrication workshop (best welder in town) who is happy to make stuff for me for a few quid cash in hand. When he isnt on site working at places like Kellogs and Heinz, he works out of a small place in an old converted barn..
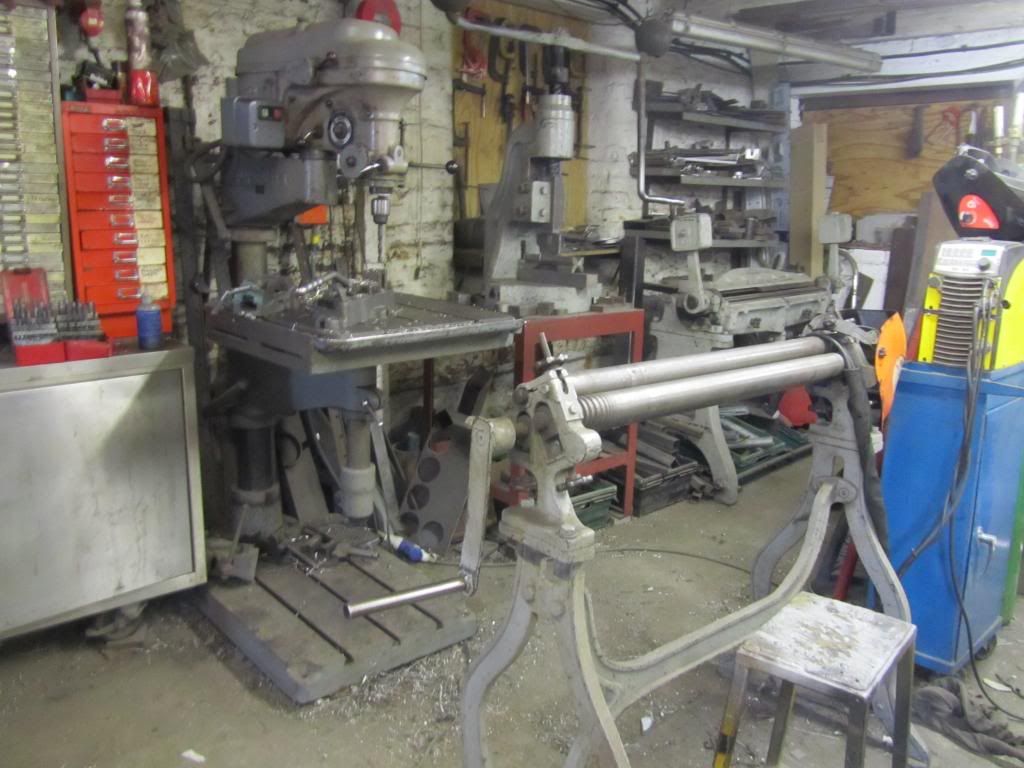
Where he soon made me the tray in 1.5mm stainless plate, all I had to do was bend it slightly to follow the lines of the seat loop when I got home. Just need to drill a few mounting holes and sort out some kind of P clips to support it at the back. I dont want to weld any tabs onto this frame, its too nice to mess up.

I made it longer than expected, so I can use it to mount the seat a little further forward if needed, I can always cut it back a little to look neater. Then to save myself a lot of hassle, I went over to a local fabrication workshop (best welder in town) who is happy to make stuff for me for a few quid cash in hand. When he isnt on site working at places like Kellogs and Heinz, he works out of a small place in an old converted barn..


Where he soon made me the tray in 1.5mm stainless plate, all I had to do was bend it slightly to follow the lines of the seat loop when I got home. Just need to drill a few mounting holes and sort out some kind of P clips to support it at the back. I dont want to weld any tabs onto this frame, its too nice to mess up.

Edited by Merch131 on Friday 24th May 16:17
For some reason i really think one high and one low if done properly could look the b ks on that. The routing and quality of the downpipes and the angle of the silencers would be critical to looking any good though.
The low ones would be much easier to get done and look right first time.
ks on that. The routing and quality of the downpipes and the angle of the silencers would be critical to looking any good though.The low ones would be much easier to get done and look right first time.
Edited by Yazza54 on Monday 20th May 23:29
I dont do 'easy' lol.. there are lots of different options, apart from making sure the headers are the correct length, pretty much anything is possible. I need to sit down with a pencil and paper and sketch a few designs. The exhaust will probably be the last big job I do on the bike, so got a few weeks yet to think about it.
Merch131 said:
That would certainly be a lot easier to do, but that style isnt for me
Furry muff. My ironhead will be shipping on the 6th of June. I'll be going for a Japanese Brat Style with thick tyres and stripped of everything I don't need. Plus I want to use the webber as the carby is s
t. Anyway, crack on.
dmulally said:
Furry muff.
My ironhead will be shipping on the 6th of June. I'll be going for a Japanese Brat Style with thick tyres and stripped of everything I don't need. Plus I want to use the webber as the carby is st.
Anyway, crack on.
That would suite the Brat style better than my CR. I would add that when I first built my Merch 131, it had 16 x 160 front tyre and a 16x200 rear tyre, which looked great. The handling wasnt too bad, bit heavy and ponderous at slow speeds, but the faster you go the worse it gets. The worst part of having a phat front tyre is braking into a turn, the bike wants to stand up, and it became a fight to keep the damn thing on the road. Wasnt long before I swapped to std sportsbike 17inch wheel/tyre sizes.. not as hip maybe but a 1000 times better to ride. My ironhead will be shipping on the 6th of June. I'll be going for a Japanese Brat Style with thick tyres and stripped of everything I don't need. Plus I want to use the webber as the carby is s
t. Anyway, crack on.
Merch131 said:
That would suite the Brat style better than my CR. I would add that when I first built my Merch 131, it had 16 x 160 front tyre and a 16x200 rear tyre, which looked great. The handling wasnt too bad, bit heavy and ponderous at slow speeds, but the faster you go the worse it gets. The worst part of having a phat front tyre is braking into a turn, the bike wants to stand up, and it became a fight to keep the damn thing on the road. Wasnt long before I swapped to std sportsbike 17inch wheel/tyre sizes.. not as hip maybe but a 1000 times better to ride.
Thanks for the heads up. I'll have to see what actually fits and then take it from there. I just swapped away my CJ750 complete with jockey shift so anything has to be better than that old thing. The missus is nagging about a sidecar too but I'll see what happens. I sat down the other evening and listed all the jobs and parts I still needed to finish the bike.. it came to 3 pages of A4 .. oh well, best keep going then.
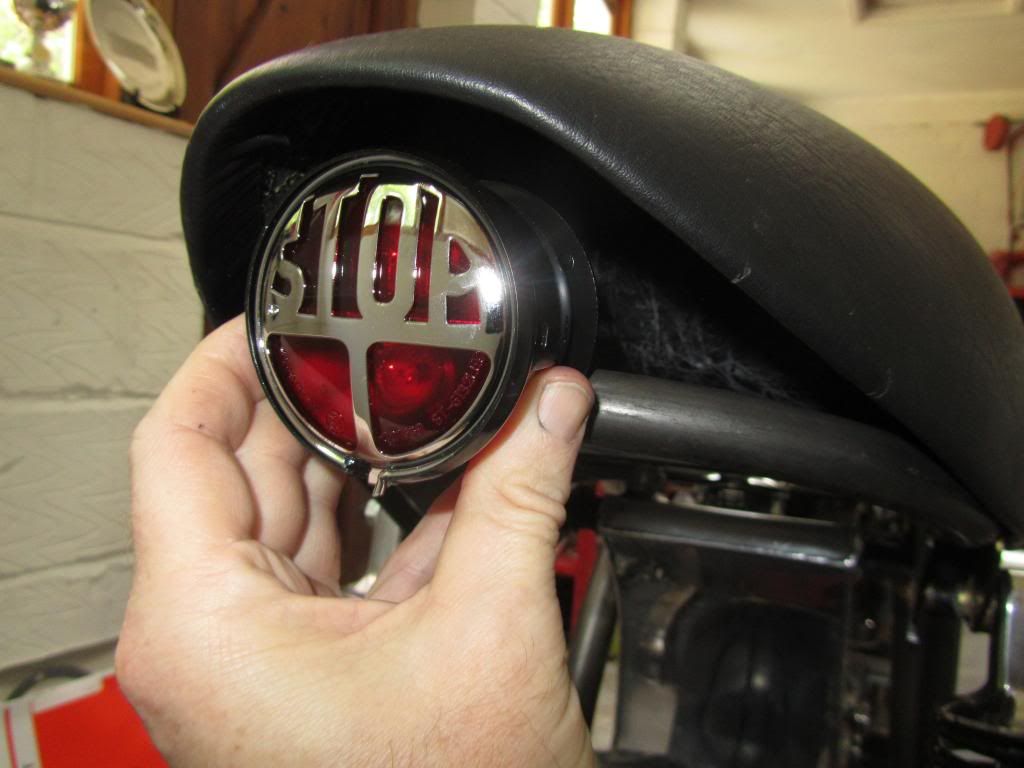
I ordered a few more parts this week, headlamp, ignition barrel, tail light etc. The tail light arrived today, a bit of a cliche perhaps, but I like it. Need to make a mount for it now and for the number plate too.. Ill add it to the list.
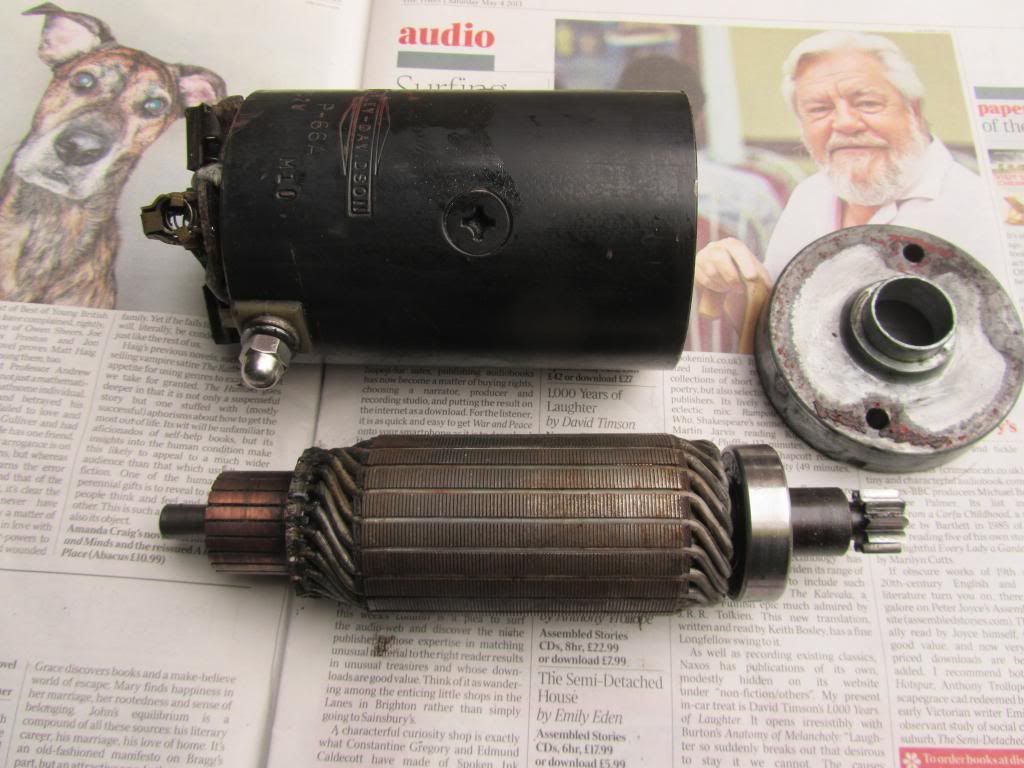
I've also taken the starter apart, painted the case and polished the alloy end cap which sits against the engine case. Putting it back together wasnt so easy, keeping all the spings and bushes in place is very fiddly. The ridged end cap normally has a chrome cover, which wont look right on the bike, so I intend to make a billet one instead.. I'll add it to the list..
When I refitted the starter motor, it needed a new gasket, not a problem as I'd bought a full gasket set ages ago. One of the best things about older Harleys is the availablity and cost of spares, the full gasket kit cost me about £50, and it arrived within two days of making the order. Its a quality product, not a cheap Chinese knockoff, not bad for an engine that went out of production nearly 30 years ago.


That dog on the left doesn't look too impressed with your starter!
Agreed with your thoughts on the prices of older "Harley" spares - when I started playing around with late model Japanese stuff I was appalled at the price of bits.
Another vote for low pipes here - can't see this style of bike with high pipes and definitely not high level either side... other than that carry on it's looking great.
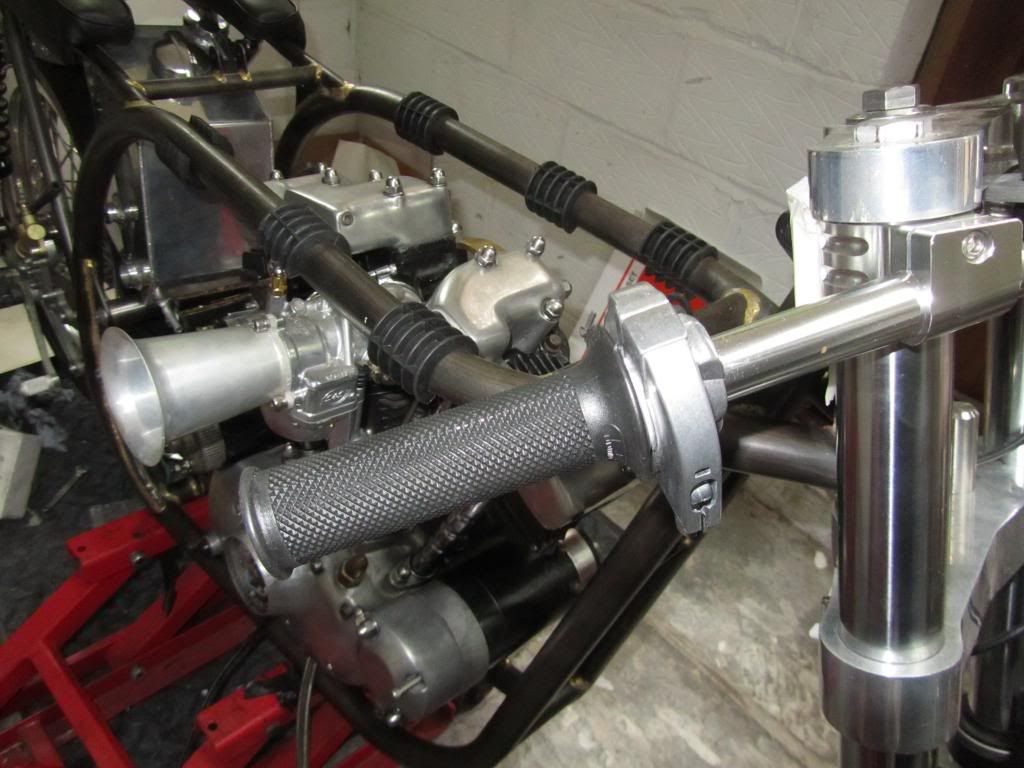
A couple more tasks ticked off the endless 'to-do' list.. First fitted a Tomaselli throttle and grips, it will need a one off cable to work with the S&S carb, that can wait for now..
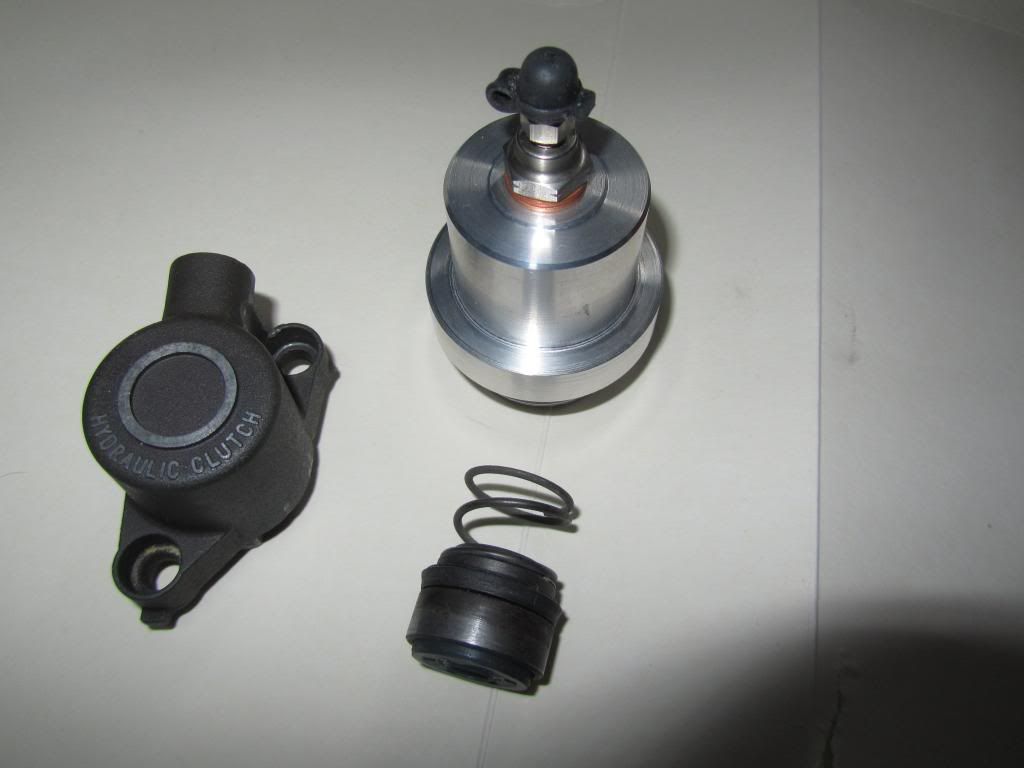
Next the hydraulic clutch conversion is going ok, had to use a Banjo bolt with a built in bleed nibble for the slave cylinder. It sticks out a fair bit from the case and looks as if it'll need some kind of protection in case its gets knocked or the bike falls over (fingers crossed it never will). I need to work out how long a new clutch rod needs to be to work with the slave cylinder.. another item on the to do list..
Old Bembo slave cyinder on the left, we used its piston and seal in the new one..
The one off slave replaces the clutch inspection cap in the Primary cover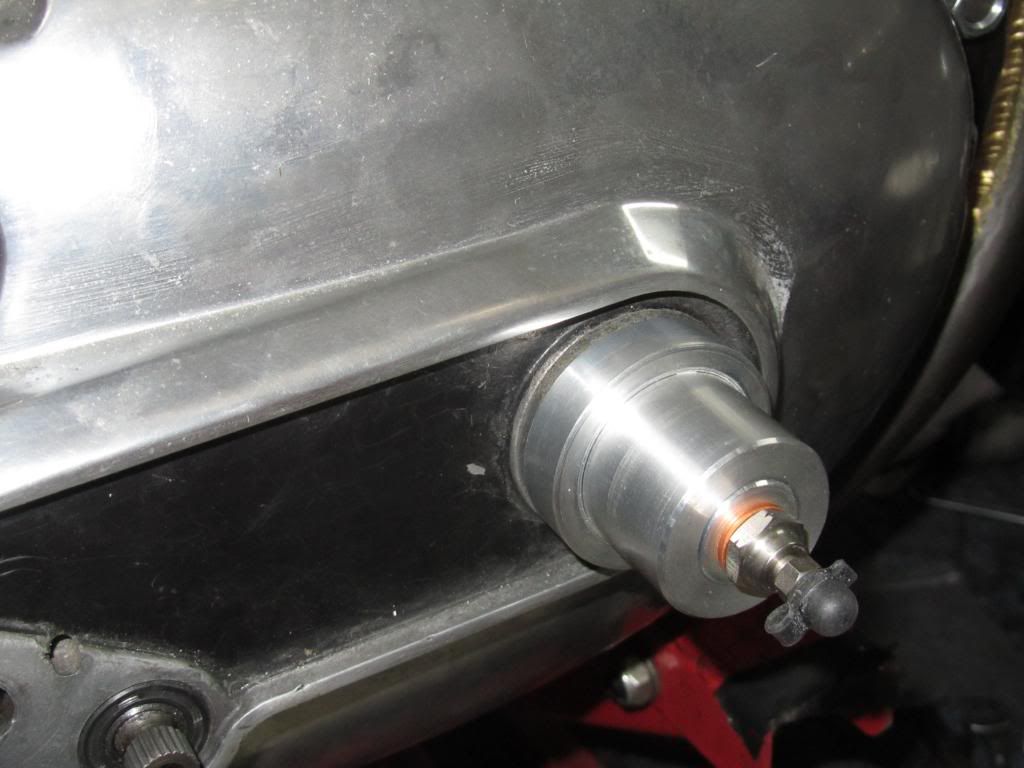
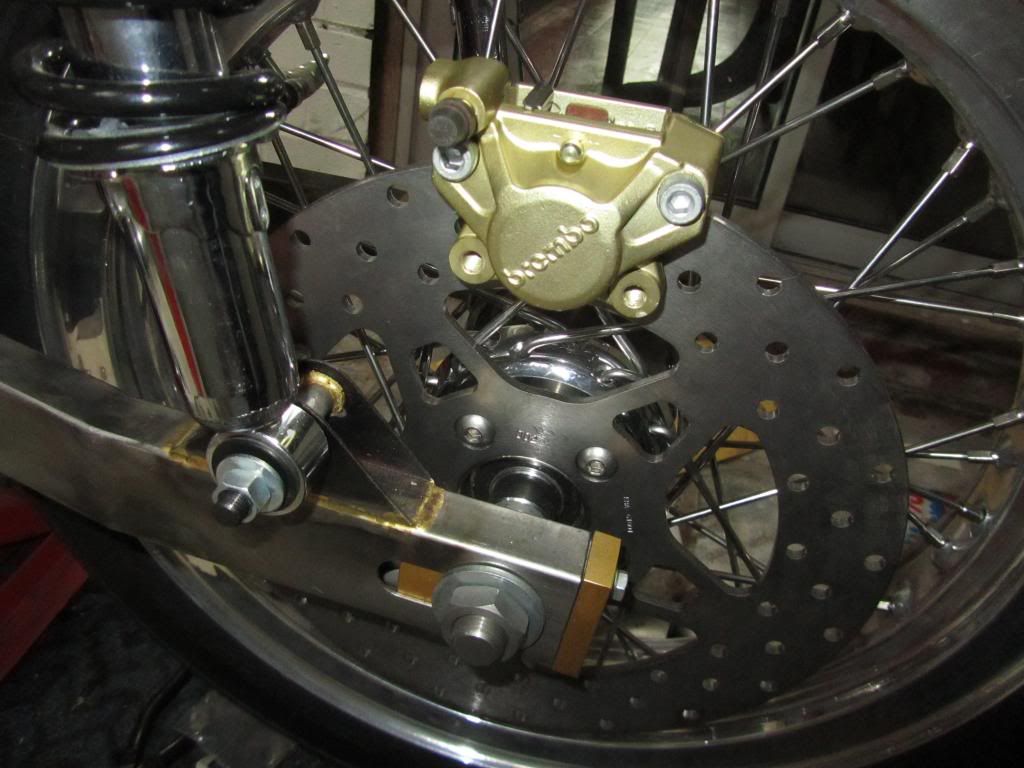
Finally, I tried a few calipers I had, all Brembos, a couple from a 916 and one from a CB500. None really worked how I wanted, so I ended up buying a new rear caliper at a very good price. I'll take the swingarm and wheel to my mates workshop later this week and make the wheel spacers and a caliper mount. It means the bike will have two black front calipers and a gold rear, which bothered me a little, till I noticed that a BMW 1000RR has gold front Brembos and sa black rear, so if its good enough for BMW its ok for me..
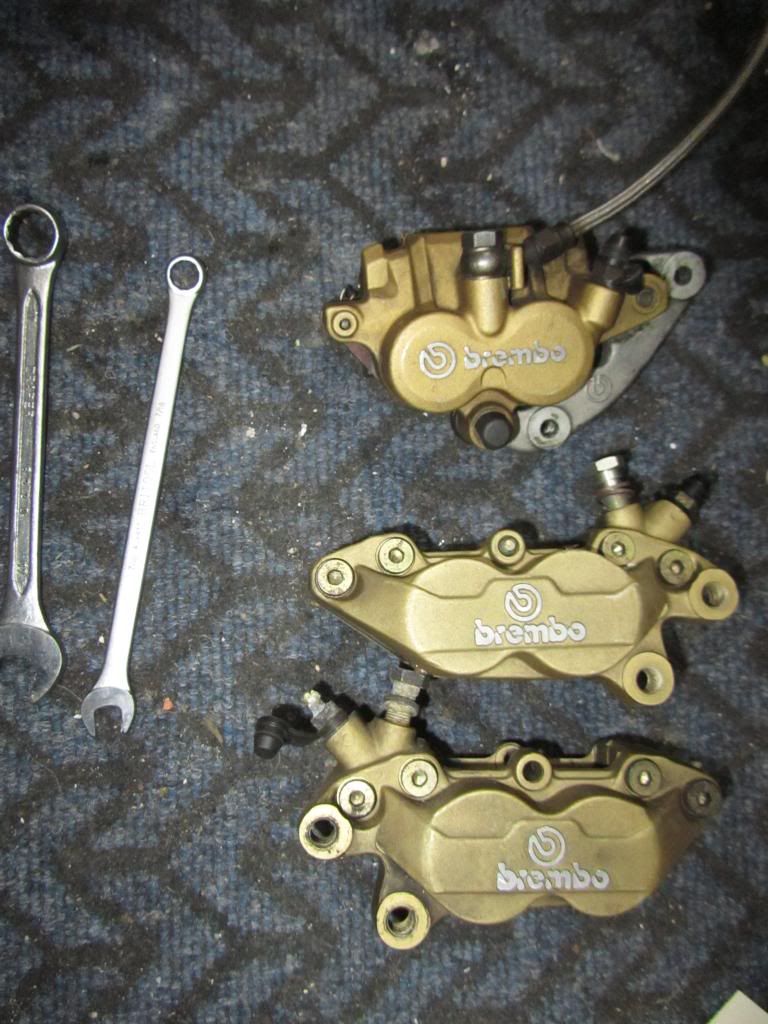
Shiny new caliper.. need to make a mount, torque arm and wheel spacers next..

Next the hydraulic clutch conversion is going ok, had to use a Banjo bolt with a built in bleed nibble for the slave cylinder. It sticks out a fair bit from the case and looks as if it'll need some kind of protection in case its gets knocked or the bike falls over (fingers crossed it never will). I need to work out how long a new clutch rod needs to be to work with the slave cylinder.. another item on the to do list..
Old Bembo slave cyinder on the left, we used its piston and seal in the new one..

The one off slave replaces the clutch inspection cap in the Primary cover

Finally, I tried a few calipers I had, all Brembos, a couple from a 916 and one from a CB500. None really worked how I wanted, so I ended up buying a new rear caliper at a very good price. I'll take the swingarm and wheel to my mates workshop later this week and make the wheel spacers and a caliper mount. It means the bike will have two black front calipers and a gold rear, which bothered me a little, till I noticed that a BMW 1000RR has gold front Brembos and sa black rear, so if its good enough for BMW its ok for me..

Shiny new caliper.. need to make a mount, torque arm and wheel spacers next..

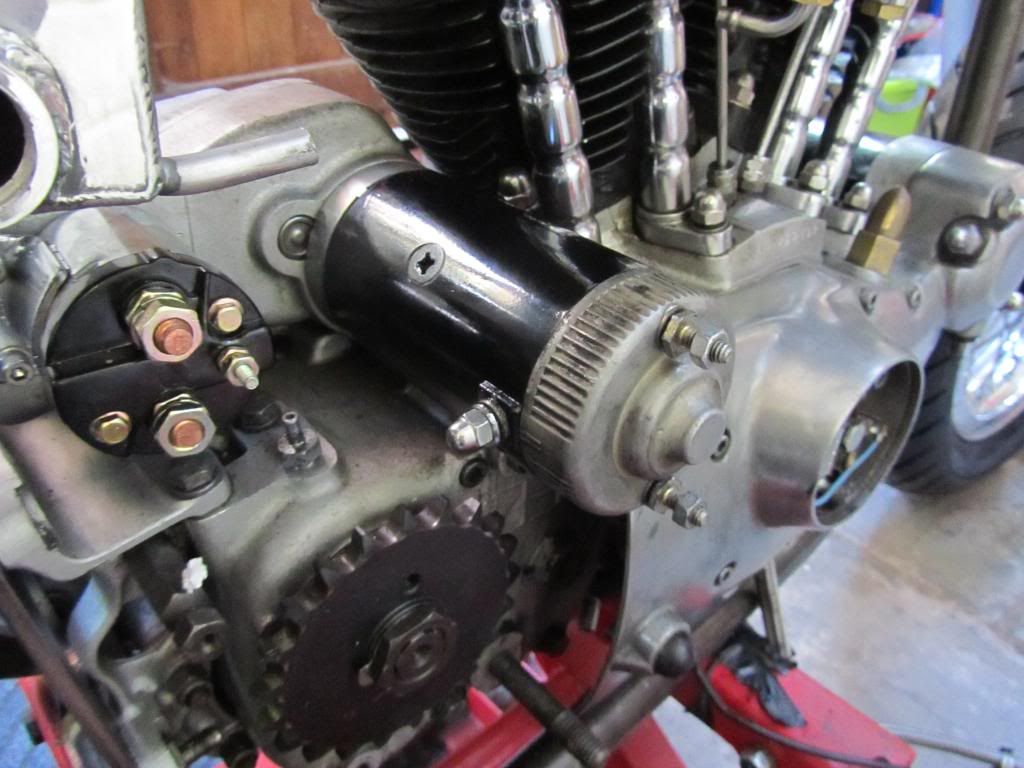
A little more progress today, first I replaced the generator end cover with an aftermarket one which is also a rectifier. This cleans up the wiring and looks a bit better I think..
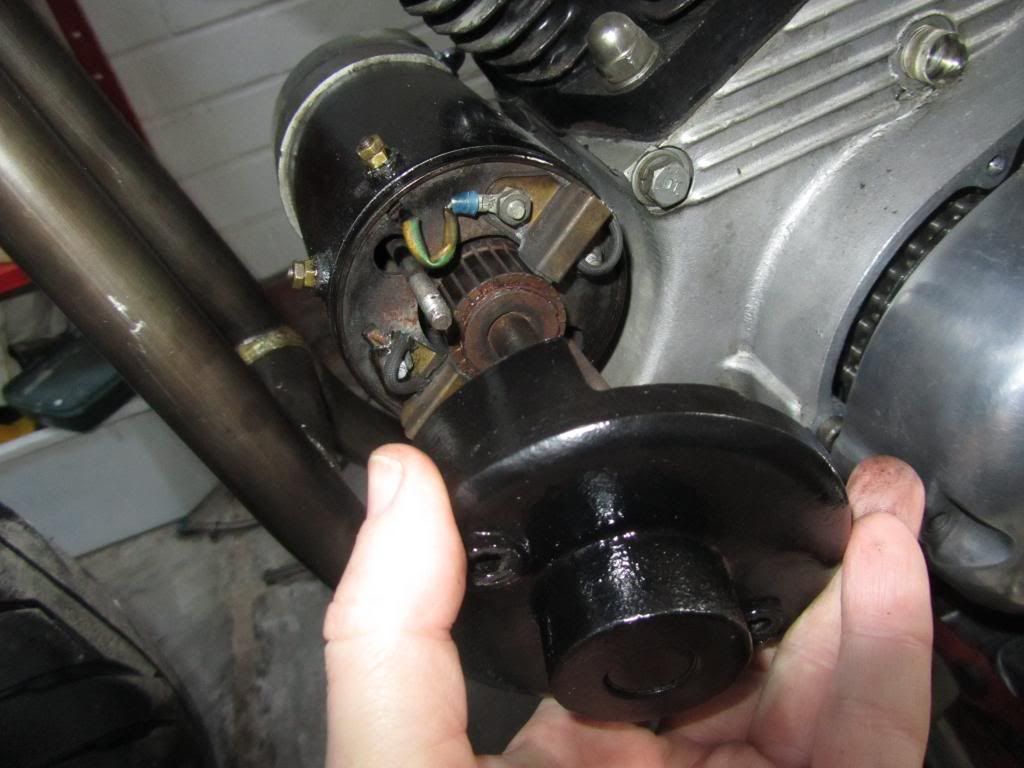
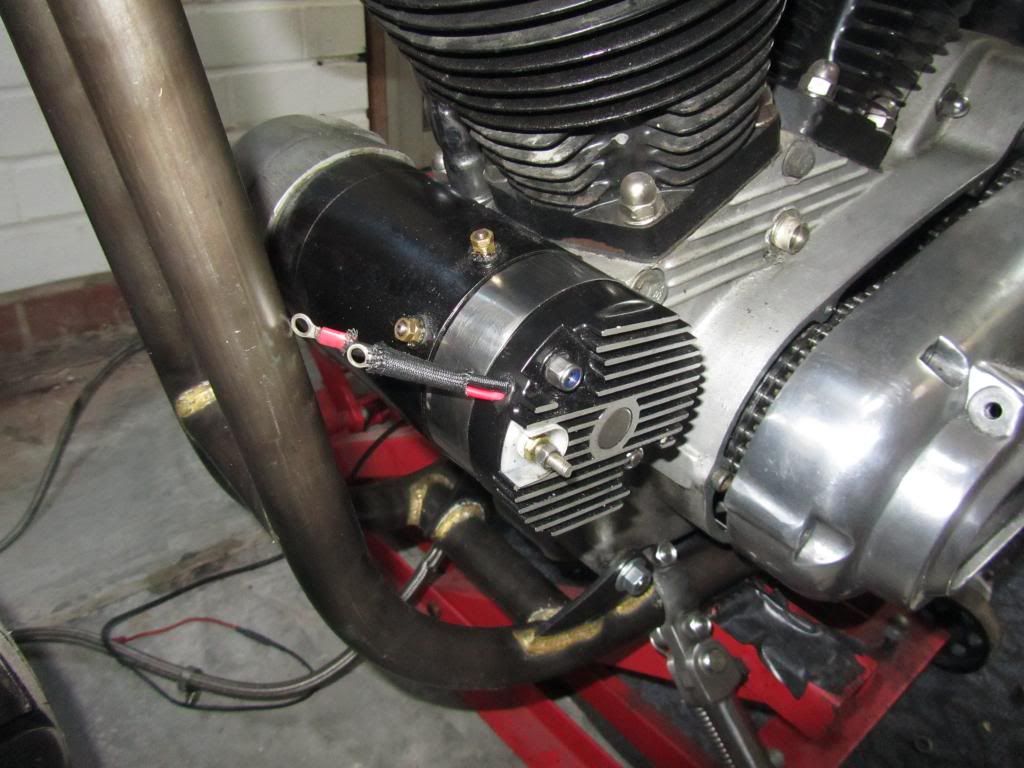
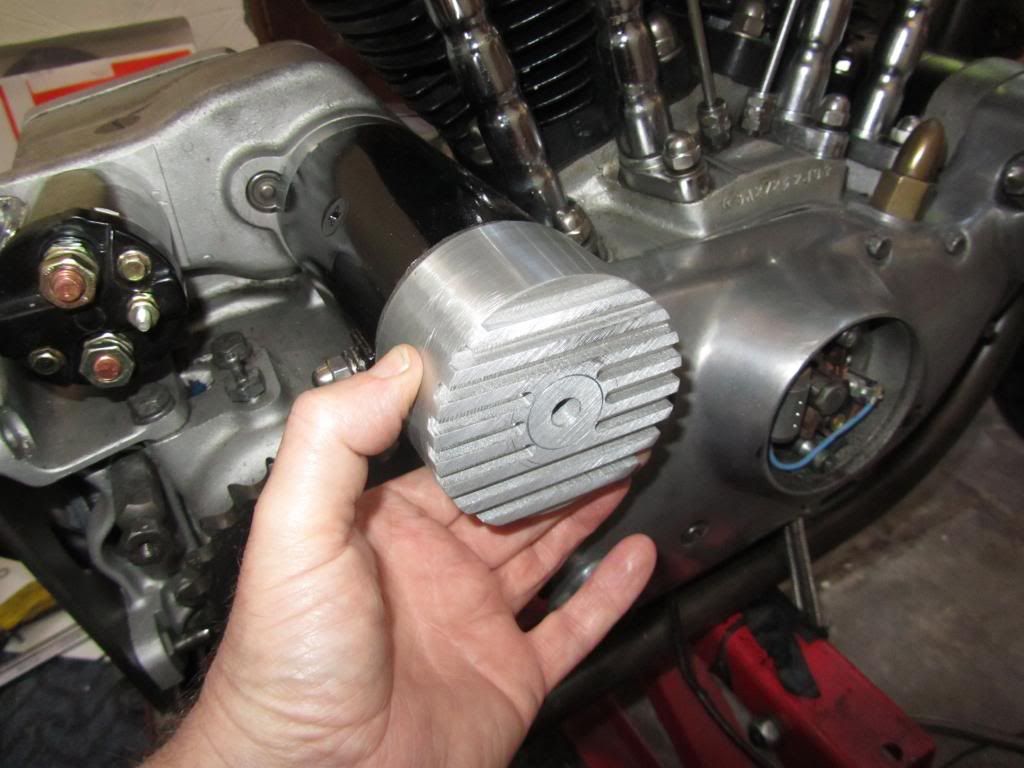
I didn't like the chrome covers that normally get fitted to the end of the generator and starter motor, so with the former sorted, we made a billet cover for the starter which mimics to style of the new generator cover. Not sure if I'll paint it black with the fins highlighted, or just leave it as is..
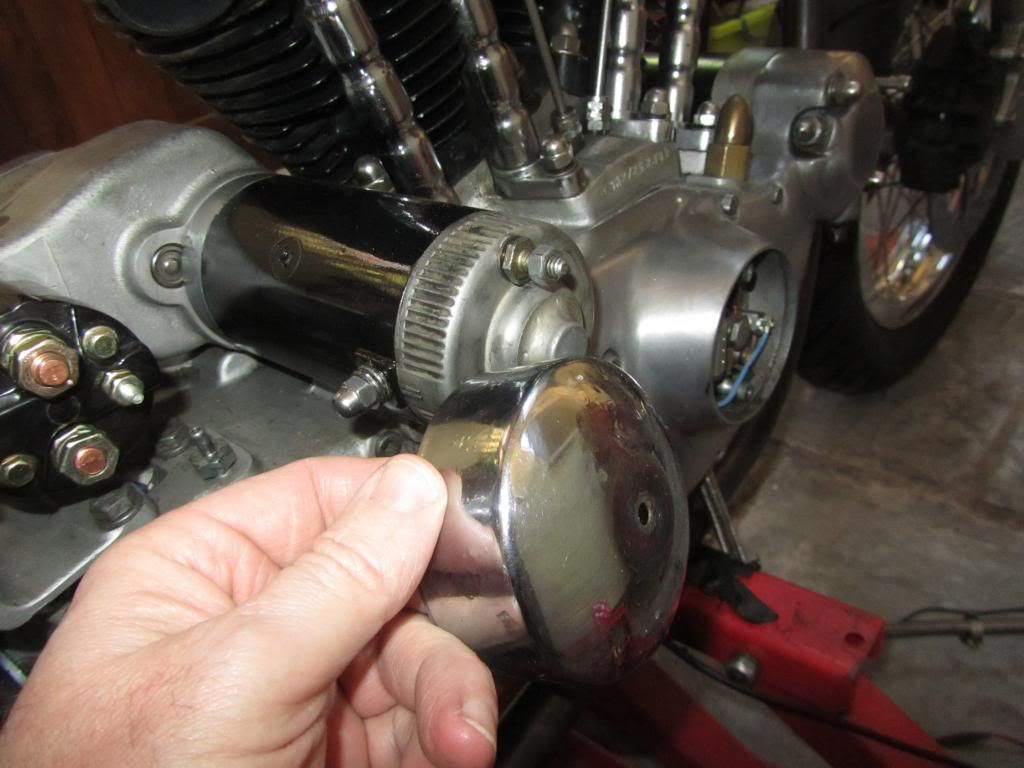
Just need to make a new mount to sit it a little further over the starter..


Gassing Station | Biker Banter | Top of Page | What's New | My Stuff