Moto Guzzi Cali Cafe Racer Build thread
Discussion


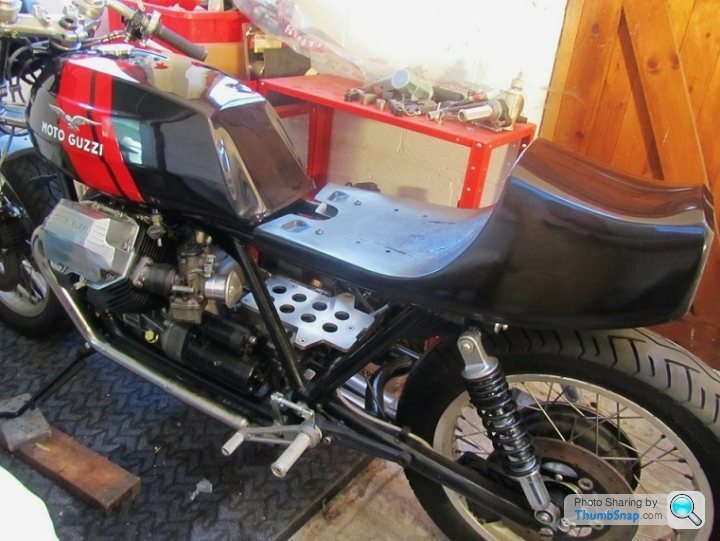
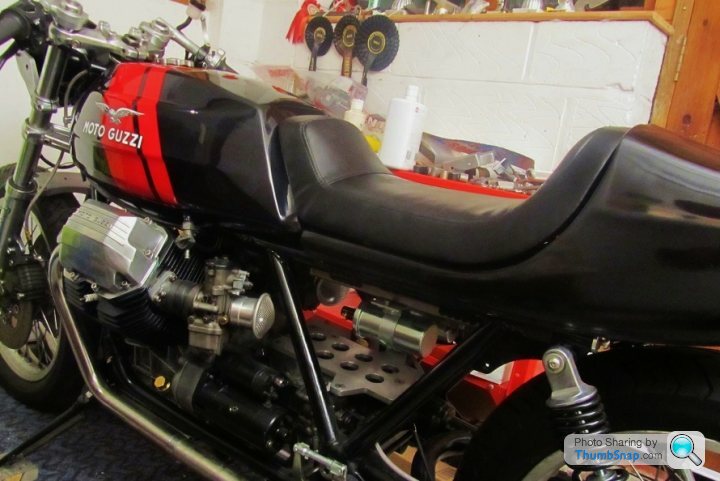
The hole in the seat unit has been fibreglassed over, it looks a bit rough and ready, but I tell myself no one but me will see it, as the seat will hide it from view. Then I rattle can sprayed and lacquered it, looks ok and the metallic black is a good match for the tank, turned out to be a Vauxhaul colour. It still needs more work cutting back and polishing, which I'll do in a few days when the lacquer has hardened.
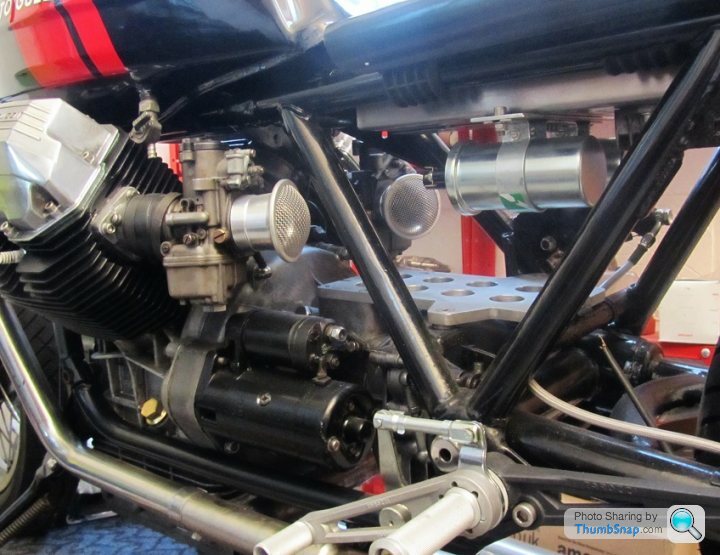
Next the replacement Lucas coils needed a home - one of the originals was cracked, so Lucas coils were bought as a much cheaper replacement. I mounted them on a simple alloy bracket bolted to the underside of the electrics box.
I cant finish mounting the seat unit until the seat comes back from being upholstered, no idea how long that will be, probably have to wait until early Jan. I still need to find a rear light which will look the part, some kind of square-ish LED lamp would be ideal.
Megaflow said:
Looks good. What have you done with the monster battery Moto Guzzi use
I intend to use a much smaller Lithium battery, probably a Ballistic, as the last Shorai I bought didn't last long. The Ballistic I have on my Ironhead turns it over no problem, which is a similar pushrod 1000cc v twin. As for location, guess there are three options .. 1) Under the gearbox 2) On top of the gearbox or 3) in the seat hump. I'll probably go for no 3, as it will keep the wiring tidy and mostly out of view. The cheap frame powder coating I had done a couple of years ago, was a mistake, should've used Triple S. Despite the bike not seeing the road yet, corrosion is breaking through all over the frame...
There's nothing that can be done, except strip the bike down and have the frame powder coated correctly. Surprisingly I'm not too bothered about this, as it gives me the excuse to revisit areas I wasn't too happy about and to make improvements here and there.
I made a start today stripping the bike down, got most of the work done, just need some help to lift the frame away from the engine. Its not heavy, but the engine / gearbox isn't too stable on the lift, so better safe than sorry.
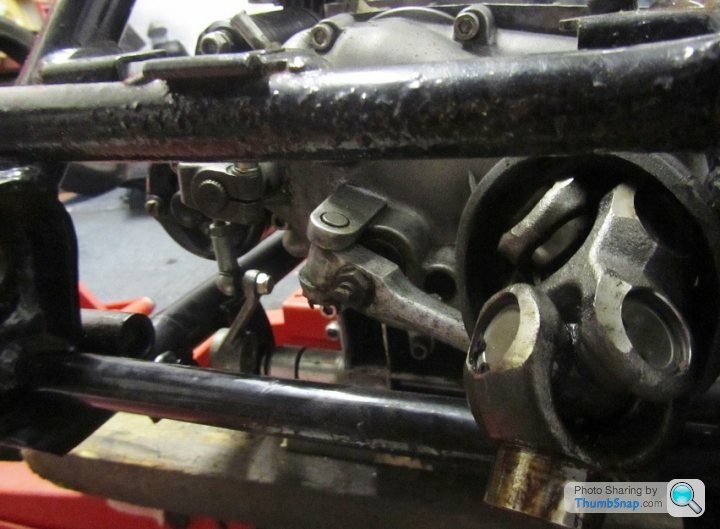
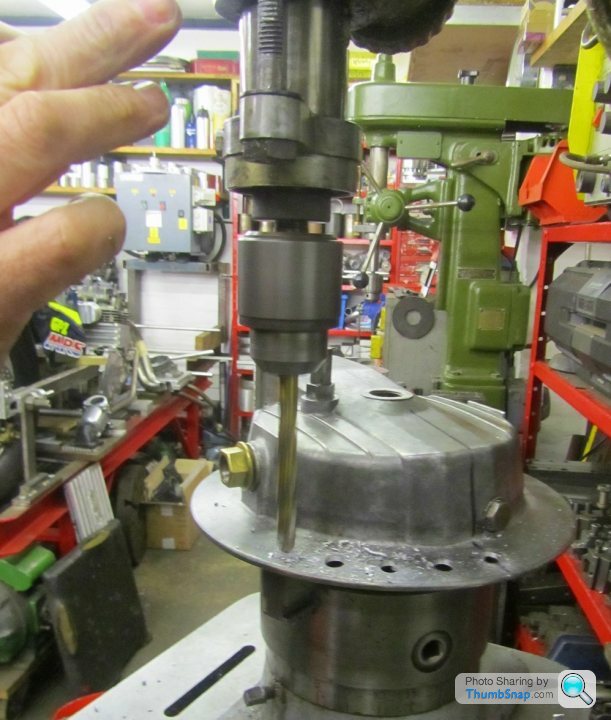
That done, and after a well earned tea break, I made a start on one of the improvements I wanted to make. The first step was to make a simple plate to protect the bevel box when its bead blasted to clean its surface. I'll need to go and buy a nice cake as a bribe/payment when I go to the local machine shop where they'll hopefully let me use their blasting cabinet.
There's nothing that can be done, except strip the bike down and have the frame powder coated correctly. Surprisingly I'm not too bothered about this, as it gives me the excuse to revisit areas I wasn't too happy about and to make improvements here and there.
I made a start today stripping the bike down, got most of the work done, just need some help to lift the frame away from the engine. Its not heavy, but the engine / gearbox isn't too stable on the lift, so better safe than sorry.
That done, and after a well earned tea break, I made a start on one of the improvements I wanted to make. The first step was to make a simple plate to protect the bevel box when its bead blasted to clean its surface. I'll need to go and buy a nice cake as a bribe/payment when I go to the local machine shop where they'll hopefully let me use their blasting cabinet.
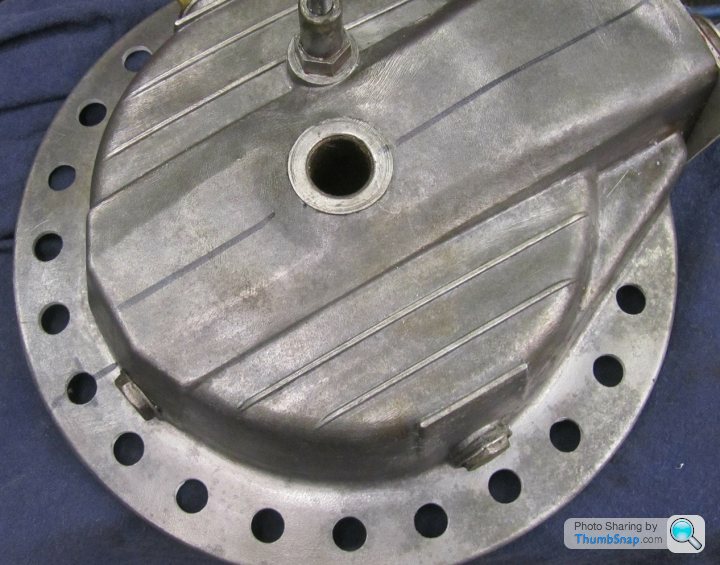
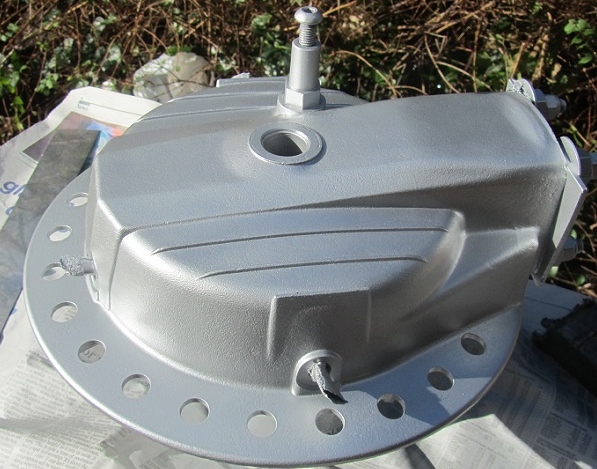
Yesterday I got to use my local machine shop's blasting cabinet to clean up the alloy bevel box and a couple of other parts that will need to be repainted. Total cost was a packet of Hobnobs, a bargain !
The bevel box will need to be painted, otherwise it'll soon start to corrode and its rough cast finish wont stay clean for long. I've ordered some etch primer and 'alloy look' paint, so we'll see how that goes when it turns up.
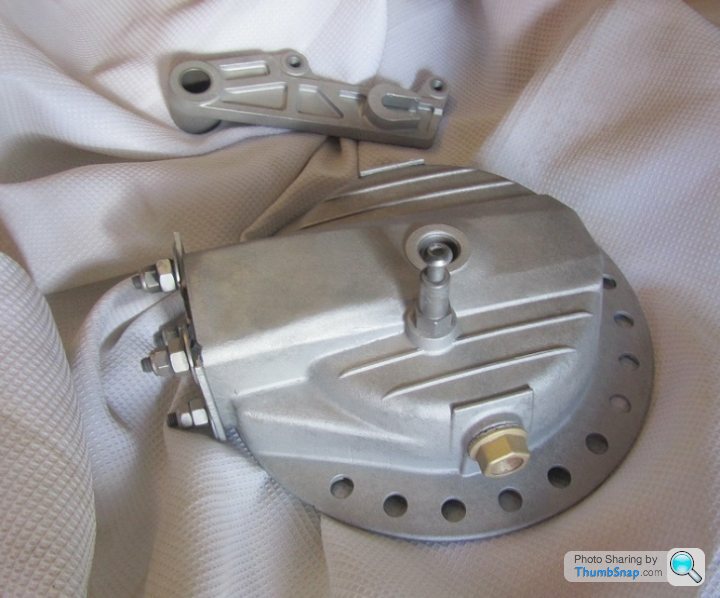
The bevel box will need to be painted, otherwise it'll soon start to corrode and its rough cast finish wont stay clean for long. I've ordered some etch primer and 'alloy look' paint, so we'll see how that goes when it turns up.
Edited by Merch131 on Wednesday 10th February 17:17
I have been following your thread and EvilLens, I for one thoroughly enjoy reading them, although, probably like many others, have not commented so you don't know how much we appreciate what you are doing. I wish I had the time and space to attempt a project like it. Keep up the good work. 
evil len said:
Merch131 said:
Cheers for the comment, I don't get much feedback on here, so I'm not sure how much detail to post.
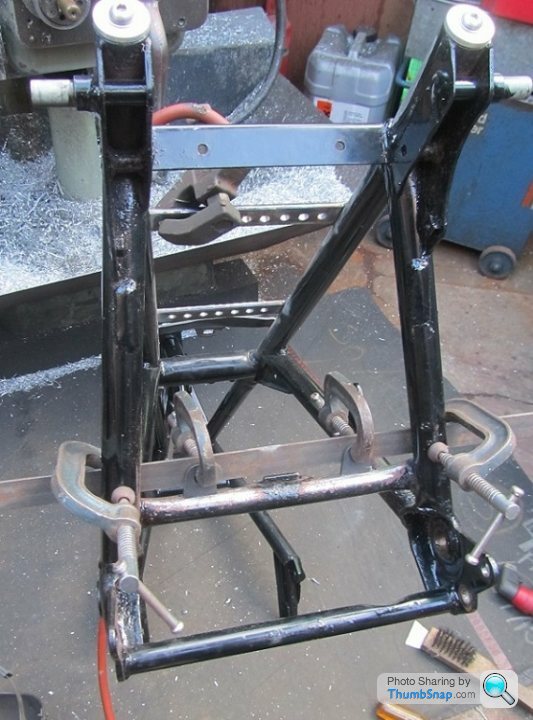
Post lots. We all love these threads !More work done on the frame, first extended the side stand by a couple of inches, as it was way too short before. Guzzis have a few different side stand lengths, I suspect mine must have been the wrong one for the bike.
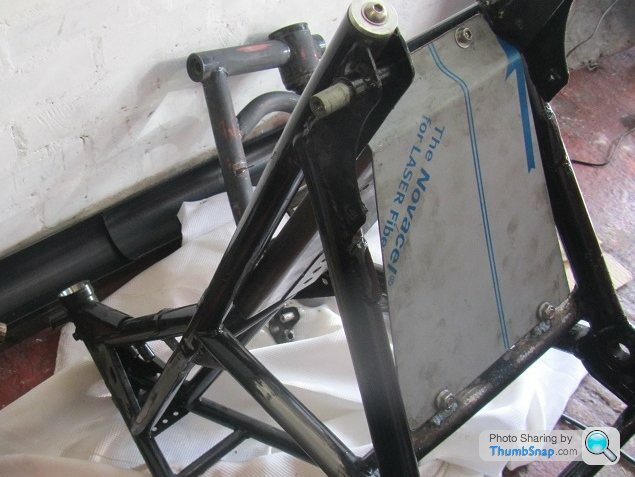
Next a stainless splash plate was made from 1.5mm plate, which is thicker than I'd normally use, but I may end up bolting stuff to it, so wanted the extra strength. BTW the white and blue writing is just a protective plastic layer that peels off when ready.
Finally some of the flat spots I'd put into a couple frame tubes when grinding off the old brackets have been tidied up, they don't look quite so ugly now.
Also bought a 60mm electronic speedo, which will need mounting on the top yoke..
Gassing Station | Biker Banter | Top of Page | What's New | My Stuff