Moto Guzzi Cali Cafe Racer Build thread
Discussion


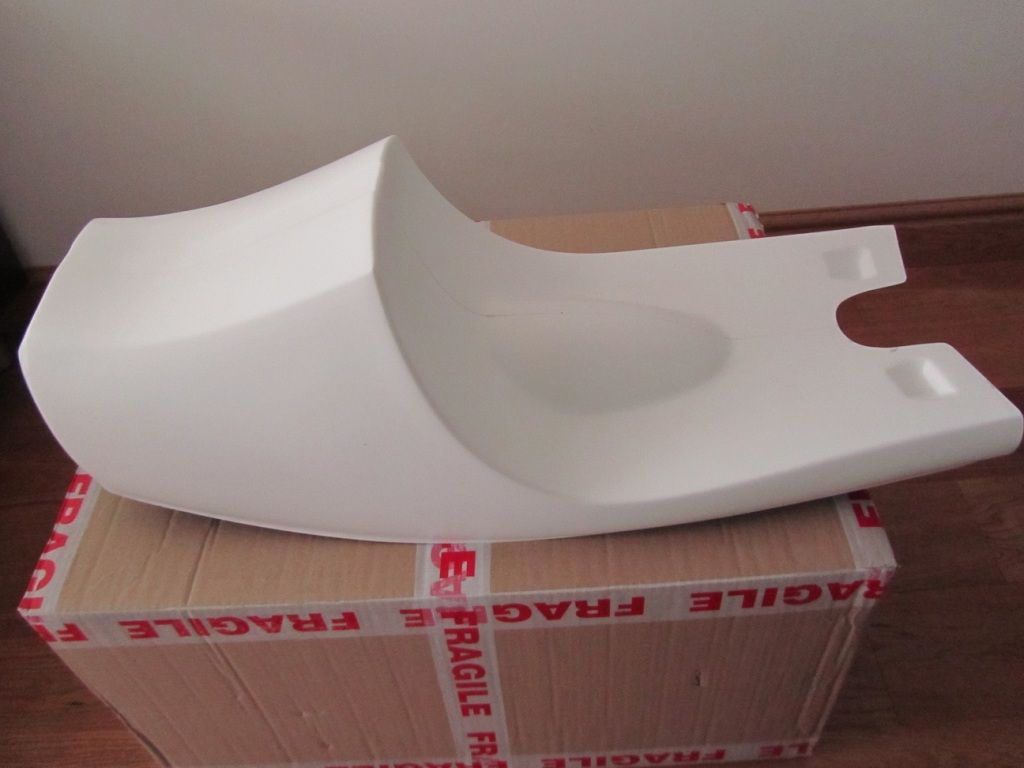
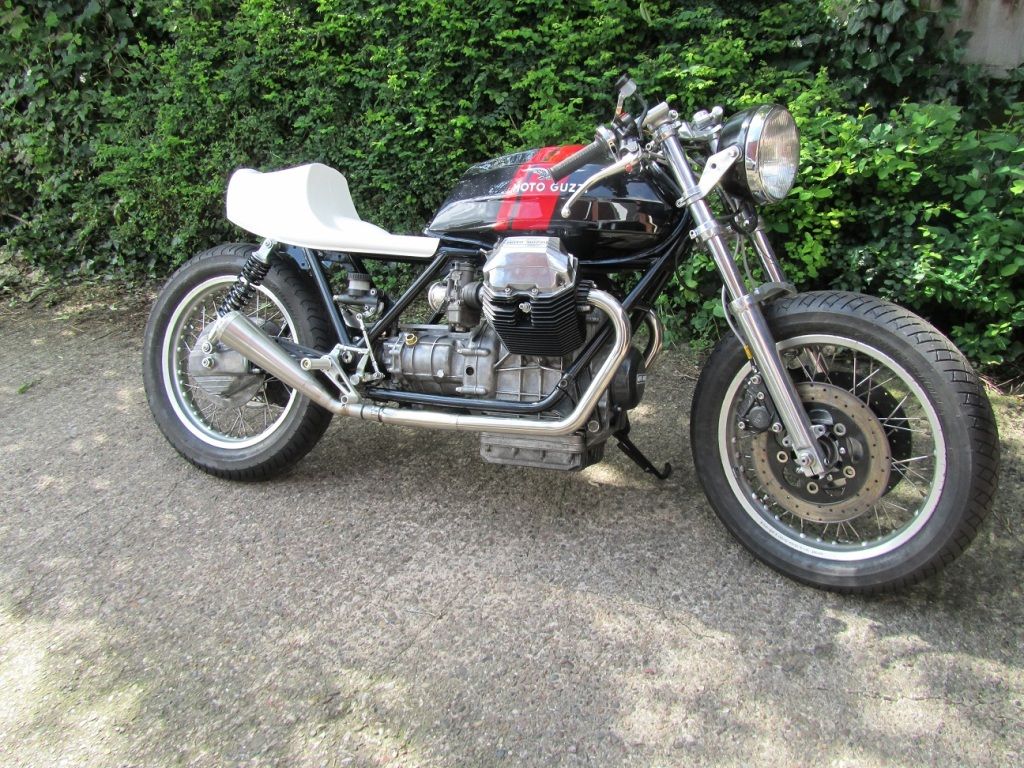
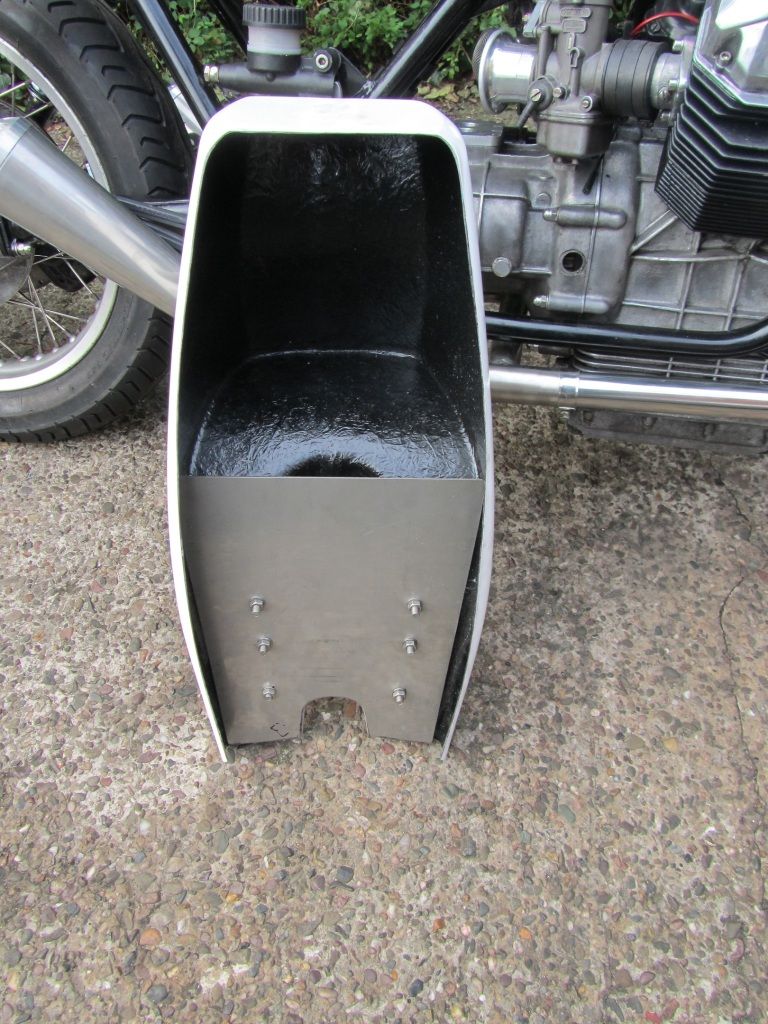
The seat arrived from Ragged Edge, excellent quality and only cost about £70, not sure what to do about the lump in the seat base, made to accommodate a mudguard I guess, which I dont need.
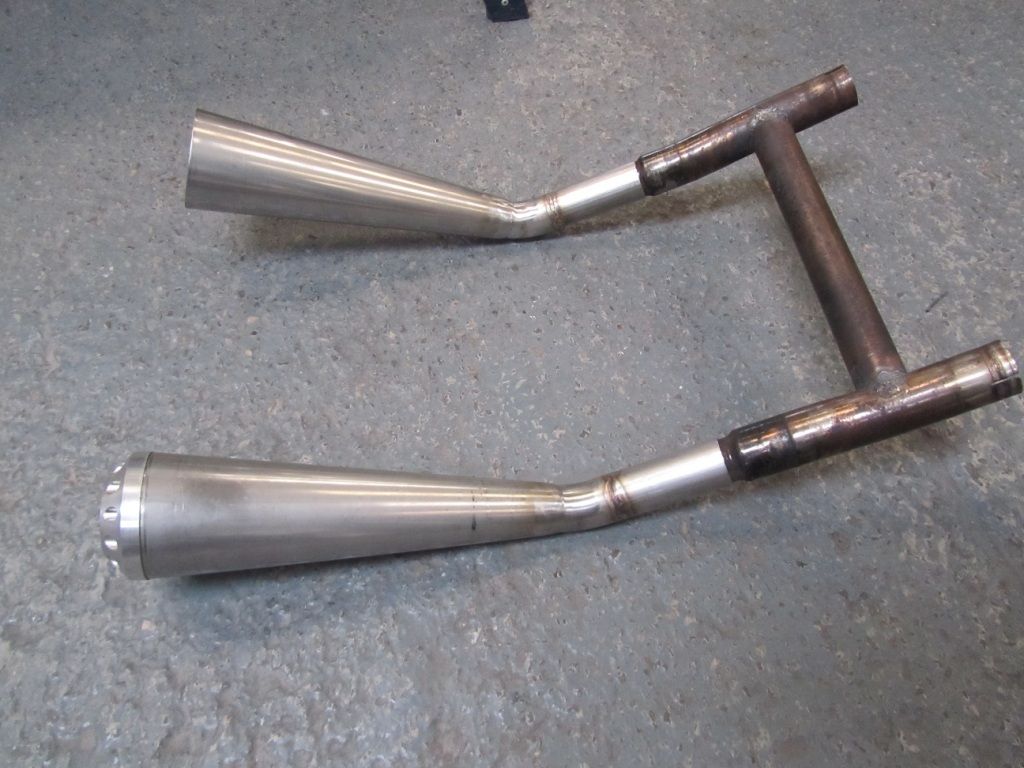
Another job is to make an exhaust system, I'm using the stainless headers and H section link pipe.. though it had a few cracks which needed to be welded (a common problem I'm told). I'd made a full system for my 'Harley' (not a Harley part on it lol) which worked ok, so I'm using the same raw materials for this one.
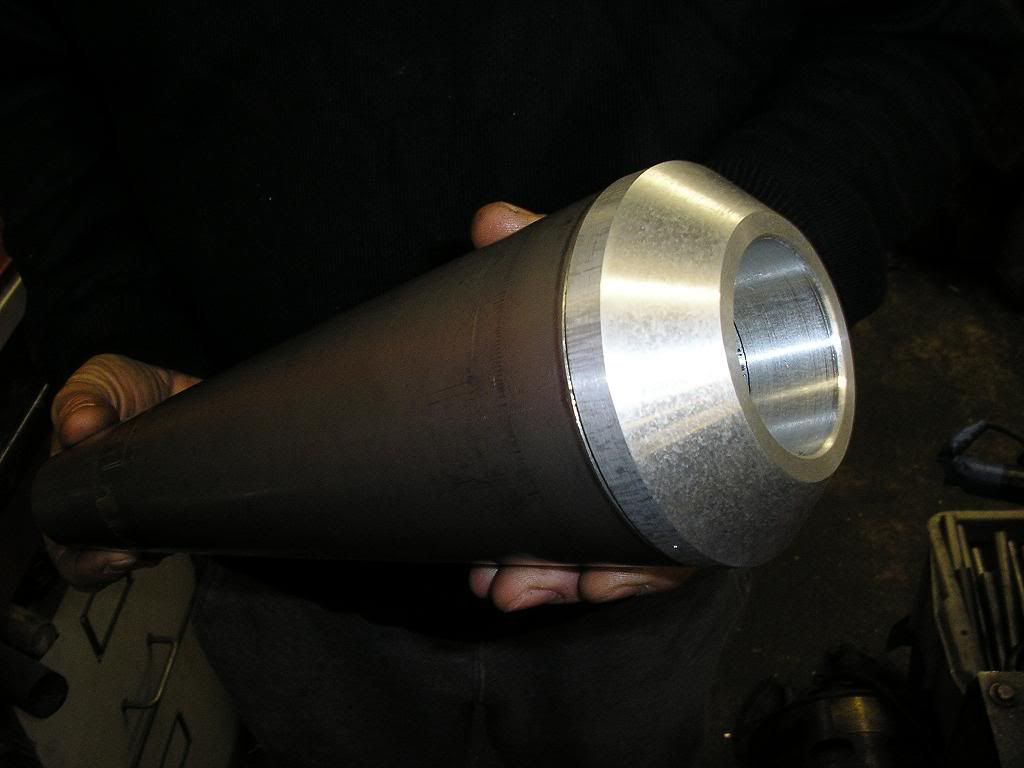
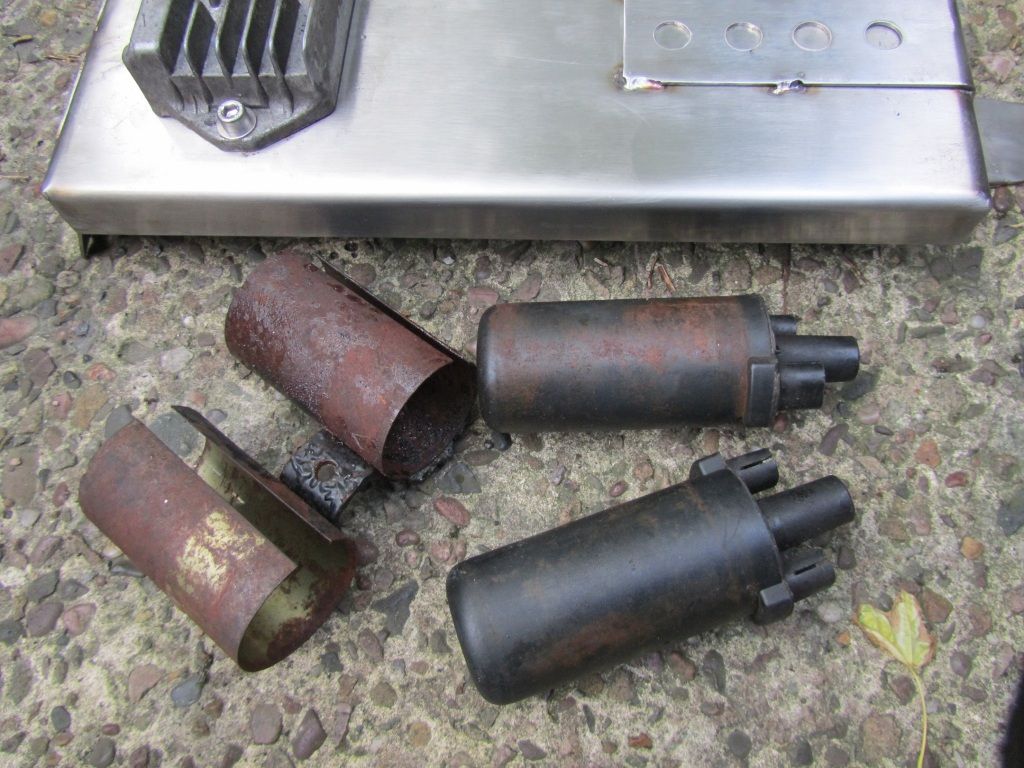
Starting off with a pair of stainless 'cones' I designed an end cap and went along to my long suffering mate Jeff, with the familair words.. Can you just make this... starting with the cone, a piece of billet and some perf tubing


Another job is to make an exhaust system, I'm using the stainless headers and H section link pipe.. though it had a few cracks which needed to be welded (a common problem I'm told). I'd made a full system for my 'Harley' (not a Harley part on it lol) which worked ok, so I'm using the same raw materials for this one.
Starting off with a pair of stainless 'cones' I designed an end cap and went along to my long suffering mate Jeff, with the familair words.. Can you just make this... starting with the cone, a piece of billet and some perf tubing
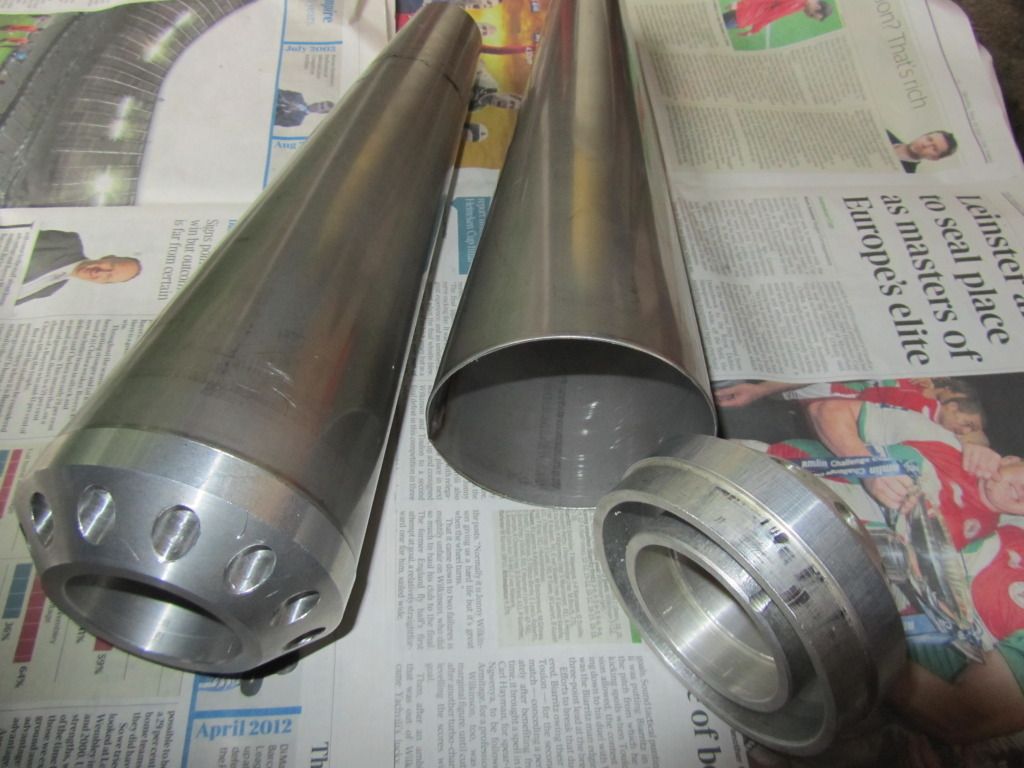
The billet end caps turned out to be a bit heavy, so we got a bit creative and lightened them..
Next I took the cones and H pipe over to my mate Saf (whose an excellent welder) where he welded an angled piece to the cones which in turn fitted onto the H pipe.. I had no way of getting the bike to his workshop, so I'd taped everything up on the bike and hoped we got the right angle when it was welded up..
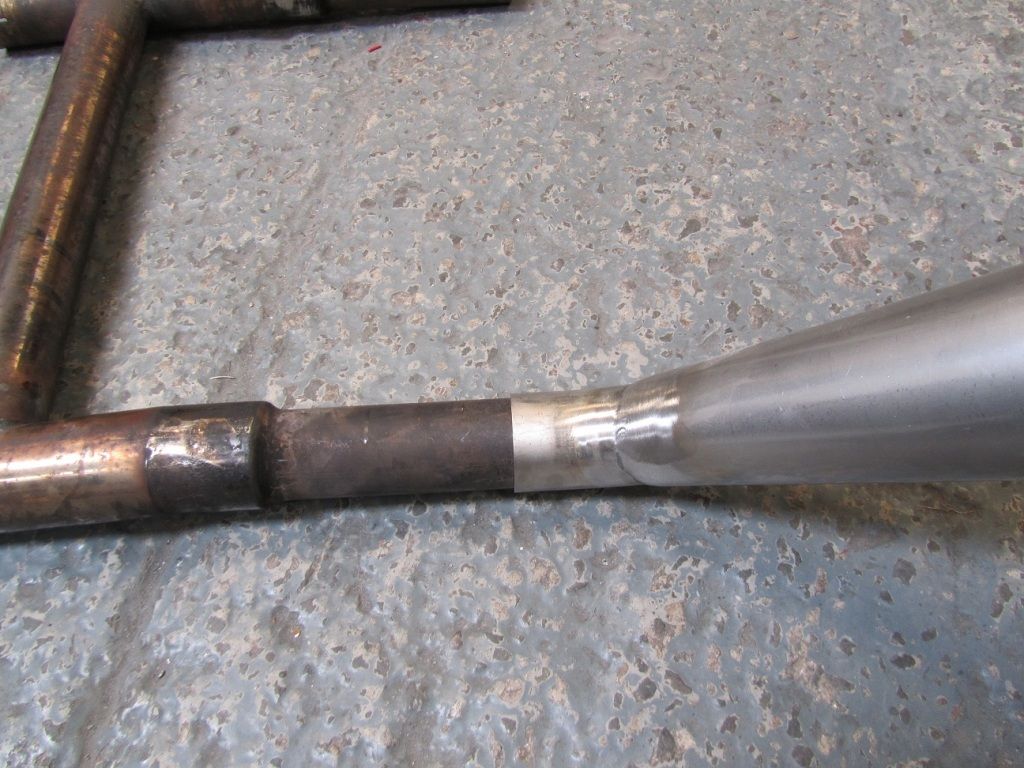
Next I took the cones and H pipe over to my mate Saf (whose an excellent welder) where he welded an angled piece to the cones which in turn fitted onto the H pipe.. I had no way of getting the bike to his workshop, so I'd taped everything up on the bike and hoped we got the right angle when it was welded up..
Coming up todate, the next job is to mount the seat unit and make a platform beneath to hold a battery in the seat hump, and also make a slim tray to sit beneath the seat which will hold all the electrical bits and bobs. I need help with the fabrication so just have to wait for awhile.
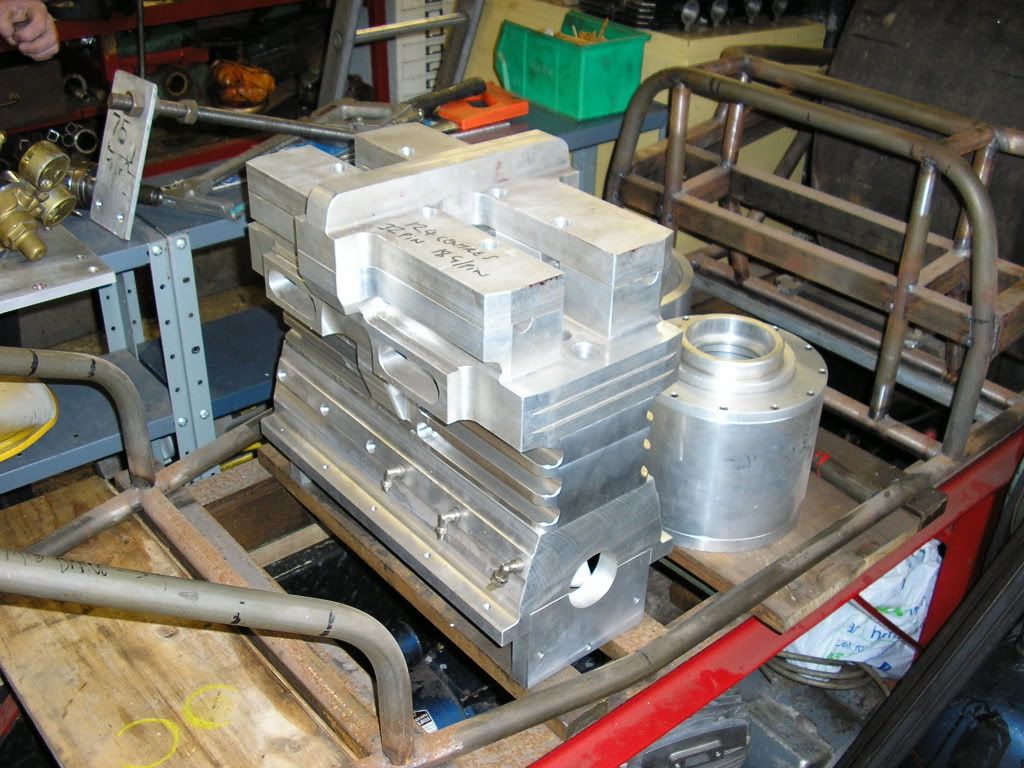
In the meantime I've got my next project line up for the winter.. dont laugh it was very cheap and it runs ..
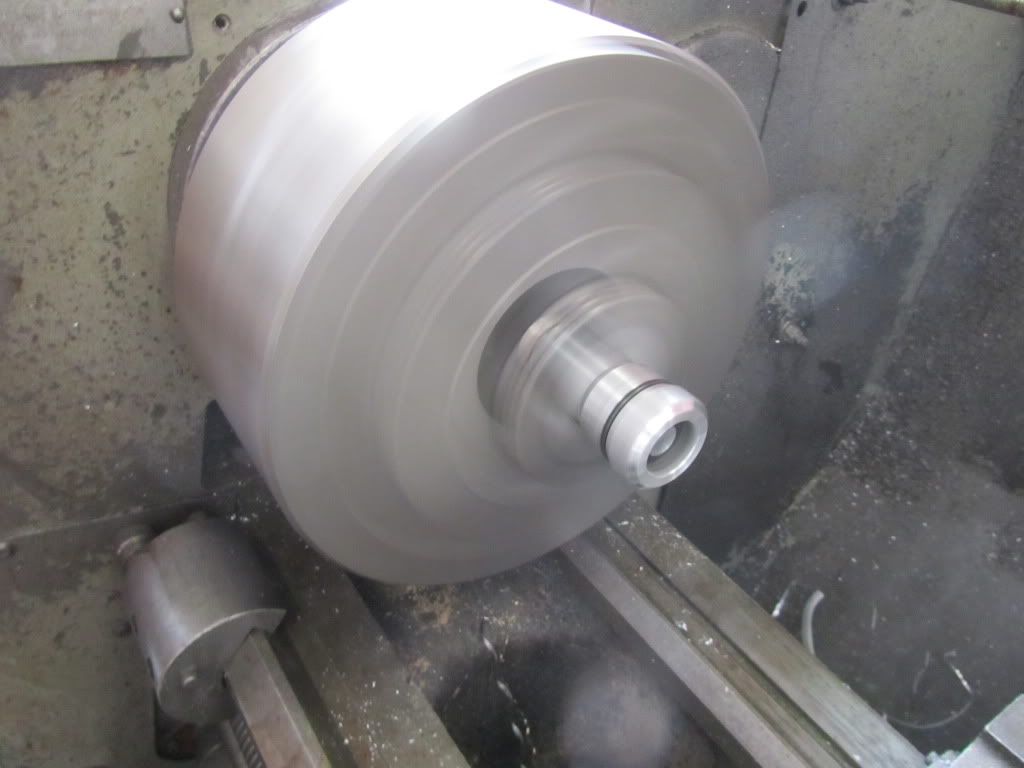
Oh and yes my mate Jeff is handy with his ancient lathe at home, this is the sort of stuff he makes for himself..
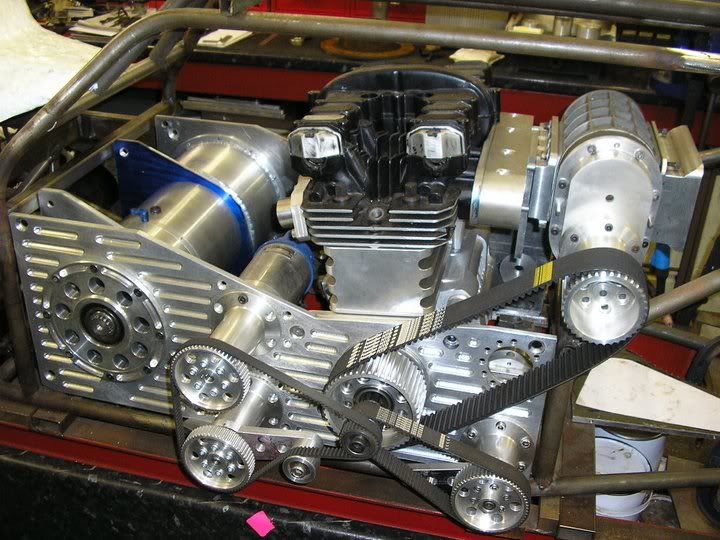
In the meantime I've got my next project line up for the winter.. dont laugh it was very cheap and it runs ..
Oh and yes my mate Jeff is handy with his ancient lathe at home, this is the sort of stuff he makes for himself..
 Cool as f
 k!!!!
k!!!!Benni said:
Hello OP,
good thread, fine project.
I guess you got your nick from building a bike with a Merch 131 cui twin ?
I dreamt about a Guzzi convert with a Harley engine mounted transversely.
Yes, well spotted, I had two a 120 CI drag bike with NOS and my road bike, which you can see here on the Dyno when I made a new exhaust last year.. good thread, fine project.
I guess you got your nick from building a bike with a Merch 131 cui twin ?
I dreamt about a Guzzi convert with a Harley engine mounted transversely.
http://youtu.be/hLHaPstpghQ
Merch131 said:
...The Cali engine has a milder cam and smaller carbs than the equivalent Lemans, but that makes for a smoother easy going motor on the road, which is fine by me. If it proves to be too slow, there's always the option of fitting Lemans parts. Despite being made in '89 the motor still uses points ignition which was a surprise...
My old Le Mans II was fine, even with the HC pistons, big valves, lumpy cam, and 36mm carbs. RITA ignition was the first mod. It was the last new bike I bought, and it's still my favourite, I think, although these days I probably wouldn't be able to fold myself into the riding position. 
Merch131 said:
Next task was to strip down the front end, fit new seals, and polish the yokes and sliders along with the rocker covers and stainless exhaust headers. It doesn't take long to write, but that's another afternoon of hard work.
Does the '89 have proper forks, or are they like the '78, with piddly little sealed cartridge dampers that don't work all that well and wear out very quickly?gareth_r said:
oes the '89 have proper forks, or are they like the '78, with piddly little sealed cartridge dampers that don't work all that well and wear out very quickly?
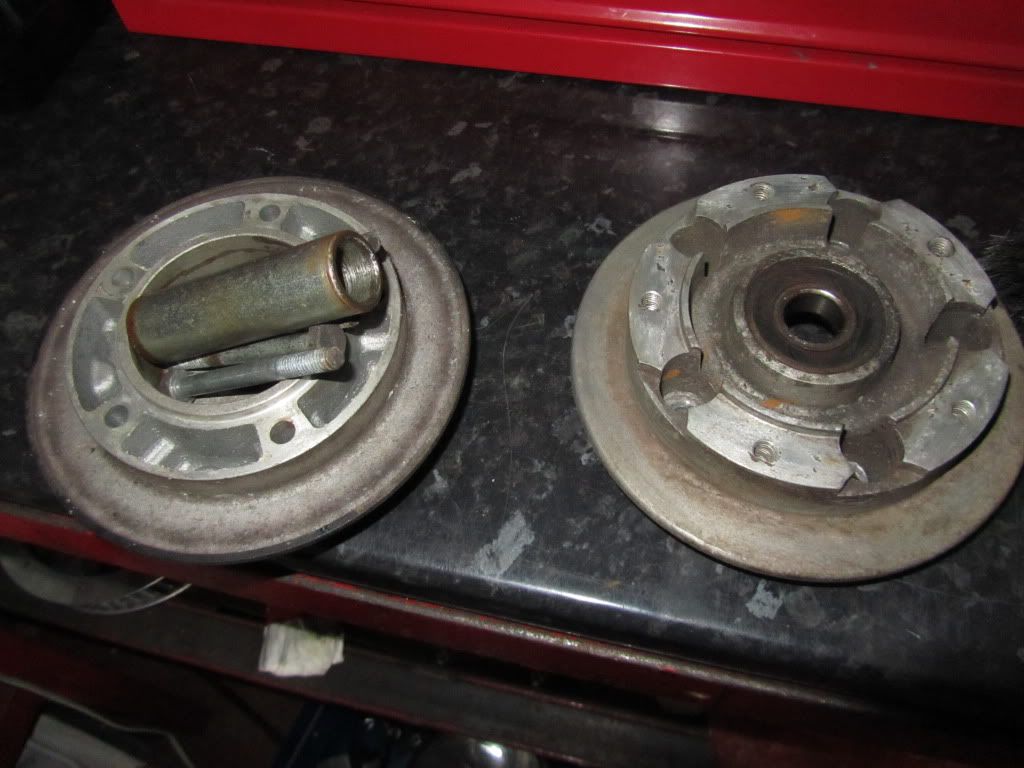
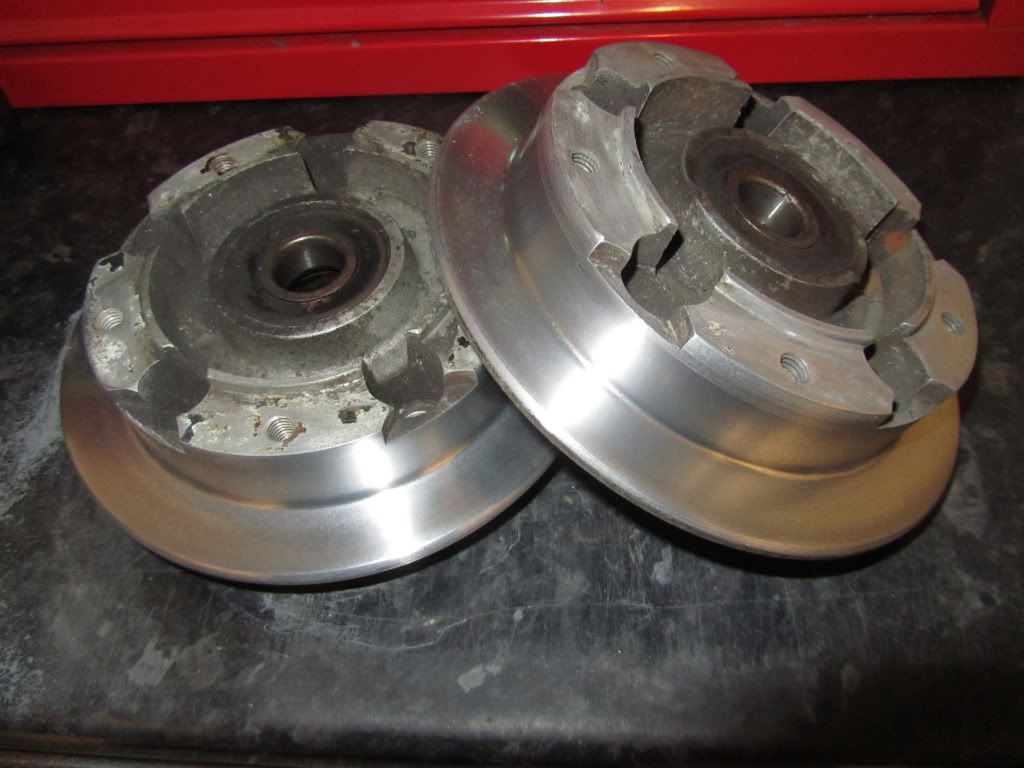
Even Guzzi sometimes move with the times, the early bikes had 38mm Marzocchis I think (?) while this bike has 40mm Biturbo forks. Actually I have skipped a lot of the more boring work on this bike, one of which was to clean up the fork tops. I didnt want to pay for new ones, so turned them down a bit on the lathe and polished them by hand, turned out ok, did the same with the disc carriers and polihsed a few other bits and bobs..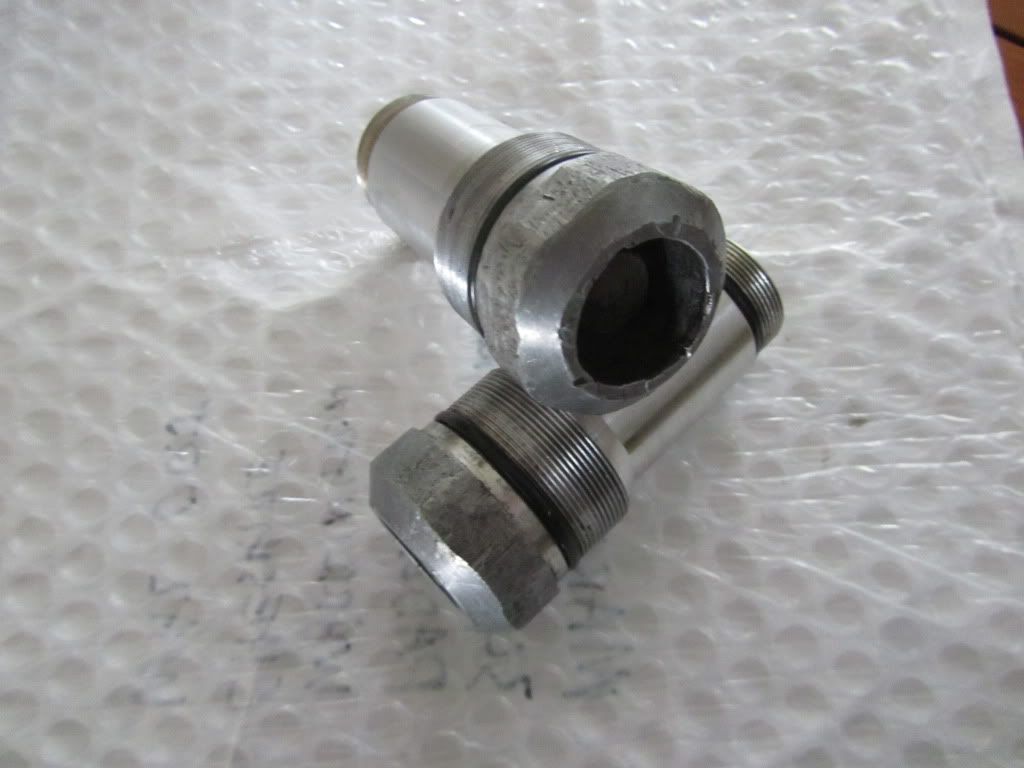


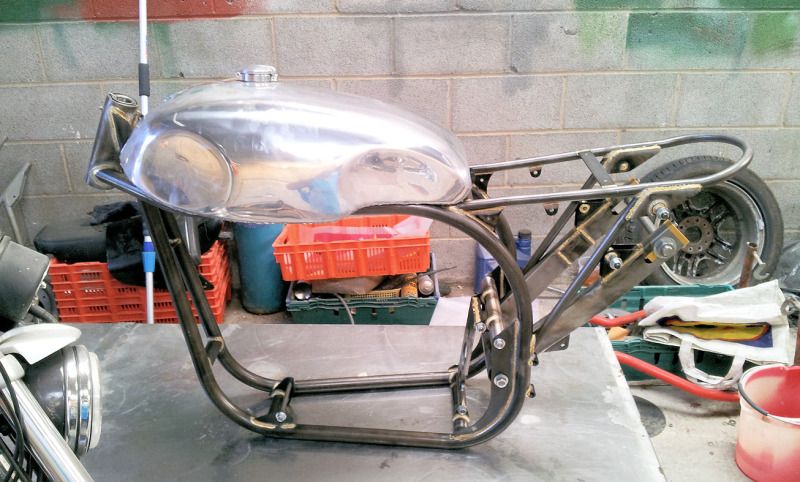
Time to see if the Ironhead engine will go in my new Manx replica frame..
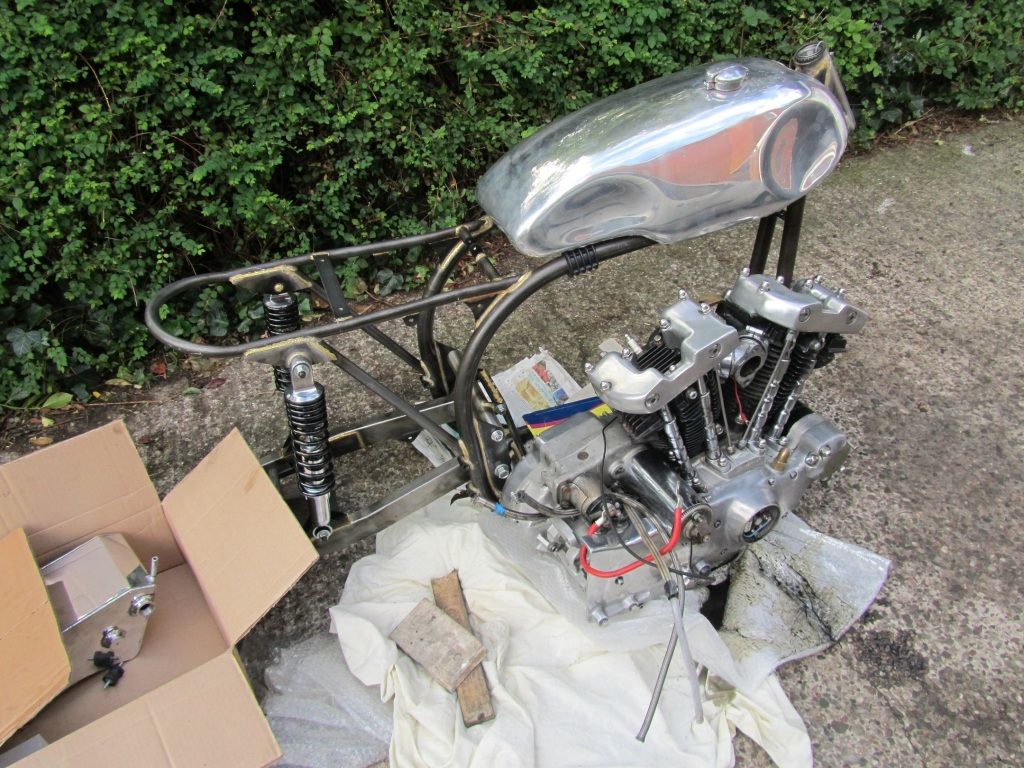
Needed an extra pair of hands, but went in without too much swearing..
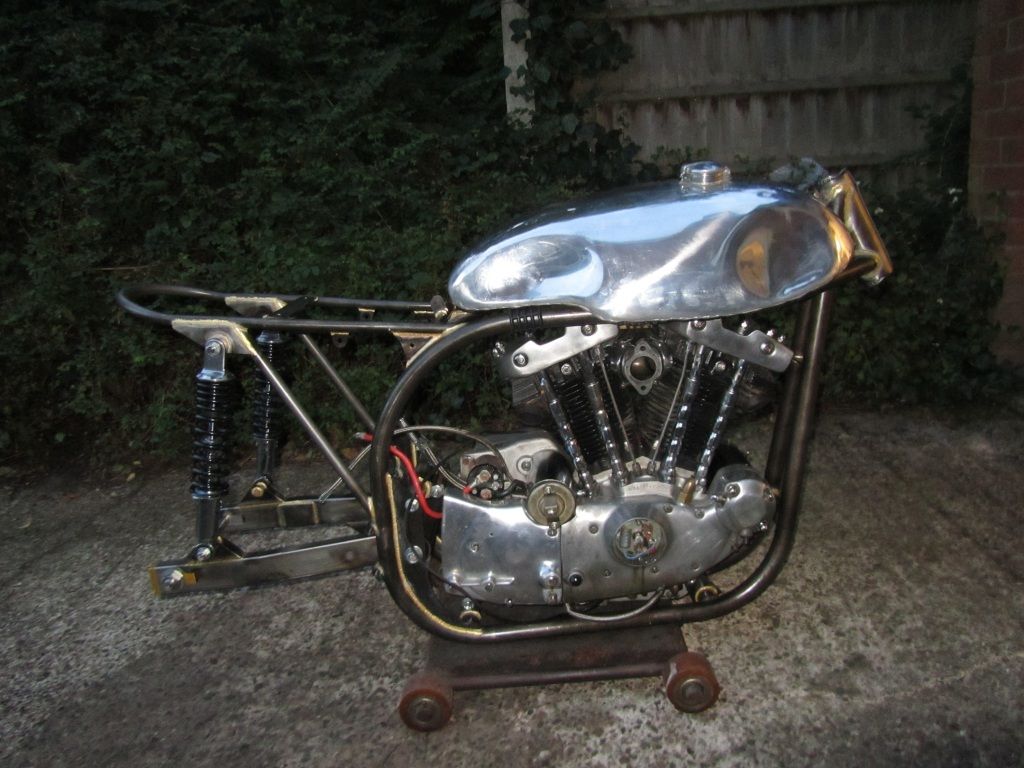
The engine will be coming apart when the dry build is finished, for a few performance mods.. cams, carb, flowed heads and anything else I can afford ..
Needed an extra pair of hands, but went in without too much swearing..
The engine will be coming apart when the dry build is finished, for a few performance mods.. cams, carb, flowed heads and anything else I can afford ..
Edited by Merch131 on Wednesday 19th June 09:17
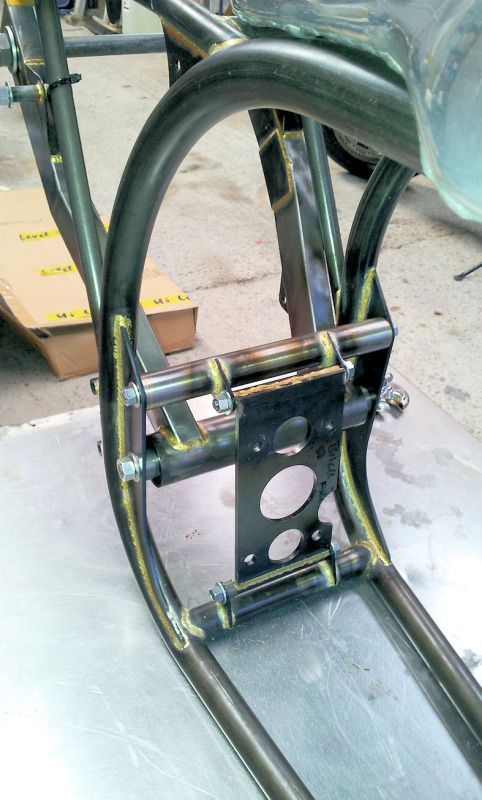
The electrics tray for the Guzzi is done now, and the rectifier bolted to its underside. It sits between the seat frame rails, and should hold all the electrics, bar the battery. I also made a stainless base to bolt to the seat unit, as it needed a bit more support. I still need to make another vertical piece which will bolt to the seat hump. Then the seat needs to be raised about 10mm as its resting on the shock mounts otherwise.
Edited by Merch131 on Wednesday 19th June 09:18
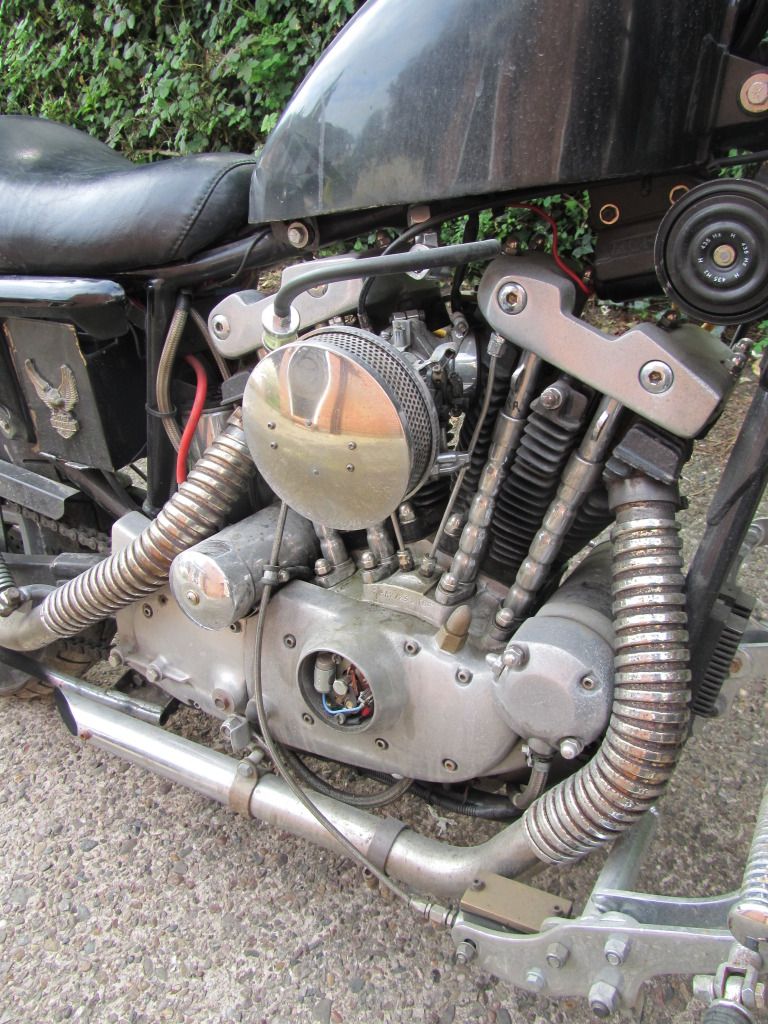
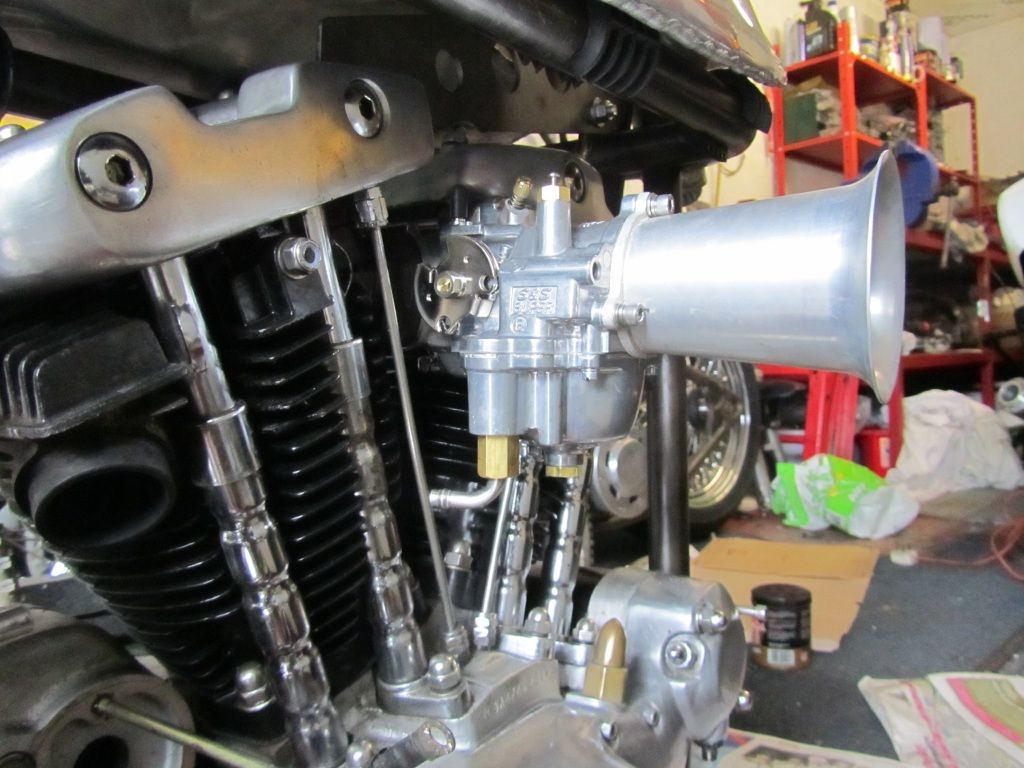
Got a good deal on an S&S Super E carb for the Ironhead/Norton cafe project, so went for it and bought a manifold and velocity stack seperately, it was much cheaper than buying a full kit, and I didnt want the S&S teardrop air filter anyway. Seems I still need a spacer/insulator block to go between the manifold and carb, wasnt sure, but without it the manifold clamp touches the throttle linkage..
May not go with the velocity stack, its a bit extreme, though be good for sucking in the odd bumble bee, cat, dog, small child ..
Old carb had been chromed which was now peeling off..
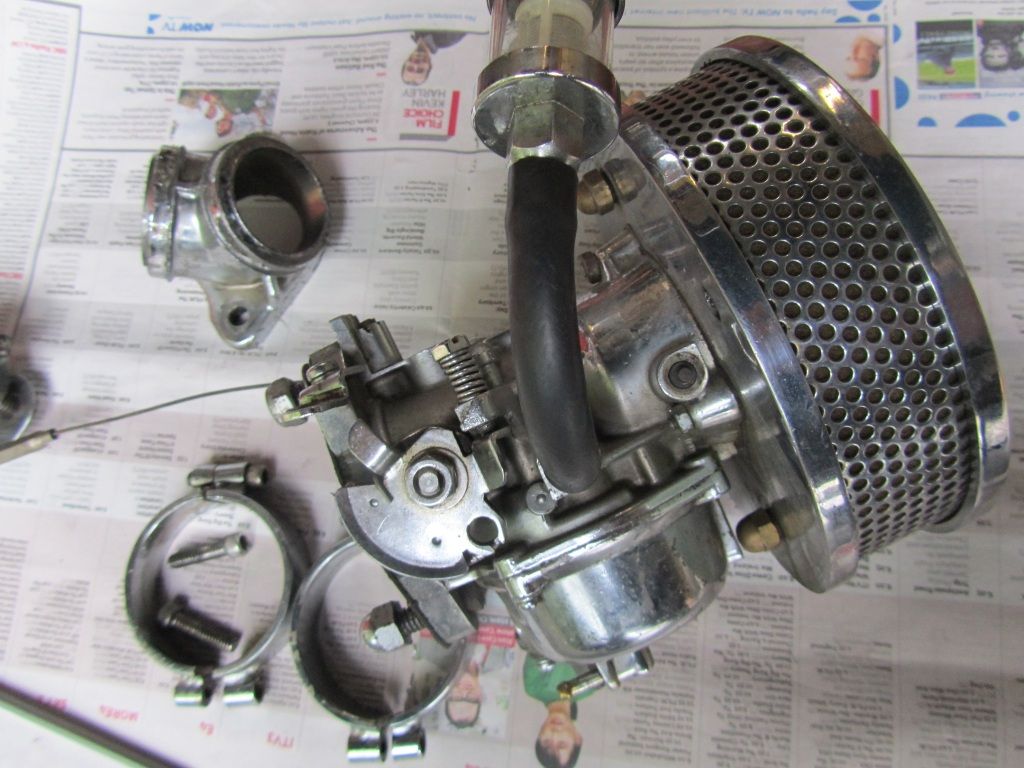
New carb
May not go with the velocity stack, its a bit extreme, though be good for sucking in the odd bumble bee, cat, dog, small child ..
Old carb had been chromed which was now peeling off..
New carb
Edited by Merch131 on Wednesday 19th June 09:19

Gassing Station | Biker Banter | Top of Page | What's New | My Stuff