Moto Guzzi Cali Cafe Racer Build thread
Discussion
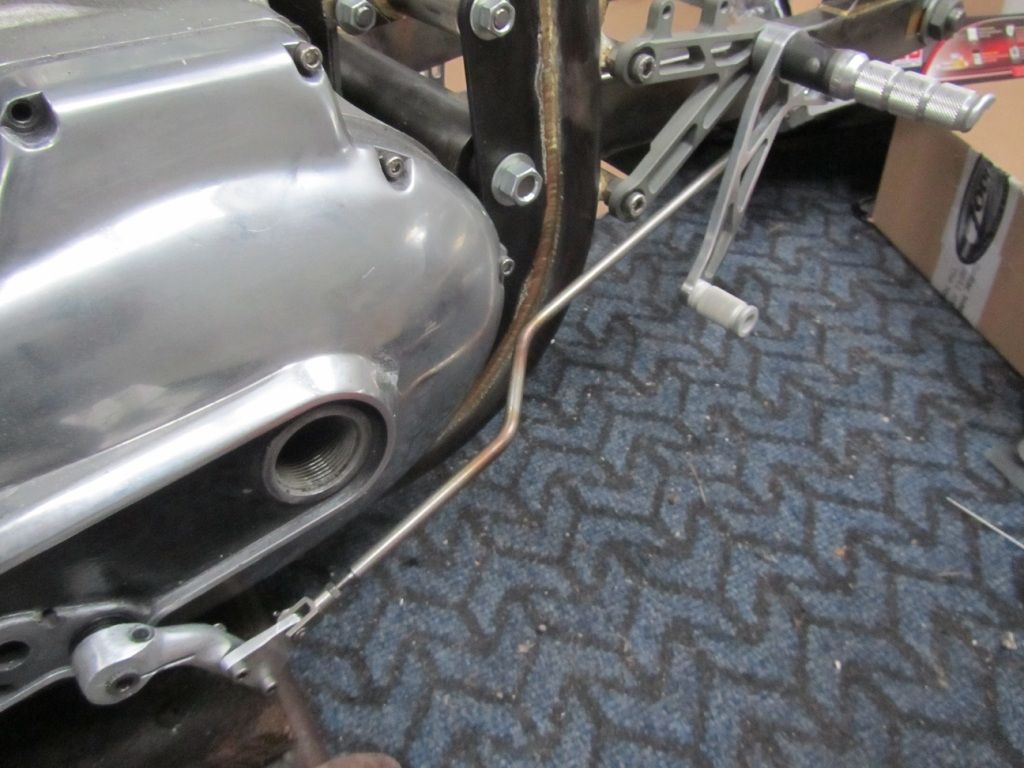
The Mark one gear linkage is done now, not sure about the link rod still, seems miles too long, though it may not annoy me quite so much when the bike is on its wheels. The good news is that it seems to work ok, which is what counts, oh and it cost nothing but time to make..
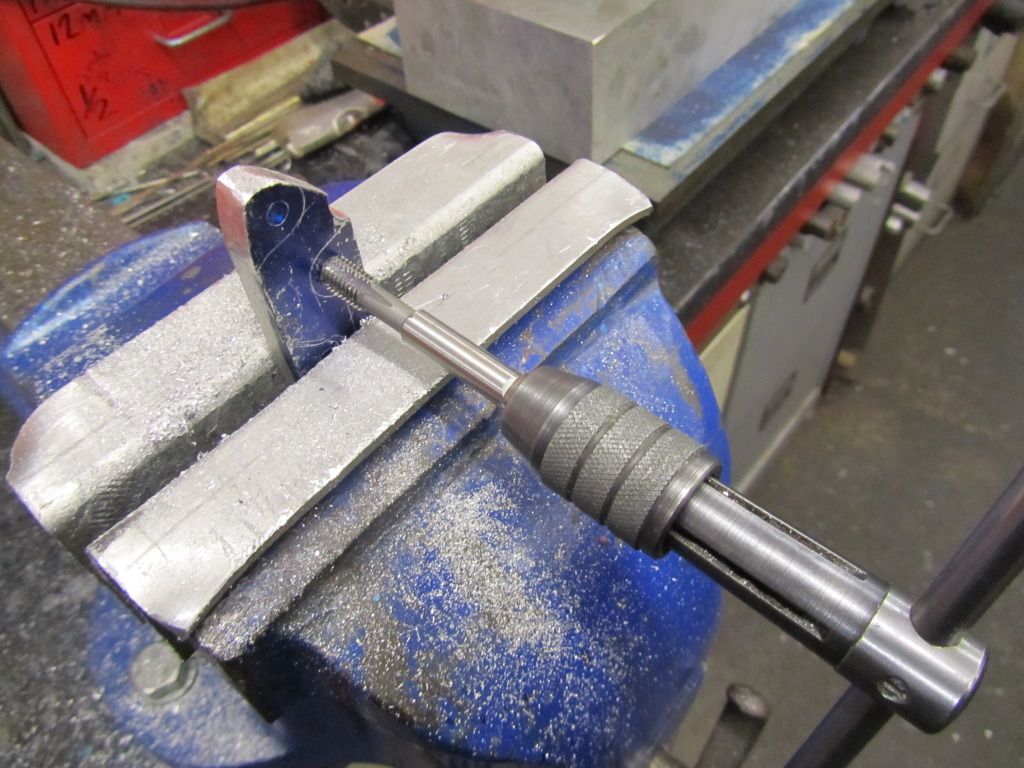
On the brake side, my master cylinder mount didnt impress my mate Jeff.. he said I shouldve used thicker 10mm plate instead of the 6mm I used. That way I could've tapped a thread in the plate and saved having to use nuts on the back to hold everything together, which looked 'untidy'. So I borrowed a bit of 10mm plate from his scrap pile, and made a Mark two version. Surprising how long it takes, it was an afternoon with plenty of tea breaks before it was done.
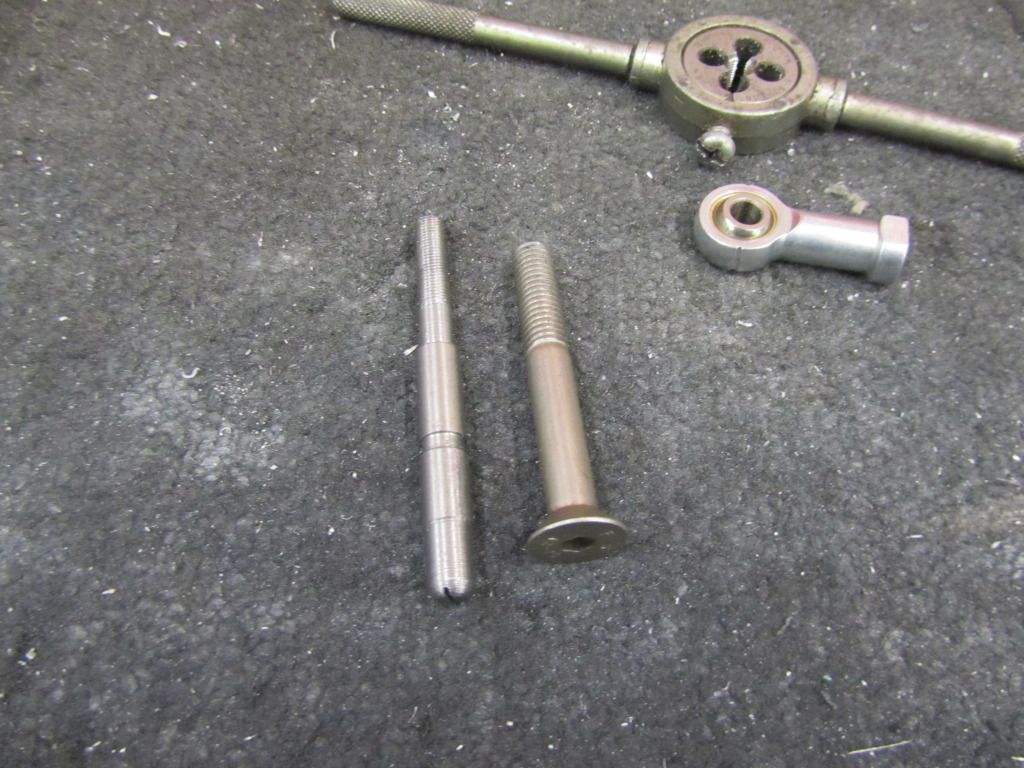
The next task was to make a push rod for the master cylinder. I was a bit worried about this, as it must be a complex shape, with some clever way to keep the rod in the master cylinder. But no, there is nothing to keep the push rod in place, it just sits in a hollow inside the master cylinder. So we used a stainless M8 bolt as a starting point, as thats the diameter of the push rod. We machined a ball end and a groove half way along for the rubber boot to sit in, then reduced the other end to 6mm and threaded it, to take a 6mm rose joint. Job done? Nope.. the brake lever had a 8mm hole where the rose joint would be bolted up. I didnt use a 8mm rosejoint as it looked far too big. So we had to make a tiny reducer spacer to so a 6mm bolt would fit snuggly through the gear lever.
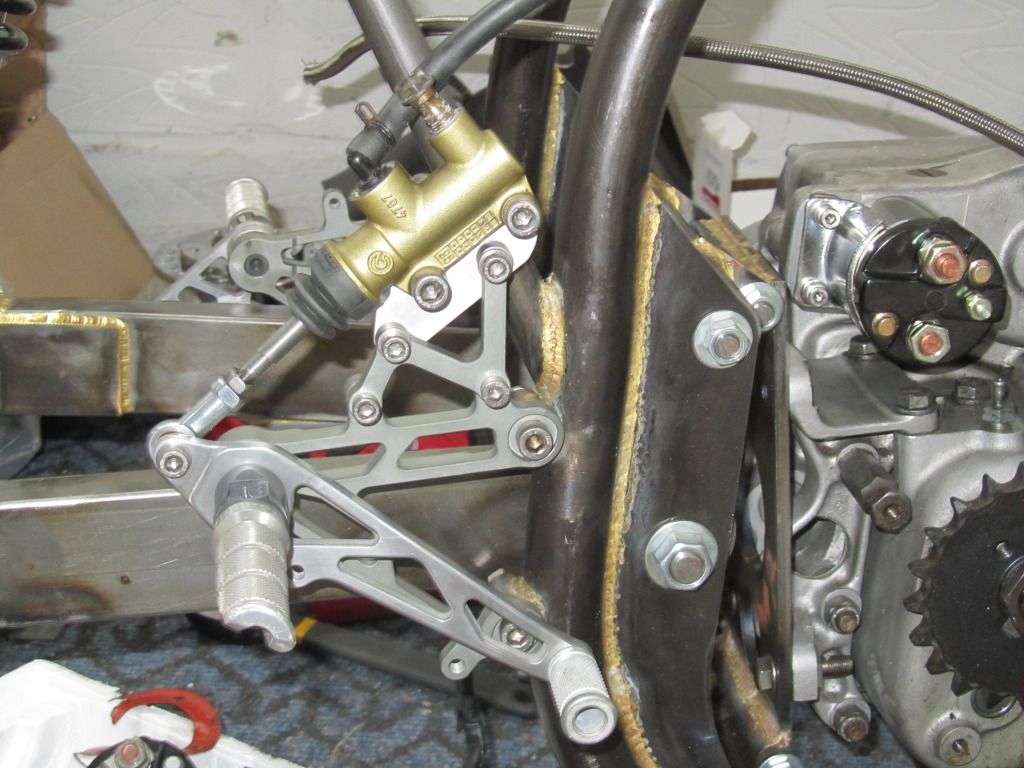

On the brake side, my master cylinder mount didnt impress my mate Jeff.. he said I shouldve used thicker 10mm plate instead of the 6mm I used. That way I could've tapped a thread in the plate and saved having to use nuts on the back to hold everything together, which looked 'untidy'. So I borrowed a bit of 10mm plate from his scrap pile, and made a Mark two version. Surprising how long it takes, it was an afternoon with plenty of tea breaks before it was done.

The next task was to make a push rod for the master cylinder. I was a bit worried about this, as it must be a complex shape, with some clever way to keep the rod in the master cylinder. But no, there is nothing to keep the push rod in place, it just sits in a hollow inside the master cylinder. So we used a stainless M8 bolt as a starting point, as thats the diameter of the push rod. We machined a ball end and a groove half way along for the rubber boot to sit in, then reduced the other end to 6mm and threaded it, to take a 6mm rose joint. Job done? Nope.. the brake lever had a 8mm hole where the rose joint would be bolted up. I didnt use a 8mm rosejoint as it looked far too big. So we had to make a tiny reducer spacer to so a 6mm bolt would fit snuggly through the gear lever.


What's the idea of the blue on the bracket? Bobski's mentioned "Engineering blue" before, and a quick Wiki suggests its used to highlight high spots/contact, but I don't understand why you'd need it on a flat bracket?
Of course, I am thick, and Bobski's engineering blue is probably some VERY niche dwarf-based porn.
Of course, I am thick, and Bobski's engineering blue is probably some VERY niche dwarf-based porn.
Dibble said:
What's the idea of the blue on the bracket? Bobski's mentioned "Engineering blue" before, and a quick Wiki suggests its used to highlight high spots/contact, but I don't understand why you'd need it on a flat bracket?
Of course, I am thick, and Bobski's engineering blue is probably some VERY niche dwarf-based porn.
Its a quick drying ink, I used to mark out shapes with a scribe, to help make sure I dont cut / drill / machine the wrong bits. I've not used to to highlight high spots / contacts, but then with the simple stuff I make there is no need. If you look at the photo of the bracket in the vice, with the tap wrench cutting a thread, you can see where I've marked out on the bracket the outline of the m/c, so Iknow where to cut and file the edges. For something so simple, its not really required, though I need all the help I can get. BTW, if you look in the background of that photo, you can see a thick block of billet, thats going be made into a cylinder block.. for our Compbike.. puts my little projects into perspective..Of course, I am thick, and Bobski's engineering blue is probably some VERY niche dwarf-based porn.
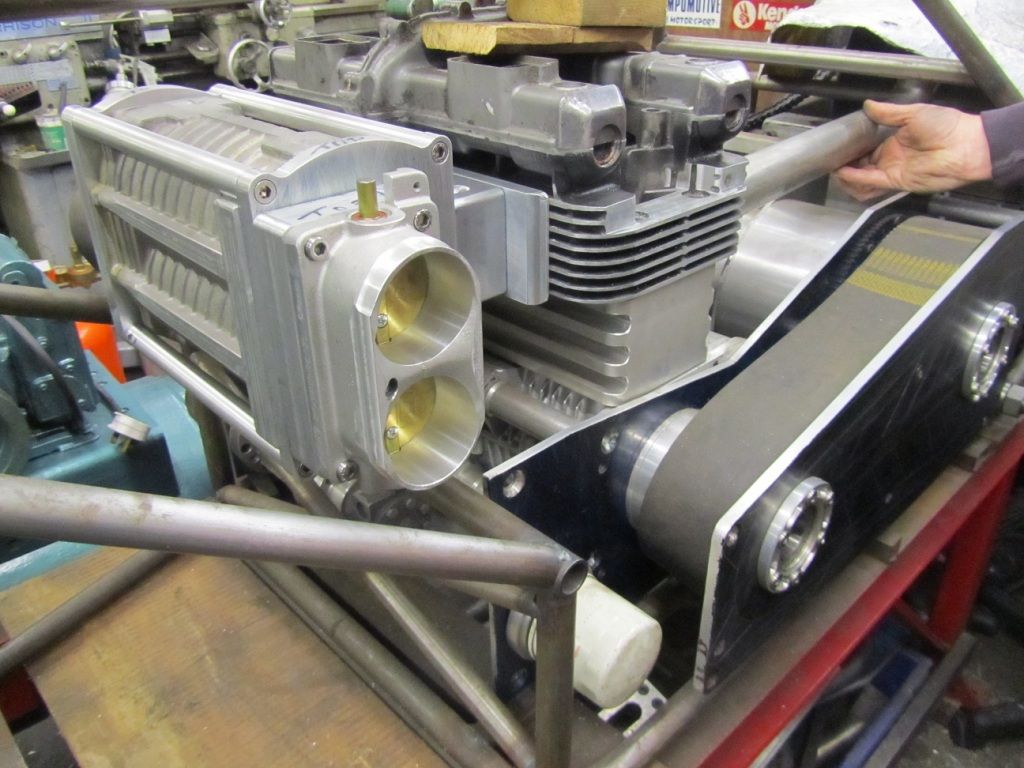
The HD front hub has been causing a headache, I couldnt find any bearings that would fit the hub and work with the Honda 20mm spindle. Nor could I just machine down the spindle to 3/4 of an inch, as it was hollow and I didnt want to weaken it too much. Somehow I had to modify the original Ironhead wheel spindle to fit the Honda forks..
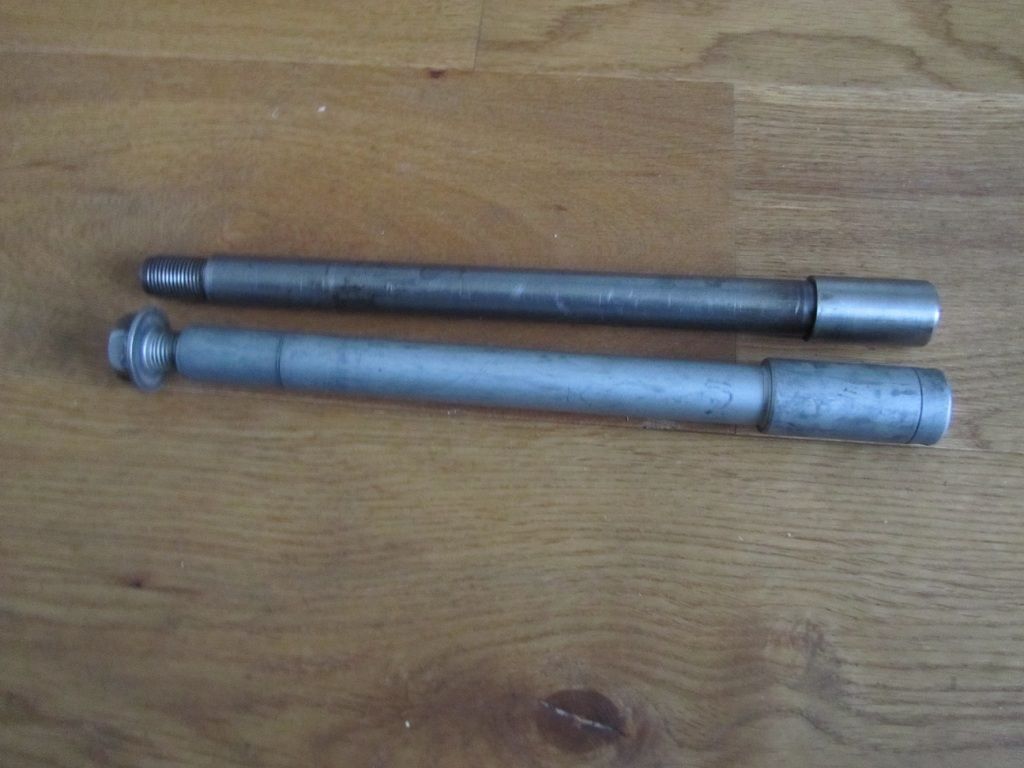
Well, there was only one thing to do.. hand the problem over to my mate Jeff and his trusty lathe.. 5 hours of machining later the job was done..
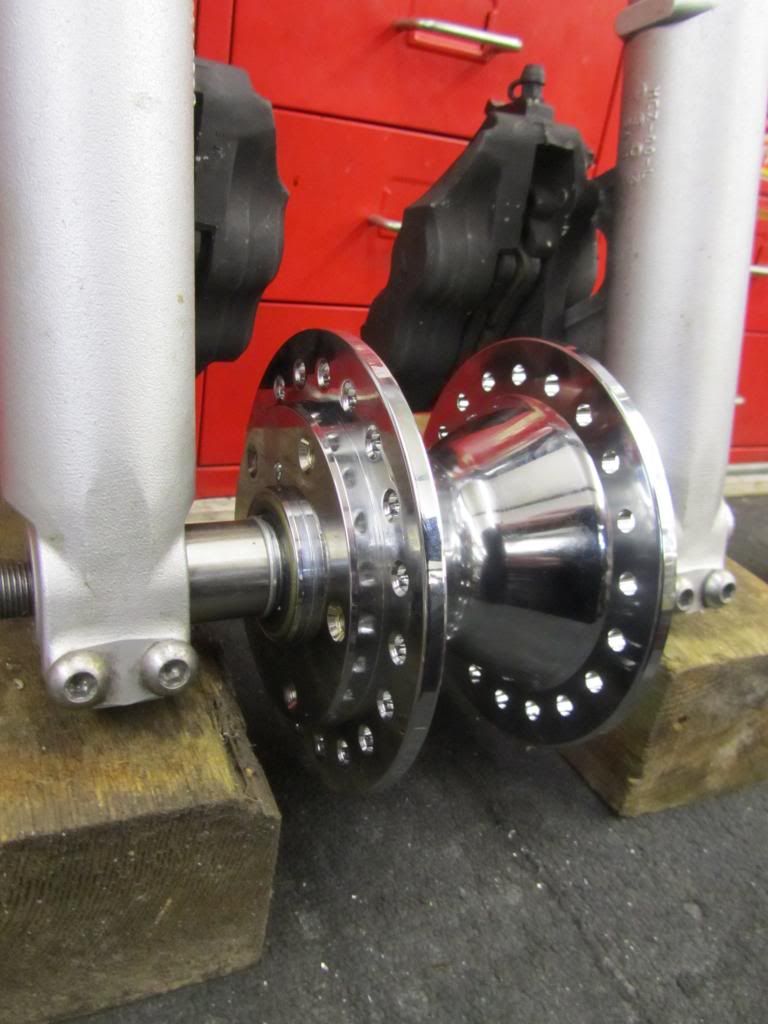
With the forks back on the bike, the next task is to buy a pair of 18 inch Morad alloy rims and spokes and build the wheels, it'll be a few more weeks before that happens. Then I can work out where the oil tank has to sit and make its mounts, along with a thousand other little jobs....
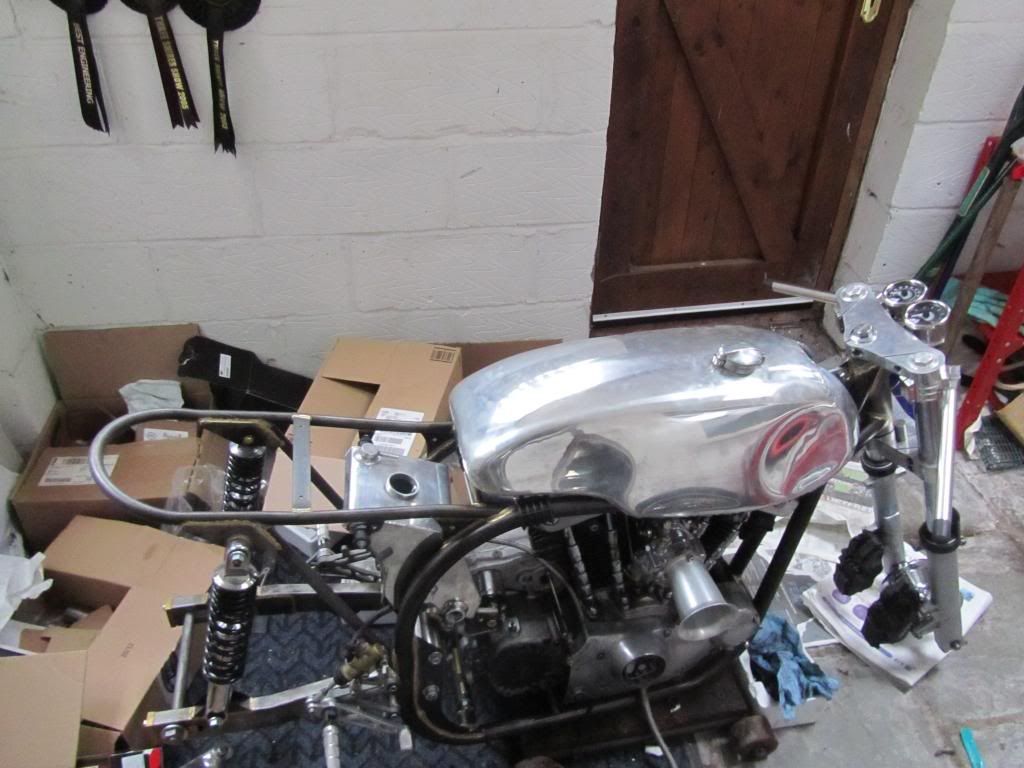
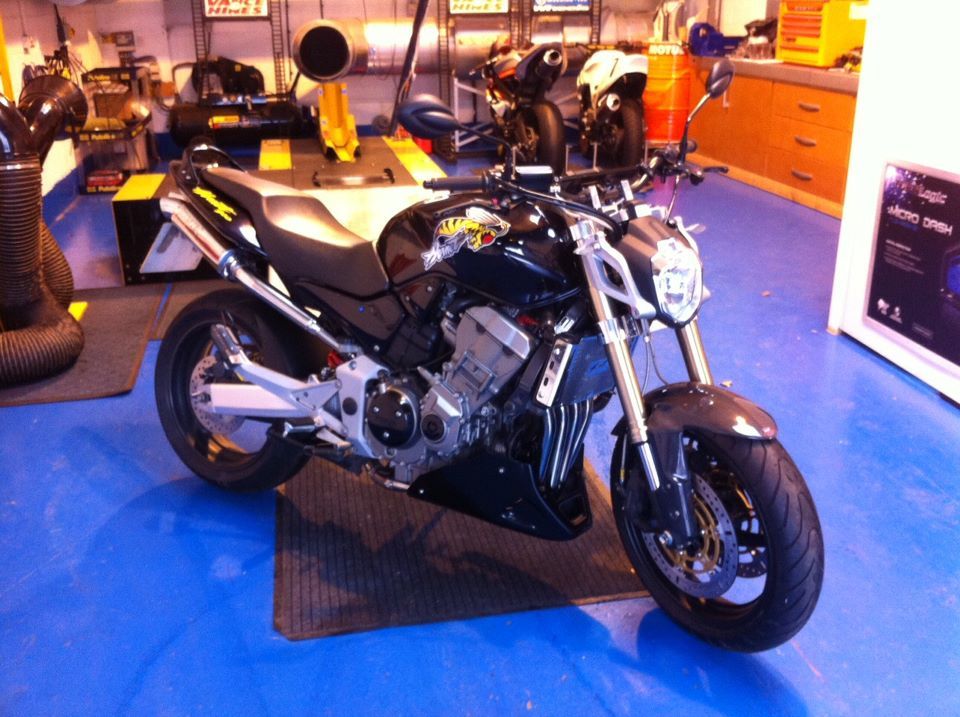
BTW the forks I'm using came off a Honda Hornet 900, which now has a pair of GSXR K7 usds in billet stepped yokes, along with loads of other mods including a Zorstec exhaust..

Well, there was only one thing to do.. hand the problem over to my mate Jeff and his trusty lathe.. 5 hours of machining later the job was done..

With the forks back on the bike, the next task is to buy a pair of 18 inch Morad alloy rims and spokes and build the wheels, it'll be a few more weeks before that happens. Then I can work out where the oil tank has to sit and make its mounts, along with a thousand other little jobs....

BTW the forks I'm using came off a Honda Hornet 900, which now has a pair of GSXR K7 usds in billet stepped yokes, along with loads of other mods including a Zorstec exhaust..

It neednt cost an arm and a leg to restore or build an interesting special. I've done quite over the years and spent a fortune outsourcing jobs as I didnt have the time or inclination to do it myself. These days I have a lot more time and a lot less money, so I try to do as much as possible. Although it can be frustrating having to wait till I can spare the money to buy parts (such as the wheel rims), it does make the project more interesting. I havent worked out actually how much the Guzzi and Norley have cost so far, but roughly the Guzzi stands me at £2500 (£1500 purchase and £1000 on parts.. the tyres being the biggest expense so far). The Norley is a bit more, again £1500 for the original bike, a bargain given it had £3000 orf receipts and a full engine rebuild, plus £2200 for the frame kit including the oil and petrol tanks, and another £600 or so on parts. Some of which werent strictly necessary, ie the new S&S carb. I dont build them to make money, but so long as they dont lose me too much overall I'm happy.
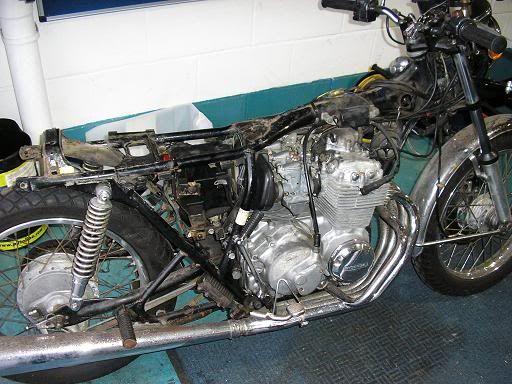
When I 'retired' a couple of years ago, I soon got bored, so bought this Honda 400/4 for £400, it was very original and ran fine, just looked worse than it really was. I restored it, and sold it at a small profit when it was done. Lots of tedius cleaning and polishing, but nothing anyone couldnt manage with a bit of effort..
Before..
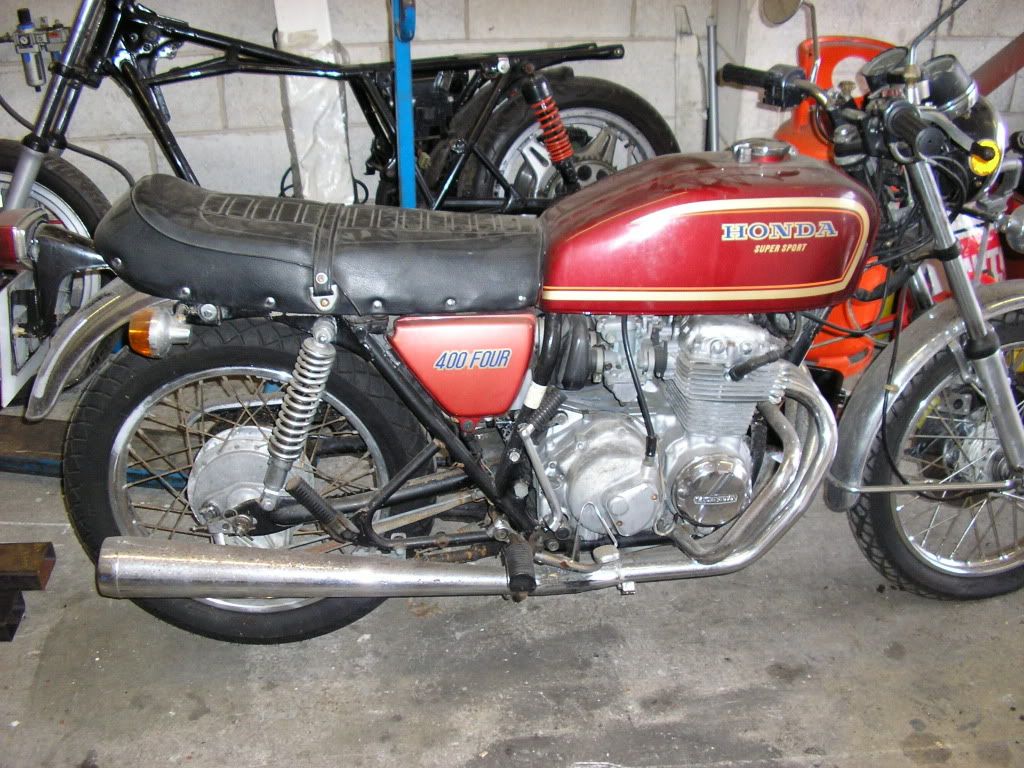
After

When I 'retired' a couple of years ago, I soon got bored, so bought this Honda 400/4 for £400, it was very original and ran fine, just looked worse than it really was. I restored it, and sold it at a small profit when it was done. Lots of tedius cleaning and polishing, but nothing anyone couldnt manage with a bit of effort..
Before..


After

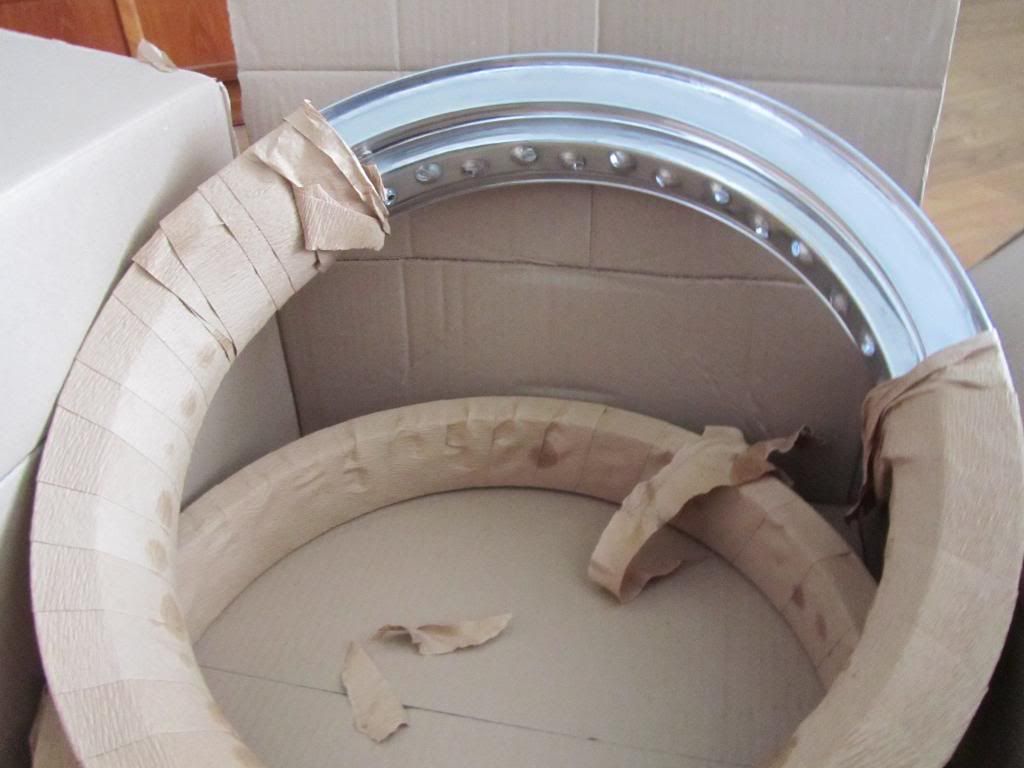
It took awhile, but I finally bought the Morad alloy rims I need. Both 18 inch a 3.0 on the back and a 2.15 for the front. I got them from Central Wheels in Birmingham, despite having the correct dimensions of the hubs (Width, PCD) they were relunctant to sell the correct length spokes. Maybe I just got them on a bad day. I'll walk around the corner tomorrow and see old chap who restores old bikes, and used to rebuild wheels for pocket money. Bill is in his late 80s, last time I saw him he was completing this 'works' 1926 Sunbeam, which had been found buried in a scrap yard. He has a few old bikes, including a Vincent he's owned since the late 50s, though Bill has recently had to give up riding due to poor health.
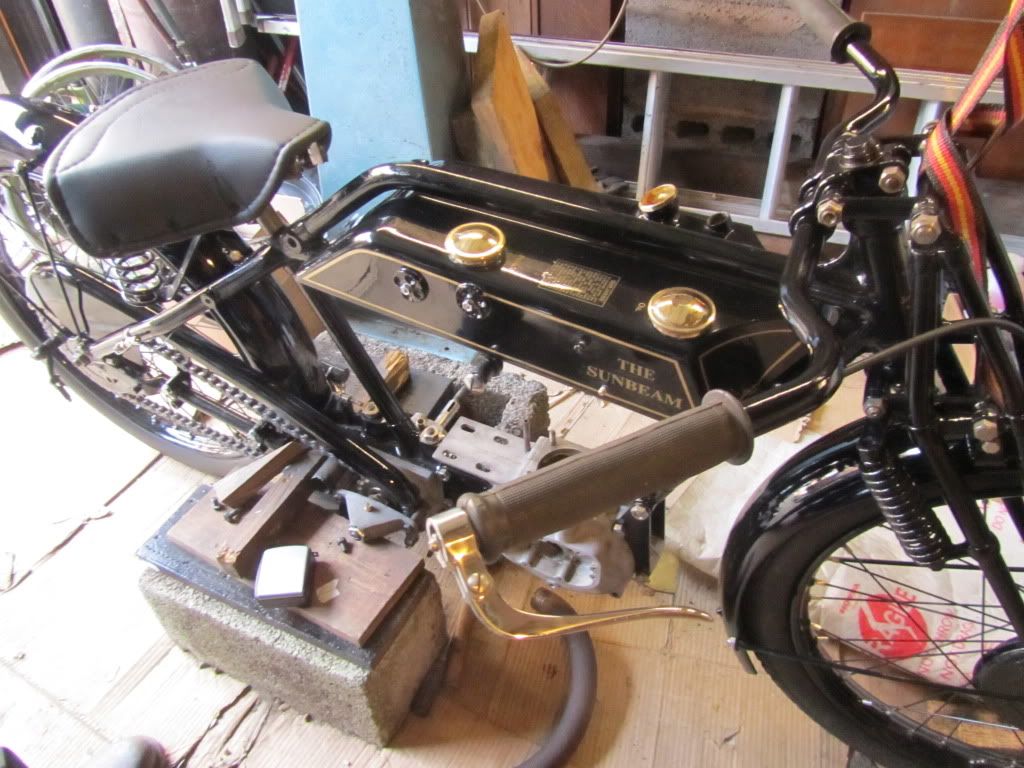


Best regards to Bill, there's not many of these old boys left now - used to be a few handy old guys around here that worked at the G.W.R. works or B.L. before retiring; very few still about.
And your mate Jeff, seems like a handy chap - don't suppose he needs any more mates?
Not posted on here but have been taking notice of this build, love seeing stuff like this come together, it's looking great so far - best of luck.
And your mate Jeff, seems like a handy chap - don't suppose he needs any more mates?
Not posted on here but have been taking notice of this build, love seeing stuff like this come together, it's looking great so far - best of luck.
Yesterday was a big day, my stainless spokes finally arrived, though to be fair, I think they were made for me. Later in the day I also got a big parcel from Unity Equipe, which I've not even had time to open yet.. it should contain a few goodies.. seat, stainless sidestand and tank strap and catch.
In the morning I cycled over the other side of town to see Jeff and drink tea, we'd agreed he'd make me a wheel stand so I can true the wheels up. As often happens I had a sketch of the simplest stand I'd seen, but before long the design evolved a bit and now its going to be much more useful, as I'll be able to use it on any size wheels, with or without a spindle. Hopefully it'll e ready in a few days.
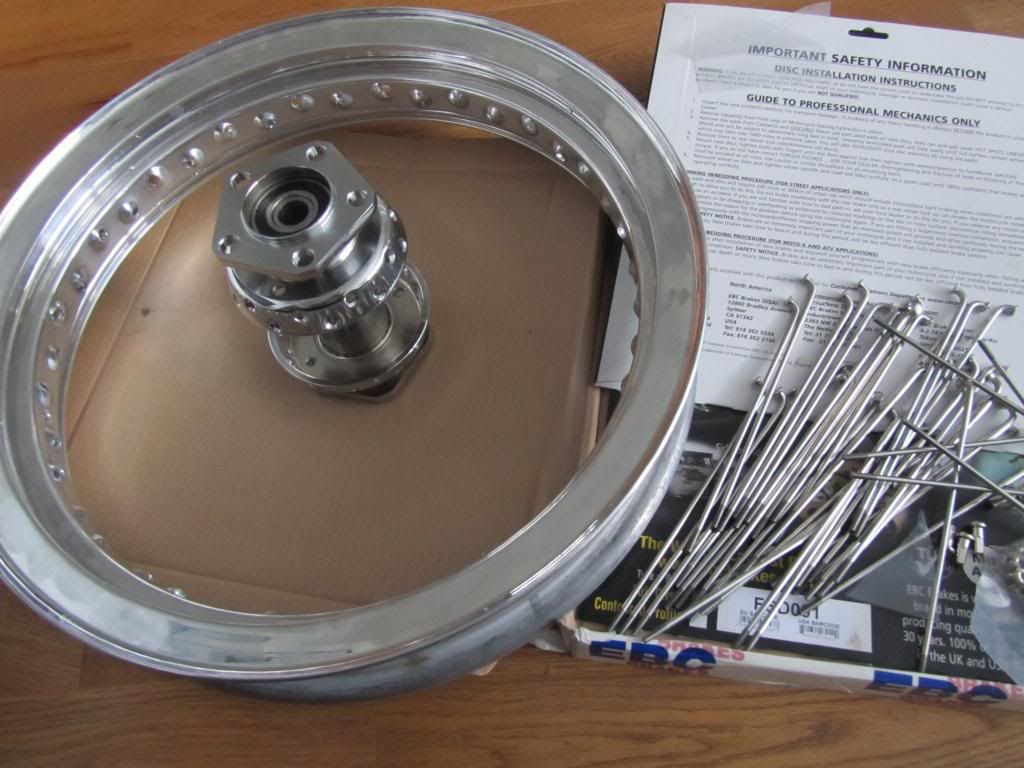
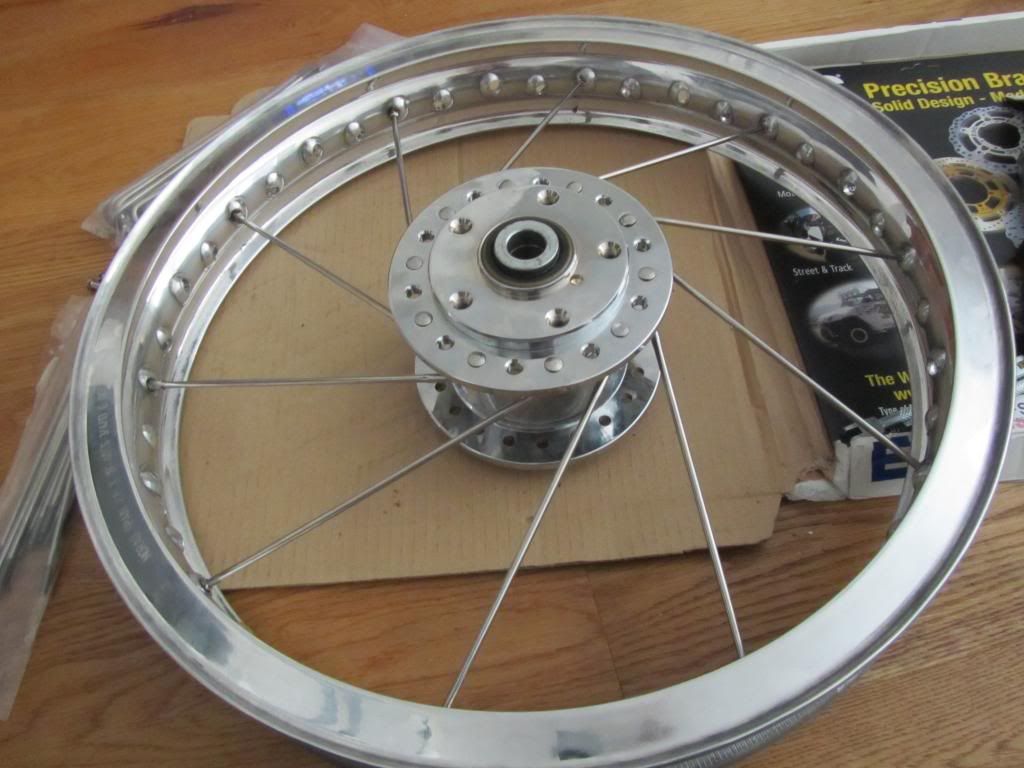
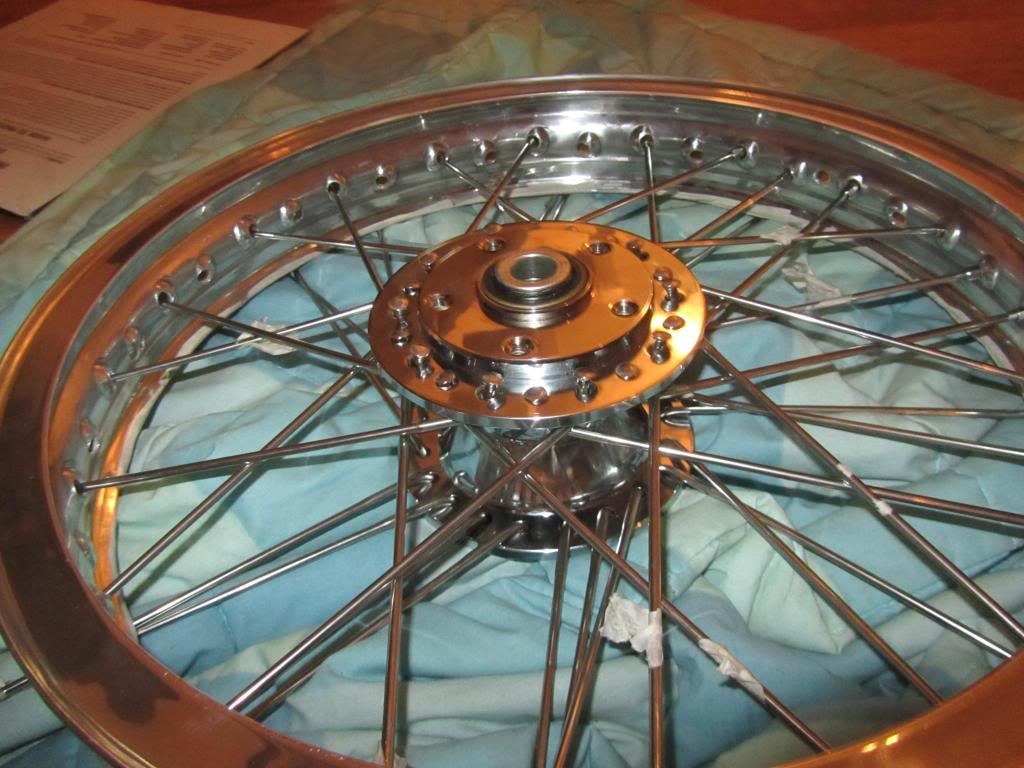
Then I had a go at lacing a wheel for the first time. I made a few silly mistakes along the way, but the rear wheel wasnt as difficult as I'd thought. Though of course I still need to true it. Full of confidence, I started on the front wheel, expecting to be finished in no time. After three attempts I gave up for the evening, I'll try again later. The main problem is that all the holes in the hub for the spokes are all bevelled on one side only, so all the spokes have to be seated on the same side. When the spokes cross it means that one of the spokes doesnt sit in its seat correctly. Obviously I'm lacing it in the srong way, but I cant see the right way at the moment.
Rear wheel..
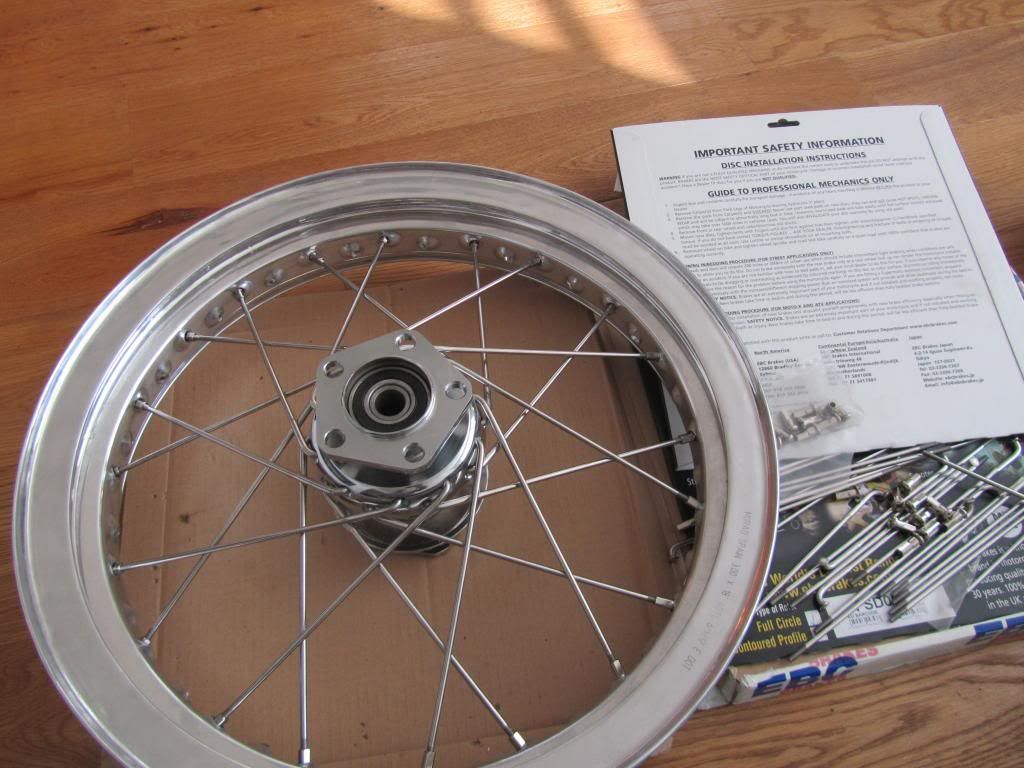
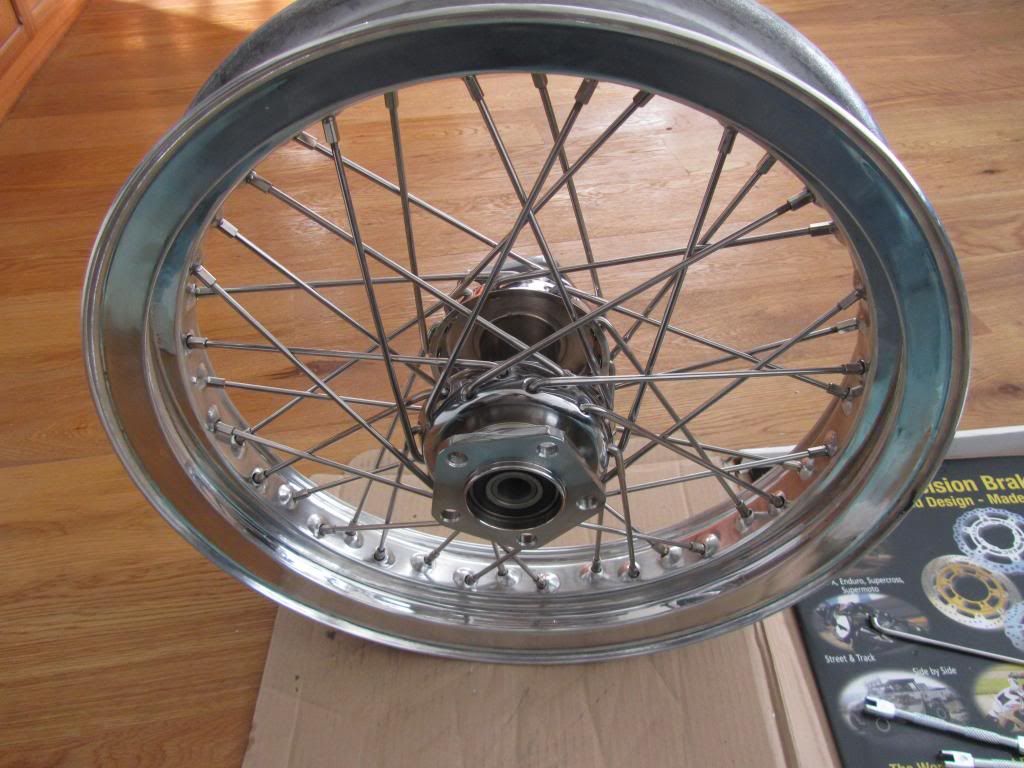
Front wheel.. going ok, then it all went wrong
In the morning I cycled over the other side of town to see Jeff and drink tea, we'd agreed he'd make me a wheel stand so I can true the wheels up. As often happens I had a sketch of the simplest stand I'd seen, but before long the design evolved a bit and now its going to be much more useful, as I'll be able to use it on any size wheels, with or without a spindle. Hopefully it'll e ready in a few days.
Then I had a go at lacing a wheel for the first time. I made a few silly mistakes along the way, but the rear wheel wasnt as difficult as I'd thought. Though of course I still need to true it. Full of confidence, I started on the front wheel, expecting to be finished in no time. After three attempts I gave up for the evening, I'll try again later. The main problem is that all the holes in the hub for the spokes are all bevelled on one side only, so all the spokes have to be seated on the same side. When the spokes cross it means that one of the spokes doesnt sit in its seat correctly. Obviously I'm lacing it in the srong way, but I cant see the right way at the moment.
Rear wheel..


Front wheel.. going ok, then it all went wrong


I didnt get very far with lacing the front wheel today, so on the basis that the only stupid question is the one you dont ask, I popped around the corner to see Bill who soon pointed out my beginners error. When I unpacked the spokes, the rear spokes were in two seperate bags. I did check to see if there were any differences but they were the same length and had the same angle of bend. So without further thought I got stuck in. Bill pointed out that I had two diferent spoke sets, one of which had a slightly longer bend, these should be used when a spoke crosses on top of another at the hub. Mystery solved, he kindly offered to finish the wheel for me and true it up, in the meantime I admired the last of the three 1920s Sunbeams he'd restored, from being piles of rust dug up out of ground of a old scrap yard. Not to mention his Velo and Vincent and a couple of specials.. I must remember to take my camera when I collect the wheel in a day or so.
The wheels are done now at last, and I managed to reuse the front disc spacers from the original bike on the new hub, with some machining to fit the EBC discs. Unfortunately, I didnt realise that the underside of the spacers would also need a bit of work, so the the front discs will have to wait till I can sort out their spacers.
The rear disc mounting holes also had to be widened (as HD hubs use bigger bolts on the back than the front) and disc manufacturers dont seem to bother drilling the correct size holes. I need to find a rear Nissin caliper then I can make a caliper mount and wheel spacers fo rthe back wheel.
Here's a blurry vid I just took of progress to date, you can see I dont have a lot of room, as I'm working in the conversatory, as the garage is full up. By the end of the month I hope to have it on its wheels, then I can start on the engine, first task, is to make an exhaust system then a one off Hydraulic clutch conversion, so I can use a matching pair of brembo hand controls. May not work, but I want to try.
http://youtu.be/MeqE9wE2gTY
Gassing Station | Biker Banter | Top of Page | What's New | My Stuff


 That makes sense to me now! I only understand about one word in three in these type of threads...
