My new Project.. From Chop to...
Discussion


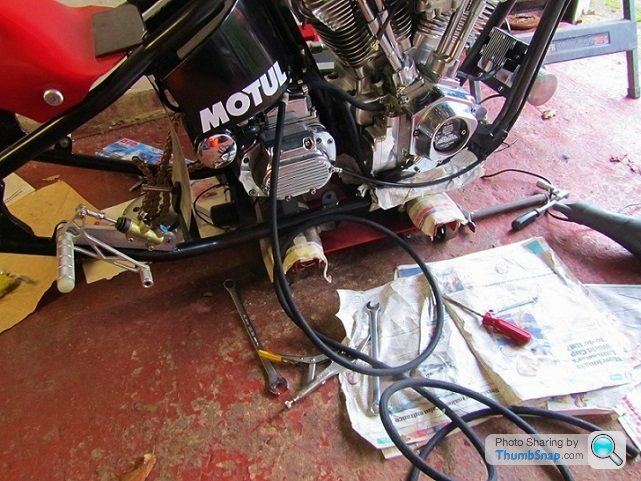
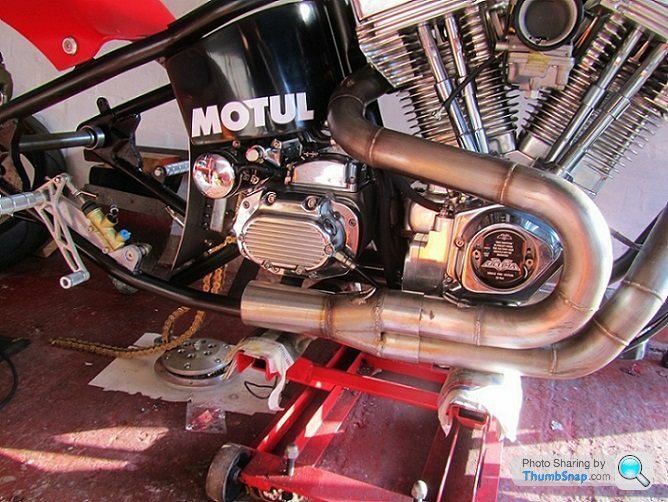
Downpipes are on at last, they sit slightly differently from the old bike, so will need to modify the collector or make another. The old exhaust collector could do with a tad more silencing, some tracks have a 104 db noise limit. This exhaust probably exceeds that at idle.
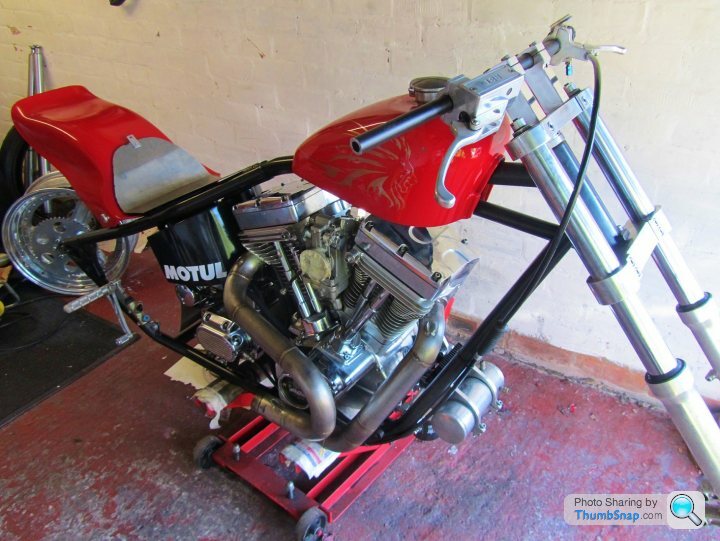
Finally got my hands on the ZXR750 forks off the other project bike and they went straight in the yokes without any problems. I had a mint Brembo 4 pot goldline caliper which happened to fit these forks perfectly, or at least they looked like they did. But turns out the mounting holes are 1.5mm different. Bloody typical. Still want to use the Brembo as it matches the rear, so will need to make a bracket.
Finally got my hands on the ZXR750 forks off the other project bike and they went straight in the yokes without any problems. I had a mint Brembo 4 pot goldline caliper which happened to fit these forks perfectly, or at least they looked like they did. But turns out the mounting holes are 1.5mm different. Bloody typical. Still want to use the Brembo as it matches the rear, so will need to make a bracket.
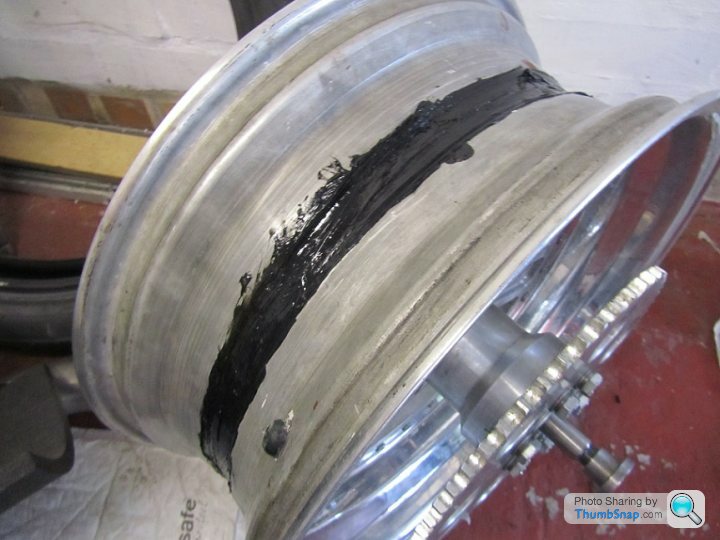

The rear wheel is being a pita, whatever I try it still leaks. The tyre has been off and on five times this week as we try different sealants, all to no avail. May have to get the joints between the rims and centre seam welded as a last resort.
On a brighter note I was given a nice set of discs taken from a GSXR750 K7 for free, which have 310mm front discs, just what I needed to work with the forks I'm using. They were take off parts when a customer upgraded to some fancy Galfer discs at my local bike shop, he didn't want the old discs (strange as they are in good condition), so they were given to me, as they knew I was after a 310mm disc.
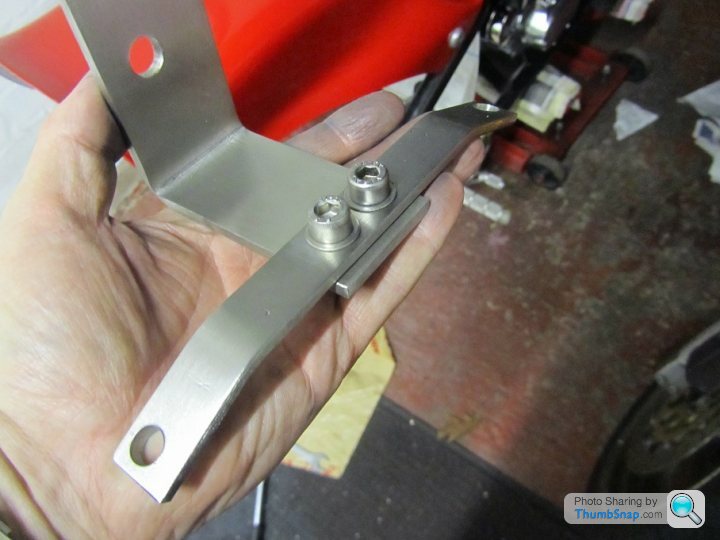
Made a rear caliper torque arm out of a donated steering rod from a Go kart, had to cut it down a few cm, but apart from that it went straight on, even had the correct sized rose joints already.
Next job was to make a top motor mount, last one I bought was a fancy billet one which cost around £150. This one is made from high grade 5mm stainless, and cost a tenner, as I had Geoff the welder cut out the metal and bend it accurately for me. It'll also be used to hold the coil when that turns up, and the choke cable. Still needs a bit of fettling to make it look pretty, but overall its ok.
On a brighter note I was given a nice set of discs taken from a GSXR750 K7 for free, which have 310mm front discs, just what I needed to work with the forks I'm using. They were take off parts when a customer upgraded to some fancy Galfer discs at my local bike shop, he didn't want the old discs (strange as they are in good condition), so they were given to me, as they knew I was after a 310mm disc.
Made a rear caliper torque arm out of a donated steering rod from a Go kart, had to cut it down a few cm, but apart from that it went straight on, even had the correct sized rose joints already.
Next job was to make a top motor mount, last one I bought was a fancy billet one which cost around £150. This one is made from high grade 5mm stainless, and cost a tenner, as I had Geoff the welder cut out the metal and bend it accurately for me. It'll also be used to hold the coil when that turns up, and the choke cable. Still needs a bit of fettling to make it look pretty, but overall its ok.
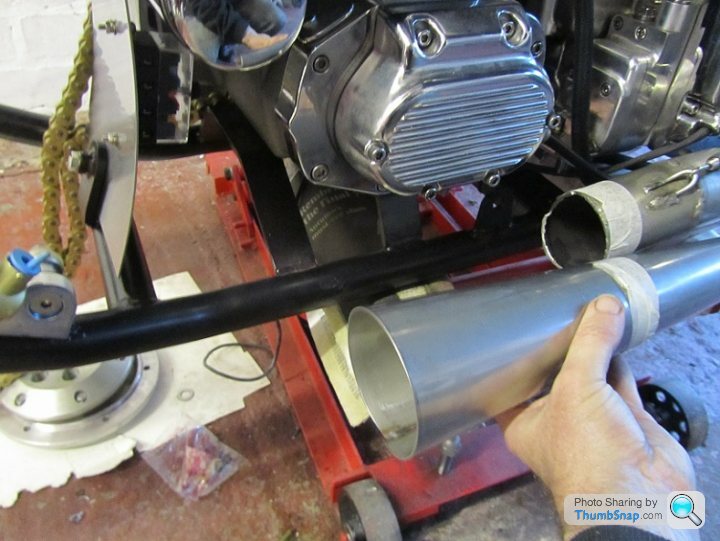
The exhaust collector needed work as it sat differently than on the old bike so its mounting point was angled wrong. Some tracks have noise limits, which I'm sure this exhaust would exceed massively. Therefore I'd been thinking about adding a silencer, though space is limited, so not sure how much quieter it would be using a small silencer, while not strangling the engine. I cut the old collector in half and tried a few options.. 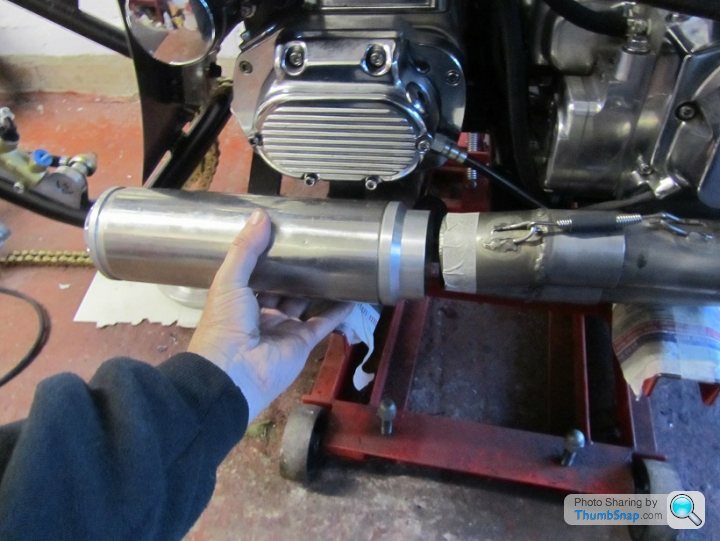
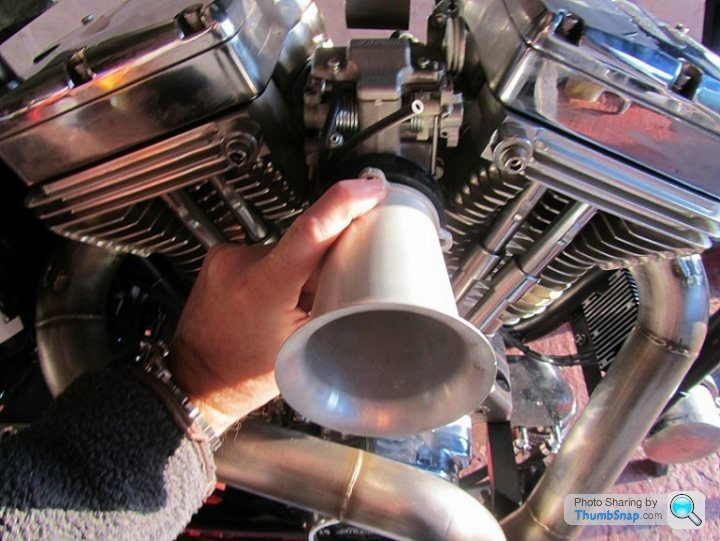
At the other end of the engine, I dug out my trusty S&S velocity stack to use, needs an adaptor making to fit the Mikuni carb, which is in progress now.
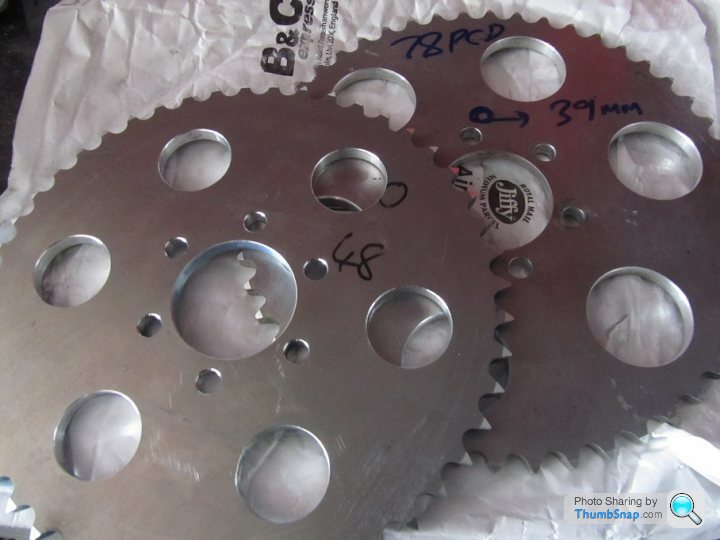
Waiting for some parts to arrive.. coil, tacho, new blank rear sprocket from Renthal. When all that arrives the wiring can be done, by which time hopefully the front end will be ready too.
Merch131 said:
The rear wheel is being a pita, whatever I try it still leaks. The tyre has been off and on five times this week as we try different sealants, all to no avail. May have to get the joints between the rims and centre seam welded as a last resort.
May I suggest splitting the wheel and putting the sealant on the flange?This was how we used to seal kart wheels many years ago.
Don't know if it helps, but here's a video on assembling 3-piece (car) wheels.
http://www.ccwheel.com/technical-repair.php
Looks as if they don't put the sealant on the mating faces, but on the chamfer at the edge of the mating faces
I would imagine that you'd want metal to metal contact between the components.
http://www.ccwheel.com/technical-repair.php
Looks as if they don't put the sealant on the mating faces, but on the chamfer at the edge of the mating faces
I would imagine that you'd want metal to metal contact between the components.
The wheel did have some kind of sealant / gasket on the faces when it was assembled (don't know what kind), but clearly it didn't make the wheel airtight, hence I needed to add more to the joints. Yesterday I had the rims seam welded to the centre, was told it was a pig of a job as the red sealant that had been used kept bubbling up to the surface of the joint with the heat. I'm £60 the poorer now, but fingers crossed it wont leak anymore.
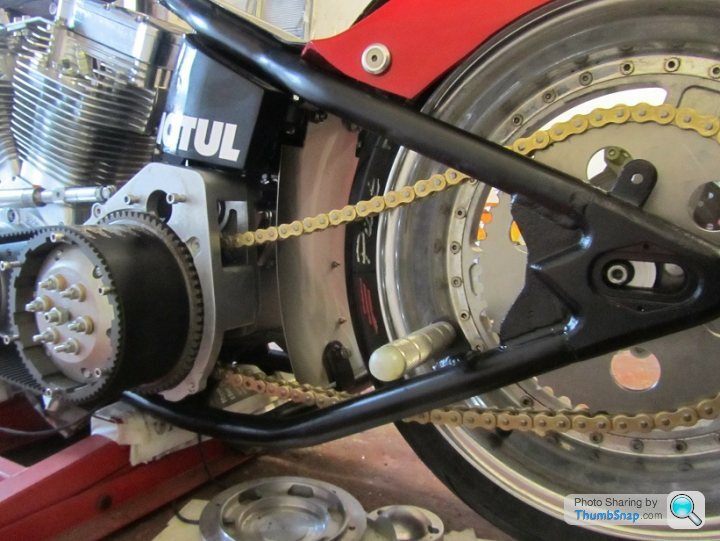
Once everything torqued up, I found a problem with the primary belt alignment which hadn't been evident till now. The front pulley (Which is bolted to the splined end of the crank) is 3mm out of line with the rear pulley. Turns out the belt drive kit includes a spacer to fit behind the front pulley in case its needed. But in the years since I've owned the kit, its been lost. Normally it wouldnt be a big problem, I'd just machine a spacer and problem solved. But I really didn't want to remove that front pulley, as the steel pulley insert needed to be heated to get it to slide on to the crankshaft. It wouldn't be easy to remove it.
Because the belt overhung the edge of the front pulley by 3mm, the alloy guide plate which bolts to the side of the pulley wouldn't fit without fouling the belt. I couldn't just leave it off, as it ensures the belt doesn't run off the pulley.

Because the belt overhung the edge of the front pulley by 3mm, the alloy guide plate which bolts to the side of the pulley wouldn't fit without fouling the belt. I couldn't just leave it off, as it ensures the belt doesn't run off the pulley.
Edited by Merch131 on Saturday 29th November 20:56
Gassing Station | Biker Banter | Top of Page | What's New | My Stuff