Honda VRX400 1995 "barn find" restoration
Discussion


Here's a tip for you, pop pickers.
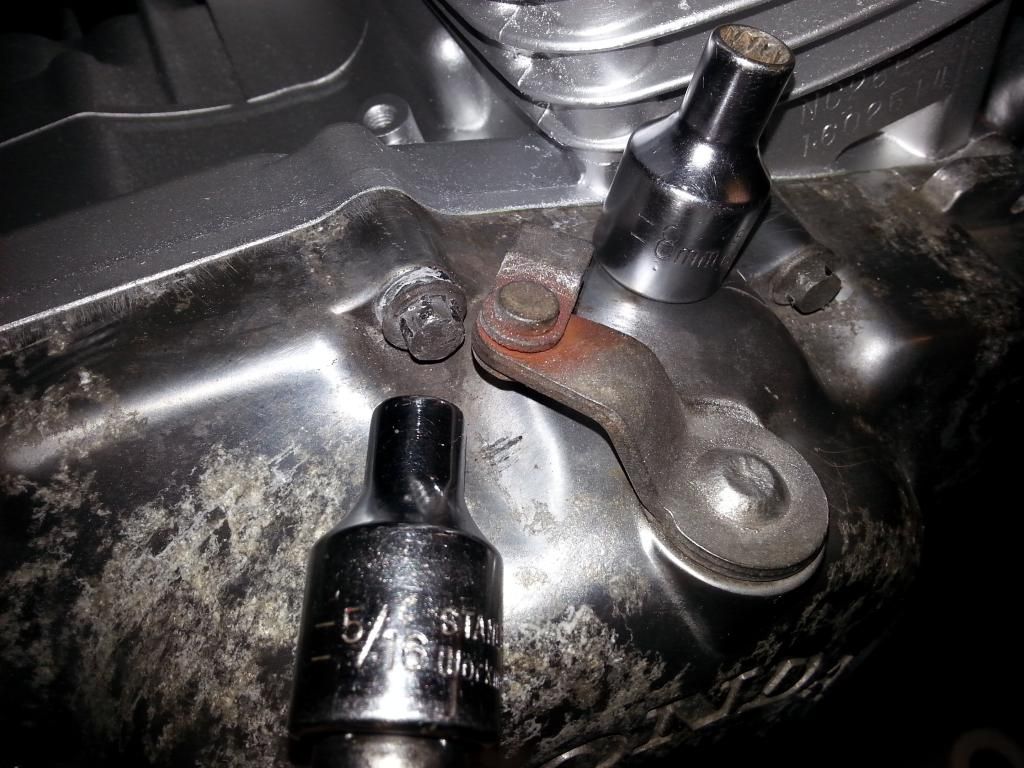
Due to being a 'tard like me, if you round a bolt head like I did (though inattention, listening to the radio) and the correct spanner and socket size (8mm) is just spinning on the nut, get the next size down in imperial (7/16") and hammer that on hard. Often the imperial (or vice versa of course) socket will be half way between the metric sizes (7.9mm in this case) and just enough if you whack it on with a hammer just to crack the nut. Of course it helps if the bolt heads are soft as poo, like these are.
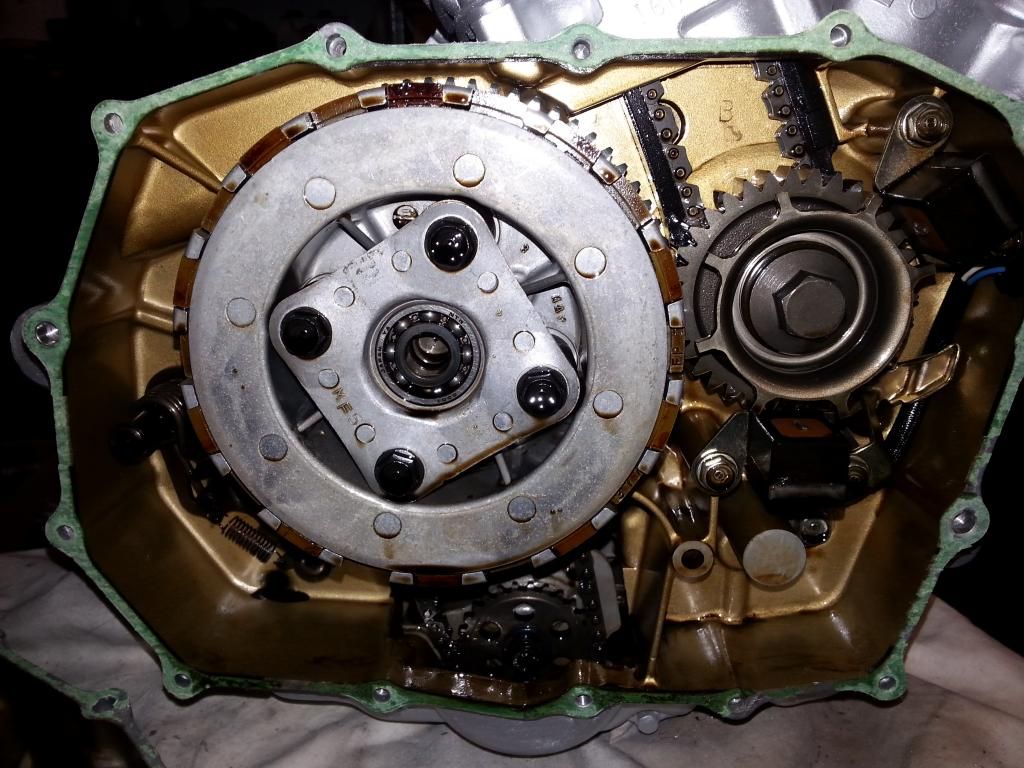
The clutch cover REALLY didn't want to come off, much use of the rubber hammer was employed, but it's off now ...

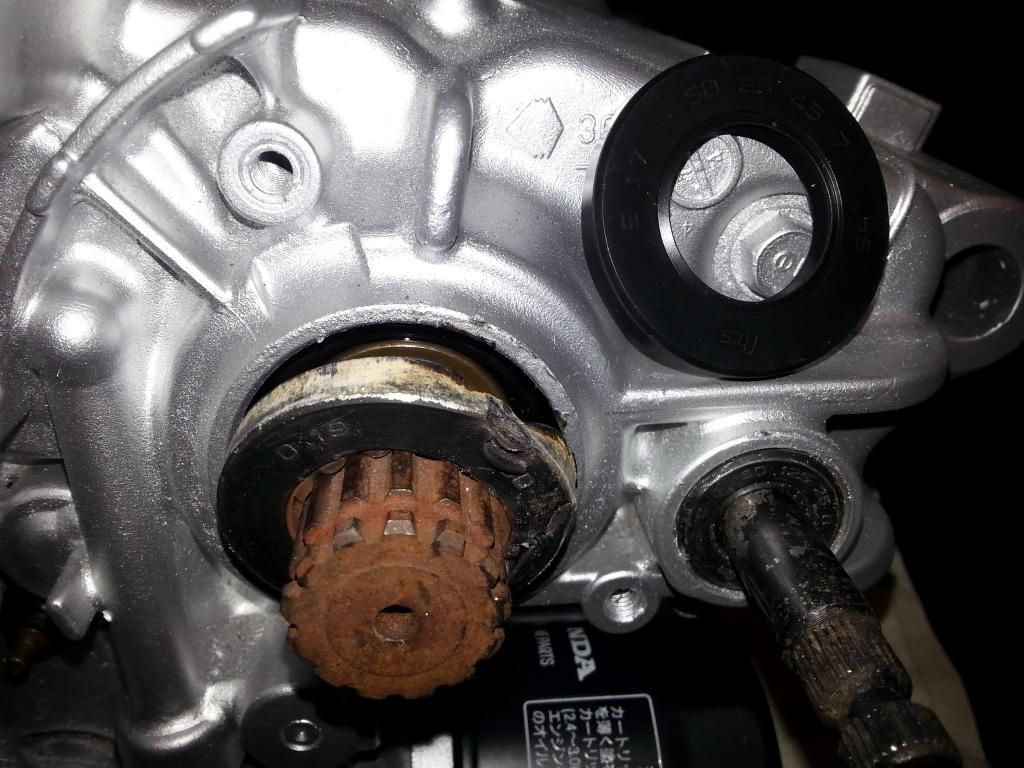
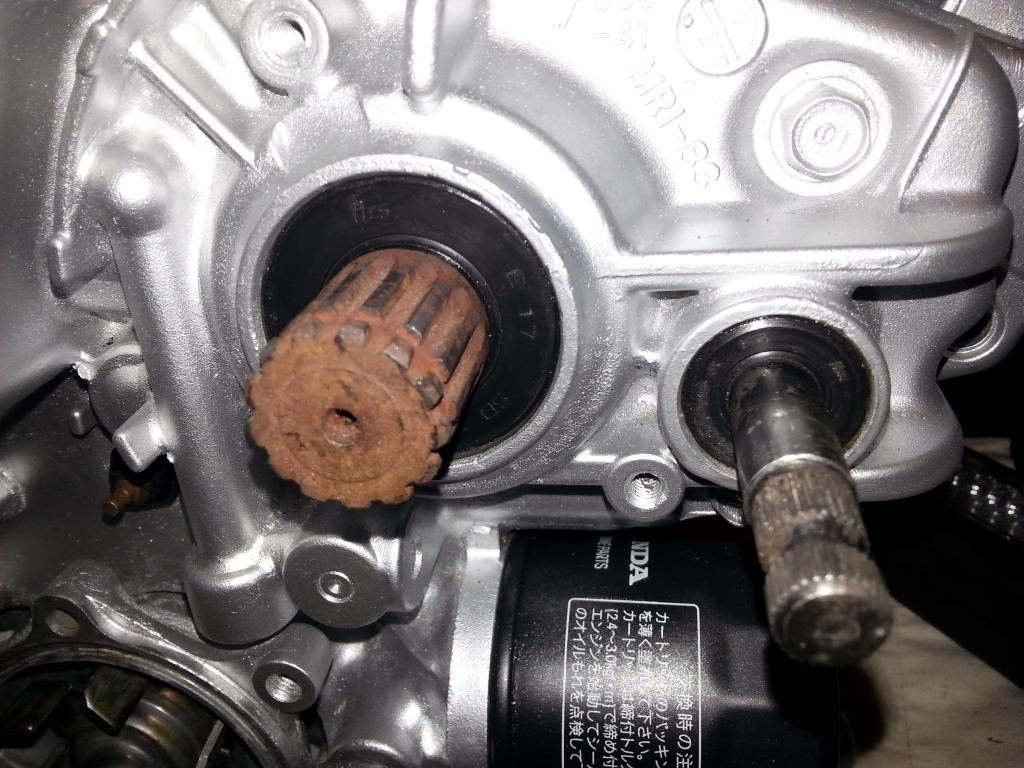
Inside the clutch area.
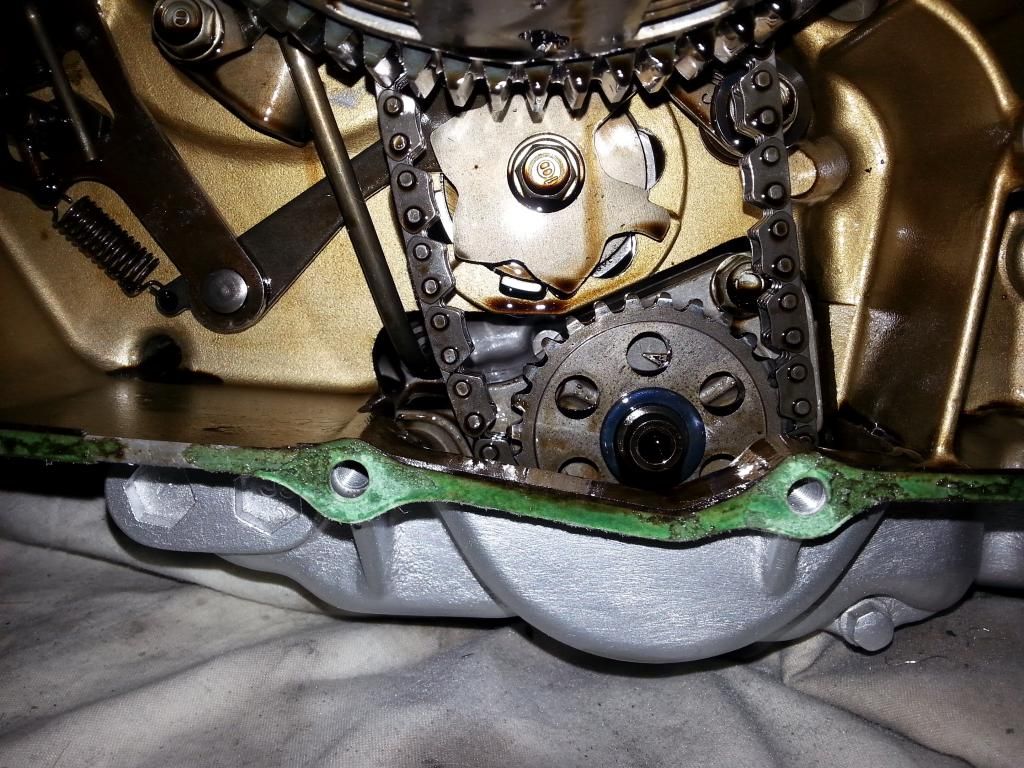
Not sure what this chain is, I need to figure it out (any clues, anyone ?) but it's as flappy as anything. Need to figure out if it's supposed to be like that, or if there's any adjustment. There's no obvious tensioner. Investigations follow ...
Due to being a 'tard like me, if you round a bolt head like I did (though inattention, listening to the radio) and the correct spanner and socket size (8mm) is just spinning on the nut, get the next size down in imperial (7/16") and hammer that on hard. Often the imperial (or vice versa of course) socket will be half way between the metric sizes (7.9mm in this case) and just enough if you whack it on with a hammer just to crack the nut. Of course it helps if the bolt heads are soft as poo, like these are.

The clutch cover REALLY didn't want to come off, much use of the rubber hammer was employed, but it's off now ...

Inside the clutch area.

Not sure what this chain is, I need to figure it out (any clues, anyone ?) but it's as flappy as anything. Need to figure out if it's supposed to be like that, or if there's any adjustment. There's no obvious tensioner. Investigations follow ...

evil len said:
Here's a tip for you, pop pickers.
Due to being a 'tard like me, if you round a bolt head like I did (though inattention, listening to the radio) and the correct spanner and socket size (8mm) is just spinning on the nut, get the next size down in imperial (7/16") and hammer that on hard. Often the imperial (or vice versa of course) socket will be half way between the metric sizes (7.9mm in this case) and just enough if you whack it on with a hammer just to crack the nut. Of course it helps if the bolt heads are soft as poo, like these are.
The clutch cover REALLY didn't want to come off, much use of the rubber hammer was employed, but it's off now ...
Inside the clutch area.
Not sure what this chain is, I need to figure it out (any clues, anyone ?) but it's as flappy as anything. Need to figure out if it's supposed to be like that, or if there's any adjustment. There's no obvious tensioner. Investigations follow ...
Oil pump?Due to being a 'tard like me, if you round a bolt head like I did (though inattention, listening to the radio) and the correct spanner and socket size (8mm) is just spinning on the nut, get the next size down in imperial (7/16") and hammer that on hard. Often the imperial (or vice versa of course) socket will be half way between the metric sizes (7.9mm in this case) and just enough if you whack it on with a hammer just to crack the nut. Of course it helps if the bolt heads are soft as poo, like these are.
The clutch cover REALLY didn't want to come off, much use of the rubber hammer was employed, but it's off now ...
Inside the clutch area.
Not sure what this chain is, I need to figure it out (any clues, anyone ?) but it's as flappy as anything. Need to figure out if it's supposed to be like that, or if there's any adjustment. There's no obvious tensioner. Investigations follow ...
Found the relevant bit in the workshop manual, but unless it's mentioned in the Japanese text there's nothing about allowable slack on the oil pump chain ...
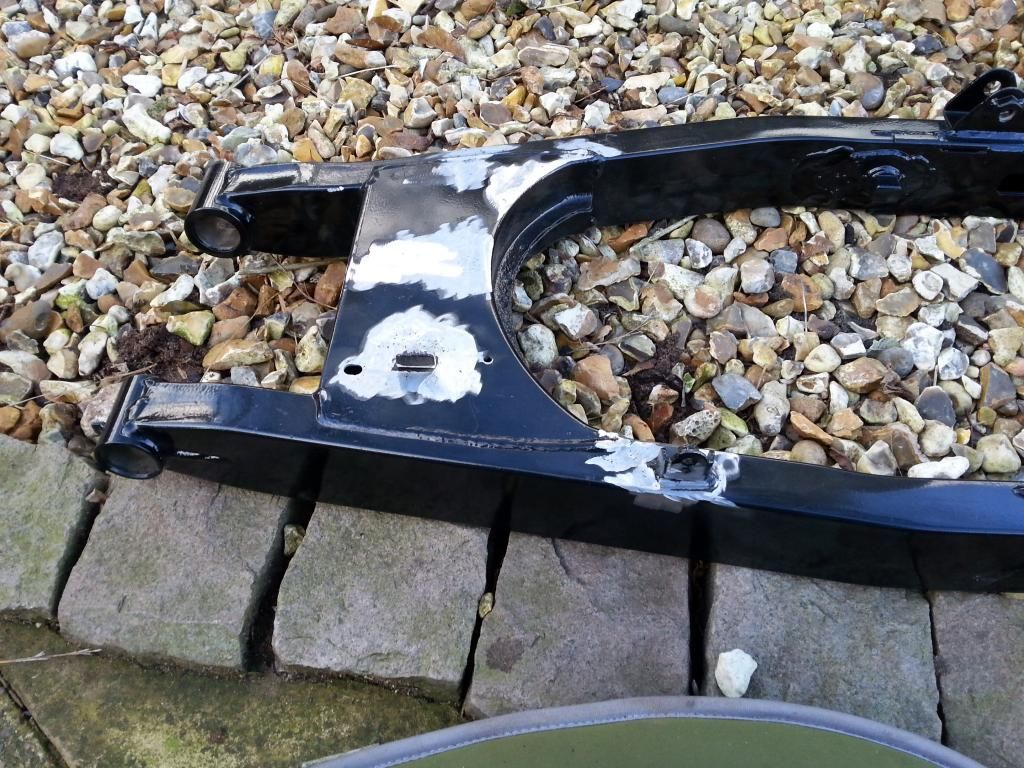
Welded up the bottom of the subframe today. It's about 15 years since I last did any welding, so I'm not too disappointed in the results ... not too pigeon-s**tty !
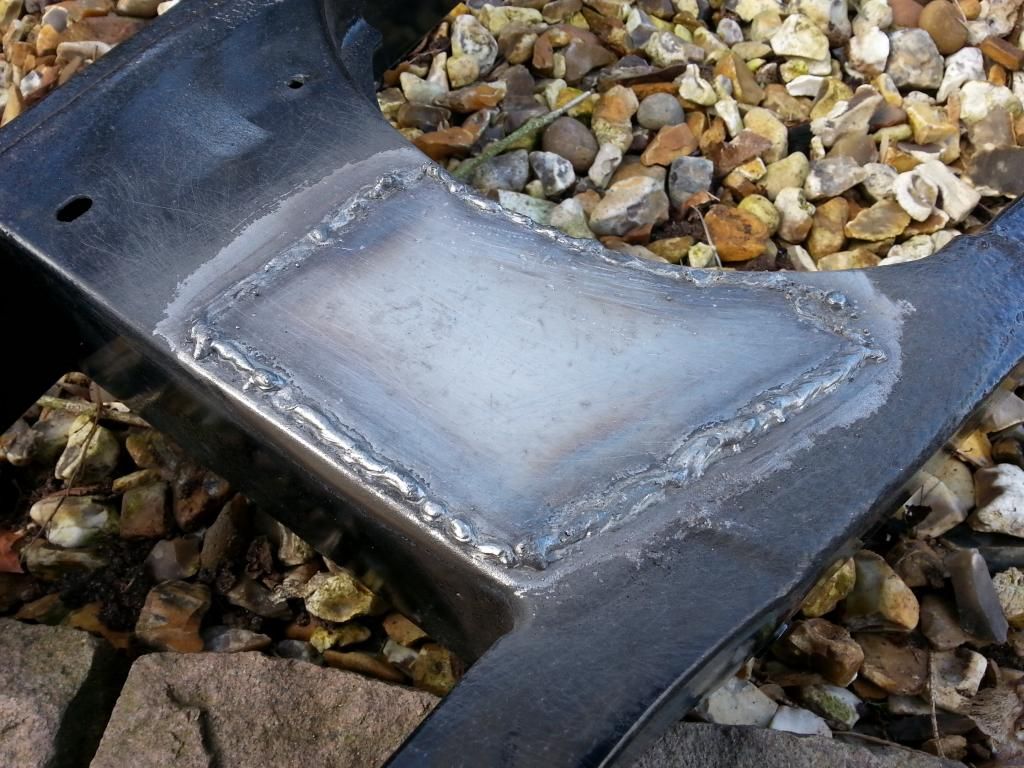
Dressed up a bit. Remember this is underneath so won't be seen.
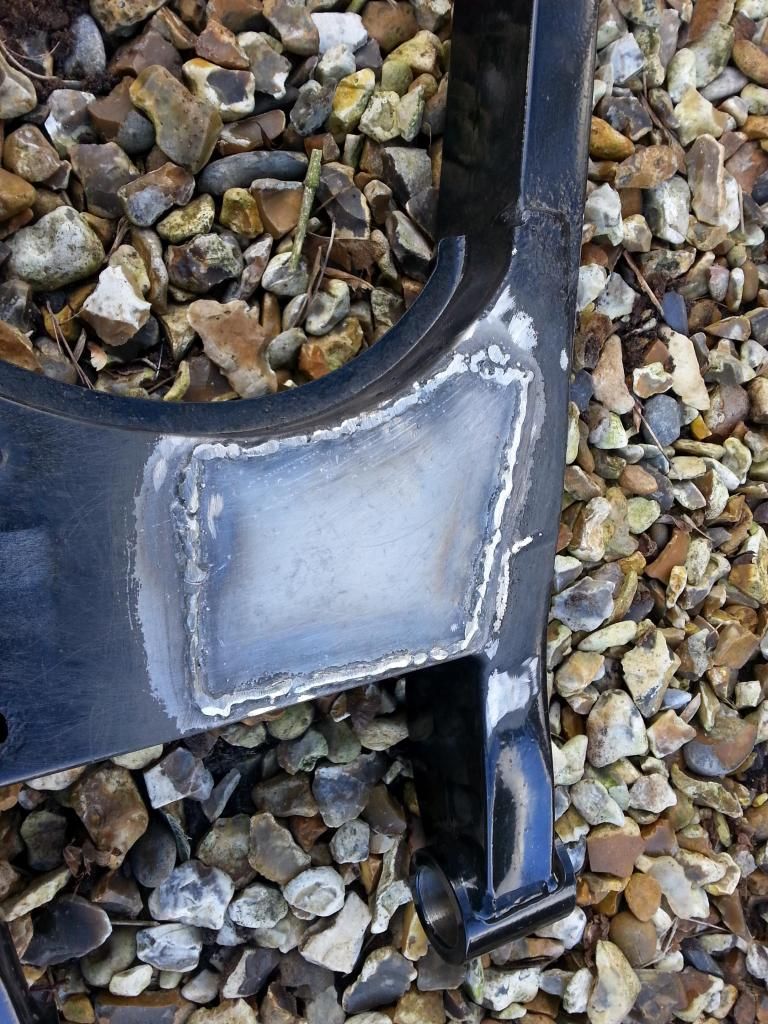
Also angle-ground and lanished back some of the rust areas (pitting) so when it goes back for blasting and powder coating again, the finish will be better.
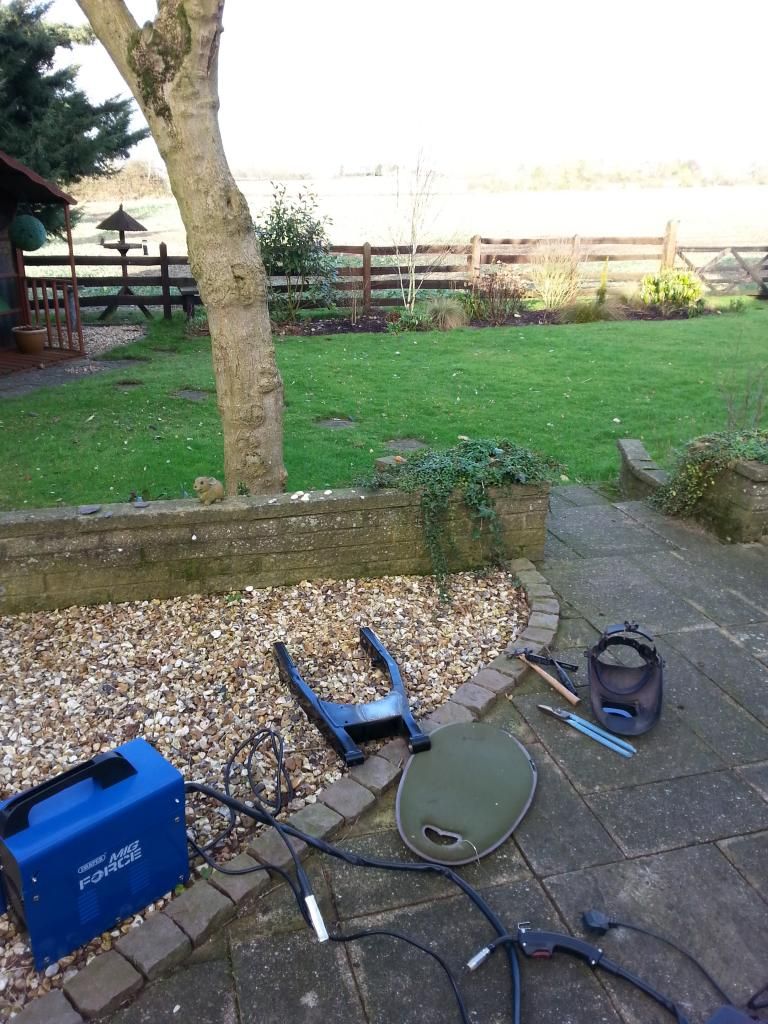
Not a bad 'workshop' :-)
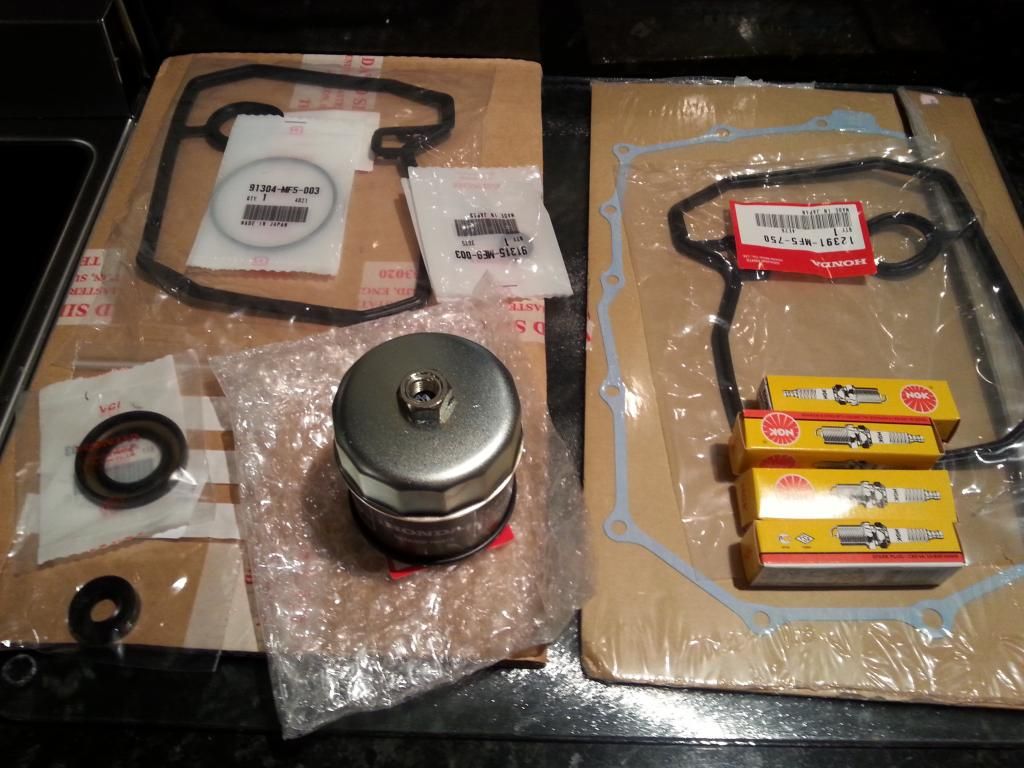
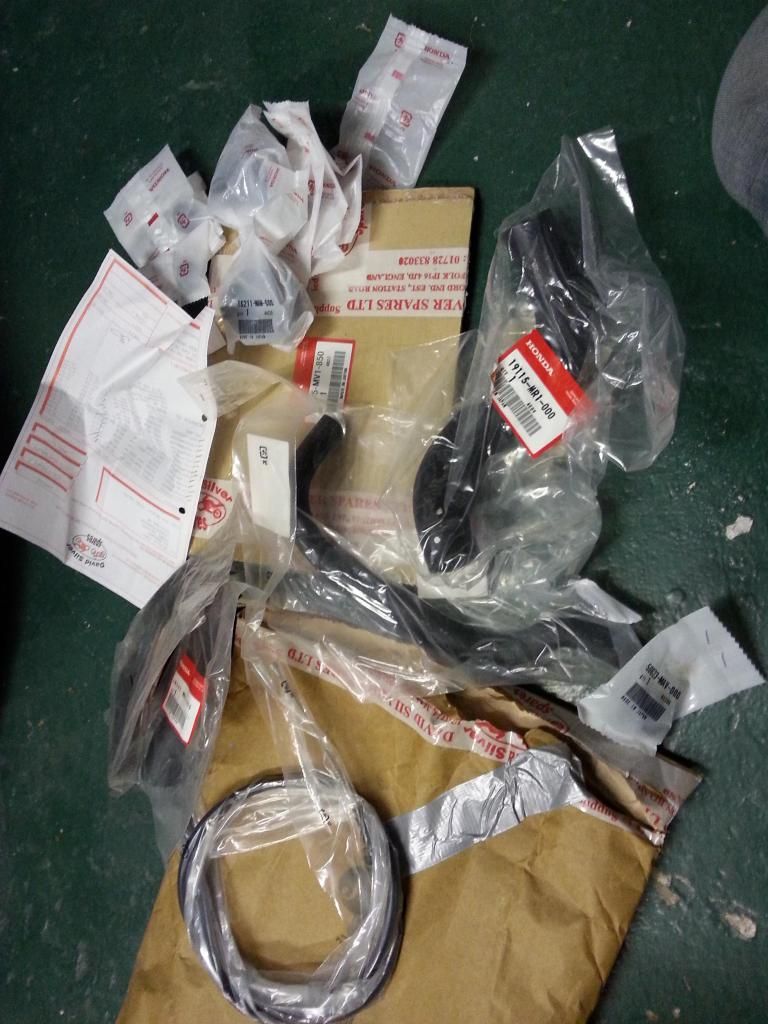
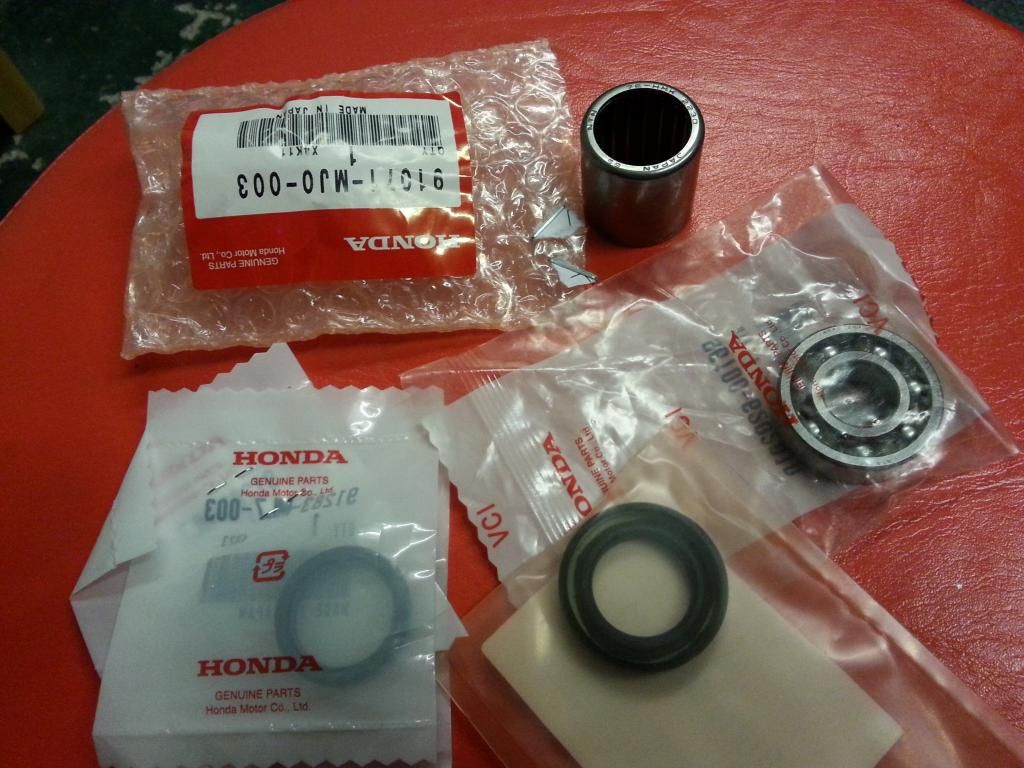
More bits arrived from David Silver, mainly service items and gaskets/seals. Doesn't look much for a hundred quid, does it ?
Welded up the bottom of the subframe today. It's about 15 years since I last did any welding, so I'm not too disappointed in the results ... not too pigeon-s**tty !

Dressed up a bit. Remember this is underneath so won't be seen.

Also angle-ground and lanished back some of the rust areas (pitting) so when it goes back for blasting and powder coating again, the finish will be better.

Not a bad 'workshop' :-)

More bits arrived from David Silver, mainly service items and gaskets/seals. Doesn't look much for a hundred quid, does it ?

Replacing sprocket shaft and gear change seals, easy enough job ... you were right Mr2Mike / Benni
So, after the £1300 quote for all the chrome, I shopped round a bit, ordered the few items from Japan that are still available (which works out cheaper than rechroming) and went with splitting the items between two different rechromers (amazing the difference in quotes ... part X would be £35 with one chromer and £55 with another, but with part Y it would be the second chromer who was cheaper). It's still going to cost me the best part of £1k though, for all the chrome.
With that in mind, I've decided to have a go at polishing up all the alloy components ... I was going to send them to a polisher, but I think the cost would be an issue now. I think I'm going to be well over my £3k original budget. Maybe I need to revise that to £4k ...
Bought a polishing kit for a bench grinder off ebay, and I've been playing on a small component (headlight bracket)
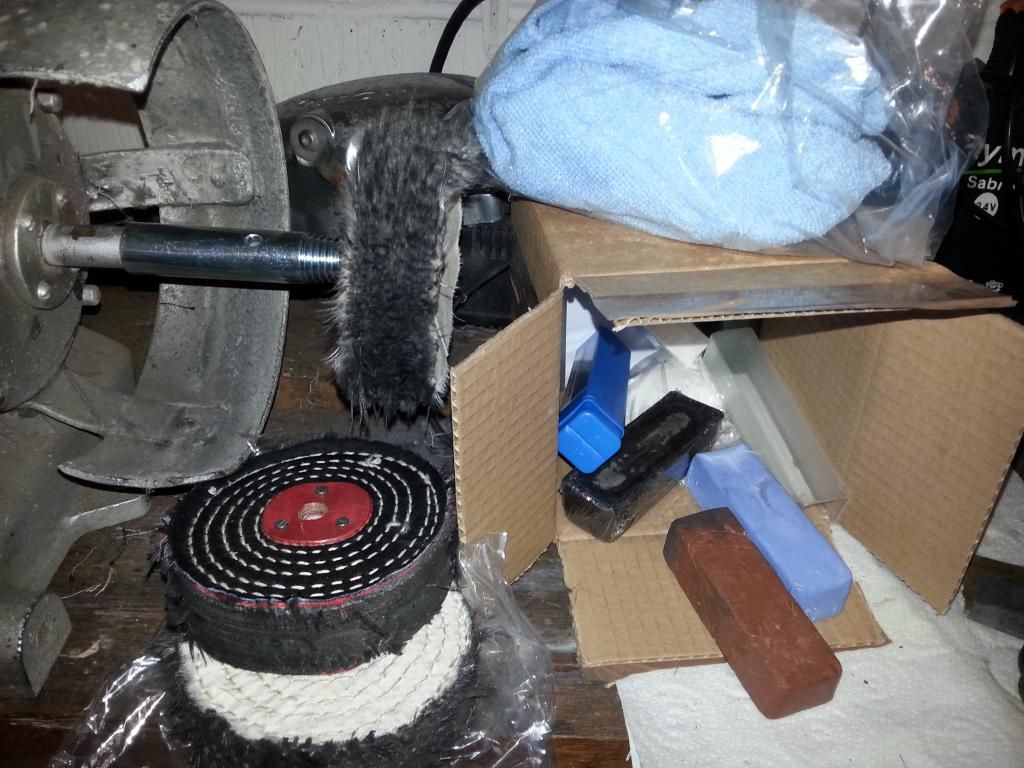
I'm reasonably happy with the result ... I'll do further posting / a video on the process, once I've refined it myself.
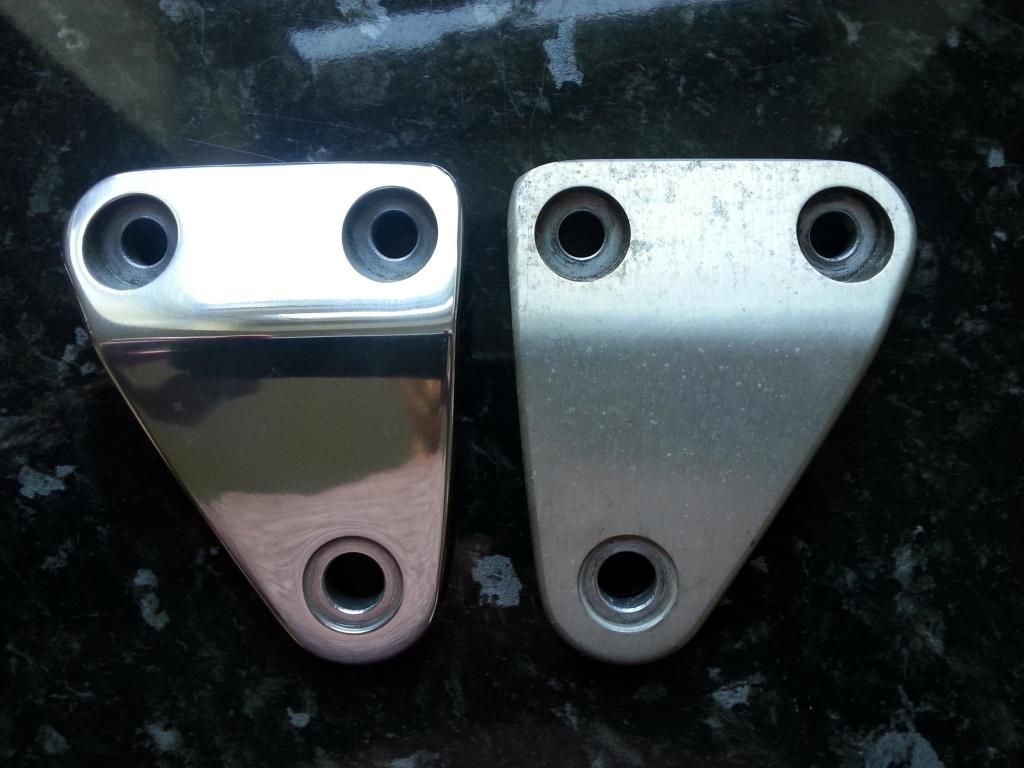
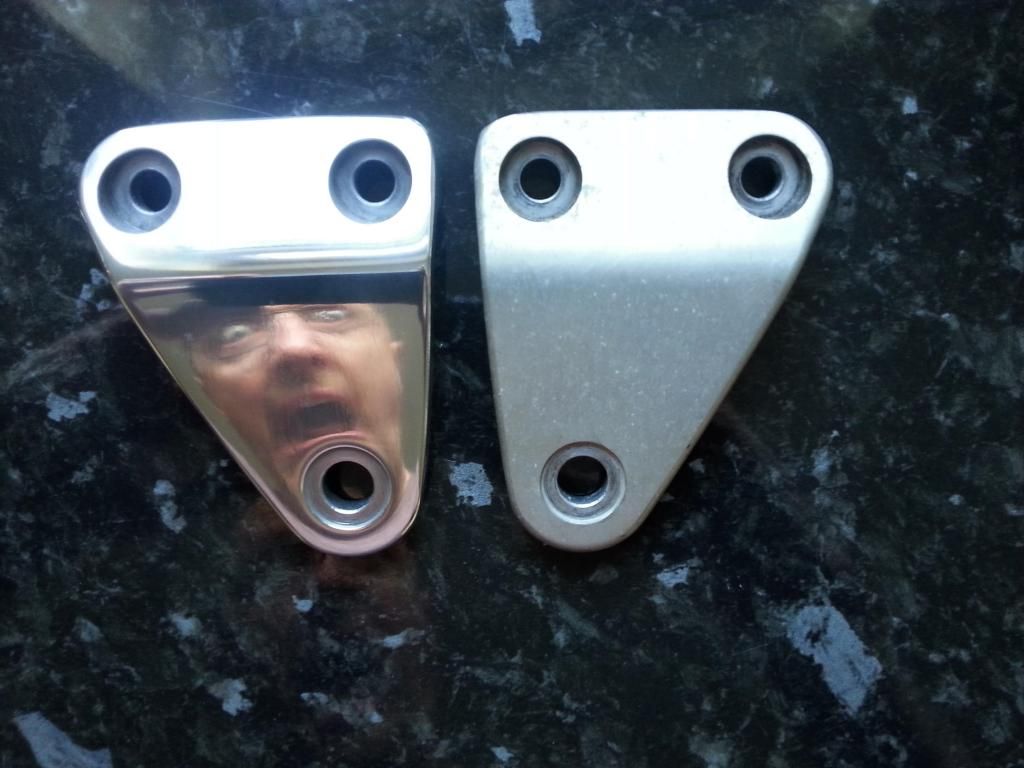
(edited as I can't tell my headlight bracket from my rear footrest bracket ...)

So, after the £1300 quote for all the chrome, I shopped round a bit, ordered the few items from Japan that are still available (which works out cheaper than rechroming) and went with splitting the items between two different rechromers (amazing the difference in quotes ... part X would be £35 with one chromer and £55 with another, but with part Y it would be the second chromer who was cheaper). It's still going to cost me the best part of £1k though, for all the chrome.
With that in mind, I've decided to have a go at polishing up all the alloy components ... I was going to send them to a polisher, but I think the cost would be an issue now. I think I'm going to be well over my £3k original budget. Maybe I need to revise that to £4k ...
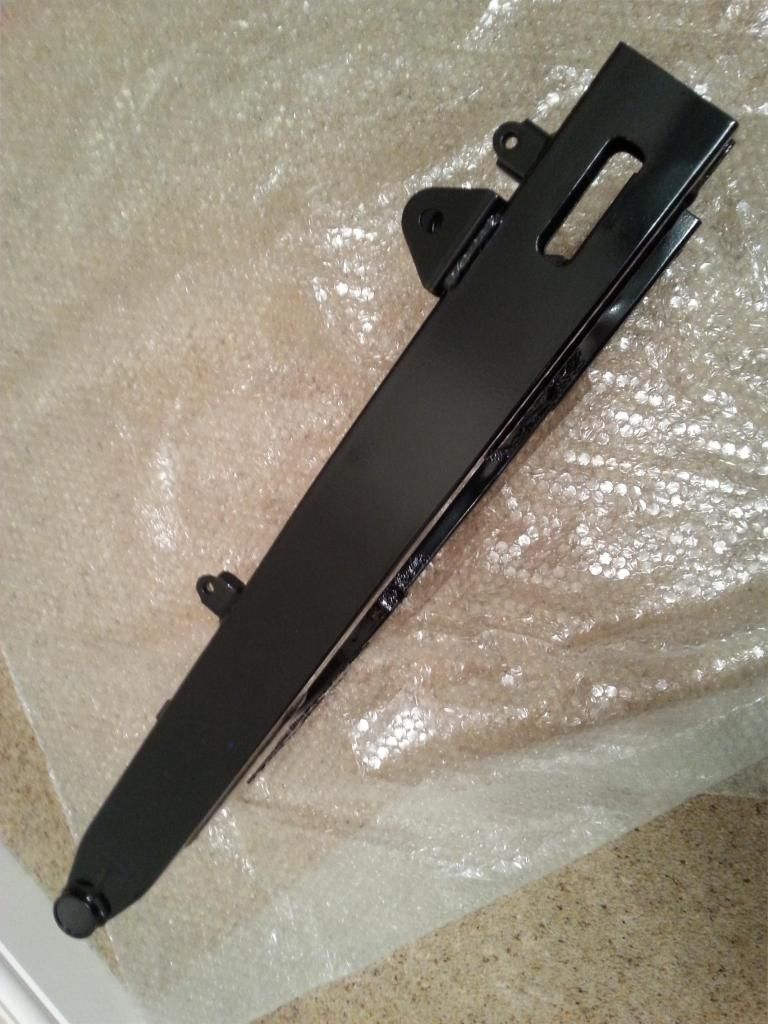
Bought a polishing kit for a bench grinder off ebay, and I've been playing on a small component (headlight bracket)

I'm reasonably happy with the result ... I'll do further posting / a video on the process, once I've refined it myself.


(edited as I can't tell my headlight bracket from my rear footrest bracket ...)
Edited by evil len on Monday 16th February 12:30


Oh and I dropped the swing arm off again today to be re blasted and re powder coated.
At the moment I've got :
- forks with hard-rechromers
- some chrome items with one rechromer
- some chrome items with second rechromer
- order of parts on its way from David Silver
- order of parts on its way from ISICAR in Japan
- swingarm back at powder coaters
... this is going to be an expensive month !!
Outsourcing work still to come :
- carb ultrasound and blasting (once I have carb kit)
- wheels rebuilt
- paintwork
Not much progress this week due top being ill, plus redecorating a bedroom
Another bit polished up
Another £200 worth of bits from David Silver
Output shaft seal replaced
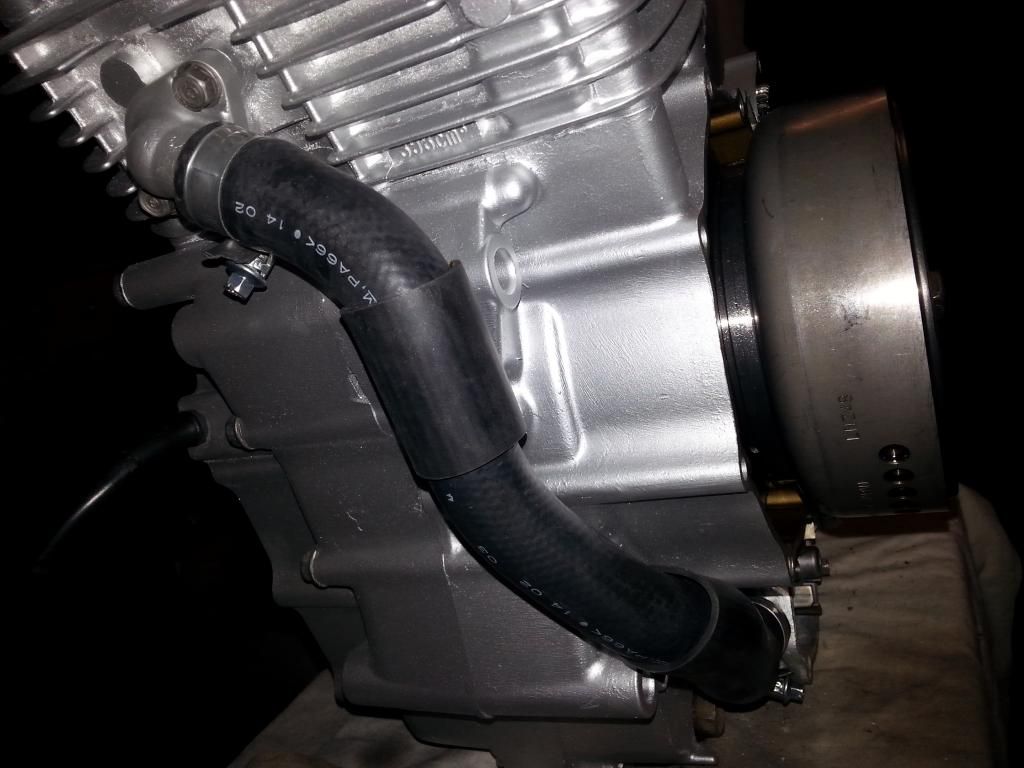
Water pipe fitted because, well, ... easy
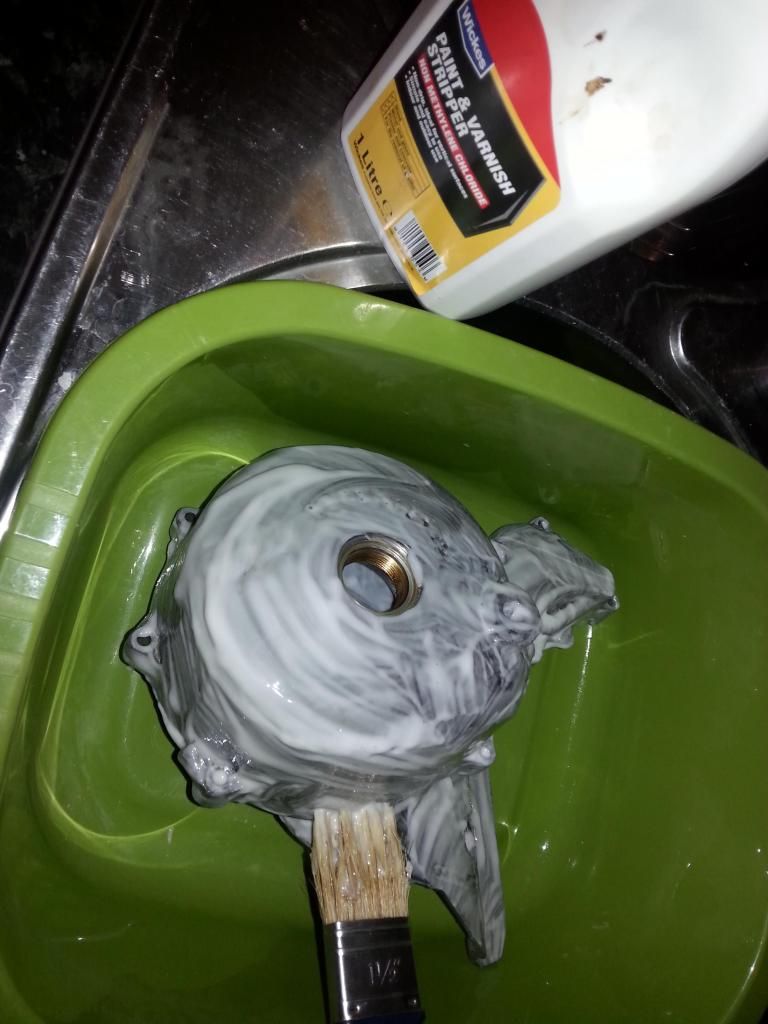
Removing lacquer from alloy parts before polishing. Mrs EL was less than pleased that I stole her kitchen sink bowl
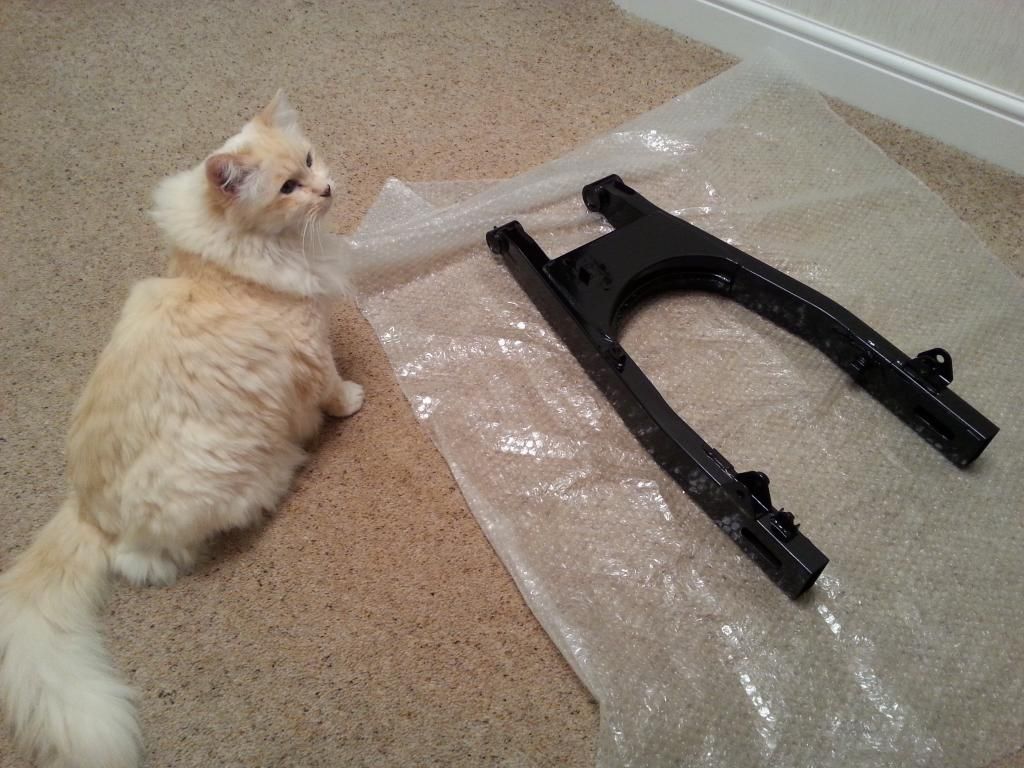
Swing arm back from the powder coaters ... second attempt much better
Even the cat approves !
Another bit polished up

Another £200 worth of bits from David Silver

Output shaft seal replaced

Water pipe fitted because, well, ... easy

Removing lacquer from alloy parts before polishing. Mrs EL was less than pleased that I stole her kitchen sink bowl

Swing arm back from the powder coaters ... second attempt much better

Even the cat approves !

So cool to see this. I had one of these after I passed my test and I just loved it. Still miss it now. 33bhp on the nose and a flat 25lb ft torque curve all the way from the bottom to the top. You could wring its neck and throw it round corners, sparks coming off the footpegs all day long.
If it had decent suspension, the 400 was a 650, and the handlebars weren't on those silly risers, it would be the perfect bike.
It's too late now cos you have a new one from Japan, but that air filter cover, like the entire housing, is the same as the Honda Shadow 125, and they did sell those here. The engine is a variation on the Bros, Transalp, etc.
A lot of little bits are shared with the Harley-a-likes such as the Shadow and Steed. Maybe one of them shares the wheel rim?
Electrically mine was a bit of a pig. Water could get into the connectors around the front of the engine, and the battery connectors seemed to oxidise themselves out of conducting any electicity. It would also conk out occasionally. a replacement battery (and maybe a coil?) fixed that eventually. They do not like having less than a full charge.
Cheers for the info londonbabe
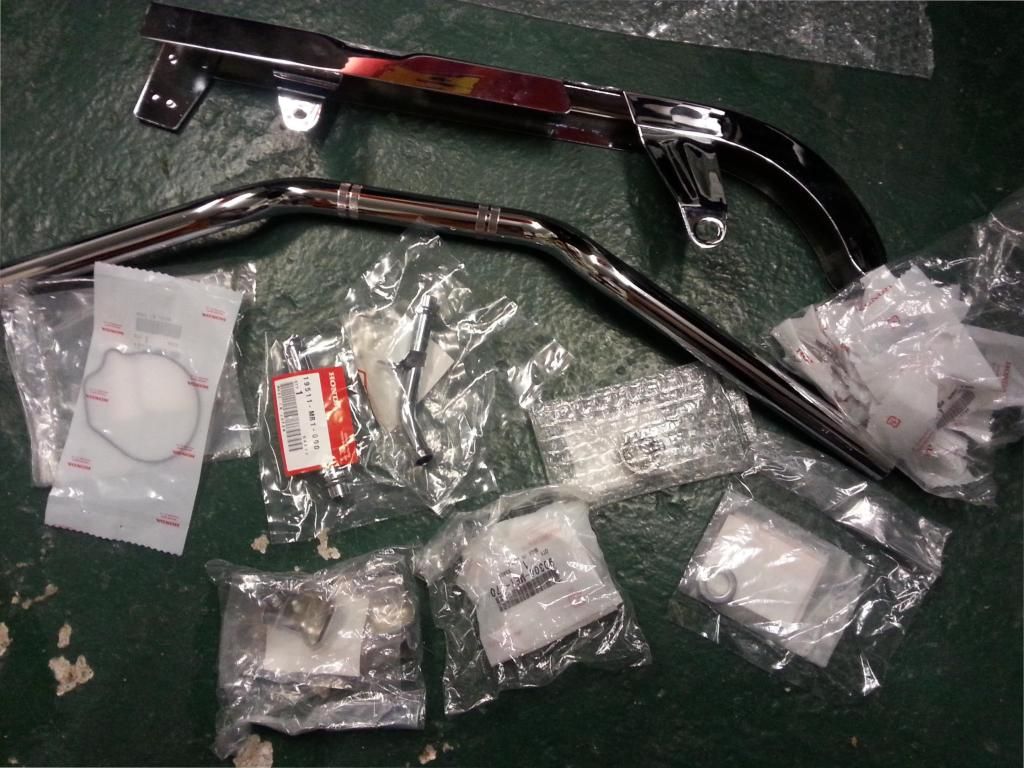
More bits from Japan ... new handlebars, chain guard, more seals, new bolts, chrome water pipes and two, very very expensive (for what you get) carb seal kits. HMRC buggered up though and read 16050 yen as 76050 yen and charged me sod loads of duty and vat, more than the order's worth ! I've got to write off to them with loads of evidence to claim it back. What a ballache ...
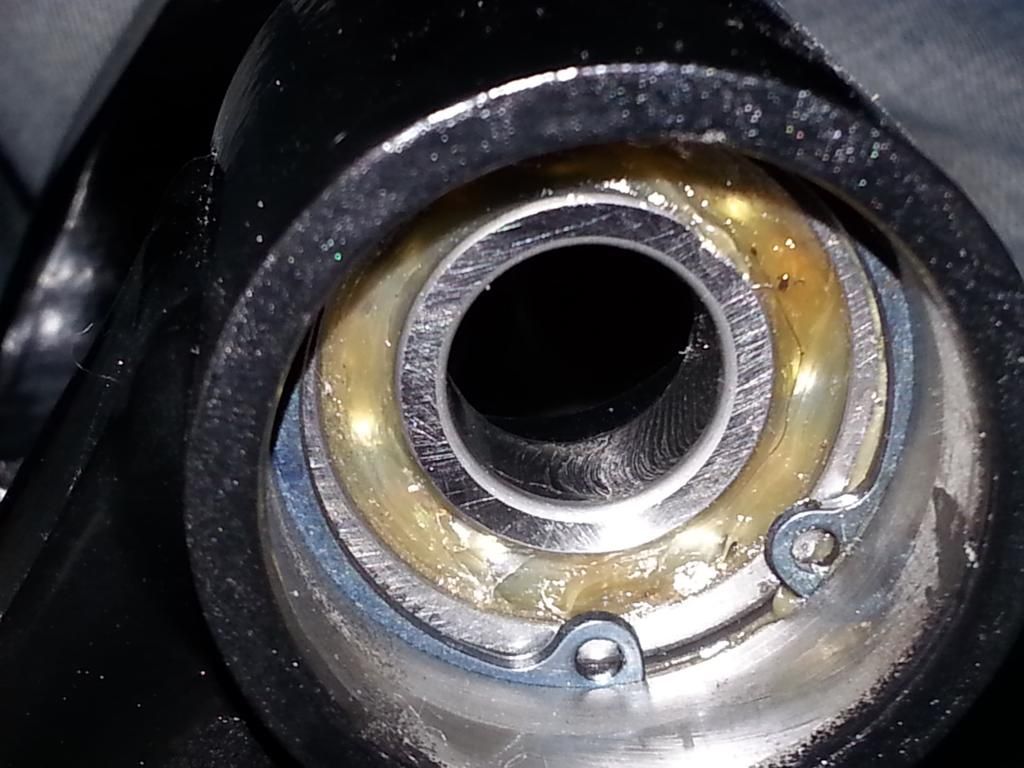
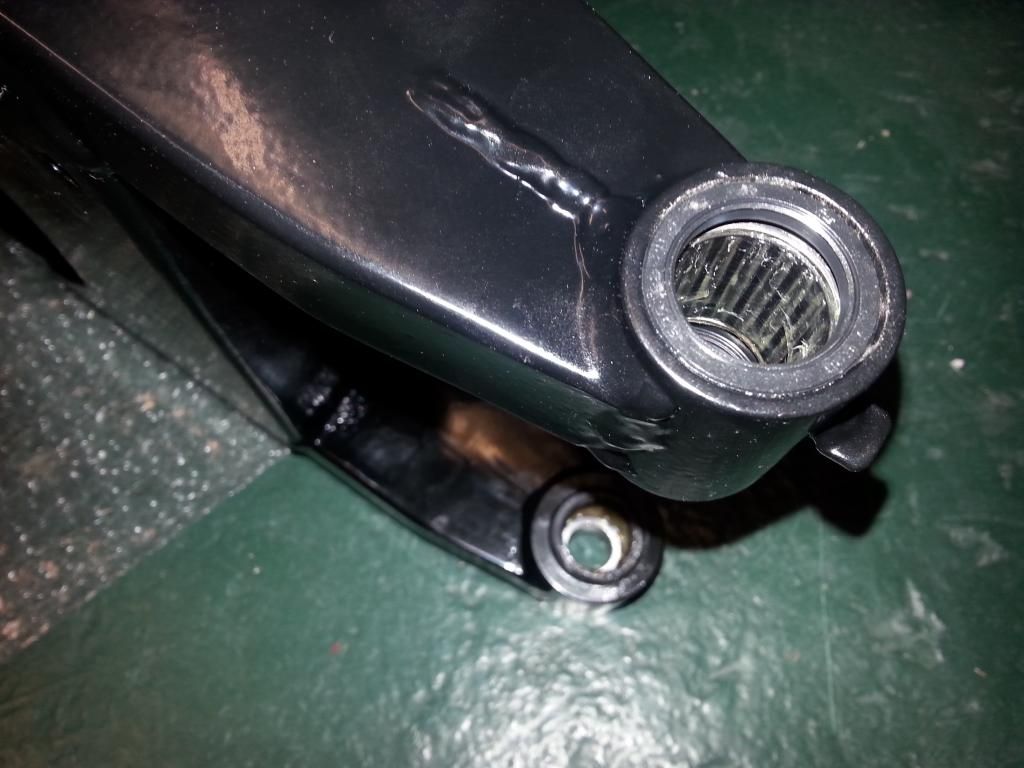
Was prevaricating about whether to replace the swing arm bearings or not as they seemed to be in very good condition. Noticed a bit of play on the needle bearing (needle bearing on the drive side, ball bearing on the other side) so bought new bearings and seals. Then found out the new needle bearing had the same amount of play. Bugger. That's £60 wasted then. I guess it's peace of mind (anyone want any really good condition s/h swingarm bearings for a VRX400 going cheap ?!?! )
)
Ah, so we're here again then. I need a bigger vice. I also need soft jaws. How my vice didn't pop whilst pressing these in I'm not sure ...
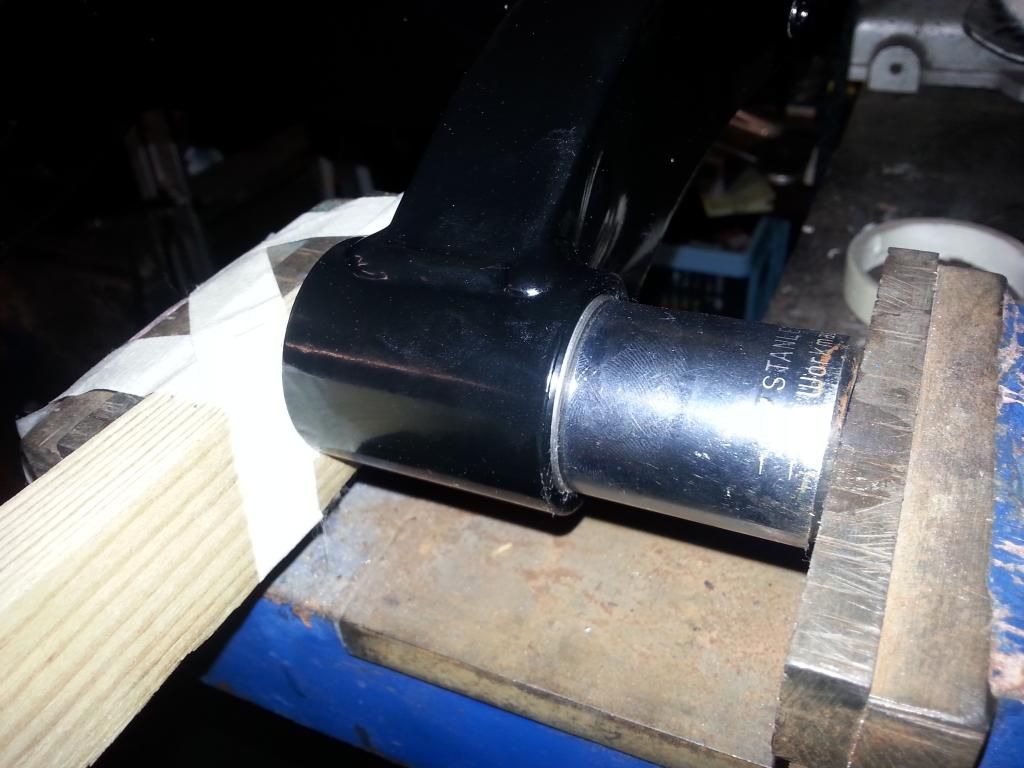
Ball bearing pressed in ...
... then the needle, and dust seals fitted to both.
SO EXCITED !!!
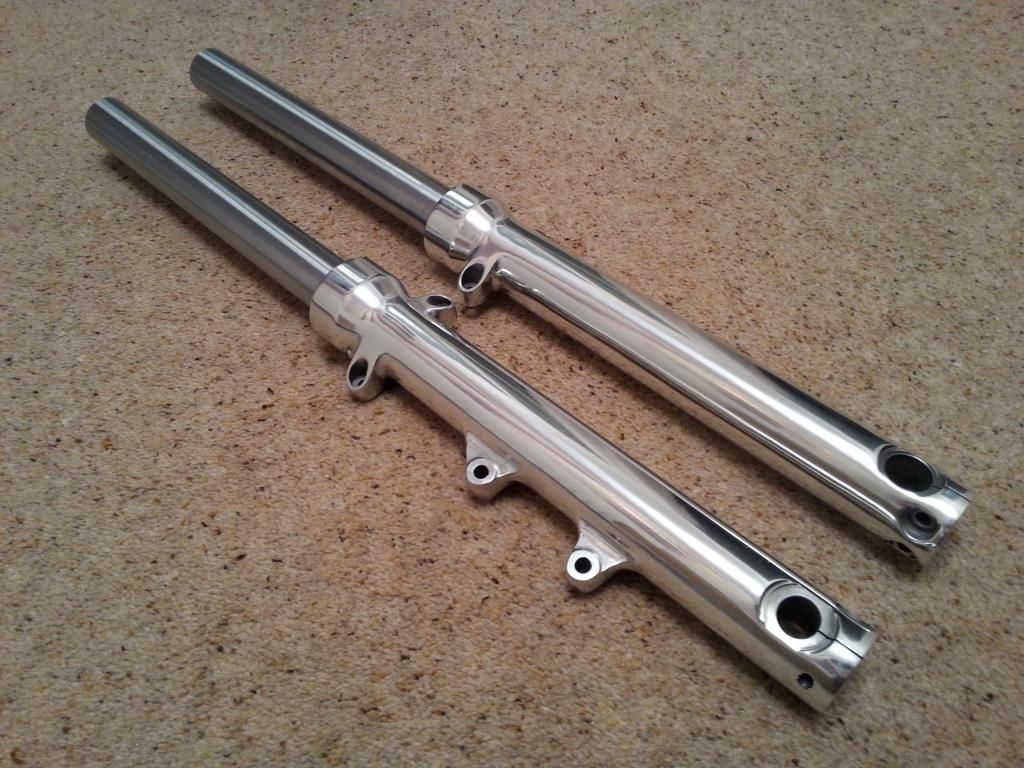
The forks came back from www.pittedforks.co.uk (A.M. Philpot (Hard Chrome) Ltd.) ... couldn't be happier ! Awesome job, sexy ... they re-hard-chromed the stanchions (if you recall they were pitted and had ripped the seals) and polished the sliders, and replaced a bearing I didn't have the tool to do myself, all for £260. And they've come back earlier than they said. Feast your eyes on these ...

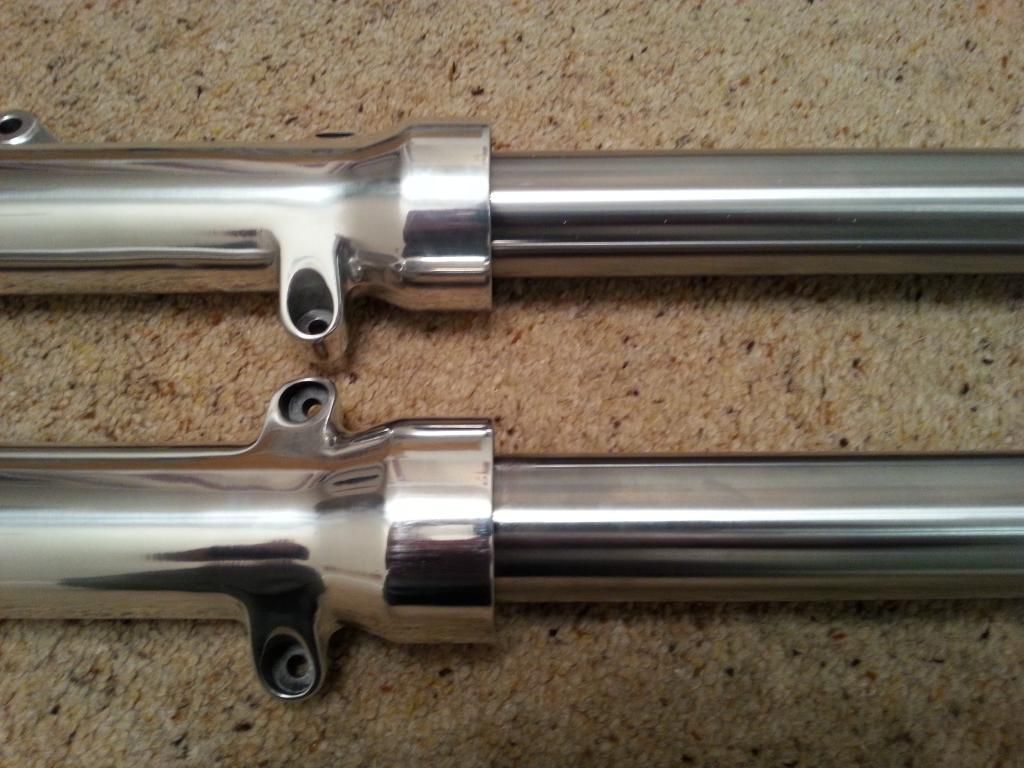
HUGE amount of padding and wrapping ... cardboard box -> paper shreddings -> layer of bubble wrap -> layer of bubble wrap -> wrapped in paper -> fork
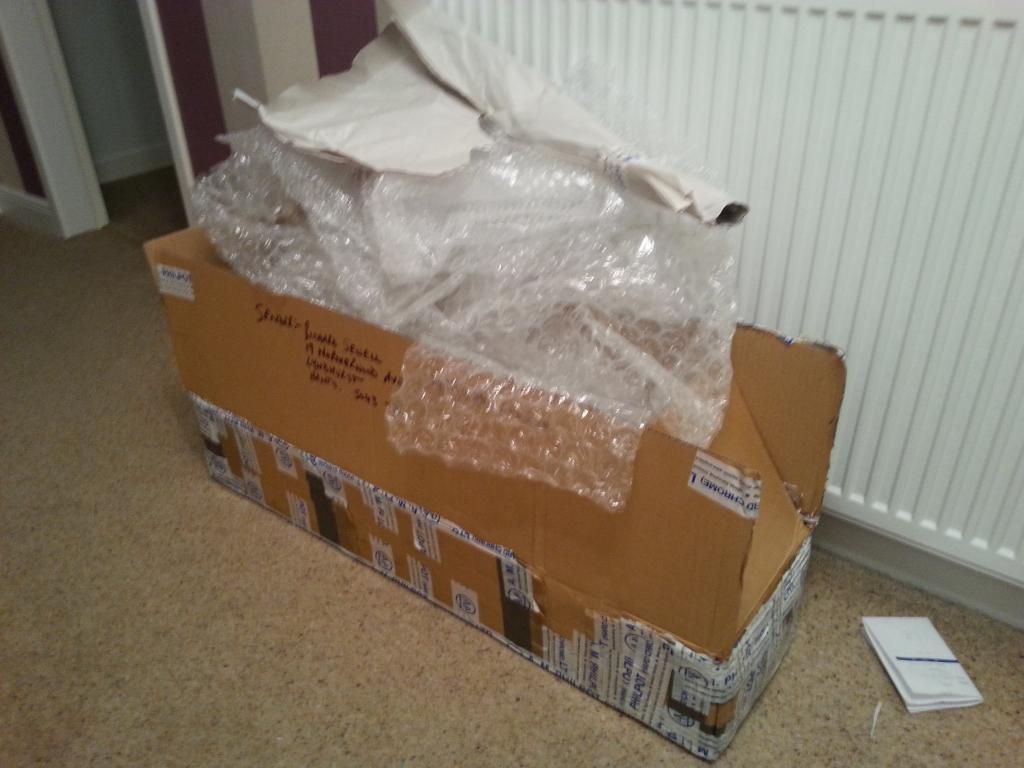
Well happy.
More bits from Japan ... new handlebars, chain guard, more seals, new bolts, chrome water pipes and two, very very expensive (for what you get) carb seal kits. HMRC buggered up though and read 16050 yen as 76050 yen and charged me sod loads of duty and vat, more than the order's worth ! I've got to write off to them with loads of evidence to claim it back. What a ballache ...

Was prevaricating about whether to replace the swing arm bearings or not as they seemed to be in very good condition. Noticed a bit of play on the needle bearing (needle bearing on the drive side, ball bearing on the other side) so bought new bearings and seals. Then found out the new needle bearing had the same amount of play. Bugger. That's £60 wasted then. I guess it's peace of mind (anyone want any really good condition s/h swingarm bearings for a VRX400 going cheap ?!?!
)
Ah, so we're here again then. I need a bigger vice. I also need soft jaws. How my vice didn't pop whilst pressing these in I'm not sure ...

Ball bearing pressed in ...

... then the needle, and dust seals fitted to both.

SO EXCITED !!!
The forks came back from www.pittedforks.co.uk (A.M. Philpot (Hard Chrome) Ltd.) ... couldn't be happier ! Awesome job, sexy ... they re-hard-chromed the stanchions (if you recall they were pitted and had ripped the seals) and polished the sliders, and replaced a bearing I didn't have the tool to do myself, all for £260. And they've come back earlier than they said. Feast your eyes on these ...


HUGE amount of padding and wrapping ... cardboard box -> paper shreddings -> layer of bubble wrap -> layer of bubble wrap -> wrapped in paper -> fork

Well happy.


Cheers MTB
Mr2Mike they are just polished at the moment. That IS something that's crossed my mind ... same with the other polished alloy bits (I'll show you how I'm getting on with those later today) ... how to protect them. Bearing in mind this will just be a toy going forward (i.e. not used through winters) will polish be enough for the alloy to retain a good level of shinyness / non-corrosion, or should I think about putting a layer of something on them. I'm erring towards just polish @ the mo.
Mr2Mike they are just polished at the moment. That IS something that's crossed my mind ... same with the other polished alloy bits (I'll show you how I'm getting on with those later today) ... how to protect them. Bearing in mind this will just be a toy going forward (i.e. not used through winters) will polish be enough for the alloy to retain a good level of shinyness / non-corrosion, or should I think about putting a layer of something on them. I'm erring towards just polish @ the mo.
Gassing Station | Biker Banter | Top of Page | What's New | My Stuff