Honda VRX400 1995 "barn find" restoration
Discussion


So get this, it takes 22 hours for the rear wheel to travel from point of pick up in Tokyo to the Coventry hub.
If it arrives tomorrow (hopefully) then it'll have taken 6 days to get from the Coventry hub to my house, 25 miles away !
I also think I'll be having another argument with C&E as the £50 wheel has cost me £38 in import duty and VAT ... until I see the paperwork, I wont know what they've screwed up (probably difficulty reading the Japanese handwriting again)
Not spending huge amounts on the Honda at the moment because, well ... it's summer isn't it ! Would rather be out riding ...
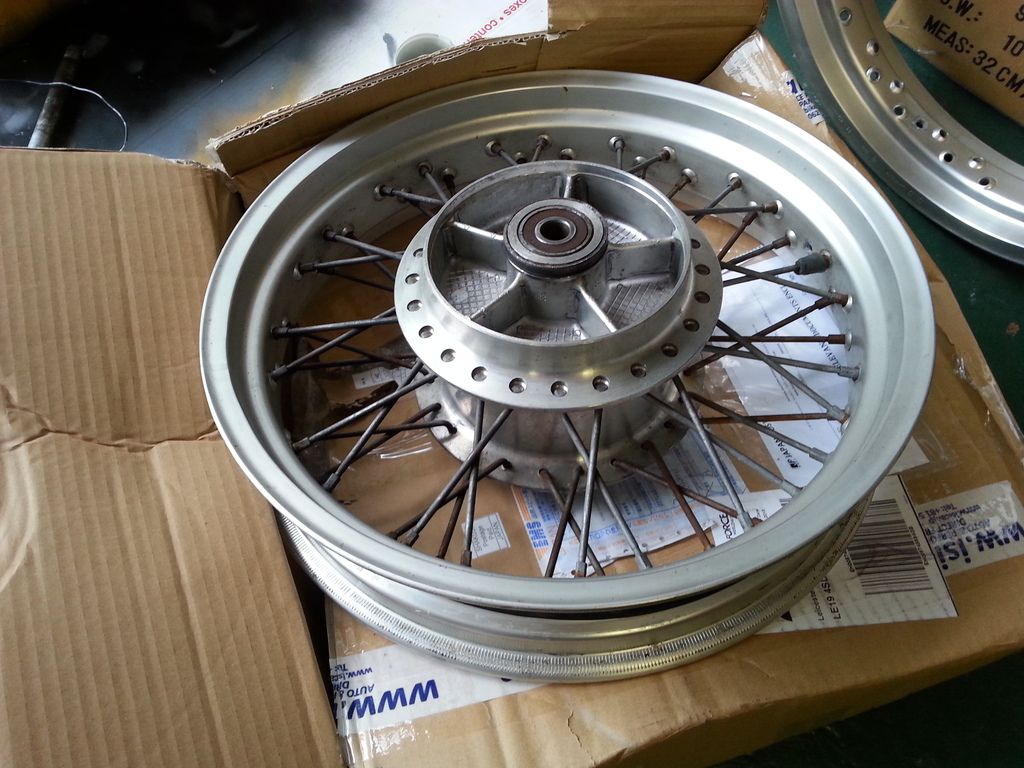
Wheel arrived from Japan and looks to be in good, re-finishable condition.
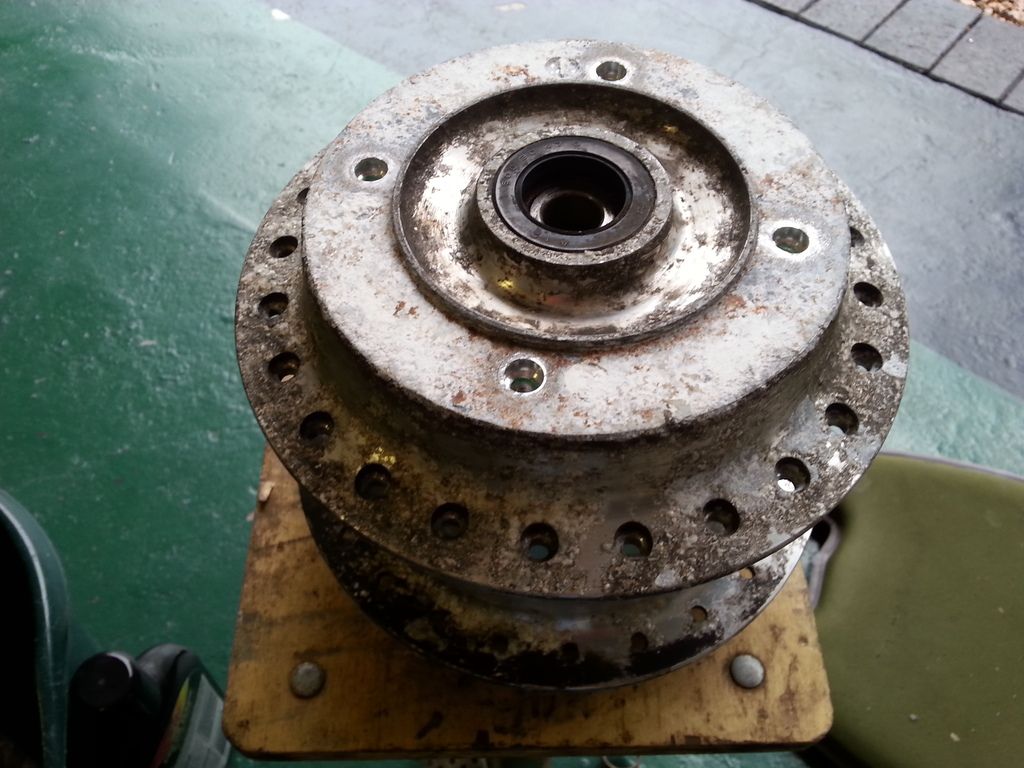
The hub is actually better than my original (below, after I'd cleared 1/2" of crap off it) so I'll use the one from Japan instead.
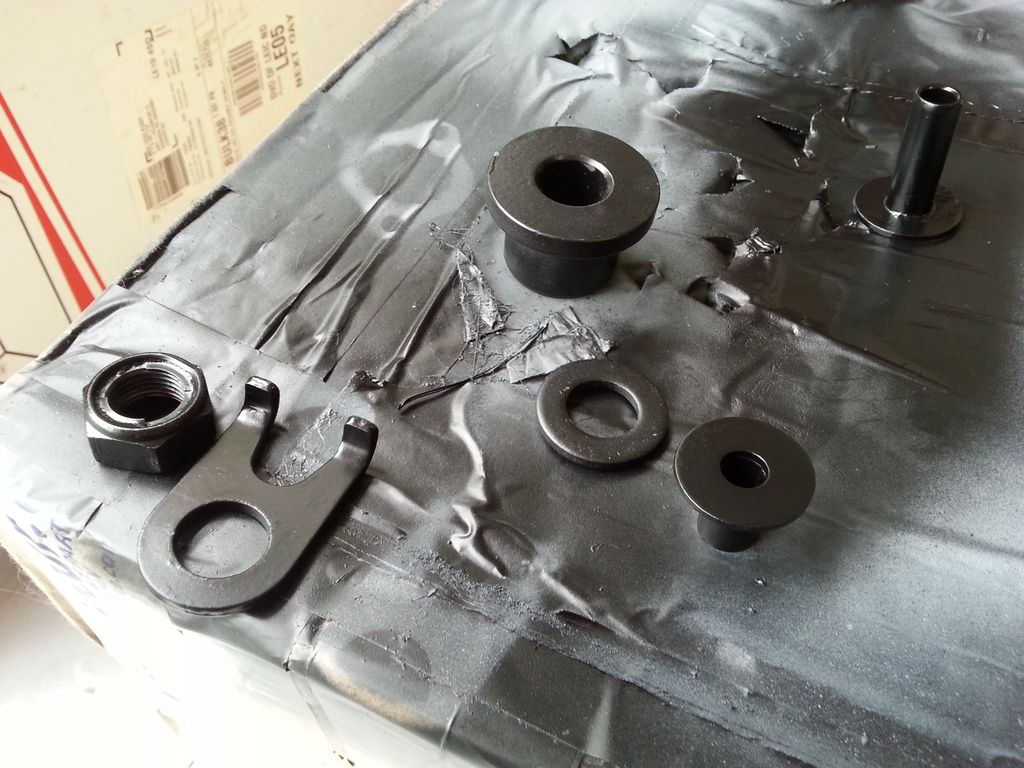
Spent way too long reconditioning little brackets and odds and sods. See the spacer, top middle of the photo ? See the tiny chip of paint off it ? What's the betting ol' Lenny boy'll not be able to resist repainting that then ...
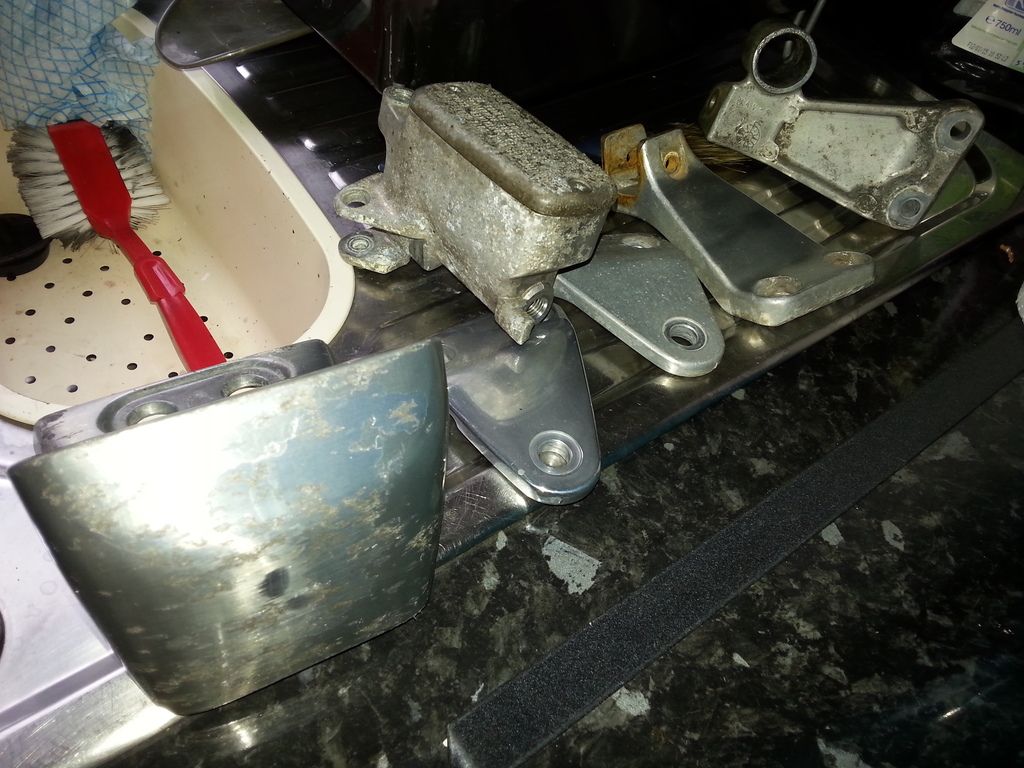
Some more alloy parts, cleaned up and ready for polishing up.
Trial fitted the exhaust down pipes.
And another parcel arrived from David Silver, including the rear brake overhaul kit (seals etc) and brake pads, rear sprocket, chain etc.
Wheel arrived from Japan and looks to be in good, re-finishable condition.

The hub is actually better than my original (below, after I'd cleared 1/2" of crap off it) so I'll use the one from Japan instead.

Spent way too long reconditioning little brackets and odds and sods. See the spacer, top middle of the photo ? See the tiny chip of paint off it ? What's the betting ol' Lenny boy'll not be able to resist repainting that then ...

Some more alloy parts, cleaned up and ready for polishing up.

Trial fitted the exhaust down pipes.

And another parcel arrived from David Silver, including the rear brake overhaul kit (seals etc) and brake pads, rear sprocket, chain etc.
Oh, and I cleaned up and safely stored the rear axle about a week ago. Went to try and find it yesterday (to see how much wear there was on the new rear wheel's bearings) and could I find it, could I cocking buggery. Pretty much turned the garage upside down trying to find it, started to think / worry that I'd accidentally thrown it away with a box or packing. Spent 1.5 hours (yes) looking for it, and eventually found it. In a box I'd emptied and searched through three times previously during the 1.5 hours ...
The "You know you are getting old when" thread reminded me of this ...
The "You know you are getting old when" thread reminded me of this ...
evil len said:
Spent 1.5 hours (yes) looking for it, and eventually found it. In a box I'd emptied and searched through three times previously during the 1.5 hours ...
I've never restored a bike, but it reminds me of building those Tamiya R/C models when I was a kid. Seems every project involving building something out of a load of small parts will involve losing a small but crucial part. Great going, Len!SF

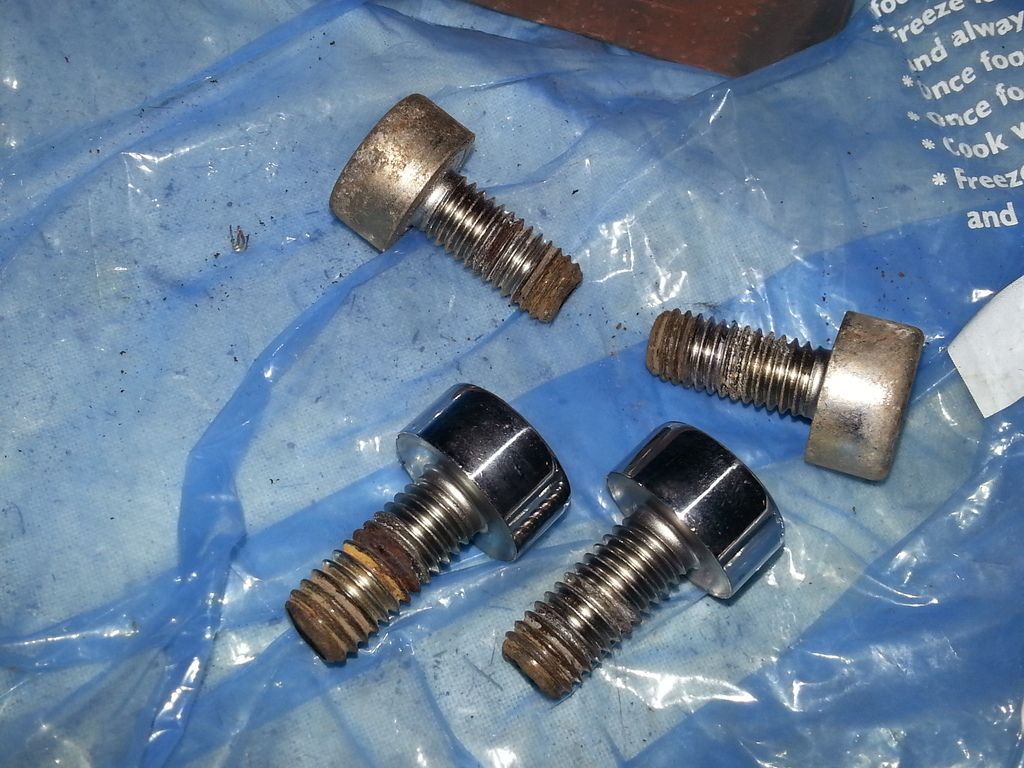
dinhminh8x, yes some parts have been re-chromed ... other parts are new chrome.
Amazing what difference the buffer can make ...
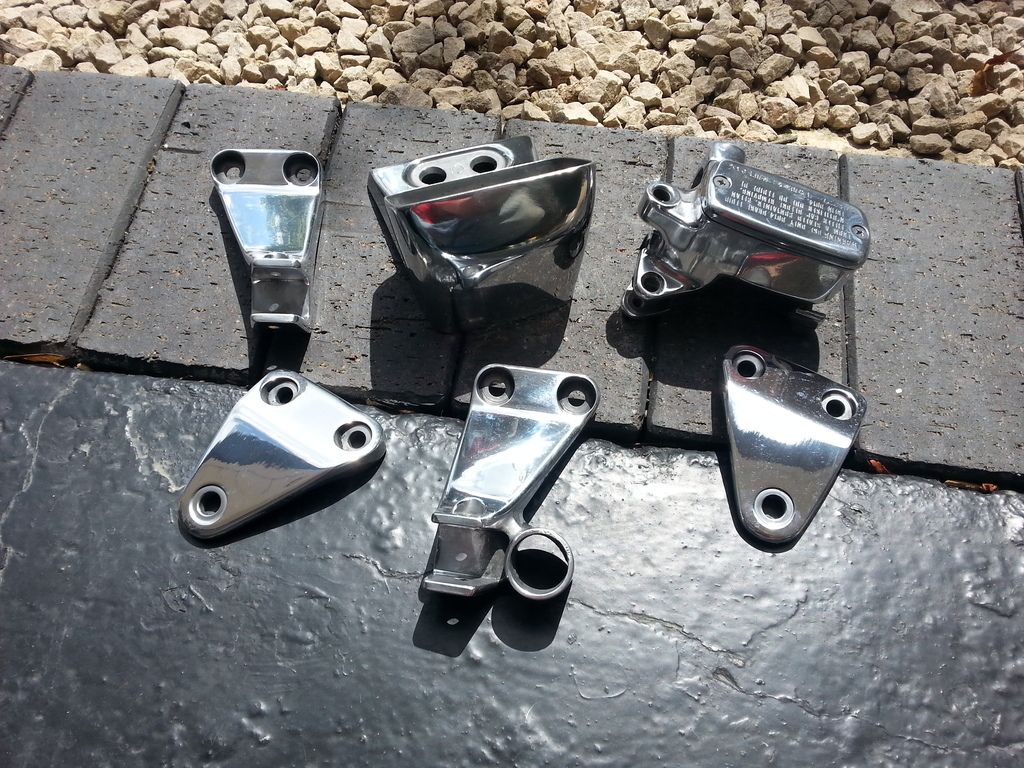
Talking of buffing, more cast alloy parts polished up. These were all quite badly corroded and some have minor pitting which I'll have to live with ... shiny minor pitting now, to be fair ! The brake master was a right pain to do, convoluted shape and some pitting. It'll have to do ... it's "patina", alright ? Also I accidentally caught the (plastic ?) clear view window for the brake fluid level a bit, it's still usable but it's a bit 'sanded' across one half. Luckily you can't really see it once in position. I hate polishing.
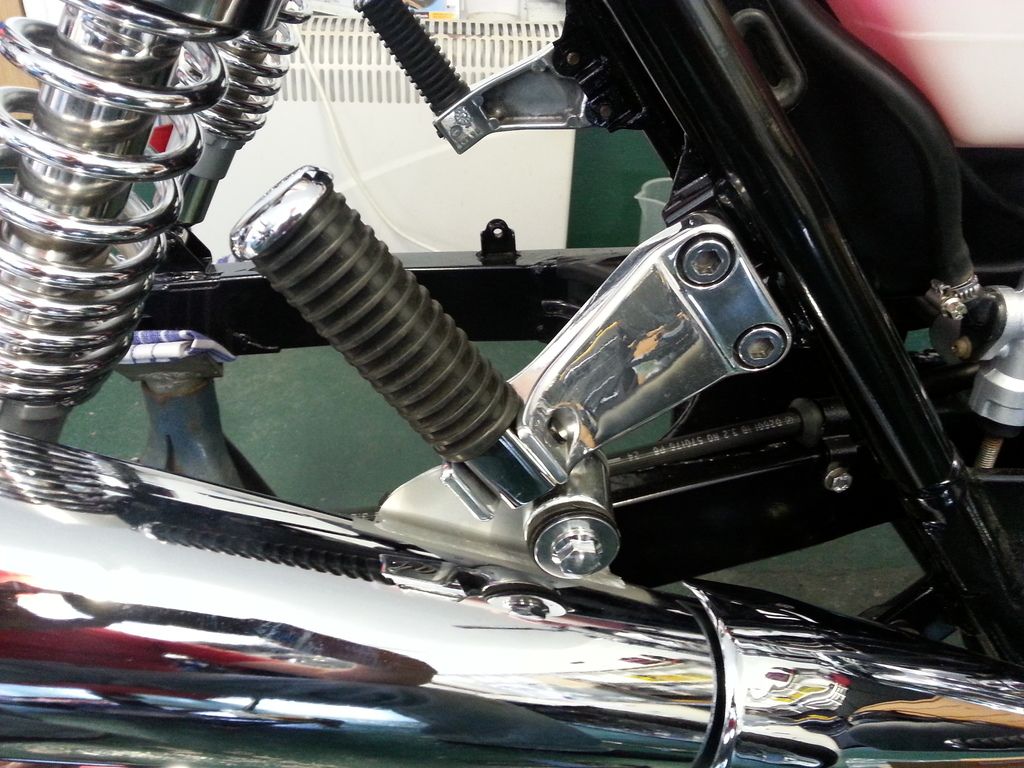
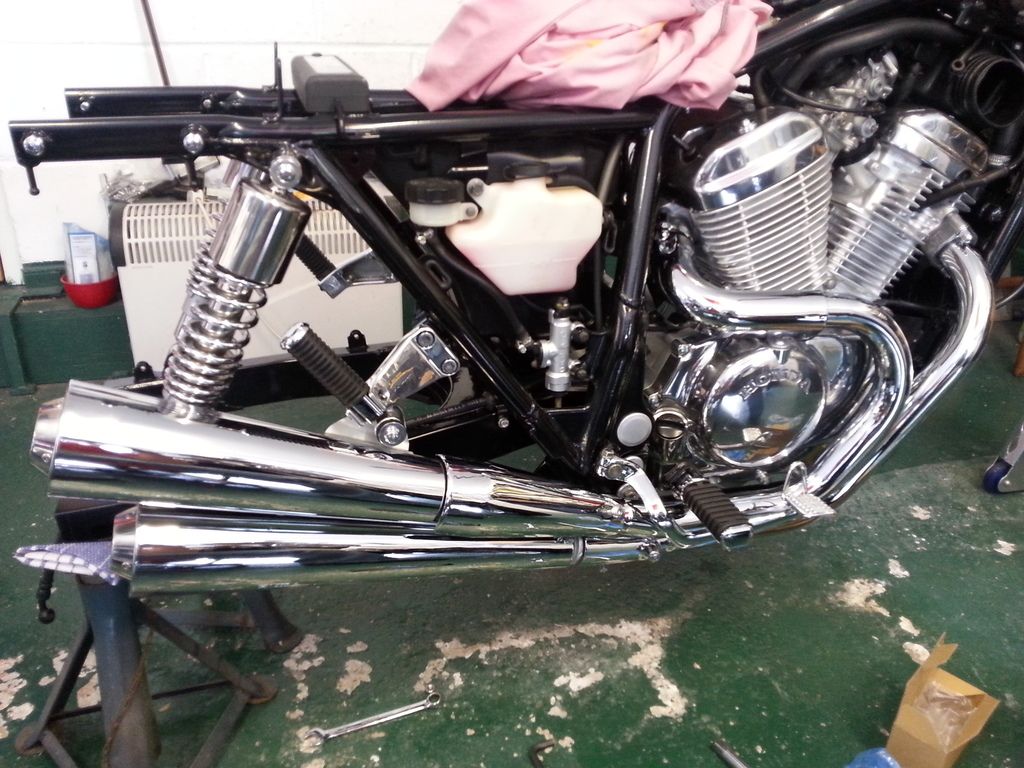
Rear footrests re-assembled and installed. The exhaust hangs off the right hand side one.
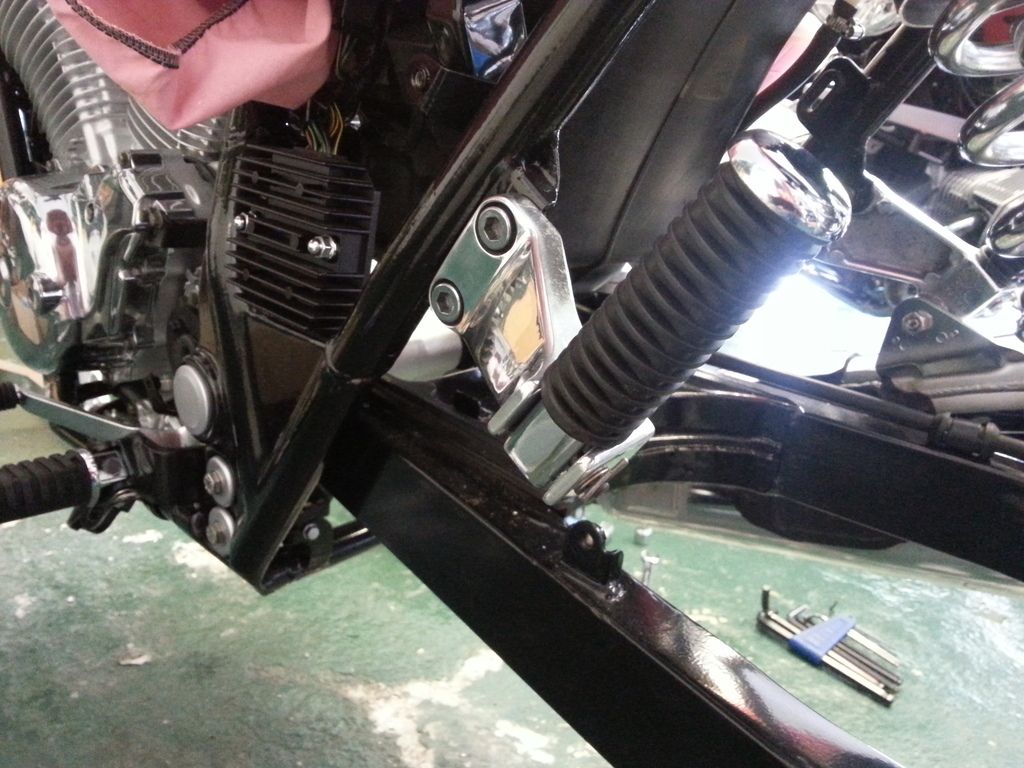
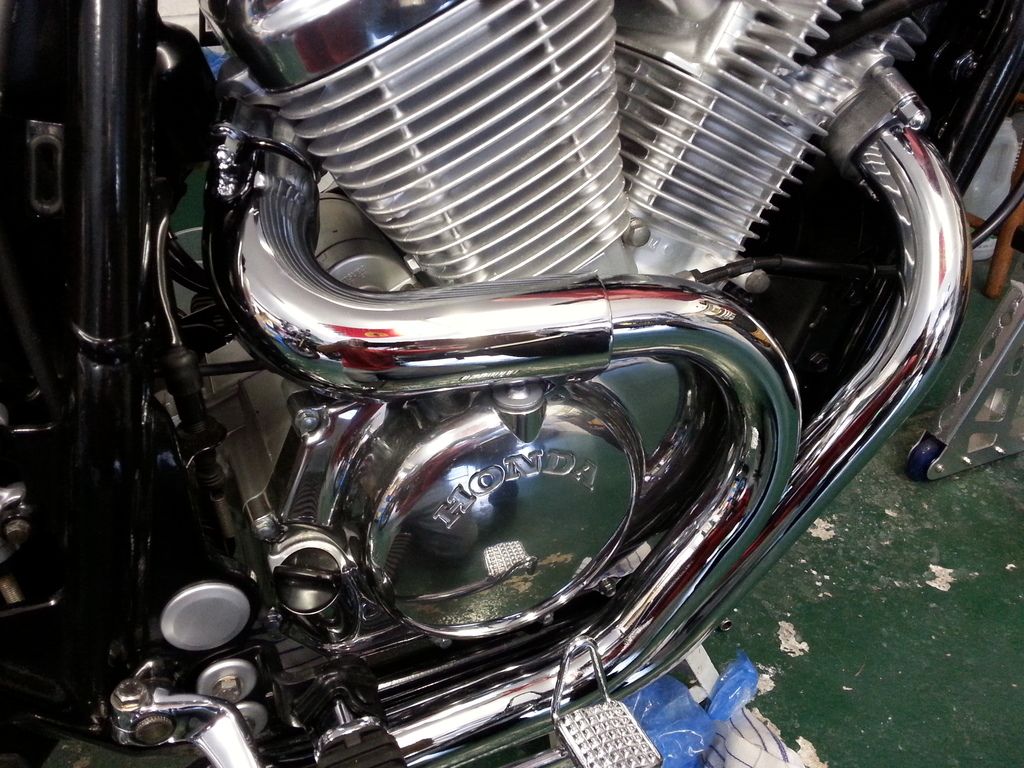
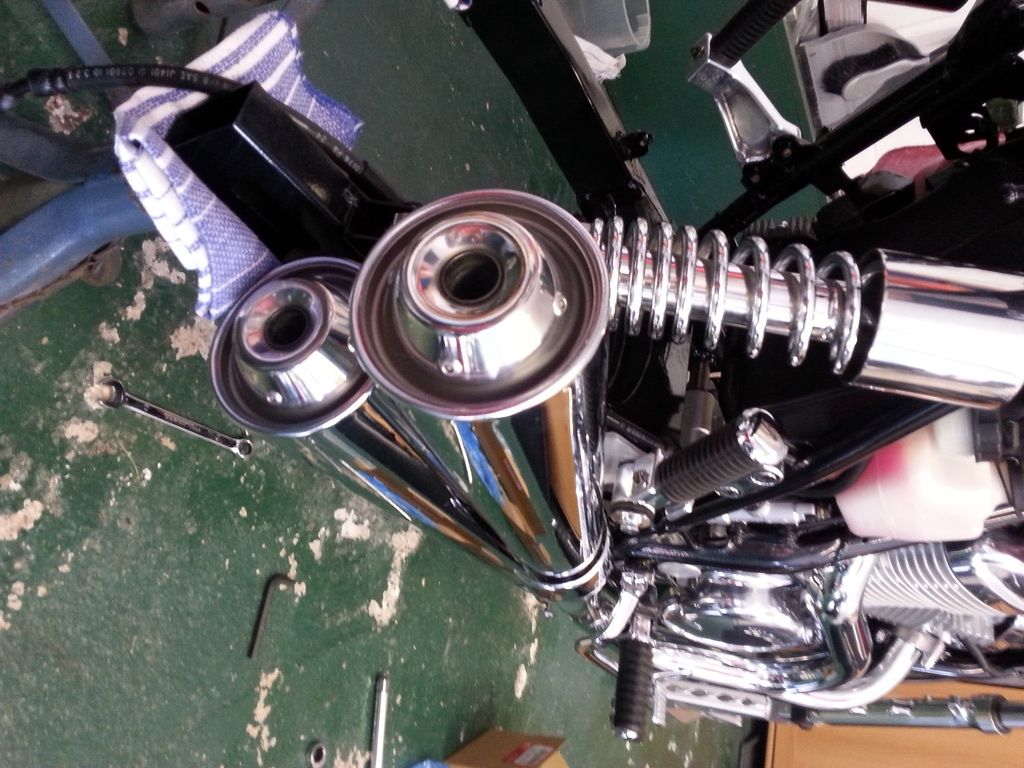
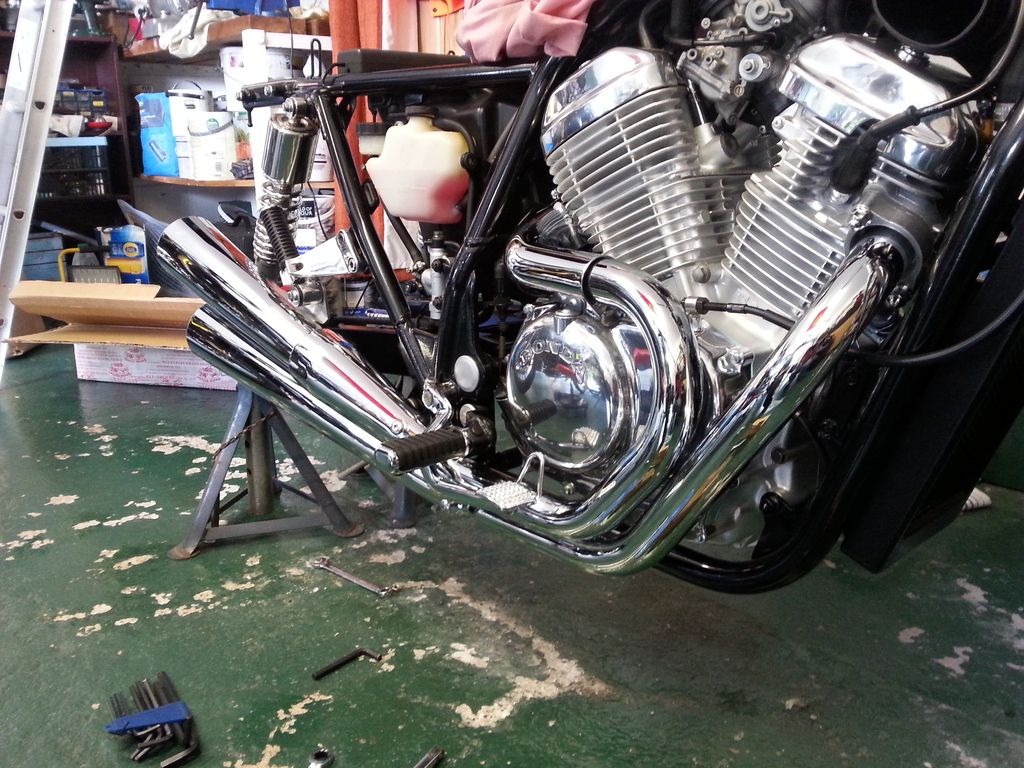
What was to be a trial fit of the exhaust turned into a final fit ! This thing was a b*stard to get on and lined up. It's on now, and I'm hoping to never have to take it off again ! The three covers which go over the joints are only loosely placed on for the photo, I'll leave these off for now to check there's no leaks.
Amazing what difference the buffer can make ...

Talking of buffing, more cast alloy parts polished up. These were all quite badly corroded and some have minor pitting which I'll have to live with ... shiny minor pitting now, to be fair ! The brake master was a right pain to do, convoluted shape and some pitting. It'll have to do ... it's "patina", alright ? Also I accidentally caught the (plastic ?) clear view window for the brake fluid level a bit, it's still usable but it's a bit 'sanded' across one half. Luckily you can't really see it once in position. I hate polishing.

Rear footrests re-assembled and installed. The exhaust hangs off the right hand side one.


What was to be a trial fit of the exhaust turned into a final fit ! This thing was a b*stard to get on and lined up. It's on now, and I'm hoping to never have to take it off again ! The three covers which go over the joints are only loosely placed on for the photo, I'll leave these off for now to check there's no leaks.


Video #9 : https://www.youtube.com/watch?v=ZcRleno8d-E
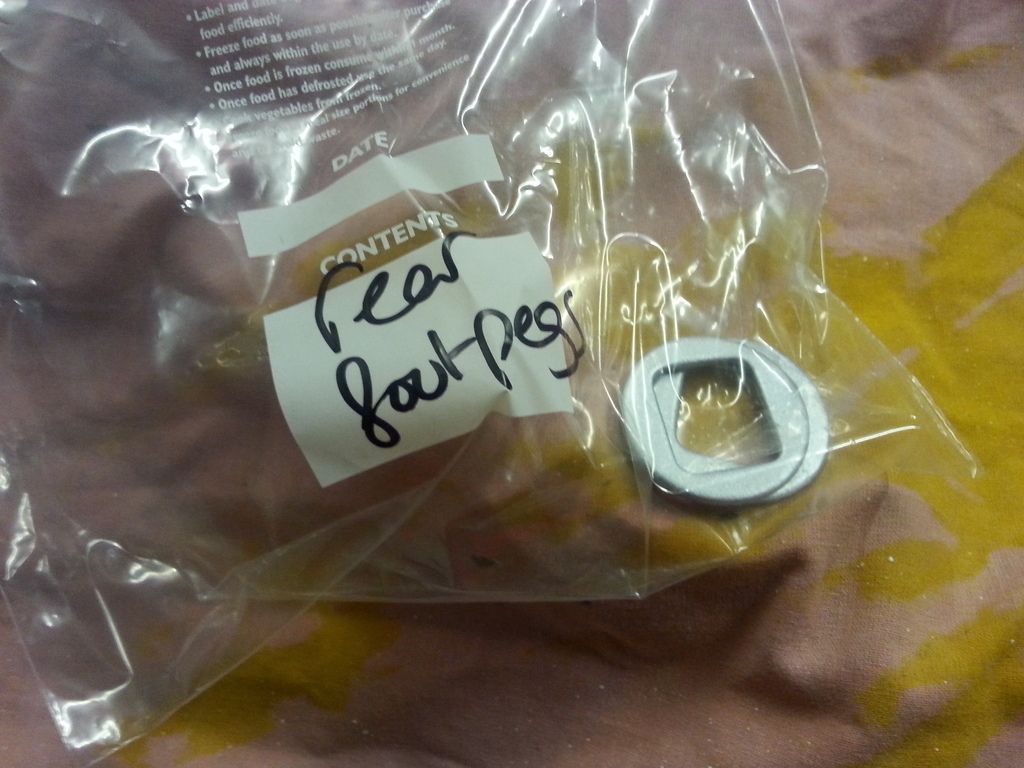
Cock. Found these two spacers which should have gone on the rear footrests, so I'll have to take those apart again ...
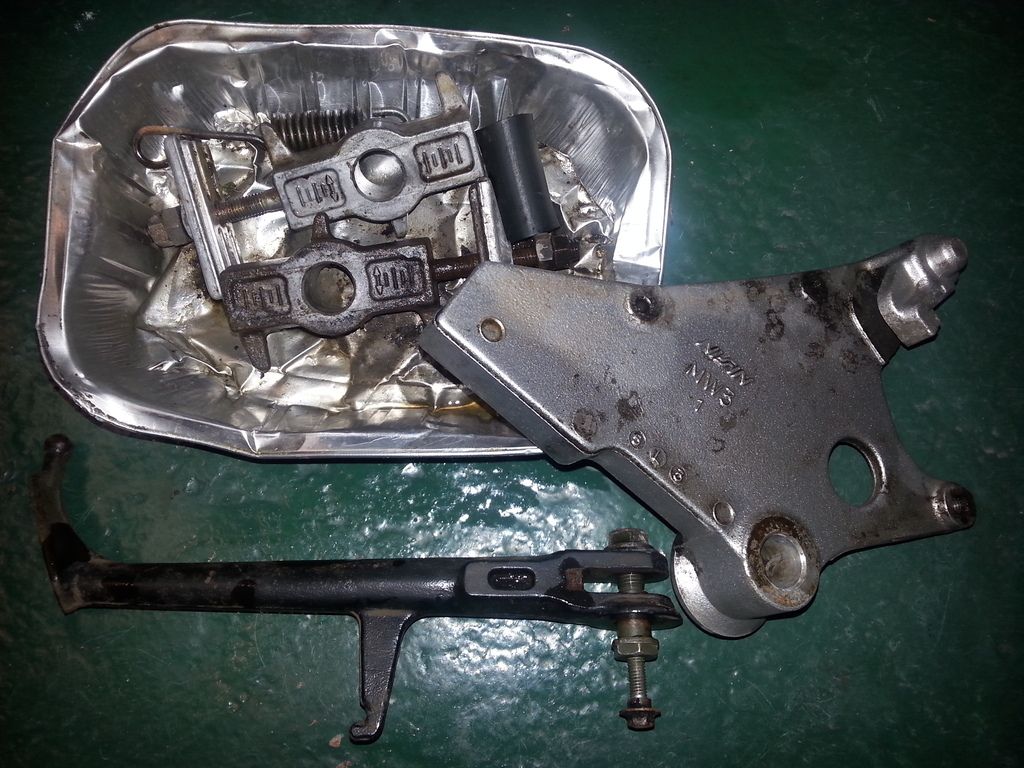
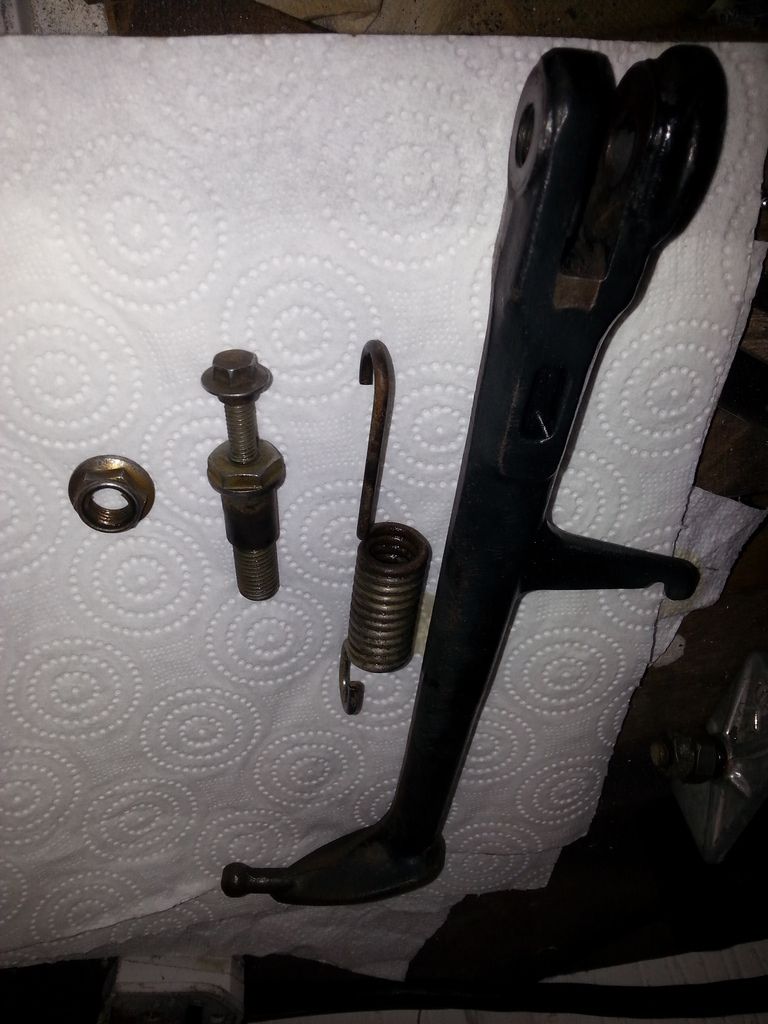
Started cleaning up the rear brake calliper mounting, rear wheel adjusters and side stand. This is after an aggressive session with white spirit and a tooth brush. Next will come the parts washer. Then the rotary wire wheel in the drill.
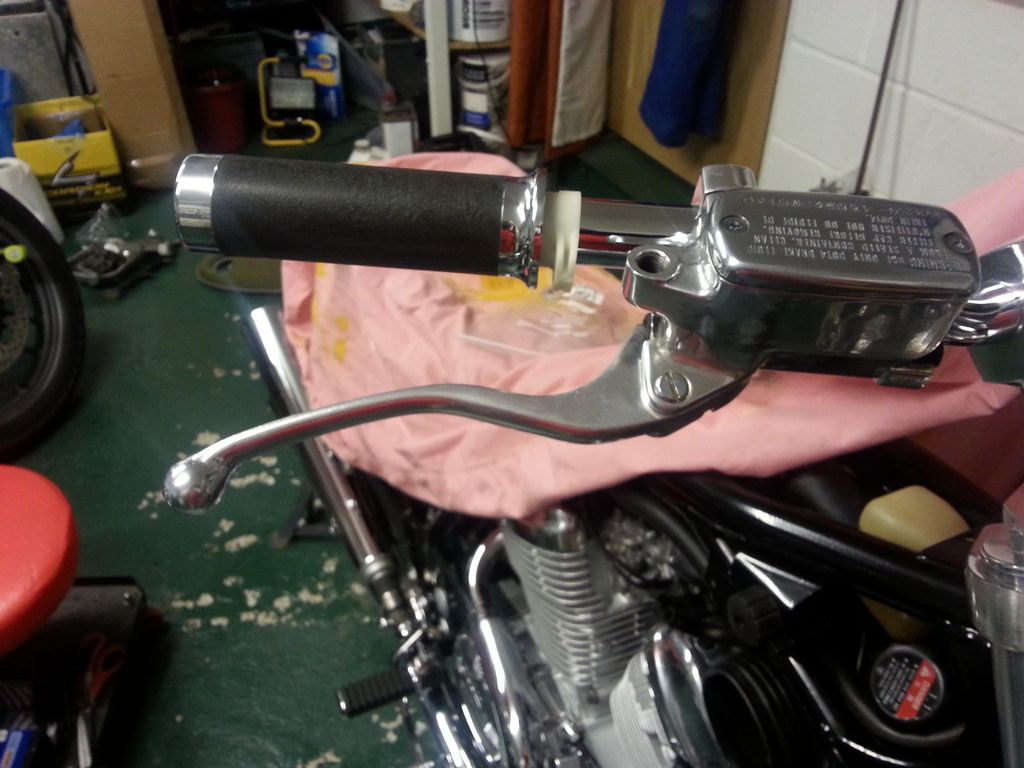
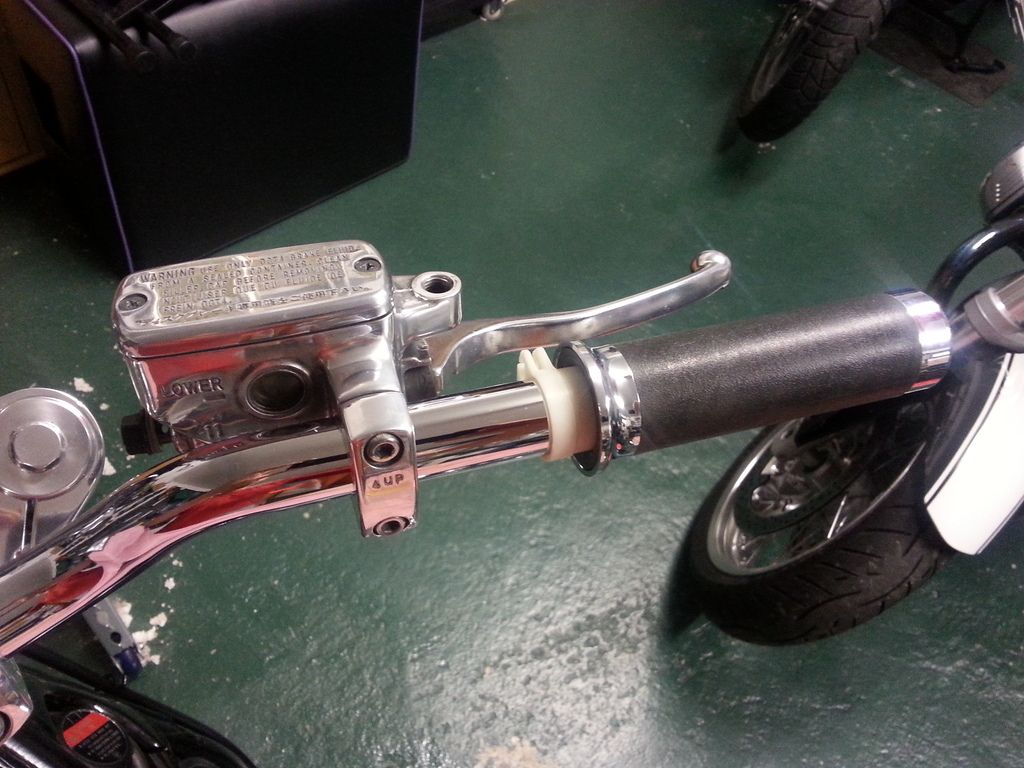
Brake reservoir complete, with micro switch back in position and new lever. Not totally 100% happy with this, but it'll do (was kind of getting bored of working on it) and I may take it off again later and have another go at some of the nooks and crannies underneath it.
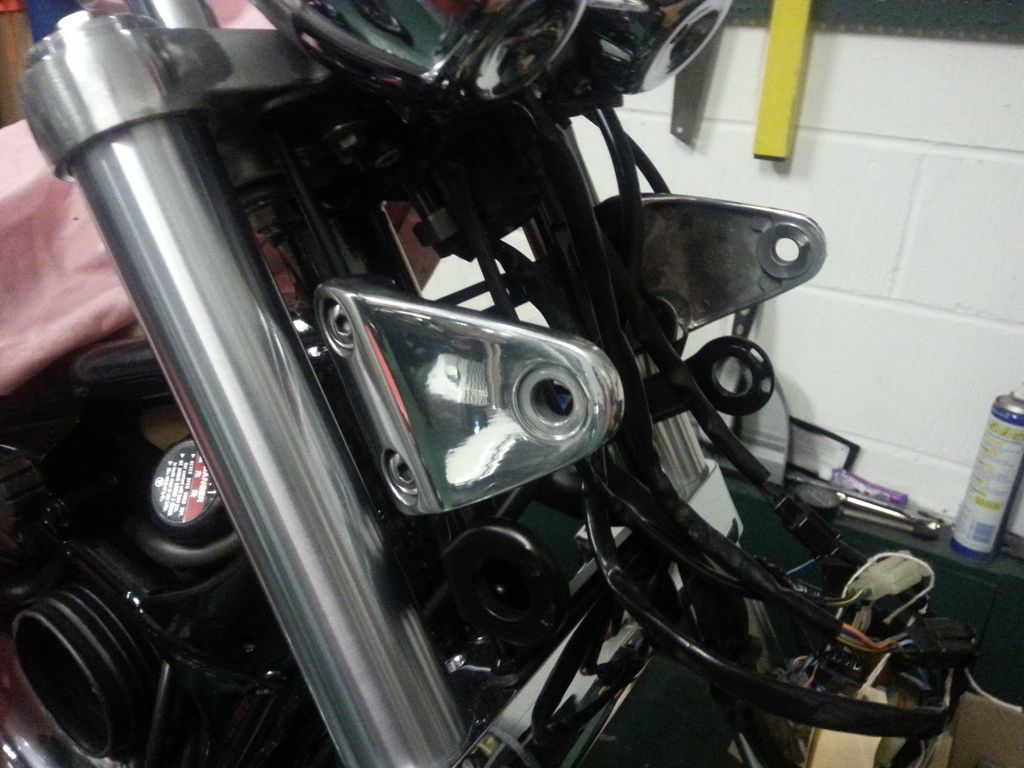
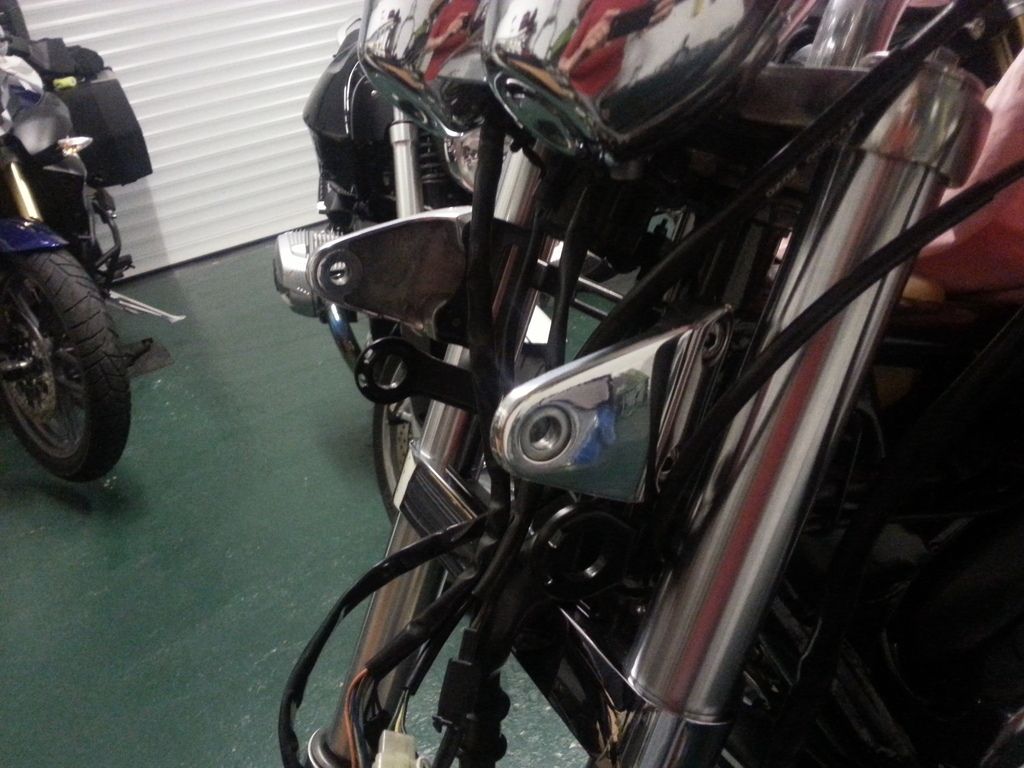
Attached the headlight mounting brackets.
Cock. Found these two spacers which should have gone on the rear footrests, so I'll have to take those apart again ...

Started cleaning up the rear brake calliper mounting, rear wheel adjusters and side stand. This is after an aggressive session with white spirit and a tooth brush. Next will come the parts washer. Then the rotary wire wheel in the drill.

Brake reservoir complete, with micro switch back in position and new lever. Not totally 100% happy with this, but it'll do (was kind of getting bored of working on it) and I may take it off again later and have another go at some of the nooks and crannies underneath it.


Attached the headlight mounting brackets.


Patience Padawan, patience !
The side stand after cleaning layers of gunk off and before painting and prep
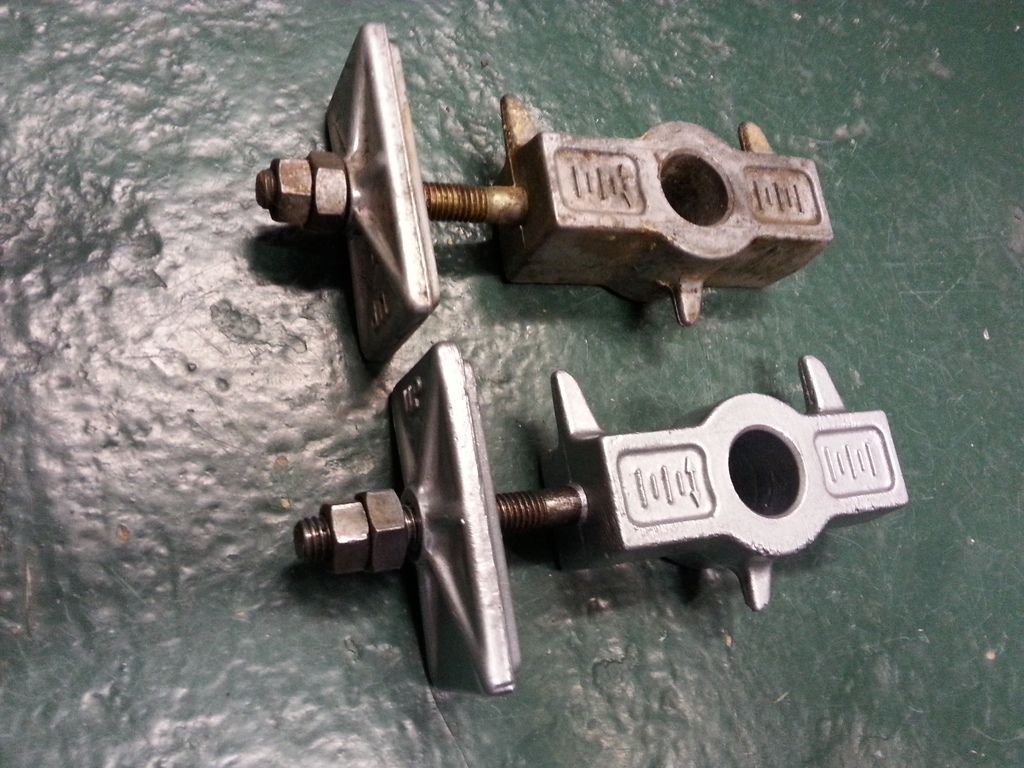
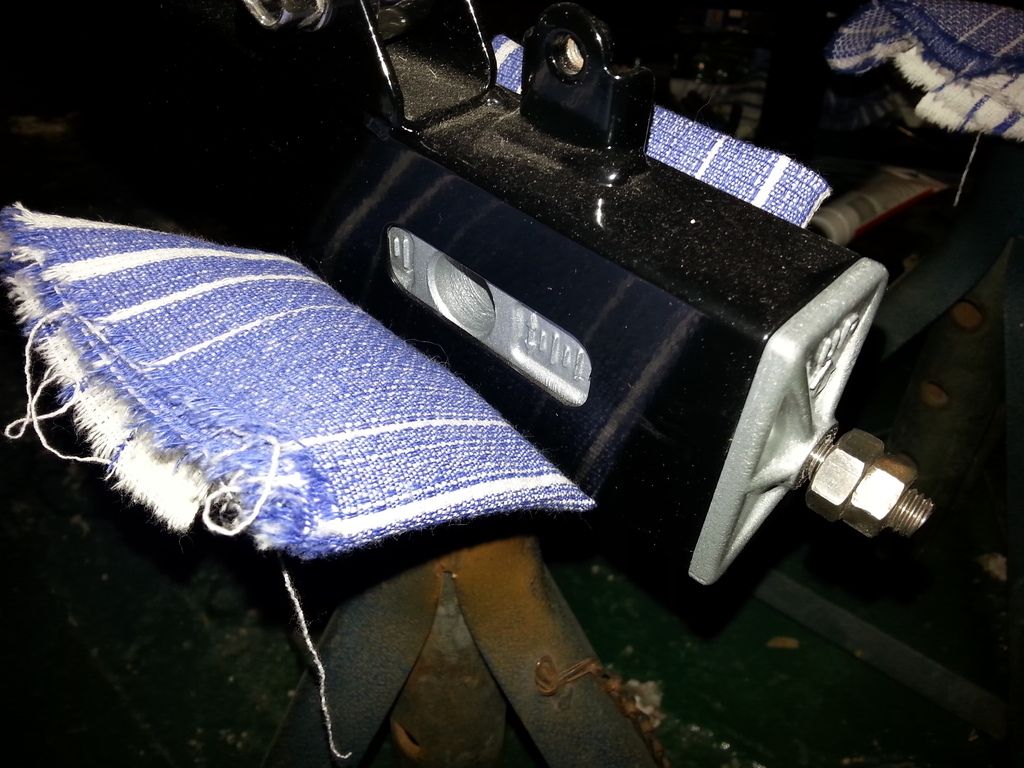
Rear wheel adjusters, one done, one not for comparison ... photo doesn't show it, but lots of aluminium corrosion (white powder) which made wire brushing it pleasant.
And popped into position. Must give the swingarm a dust.
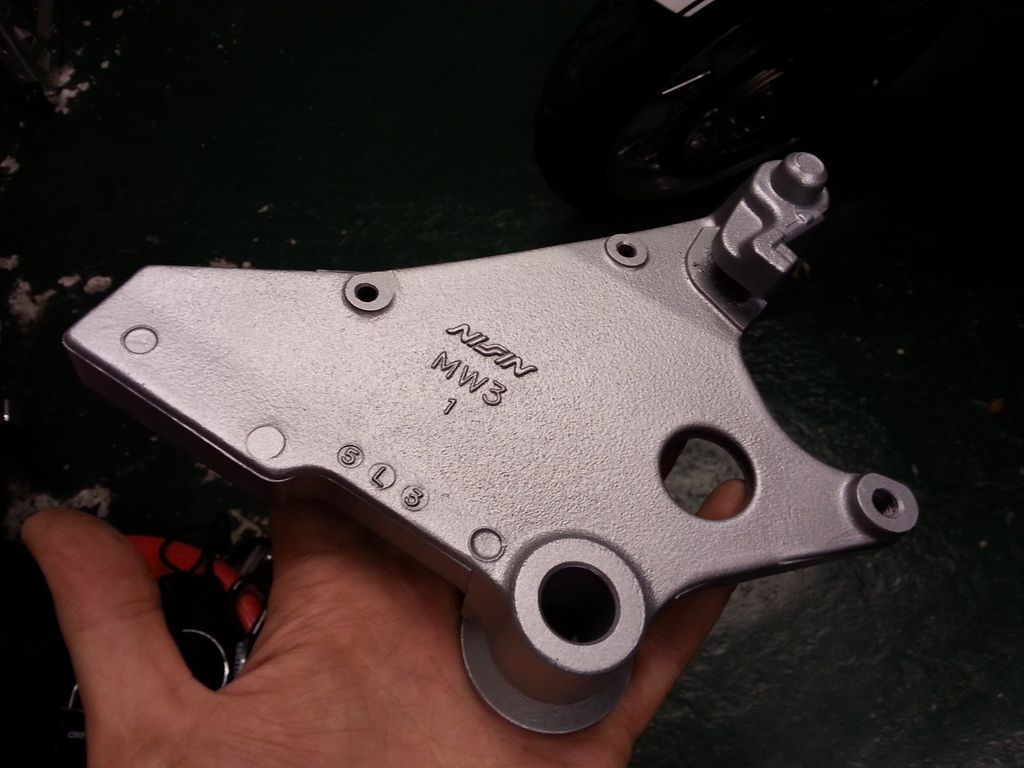
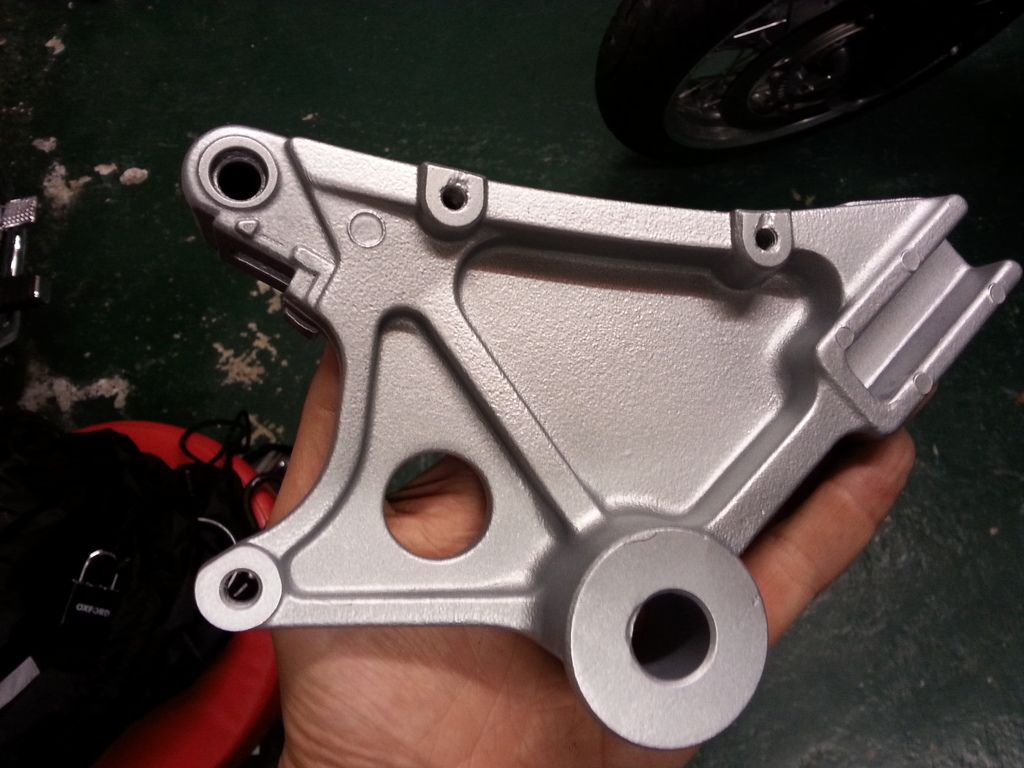
This is the rear brake calliper mount. Mrs EL and I spent a happy 15 minutes in Halfords trying to match up the paint with the 4,291 different shades of silver available on modern cars ... this is Toyota Lucerne. Very very pleased with how this turned out, this is like a brand new item.
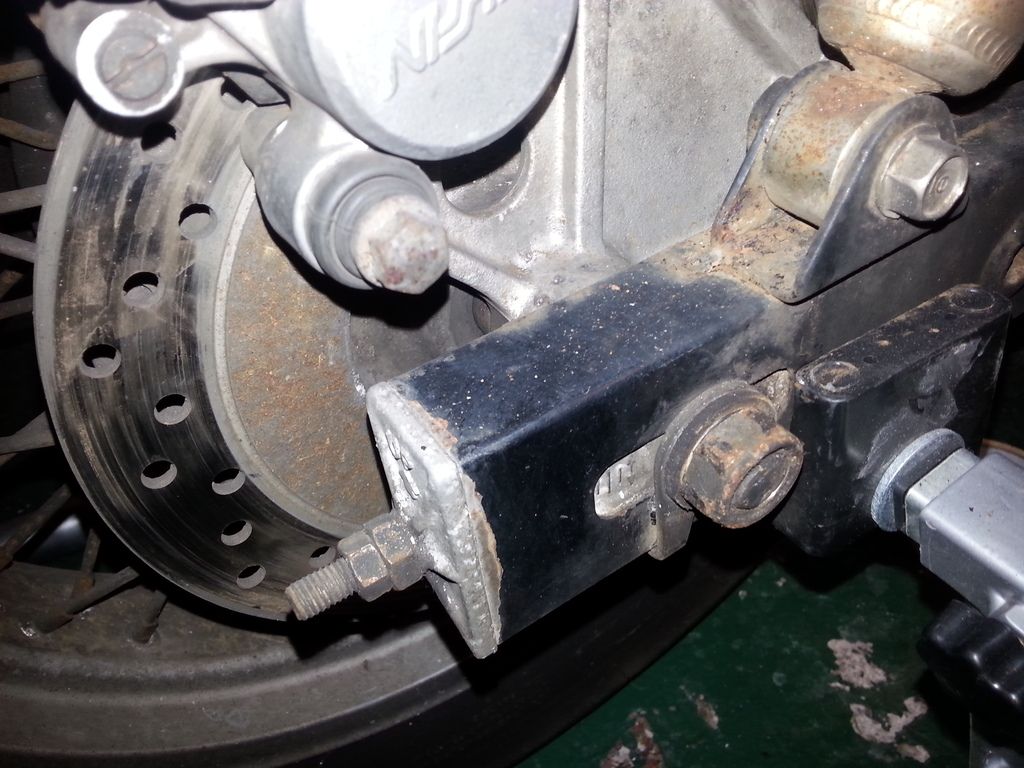
Just as a reminder, this is what this area used to look like ("lets see what you could have won") ...
I bought a new rear brake disk (about £80) but the front is save-able ... good job really, as new they are about £300 ! All it needed to clear the welded-on, dried fork oil and 20 years of much was excessive amounts of brake cleaner, white spirit, thinners, numerous small copper brushes and excessive amounts of polishing wheel use.
Talking of excessive, same applies to the masking tape, which was applied in front of the TV and just so I could spray silver (Toyota again) a very small area.
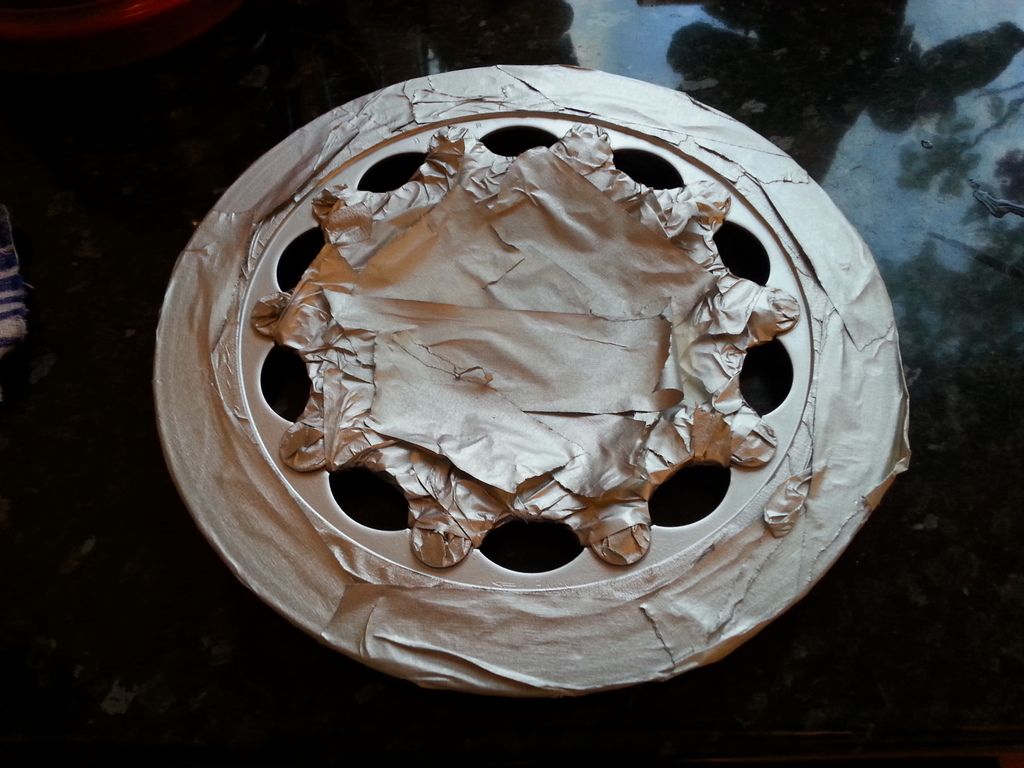
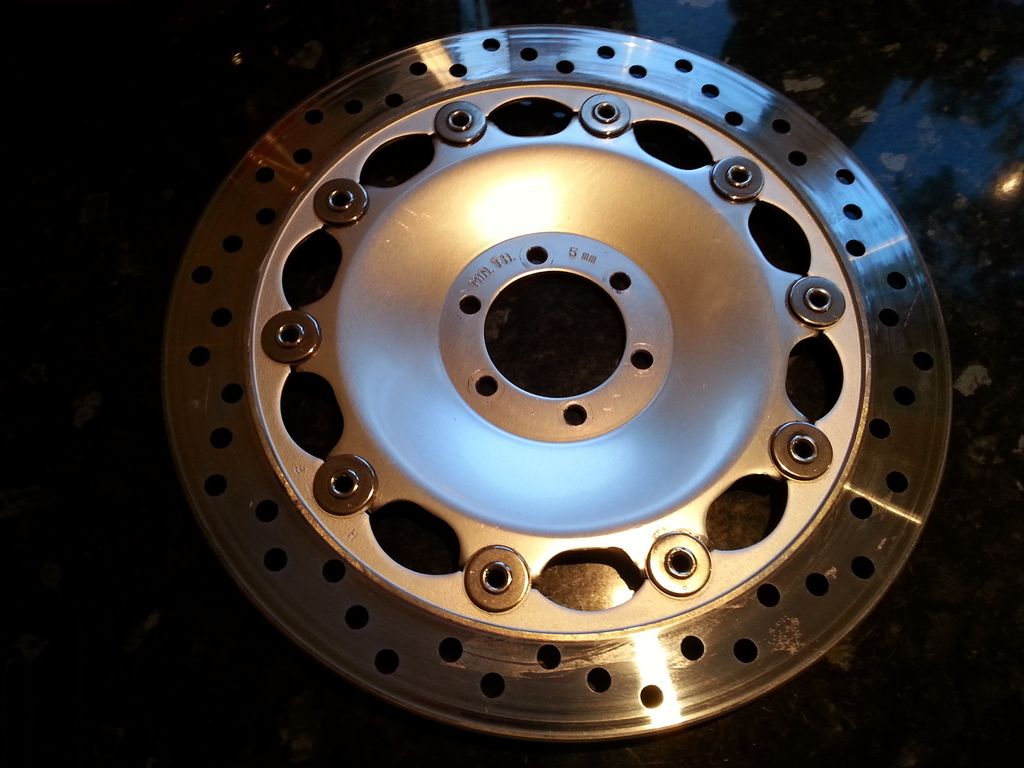
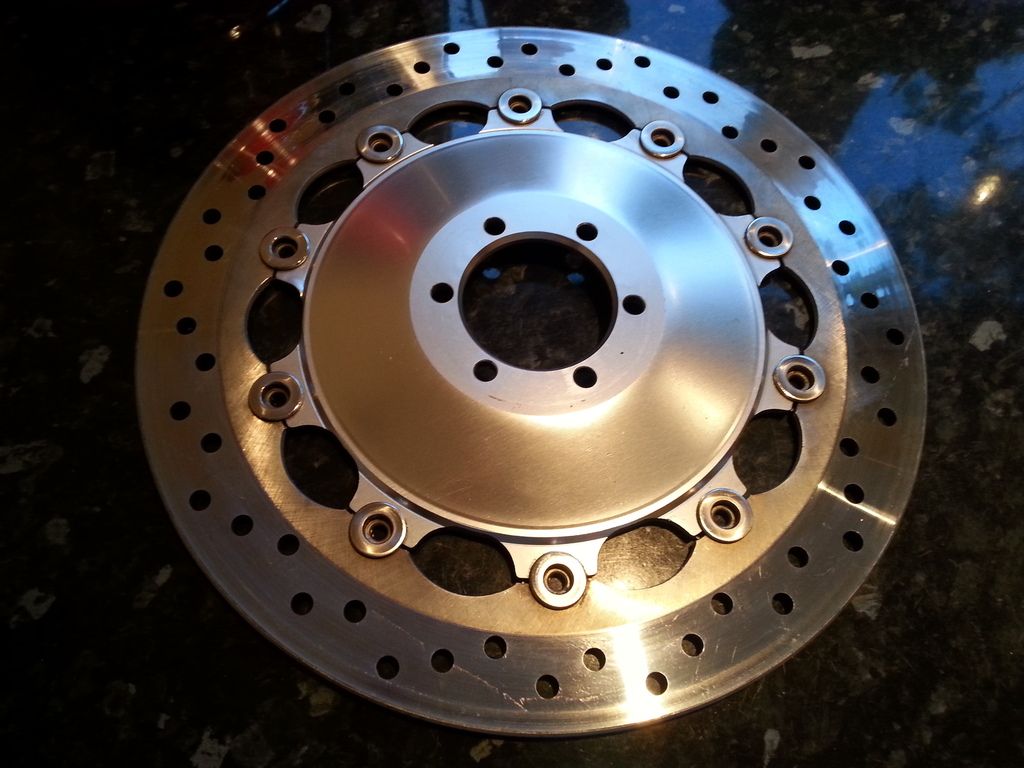
The finished article, both sides. Just wants sticky left over from the masking tape removing (this was freshly unwrapped).
Sorry guys, no updates for a couple of weeks as we're off down to Dorset !
The side stand after cleaning layers of gunk off and before painting and prep

Rear wheel adjusters, one done, one not for comparison ... photo doesn't show it, but lots of aluminium corrosion (white powder) which made wire brushing it pleasant.

And popped into position. Must give the swingarm a dust.

This is the rear brake calliper mount. Mrs EL and I spent a happy 15 minutes in Halfords trying to match up the paint with the 4,291 different shades of silver available on modern cars ... this is Toyota Lucerne. Very very pleased with how this turned out, this is like a brand new item.


Just as a reminder, this is what this area used to look like ("lets see what you could have won") ...

I bought a new rear brake disk (about £80) but the front is save-able ... good job really, as new they are about £300 ! All it needed to clear the welded-on, dried fork oil and 20 years of much was excessive amounts of brake cleaner, white spirit, thinners, numerous small copper brushes and excessive amounts of polishing wheel use.
Talking of excessive, same applies to the masking tape, which was applied in front of the TV and just so I could spray silver (Toyota again) a very small area.

The finished article, both sides. Just wants sticky left over from the masking tape removing (this was freshly unwrapped).


Sorry guys, no updates for a couple of weeks as we're off down to Dorset !

No offers, and I wouldn't accept them anyway ... plan to keep the bike for a few years (at least) and get some enjoyment out of it after all this hard work, plus remember the registration number is (by chance) my initials !
We're going to Uplyme ... it was supposed to be a motorbike holiday, but Mrs EL (who rides a Triumph Tiger) slipped a disk in March and is only up to journeys of 3 or 4 hours or so, so we're taking the car.
We're going to Uplyme ... it was supposed to be a motorbike holiday, but Mrs EL (who rides a Triumph Tiger) slipped a disk in March and is only up to journeys of 3 or 4 hours or so, so we're taking the car.
Gassing Station | Biker Banter | Top of Page | What's New | My Stuff