Honda VRX400 1995 "barn find" restoration
Discussion


Hi there, I have been following your thread with great interest as a UK based VRX owner (not many of us about). You have done an amazing job, concours springs to mind.
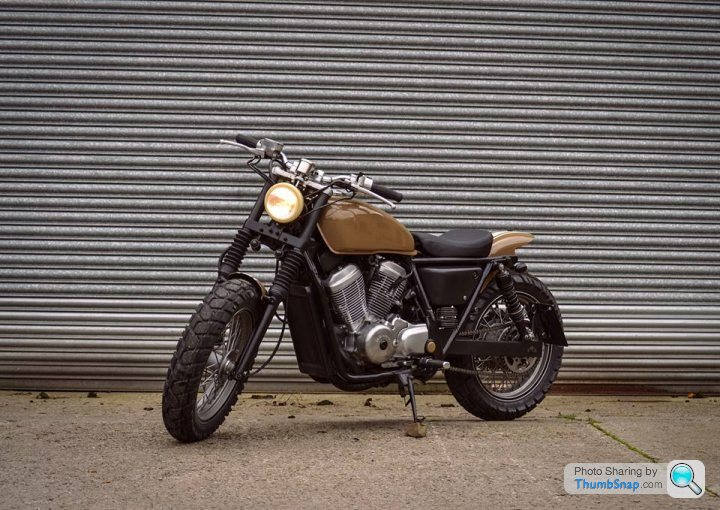
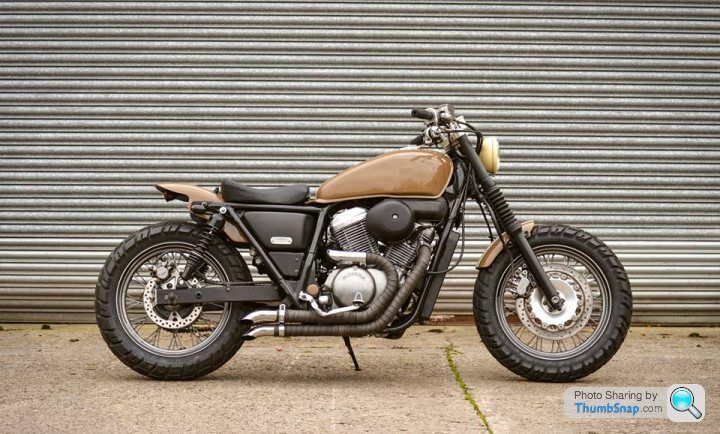
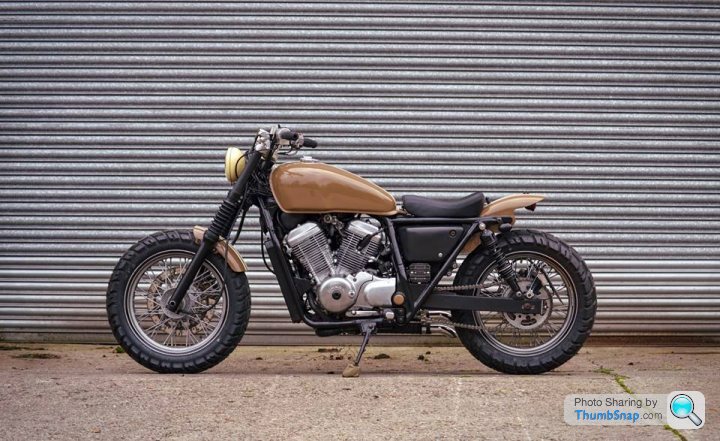
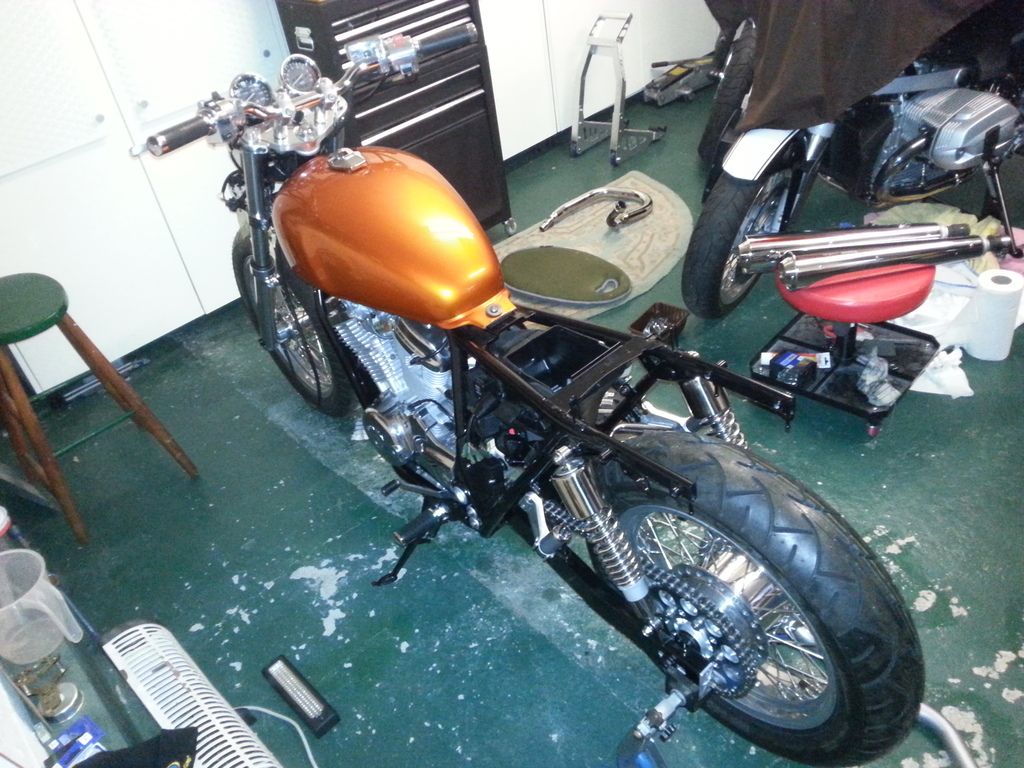
In the spirit of "show us yours", here is mine - a very different take built by the talented Jez at La Busca Autos.
Good luck with the tail end of your restoration - may you enjoy many happy and hopefully dry miles!
In the spirit of "show us yours", here is mine - a very different take built by the talented Jez at La Busca Autos.
Good luck with the tail end of your restoration - may you enjoy many happy and hopefully dry miles!

All the polished areas are left bare.
Well, progress has slowed due to being in hospital most of last week with kidney stones, so not done much. I've got another operation coming up in 2 weeks too
Decided to look at the squealing clutch.
I had to take all this off to get to it.
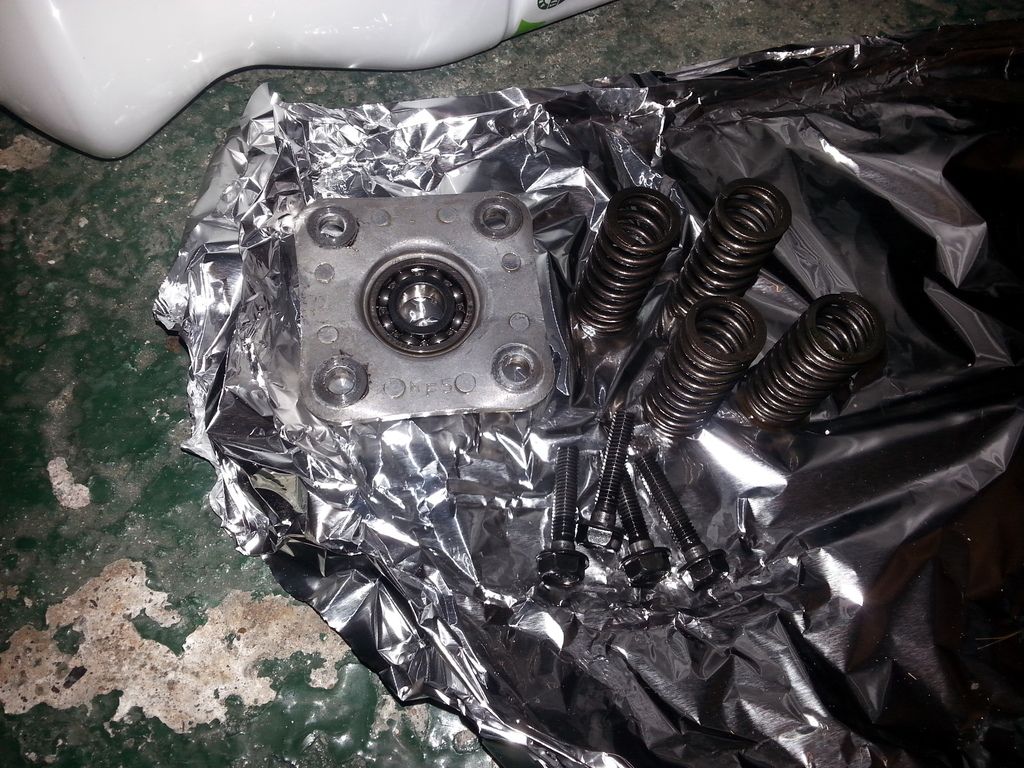
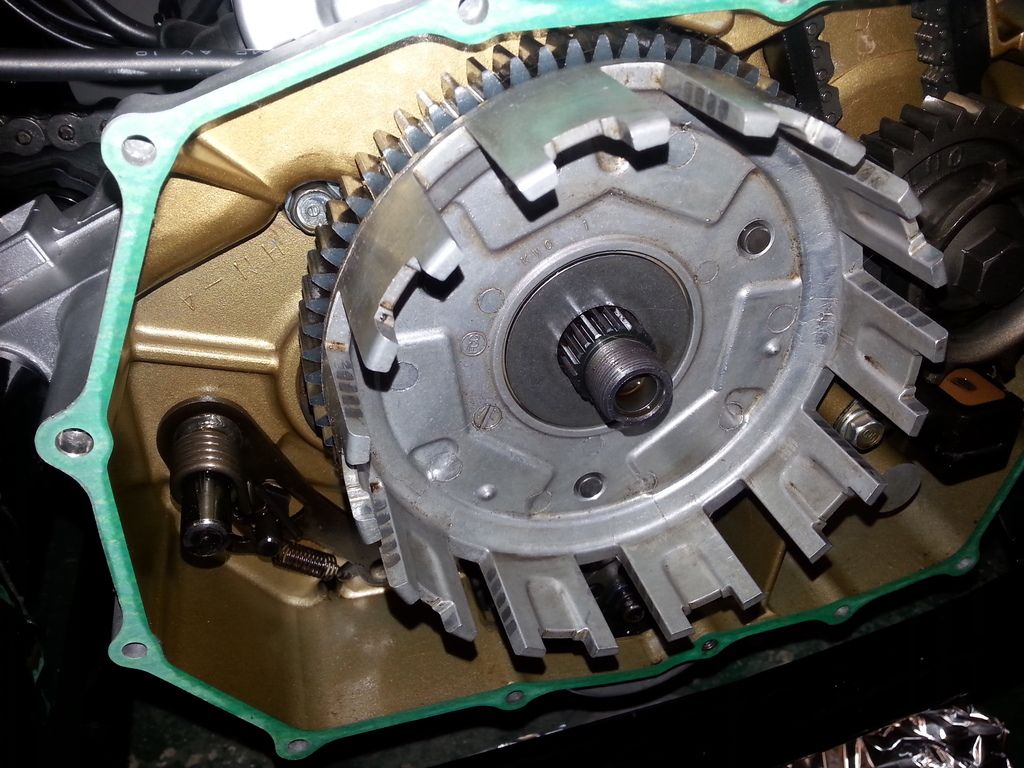
The springs and outer plate came off easy enough.
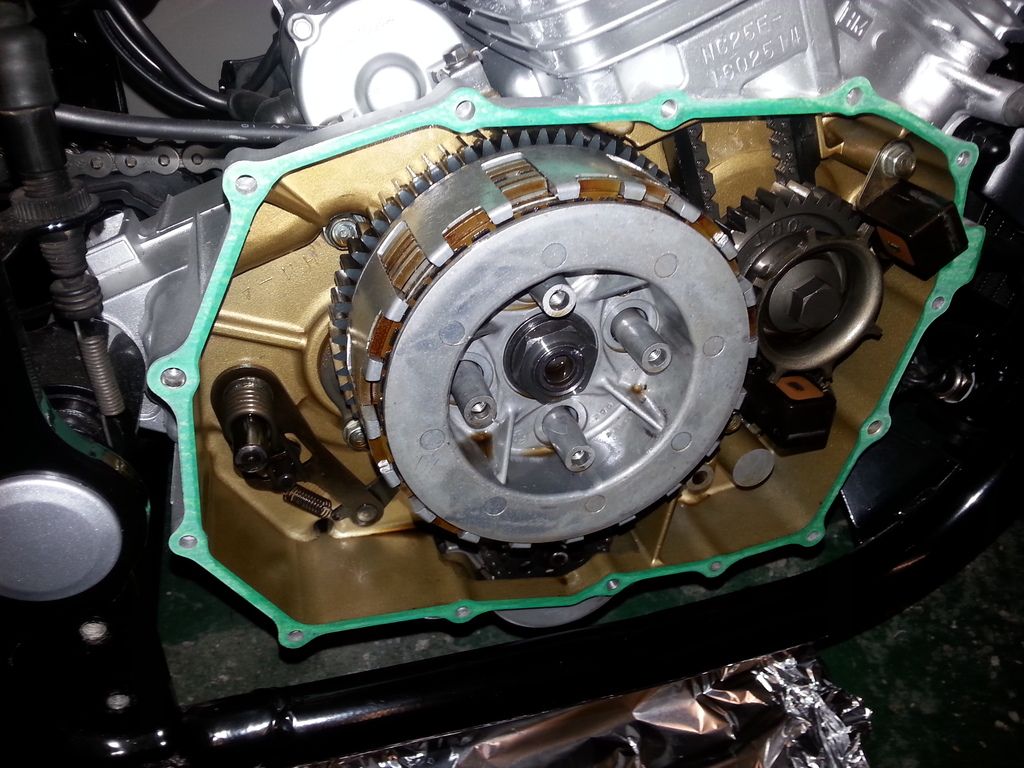
Leaving me looking at this ... and a very strong nut holding it all on in the middle !
So I had to buy a clutch cage tool from fleabay for £35, which arrived today.
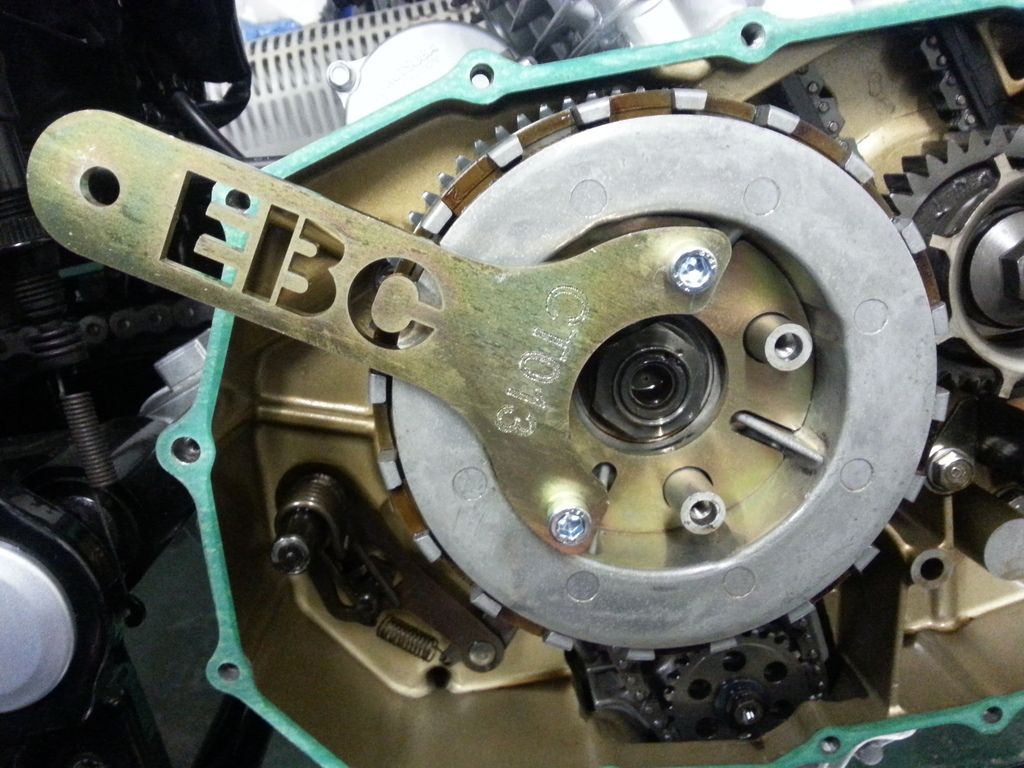
The centre nut came off ... but not without a major league fight involving a crowbar and my longest breaker bar ! It was so tough to crack, it bent the tool ! Cheap s t ebay rubbish (but hey, it'll never get used again, and a tool from Honda is £200)

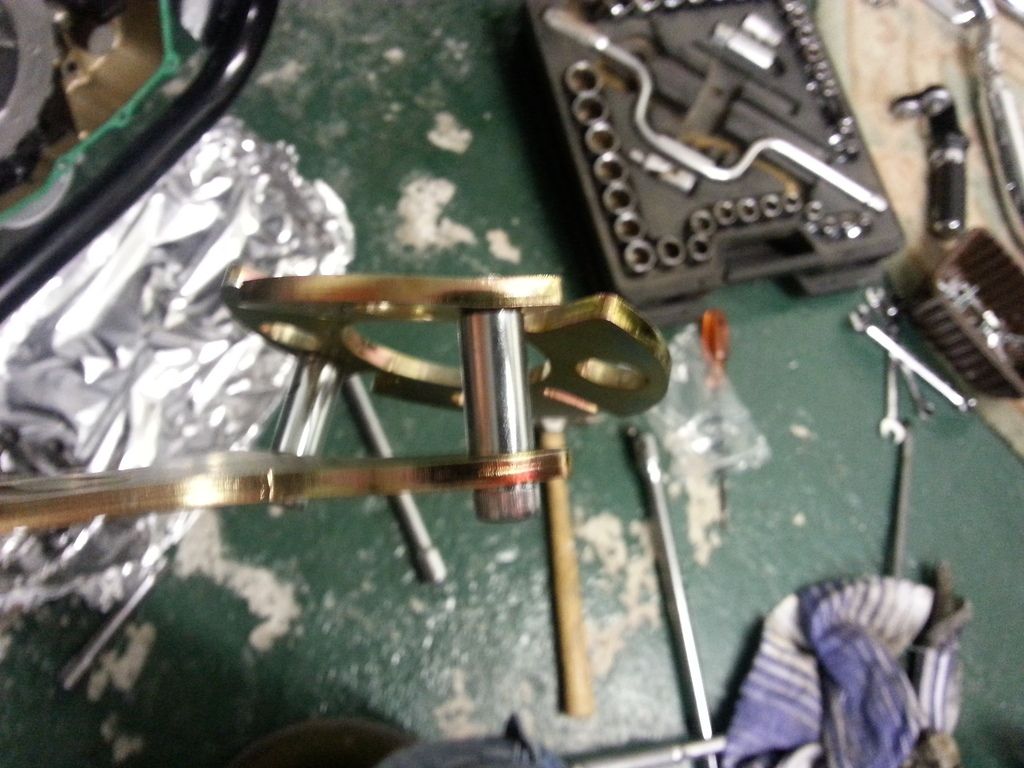
I'll straighten that in the vice later.
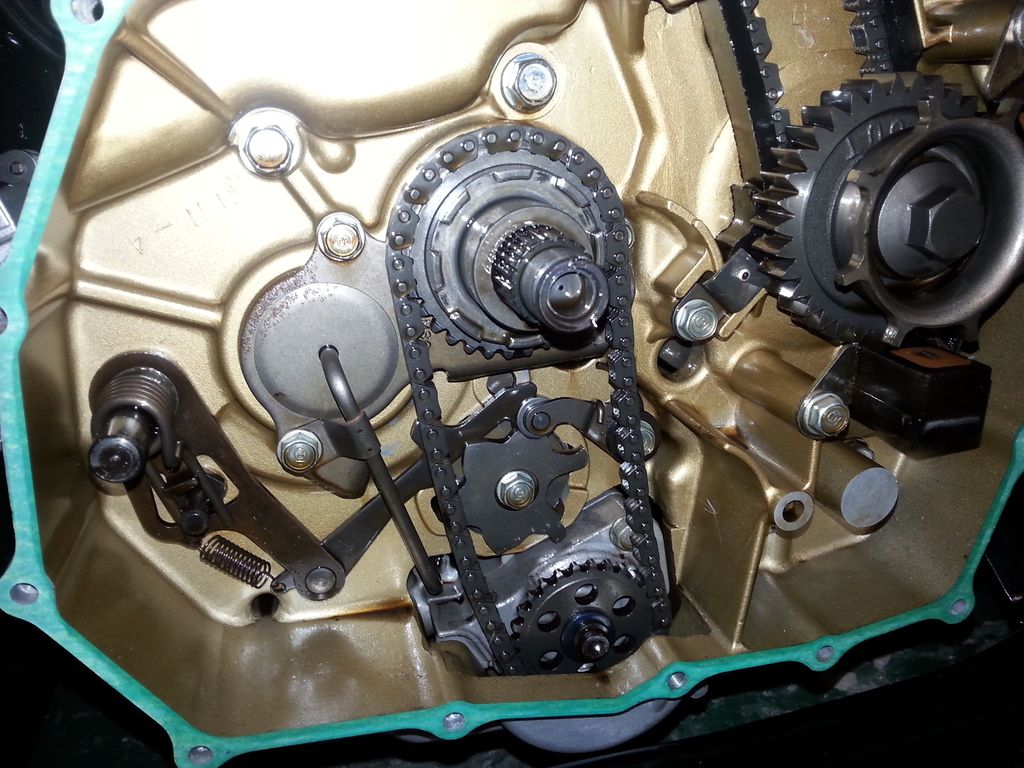
After pulling the cage and all the plates, I'm left with this. This is that "loose" chain I mentioned months ago. Doesn't appear to be any way of tensioning it.
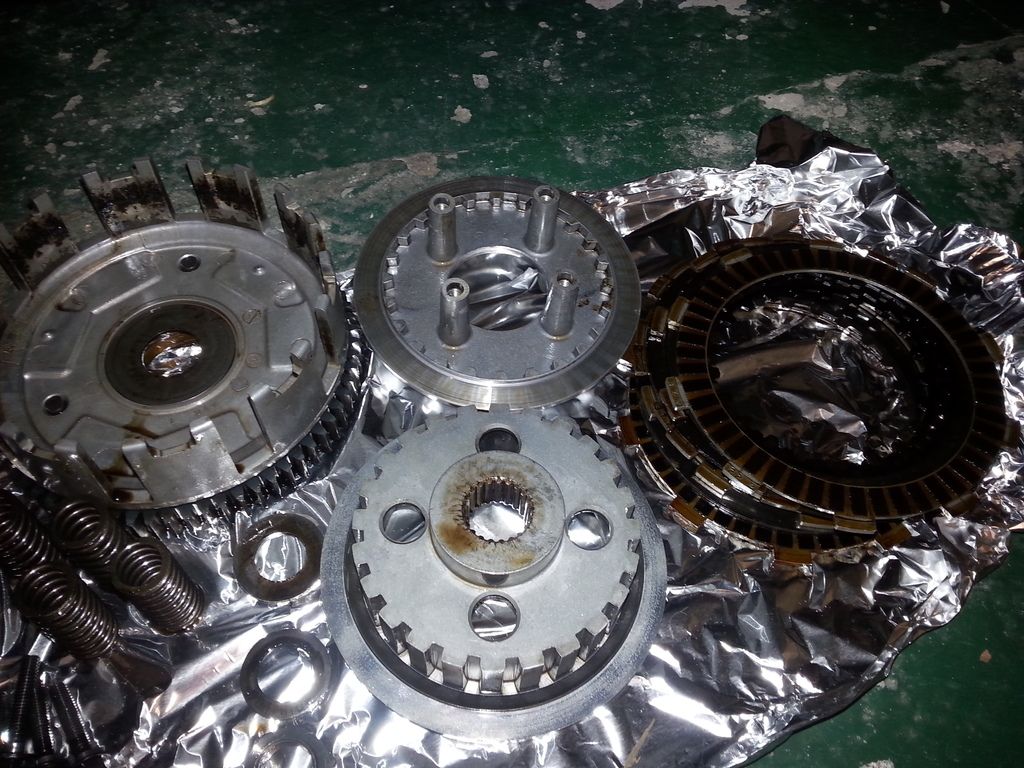
And here's the cage and plates on the floor.
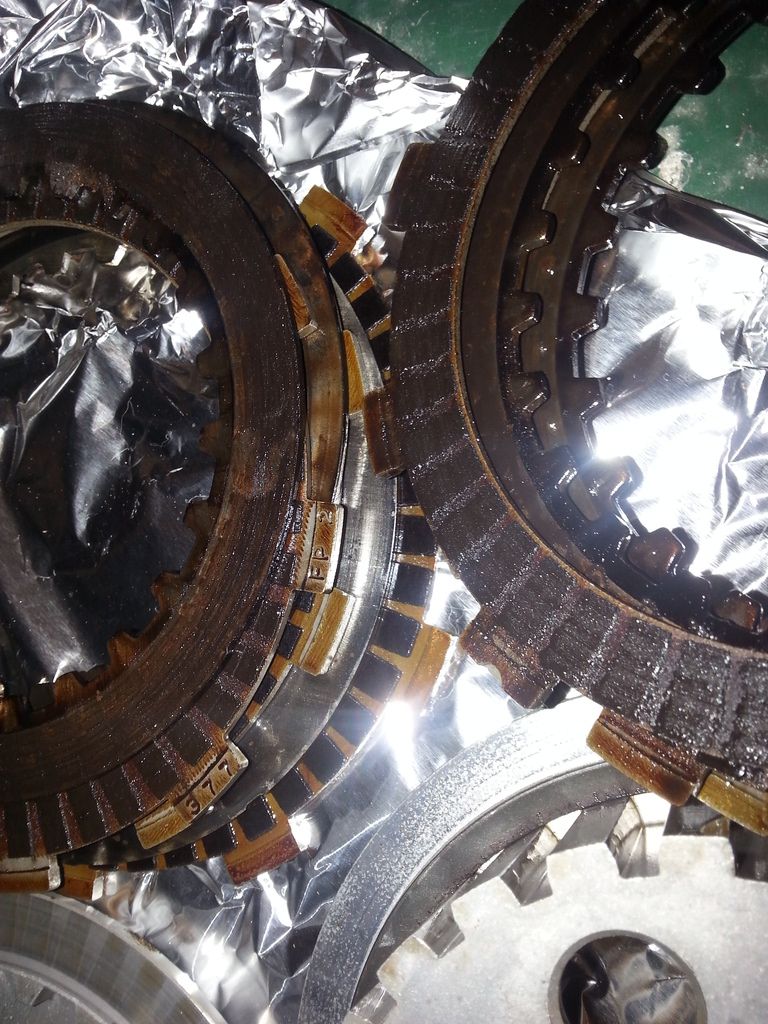
I think the reason for the squeal was all this gunk between some (not all) of the plates. I guess this is a result of her sitting around for 5 years ... I do remember now that the clutch was frozen on when I first got the bike, and I had to 'bump start' the bike to get the clutch to release. I should have thought and replaced it when the engine was on the bench, but you live and learn.
Time to order some new clutch plates and put it back together again.

Well, progress has slowed due to being in hospital most of last week with kidney stones, so not done much. I've got another operation coming up in 2 weeks too
Decided to look at the squealing clutch.
I had to take all this off to get to it.

The springs and outer plate came off easy enough.

Leaving me looking at this ... and a very strong nut holding it all on in the middle !

So I had to buy a clutch cage tool from fleabay for £35, which arrived today.

The centre nut came off ... but not without a major league fight involving a crowbar and my longest breaker bar ! It was so tough to crack, it bent the tool ! Cheap s
t ebay rubbish (but hey, it'll never get used again, and a tool from Honda is £200)

I'll straighten that in the vice later.
After pulling the cage and all the plates, I'm left with this. This is that "loose" chain I mentioned months ago. Doesn't appear to be any way of tensioning it.

And here's the cage and plates on the floor.

I think the reason for the squeal was all this gunk between some (not all) of the plates. I guess this is a result of her sitting around for 5 years ... I do remember now that the clutch was frozen on when I first got the bike, and I had to 'bump start' the bike to get the clutch to release. I should have thought and replaced it when the engine was on the bench, but you live and learn.

Time to order some new clutch plates and put it back together again.

mister_ee said:
Bikes looking sweet, last time I did the clutch on my 400 Bros (similar engine)all I did was wad up a piece of rag and jam it in the gears between the clutch basket and primary gear, locks it up good and tight and does no damage to anything
Yeah, it's not quite like that on this bike. There's in an inner and outer cage. The outer cage is attached to the gears you see visible above. The inner cage (which needs to come off to get to the plates) is what the nut was attached to. Turning the nut just spins the inner cage and plates ... it's not moving any visible gears to jam (you'd have to take the other side off to get to the gearbox innards).Senor_Duende said:
Hi there, I have been following your thread with great interest as a UK based VRX owner (not many of us about). You have done an amazing job, concours springs to mind.
In the spirit of "show us yours", here is mine - a very different take built by the talented Jez at La Busca Autos.
Good luck with the tail end of your restoration - may you enjoy many happy and hopefully dry miles!
I forgot to comment on this bike. LOVE IT ! Looks great, some styling ideas I'd like to steal there for the future (*) especially the front mudguard.In the spirit of "show us yours", here is mine - a very different take built by the talented Jez at La Busca Autos.
Good luck with the tail end of your restoration - may you enjoy many happy and hopefully dry miles!
(*) once completed I think I'll be forever tinkering and fiddling with this bike, changing it.
Slow progress due to ill health ... kidney stone operation next Wednesday. That's going to be fun. They are going to laser it, going in with an endoscope with a light, 'grabber' and laser on it via, er ... lets say "an existing orifice". Luckily I'll be unconscious whilst a bloke rams something the thickness of your little finger up my junk ...
Bled the rear brake whilst waiting for the clutch bits to arrive. Was REALLY easy. Rock hard now ... might have another go at the front brake.
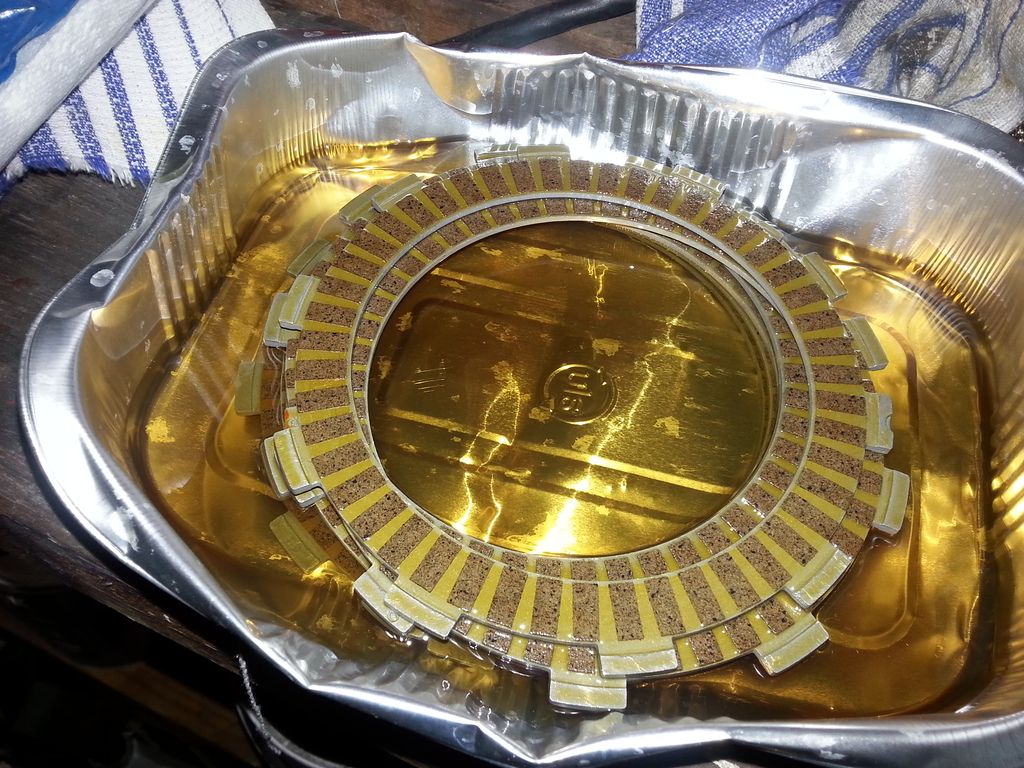
Clutch arrived ...
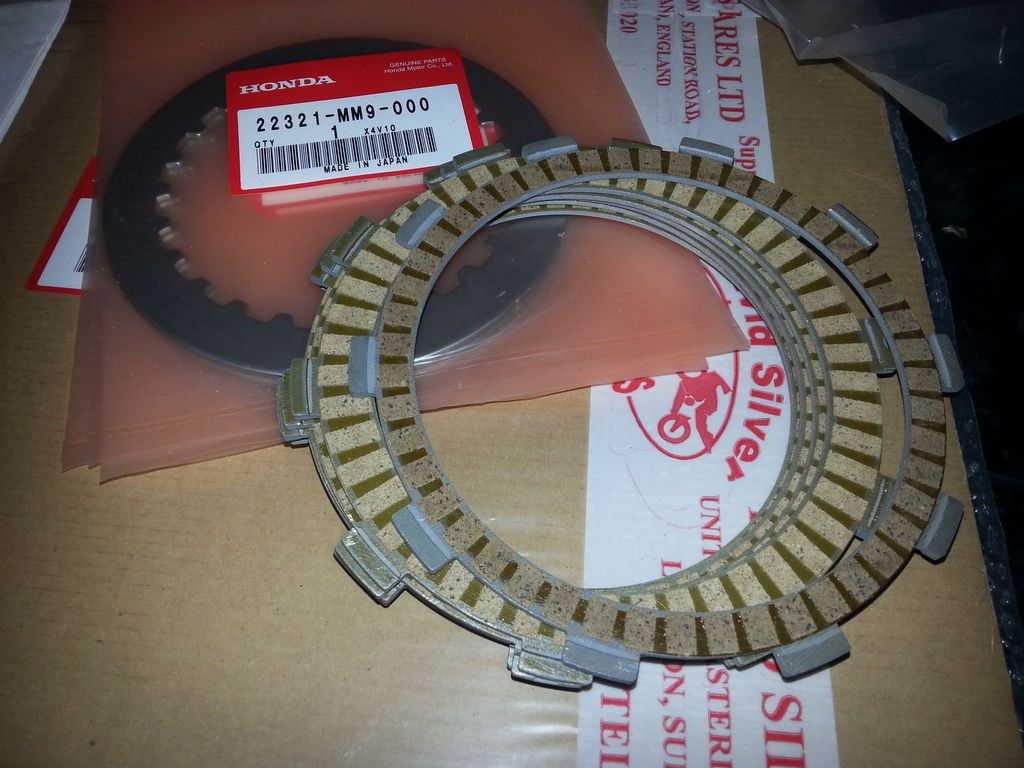
Soak for a while in engine oil before fitting. There seems to be some disagreement about how long you should soak them for, between 15 minutes and 24 hours. I settled for about 4 hours.
Refitted the outer basket after giving it a bit of a clean.
And then you start to replace the friction plates and steels, alternating. This is a kinda messy process, remembering that these are all gunked in oil.
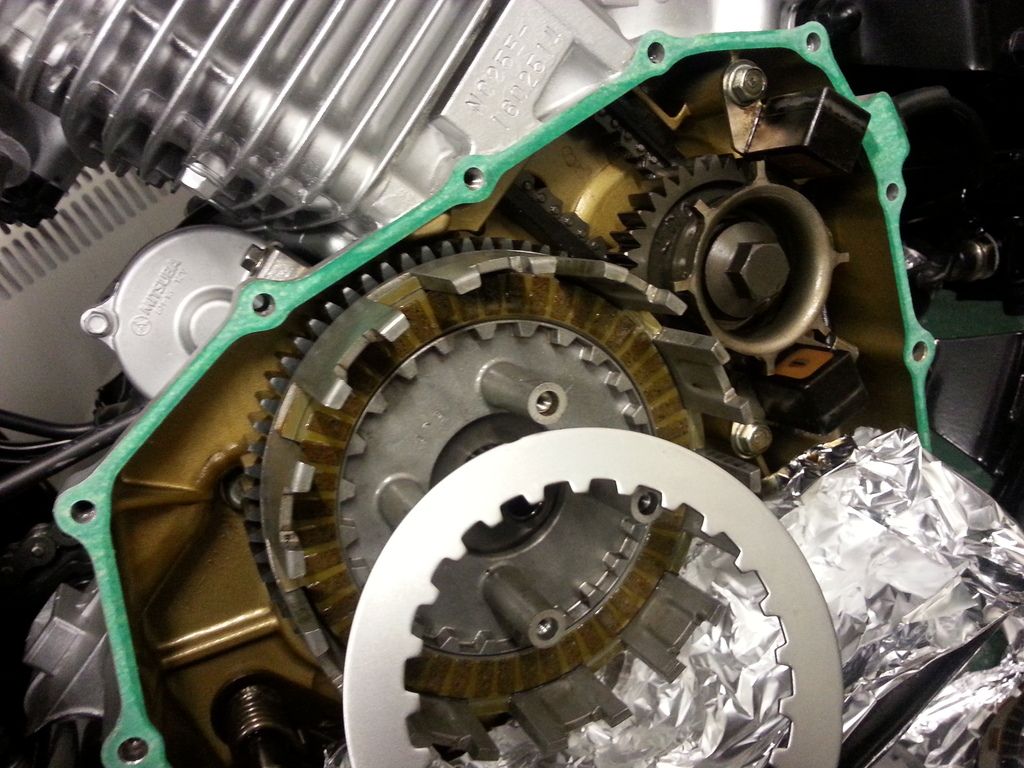
All plates on, ready for the inner basket. This ... took ... forever ! Getting the inner cage, outer cage, steels, friction plates, springs etc all lined up so they would slot together probably took about an hour, and many times on/off/on/off till I got it right, with everything seated correctly. A very frustrating hour, not helped by getting personally oilier and oilier as time progressed.
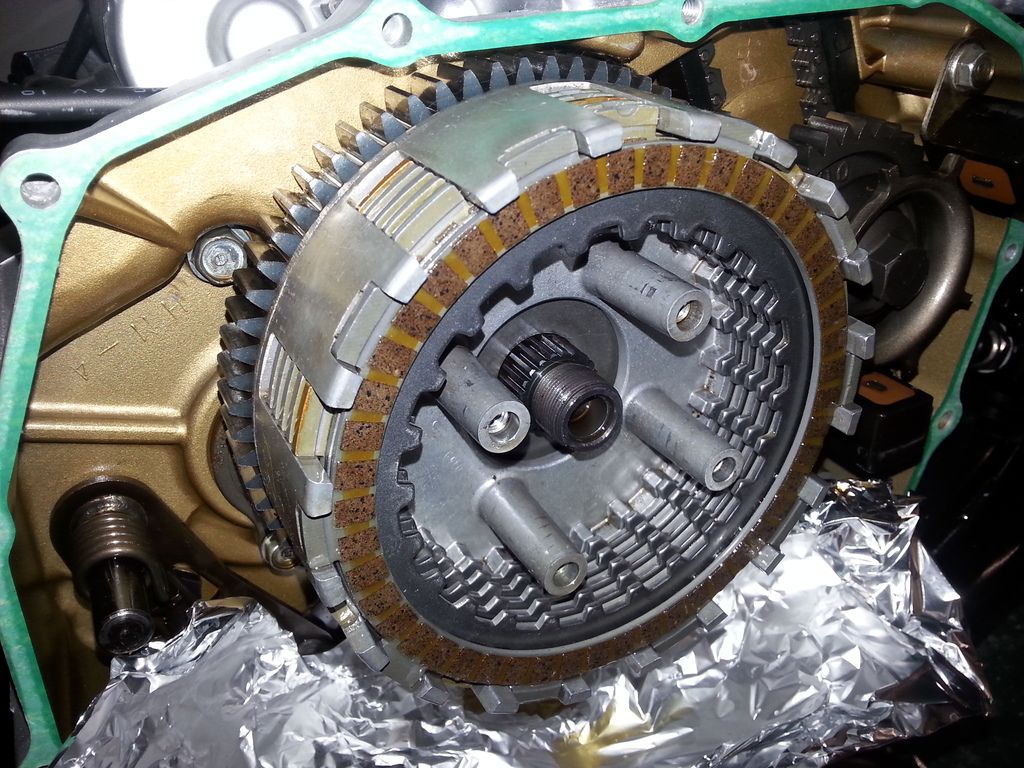
Time to do up the centre nut to 128nm, which is bd tight (especially when the whole thing just wants to spin inside the outer cage). Had to use much leverage to get to the right torque ... the little clutch tool just isn't long enough for the job (hence the big screwdriver wedged in to provide "back pressure")
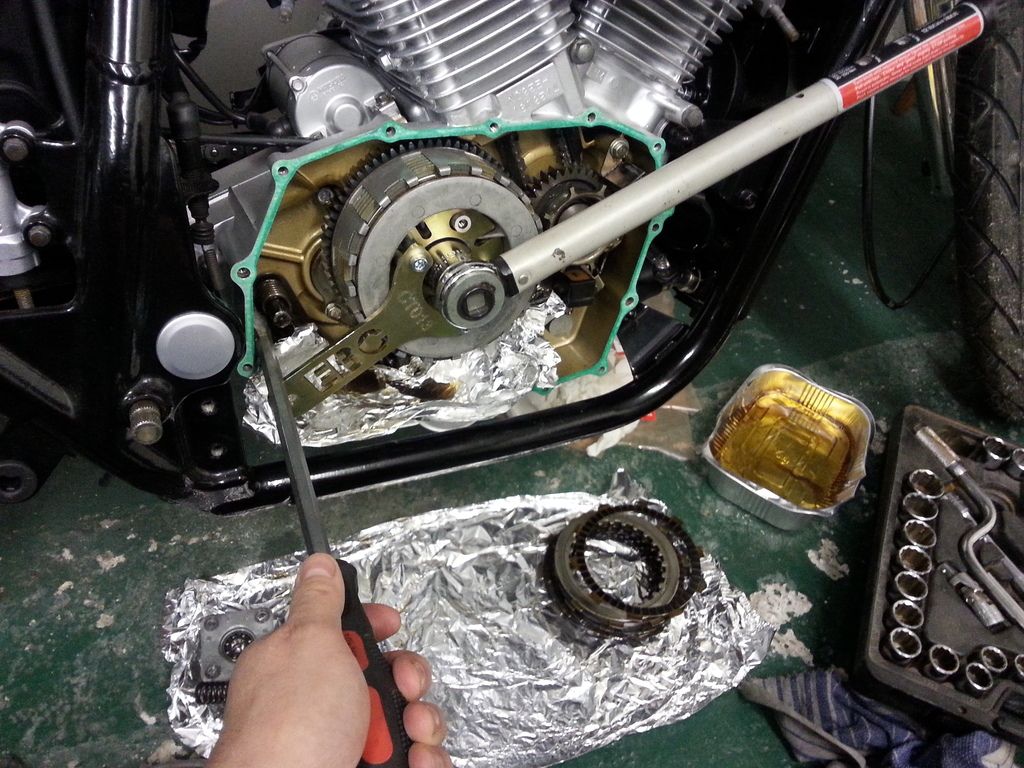
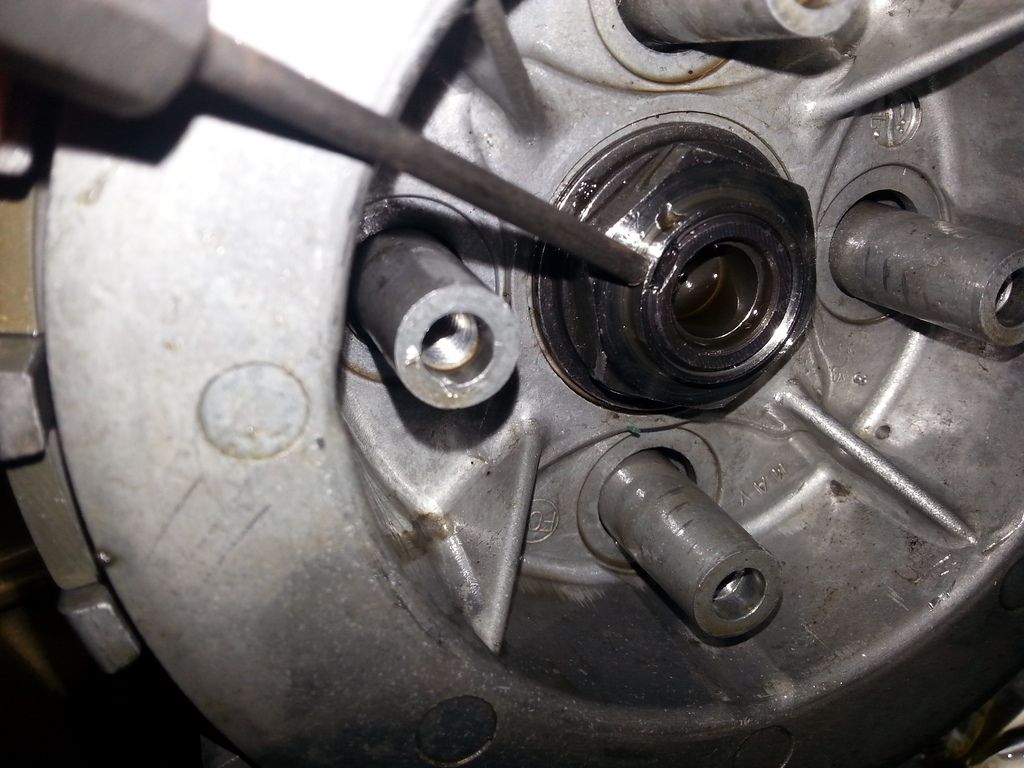
There's a slot, hammer in the outer part of the nut to lock into place.
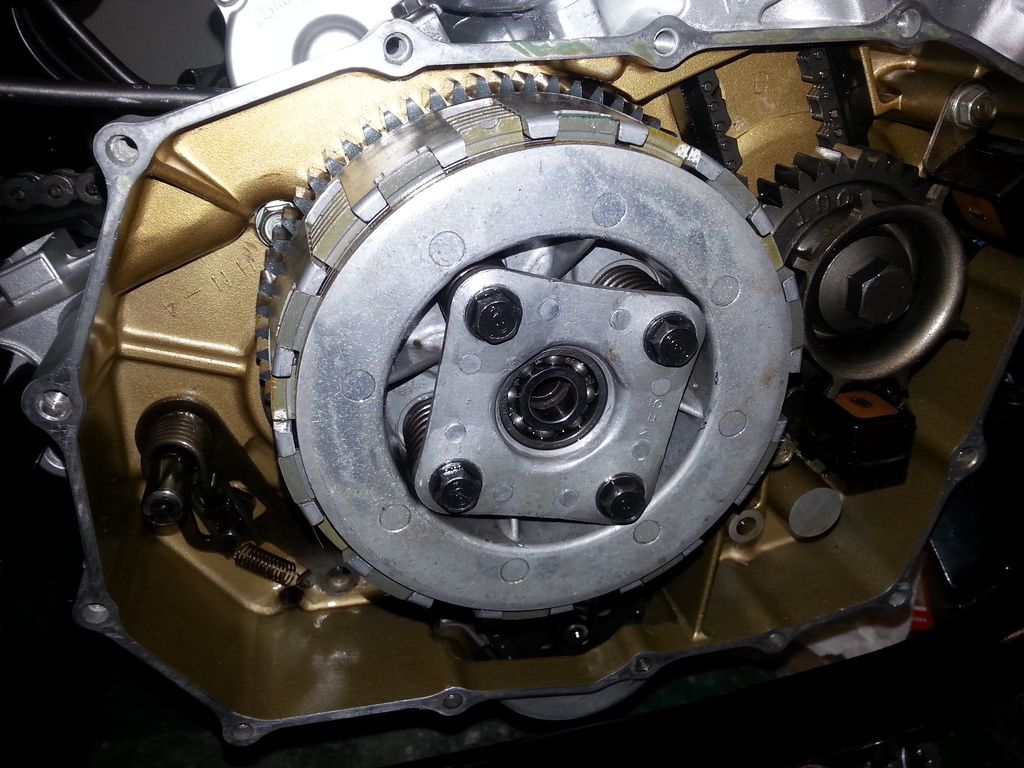
Release plate and bearing back in along with springs. Another frustrating job. Put it in first, and the thing just locked solid against the centre nut (above). Took it off, spent many hours staring at the workshop manual, parts manual and old photos ... couldn't find WHAT I'd done wrong. Put it back on again, and it went on sweet as you'd like. Obstreperous git of a thing ...
Note I've taken the (not so) old gasket off, to fit a new one (that's a tenner down the drain)
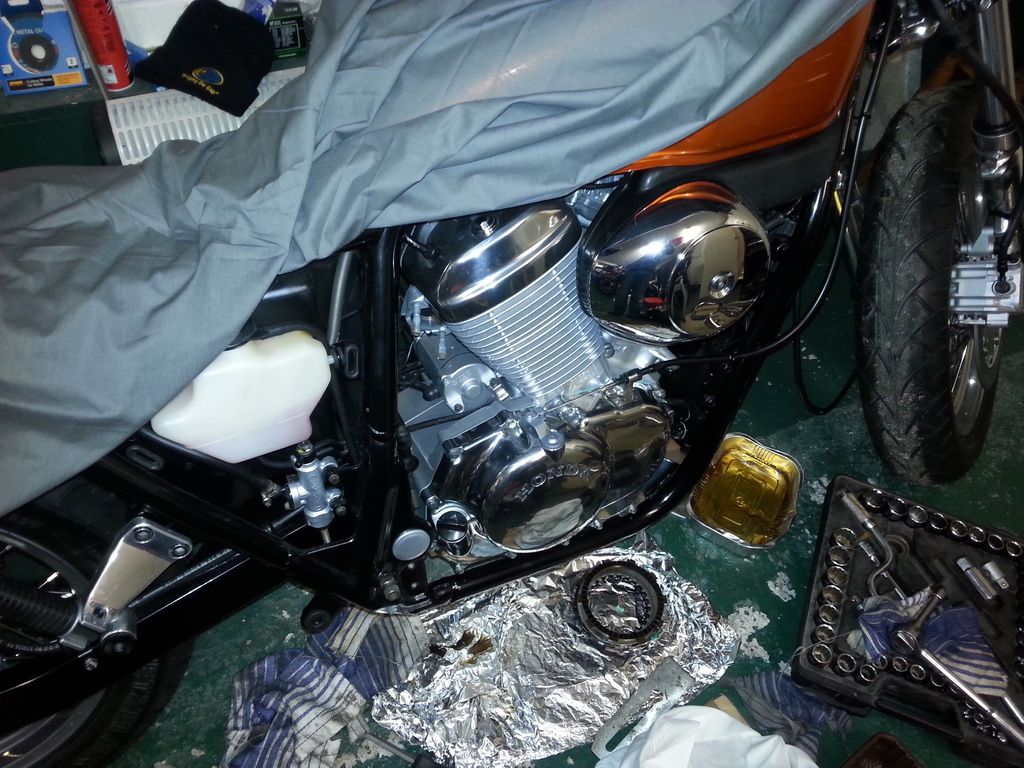
Outer cover cleaned and polished up again (grubby finger marks from removal) and replaced. Clutch cable fitted to ensure the clutch (appears) to work. Just have to fit everything back on (which as I've just finished a 12 hour day at work, I CBA to do today ...)
Bled the rear brake whilst waiting for the clutch bits to arrive. Was REALLY easy. Rock hard now ... might have another go at the front brake.
Clutch arrived ...

Soak for a while in engine oil before fitting. There seems to be some disagreement about how long you should soak them for, between 15 minutes and 24 hours. I settled for about 4 hours.

Refitted the outer basket after giving it a bit of a clean.

And then you start to replace the friction plates and steels, alternating. This is a kinda messy process, remembering that these are all gunked in oil.

All plates on, ready for the inner basket. This ... took ... forever ! Getting the inner cage, outer cage, steels, friction plates, springs etc all lined up so they would slot together probably took about an hour, and many times on/off/on/off till I got it right, with everything seated correctly. A very frustrating hour, not helped by getting personally oilier and oilier as time progressed.

Time to do up the centre nut to 128nm, which is b
d tight (especially when the whole thing just wants to spin inside the outer cage). Had to use much leverage to get to the right torque ... the little clutch tool just isn't long enough for the job (hence the big screwdriver wedged in to provide "back pressure")
There's a slot, hammer in the outer part of the nut to lock into place.

Release plate and bearing back in along with springs. Another frustrating job. Put it in first, and the thing just locked solid against the centre nut (above). Took it off, spent many hours staring at the workshop manual, parts manual and old photos ... couldn't find WHAT I'd done wrong. Put it back on again, and it went on sweet as you'd like. Obstreperous git of a thing ...
Note I've taken the (not so) old gasket off, to fit a new one (that's a tenner down the drain)

Outer cover cleaned and polished up again (grubby finger marks from removal) and replaced. Clutch cable fitted to ensure the clutch (appears) to work. Just have to fit everything back on (which as I've just finished a 12 hour day at work, I CBA to do today ...)

Awesome stuff as usual, though I think I'd have put the plates on the inner part of the clutch first; much easier to align the tabs on the friction plates with the basket than to align to splines on the steel plates with the inner.
Kidney stone removal doesn't sound fun at all, good luck with that! You should be able to empty your bladder in about 3 seconds after the err...orifice has been given a big bore conversion
Kidney stone removal doesn't sound fun at all, good luck with that! You should be able to empty your bladder in about 3 seconds after the err...orifice has been given a big bore conversion
Mr2Mike I did try that too, but then the assembly wouldn't slot into the outer basket. Tried various variants. Oh well, it's done now !
Slow/no progress due to operation last week to remove the kidney stones ... all very successful, but currently sore and battered and just feel a bit poo, so not in the mind to venture out into the garage much. Have a stent in currently (which is not the most pain free of items), that comes out in two weeks, so hope to improve after that. But at least the stones are GONE !
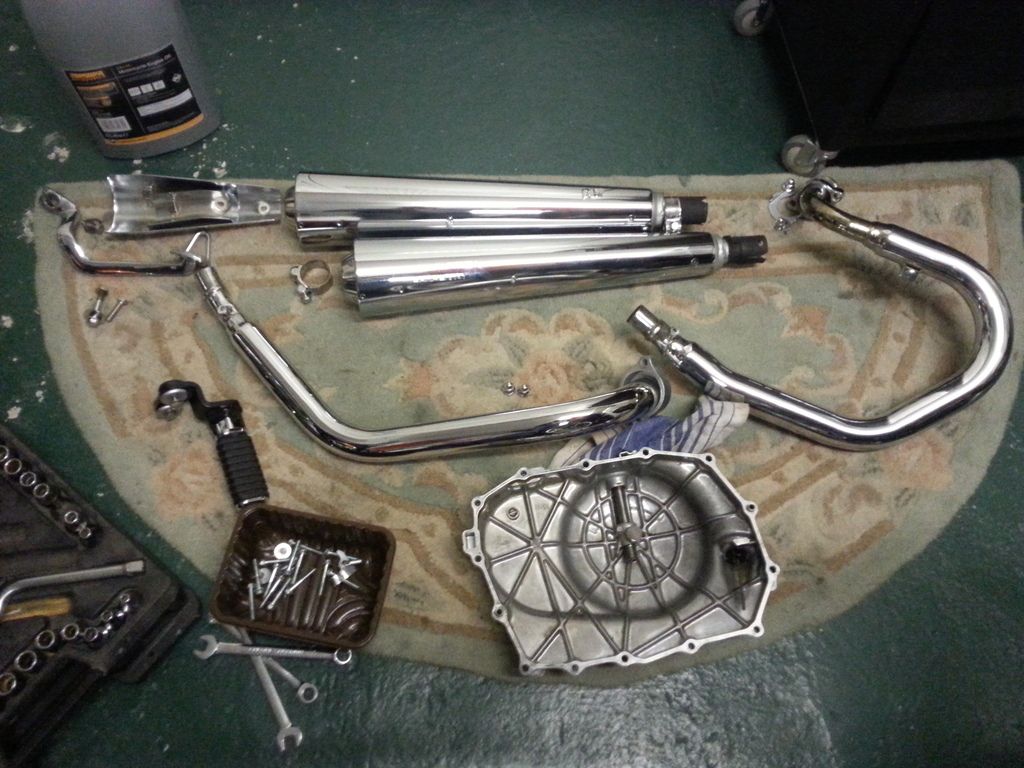
Put all the bits and bobs back on the bike after doing the clutch, then found a small leak in one pipe, so have taken the exhaust back off again to seal that.
She wouldn't start, then I found when trying to get the clutch undone I'd knocked a block connector apart. Reconnected and she fires straight up. And the clutch works sweet as a sweet thing now, with no squeeeeeeel-piggie noise.
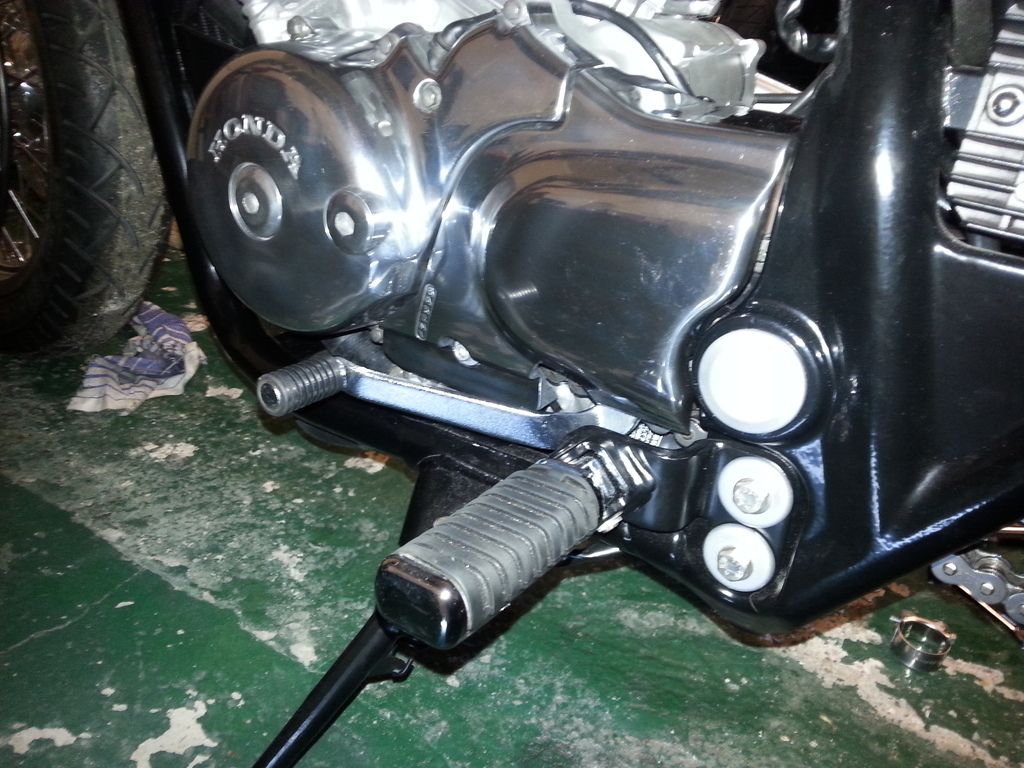
Derusted and painted a few small connectors and bits and bobs.
Fitted the front sprocket cover. And I'm afraid that's all folks. Normal service will return soon.
Slow/no progress due to operation last week to remove the kidney stones ... all very successful, but currently sore and battered and just feel a bit poo, so not in the mind to venture out into the garage much. Have a stent in currently (which is not the most pain free of items), that comes out in two weeks, so hope to improve after that. But at least the stones are GONE !
Put all the bits and bobs back on the bike after doing the clutch, then found a small leak in one pipe, so have taken the exhaust back off again to seal that.
She wouldn't start, then I found when trying to get the clutch undone I'd knocked a block connector apart. Reconnected and she fires straight up. And the clutch works sweet as a sweet thing now, with no squeeeeeeel-piggie noise.
Derusted and painted a few small connectors and bits and bobs.
Fitted the front sprocket cover. And I'm afraid that's all folks. Normal service will return soon.


evil len said:
Slow/no progress due to operation last week to remove the kidney stones ... all very successful, but currently sore and battered and just feel a bit poo, so not in the mind to venture out into the garage much. Have a stent in currently (which is not the most pain free of items), that comes out in two weeks, so hope to improve after that. But at least the stones are GONE !
Get well soon Len! I'm eager to see progress as much as anyone bar you, but don't overdo it or you might make your recovery time longer...Thanks both
Need some help please from anyone with bright ideas ...
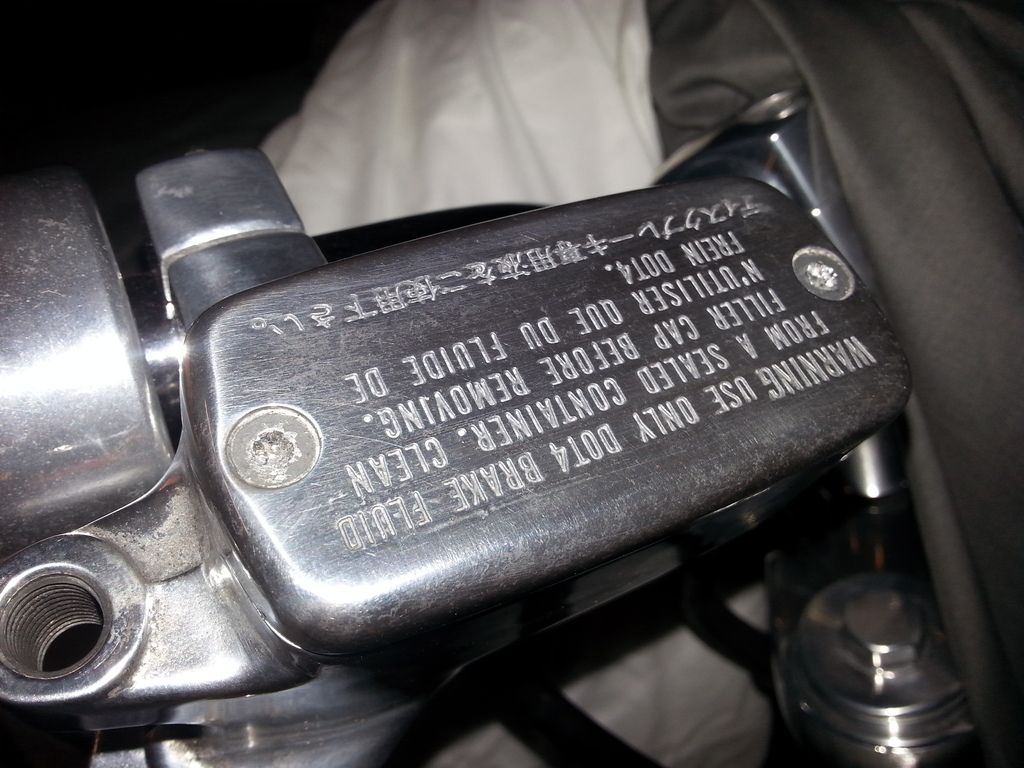
Never quite got the front brake lever as firm as I'd like, so thought I'd have another go at bleeding. Went to try and remove the top of the master cylinder, and the screws just won't budge ! I don't know why, I can't imagine I over tightened both of them, but I've tried all sorts and they just wont come out, and they are to the point now where I'm destroying the heads.
So how do I get these off ... my two thoughts are 1) form a 'shield' from a sheet of metal with a hole in it to protect the rest of the cylinder, and try and weld a big enough blob onto the screws so I can unscrew with mole grips (but I'm worried about melting the plastic cover underneath) or 2) drill out, and hope that there's enough stub left once the cover is off to get mole grips round (if not, I'm into trying to drill and tap a very small hole) .... or 3) ???
Need some help please from anyone with bright ideas ...
Never quite got the front brake lever as firm as I'd like, so thought I'd have another go at bleeding. Went to try and remove the top of the master cylinder, and the screws just won't budge ! I don't know why, I can't imagine I over tightened both of them, but I've tried all sorts and they just wont come out, and they are to the point now where I'm destroying the heads.
So how do I get these off ... my two thoughts are 1) form a 'shield' from a sheet of metal with a hole in it to protect the rest of the cylinder, and try and weld a big enough blob onto the screws so I can unscrew with mole grips (but I'm worried about melting the plastic cover underneath) or 2) drill out, and hope that there's enough stub left once the cover is off to get mole grips round (if not, I'm into trying to drill and tap a very small hole) .... or 3) ???

Gassing Station | Biker Banter | Top of Page | What's New | My Stuff