Honda VRX400 1995 "barn find" restoration
Discussion


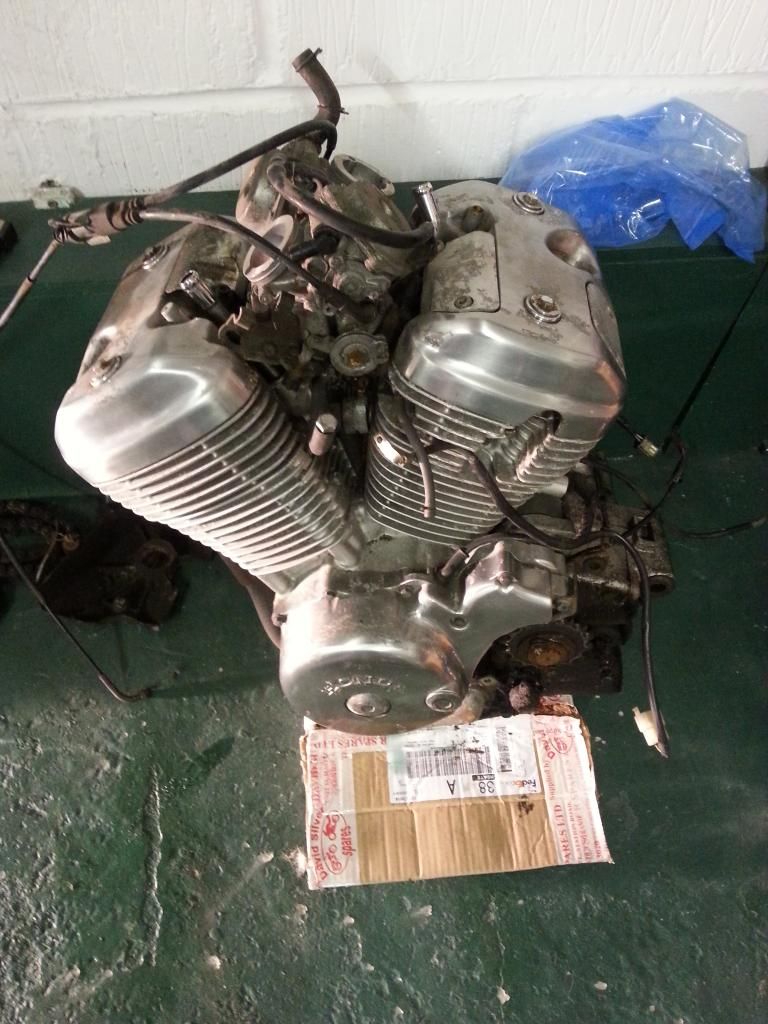
The carbs need a rebuild, but I *think* (until I change my mind) I'm going to leave the engine intact. I've had it running, and there's no smoke. I will be semi taking it apart though ... for example to take the clutch casing off to get it polished up, same with the covers over the cylinder head. I think I'll be able to rub the main engine block (fins etc) down and repaint the engine as a whole in silver, but until it's sat on the floor I wont know. I may also get a price for an engine specialist to lightly strip it ... if it's not much money, it may be worth doing. I will, of course, be doing things like checking pumps, replacing thermostat etc, whilst it's on the floor.
## I like stripping, I like stripping, I like stripping and I like to strip ... ##
Rear end mostly stripped. The springs and wheel adjusters are off now, too.
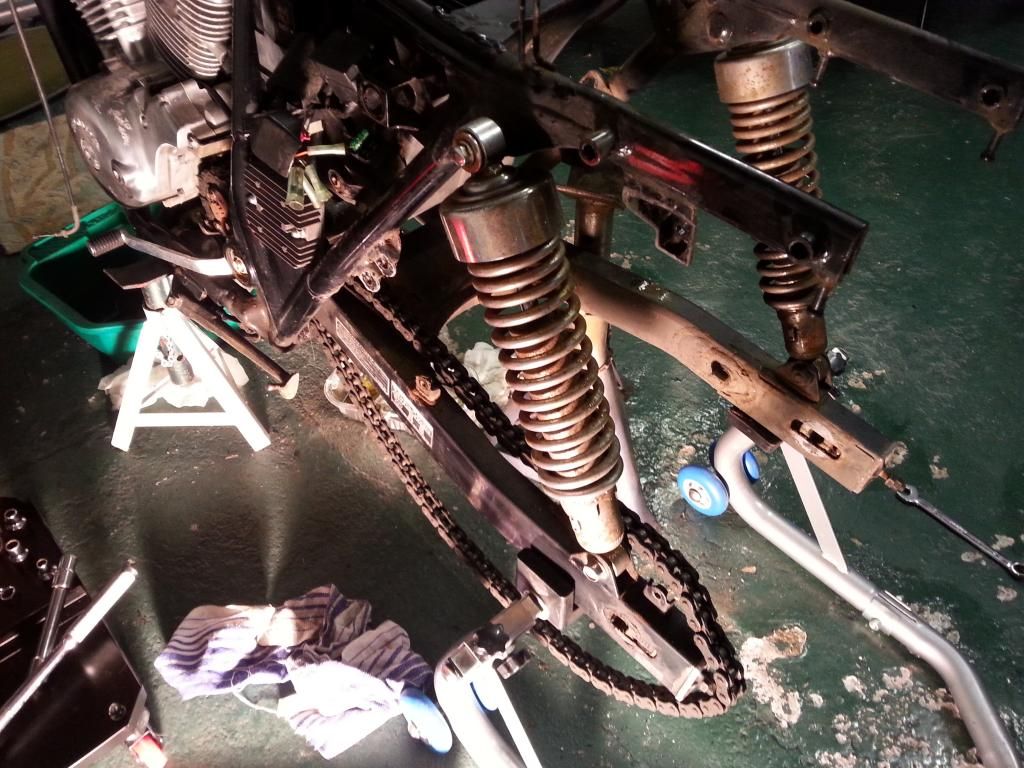
Rear wheel out. Was talking to a local wheel rebuilders at Motorcycle Live, they'll be able to rebuild the wheels by reconditioning the hubs, then putting new spokes and rims on.

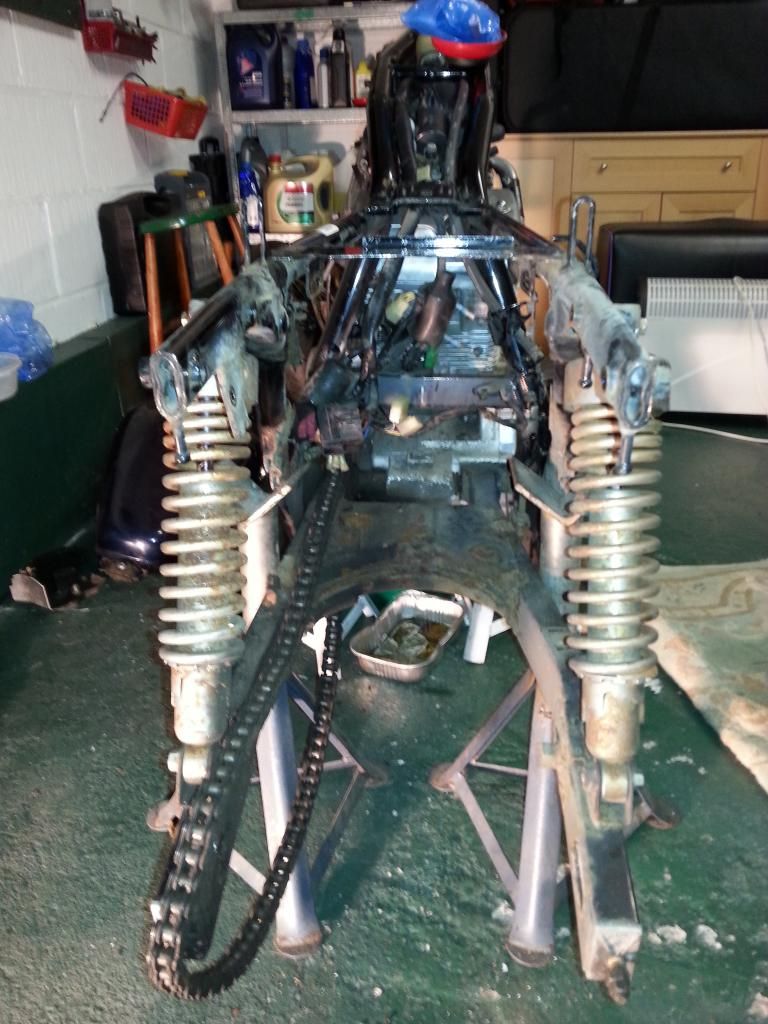
Shot from the rear (ooo eerr)
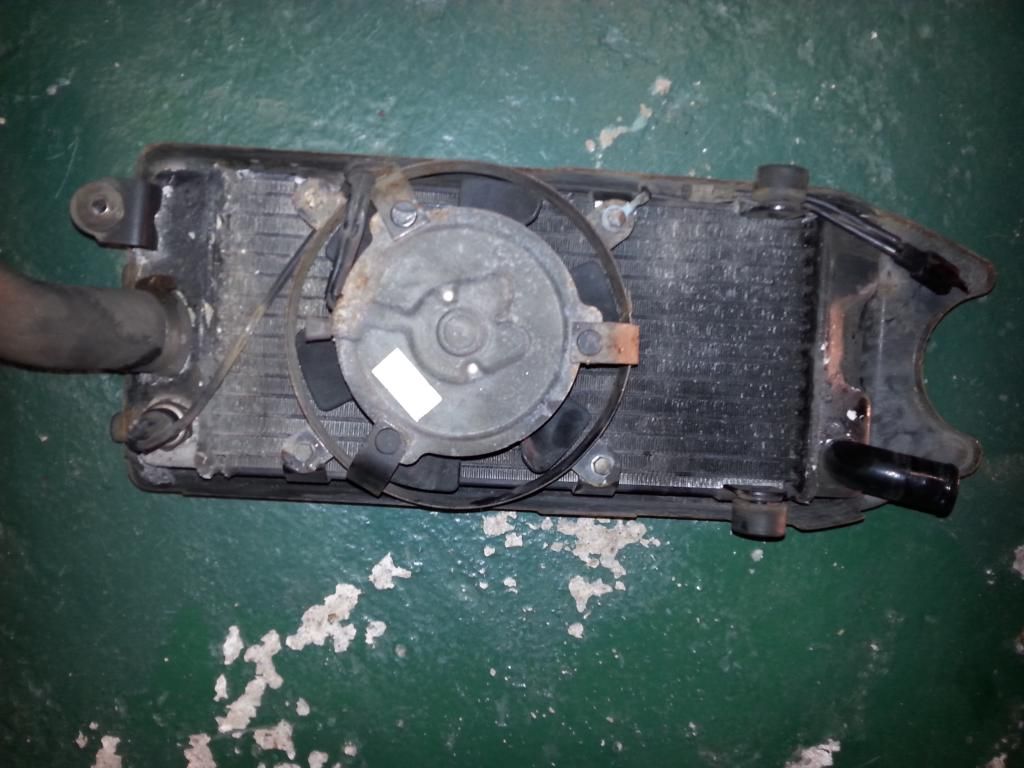
Dinky radiator out ...
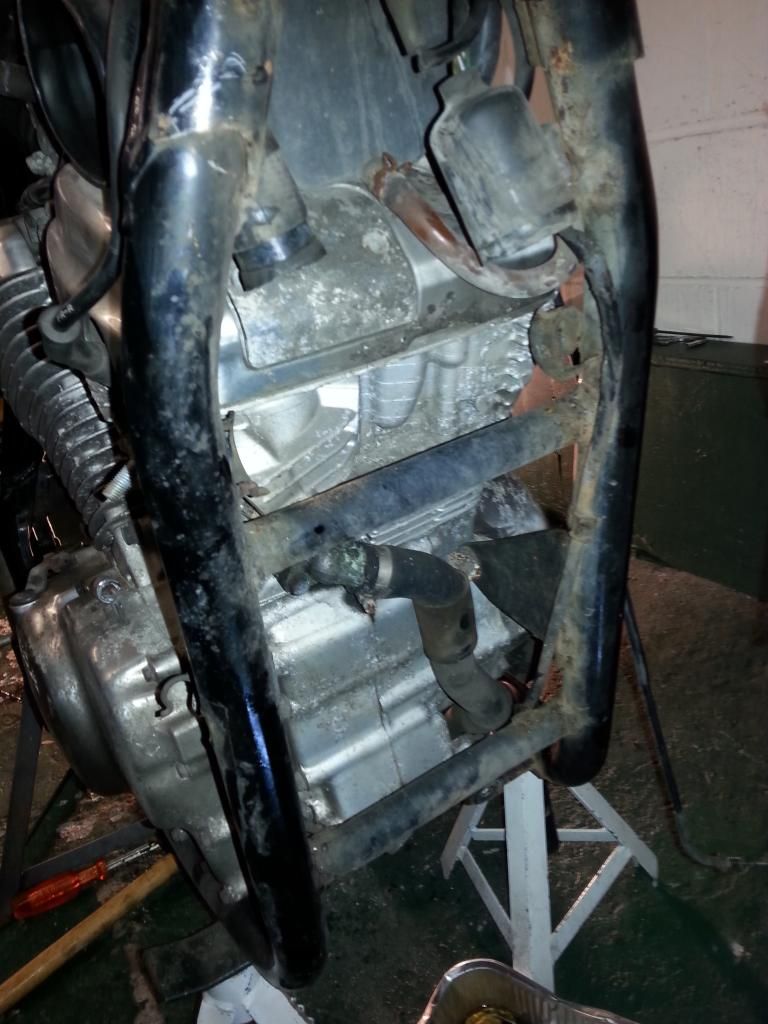
... and what's behind that radiator.
Rear end mostly stripped. The springs and wheel adjusters are off now, too.

Rear wheel out. Was talking to a local wheel rebuilders at Motorcycle Live, they'll be able to rebuild the wheels by reconditioning the hubs, then putting new spokes and rims on.

Shot from the rear (ooo eerr)

Dinky radiator out ...

... and what's behind that radiator.

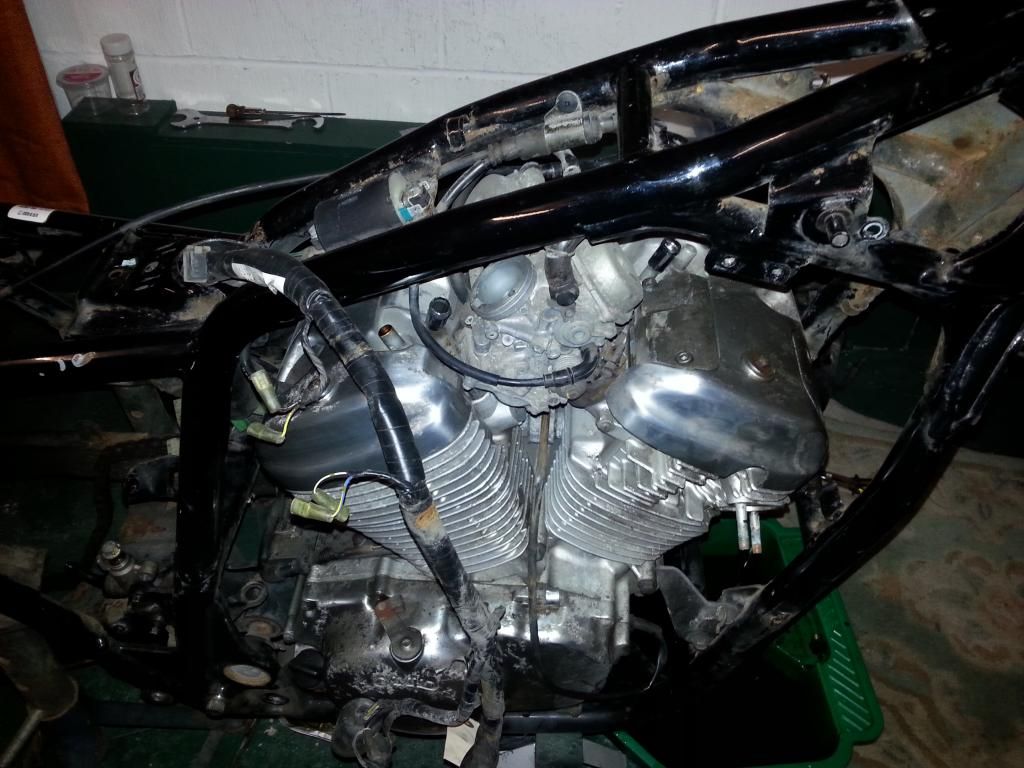
Was getting a bit frustrated with the engine area earlier ... on top of the engine is a LOT of things packed into a small space (carbs, air tubes, coolant chambers and pipes, electrics). There's no obvious order to remove any of these things, yet they've got to come off before I can drop the engine. Everything's so packed in, I'm worried about putting it back together wrong ... so many water tubes ! Taking videos should help.
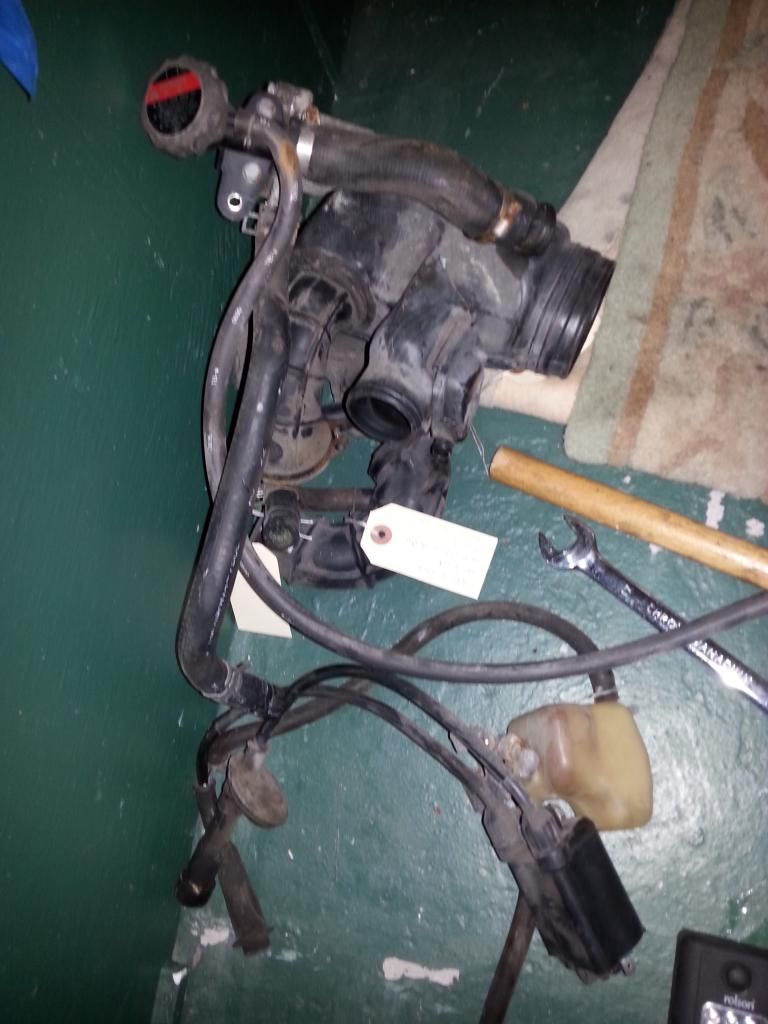
It took me an hour to get this coil (front two plugs) and coolant expansion chamber (I guess ?!?) off ... not entirely sure they are supposed to come off together / like this, but it's the only thing I could get off first.
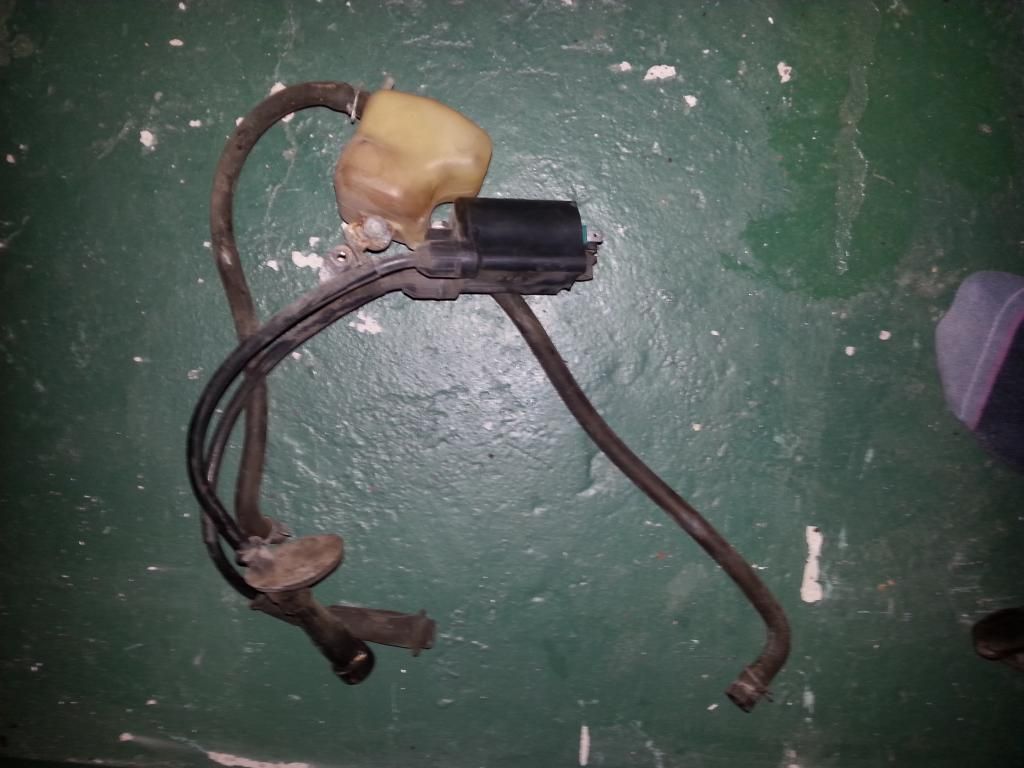
Maybe things will get easier now as I've got a bit of space to work in, top left (had to walk away after getting these off, as was losing my temper).

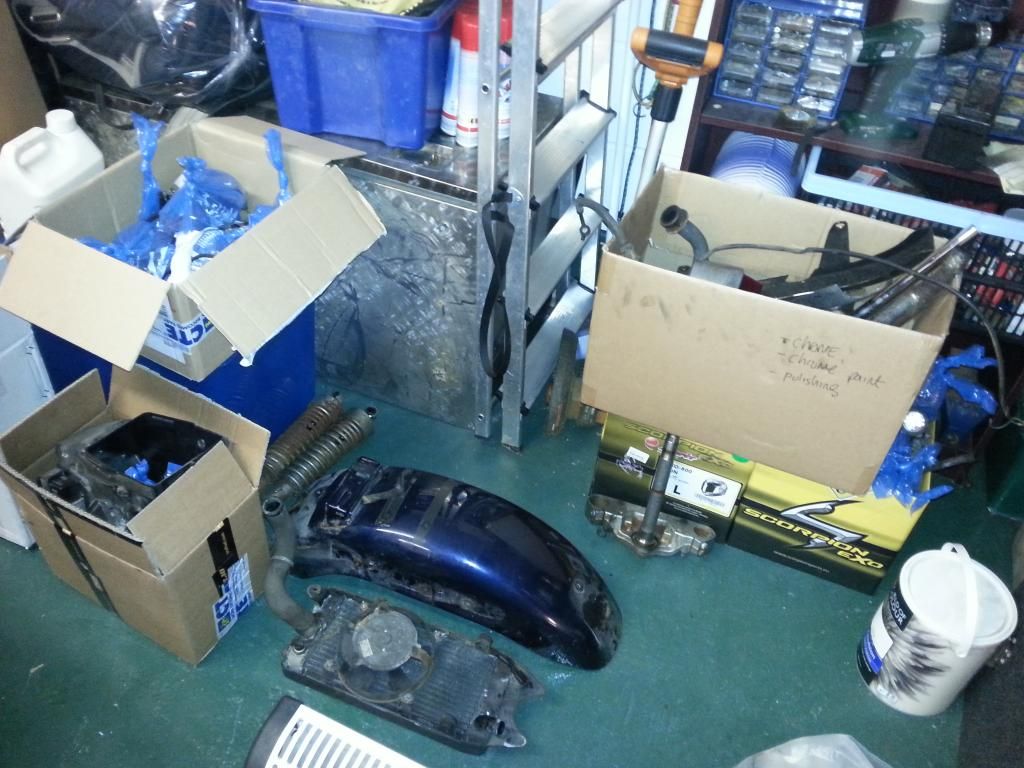
Must admit to have a minor "oh dear, what have I done, hope I can put this all back together !" moment earlier ... it's looking very stripped now. What was once a whole bike is now a series of cardboard boxes.
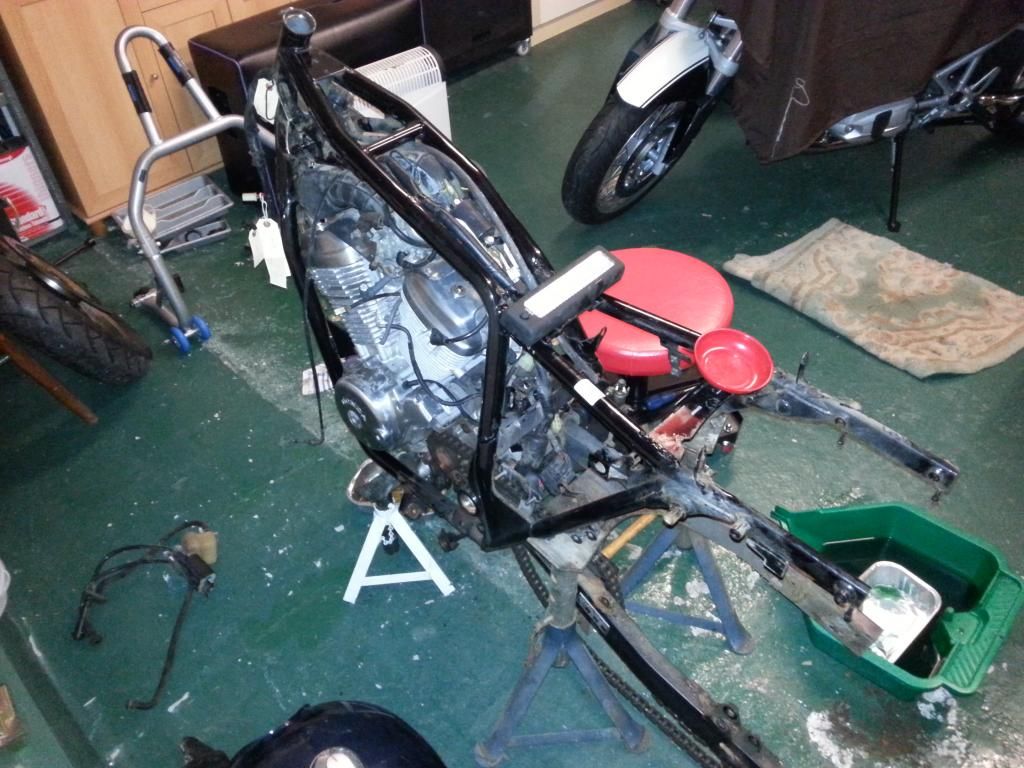
Hmmm ... powder coat or paint the frame ?
Just ordered a chain splitter/riveter from fleabay.
It took me an hour to get this coil (front two plugs) and coolant expansion chamber (I guess ?!?) off ... not entirely sure they are supposed to come off together / like this, but it's the only thing I could get off first.

Maybe things will get easier now as I've got a bit of space to work in, top left (had to walk away after getting these off, as was losing my temper).

Must admit to have a minor "oh dear, what have I done, hope I can put this all back together !" moment earlier ... it's looking very stripped now. What was once a whole bike is now a series of cardboard boxes.

Hmmm ... powder coat or paint the frame ?
Just ordered a chain splitter/riveter from fleabay.
I chose to paint the frame for my own rebuild. It has the advantages of ensuring correct preparation (meaning that you can get rid of all the rust before painting)and can be touched up when you inevitably scratch it while rebuilding. I used a Loctite rust treatment before painting. The downside is that it is a lot of work to prepare the frame for painting and, unless you are very skilled, a lot of time to paint and repaint until you succeed in finishing it without runs or other imperfections.
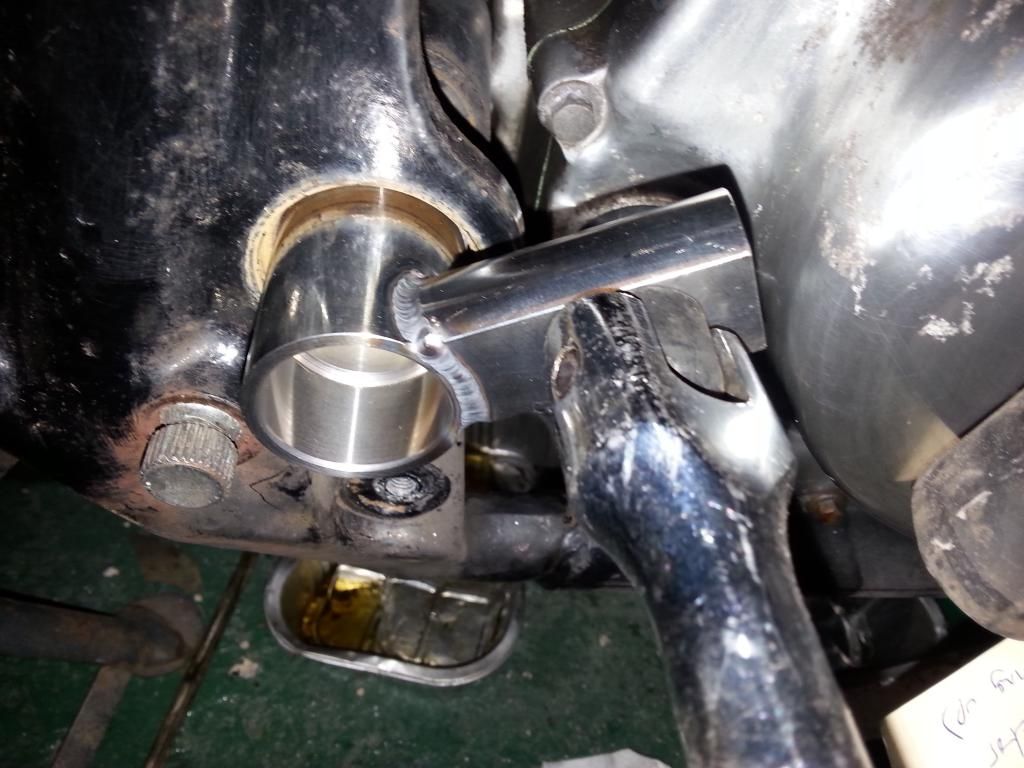
Genuine Honda tool to remove the swing arm bolt is about £90, and you cant get pattern sockets for the NC33 ... had this beautiful bit of kit made by someone I found via ebay, all for just £25.

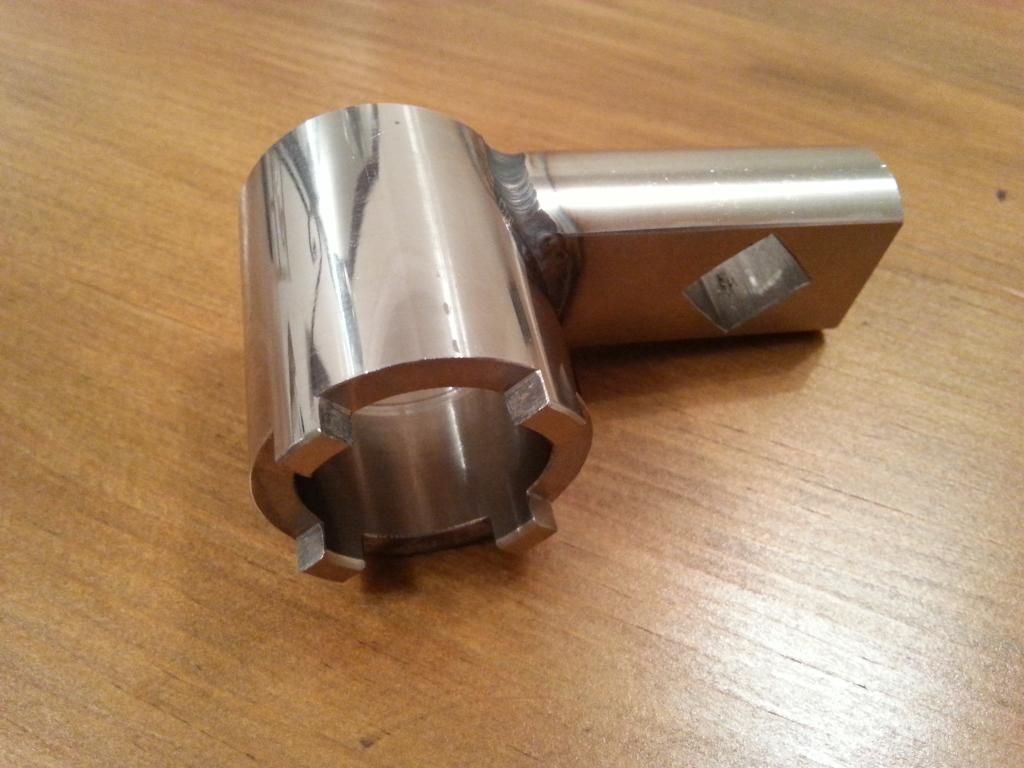
It's dog legged like this so you can get an allen key down the middle. Plus the factory torque settings are based on the idea you'll be offset like this.
Been working on removing all the air box / pipes / tubes, and coolant pipes, from above the carbs. Git of a job, just no room to work. Should be easier now though.
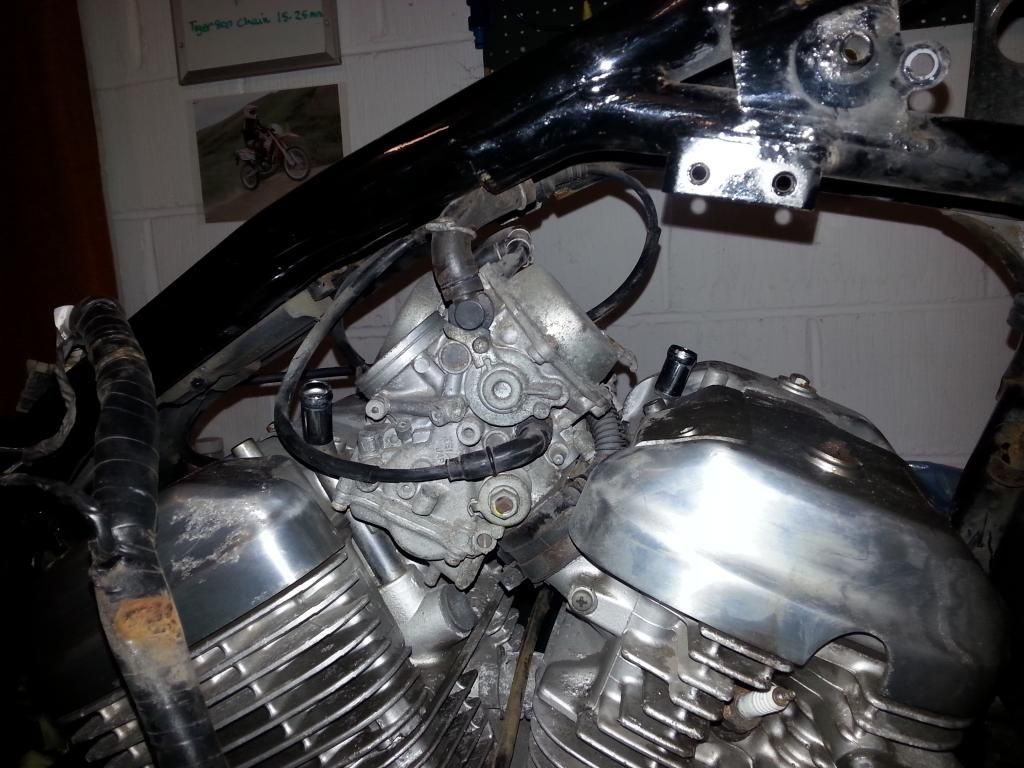
Not looking forward to trying to get this back on again (and right) ...
Also a fleabay special chain splitter/riveter arrived today. Also drained the oil, which was a bit sludgy. Wish I'd run an oil cleaner and oil change through it now, when the engine was still running ...


It's dog legged like this so you can get an allen key down the middle. Plus the factory torque settings are based on the idea you'll be offset like this.

Been working on removing all the air box / pipes / tubes, and coolant pipes, from above the carbs. Git of a job, just no room to work. Should be easier now though.


Not looking forward to trying to get this back on again (and right) ...

Also a fleabay special chain splitter/riveter arrived today. Also drained the oil, which was a bit sludgy. Wish I'd run an oil cleaner and oil change through it now, when the engine was still running ...
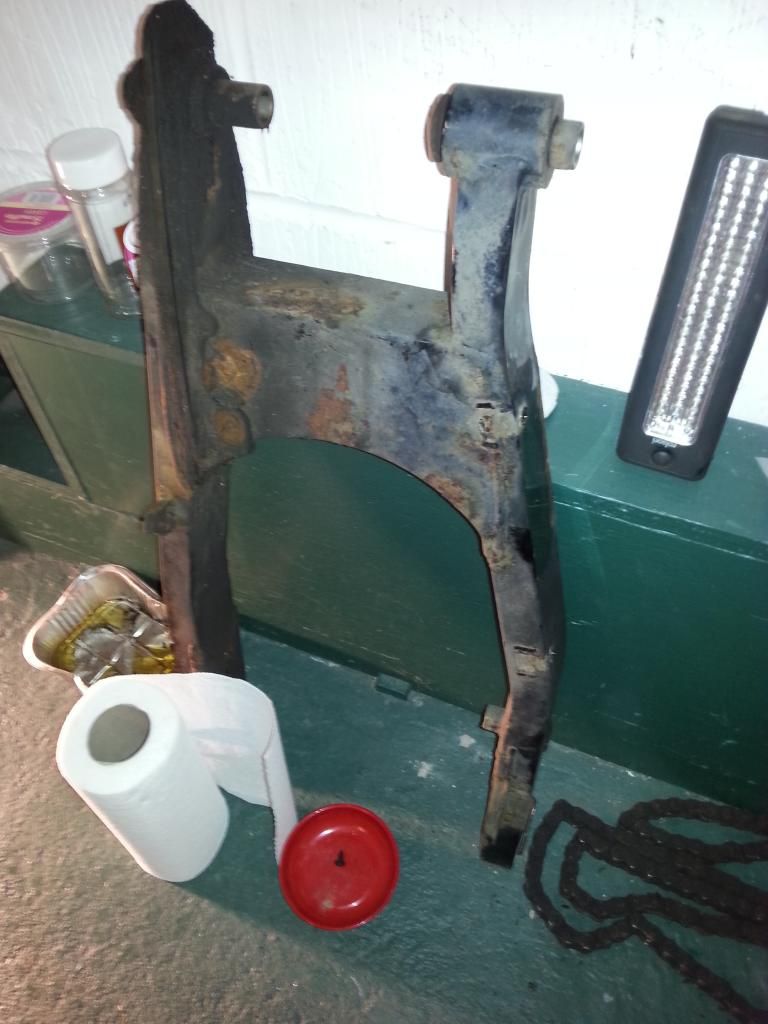
So with that fab tool, the swingarm pops off easily. Looks grungy but sound.
The wiring harness comes out. Yes, I did manage to drop some of the labels in the pan of freshly removed old engine old. Dur.
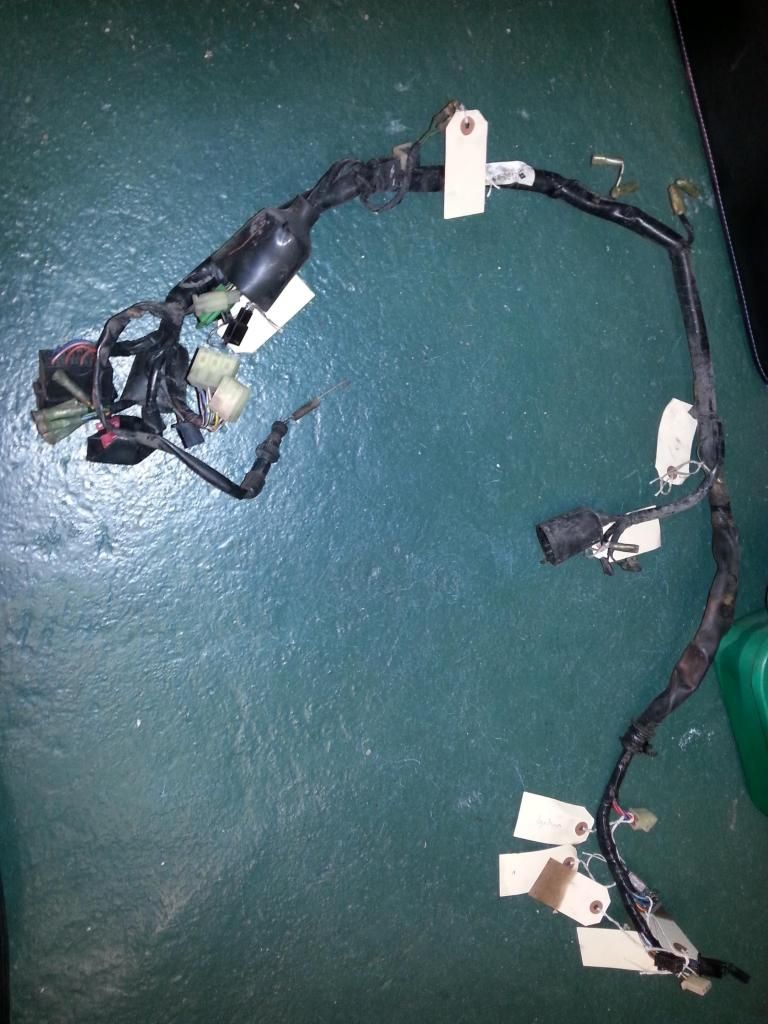
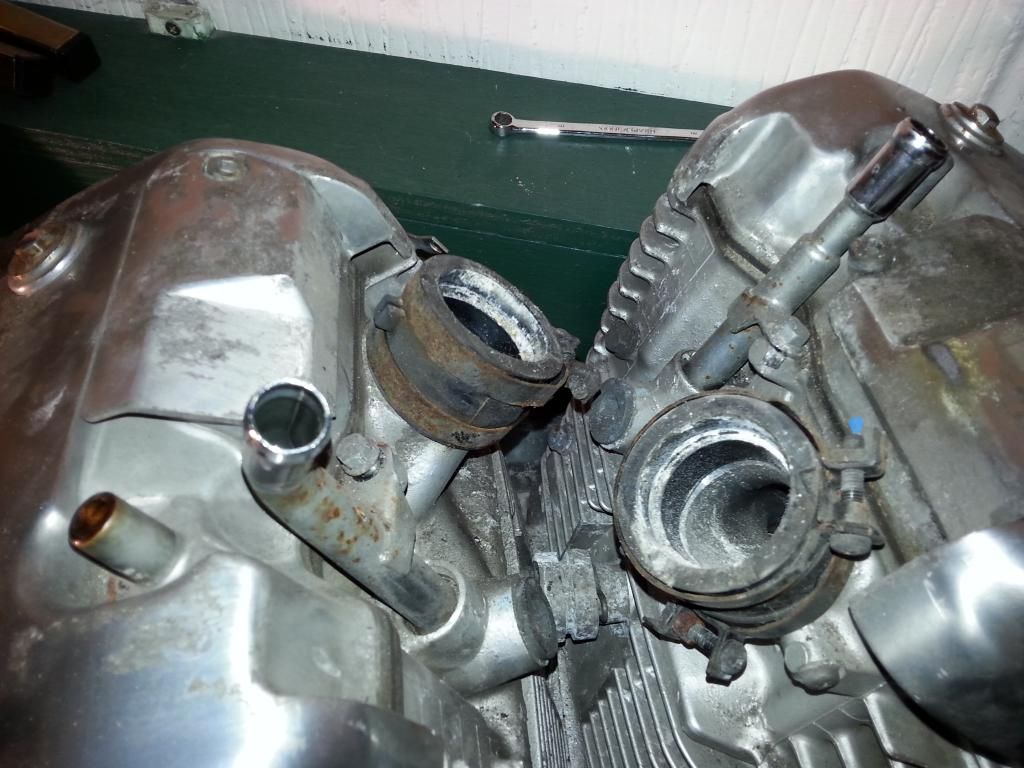
Rolling (whats left of) the bike on its side onto some carpet, the engine came out with only a bit of wriggling and wiggling. Tried to remove the carbs with the engine in situ to make it easier to get out, but they just weren't coming off for love nor money.
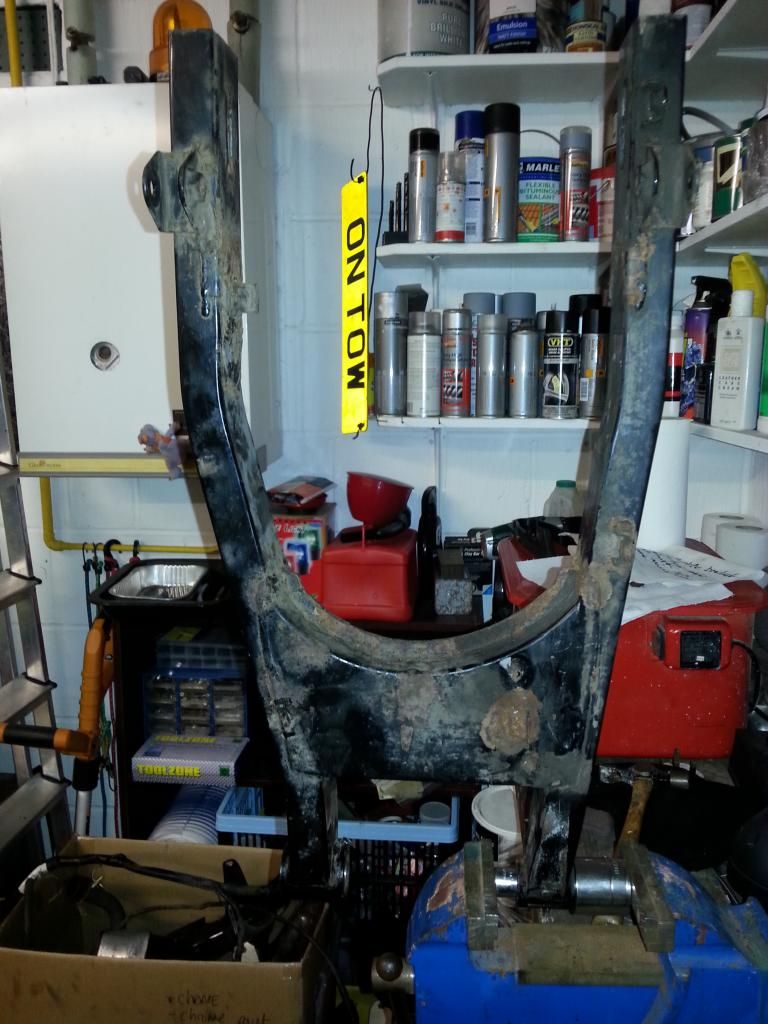
Leaving a bare frame ! The bearings all seem sound, so I'm hoping (?) to leave those in for the blasting and painting (yes, I'm getting it painted), but I'm not sure if thats possible or not.
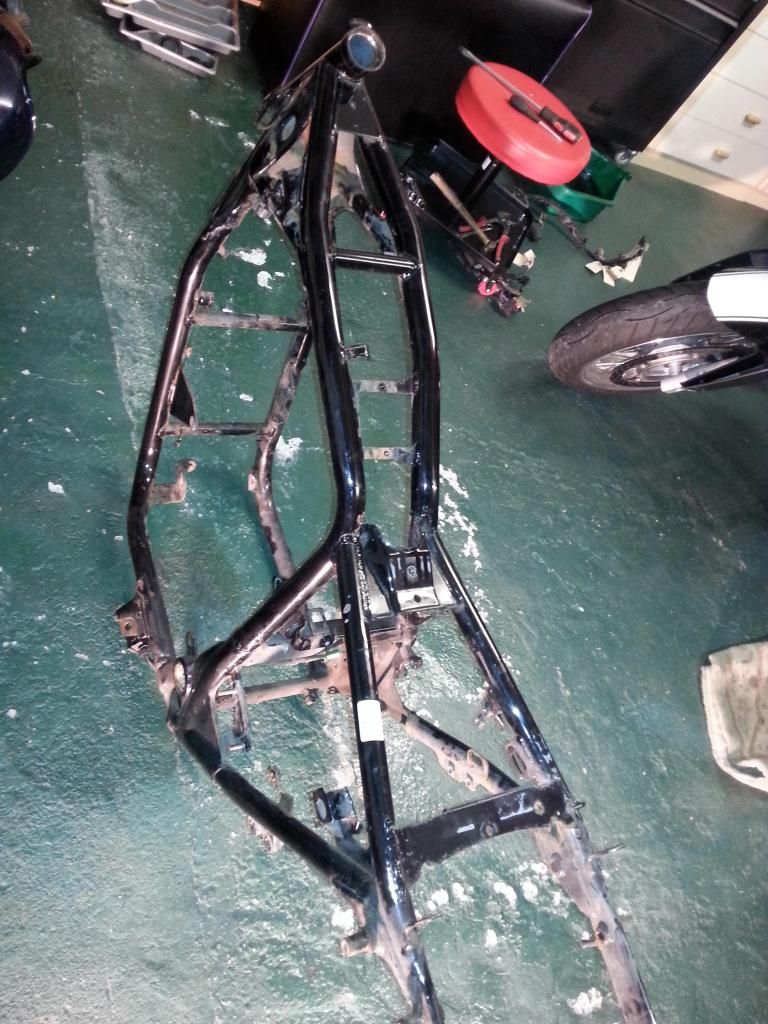
Scary. The bike mostly looks like this now ...
There use to be a complete (kinda) running bike on this spot, lol !

The wiring harness comes out. Yes, I did manage to drop some of the labels in the pan of freshly removed old engine old. Dur.

Rolling (whats left of) the bike on its side onto some carpet, the engine came out with only a bit of wriggling and wiggling. Tried to remove the carbs with the engine in situ to make it easier to get out, but they just weren't coming off for love nor money.

Leaving a bare frame ! The bearings all seem sound, so I'm hoping (?) to leave those in for the blasting and painting (yes, I'm getting it painted), but I'm not sure if thats possible or not.

Scary. The bike mostly looks like this now ...

There use to be a complete (kinda) running bike on this spot, lol !

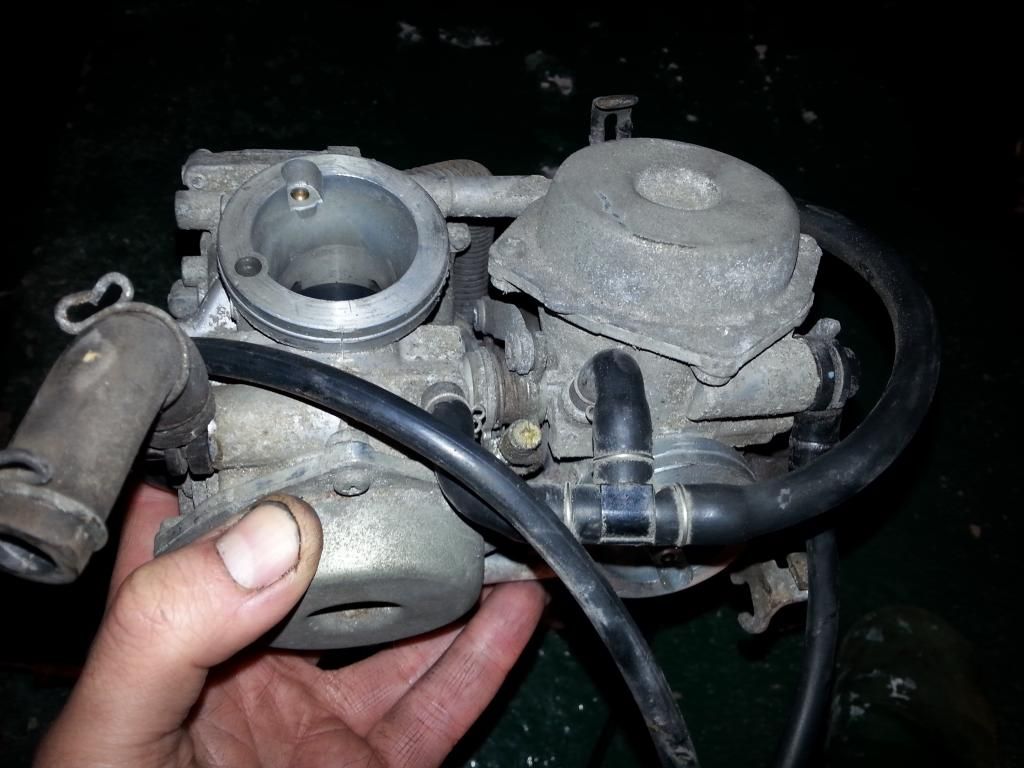
Looking good so far, the carbs look similar to what's on my VT250 and they were/are a pain to remove as the rubbers have lost any flexibility and there are silly complicated linkages on them, refitting them was/is also a pain as they have to sit just right or they keep popping off, good luck with yours 
I don't know about your bike but this works for a VFR 750. The back carbs are a pair and the front carbs are a pair. The two pairs are locked together by a top plate under the air filter and one bolt on each side around the midpoint of the carbs. Take the plate off and remove the two bolts. The carbs are still held together by all the linkages and pipes but there should be sufficient movement to allow them to be worked out of the rubbers as two pairs rather than a group of four. Refitting is a reverse of the process. If you have two carbs rather than just one large body this should work for you.
Only had an hour on the old girl today. Cleaned up the chain guide (didnt even realise there was a guide, the swing arm was so covered in oil and crud !). Cleaned most of the oil, mud and crud off the swingarm and frame. Emailed three local places about repainting.
Got the carbs off ... as above, it was just down to hardened rubbers plus alloy corrosion sticking things together.
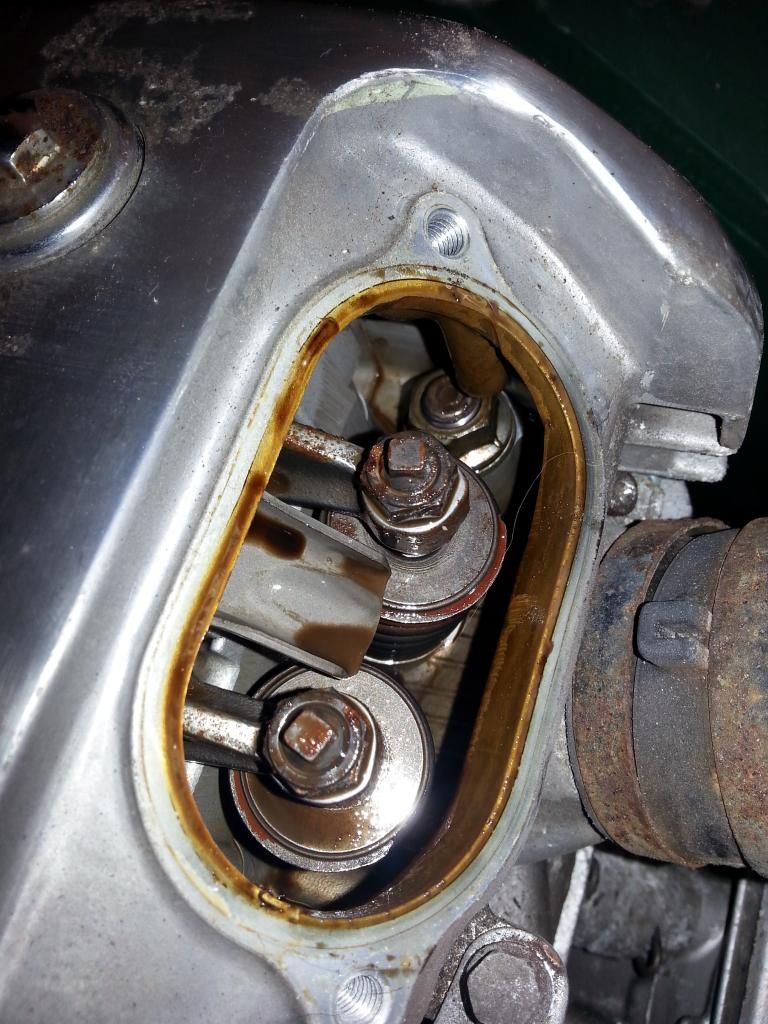
Ah ... so that's what's under those little covers.
Got the carbs off ... as above, it was just down to hardened rubbers plus alloy corrosion sticking things together.


Ah ... so that's what's under those little covers.

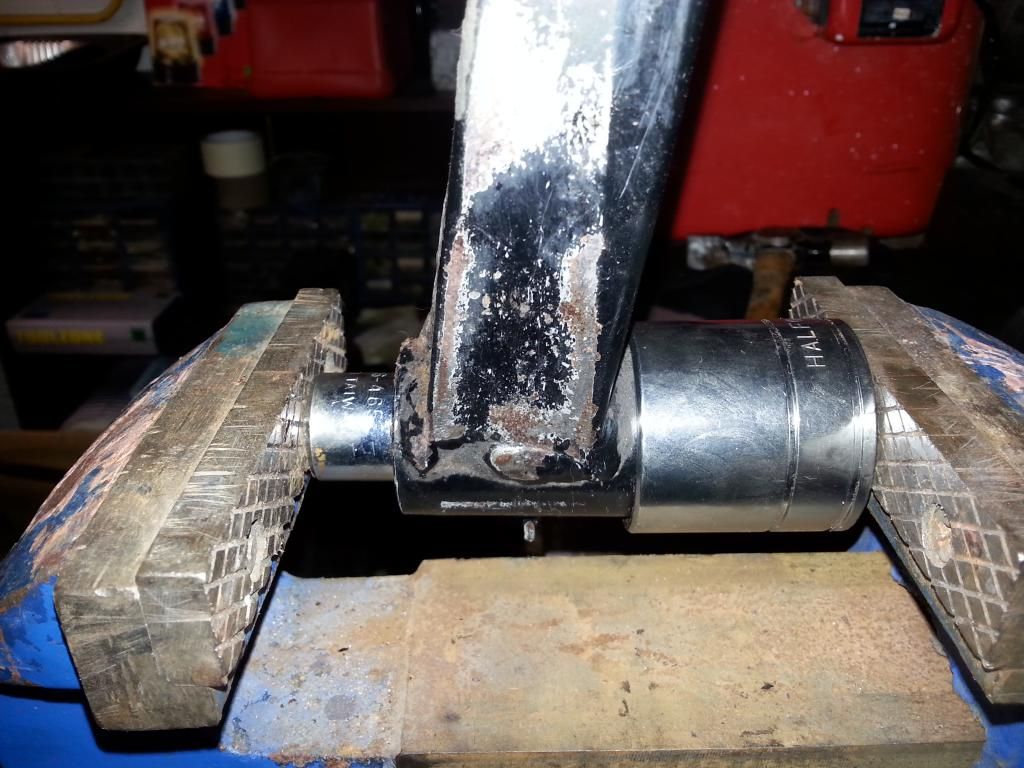
Pushed the bearings out of the swing arm using the tried and tested method of various size sockets and a vice. Always knew the theory/method to this, but have never actually done it before. Needed far more pressure than I'd have thought ... though removing a circlip on one side made things a lot easier, doh. Strangely one 'leg' is a ball bearing and one 'leg' is a needle bearing.
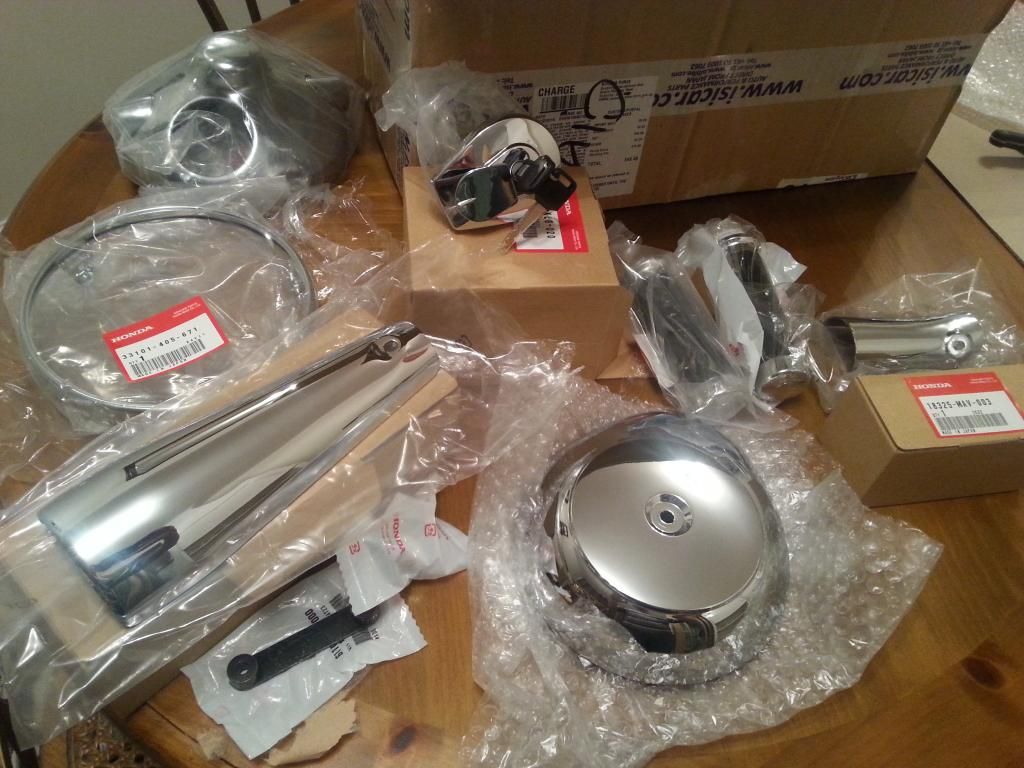
GOODIES ARRIVED FROM JAPAN ! Impressive service, only took a week. Mainly chrome bits (cheaper than getting original stuff rechromed, where possible, though not all bits are available) and misc odds and sods. Import duty, shipping, Paypal charge and VAT actually doubled the cost of the parts ... but the one item that is available in Europe (from Holland, the air filter cover) still worked out cheaper from Japan. Work that out.
Transfers.
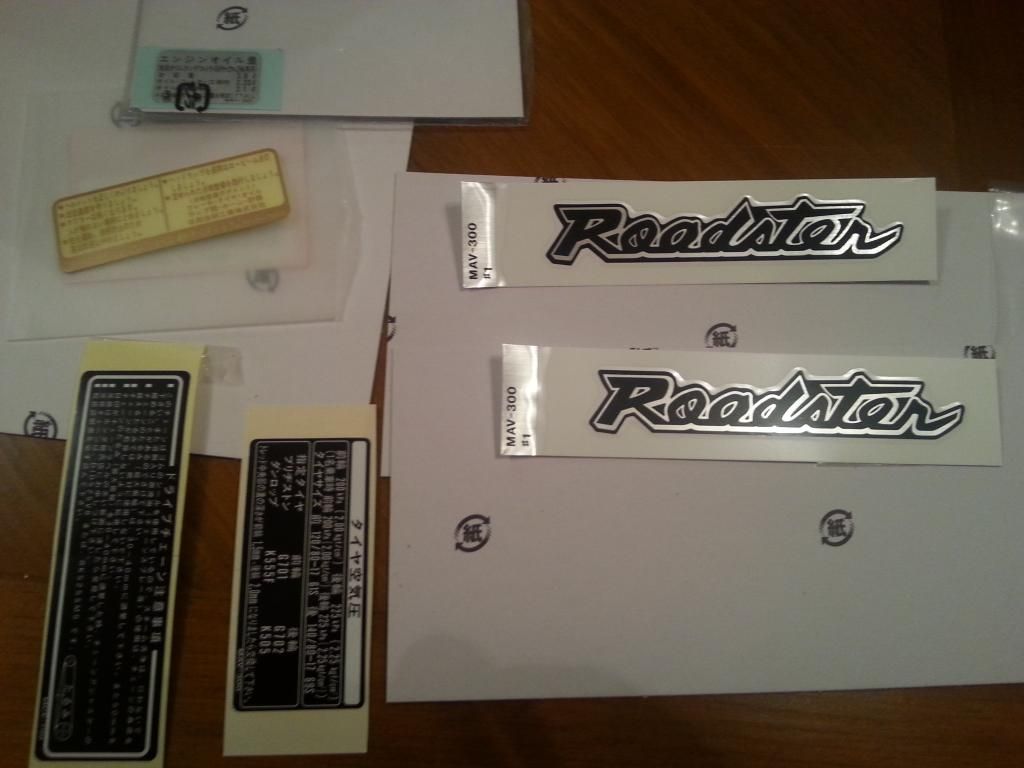
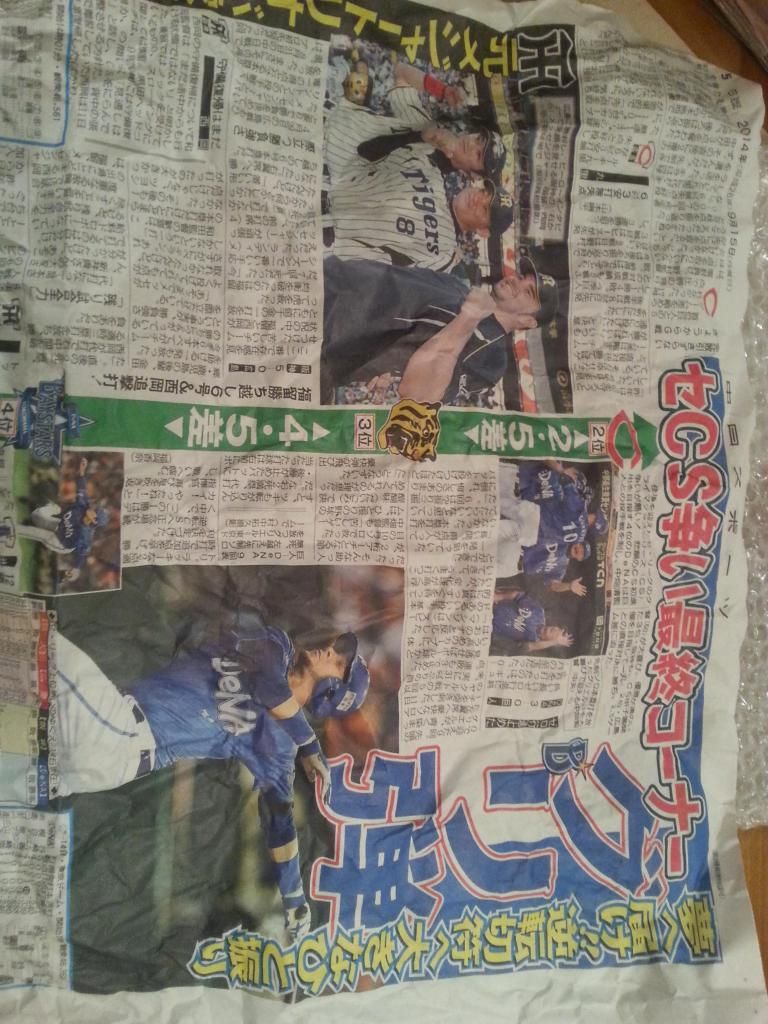
What was really cool was the padding im the box came in the form of Japanese newspaper !
Dropping the frame and swingarm off tomorrow to be media blasted and powder coated ... £80


GOODIES ARRIVED FROM JAPAN ! Impressive service, only took a week. Mainly chrome bits (cheaper than getting original stuff rechromed, where possible, though not all bits are available) and misc odds and sods. Import duty, shipping, Paypal charge and VAT actually doubled the cost of the parts
... but the one item that is available in Europe (from Holland, the air filter cover) still worked out cheaper from Japan. Work that out.
Transfers.

What was really cool was the padding im the box came in the form of Japanese newspaper !

Dropping the frame and swingarm off tomorrow to be media blasted and powder coated ... £80
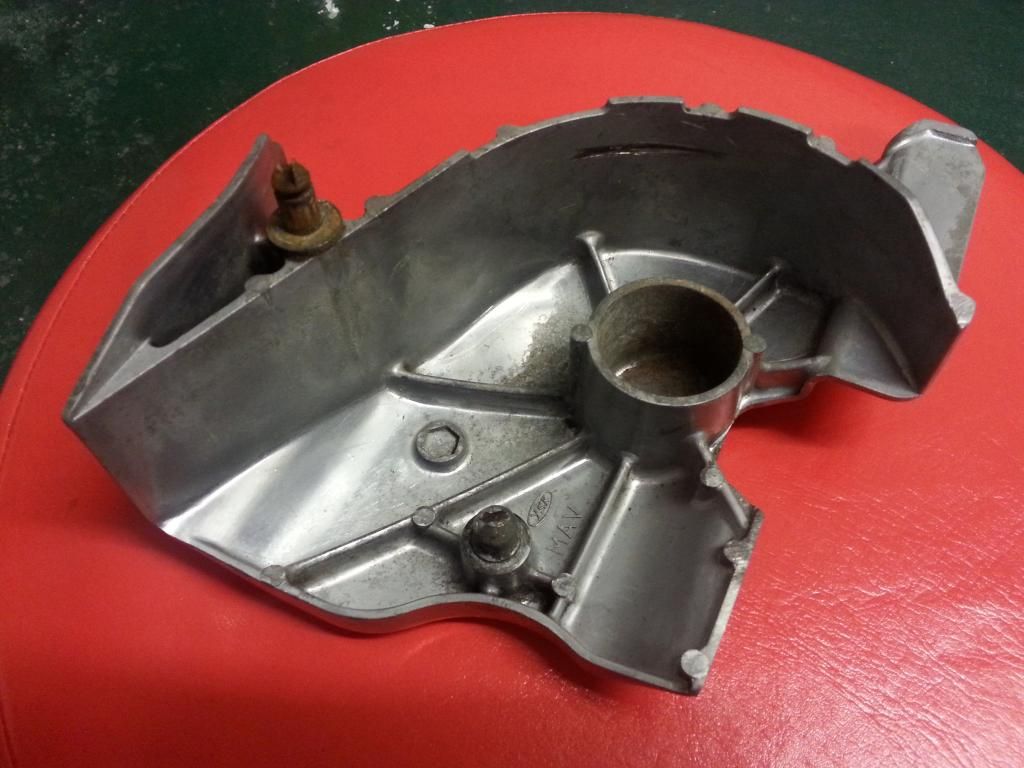
This is the cover for the front sprocket, and was thick with oily gunge inside ... it took far far too long in the parts washer and white spirit to clean it up. Bit of a gouge there where the chain (?) has hit the inside, but it's fine.
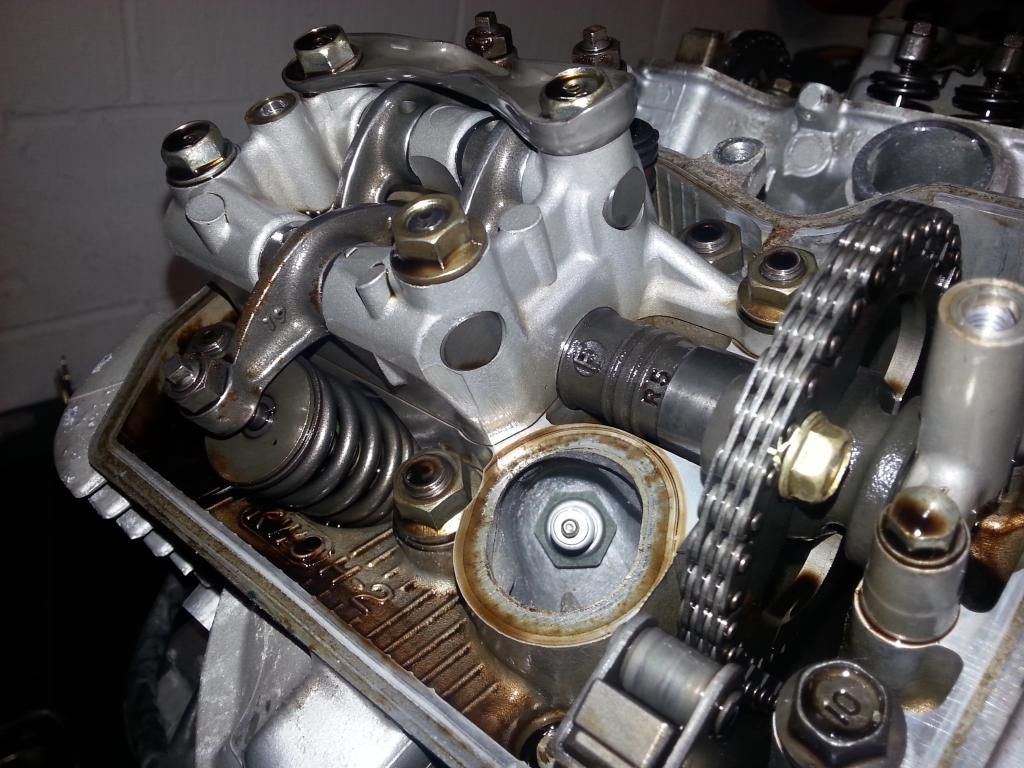
Whipped the rocker covers off, things look visually pretty healthy in there. Decided to put the covers back on though whilst I continue to clean the outside of the engine, to stop crud getting inside.
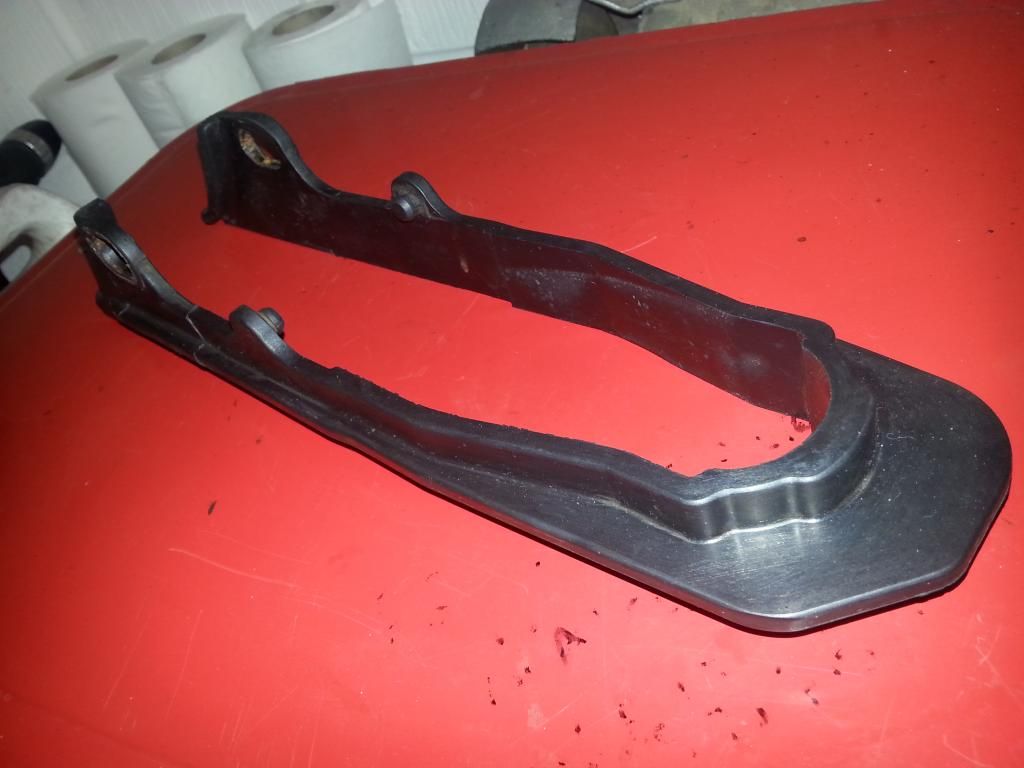
This is the rubber chain guide that goes on the swing arm ... it was so covered in more oily gunge I didn't even realise it was there ! Just derusting and painting two small mounting washer type things that hold it on.

Gassing Station | Biker Banter | Top of Page | What's New | My Stuff