Suzuki 500 2 stroke Cafe Racer
Discussion


buzzer said:
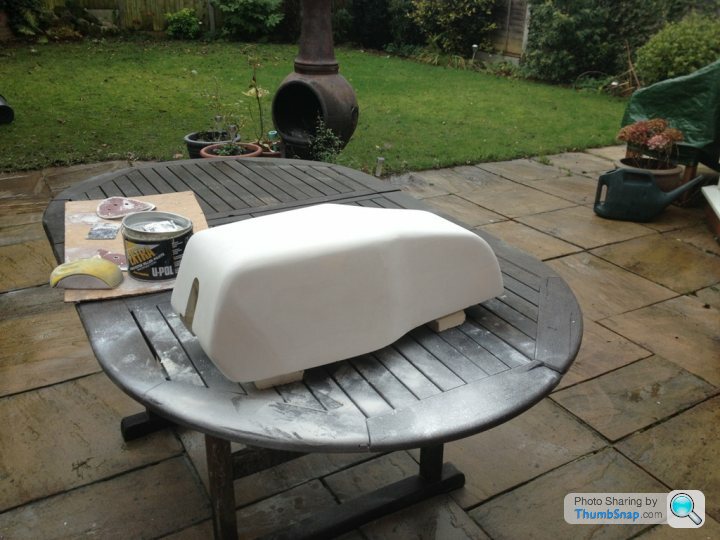
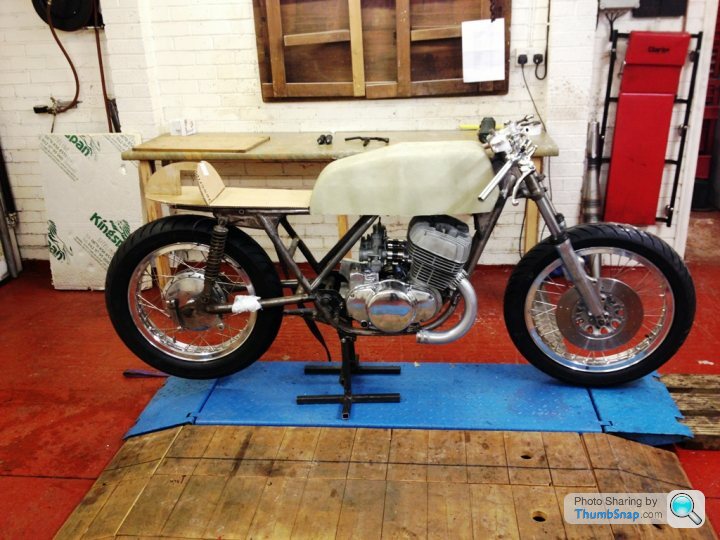
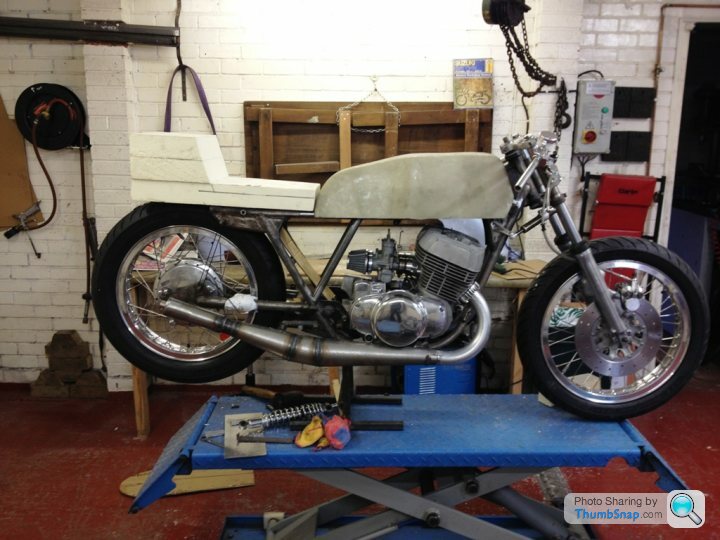
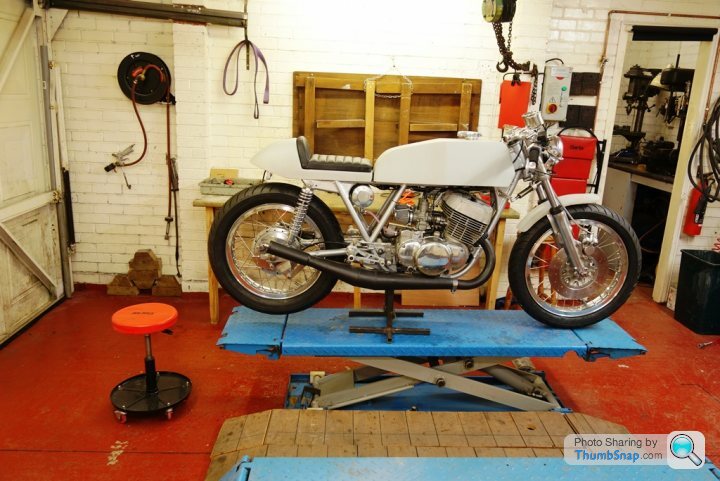
Another update. Who would have thought it would be warm enough to work in the garden in a sweatshirt in December! The tank is now to a shape I like... I guess it may not be to everyone's taste though... here it is ready as a mould.
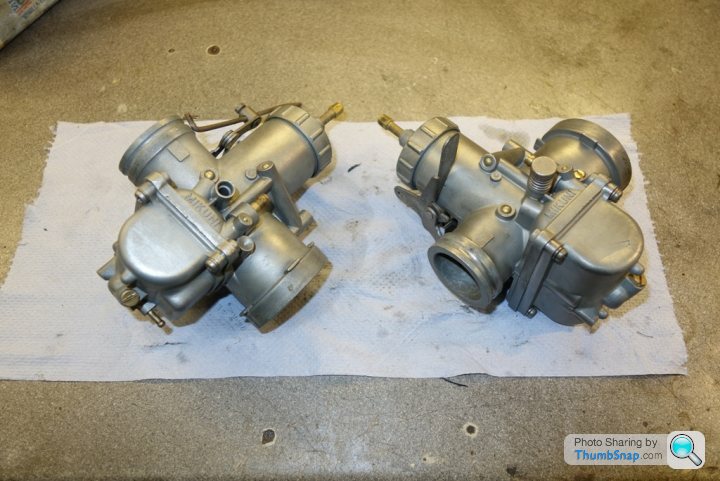
here are the carbs after cleaning, one of the float bowls is cracked so will need replacing.
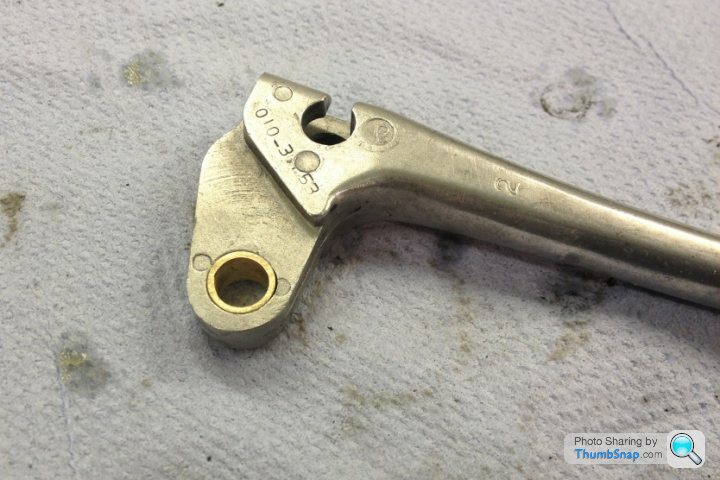
The clutch lever was worn on the pivot, so I made a bush and pressed it in.
Are you going to make a tank cover then ane use the original tank or ally tank underneath? Great work. here are the carbs after cleaning, one of the float bowls is cracked so will need replacing.
The clutch lever was worn on the pivot, so I made a bush and pressed it in.
The fibre glass tank is a cover for an alloy one I have made and welded up, which meant I had to learn to TIG weld, which was actually easier than I thought. The cover is too narrow to cover the original tank, which was pretty poor anyway. I also made the oil tank while I was on.
I thought about a fibre glass tank to hold the fuel, but there seems loads of problems these days with the Ethanol in petrol melting them. I know you can line them, but... (mate tells me it now melts the plastic floats in some old carburettors!)

I thought about a fibre glass tank to hold the fuel, but there seems loads of problems these days with the Ethanol in petrol melting them. I know you can line them, but... (mate tells me it now melts the plastic floats in some old carburettors!)
s3fella said:
Yazza54 said:
Great work. Sorry for being nosey but are you retired? I only ask as I'm mega impressive with the rate of progress!!
Are you suggesting a Werthers Original beige colour scheme!? lol Topical as I am trying to decide on colour! The frame is back now and its going together, I have done the frame Silver... I am going to take some pictures and Photoshop some colours on the tank, seat and mudguard ... maybe post them here to see what people think.
Yes I am retired... Been retired 5 years (retired at 55...) but I still do half a day a week management consultancy. It does alow me to indulge in my hobbies


I love this stage of a restoration.... putting it together, and doing the wiring... the bit most people hate!
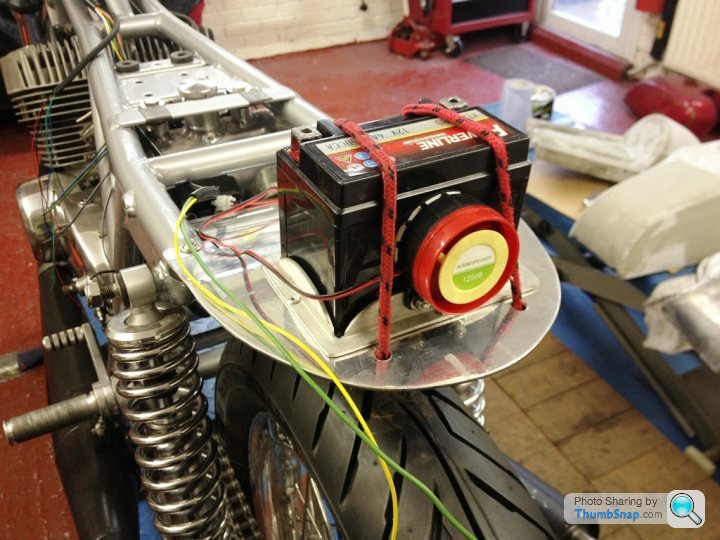
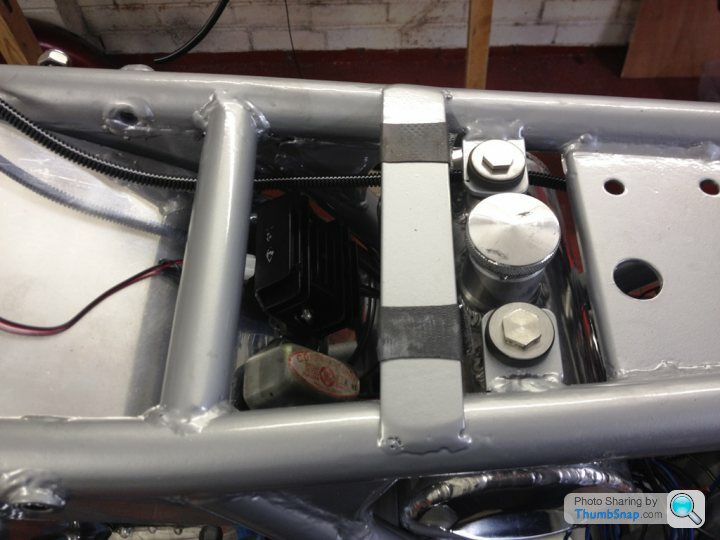
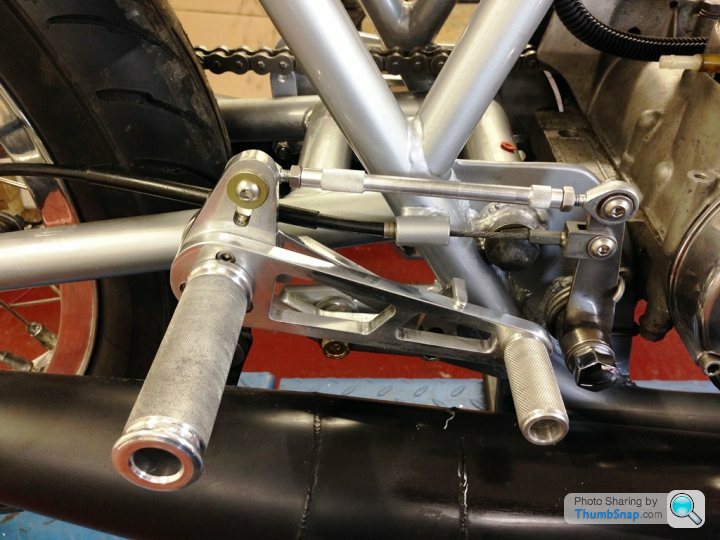
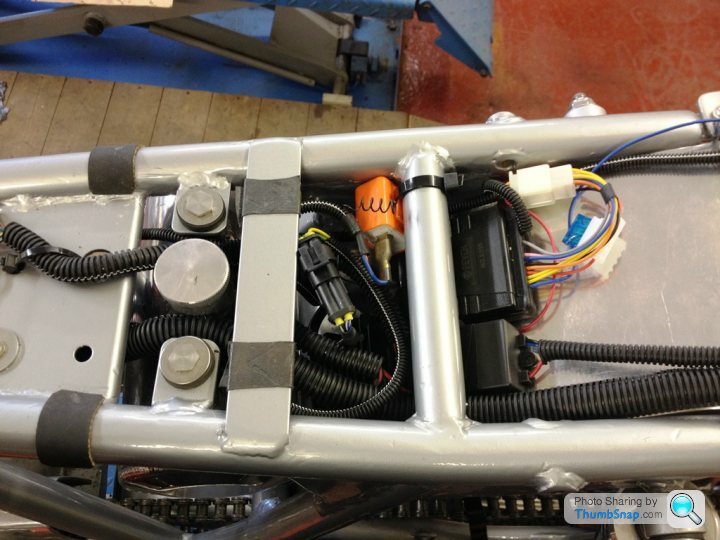
I decided to use the none split spiral sheathing, as it looks better. The rear set on the gear lever side is on and works a treat. The battery is mounted (took me ages to think how to secure it!). Te buzzer is part of the alarm system... I wont have an ignition lock and key, just a remote key fob which will turn it all on.
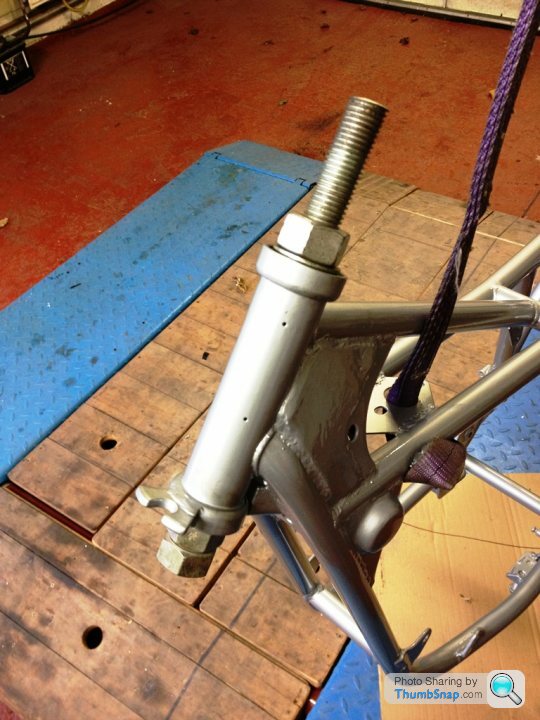
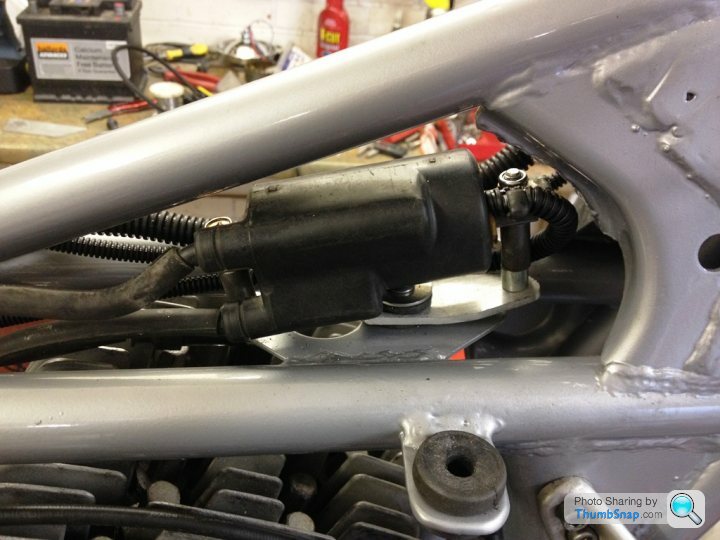
I pulled the headstock bearings in as I hate hammering bearings. Also I have rubber mounted items like the fuel tank, oil tank and coil, as well as the CDI unit (waiting to see if this is any good...) and rectifier...
I like the little LED indicators!


I decided to use the none split spiral sheathing, as it looks better. The rear set on the gear lever side is on and works a treat. The battery is mounted (took me ages to think how to secure it!). Te buzzer is part of the alarm system... I wont have an ignition lock and key, just a remote key fob which will turn it all on.
I pulled the headstock bearings in as I hate hammering bearings. Also I have rubber mounted items like the fuel tank, oil tank and coil, as well as the CDI unit (waiting to see if this is any good...) and rectifier...
I like the little LED indicators!
Chipchap said:
Buzzer
If you had shopped around you might just have managed to find a bigger battery ?
[tongue in cheek comment]
Seriously though can you not find a smaller lighter one ?
A
Great project - looking forward to seeing progression.If you had shopped around you might just have managed to find a bigger battery ?
[tongue in cheek comment]
Seriously though can you not find a smaller lighter one ?
A
Agreed on battery - as it's going to be kick start I assume, I'd have gone LiPo or the smallest Motobatt I could get and laid it on its side, to keep the tail profile low. If it fits and works for you though, no problem!
Chipchap said:
Buzzer
If you had shopped around you might just have managed to find a bigger battery ?
[tongue in cheek comment]
Seriously though can you not find a smaller lighter one ?
A
I don't know why it looks so big in the pictures! its actually quite small. a moped battery. 113 long by 65 x 65.If you had shopped around you might just have managed to find a bigger battery ?
[tongue in cheek comment]
Seriously though can you not find a smaller lighter one ?
A
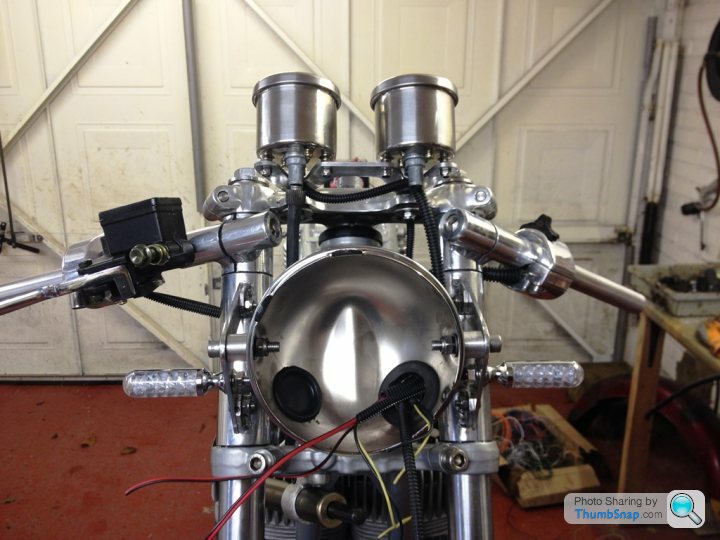
a couple of other pictures. I have fitted 5mm LED's as warning lights for the ignition, indicator warning, high beam, and alarm.
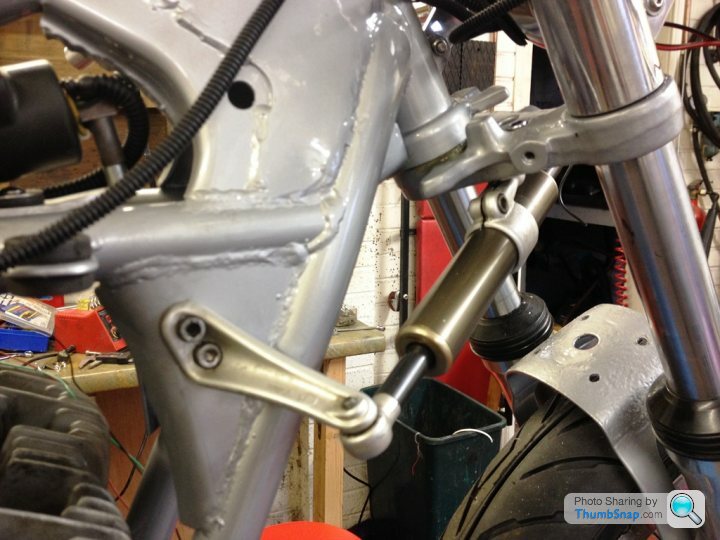
I also picked up this steering damper on Ebay on Christmas day. I put a snipe on it and won it for £5!it fitted perfectly, just needed to drill a couple of holes in the frame. It was off a Cagiva Mito
Buzzer,
Fantastic project and standard of work but a small one if I may..
I'd recommend not using the split cable pipe.
Use it to get the wire groups together y all means and then get some proper fabric loom tape and wrap the entire loom with that. Start by taping te Y sections to keep it together thhen run the fabric tape all the way over the entire loom. Makes a much nicer job of it and won't damage anything by rubbing or chafing.
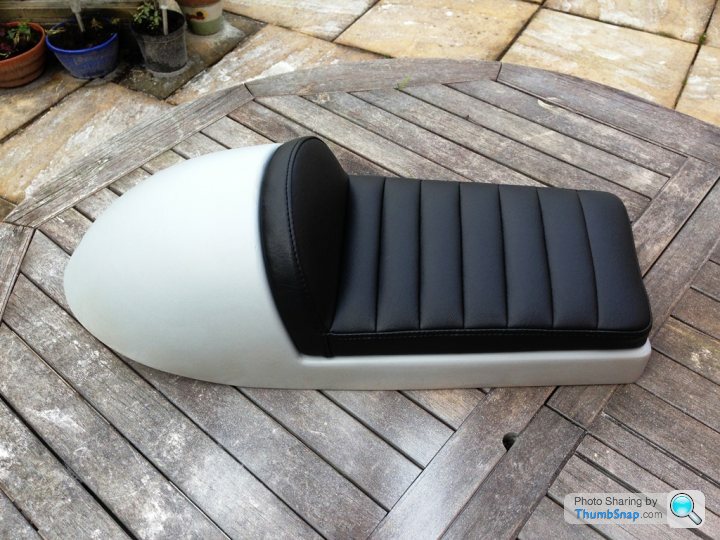
Well the seat came back from the trimmer today. Its a great job! I have been using the company for over 40 years (Aldridge Trimming) and they always do a really good job. In there today were loads of classic cars getting the treatment, just superb craftsmanship.
The seat and painting the frame is the only two jobs I have not done myself so far, the paint as painting a frame creates so much over-spray in the garage, (multiple passes on each tube)and I dont have the skills/ machine to do the upholstery.
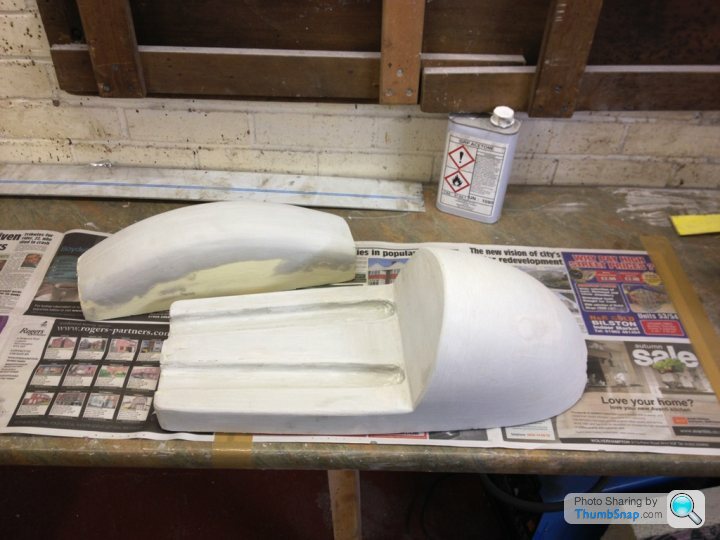
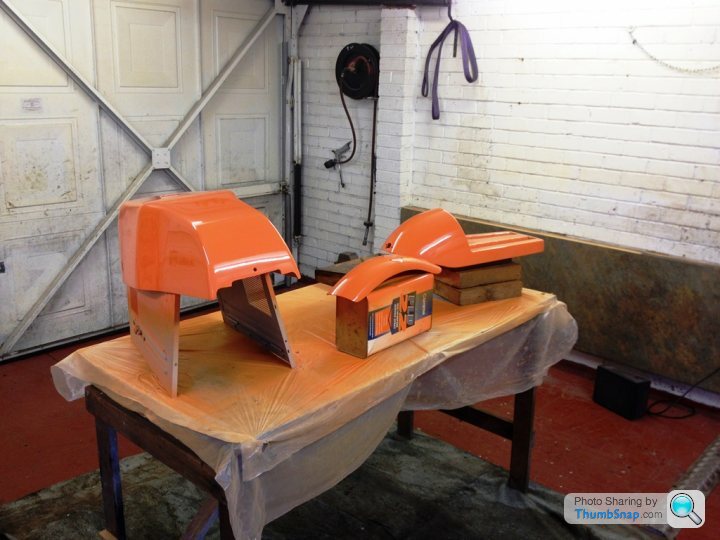
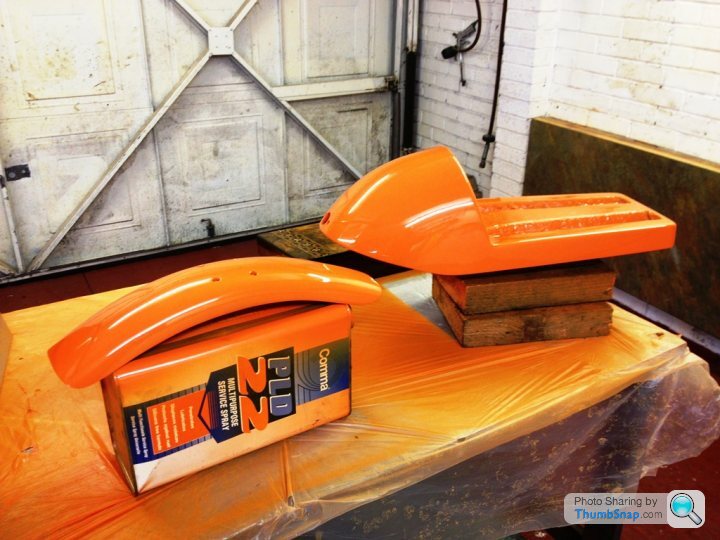
here is how the seat evolved...
Mock-up out of cardboard
Kingspan insulation, cut with a big saw, and sanded to shape (it sands really easy with 40 grit paper, 10 mins to get the basic shape, its that quick!
seat in the making... and mudguard...
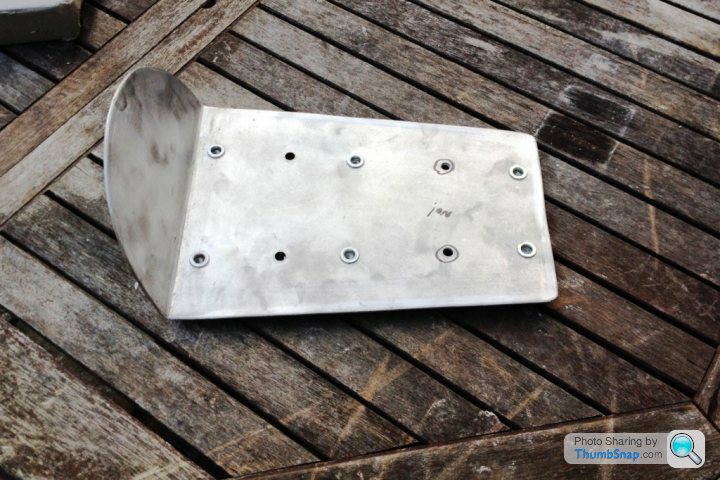
seat pad made out of 3mm alloy plate and rivinuts to hold it on
seat pad back from the trimmers
The seat and painting the frame is the only two jobs I have not done myself so far, the paint as painting a frame creates so much over-spray in the garage, (multiple passes on each tube)and I dont have the skills/ machine to do the upholstery.
here is how the seat evolved...
Mock-up out of cardboard
Kingspan insulation, cut with a big saw, and sanded to shape (it sands really easy with 40 grit paper, 10 mins to get the basic shape, its that quick!
seat in the making... and mudguard...
seat pad made out of 3mm alloy plate and rivinuts to hold it on
seat pad back from the trimmers
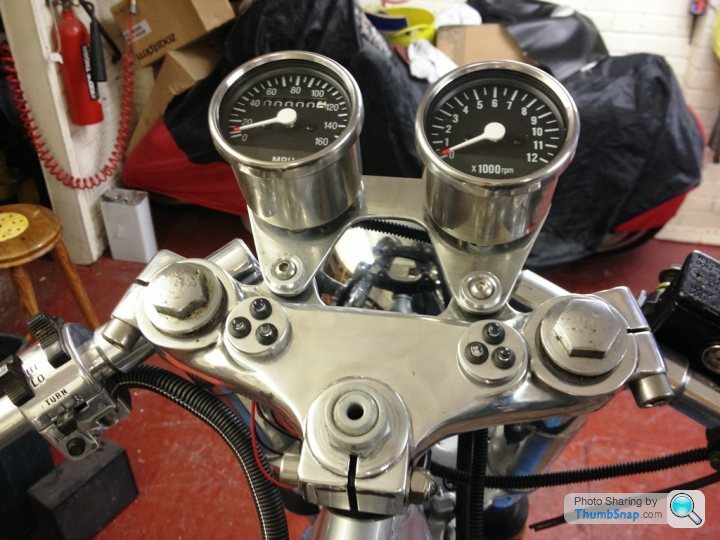
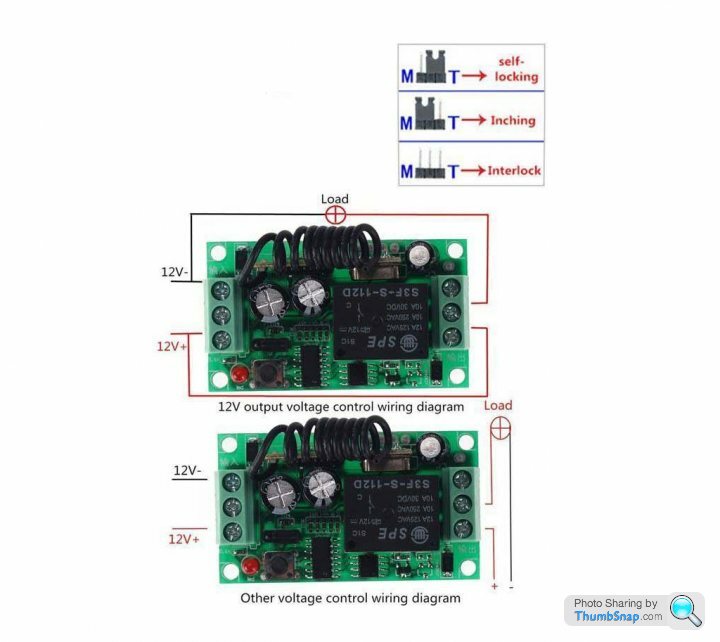
I have been working on the wiring... As I didn't want to use an ignition switch, I have used one of the cheap (£4) 12V remote control relays off Ebay. As this has a learning mode, I have also been able to integrate it with the alarm system. So now with one remote fob, I am able to turn the bike on and off, and set the alarm. it works a treat! I have hidden an over-ride switch just in case though!
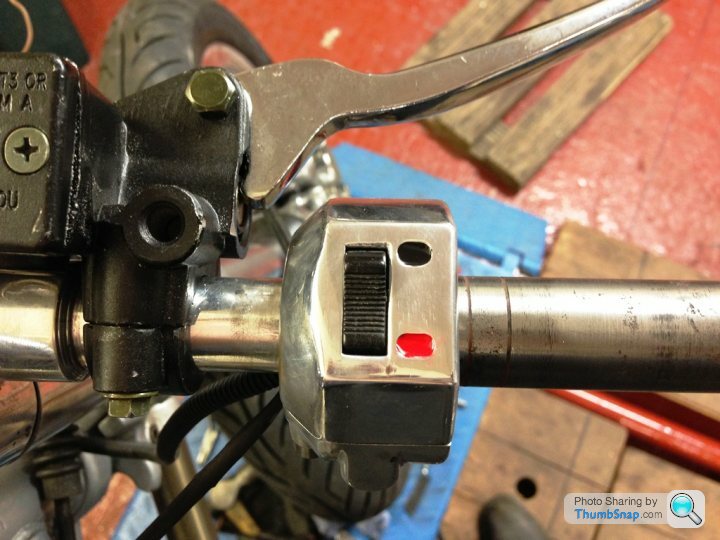
the remote works two relays as the Suzuki system switches the power on on one circuit, and disconnects another circuit for the ignition. In fact the handlebar kill switch confused me as on was off, and vice versa.. I spoke to the original owner and he confirmed he had swapped the handlebar switch 30 years ago! It would have annoyed me to have on and off the wrong way, so I milled the engraving off and filled the resulting depression with some paint!
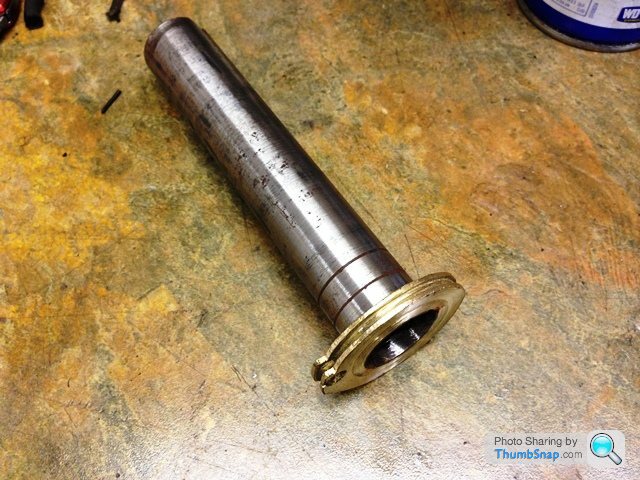
I also had to make a new twist grip as the one with the bike was incorrect.
The curly bit of wire is the antenna for the remote.
the remote works two relays as the Suzuki system switches the power on on one circuit, and disconnects another circuit for the ignition. In fact the handlebar kill switch confused me as on was off, and vice versa.. I spoke to the original owner and he confirmed he had swapped the handlebar switch 30 years ago! It would have annoyed me to have on and off the wrong way, so I milled the engraving off and filled the resulting depression with some paint!
I also had to make a new twist grip as the one with the bike was incorrect.
The curly bit of wire is the antenna for the remote.
Gassing Station | Biker Banter | Top of Page | What's New | My Stuff