The Spares Bike Project
Discussion


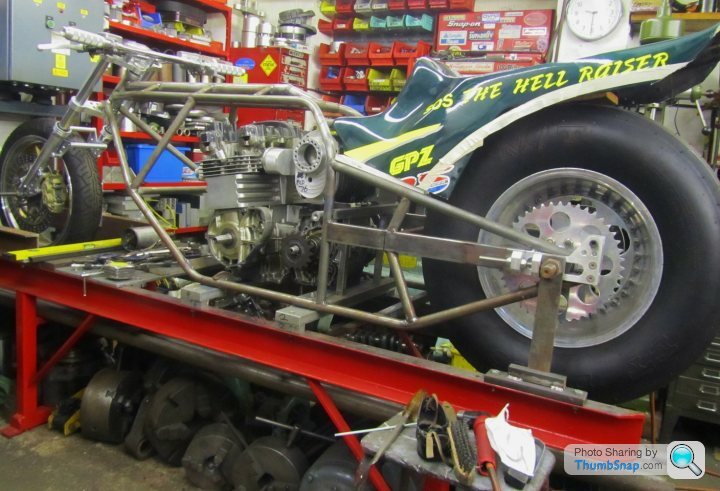
Over the years our (that's me and Jeff) main drag bike project has been changed and changed and changed again... different front end, different back wheel, different crank, different blower, manifold, frame.. there's not much left of the original drag bike that was bought five or six years ago.
All the take off parts were carefully stored away, maybe they'll come in handy one day, or someone will pay good money for them? Well, there's not much of a market for old Zed drag bike parts, while one chap wanted to buy everything as long as Jeff built him a running bike for nothing.. nope that's not gonna happen.
Roll forward to late last year when after a lot of hard work through the summer, Jeff finally completed a much needed extension to his workshop, which in turn meant he could squeeze in a second frame jig into the workshop.
Since I own a share of all those old Zed parts, we discussed building another Zed based drag bike, something simple, you know just a bit of fun, get us out on the track, and maybe sell it afterwards and put the money raised into the main drag bike... sounds good, but I was sceptical, as Jeff tends to get distracted into other projects before the current one is ever finished. Would this be the case again I asked?
Oh no, it wont take long to build I was assured and it wouldn't cost much as we already had 99% of the parts needed...front end, engine cases, blower, magneto.. just need to knock up a frame, make a few parts and away we go.. Apart from a suitable 10 inch rear wheel and drag slick.. which I just happened to have at home, along with matching frame rails and adjusters.
Ok, lets go for it, should only take four or five months according to Jeff, I was still a bit sceptical, we'll see how it goes...
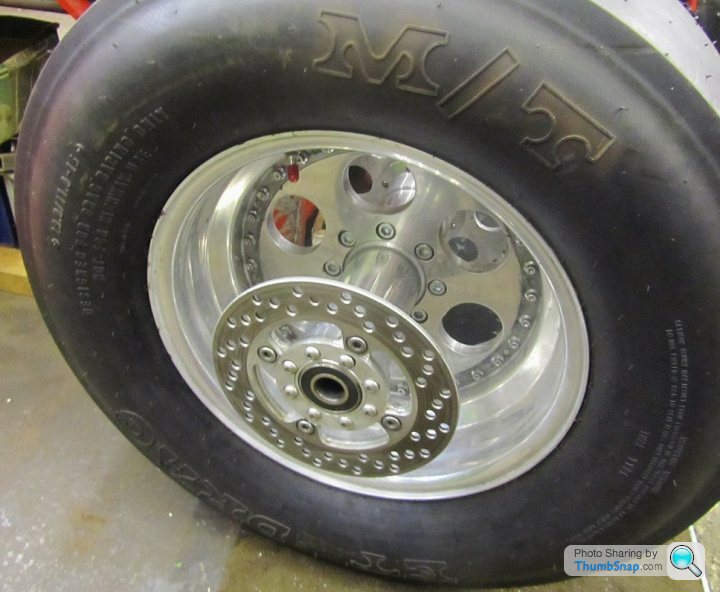
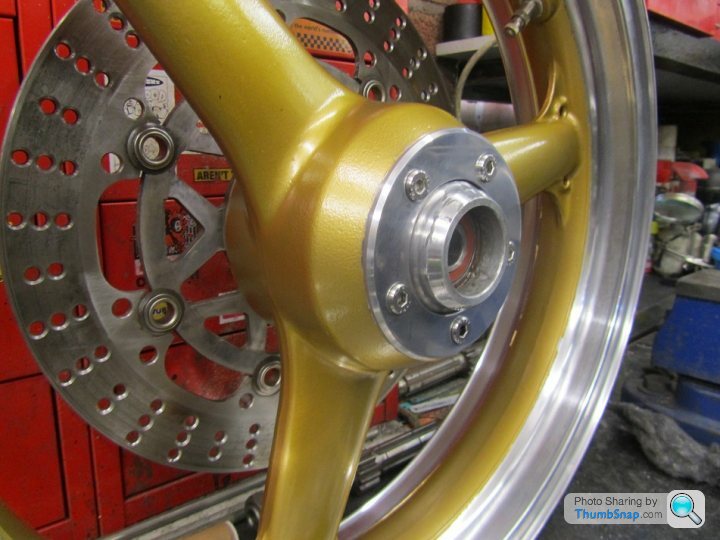
Starting just after xmas, here's my wheel..
All the take off parts were carefully stored away, maybe they'll come in handy one day, or someone will pay good money for them? Well, there's not much of a market for old Zed drag bike parts, while one chap wanted to buy everything as long as Jeff built him a running bike for nothing.. nope that's not gonna happen.
Roll forward to late last year when after a lot of hard work through the summer, Jeff finally completed a much needed extension to his workshop, which in turn meant he could squeeze in a second frame jig into the workshop.
Since I own a share of all those old Zed parts, we discussed building another Zed based drag bike, something simple, you know just a bit of fun, get us out on the track, and maybe sell it afterwards and put the money raised into the main drag bike... sounds good, but I was sceptical, as Jeff tends to get distracted into other projects before the current one is ever finished. Would this be the case again I asked?
Oh no, it wont take long to build I was assured and it wouldn't cost much as we already had 99% of the parts needed...front end, engine cases, blower, magneto.. just need to knock up a frame, make a few parts and away we go.. Apart from a suitable 10 inch rear wheel and drag slick.. which I just happened to have at home, along with matching frame rails and adjusters.
Ok, lets go for it, should only take four or five months according to Jeff, I was still a bit sceptical, we'll see how it goes...
Starting just after xmas, here's my wheel..
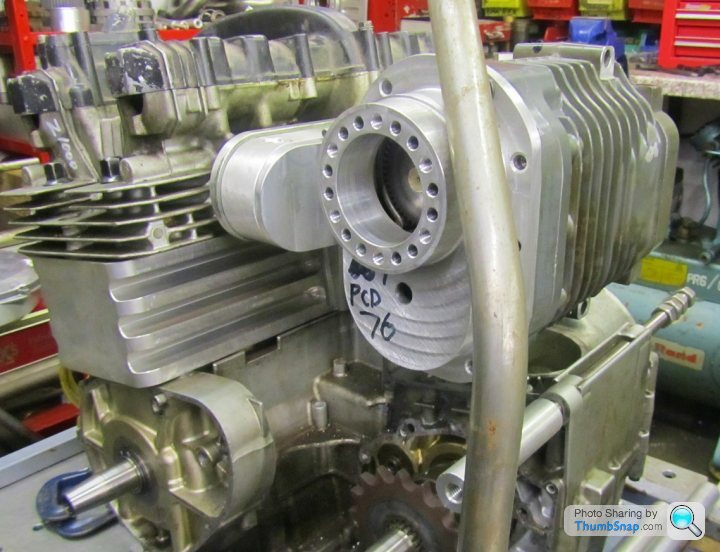
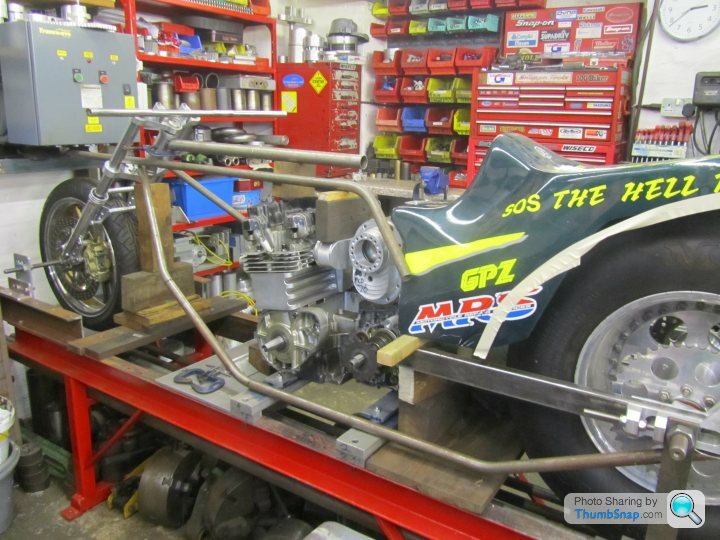
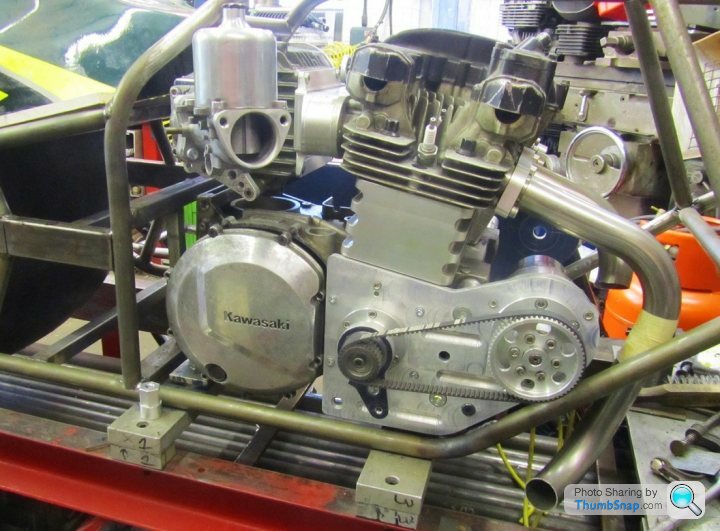
The engine is Kawasaki Gpz1100 based, using a big bore billet block that Jeff machined awhile ago, it'll be supercharged using an Eaton blower, ignition by Magneto, lock up clutch, probably going go run it on Methanol.
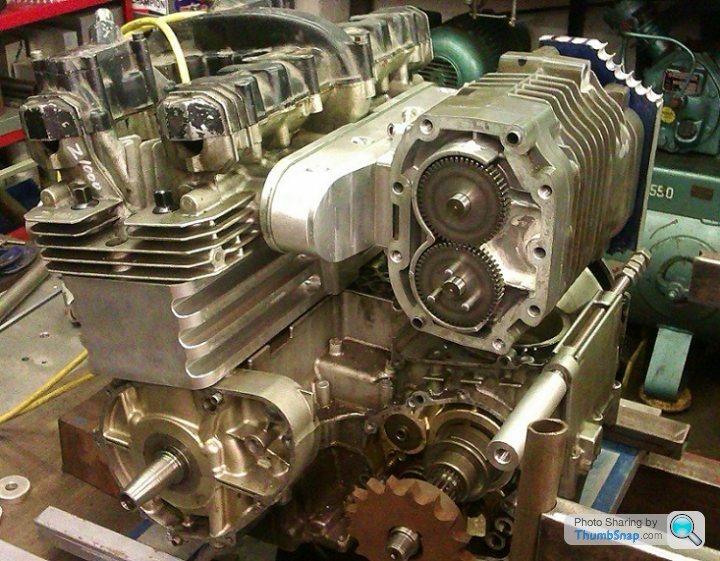
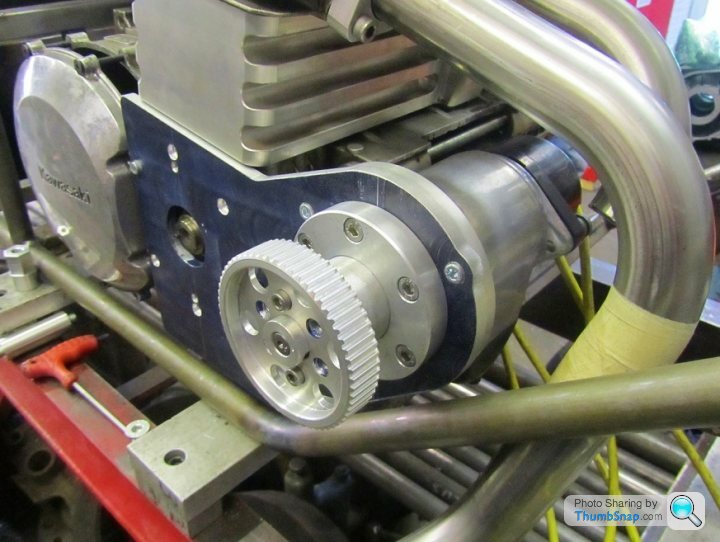
There's a few parts that need making for the engine.. clutch cover spacer, mounts for the magneto, drive sprocket external bearing support, all the bits and bobs for the drive pulleys along with a new drive 'snout' for the supercharger. The latter is because the blower would spin backwards in its standard configuration when driven from the left side of the engine. Therefore the drive will have to be swapped from the lower to the upper gear on that side of the blower, this in turn means a new snout will be needed.
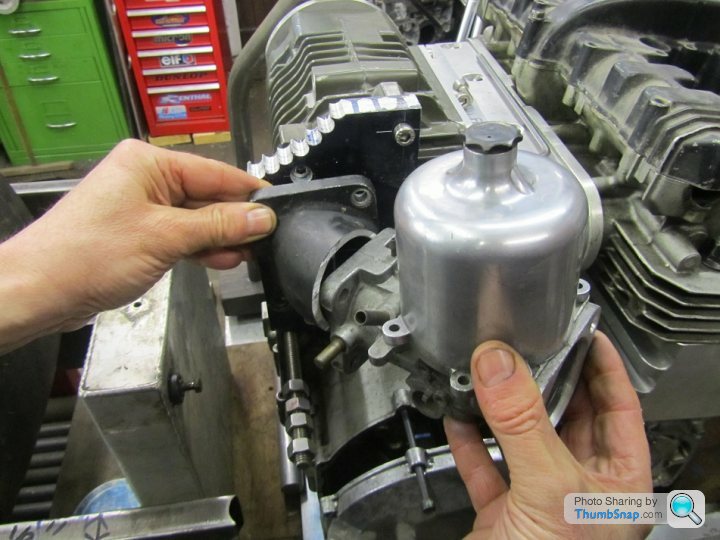
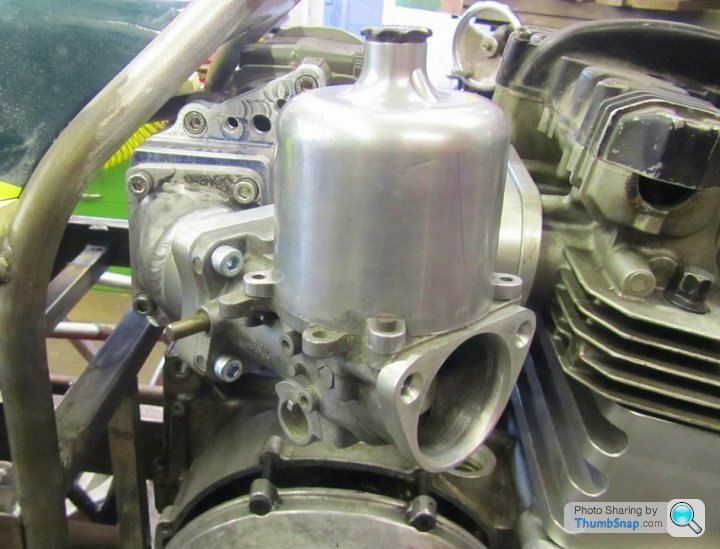
Still at least we already had a suitable manifold in the spares pile..
You can see in this photo how the drive pegs are on the lower of the two gears, which will need to be changed so the drive in through the upper gear.. Jeff assures me its an 'easy' mod ...
There's a few parts that need making for the engine.. clutch cover spacer, mounts for the magneto, drive sprocket external bearing support, all the bits and bobs for the drive pulleys along with a new drive 'snout' for the supercharger. The latter is because the blower would spin backwards in its standard configuration when driven from the left side of the engine. Therefore the drive will have to be swapped from the lower to the upper gear on that side of the blower, this in turn means a new snout will be needed.
Still at least we already had a suitable manifold in the spares pile..
You can see in this photo how the drive pegs are on the lower of the two gears, which will need to be changed so the drive in through the upper gear.. Jeff assures me its an 'easy' mod ...
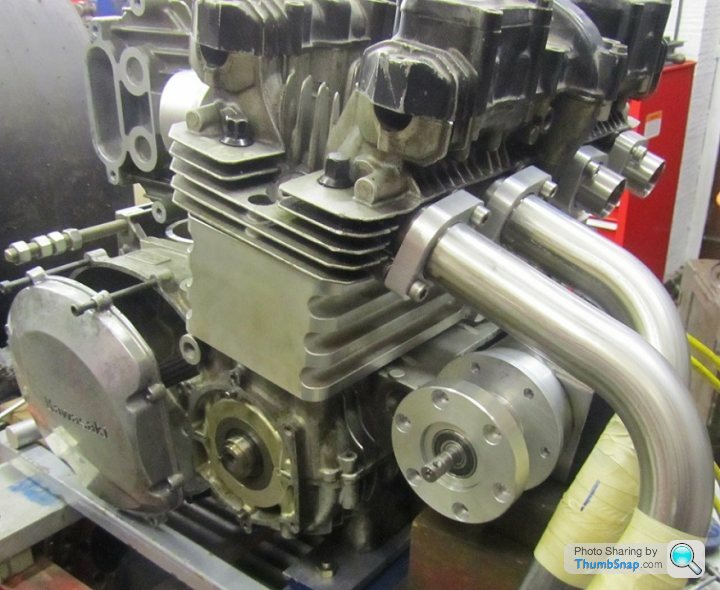
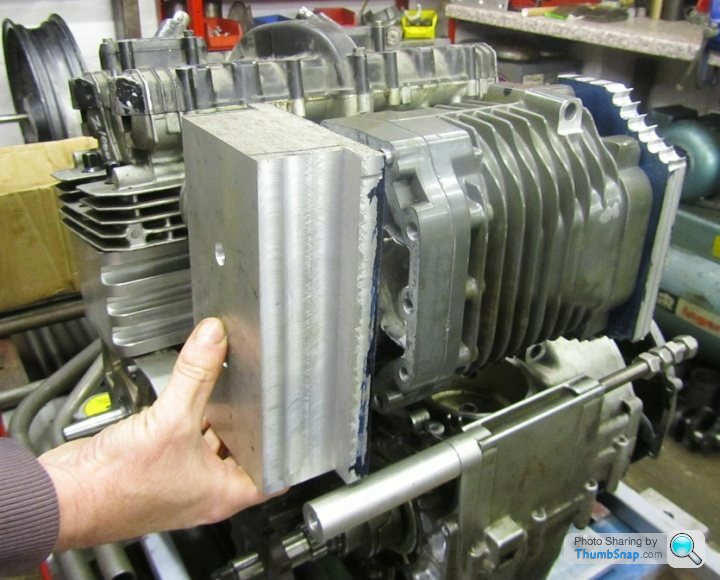
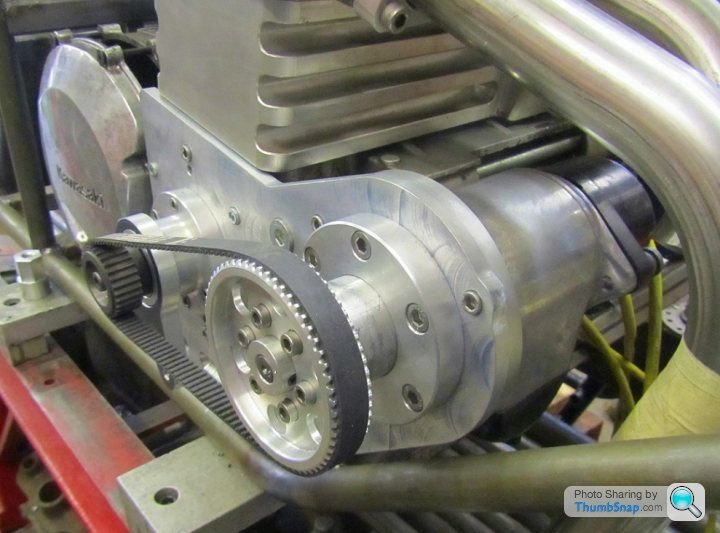
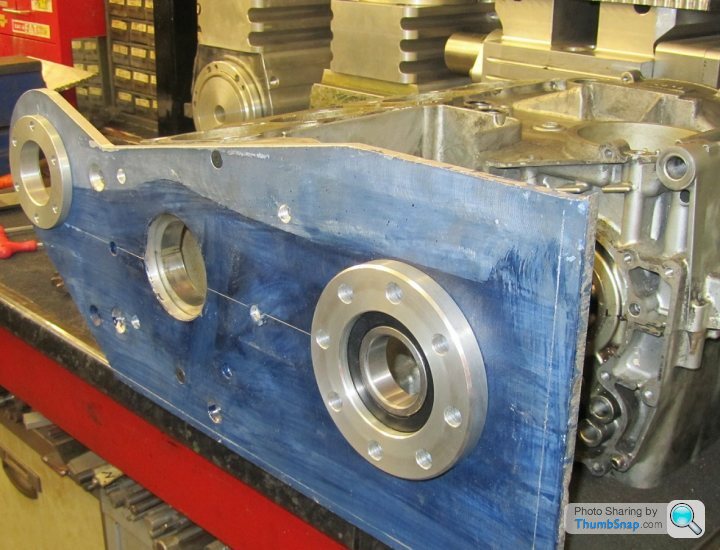
Staying with the left hand side of the blower, Jeff started out with a big off cut of alloy, then got to work on his miller... many hours later he'd made a new side case. It still needs an extension of course, but he didn't have any suitable alloy stock to hand, so that would have to wait. With the new case bolted up it gave the chance to check out how the frame might look while still giving clearance to access the blower..

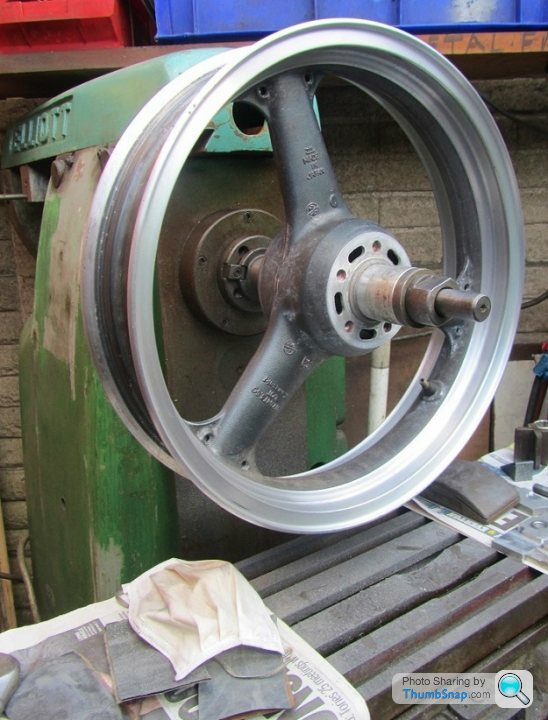
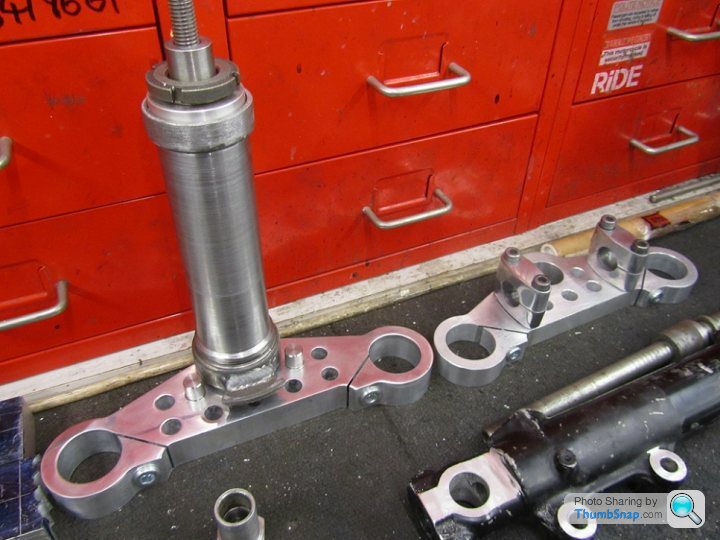
After three months, progress has slowed, as Jeff has been busy working on other stuff, such as a Gpz900R turbo project, but he has found time to finish the yokes, steering head and front wheel. The latter was a grotty old thing which has been polished, painted and had a neat blanking plate made for the spare disc mount. The fork sliders were getting de-lugged when I was there last week.
The front end was in need of a front caliper, so I donated a mint 4 pot Goldline Brembo, which will need an adaptor plate making to fit the Gpz forks..
In the first photo the old front wheel has been bolted to an ancient vertical miller, which spins up and makes cleaning up the rims much easier.
Edit to add that all the casting marks on the wheel have been carefully ground off too, the only reason being it looks better.
The front Brembo caliper I donated to the bike (from a 916), has been mounted to the Kawasaki forks, using a bracket Jeff made, including those all important lightening holes for that retro 80's vibe.. He also knocked up a fork brace too, needs polishing but looks the part I think

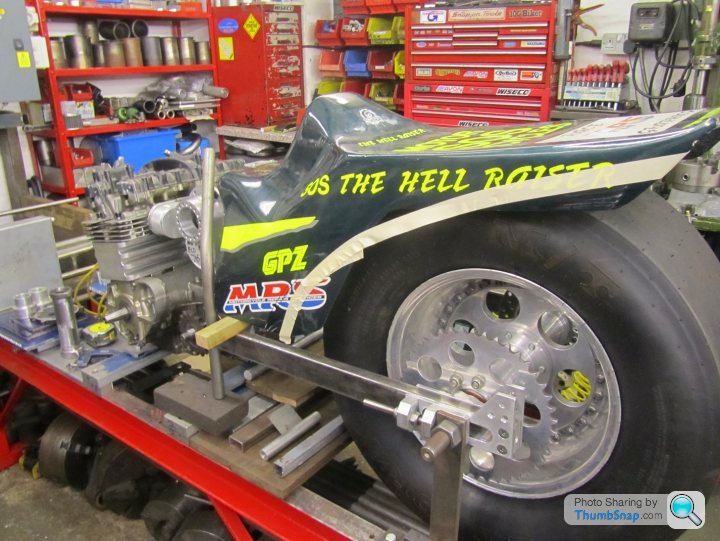
Then it was on to the task of bending, filing, measuring and welding up the steel tubing to make the frame, Jeff was in the middle of that when I went round today to drink tea, eat Jaffa cakes and use his miller, and help out where I can..
Then it was on to the task of bending, filing, measuring and welding up the steel tubing to make the frame, Jeff was in the middle of that when I went round today to drink tea, eat Jaffa cakes and use his miller, and help out where I can..
Looks good, Mr. Merch, hope that someone will buy it and put it into good use on track.
Running on blown methanol it could compete in the Funny Bike class, I guess ?
I was @ Pod for Easter and saw the end of the original "Imperial Wizard Mk1",
as Brian Johnson´s old bike was crashed beyond repair, rider suffered -only- dislocated shoulder.
Running on blown methanol it could compete in the Funny Bike class, I guess ?
I was @ Pod for Easter and saw the end of the original "Imperial Wizard Mk1",
as Brian Johnson´s old bike was crashed beyond repair, rider suffered -only- dislocated shoulder.
I think there are at least half a dozen bikes called Imperial Wizard, as BJ used the same name on all his drag bikes. The early Z1 based bikes were pretty cool in their candy apple red paintwork..
The frame is about 3/4 done now, though all the welds will need to be finished and linished when the bike is taken apart later..
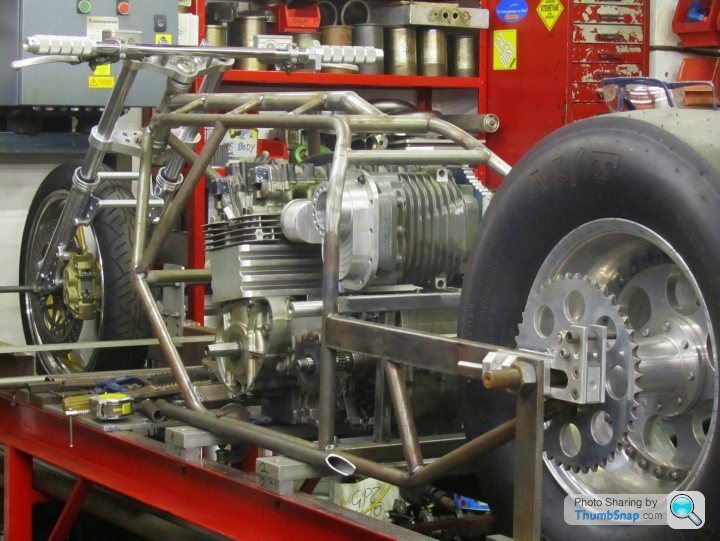
The frame is about 3/4 done now, though all the welds will need to be finished and linished when the bike is taken apart later..
All the main frame tubes are welded in place now, the next task is to make the engine mounts. Jeff used one of his many old Zed cases as a guide to machine up the front engine spacers. These are a bit more involved than the originals, being a lot stronger, and made to allow the engine to be removed from the frame quickly..

Jeff has been busy machining lots of small parts for the bike, not much to show yet, as its all still unassembled. Except for the Lucas magneto mount, which is almost done. Just spinning it by hand produces a hell of a bright spark... 'would ignite a bucket of p*ss at fifty feet' as they say..
The Magneto drive and side plate are done now, while the left hand side plate is well on the way. A manifold to connect the blower intake to the SU carb has been made, consisting of two halves welded together. One half was made from scratch, while the other came from an old SU manifold. This half had some damage to a corner which has been repaired with weld, it needed dressing, then it looked ok.
While the magneto belt drive is done, all save the belt tensioner which is almost there..
While the magneto belt drive is done, all save the belt tensioner which is almost there..
We were drinking tea today in Jeff's workshop, when I had the bright idea of making a vid of the bike with Jeff giving a walk through of the bike. This is our first and probably last attempt lol....
https://youtu.be/fKOkL4WEUYs
https://youtu.be/fKOkL4WEUYs
Lots going on this week with the bike, mainly working on the supercharger drive, here's a short video of our recent progress..
https://youtu.be/3K0SmnVBb5A
https://youtu.be/3K0SmnVBb5A
Things are going well this week, makes a change... The side plate that was being machined in the last video, is almost complete now, so I filmed the steps of machining the plate and outrigger bearing, its more interesting than it sounds... between tea breaks of course..
https://youtu.be/5vN58vybptI
https://youtu.be/5vN58vybptI
Sebo said:
I subscribed to your YouTube channel a few weeks back - lots of interesting videos! Cheers.
Thanks... one of the few 
Just posted a couple more vids, and later this week if all goes to plan, I should be making a video of what happens when a bike is dyno'd, and got a few more ideas to work on too. I really need a better camera and more memory for my laptop... but that's money that could be spend on my Guzzi...decisions, decisions...
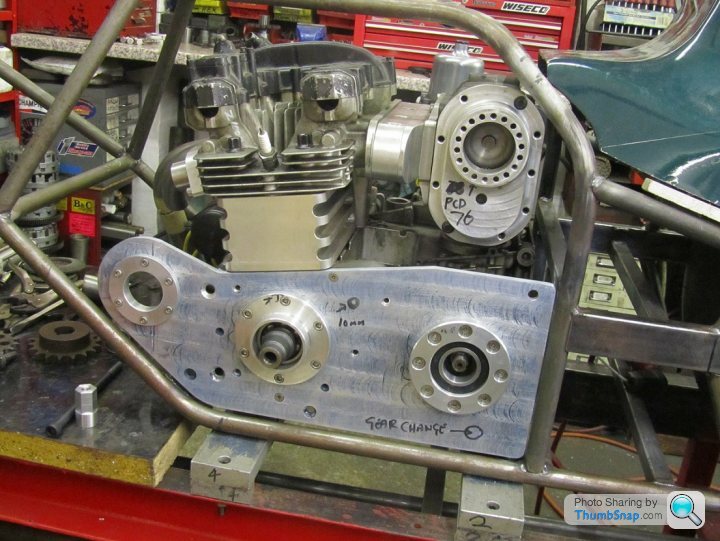
The LHS outrigger plate is on the bike, still a bit more machining needed for the gear change and to add some ball miling, but its still good progress. The next jobs are to finish the blower snout (which supports the drive shaft to the blower), make a crank pulley mount, and make the clutch cover spacer which is needed to make room for the lock up clutch.
This week the blower drive snout has been completed, and the next job is to complete the pulley mount to fit on the end of the crank, make a belt tensioner and finally make a bracket / clamp to support the blower snout. This is required because the whole blower / drive is currently only supported by the 8 6mm manifold bolts to the head.. which could fail in use.
This week's video explains all that, and we have a look inside the supercharger to see how it works and why / how we had to change its end plate..
https://youtu.be/_g60R9bUVVQ

This week's video explains all that, and we have a look inside the supercharger to see how it works and why / how we had to change its end plate..
https://youtu.be/_g60R9bUVVQ
Gassing Station | Biker Banter | Top of Page | What's New | My Stuff