More chassis refurbishment porn at Willow sports cars
Discussion


Dr Mike Oxgreen said:
Ball-park figures:
£1500-ish for replacing the outriggers
Another £1500-ish for shot-blasting, zinc primer and powder-coat of whole chassis, including wishbones etc.
Budget another £500-ish for stuff that gets discovered along the way, plus the stuff that you'd be mad not to do at the same time. Little things like replacing fuel lines etc all add up. The "where do you stop" line is a blurry one!
I dont think blasting and powdercoating will come to that. I got my chassis and all suspension done for £150. He did however say at the end that he had under estimated the work and should have charged about £300. £1500-ish for replacing the outriggers
Another £1500-ish for shot-blasting, zinc primer and powder-coat of whole chassis, including wishbones etc.
Budget another £500-ish for stuff that gets discovered along the way, plus the stuff that you'd be mad not to do at the same time. Little things like replacing fuel lines etc all add up. The "where do you stop" line is a blurry one!
SILICONEKID340HP said:
There not mate ! the two brown wires are two live cables which disappear in to the abyss towards the fuse box .
After doing some research they need upsizing. if there being extended.
Daz, I will enquire about the brown ones again going towards the fuse box? I wonder if anyone on this forum has had the same question, as many have done the conversion.After doing some research they need upsizing. if there being extended.
Mark
Edited by portzi on Wednesday 4th January 21:14
andydw said:
Does anybody know if there are any improvements that could be carried out to the cerb chassis during a restoration eg improved suspension geometry that sort of thing?
In regards to suspension and wishbones etc. the cerbera wishbones are different to the chimaera's and griff's,a better design I was told. Mark
portzi said:
SILICONEKID340HP said:
There not mate ! the two brown wires are two live cables which disappear in to the abyss towards the fuse box .
After doing some research they need upsizing. if there being extended.
Daz, I will enquire about the brown ones again going towards the fuse box? I wonder if anyone on this forum has had the same question, as many have done the converstion.MarkAfter doing some research they need upsizing. if there being extended.
If you don't extend them, then during cranking the voltage drop in the red cable will mean that the electronics will see a lower voltage than the battery voltage.
Pink_Floyd said:
I would extend the 2 brown wires to the battery and use larger cable. In the fuse box they go to 2 connectors that are joined together.
If you don't extend them, then during cranking the voltage drop in the red cable will mean that the electronics will see a lower voltage than the battery voltage.
Does this answer your question Daz?If you don't extend them, then during cranking the voltage drop in the red cable will mean that the electronics will see a lower voltage than the battery voltage.
[quote=Twistygit]how's it going any more photo's on the progress?[/quote
lupos in first hopefully here today as my lights are on the way out. Changing the upper front wishbone design will put some pics up on machining mod.
Just making my frame for transporting the body to the paintshop . will take some pics of the body on the frame when complete.
lupos in first hopefully here today as my lights are on the way out. Changing the upper front wishbone design will put some pics up on machining mod.
Just making my frame for transporting the body to the paintshop . will take some pics of the body on the frame when complete.
portzi said:
Twistygit said:
good man, hope everything is going smoothly, sounds like you are doing a full refurb are you?
yes full refurb and whilst the body is off alick of paint too. Hit my first stubbling block, transportation frame is not the correct size  .
. I bet your spending 8k on your car..
Edited by SILICONEKID340HP on Wednesday 11th January 22:01
spikep said:
Hes using some local 'specialist' if you can us that term!!!
When you take it, can you drive by my Grif so they can look at the battery mounting to see if it can be done the same!!!!!!
PS
Get it finished soon for classic Le Mans.
hi spike i will check as there is a griff in at the moment . As for paint Daz Am using a local specialist. When you take it, can you drive by my Grif so they can look at the battery mounting to see if it can be done the same!!!!!!
PS
Get it finished soon for classic Le Mans.
portzi said:
spikep said:
Hes using some local 'specialist' if you can us that term!!!
When you take it, can you drive by my Grif so they can look at the battery mounting to see if it can be done the same!!!!!!
PS
Get it finished soon for classic Le Mans.
hi spike i will check as there is a griff in at the moment . As for paint Daz Am using a local specialist. [/quote very local .When you take it, can you drive by my Grif so they can look at the battery mounting to see if it can be done the same!!!!!!
PS
Get it finished soon for classic Le Mans.
Cerizma are very local to Willow sports cars
http://www.carizma.co.uk/
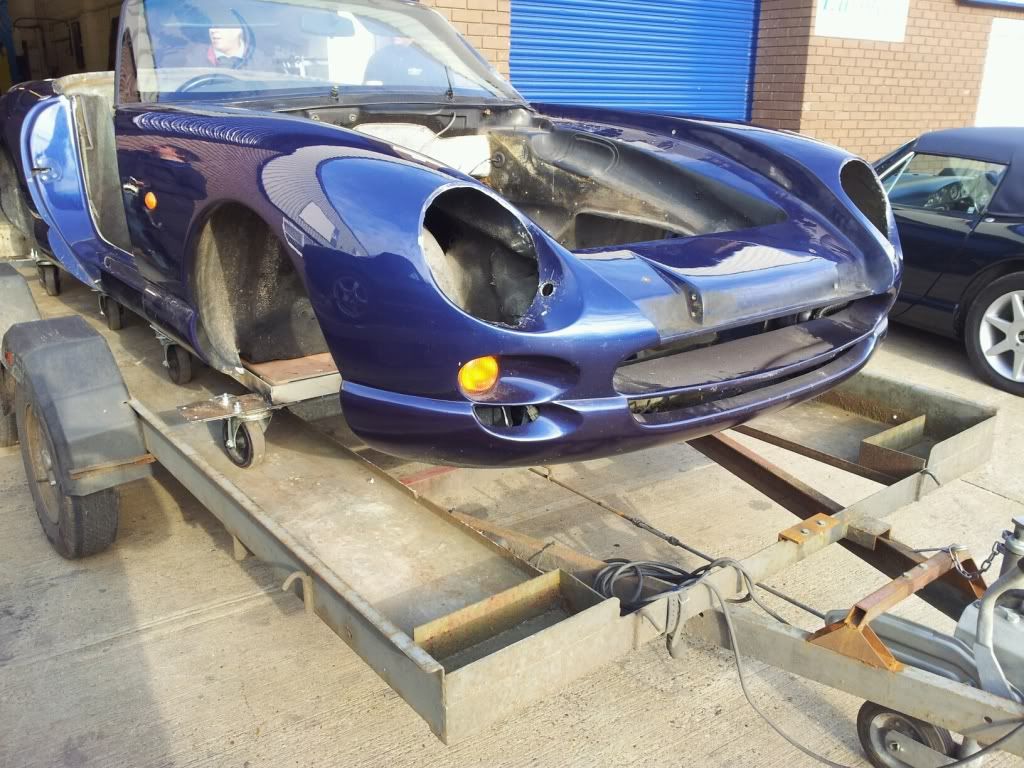
Well its been afew weeks since my last update on restoration. my time has been taken up by making the trolley for the body to go to the painters. My main concern was the weak spot behind the soft top and rear wheel arch area. the body there is very fragile so supporting this area fully was my main concern and mounting the body such as it is supporting 2/3's of the body.
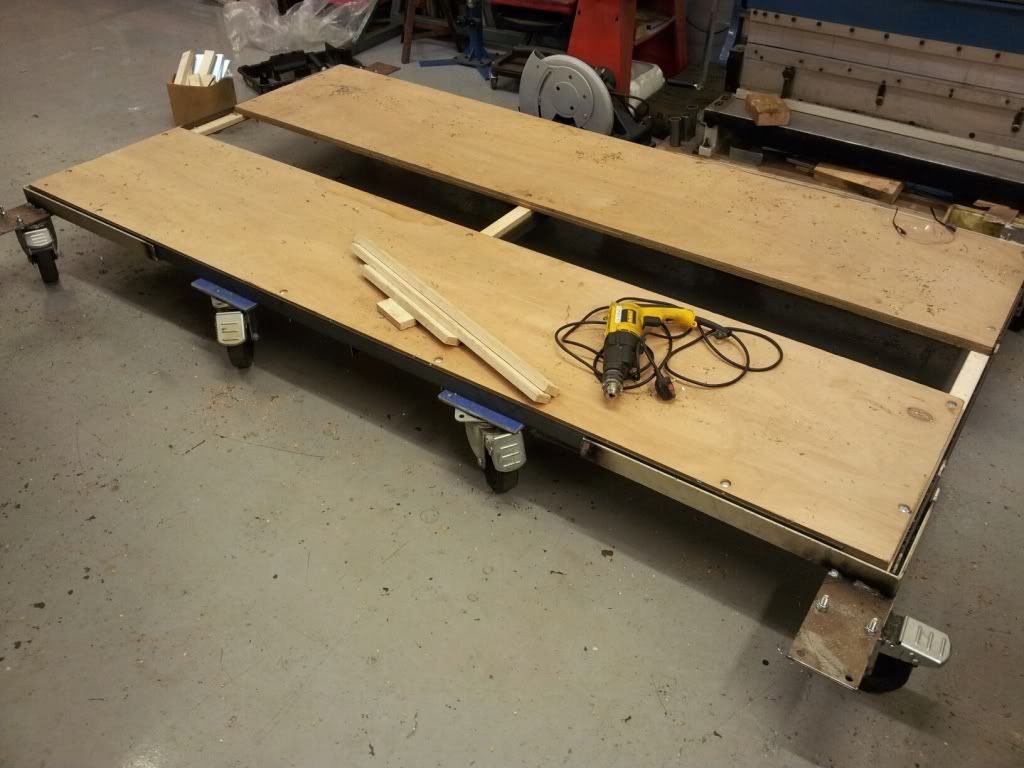
The trolley is taking shape nicely.
[IMG]http://i955.photobucket.com/albums/ae36/portzi/2012-01-24_192126_resized.jpg[/IMG
to support the body full I aquired some angle iron 8 caster wheels and some 1 inch ply form a friendly carpenter I know.
Using the bolt holes behind the fuel tank I was able to lock the end of the car to the ply with some steel brackets.
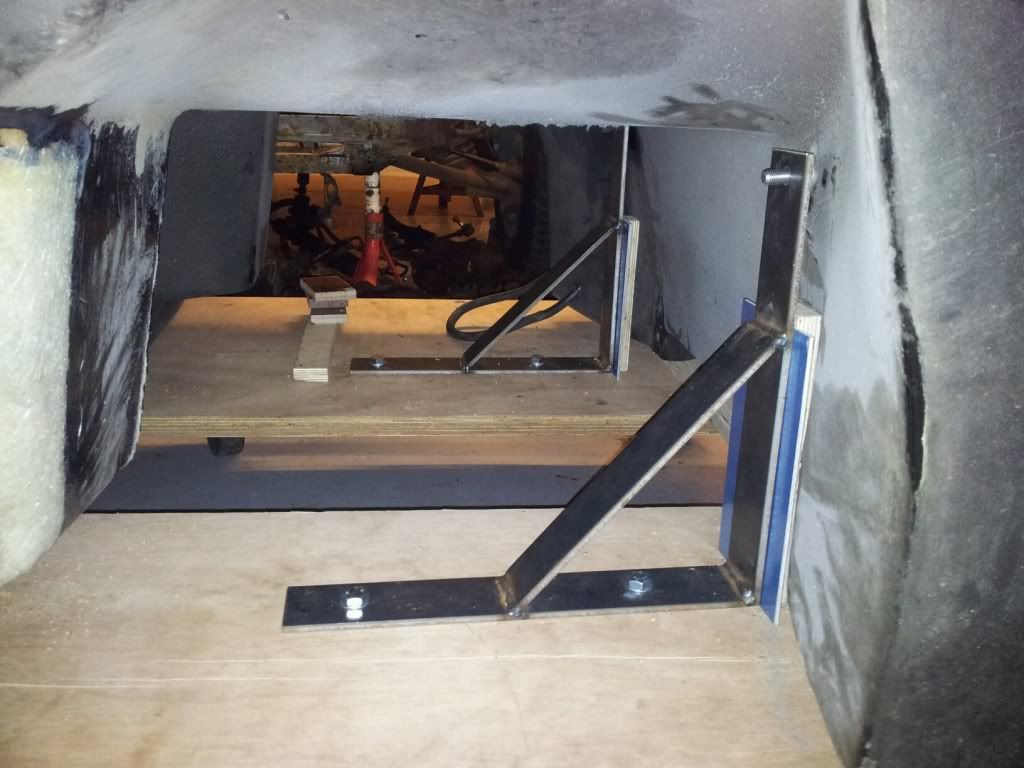
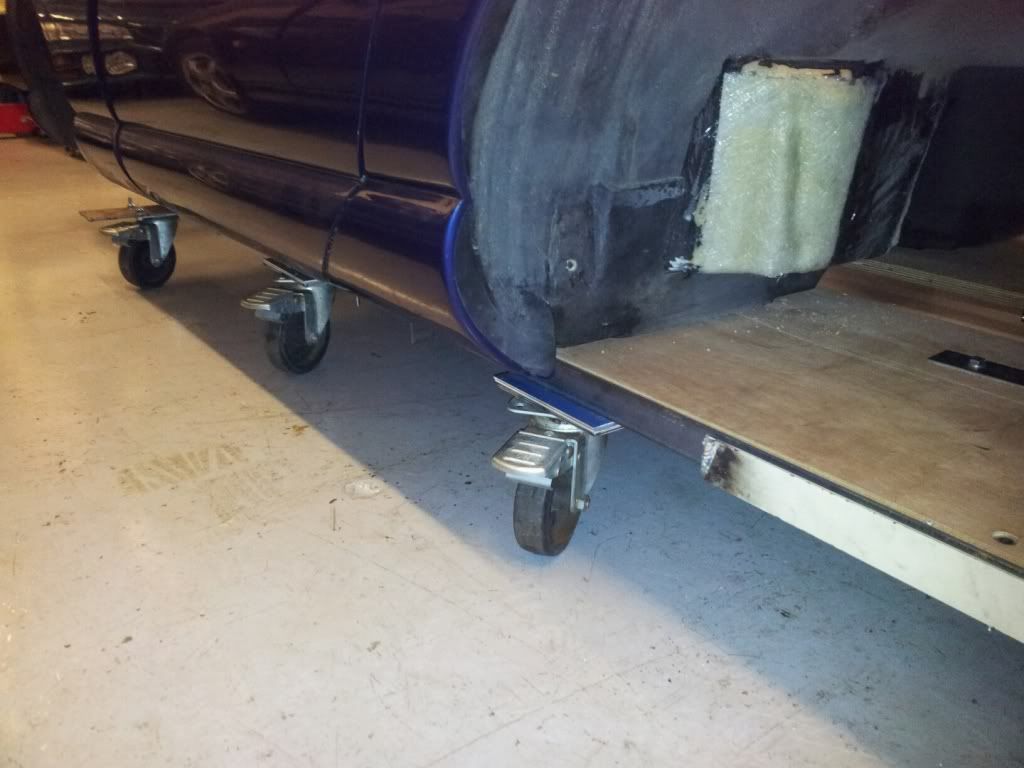
I have fitted 4 casters each side to stop and bowing and strenght to the trolley.
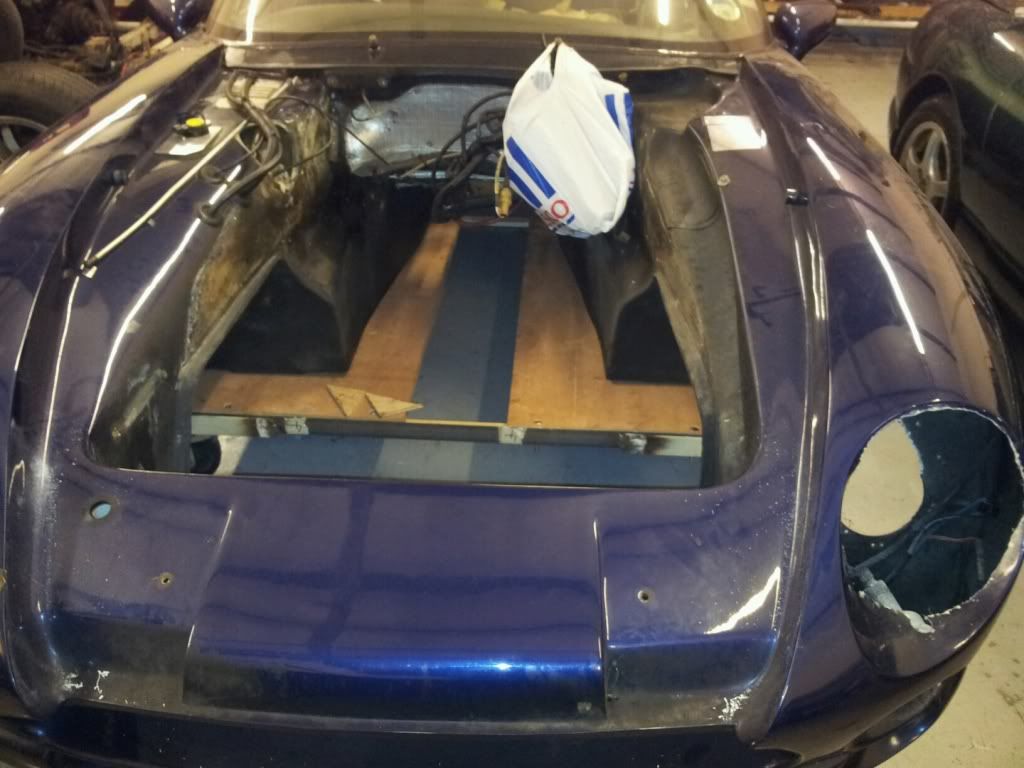
Using the seat mounting bolt holes and the outrigger holes the front of the car will be fixed to the ply, as you can see not taking any chances of body movement or cracking.
The trolley is taking shape nicely.
[IMG]http://i955.photobucket.com/albums/ae36/portzi/2012-01-24_192126_resized.jpg[/IMG
to support the body full I aquired some angle iron 8 caster wheels and some 1 inch ply form a friendly carpenter I know.
Using the bolt holes behind the fuel tank I was able to lock the end of the car to the ply with some steel brackets.
I have fitted 4 casters each side to stop and bowing and strenght to the trolley.
Using the seat mounting bolt holes and the outrigger holes the front of the car will be fixed to the ply, as you can see not taking any chances of body movement or cracking.
carsy said:
I dont think blasting and powdercoating will come to that. I got my chassis and all suspension done for £150. He did however say at the end that he had under estimated the work and should have charged about £300.
I think it's a mistake to look only at the cost of the blasting and powder-coating - except if you're able to do all the disassembly and reassembly yourself, then it is indeed the only cost involved. But if, like me, all that work is beyond your time and skill, then you have no choice but to pay for the disassembly followed by the substantial reassembly, checking, adjusting and setting up. To get the chassis totally naked for blasting and coating requires substantial extra work beyond what you'd do just to replace the outriggers. The actual blasting and powder-coating is only a tiny proportion of the cost.Edited by Dr Mike Oxgreen on Wednesday 25th January 07:53
Dr Mike Oxgreen said:
I think it's a mistake to look only at the cost of the blasting and powder-coating - except if you're able to do all the disassembly and reassembly yourself, then it is indeed the only cost involved. But if, like me, all that work is beyond your time and skill, then you have no choice but to pay for the disassembly followed by the substantial reassembly, checking, adjusting and setting up. To get the chassis totally naked for blasting and coating requires substantial extra work beyond what you'd do just to replace the outriggers. The actual blasting and powder-coating is only a tiny proportion of the cost.
Yes Mike,the man hours involved in assembling a TVR back together, far outways the cost of blasting and powder coating.Edited by Dr Mike Oxgreen on Wednesday 25th January 07:53
Well its been afew weeks since I have managed to update the post. getting the car to the sprayers in one piece was a success. I am using a local firm who specialise in aircraft spraying, so standards have to be of a good quality, and I know the guys so that helps too.
the body is off to the painters 15 miles down the A46
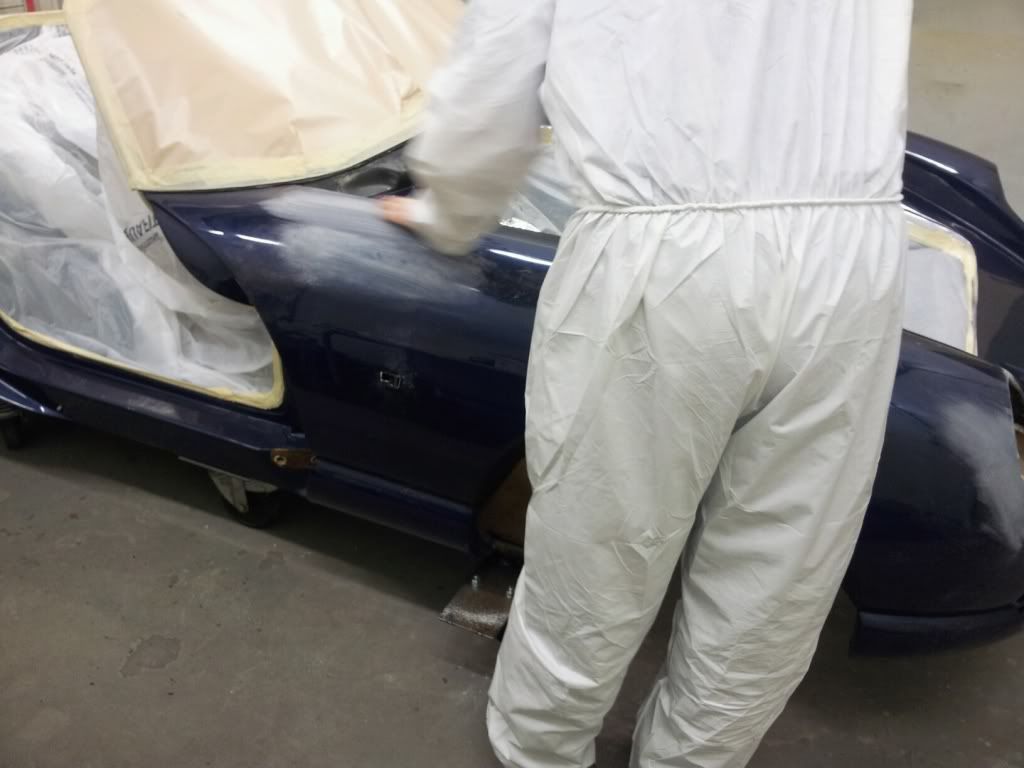
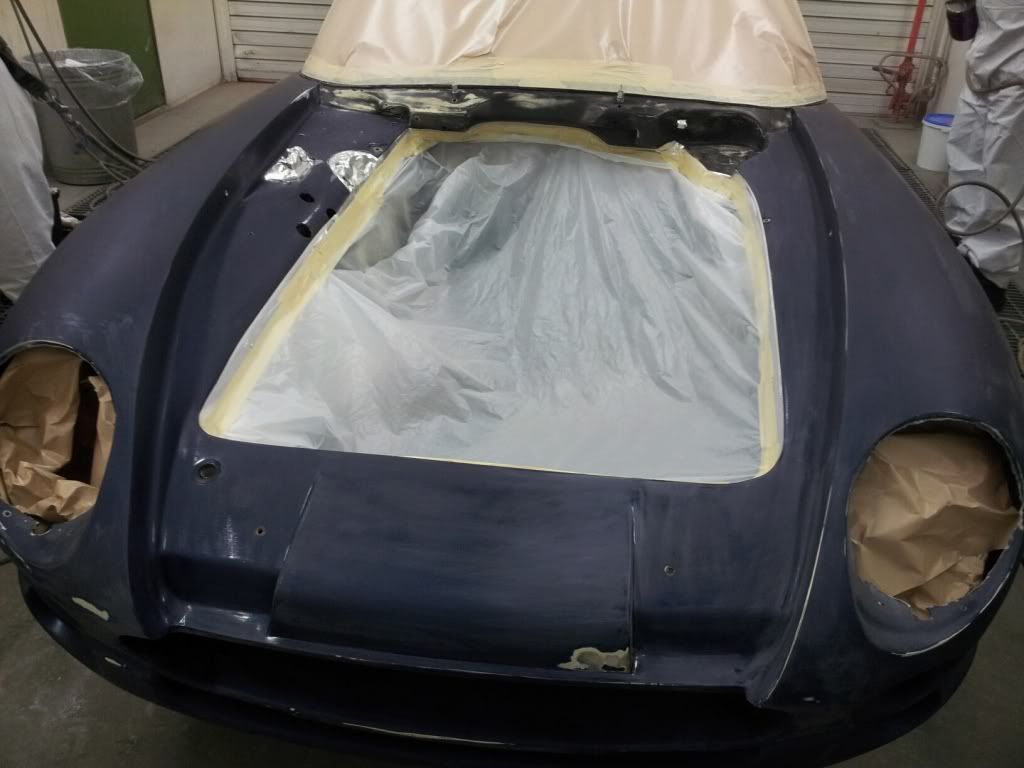
The car was initially masked off.
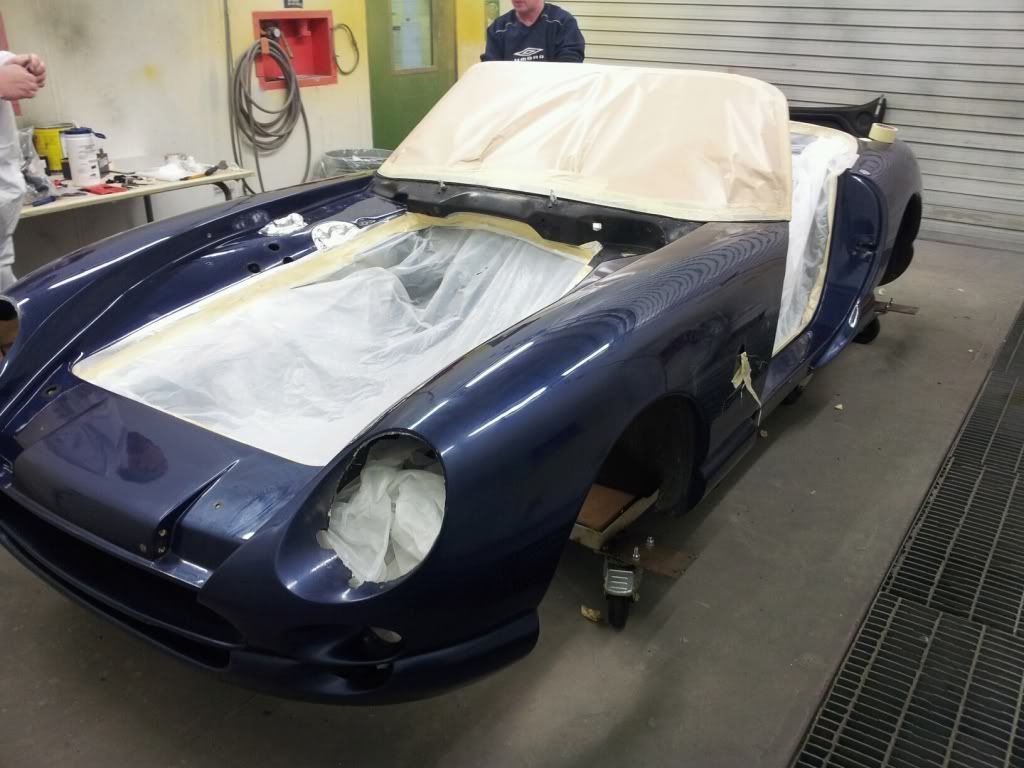
The car was prepared with lots of elbow grease and a light touch along the lovely curves of the car. because of the curves our hands to grip the emery pads was decided as the tradition blocks would impart flats on the car. We were surprised on how good the body was for its age which made to prep work alot easier. Many hours later and cups of tea's
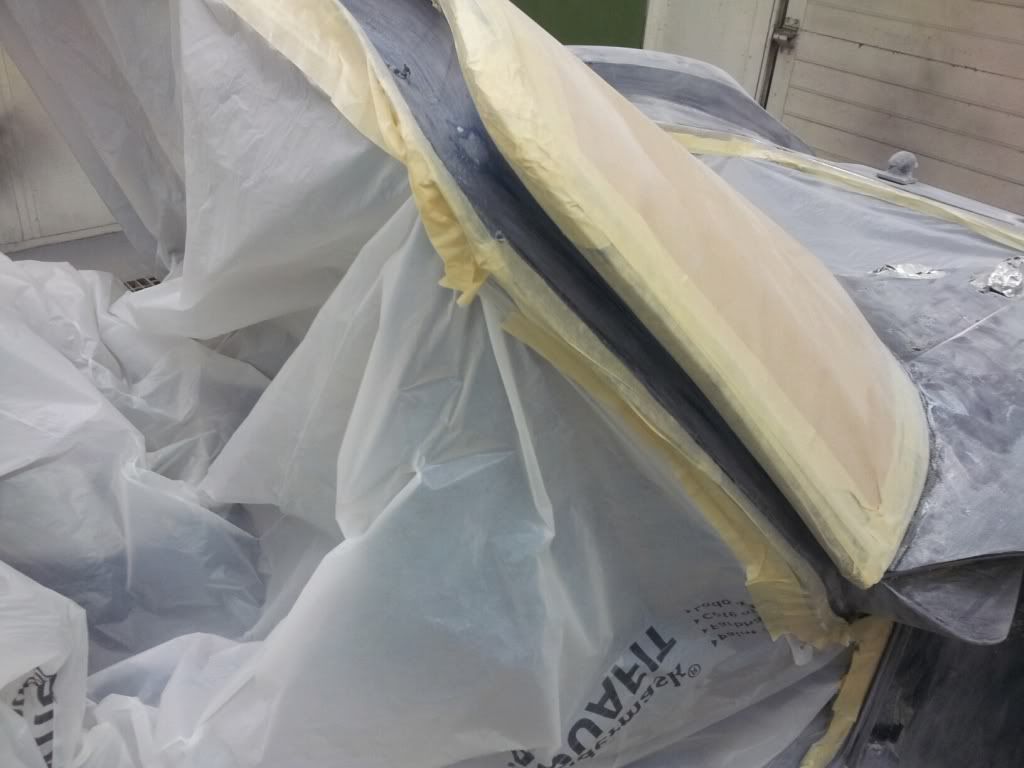
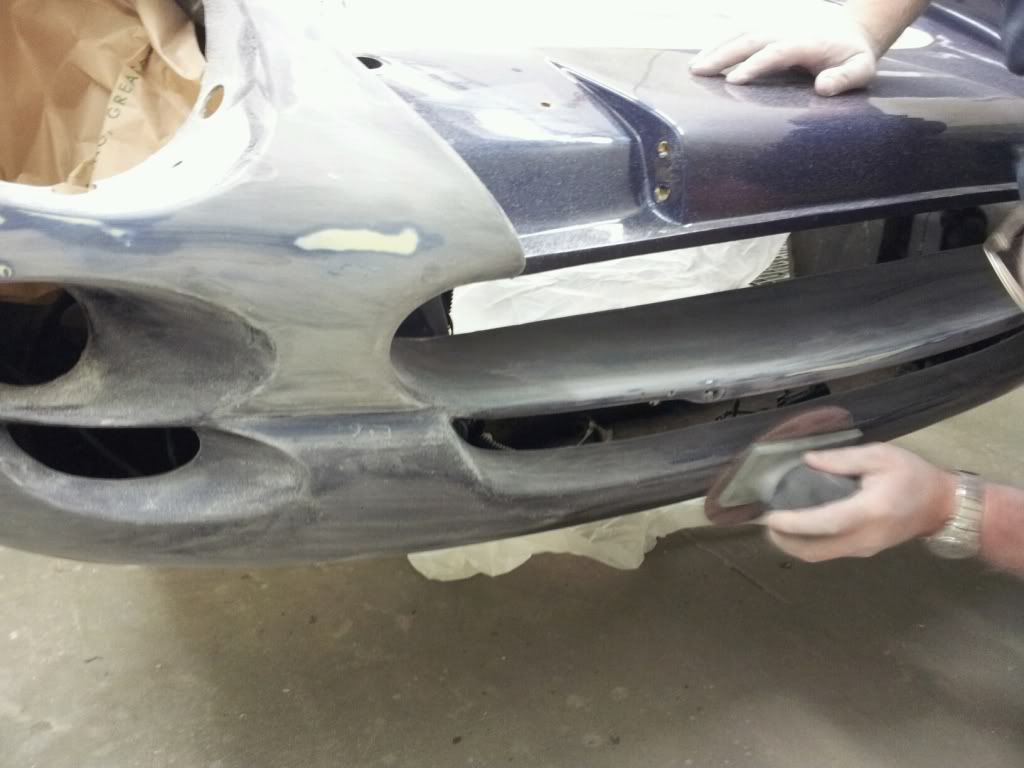
The front end of the car and the along the front sill, were full of stone chips and cracks so these were filled in and rubbed down. sorry no piccs of this too busy rubbing the car that is.
A block pad had to be used on the front as the chips were pretty bad in this area

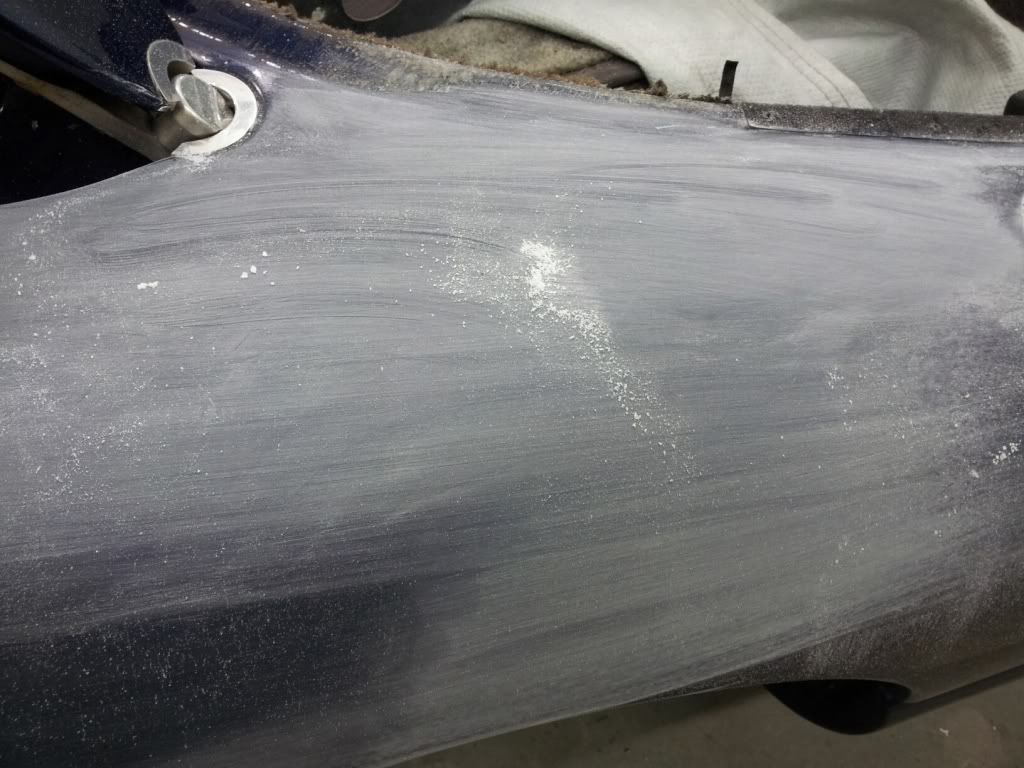
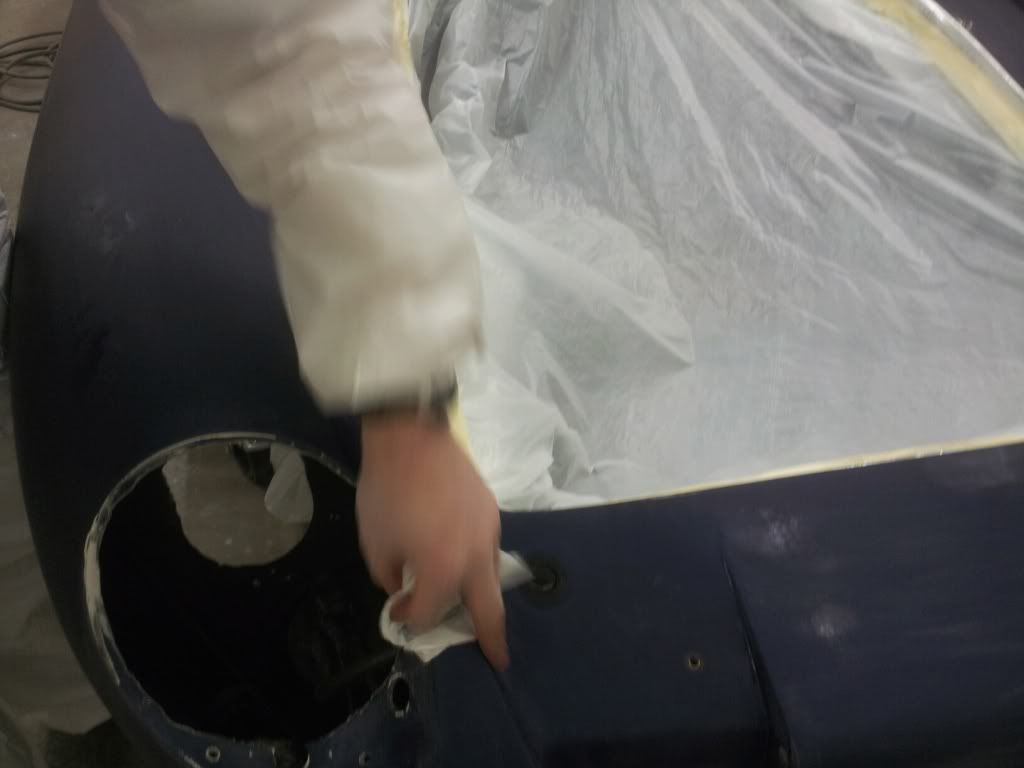
The body was then air hosed down and the vacuum switched on to remove dust, we left and had a brew and a biscuit or two.
One our return we we set to work wiping the car down with lotoxane wipes and some lint free cloths with a chemical on, that removes dust and fibres
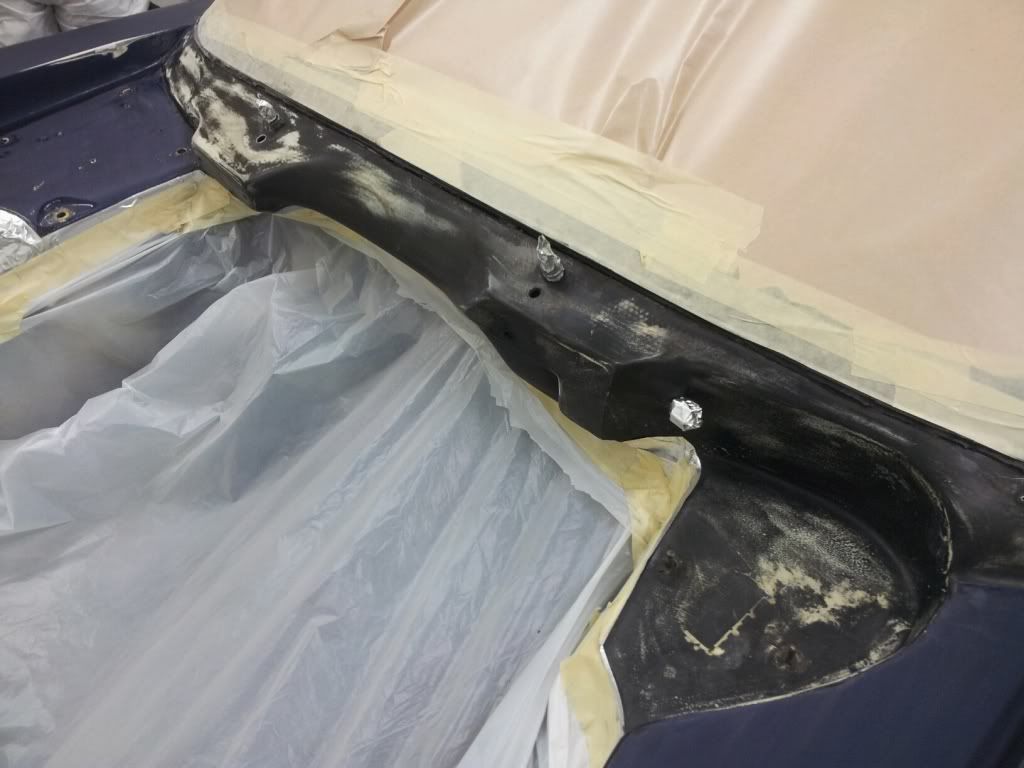
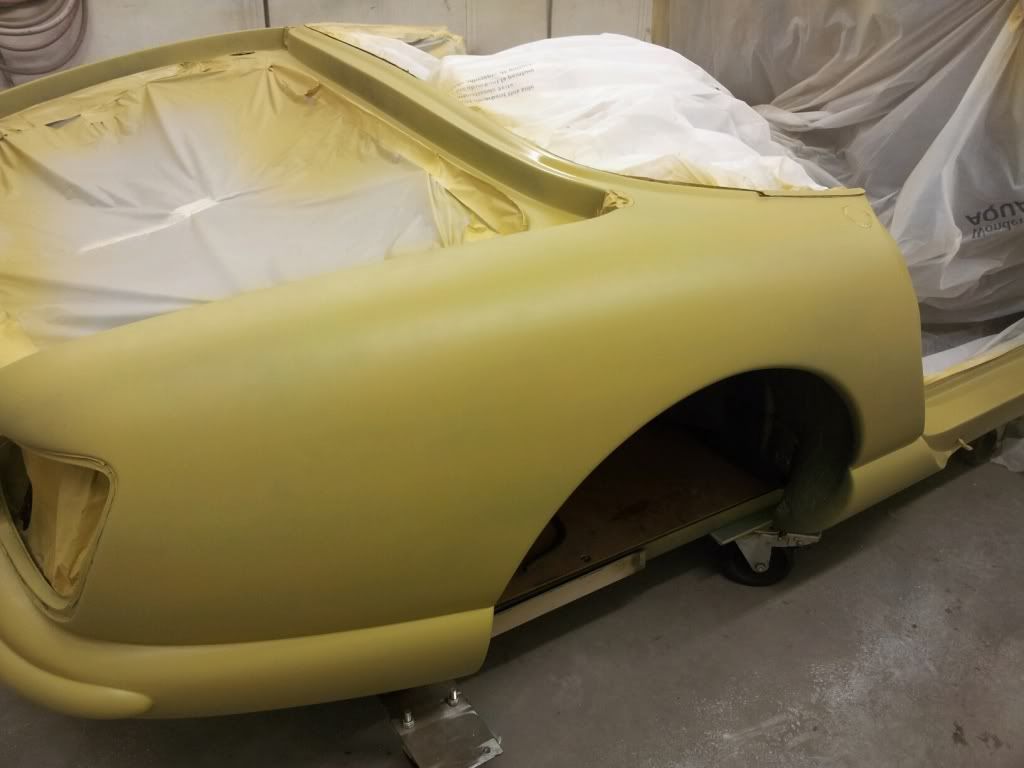
The lotoxane evaporated within afew minutes of application. The spray bay was brought up to temperature for the spraying.The car was now ready for the bar coat which provides a barrier between the old paint and the new paint, and prevents crazing forming.
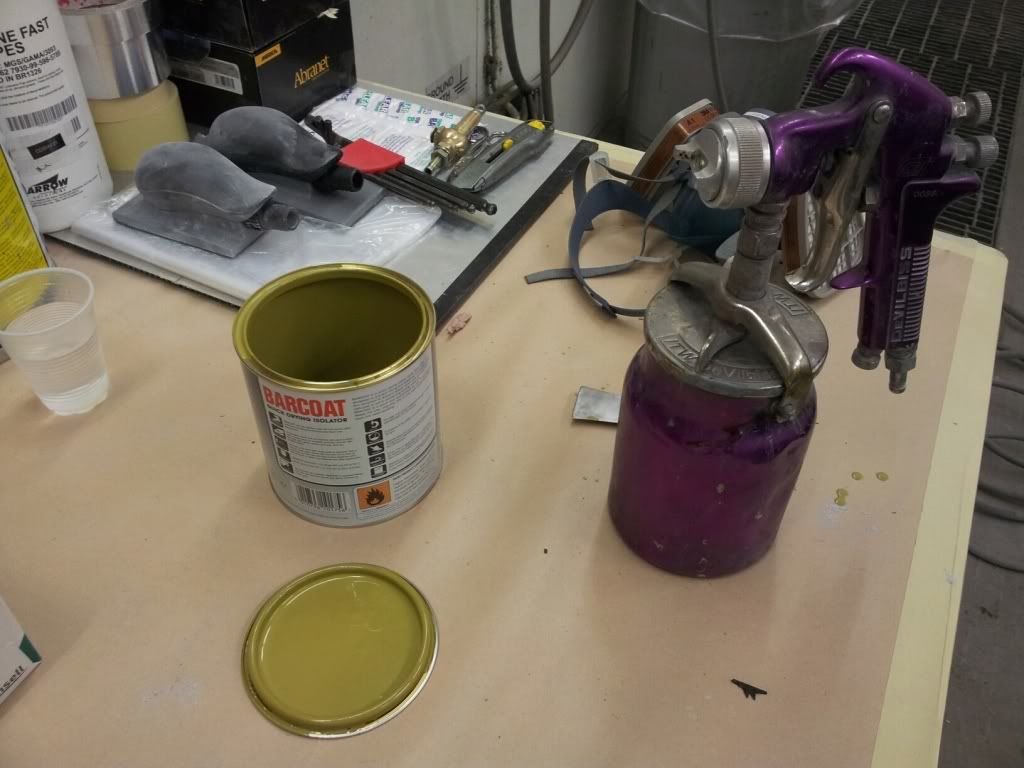
Steve and mike worked along the car going at the same pace so they applied the coats at the same time around the car ensuring even coverage & drying time.
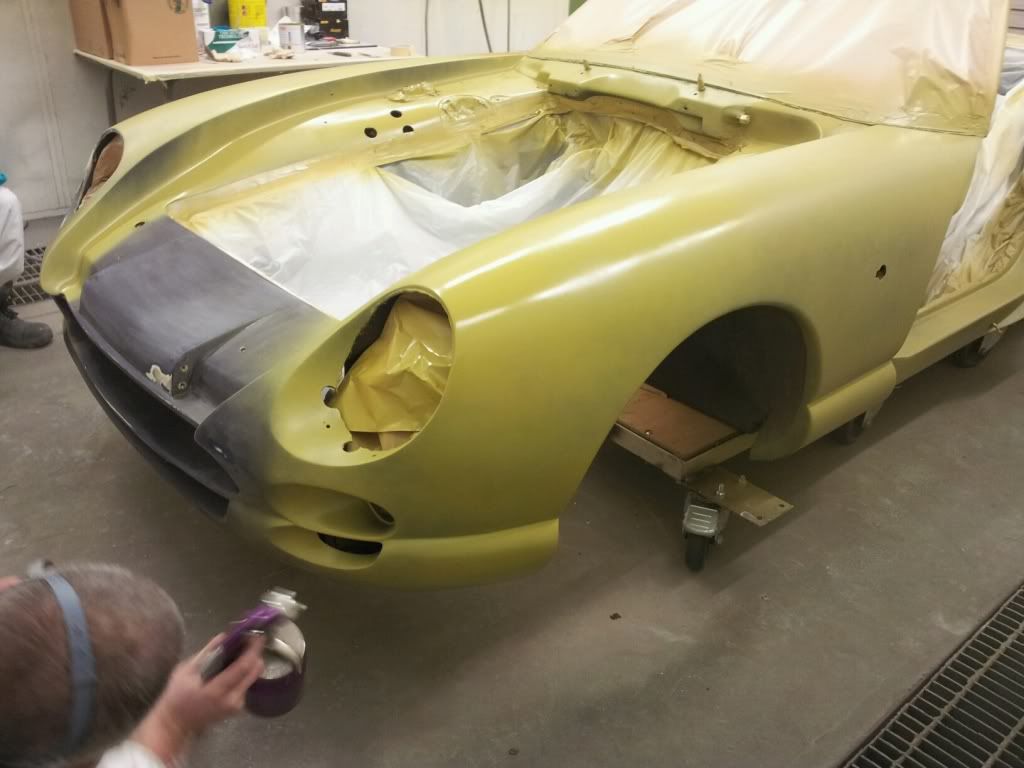
They even let me have a go. Bad move.
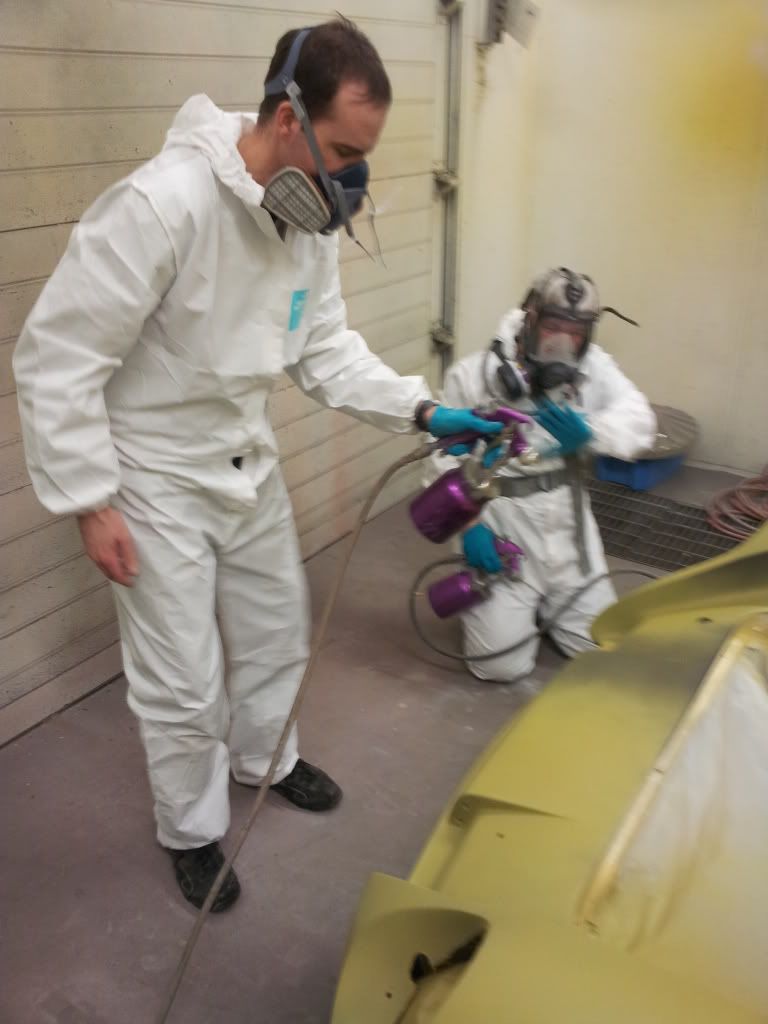
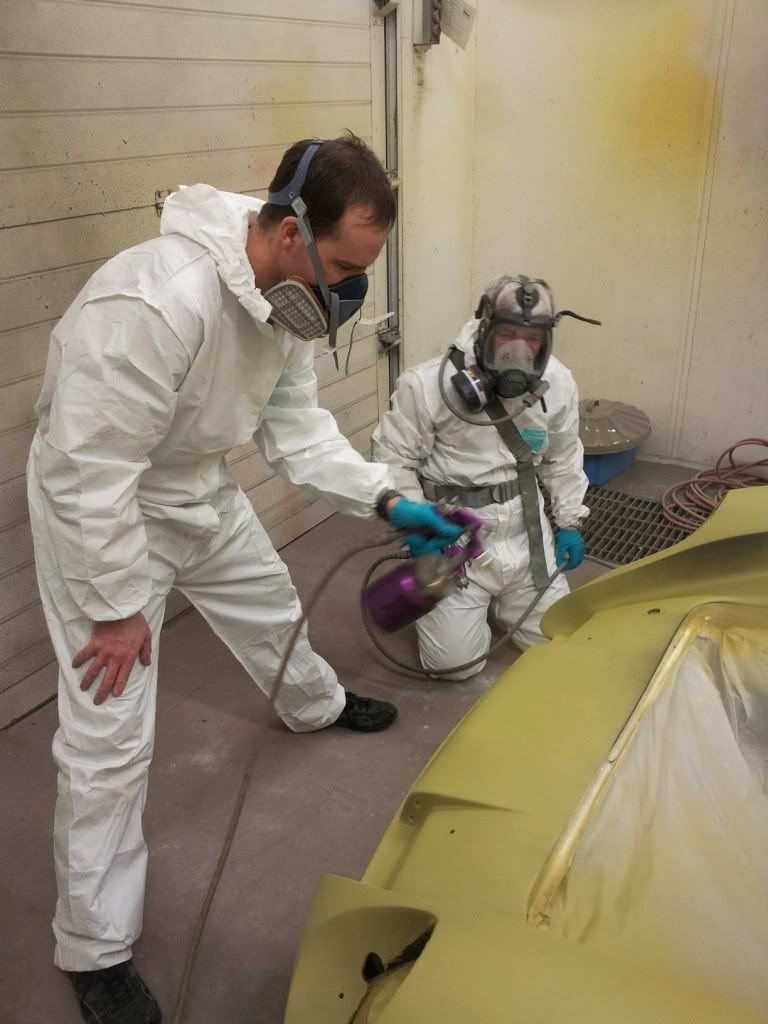
I am doing the splits
At this we left for another brew and biscuit. We had a final inspection of the car and left for the fotty. Half 7 start in the morning so an early nite for me.
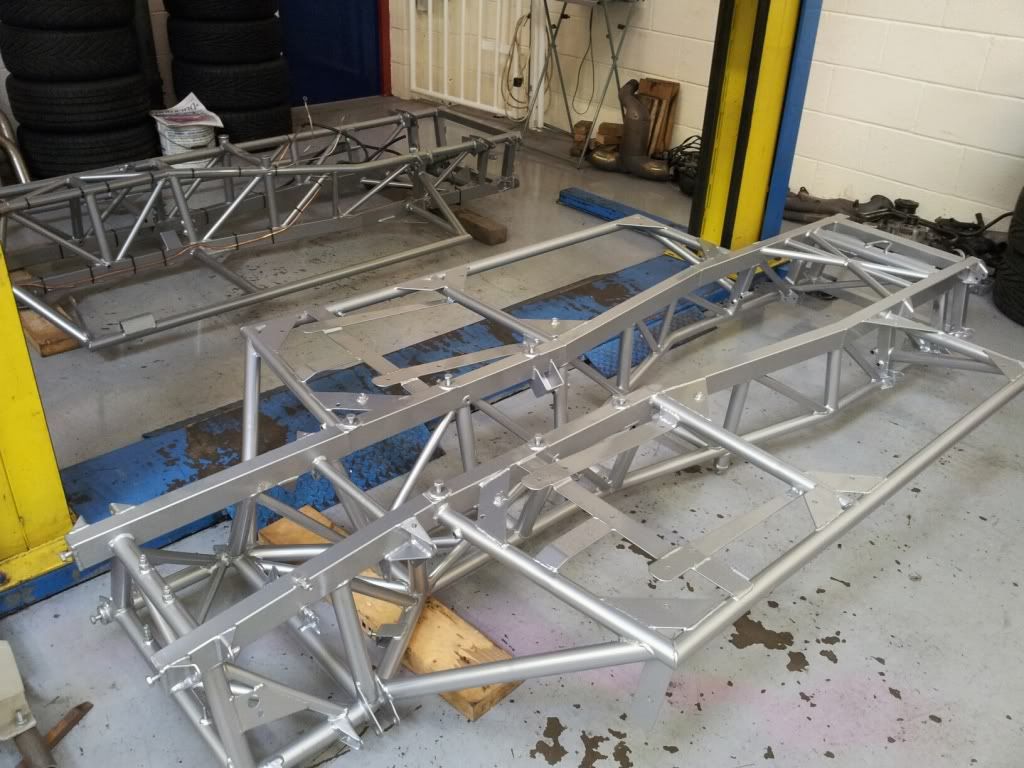
On the way home I popped into willow sports cars and found this, seeing its a chassis refurb post thought I would put this up, well chuffed is an understatment.
the body is off to the painters 15 miles down the A46
The car was initially masked off.
The car was prepared with lots of elbow grease and a light touch along the lovely curves of the car. because of the curves our hands to grip the emery pads was decided as the tradition blocks would impart flats on the car. We were surprised on how good the body was for its age which made to prep work alot easier. Many hours later and cups of tea's
The front end of the car and the along the front sill, were full of stone chips and cracks so these were filled in and rubbed down. sorry no piccs of this too busy rubbing
the car that is.A block pad had to be used on the front as the chips were pretty bad in this area
The body was then air hosed down and the vacuum switched on to remove dust, we left and had a brew and a biscuit or two.
One our return we we set to work wiping the car down with lotoxane wipes and some lint free cloths with a chemical on, that removes dust and fibres
The lotoxane evaporated within afew minutes of application. The spray bay was brought up to temperature for the spraying.The car was now ready for the bar coat which provides a barrier between the old paint and the new paint, and prevents crazing forming.
Steve and mike worked along the car going at the same pace so they applied the coats at the same time around the car ensuring even coverage & drying time.
They even let me have a go. Bad move.
I am doing the splits
At this we left for another brew and biscuit. We had a final inspection of the car and left for the fotty. Half 7 start in the morning so an early nite for me.
On the way home I popped into willow sports cars and found this, seeing its a chassis refurb post thought I would put this up, well chuffed is an understatment.
Edited by portzi on Saturday 11th February 21:07
Edited by portzi on Saturday 11th February 21:21
Gassing Station | Chimaera | Top of Page | What's New | My Stuff