johns tvr rebuild
Discussion


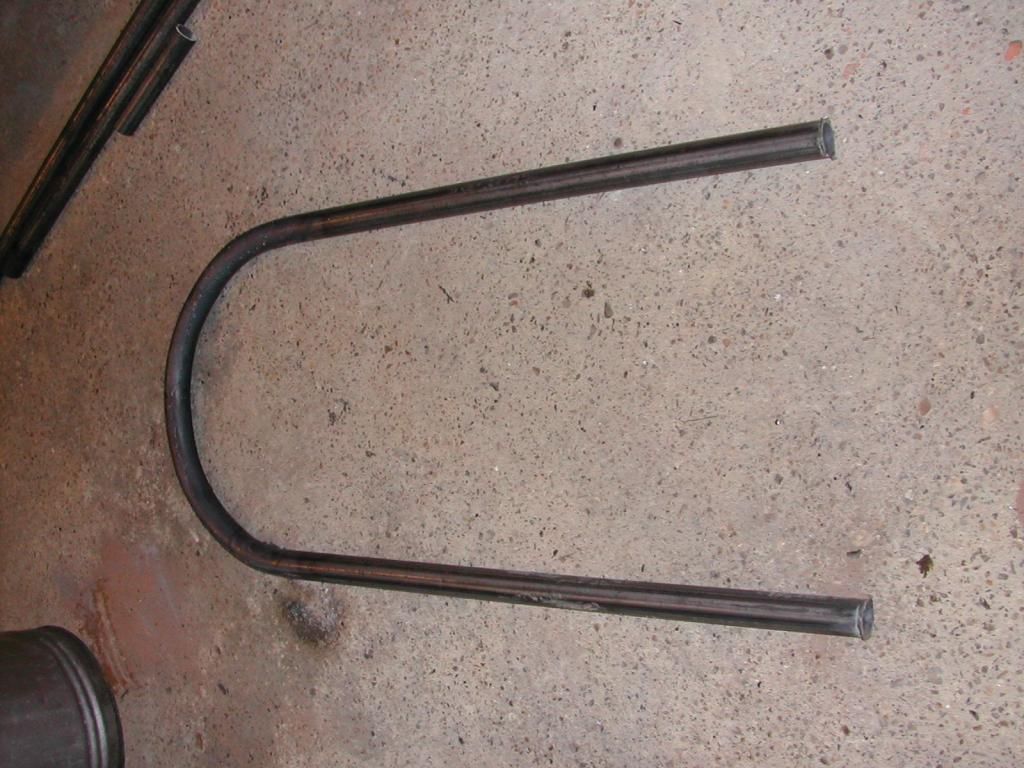
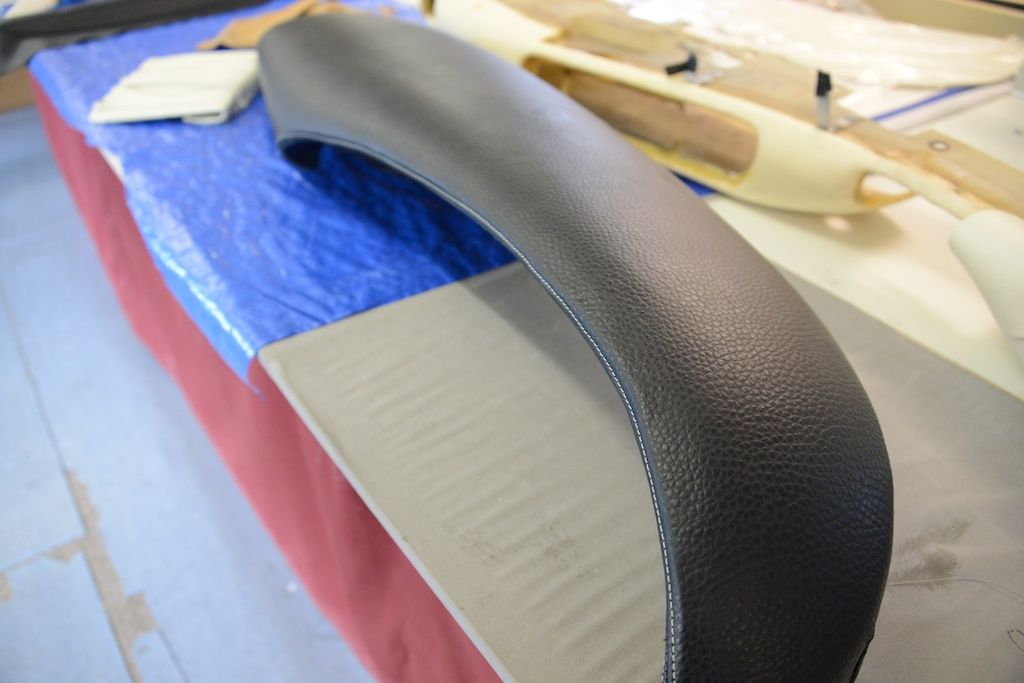
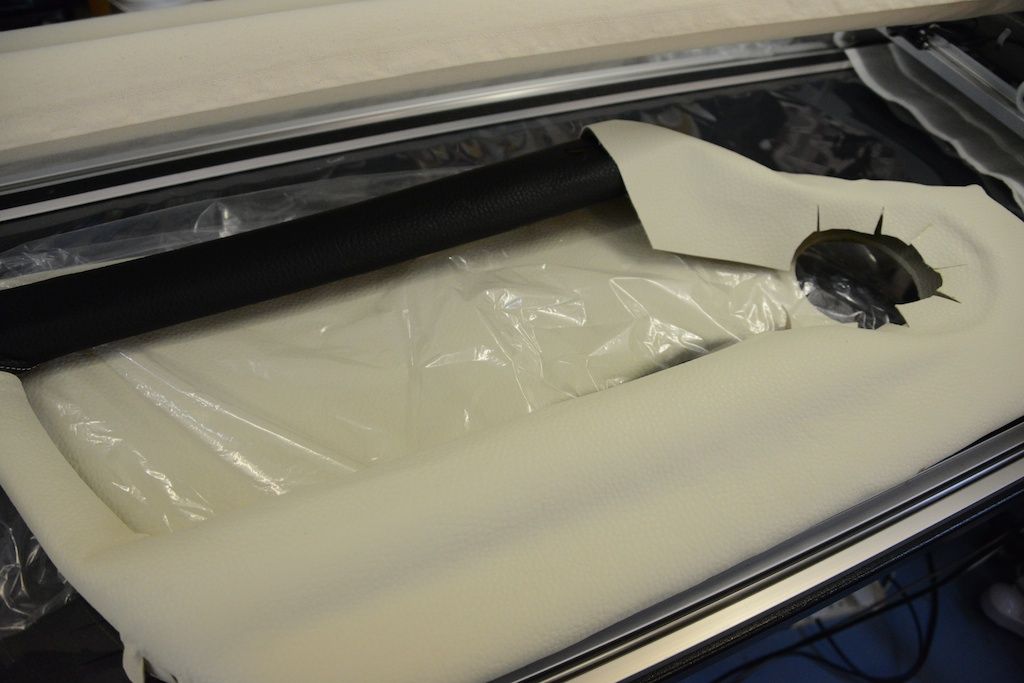
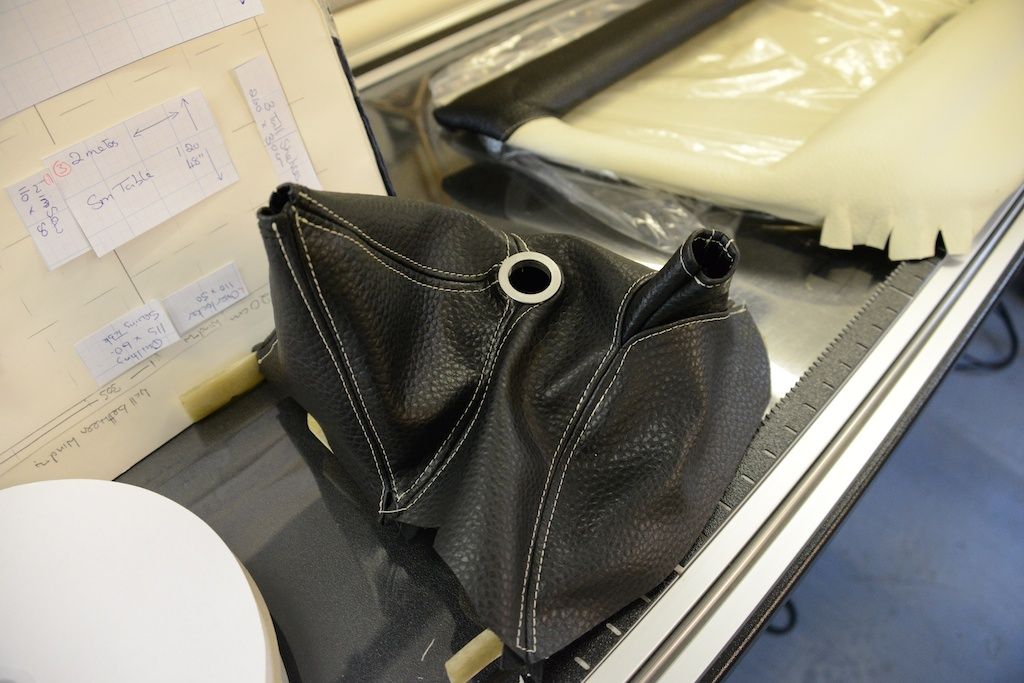
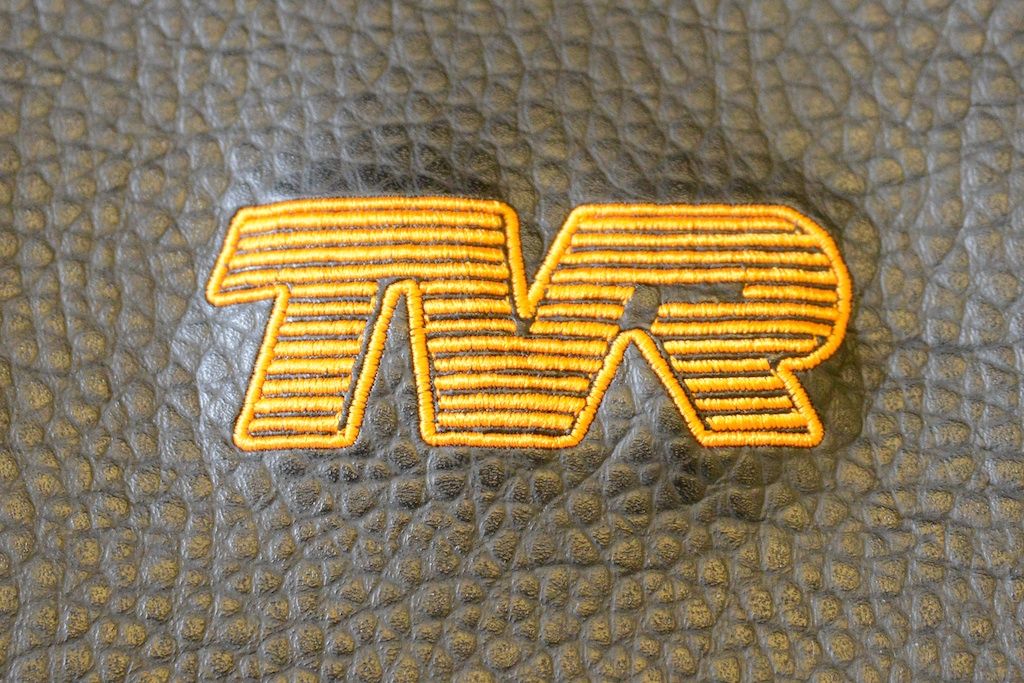
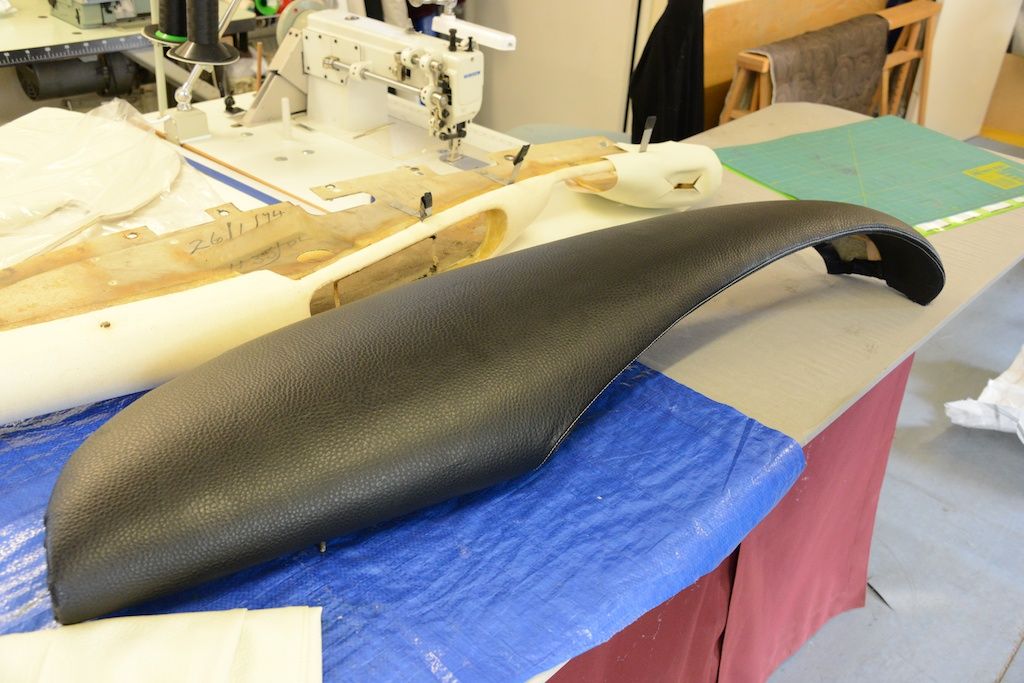
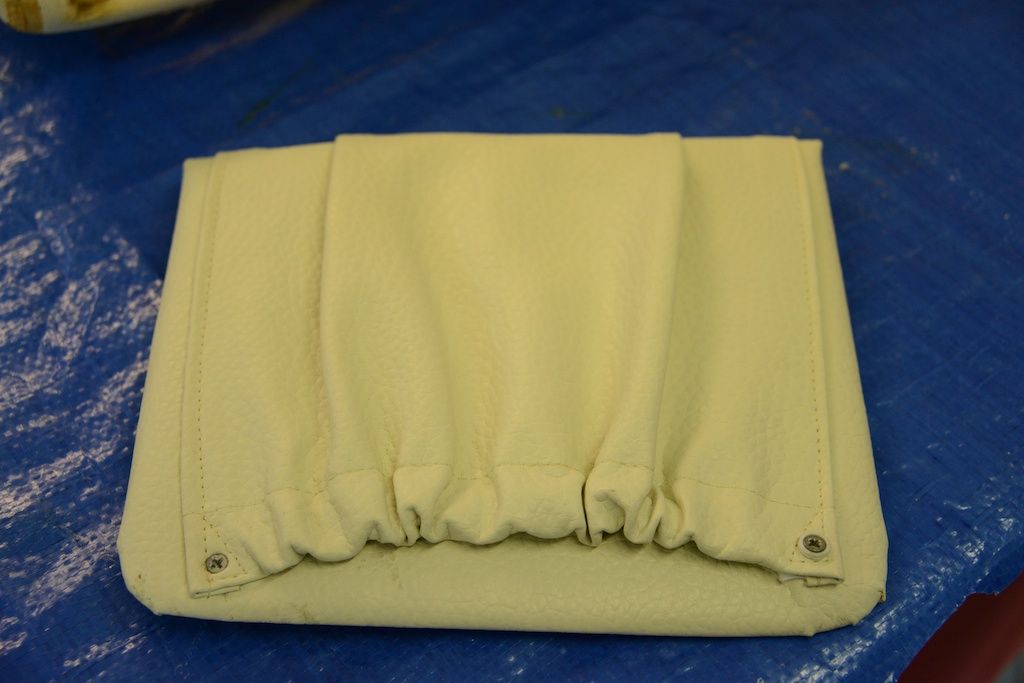
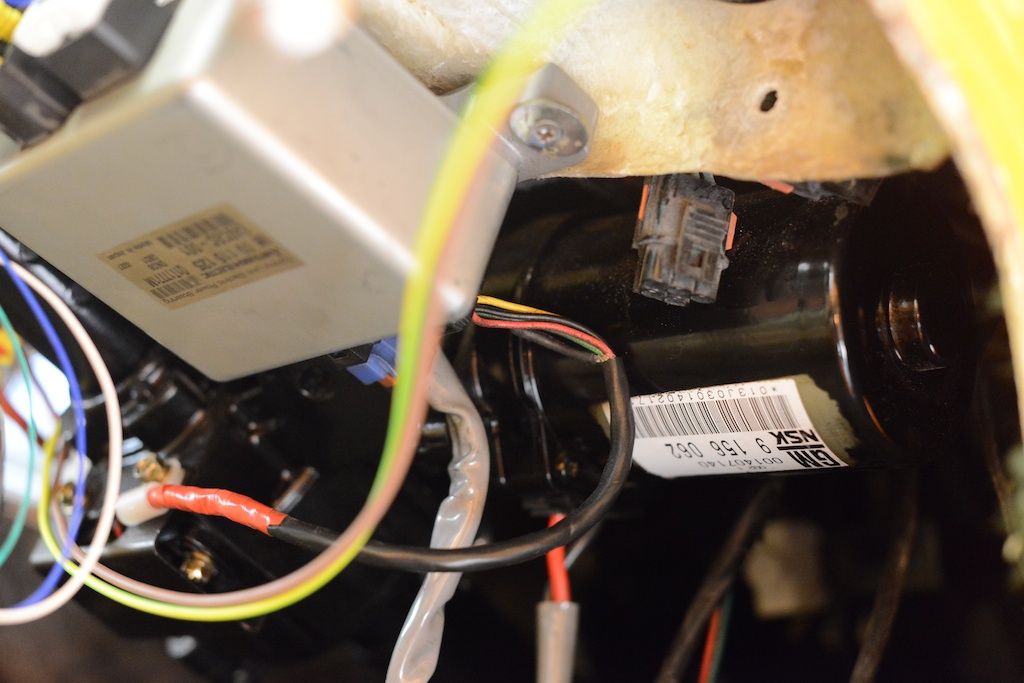
been busy for the last couple of days got lots of little things done, got some extra stainless folded to increase the heat protection from the manifolds, ordered plug lead material, new washer bottle and various other sundries, fully tested the now fully installed power steering seems very good and nice and adjustable from none to very light so happy with that at last, got the embroidered logo back the panels will form the centre to the headrests ,also picked up the cold drawn tube for the roll bar plus some kiln dried sand to fill the tube prior to bending then i have rolled up a former and built a frame to mount it and i have bent one hoop for the roll bar, second one tomorrow ,i have got the new dial faces fit them over the weekend and the new dash panel is being made, wiring starts in about a week so not long to run up.
john

john


SILICONEKID340HP said:
Wish i could do all that fabrication stuff ! I just watch and admire ..If i wanted something like this it would cost be an arm and a leg 
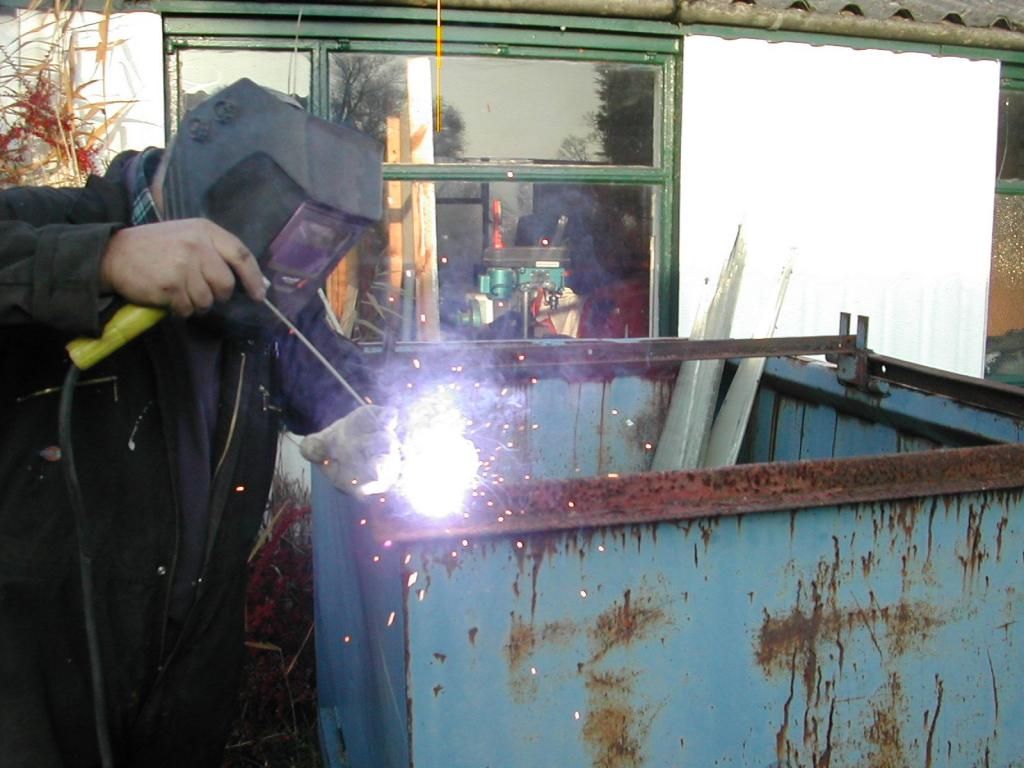
Its a skill you just can't teach or learn out of a book, it takes years of learning, making mistakes as well along the way. I know only of one other person with this kind of engineering skill, you know him to Daz, or you should he set your car up  Great work John, very professional.
Mark
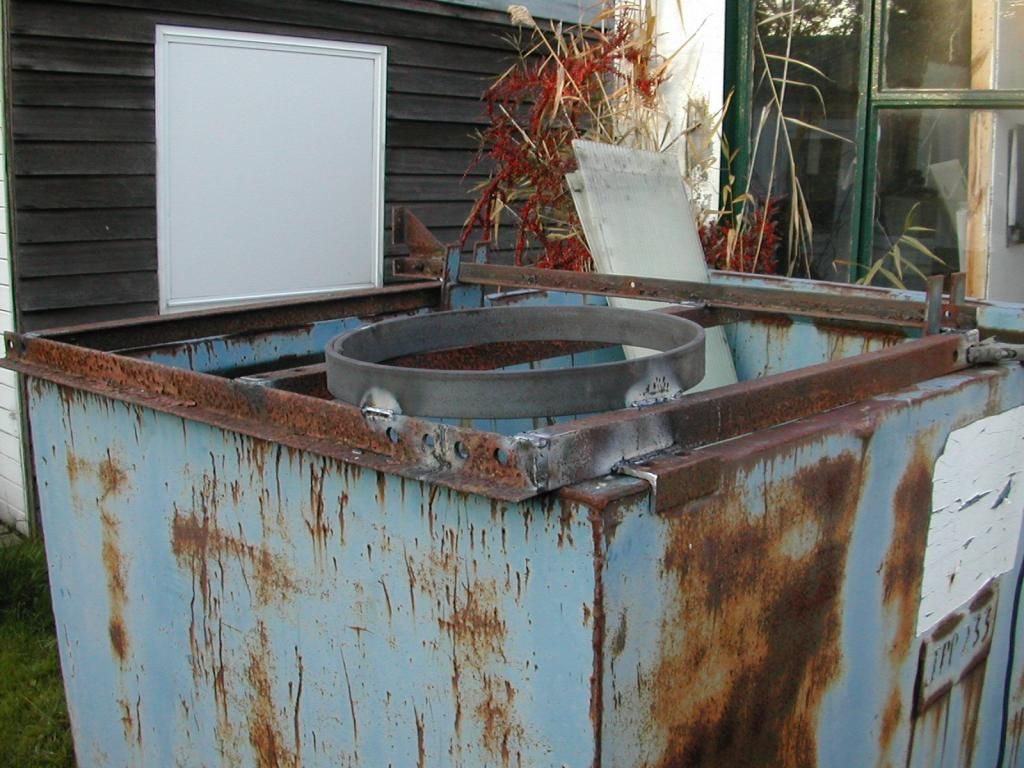
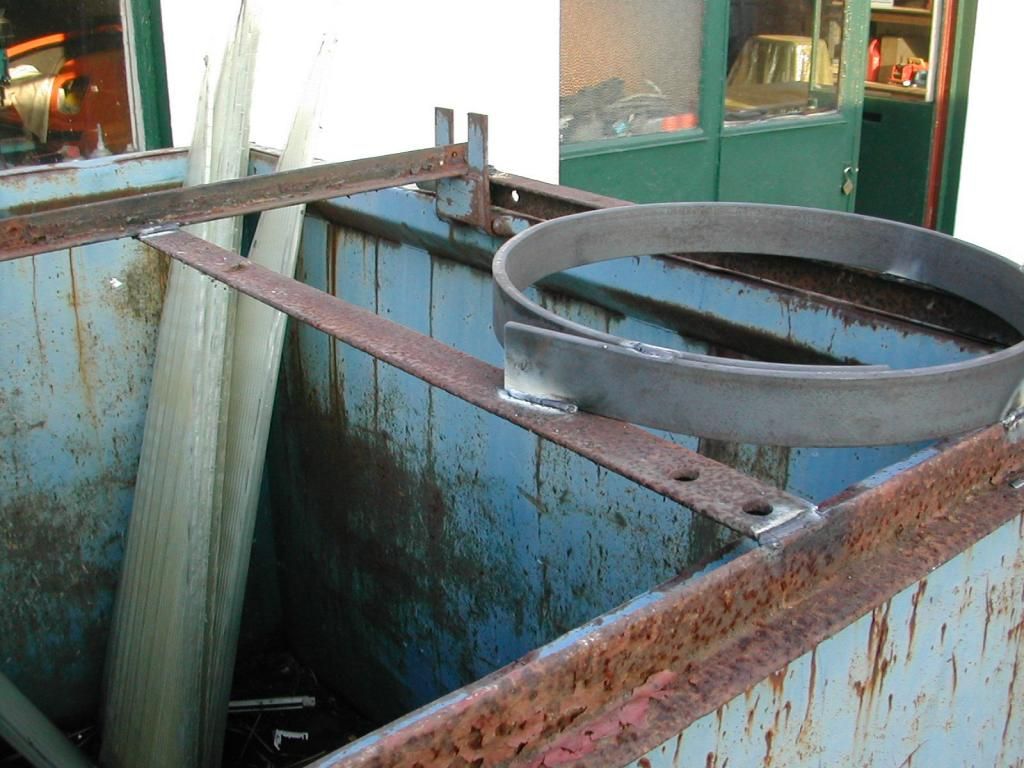
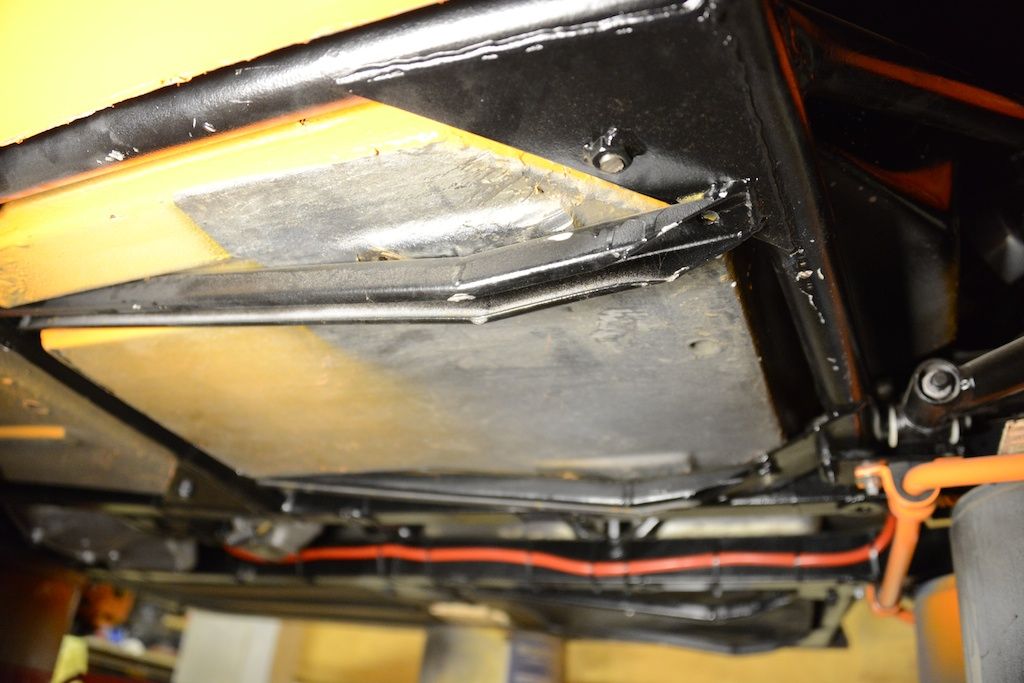
I have modified the chassis whilst i was rebuilding the outriggers,the outside mounting is a union of the two tubes holding the back end of the outriggers,the inside mounting is a beefed up body mounting the bolt being in the corner behind the seat very strong there as it fixes to the main rhs chassis rails,there is a brace which will pick up on the mount on the top of chassis which all griffs have and now so has my chassis looks very similar in that respect to the picture added just a few posts ago.
John
John
portzi said:
SILICONEKID340HP said:
Wish i could do all that fabrication stuff ! I just watch and admire ..If i wanted something like this it would cost be an arm and a leg
Its a skill you just can't teach or learn out of a book, it takes years of learning, making mistakes as well along the way. I know only of one other person with this kind of engineering skill, you know him to Daz, or you should he set your car up Great work John, very professional.Mark
 Just feels good !
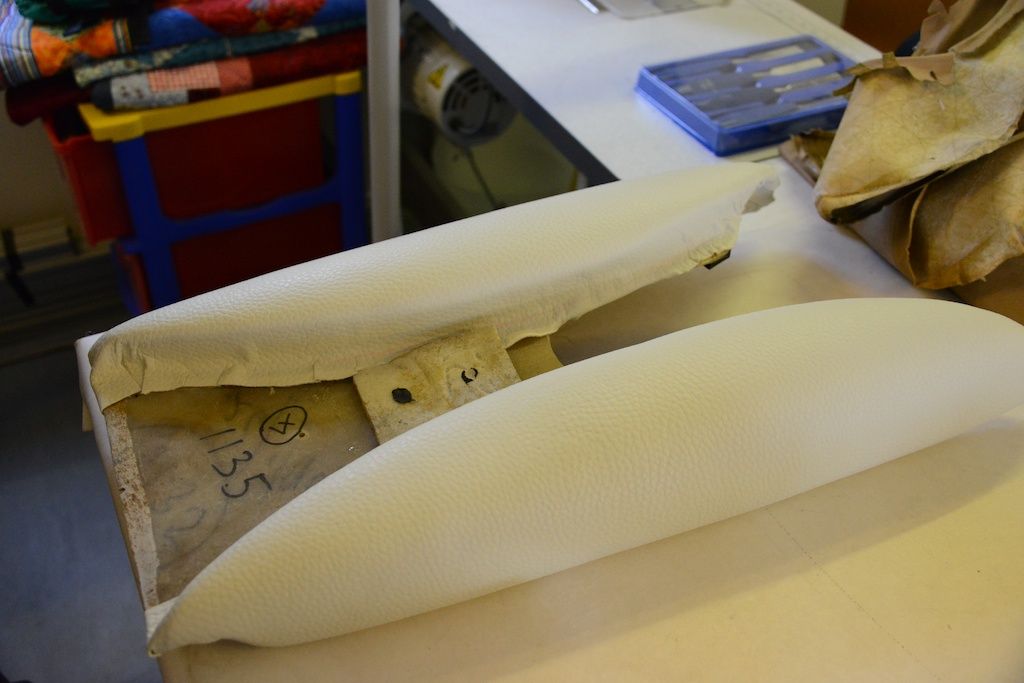
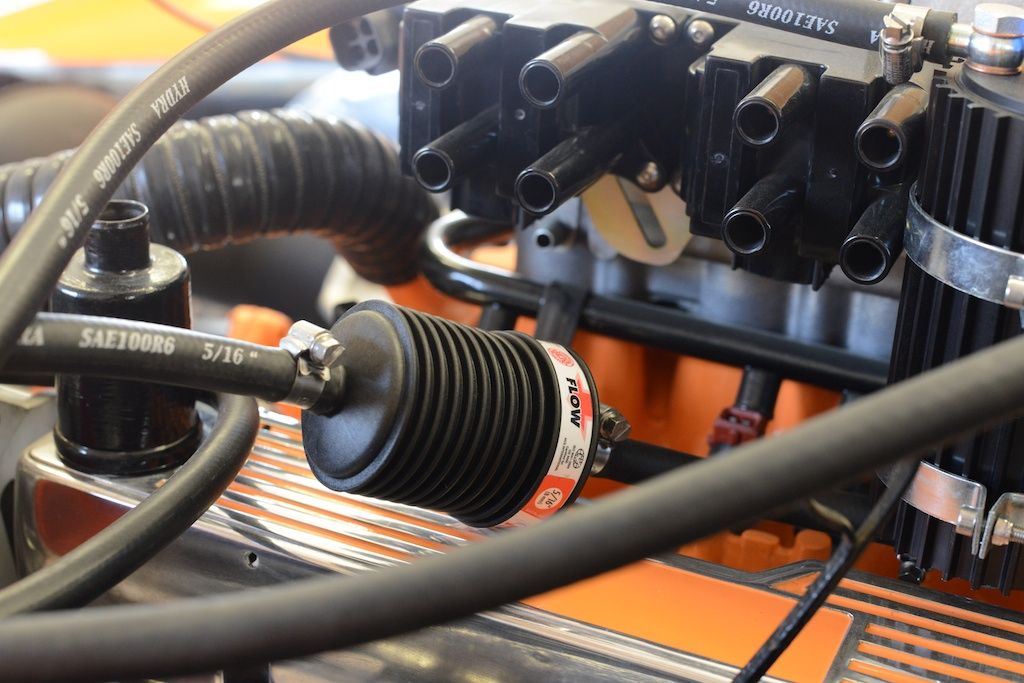
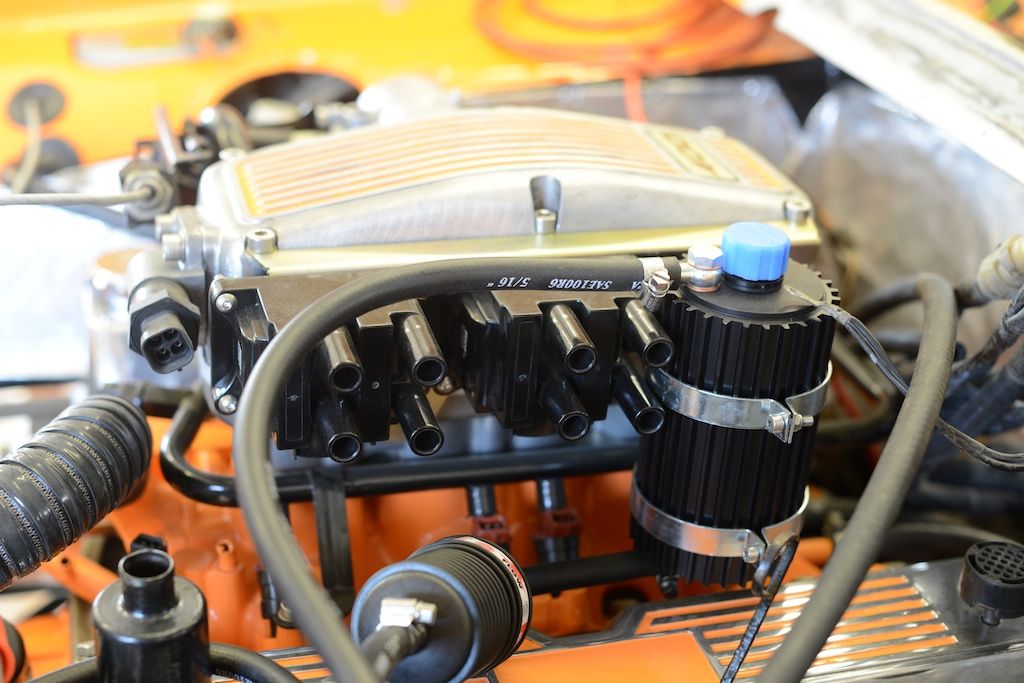

fitted the fuel tank today all cleaned in and out connected with 7840 hose plus moved the fuse box to behind the passenger seat no loom extension needed so better than i thought started stripping out the engine loom ready for the emerald install tiging up the intercooler hoses tomorrow plus fabricate a catchment pot for the breather so lots of polishing to do pictures thursday camera went flat today
john
john
Gassing Station | Chimaera | Top of Page | What's New | My Stuff