What's this I see?
Discussion


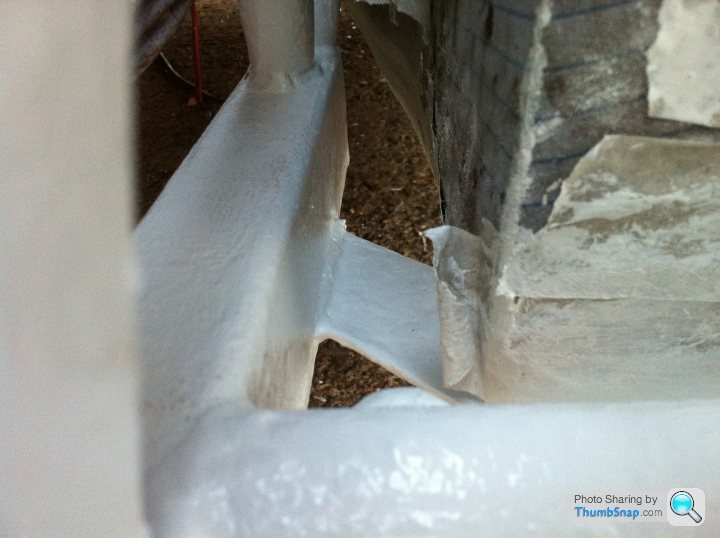
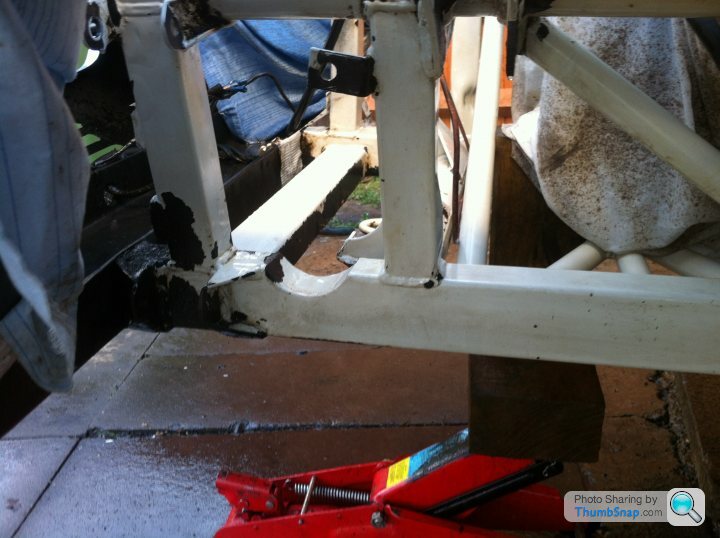
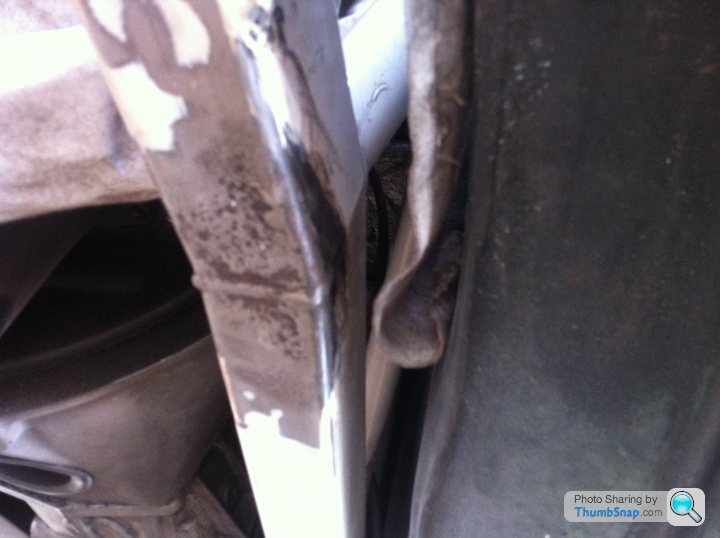
So far I've been lucky, any real rot and it wouldn't be possible. I'll reserve judgement until I've got down the riggers. I've bent a rod so I can feel for rot on the tops of the tubes!
Your right Daz with decent covers and masking you could spray alot of it.
I've got some lacquer to spray over the lot once its all finished.
With a few bent brushes and proper diligence you can do the bits that get hammered no problem.
Your right Daz with decent covers and masking you could spray alot of it.
I've got some lacquer to spray over the lot once its all finished.
With a few bent brushes and proper diligence you can do the bits that get hammered no problem.


Thanks lads, you do feel a bit nutty painting up behind the gearbox,,,
Other than the shear hard graft of it all its the cheapest thing I've done to the car and probably the best thing I've done.
I just love looking into the wheel arch and seeing the white.
With the Paris Blue body it looks the biz!
I've got a great car and doing this work has helped me work that out.
The confidence to drive it in any weather is what I'm after, I've applied at least 1/2 coats of paint a day for 5 days!!!??? Its the only way to know you've got every last bit covered as much as anything.
Preparing it is no fun but painting it after feels great.
As I'm not keeping a diary of the work schedule( I've got a pile of notes instead) I'm sort of using this to log what's done on each day, I can use it to make a case file when I'm finished.
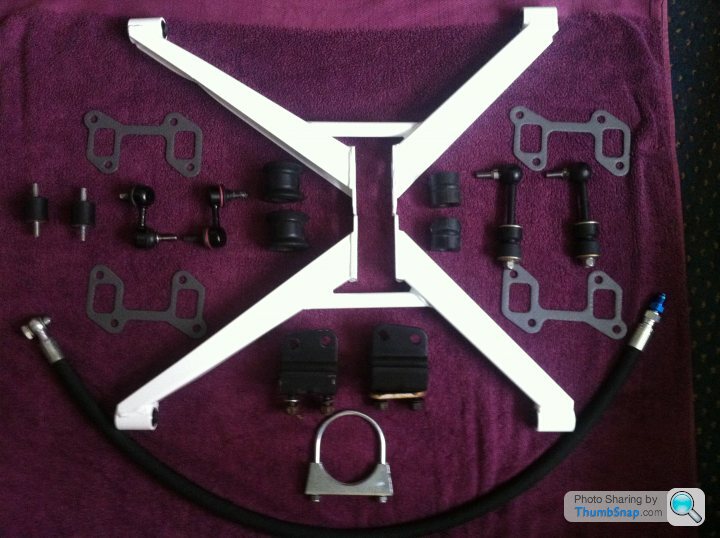
So today... Tuesday some parts should arrive,
Upper wishbones- going standard metalastic bushes
Low pressure hoses-power steering
Radiator bobbins
4x exhaust gaskets
Thanks to Toolbox200 who popped round to gee me on I've got a new pair of front drop links, cheers mate.
Paints hardening well, I now have to rub it all back (engine bay) and get it smooth for a nice gentle coat, then finally.......... Clear lacquer.
Sounds like overkill but I don't want to do it again in a hurry, if I can get wash it clean every now and then it should hold up well.
I
Edited by ClassicChimi on Thursday 22 May 00:34
Looking good.
I done something similar a few years back to mine. I actually painted the outriggers with zinc primer and then anti-stonechip primer first before the Hammerite. Still looks good 3 years on.
I also kept a diary of what I done and how long I spent, when I added the time up at the end it came to a total of 75 hours.
Keep up the good work.

Hi Ads, its a very satisfying thing to do, what goods a ship with a leak! Start from bottom up. I've always known that's the right approach. Its the knowledge/ confidence you gain from shoring it up that I'm enjoying. The work without a car lift is really difficult but not impossible.
Hi Alun,
Yes very satifying. I didn't have a ramp either, just axle stands and laying on your back for hours.
But now its done I just inspect it once a year, give it a wipe over and touch up any chips, because of the anti-chip primer there have not been many though.
When its all done, you won't want to drive it because it will look so good.
Anti chip, as I've only gone 6 inches or so down the riggers I'll get some cheers Adam.
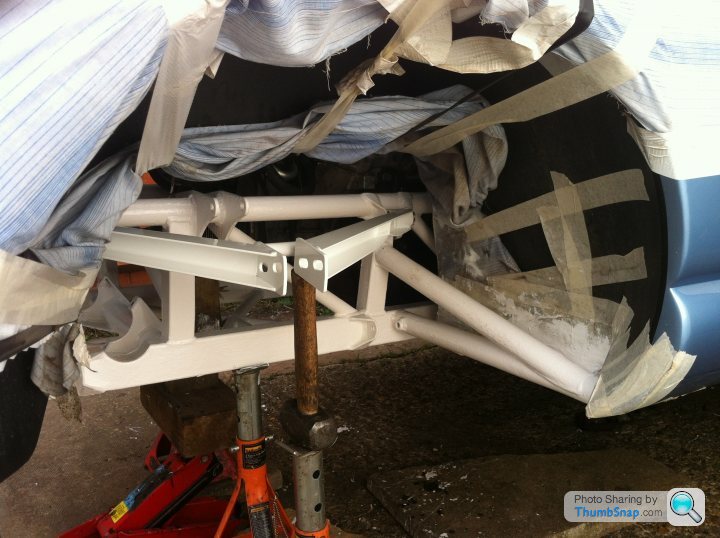
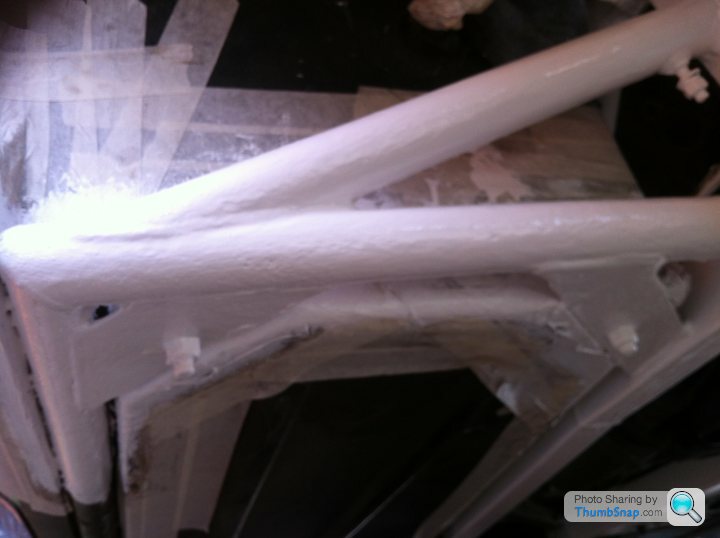
So today I put off some real work, and used the good weather to finish the o/s bottom rail and applied some more coats as far as the exhaust mounting bolts. So the front half of the chassis is done bar Lacquer. I want the paint to harden off for a few days first.
Offered up a wishbone to excite myself abit, its getting tough, my elbows hurt, I have dried paint in my hair and hands like a coalman!
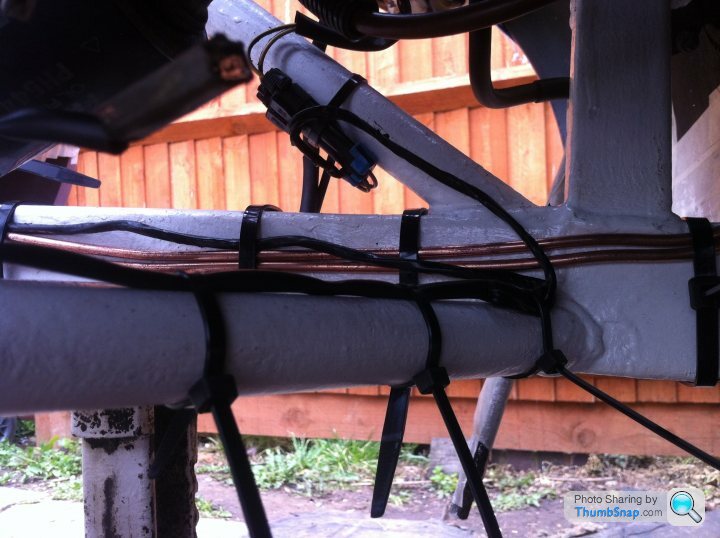
Today the work continued
Washed down electrics and polished brake lines,
Re connected various electrics
Oil pressure sender, earth to outrigger, live to 100a fuse,
Re rooted wiring to front of car
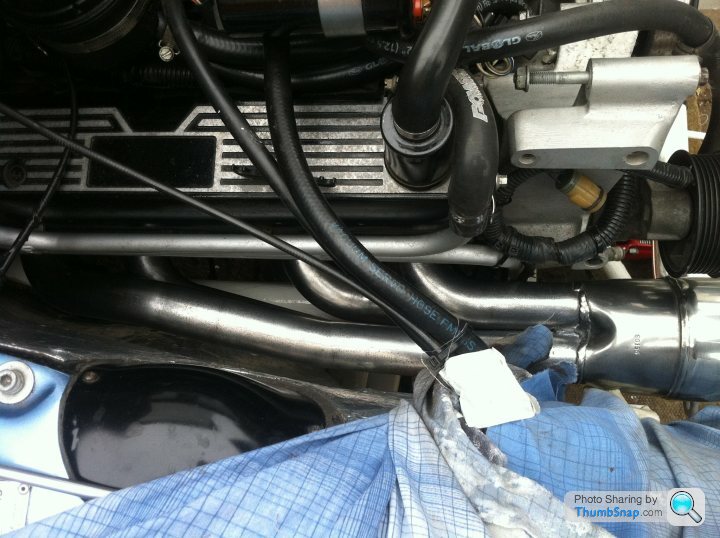
Cable tied said electics and brake lines + pipe to carbon canister to chassis.
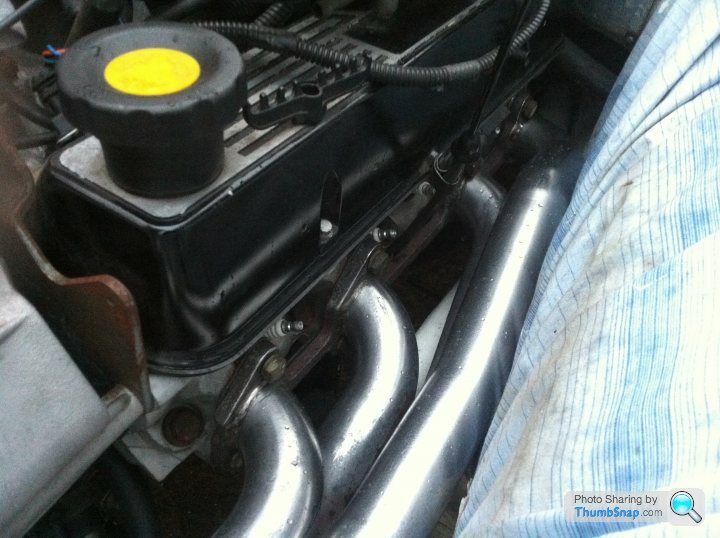
Attached both manifolds to heads using new gaskets and a thin film of copper gasket either side of gaskets.
Nipped up heads.
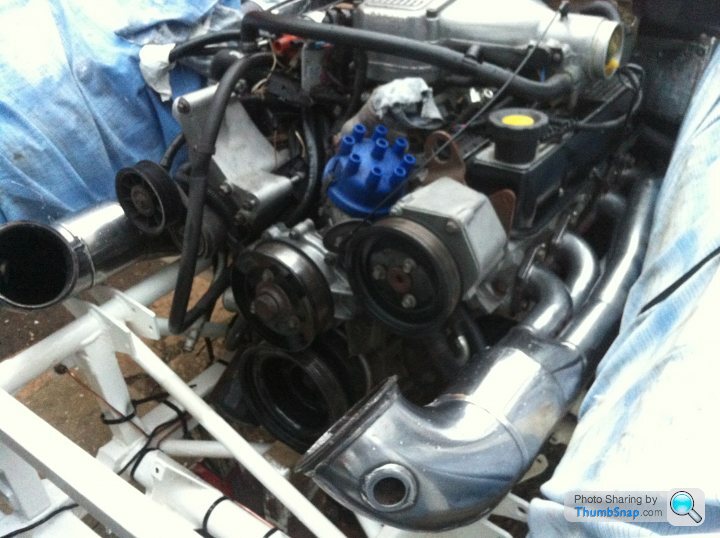
Replaced engine mountings with new ones and dropped engine down. Removed trolley jack as I need the extra room to do a little painting on brace bars etc.
Not bad considering I started at about 2pm and finished when it started raining at about 7pm.
Crickey I also rubbed down n/s manifold as I'd left it after using grinder, about an hour and half to complete.
Its coming back to life,,,,,,, nice and slowly Im putting everything exactly as was!
Washed down electrics and polished brake lines,
Re connected various electrics
Oil pressure sender, earth to outrigger, live to 100a fuse,
Re rooted wiring to front of car
Cable tied said electics and brake lines + pipe to carbon canister to chassis.
Attached both manifolds to heads using new gaskets and a thin film of copper gasket either side of gaskets.
Nipped up heads.
Replaced engine mountings with new ones and dropped engine down. Removed trolley jack as I need the extra room to do a little painting on brace bars etc.
Not bad considering I started at about 2pm and finished when it started raining at about 7pm.
Crickey I also rubbed down n/s manifold as I'd left it after using grinder, about an hour and half to complete.
Its coming back to life,,,,,,, nice and slowly Im putting everything exactly as was!
Edited by Alun450 on Friday 4th April 09:03
Alun450 said:
Today the work continued
Washed down electrics and polished brake lines,
Re connected various electrics
Oil pressure sender, earth to outrigger, earth to 100a fuse,
Re rooted wiring to front of car
Cable tied said electics and brake lines + pipe to carbon canister to chassis.
Attached both manifolds to heads using new gaskets and a thin film of copper gasket either side of gaskets.
Nipped up heads.
Replaced engine mountings with new ones and dropped engine down. Removed trolley jack as I need the extra room to do a little painting on brace bars etc.
Not bad considering I started at about 2pm and finished when it started raining at about 7pm.
Crickey I also rubbed down n/s manifold as I'd left it after using grinder, about an hour and half to complete.
Its coming back to life,,,,,,, nice and slowly Im putting everything exactly as was!
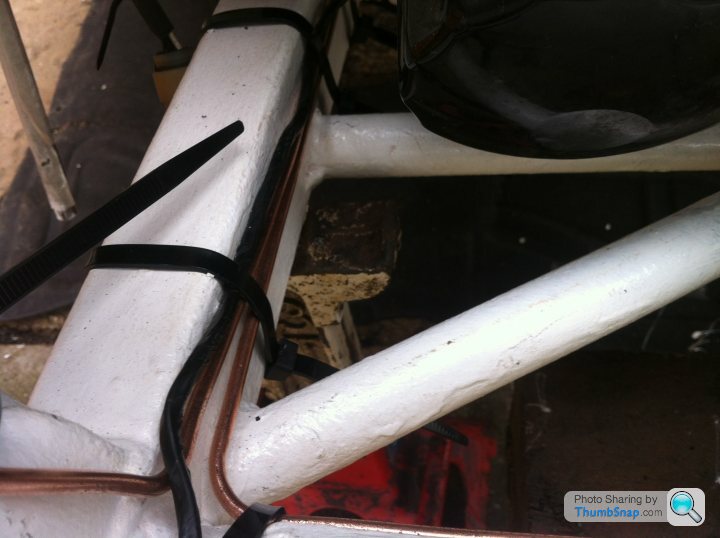
Nice job ! Are you going to squirt some wax oil over the top of the outriggers ? I used a copper micro bore pipe connected to a shutz gun and pushed it from one end to the other until it poured out each side of the tube .Washed down electrics and polished brake lines,
Re connected various electrics
Oil pressure sender, earth to outrigger, earth to 100a fuse,
Re rooted wiring to front of car
Cable tied said electics and brake lines + pipe to carbon canister to chassis.
Attached both manifolds to heads using new gaskets and a thin film of copper gasket either side of gaskets.
Nipped up heads.
Replaced engine mountings with new ones and dropped engine down. Removed trolley jack as I need the extra room to do a little painting on brace bars etc.
Not bad considering I started at about 2pm and finished when it started raining at about 7pm.
Crickey I also rubbed down n/s manifold as I'd left it after using grinder, about an hour and half to complete.
Its coming back to life,,,,,,, nice and slowly Im putting everything exactly as was!
Eventually yes, I've only gone about 200mm down the outriggers so far,
I want to get the engine bay built up before I forget how to do it!??!??!
I don't like the water pump being empty and stuff.
Its a quick job rather than a good one but its enclosed and that's the main thing.
The one thing I can say is I got rid of all the surface rust and its all been treated.
I'd like to drive it for a few years before I really go for a perfect job. Skint!
I'm hoping the rack will be back tomorrow( bead blasted) so I can get that and the radiator installed.
I tend to enjoy re building so I take lots of time. Cable ties all the same way around etc.
I think Waxoyl is horrible stuff. All the road dirt sticks to it.
I used something similar but doesn't stay sticky. Its called Fertan UBS 220. Same colour as the clear waxoyl (honey coloured), but the dirt doesn't stick to it. I sprayed this using a shutz gun to the tops of the outriggers.
Waxoyl is cheaper, but having had to remove the waxoyl to paint the chassis I realised how messy and difficult to remove the stuff is.
Just found the link. http://www.fertan.co.uk/item-ubs120_transparent_wa...
They now seem to do it in aerosol. I used a 1 litre tin on a gun, which will easily do both tops of outriggers.
Edited by ads on Friday 4th April 09:26
Thanks Ads, I hav'nt really thought about it yet, my heads been full to its goldfish capacity remembering how to put it all back!
I've never touched a car before!,,?!!?!,,,...well not much anyway.
I like the oily based stuff, it never really sets, runs off easy, maybe apply it once a year before the fall and let it do its stuff.
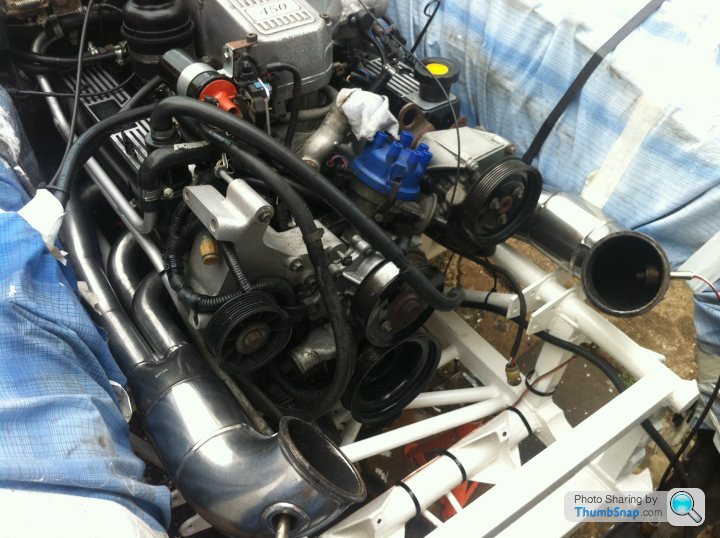
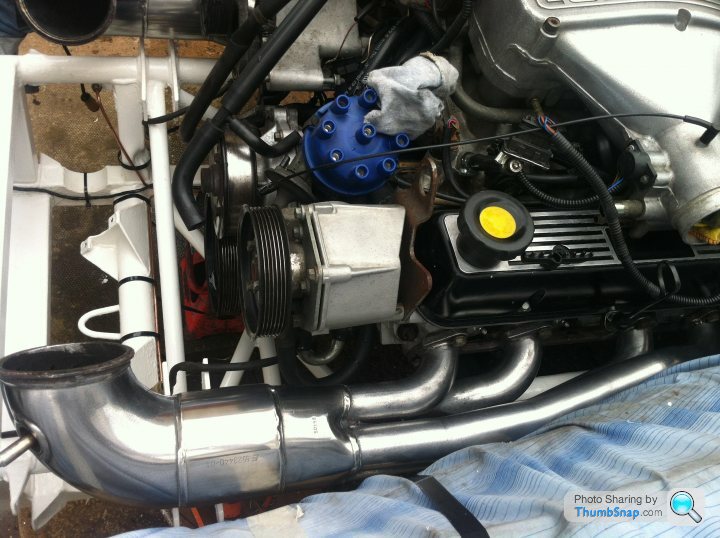
So worked from 7am until 11, rushed home and started playing again. This part is just tremendously exciting. Slowly putting stuff back on,
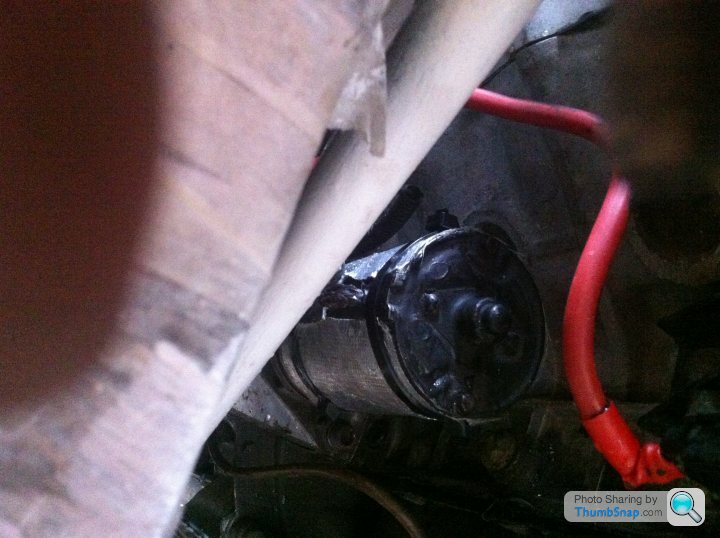
I wrapped starter motor in some heat protective and installed it. Connected up live feed and single wire re attached.
( I'm only saying this so other people considering doing this sort of work can see how basic it actually is. Don't be fooled, its tight but most bolts etc are accessible.)
I then rubbed down pipes on power steering rack, masked up and applied clear lacquer to rack body.
I started at about 1pm and over the afternoon applied 4 coats finishing at about 7pm.
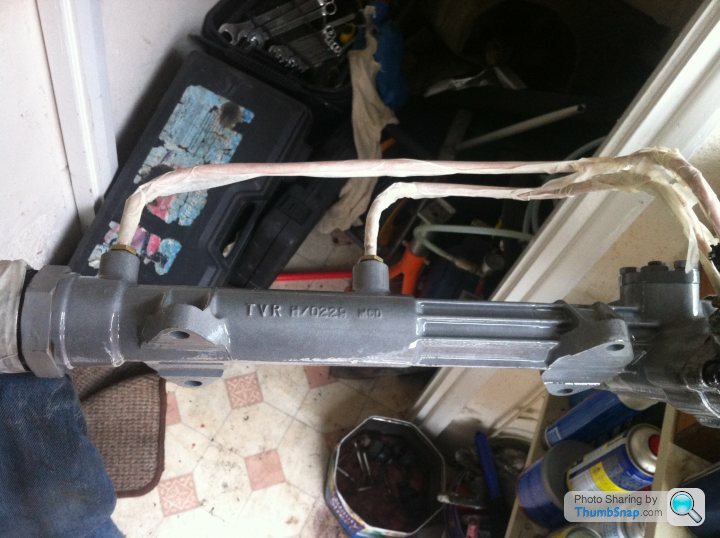
I also rested the rack by a small fan heater to warm the steel!
Its actually got a hand print on it, boo hoo, dirty hand and I picked it up when cleaning it! Oh well its my foot print on the car.
In between all this I masked up the area around water bottle and Sprayed it black as it was all peeling off, not sure about it, i might do it again,
Re fitted lambda's in manifolds, cleaning wires etc as I go,
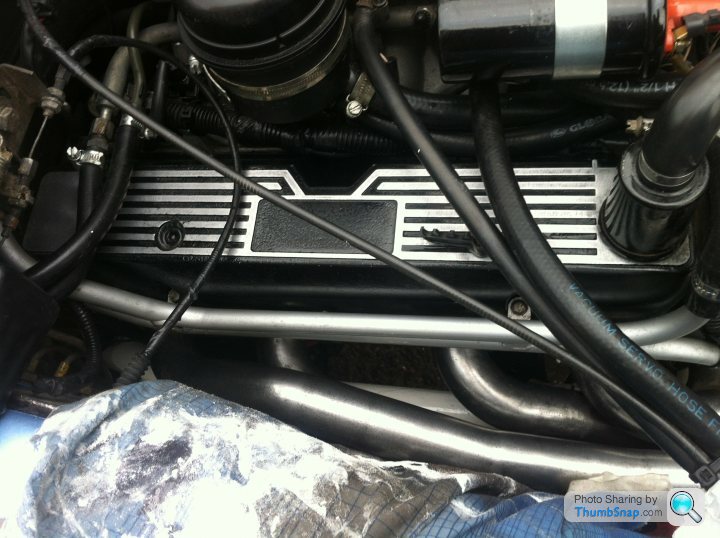
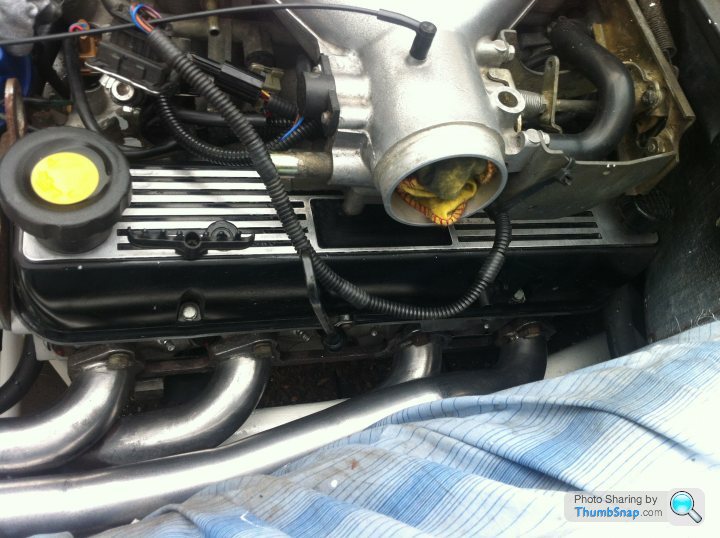
Gently rubbed down rocker box top surfaces and cleaned up engine top end, dust had penetrated my blanket as I used air line to blow dust away, straight into all the nooks and crannies. Doh! I used a rag with meths on it. Its getting clean again.
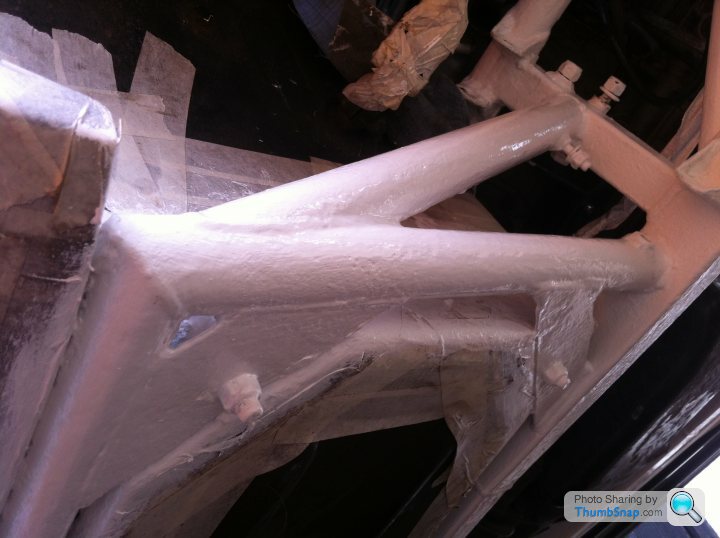
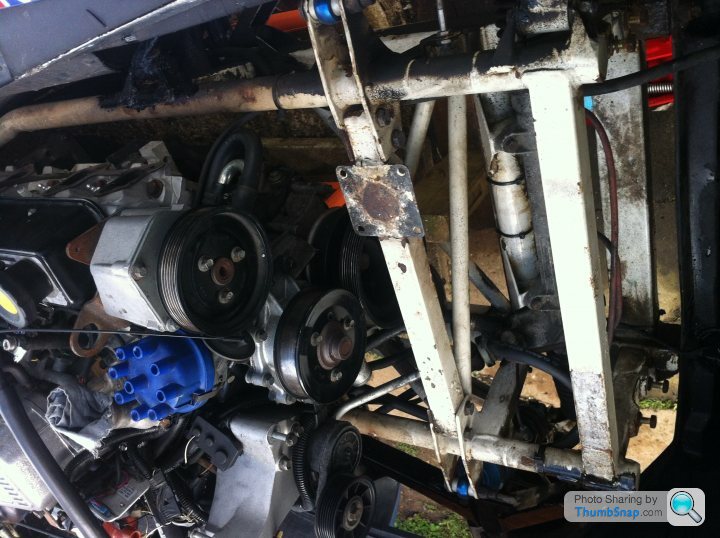
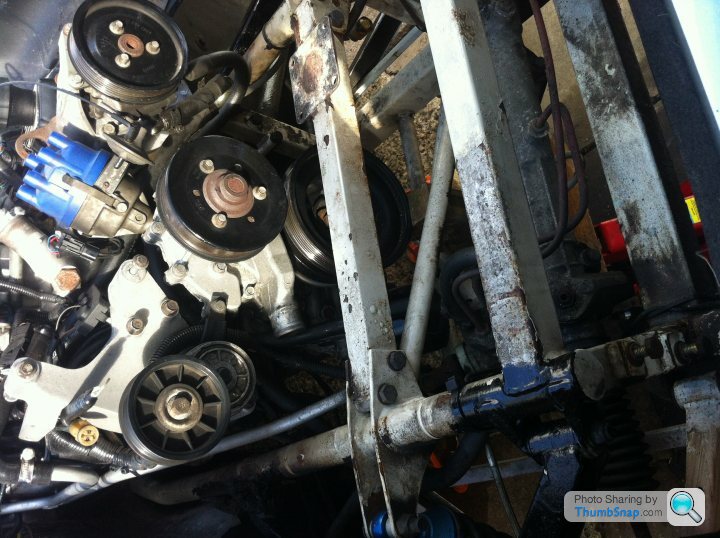
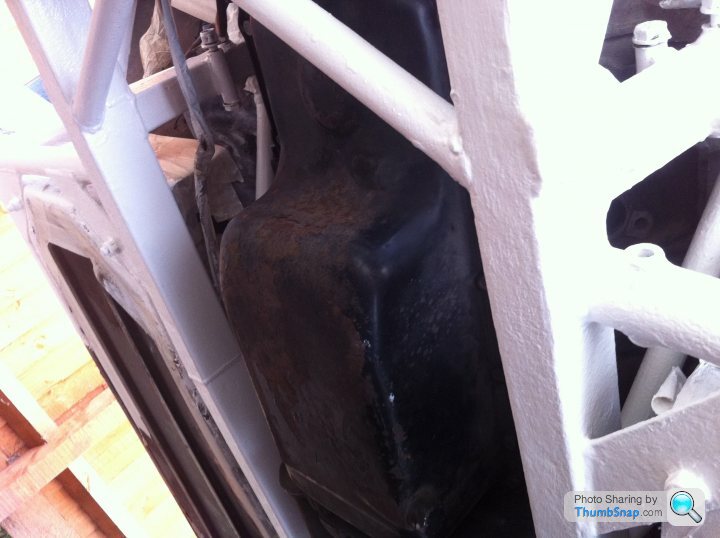
As I'm close to being complete as far as the lower engine bay goes I'd like to post some pics of before and after. Once its all built up it will be hard to see the difference.
I'm happy to accept my chassis painting is a bit Heath Robinson and looks rough in the pics but its actually better in real life.
My only goal was to secure the chassis for a few years, I want to drive,,,,,,,,,,,,,,, just drive, its not to much to ask.lol
So here goes
I hope you guys approve of my effort,
Its been the best fun I've had in blooming years, awoken something in me and I'll be doing it all again to a better standard in the future. I've really discovered my Tvr and their brilliant cars,real fun to work on.
There's a way to go yet but lets hope I can finish off re assembling her and running her up.
I have to say taking the time to clean threads etc had made the re assembly really go well.
I start something and 10 mins later I'm thinking ,,,,, there must be more to do that was to easy!
The hours of cleaning stuff in the evenings now feels worth it.
I hope you can see that in my own rather basic way I'm trying to honour great motoring concept, design and beauty ,,,, oh and a thumping great V8.
I've never touched a car before!,,?!!?!,,,...well not much anyway.
I like the oily based stuff, it never really sets, runs off easy, maybe apply it once a year before the fall and let it do its stuff.
So worked from 7am until 11, rushed home and started playing again. This part is just tremendously exciting. Slowly putting stuff back on,
I wrapped starter motor in some heat protective and installed it. Connected up live feed and single wire re attached.
( I'm only saying this so other people considering doing this sort of work can see how basic it actually is. Don't be fooled, its tight but most bolts etc are accessible.)
I then rubbed down pipes on power steering rack, masked up and applied clear lacquer to rack body.
I started at about 1pm and over the afternoon applied 4 coats finishing at about 7pm.
I also rested the rack by a small fan heater to warm the steel!
Its actually got a hand print on it, boo hoo, dirty hand and I picked it up when cleaning it! Oh well its my foot print on the car.
In between all this I masked up the area around water bottle and Sprayed it black as it was all peeling off, not sure about it, i might do it again,
Re fitted lambda's in manifolds, cleaning wires etc as I go,
Gently rubbed down rocker box top surfaces and cleaned up engine top end, dust had penetrated my blanket as I used air line to blow dust away, straight into all the nooks and crannies. Doh! I used a rag with meths on it. Its getting clean again.
As I'm close to being complete as far as the lower engine bay goes I'd like to post some pics of before and after. Once its all built up it will be hard to see the difference.
I'm happy to accept my chassis painting is a bit Heath Robinson and looks rough in the pics but its actually better in real life.
My only goal was to secure the chassis for a few years, I want to drive,,,,,,,,,,,,,,, just drive, its not to much to ask.lol
So here goes
I hope you guys approve of my effort,
Its been the best fun I've had in blooming years, awoken something in me and I'll be doing it all again to a better standard in the future. I've really discovered my Tvr and their brilliant cars,real fun to work on.
There's a way to go yet but lets hope I can finish off re assembling her and running her up.
I have to say taking the time to clean threads etc had made the re assembly really go well.
I start something and 10 mins later I'm thinking ,,,,, there must be more to do that was to easy!
The hours of cleaning stuff in the evenings now feels worth it.
I hope you can see that in my own rather basic way I'm trying to honour great motoring concept, design and beauty ,,,, oh and a thumping great V8.
That's it Brett, cleaning the lambda connectors for instance, love it!
I'm learning my car in stages, once all this is finished ill look to get into the Plenom and fuel rail area, polish polish polish! Is that a bit weird or am I long sighted and can imagine the pleasure of driving it knowing every nut and bolt,,,,,,, is clean and tight.
I'm feeling elated by how much I've enjoyed it, some days I'm tired and struggle to get going but as soon as I do, I'm engrossed, pure heaven. Worries gone and just the reassuring sound of a quality ratchet spanner.
Oddly I really enjoyed putting the engine mountings on, strange but true, such satisfaction knowing my baby engine is snug as a bug. Thanks mate, pistonheads has given me the knowledge and so that means all you guys, you've helped, I couldn't have done it without you, lol lol its true though!
Enough mumble,
Tomorrow rack in place maybe rad, then its sadly going to have to wait a wk until I can get back to it!

Gassing Station | Chimaera | Top of Page | What's New | My Stuff