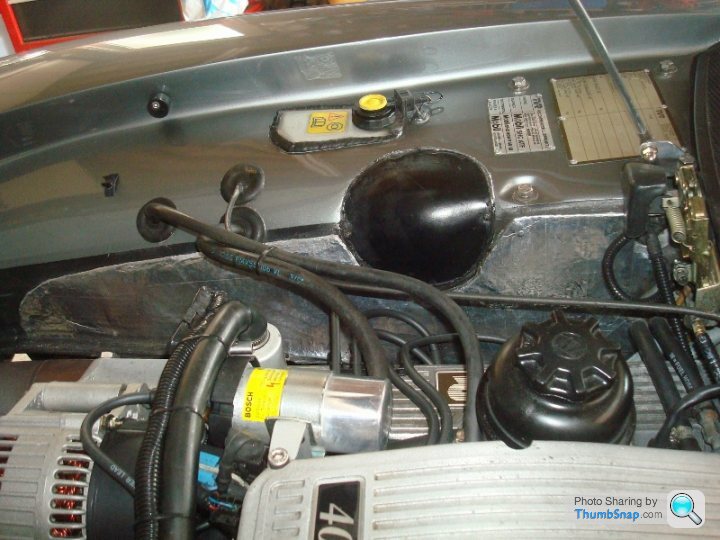
Original inner wing heat shield
Discussion


Hi all,
Anyone know a source of the original inner wing heat shield material ?
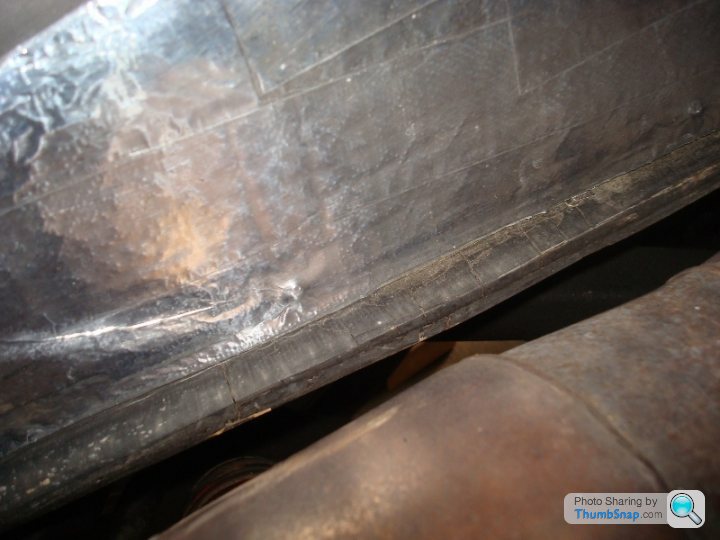
It seems to have two components: the blanket and a foil covering. The foil covering was damaged when I had a garage in Cardiff do the exhaust manifold gaskets. Didn't worry about it too much as the blanket was still in place but the carpet on the other side of the tunnel is suffering due to the heat !
Anyone know a source of the original inner wing heat shield material ?
It seems to have two components: the blanket and a foil covering. The foil covering was damaged when I had a garage in Cardiff do the exhaust manifold gaskets. Didn't worry about it too much as the blanket was still in place but the carpet on the other side of the tunnel is suffering due to the heat !
I had an area on my inner wings where the foil was coming away close to the manifolds. Bought a 50m x 20mm roll of Aluminium Foil Insulation Joint tape from B&Q. Cut/peeled away the damaged foil from the affected area, degreased and applied the new tape it in overlapping strips. It looked so good I ended up covering the whole insulated areas on both the inner wings. Worked a treat. Has not peeled off in 2500 miles. Has brightened up the whole engine bay and is a good temporary "fix" until I pull the engine for it's camshaft change, when there will then be sufficient access to renew the insulation completely.
Did you see this?....
http://www.pistonheads.com/classifieds/parts-and-p...
he also does the stuff cut to size/shape for TVR models..
http://www.pistonheads.com/classifieds/parts-and-p...
he also does the stuff cut to size/shape for TVR models..
JWzed said:
I had an area on my inner wings where the foil was coming away close to the manifolds. Bought a 50m x 20mm roll of Aluminium Foil Insulation Joint tape from B&Q. Cut/peeled away the damaged foil from the affected area, degreased and applied the new tape it in overlapping strips. It looked so good I ended up covering the whole insulated areas on both the inner wings. Worked a treat. Has not peeled off in 2500 miles. Has brightened up the whole engine bay and is a good temporary "fix" until I pull the engine for it's camshaft change, when there will then be sufficient access to renew the insulation completely.
Have you got a picture of this mate, exactly what I was thinking about doing but unsure on what it will look liketaylormj4 said:
Thanks both.
Trying to keep the car as original as possible. The stuff in that link looks pretty close to original.
Anyone used it ?
Yep. Am using it now during my body off refurb. John is great to deal with so no problems there. The material seems to be of a high quality so hopefully should last. I got the precut kit for the entire engine bay and apart from a small bit of extra trimmimg needed it all went smoothly. You get all the rivets you'll need and some high temp sealant as well.Trying to keep the car as original as possible. The stuff in that link looks pretty close to original.
Anyone used it ?
Very pleased with the result.


j said:
Kris450,
Tidy work..
I see in the photo a cut out, are you re-routing the air inlet hoses. Can we have a couple of more pics please or have you created a separate thread for your rebuild.
Cheers.
Thank you Tidy work..
I see in the photo a cut out, are you re-routing the air inlet hoses. Can we have a couple of more pics please or have you created a separate thread for your rebuild.
Cheers.
 . Its fiddly work when fitting. Technically pretty easy, but took me the best part of day to do to make sure it was all lining up nicely.
The hole isjust an inspection hatch. Once open you have access to the top of all the heater gubbins. I thought all Chims had them (but am happy to be corrected). I guess with the inlet hose in its normal position you just don't see it.
Body off blog link is in my profile.
Gassing Station | Chimaera | Top of Page | What's New | My Stuff