Body off chassis repair/replace
Discussion


The anti roll bar and mounts are actually slightly below flush of the ends of the chassis so the body passed it without a problem, I did jack the body up passed the arb mounts and checked for missed connected wires so I was only about a foot away from it as I jacked it from the front.
It was lucky I jacked it up first as I had missed the earth to the near side back of engine that connects to a stud.
It was lucky I jacked it up first as I had missed the earth to the near side back of engine that connects to a stud.

Hi Scott, went for the refurb by Brayon Classic Eng then etch primed and 2 pack then a clear coat.
A bit disappointed with the paint if I'm honest but I am ussured there is now 7 coats of paint on it so time will tell.
While I am on,
1. what is the best way to tighten the rear Hub nut while it is off the car as the bearings have been changed but not re-assembled?
2. What is the best way to tighten the front ball joint nuts (to tighten the taper) while the hubs are off the car?
Anyone?
walt762 said:
Hi Scott, went for the refurb by Brayon Classic Eng then etch primed and 2 pack then a clear coat.
A bit disappointed with the paint if I'm honest but I am ussured there is now 7 coats of paint on it so time will tell.
While I am on,
1. what is the best way to tighten the rear Hub nut while it is off the car as the bearings have been changed but not re-assembled?
2. What is the best way to tighten the front ball joint nuts (to tighten the taper) while the hubs are off the car?
Anyone?
Why not do the hub nuts and balljoints on the chassis?A bit disappointed with the paint if I'm honest but I am ussured there is now 7 coats of paint on it so time will tell.
While I am on,
1. what is the best way to tighten the rear Hub nut while it is off the car as the bearings have been changed but not re-assembled?
2. What is the best way to tighten the front ball joint nuts (to tighten the taper) while the hubs are off the car?
Anyone?
It will definitely make rebuilding the front suspension a lot easier, also, you don't have to torque the hub nut until last thing anyway so why not wait until you've got some weight over the back end of the chassis or at least the handbrake reconnected?
J400GED said:
Why not do the hub nuts and balljoints on the chassis?
It will definitely make rebuilding the front suspension a lot easier, also, you don't have to torque the hub nut until last thing anyway so why not wait until you've got some weight over the back end of the chassis or at least the handbrake reconnected?
I haven't tried either way yet but saw a video from "big500" on you tube which said they were easier to assemble on the bench, I hope to fit them one way or the other tonight.It will definitely make rebuilding the front suspension a lot easier, also, you don't have to torque the hub nut until last thing anyway so why not wait until you've got some weight over the back end of the chassis or at least the handbrake reconnected?
Not great, I have rebuilt it but the wipers aren't working & the brakes have been bled 4 times but are still soft-ish so I have driven it home and I am waiting on my local garage to tidy it up & get the MOT..
I am sick of looking at it at present but once I get it back on the road I will be happier.
I am sick of looking at it at present but once I get it back on the road I will be happier.
portzi said:
can't belive the state of those wishbones after a few years, they must have had poor preparation before zinc prime and powder coating.
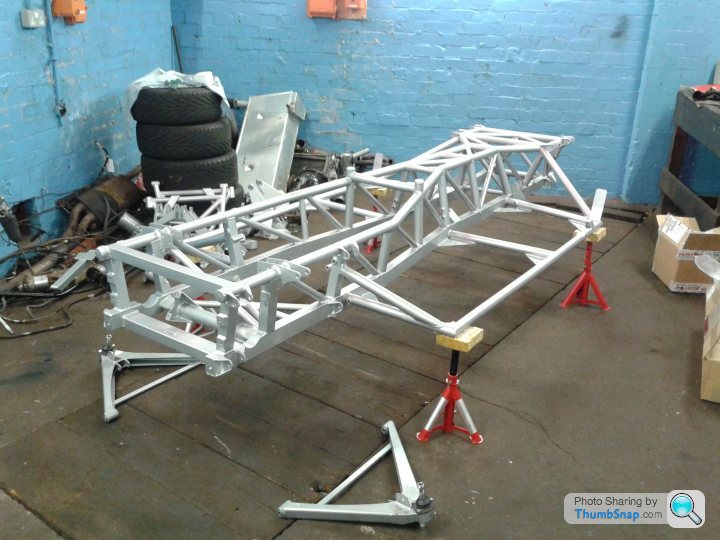
To be fair the car has been mostly outside since I fitted the wishbones but I did expect better hence why I got everything stripped and 2 pack painted.a few photos of the project, there is over 300 other photos on my flickr account if anyone needs a particular image.
 20150624_175231 by bucky762, on Flickr
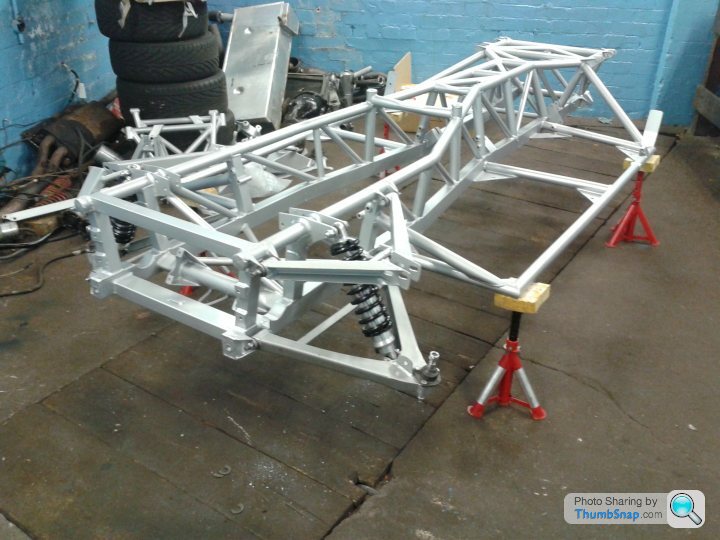
 20150626_123030 by bucky762, on Flickr
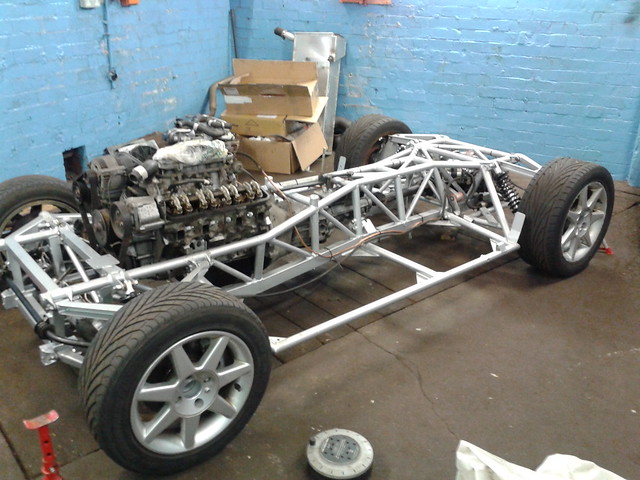
 20150721_163826 by bucky762, on Flickr
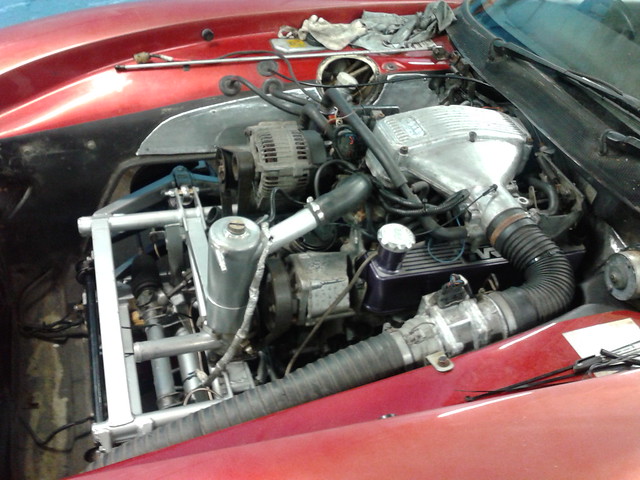
 20150724_135428 by bucky762, on Flickr
20150624_175231 by bucky762, on Flickr20150626_123030 by bucky762, on Flickr20150721_163826 by bucky762, on Flickr20150724_135428 by bucky762, on FlickrGassing Station | Chimaera | Top of Page | What's New | My Stuff