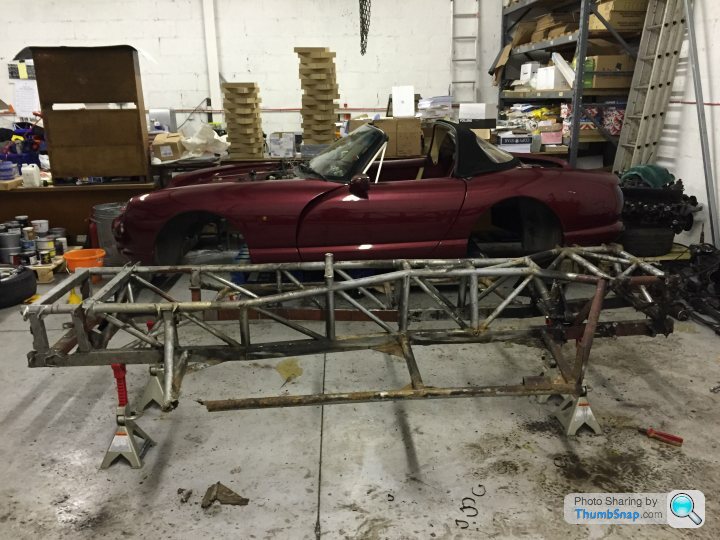
Undressing Kate, my Chim 430 resto.
Discussion


Well done I'm sure it will be worth it,the change in chassis rigidity once replaced is very noticeable when driven,my car has many less creaks and groans and feels more rigid on the road,they are definitely worth saving and no more expensive than any other classic to restore outriggers aren't the end of the world to do.
G
G


Ok, ok, you're both right but it was the diff mount bolt I was thinking about. It's stuck  started whacking on it last night but when I saw a spark come from it and as there was petrol on the floor I gave up for the night.
The front cross mount has been left to keep the chassis as rigid as possible until the "holy outriggers Batman" can be done.
started whacking on it last night but when I saw a spark come from it and as there was petrol on the floor I gave up for the night.The front cross mount has been left to keep the chassis as rigid as possible until the "holy outriggers Batman" can be done.
Cokes said:
Ok, ok, you're both right but it was the diff mount bolt I was thinking about. It's stuck started whacking on it last night but when I saw a spark come from it and as there was petrol on the floor I gave up for the night.
The front cross mount has been left to keep the chassis as rigid as possible until the "holy outriggers Batman" can be done.
Have you tried to rotate the bolt with socket and ratchet whilst smacking the other end with the hammer? started whacking on it last night but when I saw a spark come from it and as there was petrol on the floor I gave up for the night.The front cross mount has been left to keep the chassis as rigid as possible until the "holy outriggers Batman" can be done.

Cokes said:
Yes 
Bolt and bracket removed and then I put it all on hold while I preped the S4 for sale. Buyer picking it up tonight so the TVR project will now get a much needed cash injection
Did you try the twisting whilst bashing method to remove said bolt?Bolt and bracket removed and then I put it all on hold while I preped the S4 for sale. Buyer picking it up tonight so the TVR project will now get a much needed cash injection
Good news with the S4 mate, there'll be no stopping you now.

It feels like ages since I posted anything.
Well the update is this, everything stripped, all bushes removed. That's it.
Come Monday its go go go.
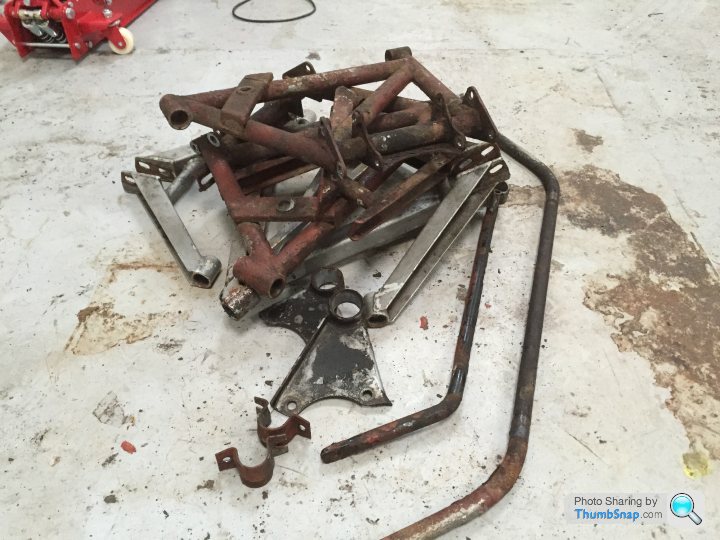
The chassis and the pile above get dropped off Monday for their first blast to see what's save-able.
The engine also gets dropped off Monday for its strip, inspection and rebuild and money allowing a few new bits
And finally the seats, tunnel top, dash and door cards are dropped off for a re-trim.
So even though I've done very little, I've been busy
Well the update is this, everything stripped, all bushes removed. That's it.
Come Monday its go go go.
The chassis and the pile above get dropped off Monday for their first blast to see what's save-able.
The engine also gets dropped off Monday for its strip, inspection and rebuild and money allowing a few new bits
And finally the seats, tunnel top, dash and door cards are dropped off for a re-trim.
So even though I've done very little, I've been busy
Cokes said:
It feels like ages since I posted anything.
Well the update is this, everything stripped, all bushes removed. That's it.
Come Monday its go go go.
The chassis and the pile above get dropped off Monday for their first blast to see what's save-able.
The engine also gets dropped off Monday for its strip, inspection and rebuild and money allowing a few new bits
And finally the seats, tunnel top, dash and door cards are dropped off for a re-trim.
So even though I've done very little, I've been busy
Excellent mate, I was getting worried about you.Well the update is this, everything stripped, all bushes removed. That's it.
Come Monday its go go go.
The chassis and the pile above get dropped off Monday for their first blast to see what's save-able.
The engine also gets dropped off Monday for its strip, inspection and rebuild and money allowing a few new bits
And finally the seats, tunnel top, dash and door cards are dropped off for a re-trim.
So even though I've done very little, I've been busy
What was the issue with the bushes?

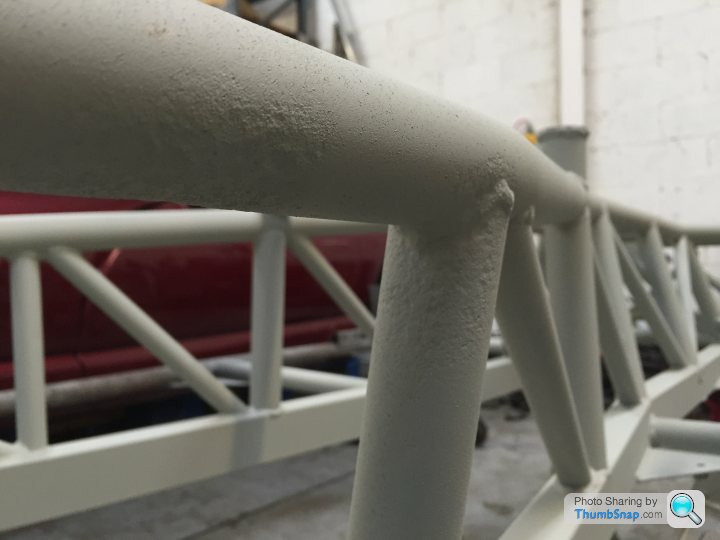
First blast done and primer to protect while repairs are carried out.
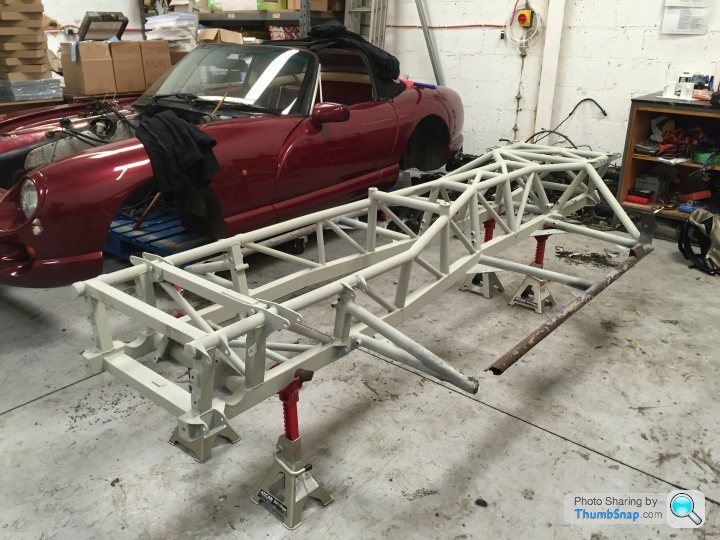
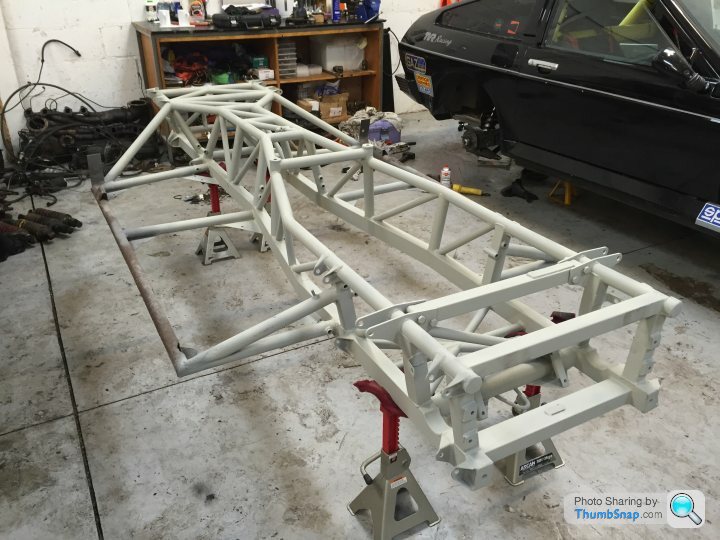
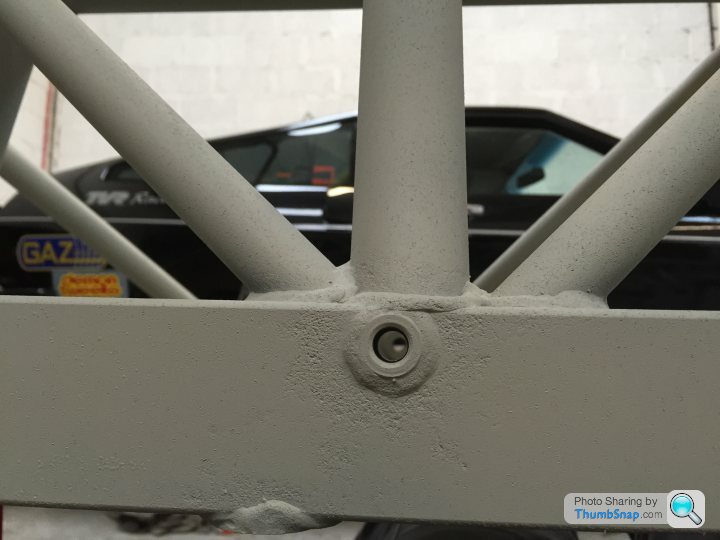
All is looking good, except the outriggers obviously, only a couple of spots for a closer look.
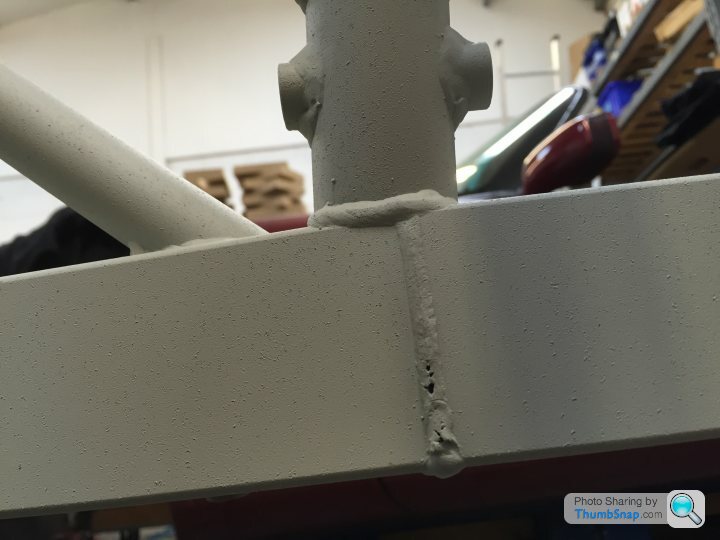
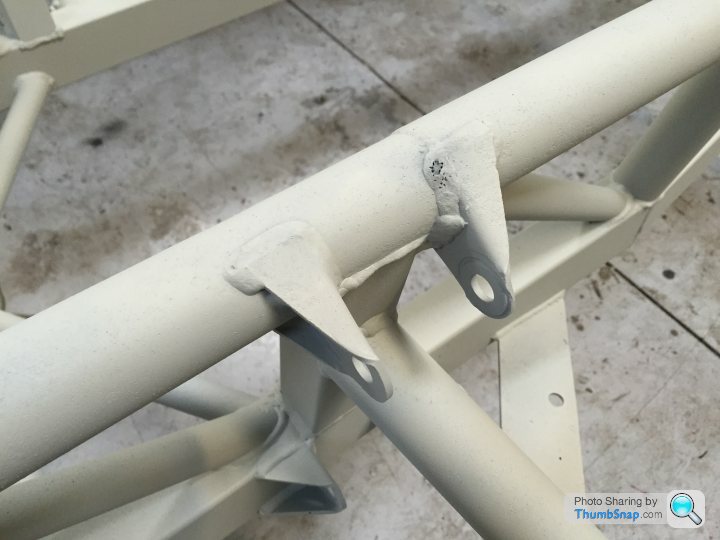
And welds that have small holes.
And a clean look at the body filler corner.

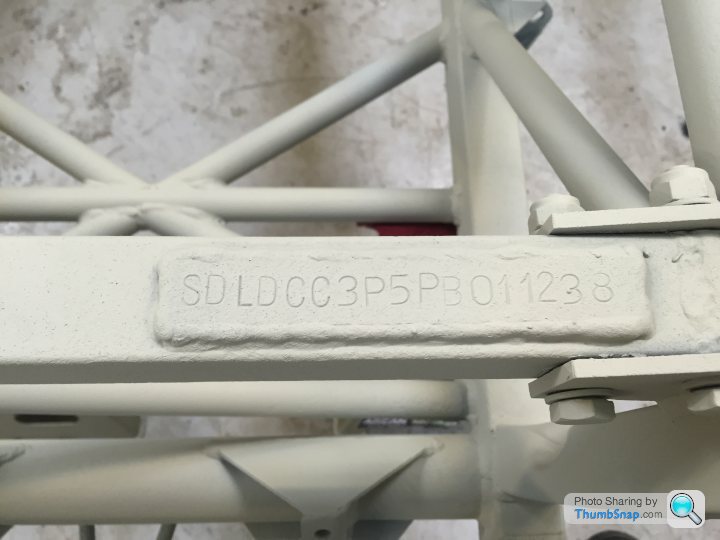
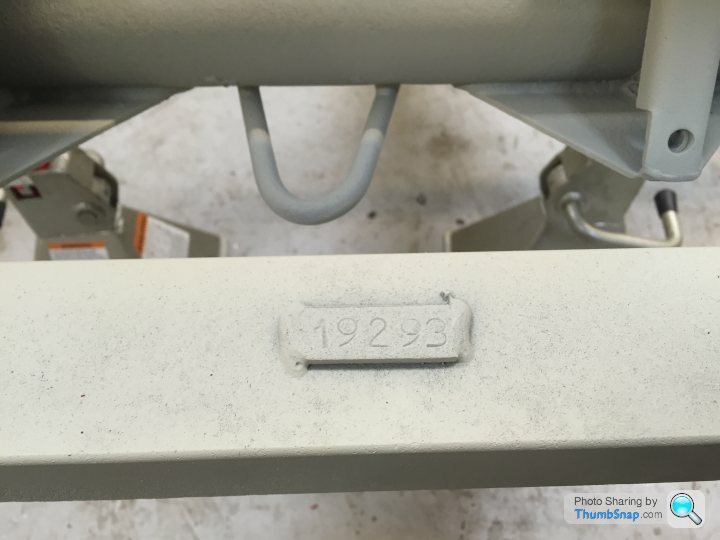
And finally for the pictures chassis number and a second ID plate, what's the second number ?
All is looking good, except the outriggers obviously, only a couple of spots for a closer look.
And welds that have small holes.
And a clean look at the body filler corner.
And finally for the pictures chassis number and a second ID plate, what's the second number ?
Gassing Station | Chimaera | Top of Page | What's New | My Stuff