J400 GED Chimaera Chassis refurb
Discussion


Twistygit said:
I used a cutting disc to trim my snapped bolts plenty of room for outrigger without damaging the body. I also had a front and back snap I cut the chassis at front and repaired when body off, didn't want to damage body.
Thanks Twistygit, I'll have a look at it in the morning.Right, here we go.
An excellent days work today
First problem was to sort out the rear chassis bolt that had sheared, fortunately there was a shim between the body and the chassis which, when removed, allowed me room to hacksaw through the sheared bolt.
Unfortunately I damaged the GRP when trying to ease the body past the LH outboard seat belt bolt. The GRP was very thin there - fortunately this fixing is for the belt not the body.
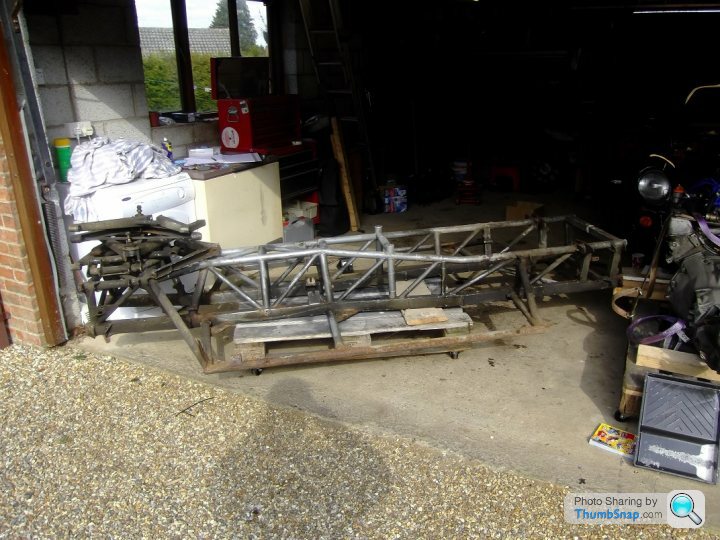
Once that was done and my "Lift Team" appeared, it was very straight forward and Ta Da!
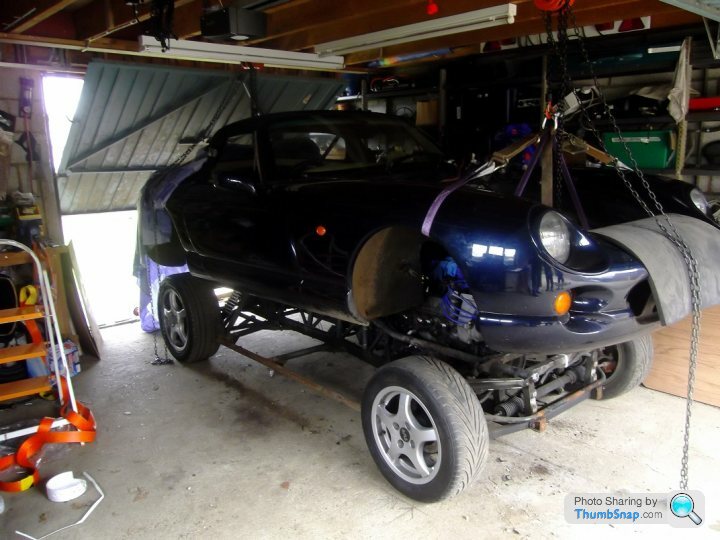
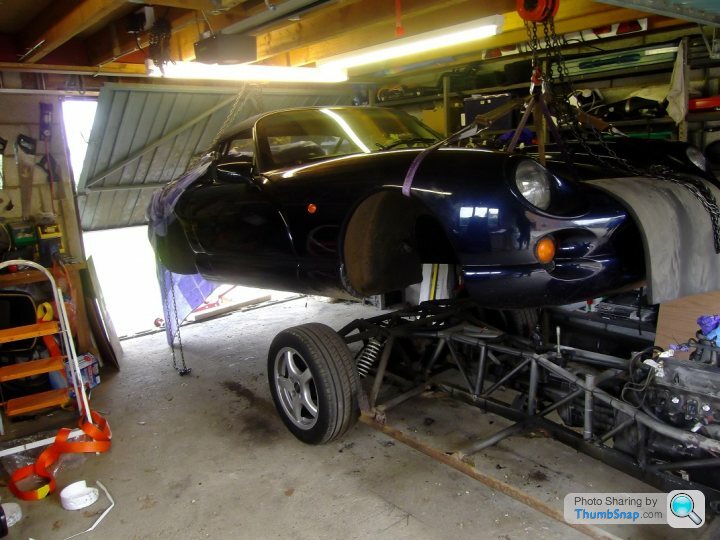
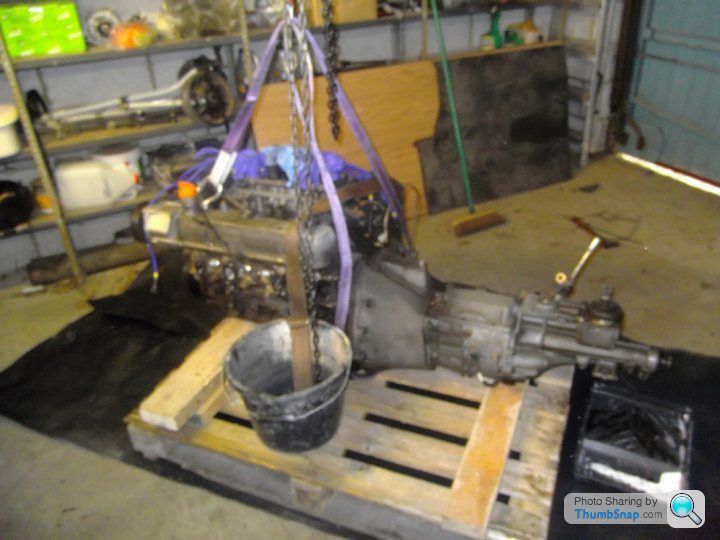
As an added bonus, we got the engine and Box out as well
And just for good measure, it all still fits in the garage.

I will examine the Chassis next weekend and update further
An excellent days work today
First problem was to sort out the rear chassis bolt that had sheared, fortunately there was a shim between the body and the chassis which, when removed, allowed me room to hacksaw through the sheared bolt.
Unfortunately I damaged the GRP when trying to ease the body past the LH outboard seat belt bolt. The GRP was very thin there - fortunately this fixing is for the belt not the body.
Once that was done and my "Lift Team" appeared, it was very straight forward and Ta Da!
As an added bonus, we got the engine and Box out as well
And just for good measure, it all still fits in the garage.
I will examine the Chassis next weekend and update further
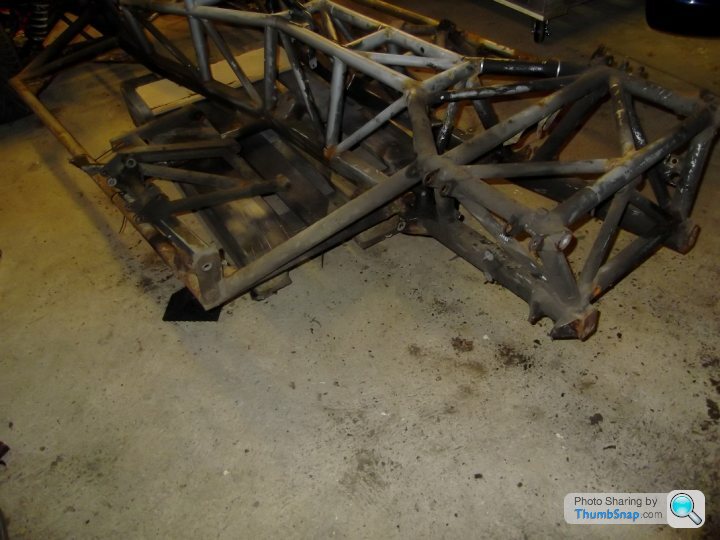
The chassis is going to Engineer 1949 for him to work his magic. At first glance both the forward outboard corners of the outriggers are shot and the driver's rear belt mount bracket (in the rear wheelarch) is wafer thin and easily bent by hand 
Next weekend, first job is to make up a dolly to sit the engine and 'box on - single pallet with castors.
Next weekend, first job is to make up a dolly to sit the engine and 'box on - single pallet with castors.
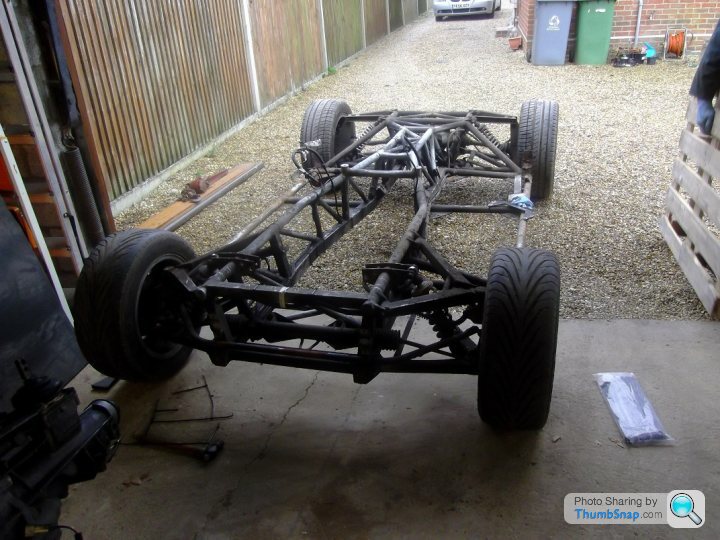
Right, today's update. Basically I stripped all the rear end.
From this:
to this:
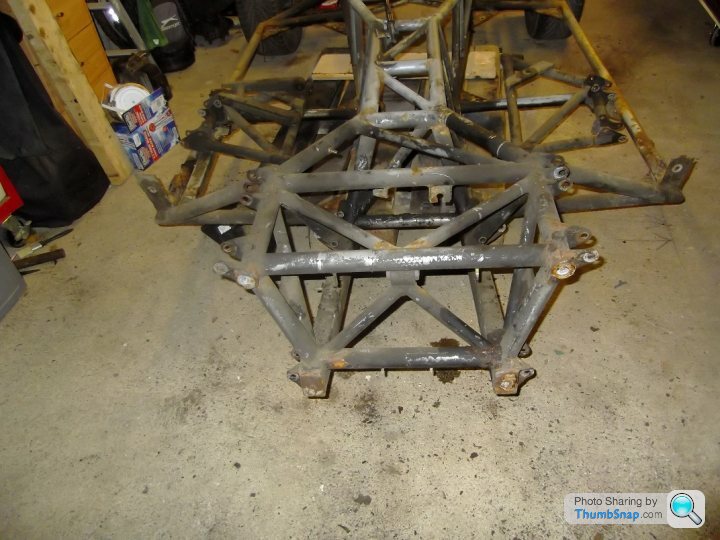

Not a lot to say as it was a lot of tie wraps and nuts & bolts to remove.
All the rear suspension is stripped down, including the toe adjusters. An odd thing was that both the upper wishbones had a polybush at the front and metalastic at the rear.
Jobs for tomorrow are strip front end of the chassis, remove bushes if there's time.
From this:
to this:
Not a lot to say as it was a lot of tie wraps and nuts & bolts to remove.
All the rear suspension is stripped down, including the toe adjusters. An odd thing was that both the upper wishbones had a polybush at the front and metalastic at the rear.
Jobs for tomorrow are strip front end of the chassis, remove bushes if there's time.
shake n bake said:
From the pics the chassis looks pretty good, anything lurking?
The inside of both the front outboard corners of the outriggers are shot. The top rails under the manifolds look borderline. The rear end of the right hand lower chassis rail looks ropey as well.
Both of the rear seat belt mounting brackets are shot.
I still haven't had a proper look over it yet either.

caduceus said:
What's the plan Ged? 
Get the chassis refurbed and then rebuild - replacing, where necessary, as I go. I'm not going to be changing things on spec - if it ain't broke, don't fix it.
I've just had new fuel feed and return pipes made up as they were looking decidedly ropey.
Cokes said:
Rapid rate of knots mate.
My turn for catch up on Monday, booked a half day from work to get it done
Cheers Colin, Once the diff was out, it came apart rather quickly.My turn for catch up on Monday, booked a half day from work to get it done
Top tip of the day is to take as many pics and make as many notes as possible of the routing - and how they are removed - for all the fuel and brake pipes.


ch427 said:
Would use the correct clips myself if i were doing a refurb, i hate seeing those cable ties everywhere and im surprised its allowed on fuel lines.
Well, the tie wraps had been on there for nigh on 20 years with no sign of chaffing of the pipes due to the tie wraps and as I won't be looking at them once the body is back on I'll be using tie wraps on the build.caduceus said:
Blow torch and hacksaw?
Yep, burned out the rubber then a single cut with a hacksaw/reciprocating saw and then bashed out with an 18mm socket and club hammer - 32mm socket I think for the diff rear bush. A couple of times I went a bit deeper than necessary but nothing serious.
Quite therapeutic actually, all that burning and bashing things.


Chassis being collected next Friday to go for refurb. Looks like complete outriggers, chassis upper rail from behind the front upper dampaer mounts back to just before the bend in the top rail and a new plate on the rear of the left hand lower rail.
Then hot zinc spray and 2 part epoxy paint in white.
Once the chassis is gone, it's time to look at the engine. Current jobs list is check the state of wear of the clutch and the cam and replace the water pump.
Then hot zinc spray and 2 part epoxy paint in white.
Once the chassis is gone, it's time to look at the engine. Current jobs list is check the state of wear of the clutch and the cam and replace the water pump.
 ed!
ed! I got a couple of quotes for the expected work - e.g. outriggers and top rail under the exhaust manifolds. They were very close to each other on price, so I had to consider logistics and based my decision on the below:
RT Racing = 147 miles.
Southways = 218 miles.
Brundall Motorsport - 17 miles.
RT Racing = 147 miles.
Southways = 218 miles.
Brundall Motorsport - 17 miles.
Gassing Station | Chimaera | Top of Page | What's New | My Stuff