Project Chim Refurb log
Discussion


CHIMV8 said:
What equipment did you use,people have used all sorts
Lots of drilling with a very long thin masonry bit on hammer to start with. I found that if I made a dent with the pointy end of a pry bar first you could position and start the drill well. Drill lots and lots of holes before you try and remove any.I used a couple of pry bars and a curved body shop panel chisel which allowed me to free the upper edge.
Lots of hammering and levering to make a decent hole all the way through at the bottom and then work around the edge until I could free the last decent size bit in one piece.
No easy way I guess but the second one was definitely easier than the first with lots of holes drilled.
A very long masonry sds bit over a foot long but small diameter lets you bend it a bit to get right through.
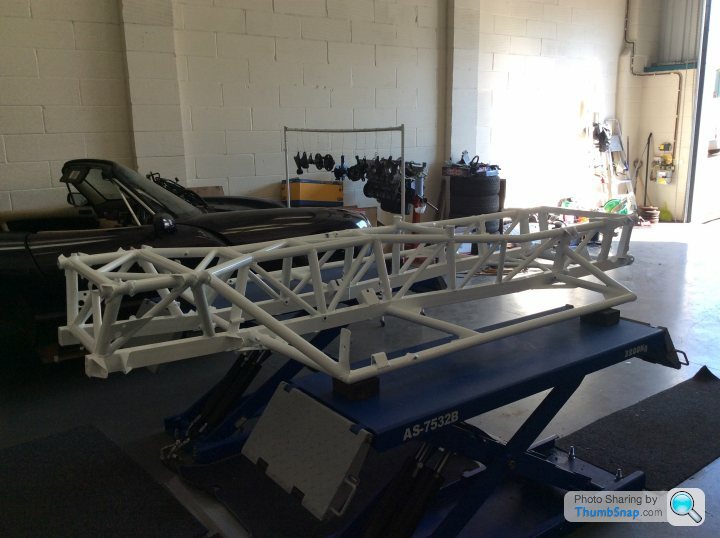
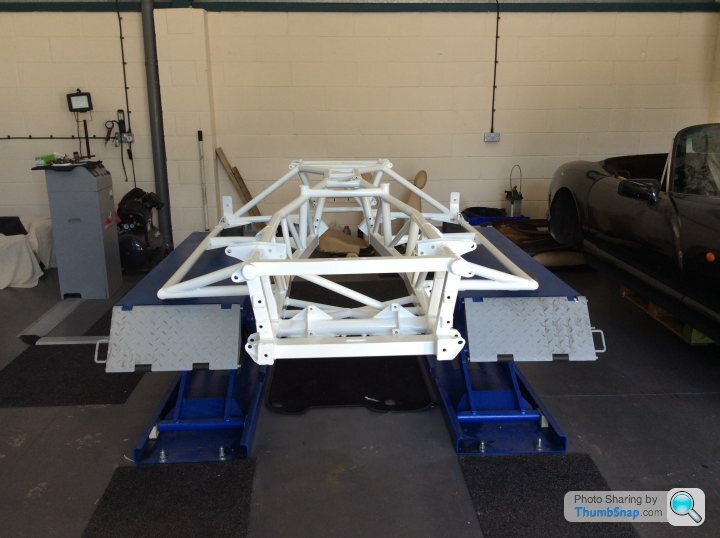
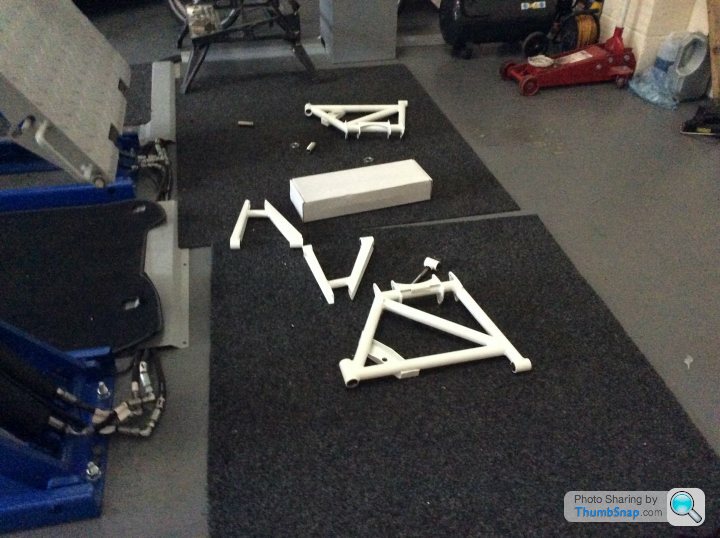
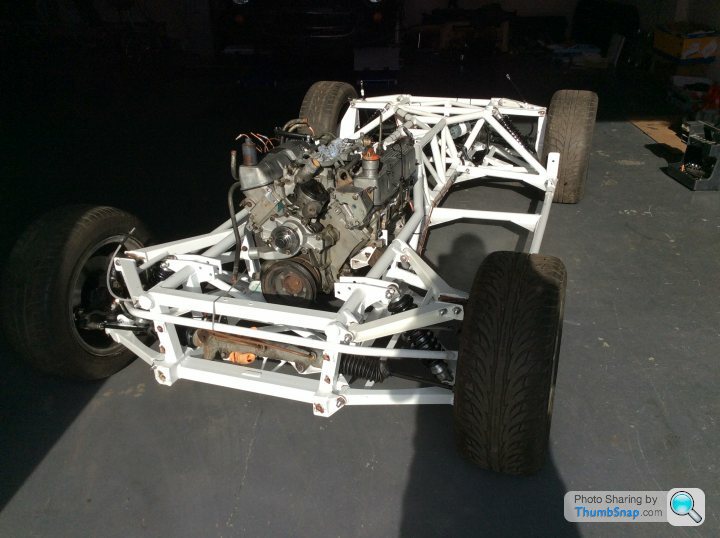
A few bits added to the front end of the refurbed chassis. Nice to see some shiny new bits being added for the first time.
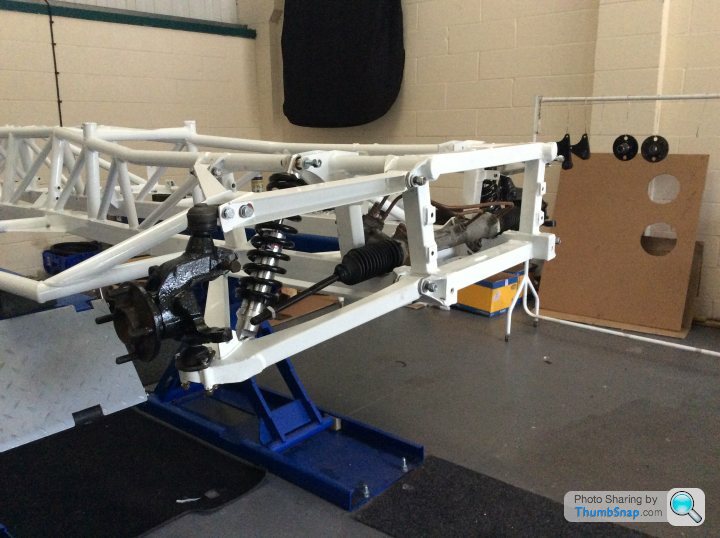
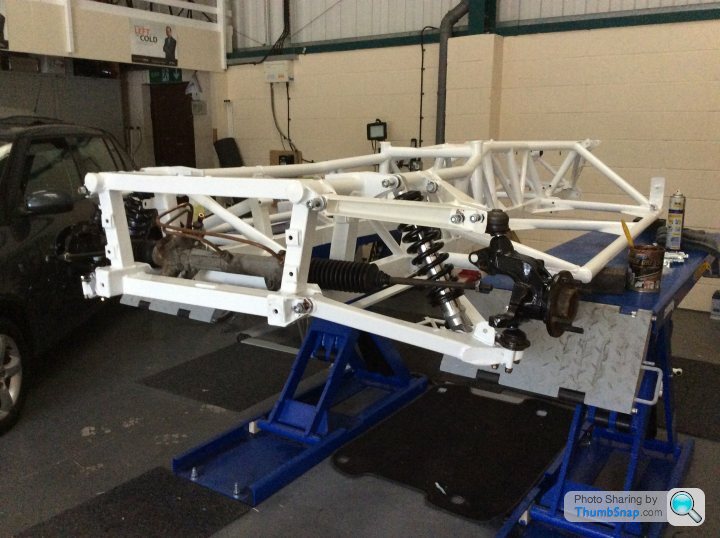
Moving on to the back end next although I have a problem with the thread in the new NSR lower arm adjustment sleeve. The weld seems to have penetrated through and damaged the tread, The offside winds in with fingers, no chance with the near side. Important that these move freely for geometry later so the supplier is looking at replacement for me. Hope it's quick I want it rolling soon!
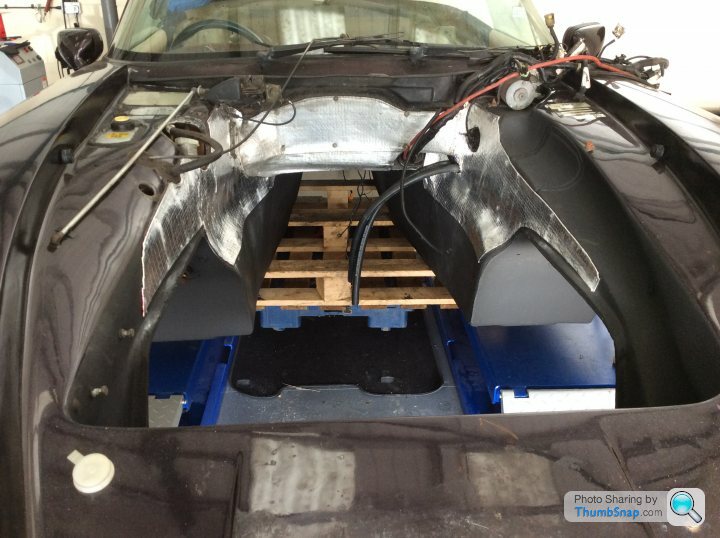
Spent some time earlier in the week relocating the fusebox, wires all unwound and it's plenty long enough to mount behind the passenger seat.Need to fabricate a mounting board and decide if it faces up or forward. Still thinking about putting an oddessy in the boot(still not convinced about mounting near fuel tank?)or modifying the Ecu and battery security/storage in the footwell.


Gassing Station | Chimaera | Top of Page | What's New | My Stuff