Mark 3 Headlamp conversion
Discussion


Surface and design did mine.
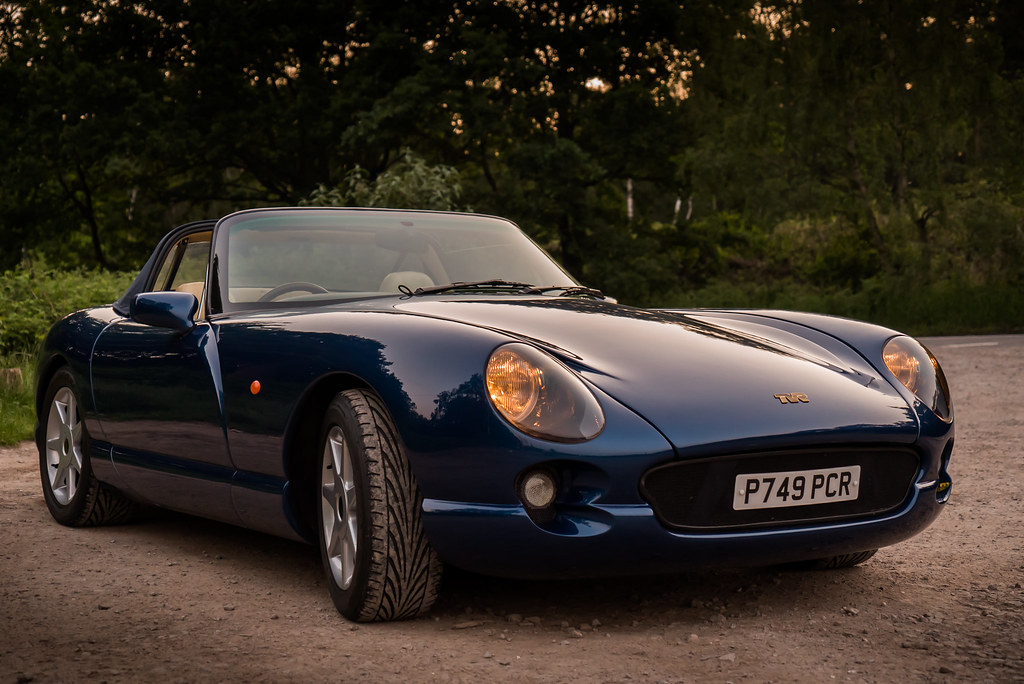 TVR Chimaera 500 by The Rain Maker, on Flickr
 TVR Chimaera 500 by The Rain Maker, on Flickr
TVR Chimaera 500 by The Rain Maker, on FlickrTVR Chimaera 500 by The Rain Maker, on Flickrhi all , does anyone have any opinions as to what is the best looking light cover "central" "Steve Edwards"
from a visual point of view ? trying to keep it looking like the original mk 3 fit
you can see on the steve Edwards web site how to diy fit I was wondering how the central light cover diy fit
cheers keith
from a visual point of view ? trying to keep it looking like the original mk 3 fit
you can see on the steve Edwards web site how to diy fit I was wondering how the central light cover diy fit
cheers keith
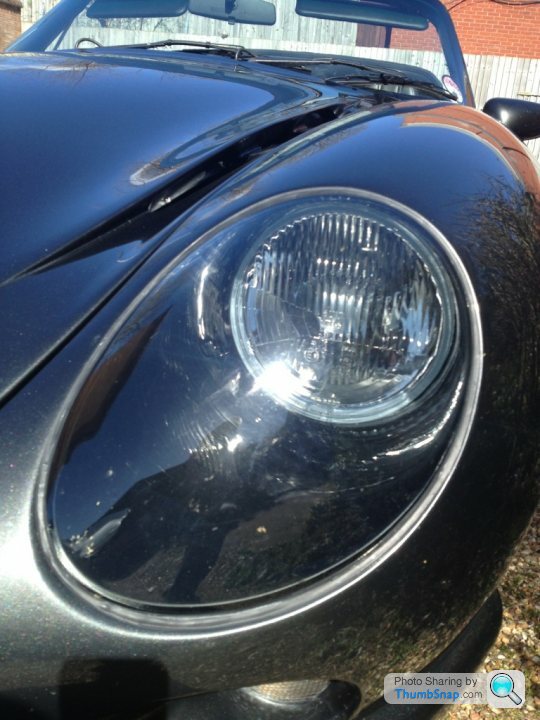
TheRainMaker said:
Surface and design did mine.
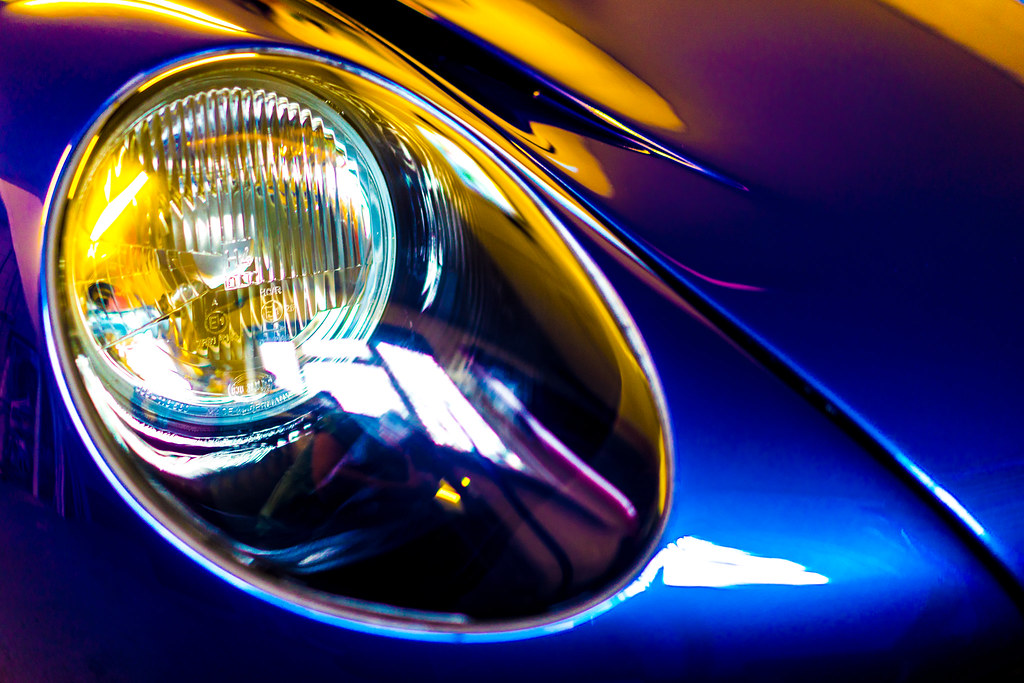
TVR Chimaera 500 by The Rain Maker, on Flickr
TVR Chimaera 500 by The Rain Maker, on Flickr
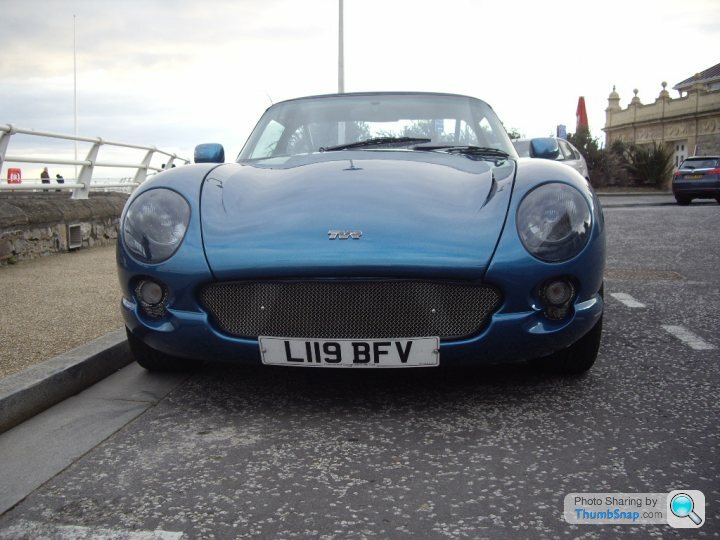
That really does look good and makes me realise that I must get my front end re-sprayed to get rid of the thousands of stone chips that it has! TVR Chimaera 500 by The Rain Maker, on FlickrTVR Chimaera 500 by The Rain Maker, on Flickr
PYNEY said:
hi all , does anyone have any opinions as to what is the best looking light cover "central" "Steve Edwards"
from a visual point of view ? trying to keep it looking like the original mk 3 fit
you can see on the steve Edwards web site how to diy fit I was wondering how the central light cover diy fit
cheers keith
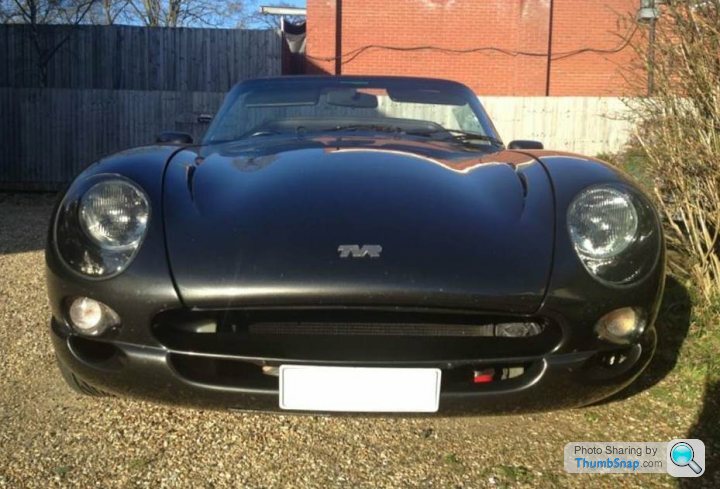
I have the MK3 conversion from central and think this is the better looking kit who ever fits it or where ever you get it from. Not keen on the Steve Edwards kit with the black rim around the edge, but that is my own personal preference.from a visual point of view ? trying to keep it looking like the original mk 3 fit
you can see on the steve Edwards web site how to diy fit I was wondering how the central light cover diy fit
cheers keith
phazed said:
SILICONEKID345HP said:
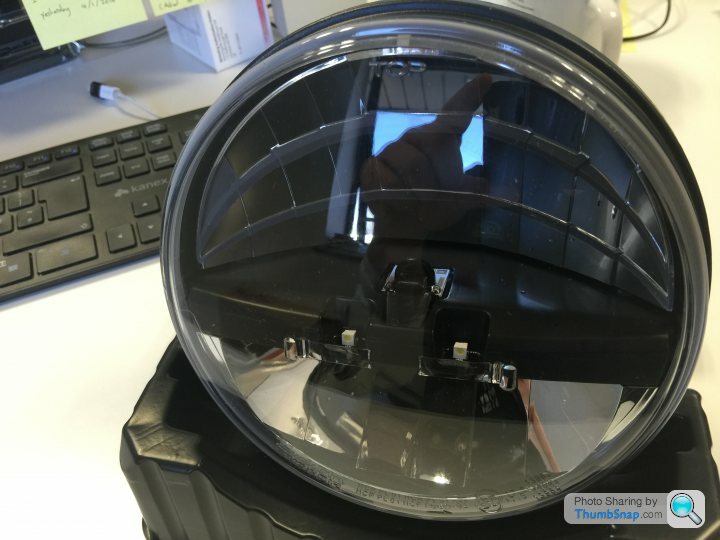
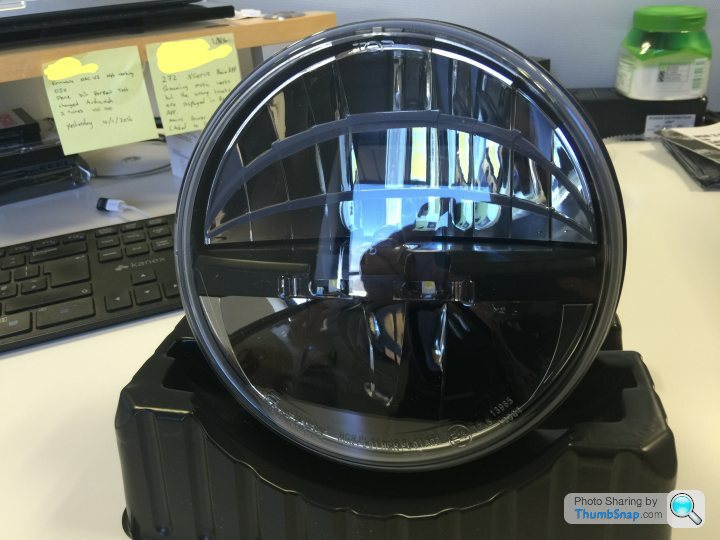
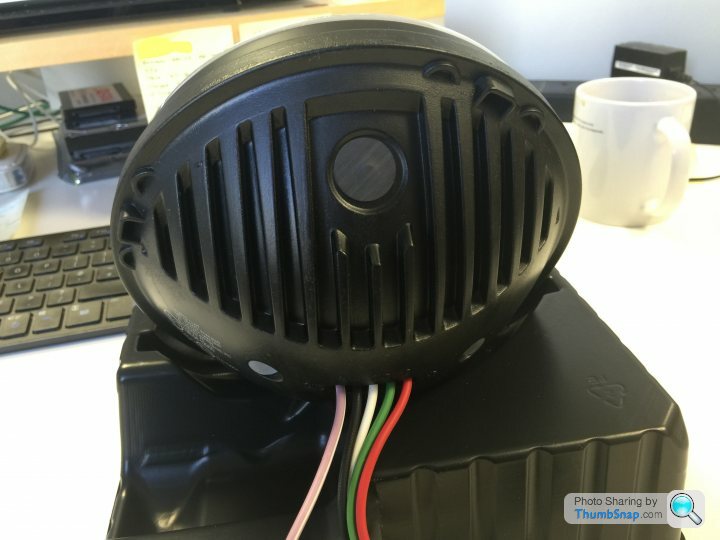
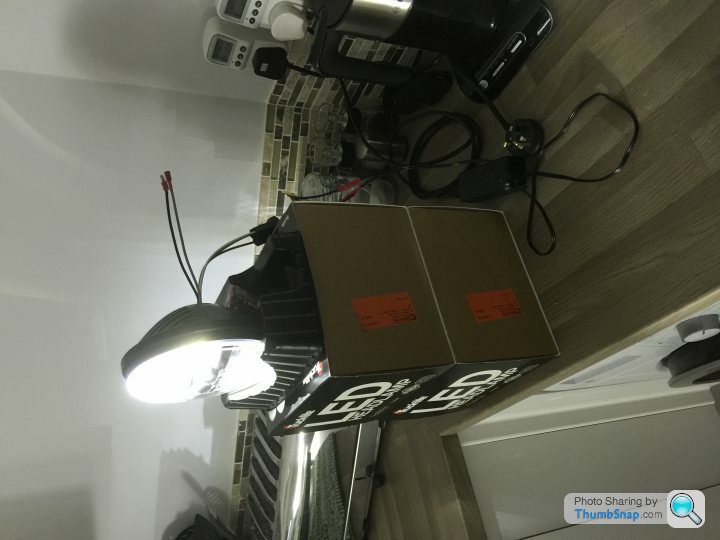
If I went for the MK 3 front lights I would use those far superior led lorry units ..Expensive but they work .
Which lights are they Daz?Maybe one day when it's finished I'll find out whether it was a good call or not.

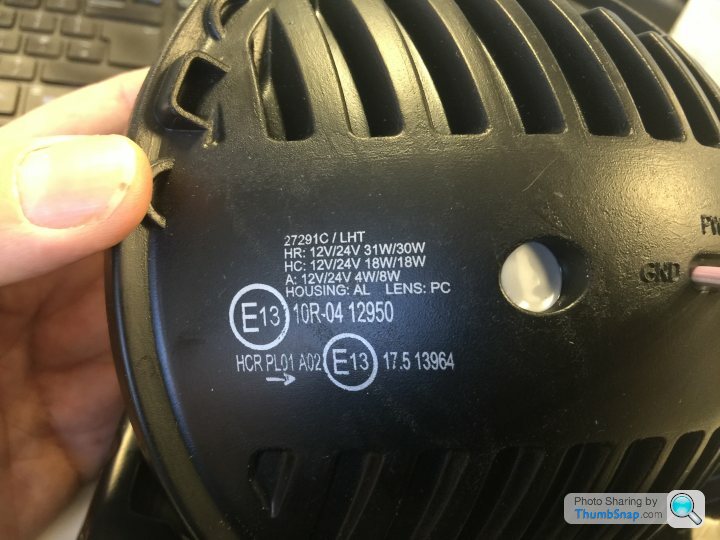
They are the only ones I could find that were properly E marked and approved for UK road use (and there are "chinese copy" ones out there that are selling at fairly silly prices too so if you do look for them then make sure you're not getting the knockoffs).
Phil
SILICONEKID345HP said:
If I went for the MK 3 front lights I would use those far superior led lorry units ..Expensive but they work .
Are these the ones you were meaning Daz...?http://www.truck-lite.com/webapp/wcs/stores/servle...
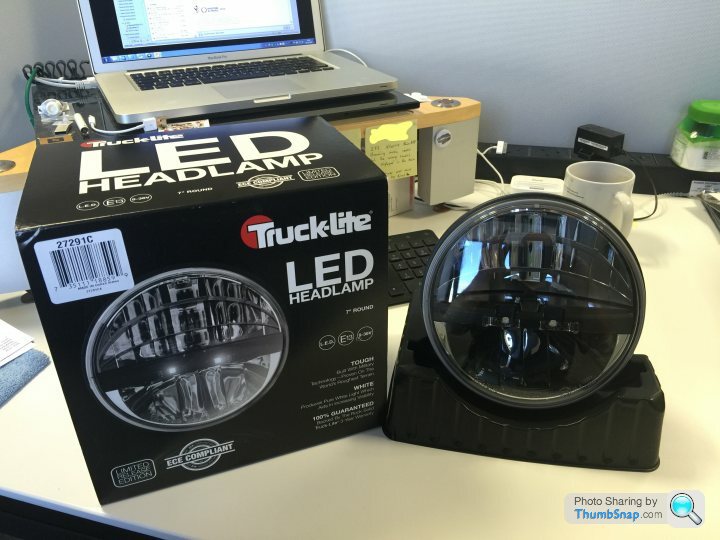

Phil
Edited by Bassfiendnoideawhathp on Friday 25th November 21:30
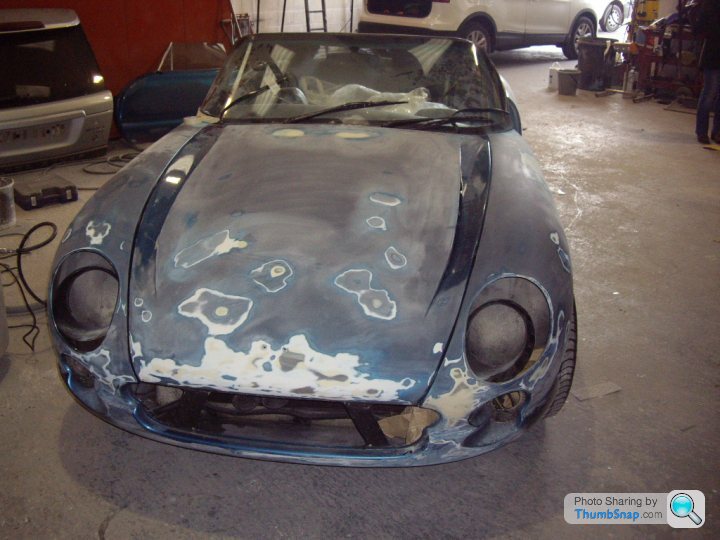
Bought my kit from Fibreon in Stourbridge, West Midlands. Nice guy who explained how to go about it. The kit came with replacement pods, grey or clear covers and new sealed beam headlights. The first job is to paint the pods, my car was being repainted so took them to the paintshop to be body colour. Then assemble the units by bonding and screwing the covers onto the pods and fitting the sealed beam units to the back by screws. Apart from the painting this took half a day. The big job is to cut the existing pods out of the bodywork which I did with a Dremal cutter, took about half a day. Then simply bond the new complete pods into the hole you have just cut out, I pre made some timber wedges to hold the pods in place overnight while it set. The final bit is to point in the gap between the covers and bodywork, I used fineline tape to get a clean line and this took about half a day.
Very please with the job, its not difficult for anyone who is confident with tools, just needs a bit of bottle to cut big holes in your pride and joy.
When looking at the options I chose this kit because it looks like the TVR original on MK3 Chimaera, the Steve Edwards version is a little different in having large areas of black between the cover and bodywork.
Just go for it
At the paintshop, having just cut out the old pods.
Just to add, the lights I would say are not quite as good as New originals, because they are behind covers, but of course the sealed units behind covers are not going to tarnish. Not interested in upgrading the lighting, the extra power may cause overheating behind pods, just wanted to be able to get home on the odd time am out late. They are good enough to see and be seen at normal road speed
Edited by BeastMaster on Friday 25th November 23:43

Andav469 said:
Chimp871 said:
Any ball park figures on the day kits....
Looks like a do-able winter project.
Central TVR quote on their website £450 for a diy kitLooks like a do-able winter project.
There is also that the originals are £200 a pair, and will start to tarnish within a few years from being not a sealed unit, so longevity of these Mk3 units will be a much better long term option.
BeastMaster , thanks for sharing how you fitted your own light pods , i'm hoping to diy fit but
it's taking the plunge to make that first cut lol there's not much info for diy online does anyone have photo's ?
how did you manage to align the pods so you get the correct light/beam level for mot time don't want to blind anyone ,
i think getting the lights set at the correct level is the one thing putting me off diy
cheers keith
it's taking the plunge to make that first cut lol
there's not much info for diy online does anyone have photo's ?how did you manage to align the pods so you get the correct light/beam level for mot time don't want to blind anyone ,
i think getting the lights set at the correct level is the one thing putting me off diy
cheers keith
Here is a complete video of a Steve Edwards fitting to give you an idea of what to do:
https://www.youtube.com/watch?v=y_F2pyk5u4M
Line the car up facing a wall or a garage door at a distance of about 6-10 feet. Switch the headlights on dip beam. You will see the flat part of the beam on the right with the 'kick up' to the left (much clearer at night). Carefully, using chalk/tippex/masking tape, mark the top surface of the flat line and the 'kick up' for both beams.
If you need to move the car, mark the floor for all 4 wheels so you can put it back exactly.
I did this and it worked for me when I replaced my headlights. You can always visit an MOT testing garage and have them do a check and adjust for around £10-£20.
PYNEY said:
BeastMaster , thanks for sharing how you fitted your own light pods , i'm hoping to diy fit but
it's taking the plunge to make that first cut lol there's not much info for diy online does anyone have photo's ?
how did you manage to align the pods so you get the correct light/beam level for mot time don't want to blind anyone ,
i think getting the lights set at the correct level is the one thing putting me off diy
cheers keith
Hi Keithit's taking the plunge to make that first cut lol
there's not much info for diy online does anyone have photo's ?how did you manage to align the pods so you get the correct light/beam level for mot time don't want to blind anyone ,
i think getting the lights set at the correct level is the one thing putting me off diy
cheers keith
Sorry did not take any pics of doing the install, and yes your right not much info out there. I collected the kit from the man who makes them so he could talk me through it. Don't think he thought to much about instruction manual as it is so simple to do.
As I said earlier the sealed beam units are fixed to the back of the pods along with the covers prior to installing the pods into the wing. The sealed beam units have an integral adjuster ring, its this that is fixed to the pods, so once the pods have been bonded into the wing its just a case of using the adjuster screws to align the beam just like the original lights.
As a note, my mk1 car has better access through the grill to help with the install, you may need to cut larger access holes in the wheel arch to make it easier.
I still have the old pods which I cut out of the wings, so will take a pic and post up so you can see what that looks like. It is just a case of leaving a 4 mm lip where the wing changes direction into the pod area, provided this is with reasonable tolerance, just cut mine out by eye, a thin mastic line will cover the gap.
Andy
N7GTX , great idea for setting the light beam up I never thought of using the existing light beam setup as a pattern
then re using it to set up the new lights
the steve Edwards video is good but his light pod idea just sits in the existing light pod I need to see
the other type where you cut out the whole thing and fix the new pod in place
thanks for the info
then re using it to set up the new lights
the steve Edwards video is good but his light pod idea just sits in the existing light pod I need to see
the other type where you cut out the whole thing and fix the new pod in place
thanks for the info
BeastMaster thanks for the other tips , would be good to see the photos of the old pods to give me a better idea on how it looks when cut
may be a good idea when I buy the new pods to pick them up form wherever and can then discuss directly how they would fit them as you did
what type of adhesive/sealant did you use to hold the pod in place
and the type of sealant to hold the lens cover in i'm guessing this sealant you need to be able to work it to get a nice even line
cheers keith
PYNEY said:
BeastMaster thanks for the other tips , would be good to see the photos of the old pods to give me a better idea on how it looks when cut
may be a good idea when I buy the new pods to pick them up form wherever and can then discuss directly how they would fit them as you did
what type of adhesive/sealant did you use to hold the pod in place
and the type of sealant to hold the lens cover in i'm guessing this sealant you need to be able to work it to get a nice even line
cheers keith
Keithmay be a good idea when I buy the new pods to pick them up form wherever and can then discuss directly how they would fit them as you did
what type of adhesive/sealant did you use to hold the pod in place
and the type of sealant to hold the lens cover in i'm guessing this sealant you need to be able to work it to get a nice even line
cheers keith
Sorry only have the cowls left, must have thrown the cut out pods.
If you go on the Febreon website pics are available of the different stages, I think once you have the kit it is very clear what needs to be done.
I used a panel on product like Silkaflex bought from my local body shop supplier, he will recommend something and at the same time pick up some fineline tape for when you point around the pods to finish. When bonding the covers onto the pods I used a couple of c/sunk self tapping screws to hold it in position while it hardened, the screw are hidden in the area the pods are bonded onto the underside of the wing so left them in.
As a point of note I think Febreon supply this product to the companies that offer a supply and install service, they were just across the road from Central TVR before the fire at Central.
The Steve Edwards solution just fits over the original pods and lights which is why it has such a large black border, I did look at this but wanted my car to not look modified. Having reviewed the install video It looks a lot more time consuming than the proper job. I think most people who choose this option are afraid to cut out the existing pods and maybe a little cheaper as those horrible original headlights stay in place, but it is not difficult, actually thought this was the easiest bit, and was very happy to get shot of the original lights which were starting to tarnish after just 5 years from replacement.
Andy
Edited by BeastMaster on Sunday 27th November 15:36
Gassing Station | Chimaera | Top of Page | What's New | My Stuff