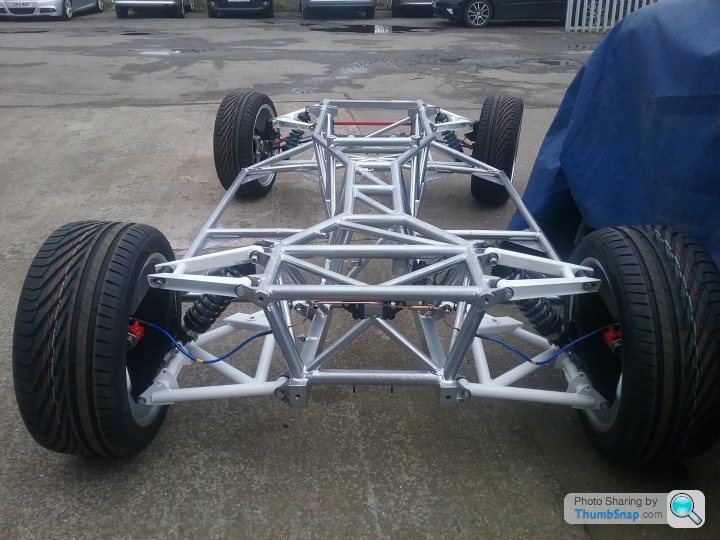
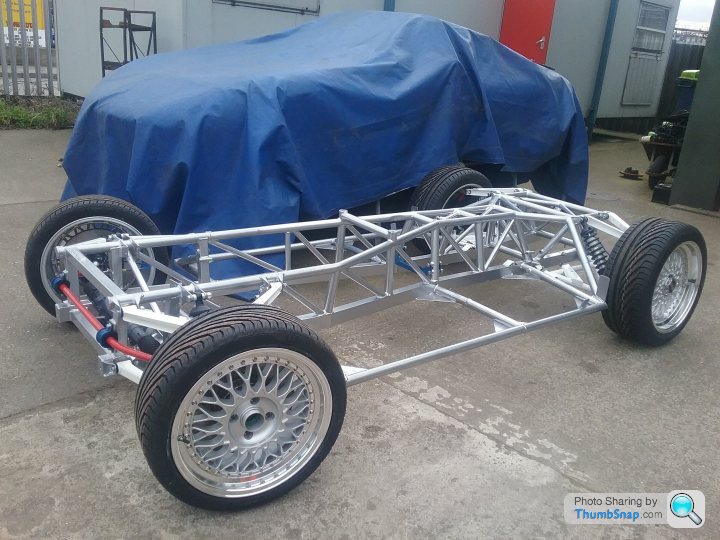
Black 'project' 400 Griff...Moves up a gear...
Discussion


griffdude said:
hillclimbmanic said:
you're right...I should have; just didn't think, at the time 
Looks really good what you've achieved.I urge you to look at the seat & seatbelt mounting points.I'm no expert & insisted on some metal bracketry on mine, the std big washer & bolt thru fibreglass gives me a cold shudder just thinking about the implications. Especially as I use the Griff on track from time to time.

griffdude said:
Good job!
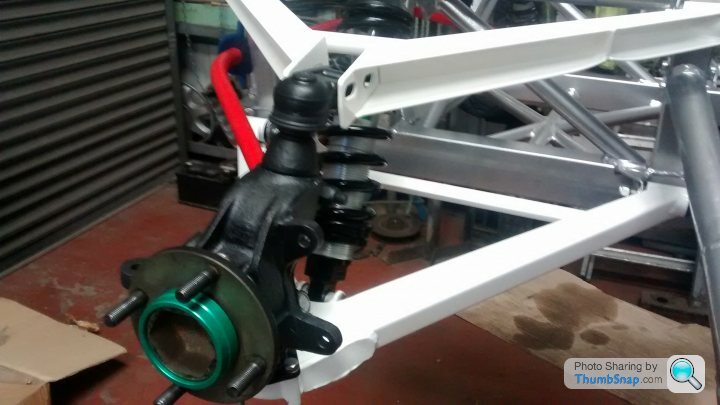
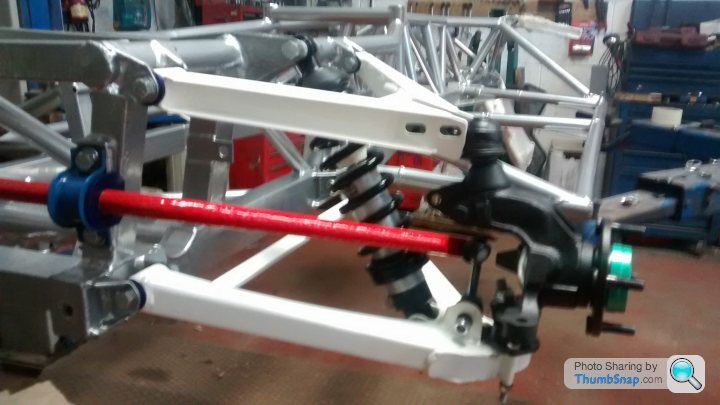
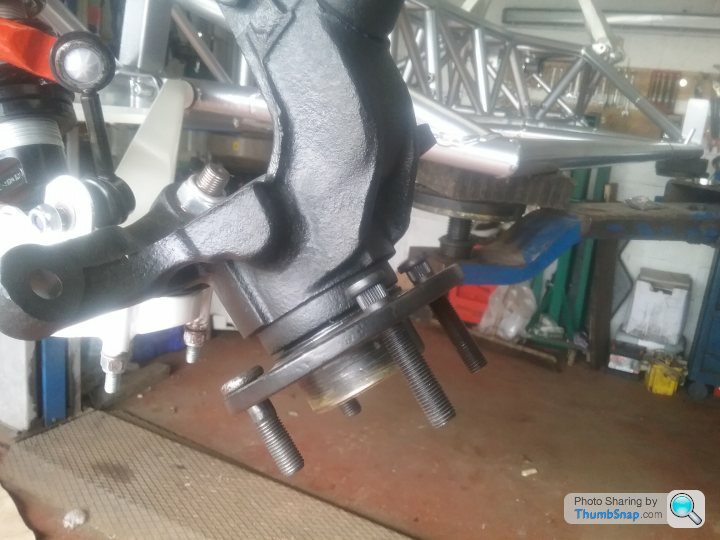
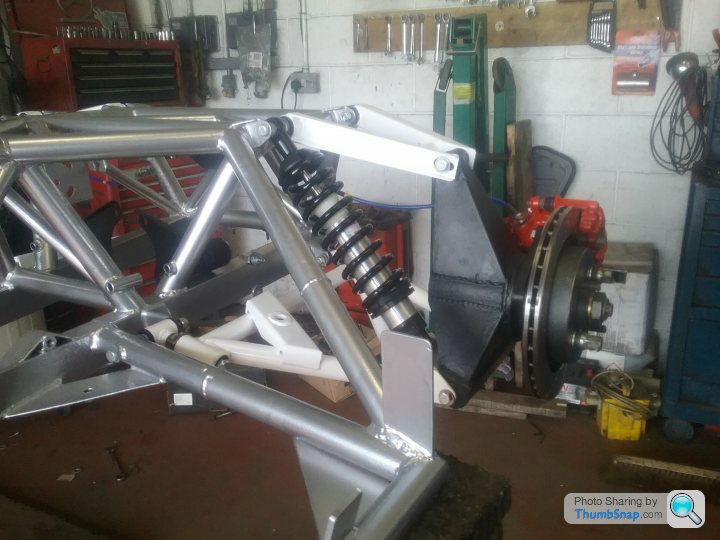
What's uprated about the droplinks? They don't look far off std to me?
These are really really good as they're spherical & shrouded.
http://www.ppctvr.co.uk/products/front-drop-links-...
http://tvr-parts.com/tvr-parts/part-details/tvr-c0064-rg/anti-roll-bar-drop-link-upgraded-osWhat's uprated about the droplinks? They don't look far off std to me?
These are really really good as they're spherical & shrouded.
http://www.ppctvr.co.uk/products/front-drop-links-...
 |http://thumbsnap.com/oSLhU56z[/url]


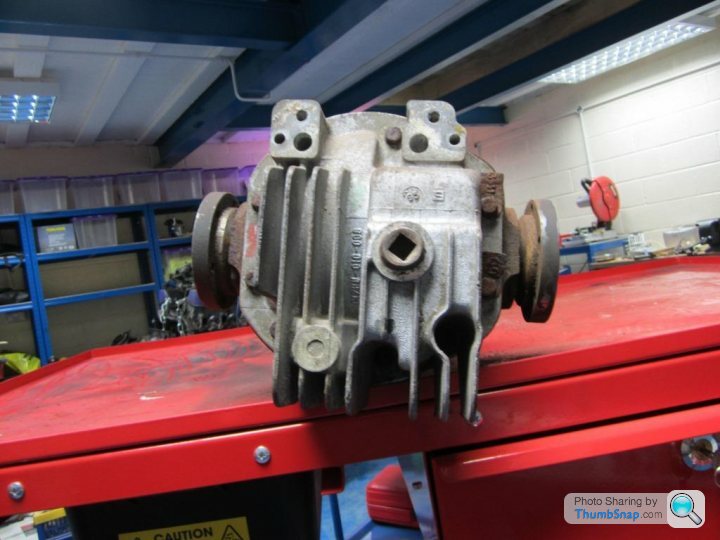
stevesprint said:
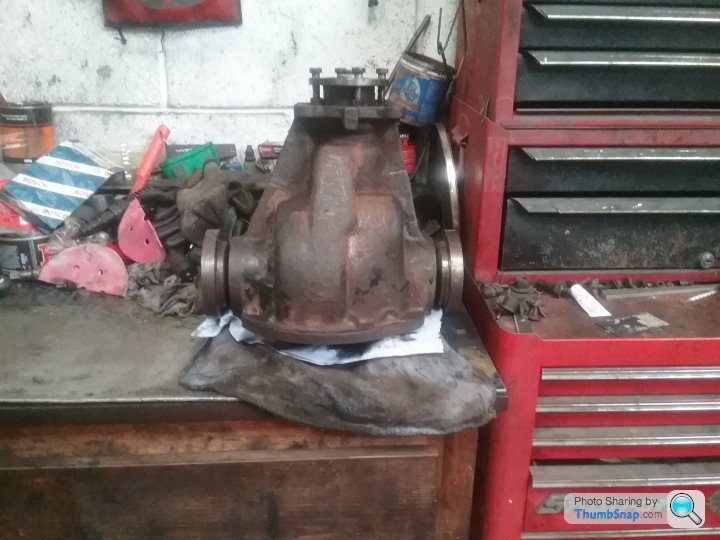
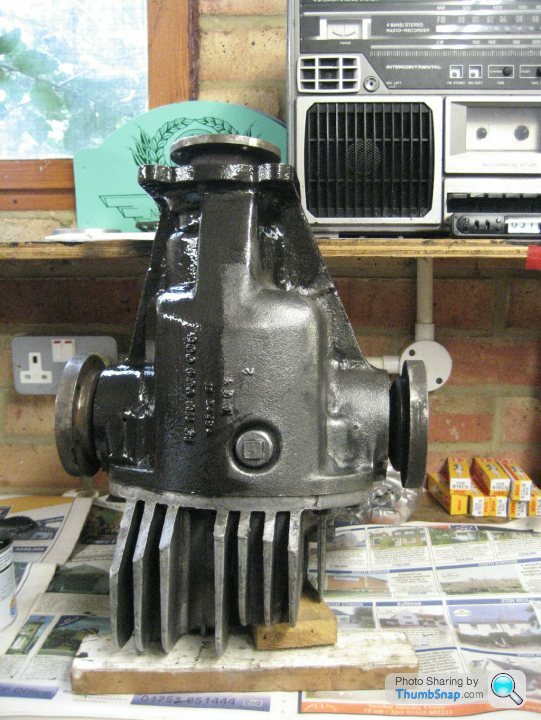
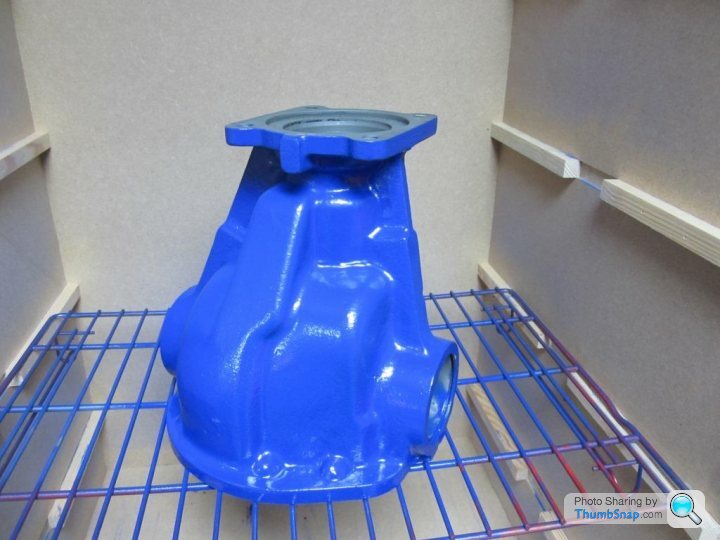
Now your diff cover looks cool you'll also have to paint the housing, if you haven't already. Over 8 years ago I used a wire brush in a drill on mine and then painted it with good old Hammerite. 8 years on I'm pleased to report all the paint is still intact, and before anyone asks yes I did paint the other half of the diff. 
While you're doing the front oil seal I guess you are also replacing the output oil seals as they are also prone to leaking and are the easy ones to change.
How do I remove/refit the output seals, Steve? I've already caused myself a problem, by not indexing the pinion nut!While you're doing the front oil seal I guess you are also replacing the output oil seals as they are also prone to leaking and are the easy ones to change.
Paul
stevesprint said:
This GKN Maserati Workshop manual may help, www.stevesprint.com/TVR-Griffith-Docs/GKN_diff.zip , one day I’ll merge the jpgs into one pdf.
Steve
Brilliant, Steve.!!Steve
Thanks

Pete Mac said:
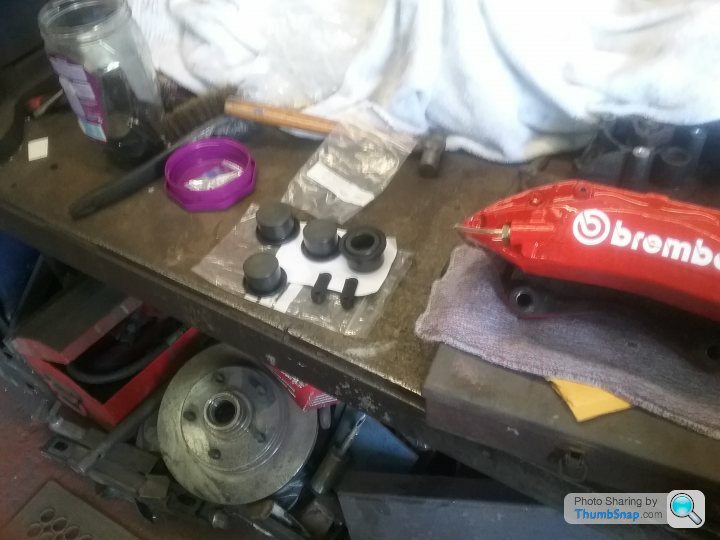
Manic, sorry missed these last few posts but currently doing the same thing. I am also using the Maserati manual. Haven't started rebuilding yet but bought all bearings, oil seals, will makes gasket and as I said in you other thread I have also had 2mm spacers made up. I don't know if the following helps, I have the benefit of a blast cabinet and I do my own powder coating in a domestic oven from fleabay.
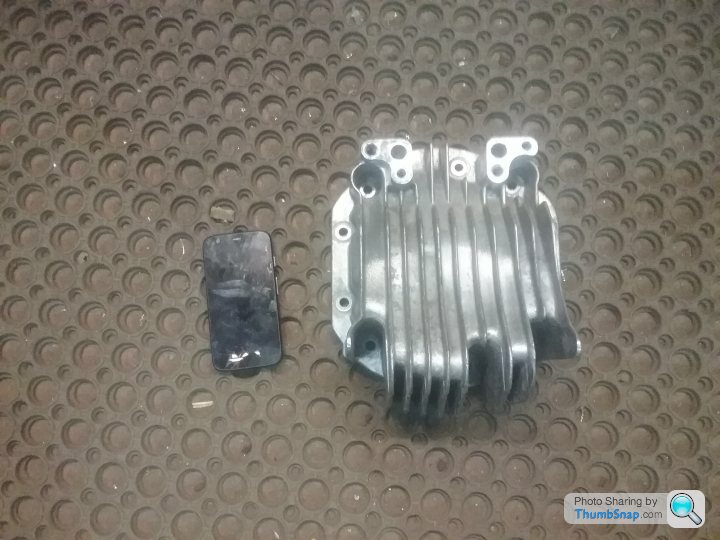
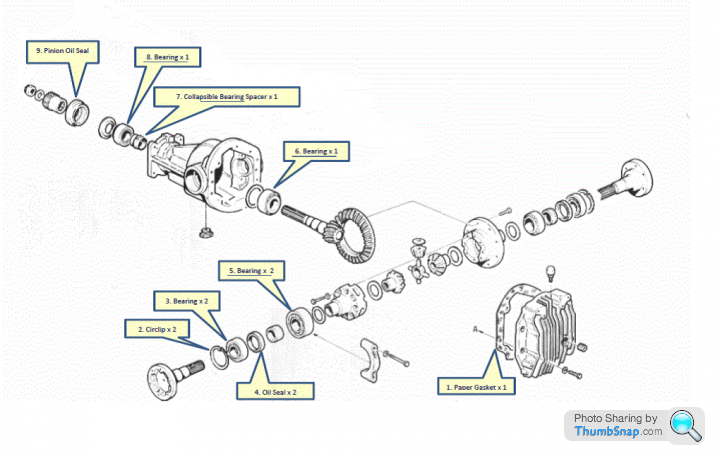
I did his to help me identify what I need:
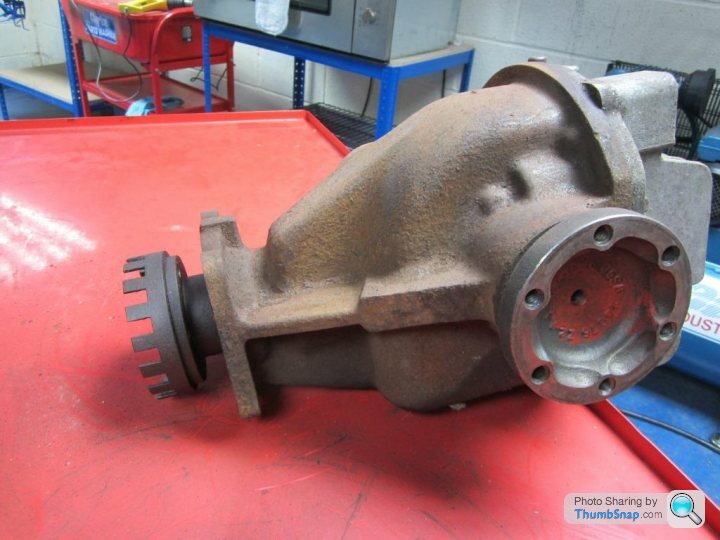
Before:
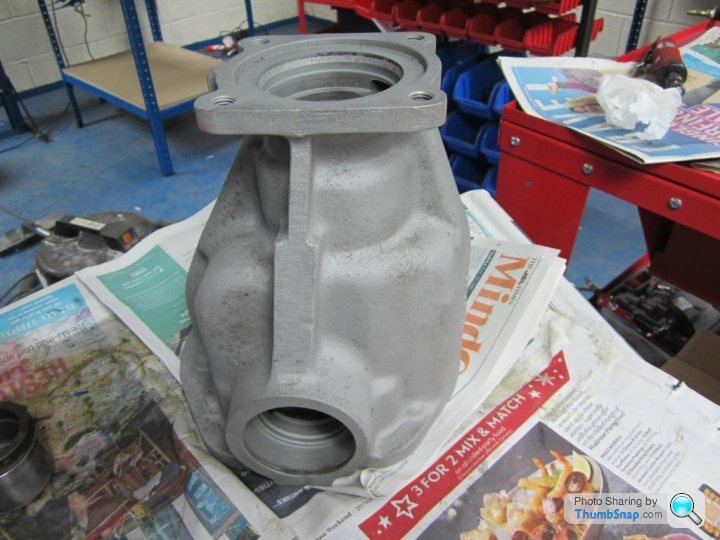
After:
Before:
After:

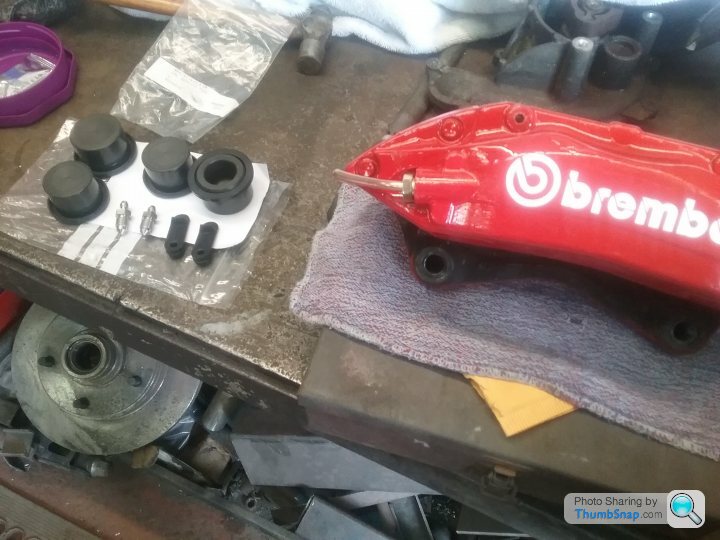
I also had problems with these little tinkers.
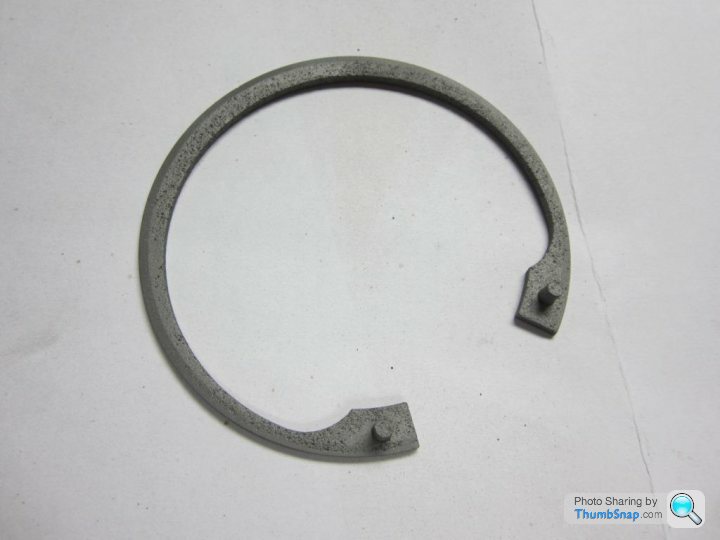
I wanted to replace but couldn't find new with spigots so I have bought ordinary circlips and will have to modify pliers unless you find a source....? I have lots of photos and measurements of bearings and seals if that helps and you want to mail me. Pete
Thanks, Pete...Where did you source the bearings/crush spacer, etc.,?I did his to help me identify what I need:
Before:
After:
Before:
After:
I also had problems with these little tinkers.
I wanted to replace but couldn't find new with spigots so I have bought ordinary circlips and will have to modify pliers unless you find a source....? I have lots of photos and measurements of bearings and seals if that helps and you want to mail me. Pete
Paul
Pete Mac said:
Royce Power Transmissions, Harlow. Tel: 01279 421461. I spoke to a bloke called Bob, very helpful and seemed to know what he was talking about. I paid £128.46 for all bearings and seals but excluding the circlips and the gasket. If you mail me I will scan you the invoice and send it to you. Pete
Thanks Pete...However, I've decided to have my diff and lt77s box rebuilt by Peter Reid...Two less headaches.!!
Gassing Station | Griffith | Top of Page | What's New | My Stuff