Lund's MG Metro 1275 Engine Build
Discussion


Mini1275 said:
minipete said:
Looking great there Tom,only thing is you do know that Red engines are more powerful!lol!
Well obviously 

 , every mini person knows that.
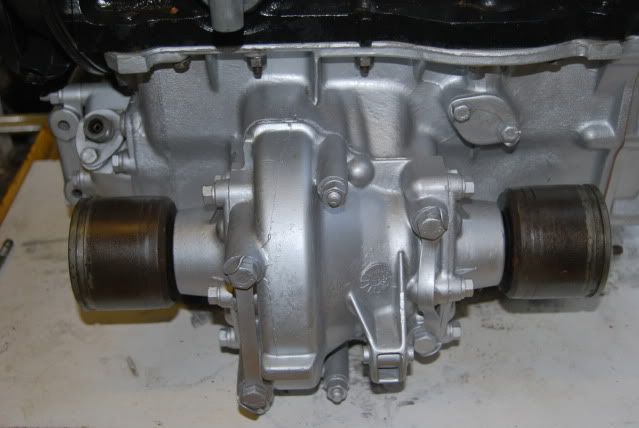
Today I have fitted the clutch oil seal, dust shield and centred the clutch as best I could. I require a centre bolt locating plate before I can complete the setup and fit the 'wok'.
I have been looking at samco hoses, as I'm sure I require all new hoses with the 1275? I assume the 850 hoses wont fit. I'm looking at £100, ouch. Blue or Black?
PS. Once you've had black
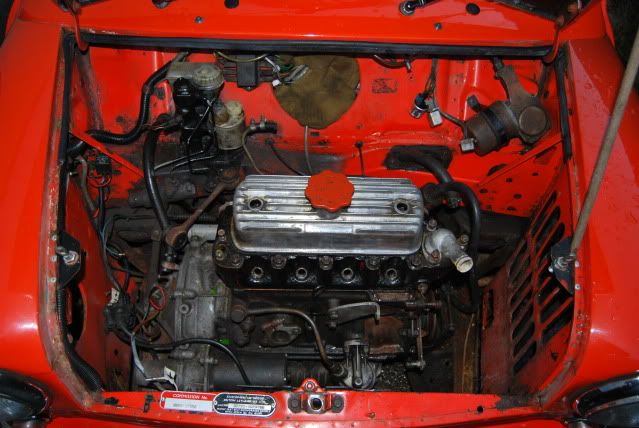
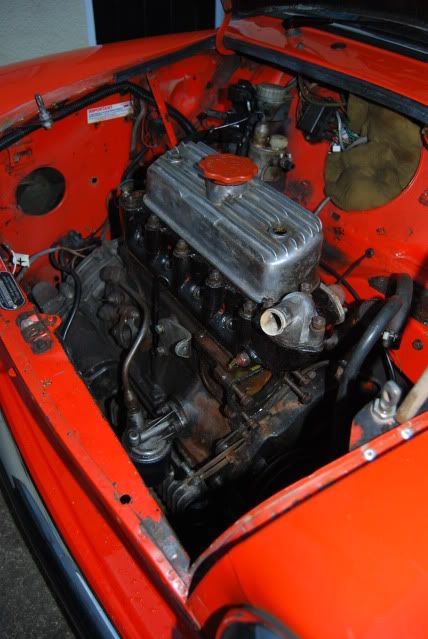
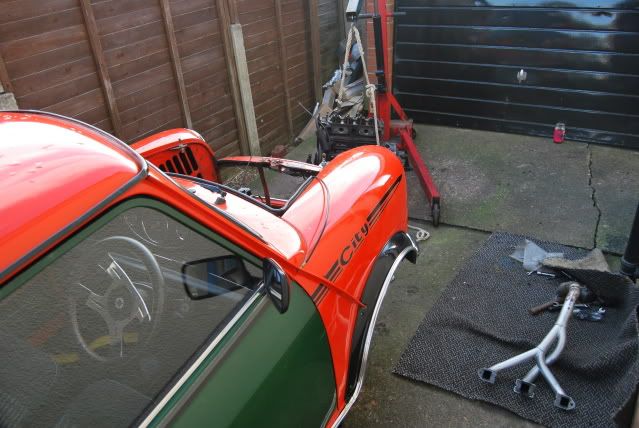
This is how she stands;

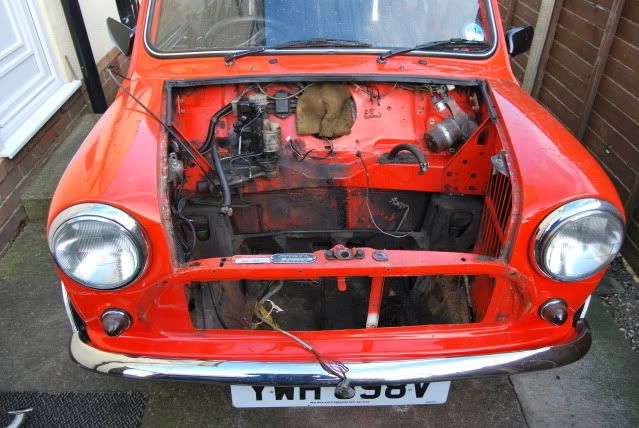
I've got quite abit going with her at the moment. Ideally I could do with a whole new front end, but I'll postpone that for now and try keep on top of it.
I stripped most of what I could from the 850 today, I'll get back out into the garage soon and continue cleaning parts! (I'm forever cleaning & respraying). The only thing that would let the 1293 down right now, is the state of the engine bay. However, this weather isn't great for spraying and I can't get my mini into the garage, due to the Mk111. I think I'll tidy up what I can and use my vermillion aerosol to spray the engine bay. See how I get on, I'm minus my mouse sander now as the bottom has completely fallen off!
I think I'm after a set of silicon hoses.
Tom
Update:
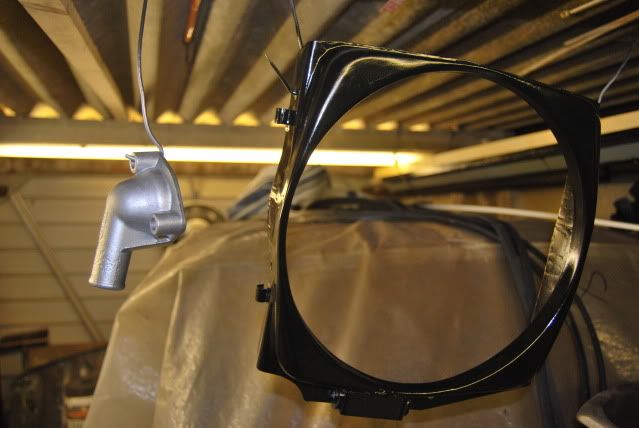
Water pump is fitted with the gasket dry. It's also now all torqued up. I have washed the yellow fan, cleaned most brackets/nuts/bolts/washers. Radiator cowling is in primer ready for a wet & dry and top coating gloss black. I sprayed my thermostat housing silver however the paint has reacted twice so I'm tempted to take it all back and start over again. Most brackets are in primer too. Water pump pulley is final coated in gloss black and it looks great.
However, there is one minor setback (There always is!)
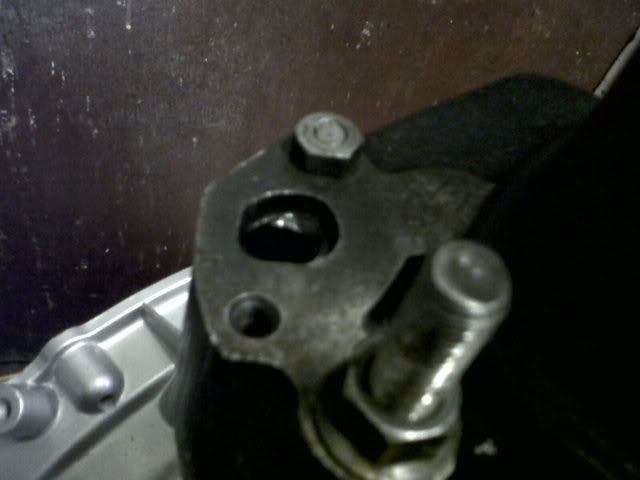
I set about removing the stud from the head as I have decided to use the bolts. I was using the twin nut locking method and the stud snapped under the pressure. I filed the top of the remaining stud to allow me to get a nut on it, but it wont budge even with a bloody good clout with a BFH! I've left the mircale juice (Rockoil) to do its work overnight! As you can see I can't get another bolt on to remove the stud. Should'nt be too much of a problem, when dad gets the welder out to do the door, I'll just get him to weld the nut on. I will have some shallower nuts somewhere, but I'm reluctant just incase it snaps again.
Water pump is fitted with the gasket dry. It's also now all torqued up. I have washed the yellow fan, cleaned most brackets/nuts/bolts/washers. Radiator cowling is in primer ready for a wet & dry and top coating gloss black. I sprayed my thermostat housing silver however the paint has reacted twice so I'm tempted to take it all back and start over again. Most brackets are in primer too. Water pump pulley is final coated in gloss black and it looks great.
However, there is one minor setback (There always is!)
I set about removing the stud from the head as I have decided to use the bolts. I was using the twin nut locking method and the stud snapped under the pressure. I filed the top of the remaining stud to allow me to get a nut on it, but it wont budge even with a bloody good clout with a BFH! I've left the mircale juice (Rockoil) to do its work overnight! As you can see I can't get another bolt on to remove the stud. Should'nt be too much of a problem, when dad gets the welder out to do the door, I'll just get him to weld the nut on.
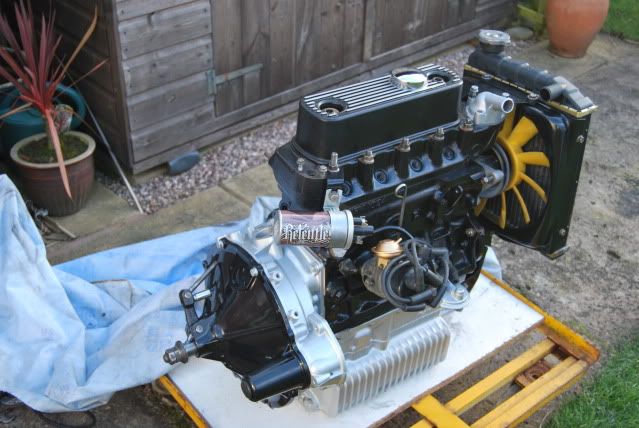
I will have some shallower nuts somewhere, but I'm reluctant just incase it snaps again.Coming together nicely now; I have fitted the fan, used two spacers as the large spacer wasn't really needed and the bolts wouldn't reach. I've been topcoating some of the brackets today.
Fan clearance:
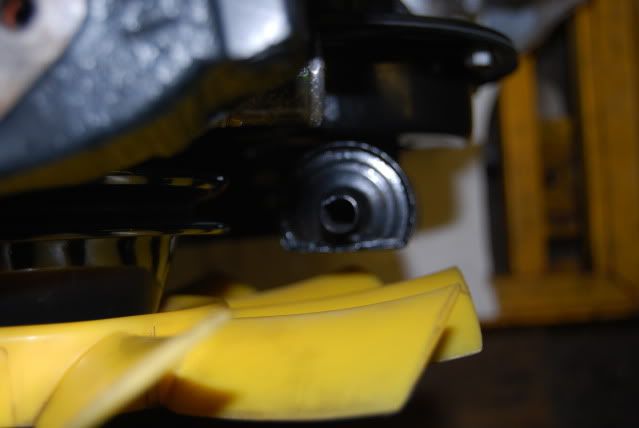
I understand that the fan draws in when hot, but theres still a suffient gap. What do you reckon guys?
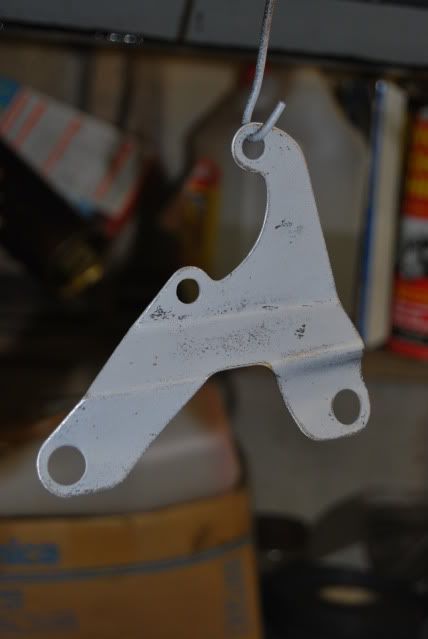
Radiator bracket;
Thermostat reacted, will need respraying;
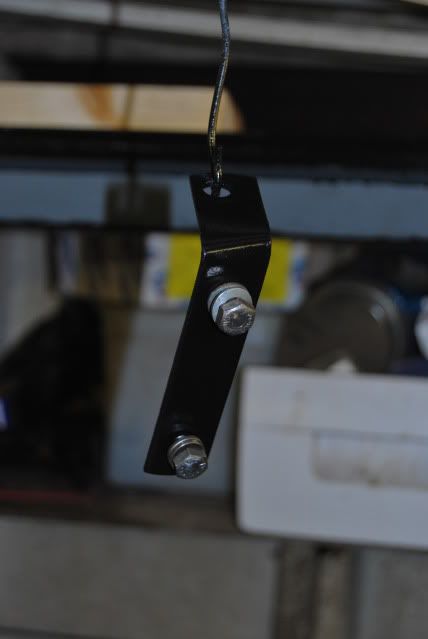
Coil bracket;
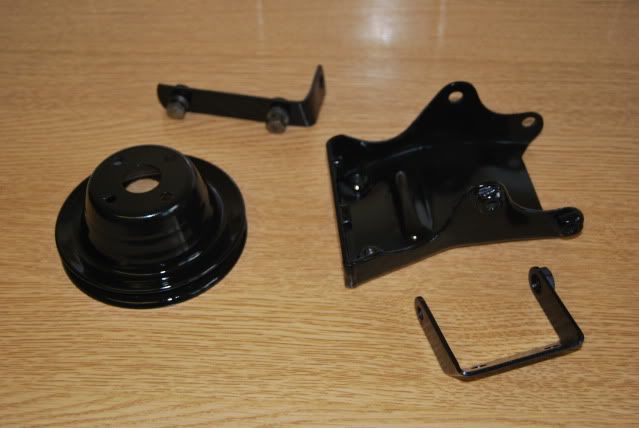
Finished results;
Point Joints on the diff;
Drilled thermostat;
Cheers,
Tom
Fan clearance:
I understand that the fan draws in when hot, but theres still a suffient gap. What do you reckon guys?
Radiator bracket;
Thermostat reacted, will need respraying;
Coil bracket;
Finished results;
Point Joints on the diff;
Drilled thermostat;
Cheers,
Tom
Hi guys,
I now have the 1275 radiator bracket with new rubber collets, however I'm using an early thermostat housing. Do I really require a large bore, later type w/ sandwich plate or can I get away with using the early housing?
As the 1275 rad bracket doesn't have a fold to reach the lower early housing, I can use some 'hollow rod' spacers to reach the bracket. I'm also using the later type bolts, will they be too long for the shallower earlt housing?
Tom

Update: The engine is now out. I managed to get that selector shaft pin out after alot of swearing & drifting!
Before; (ready to be lifted)
After;
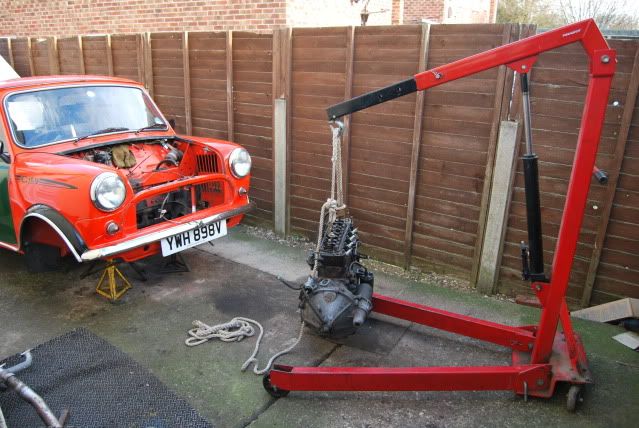
Just waiting on a few clutch parts before I can hoist the new engine in!
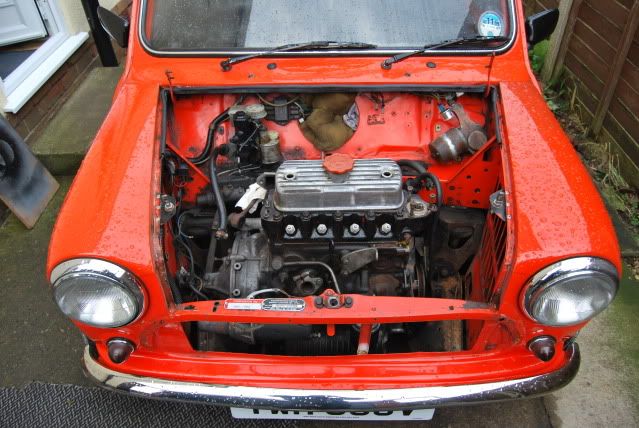
Getting there;
Its still not looking quite how I want it, but I'll get that sorted soon!
Tom
Before; (ready to be lifted)
After;
Just waiting on a few clutch parts before I can hoist the new engine in!
Getting there;
Its still not looking quite how I want it, but I'll get that sorted soon!
Tom
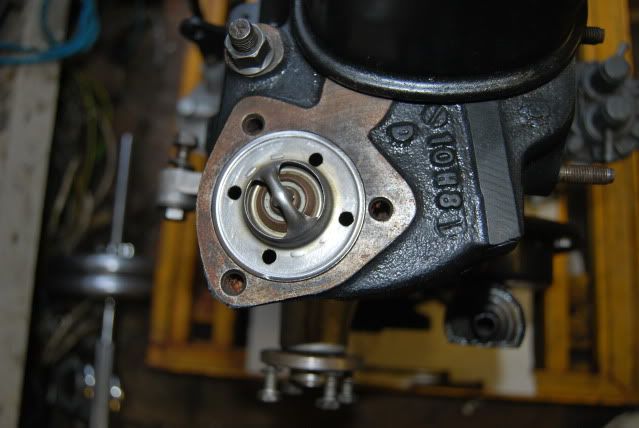
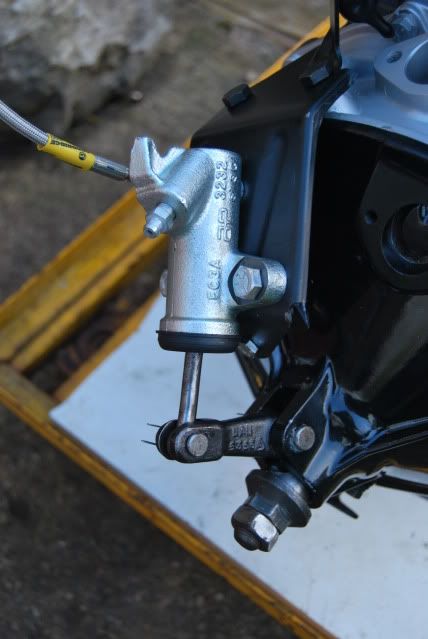
Update: Firstly, happy new year to you all - a year has passed and it still isn't in yet!
I can't get my head round the logic of the verto setup. I have done it to the book, just in hope that it will work. Does it look right?
I spotted an MOT fail, one of the teardrops has come apart. Bugger!
On a lighter note, I'm just dressing parts of the engine bay, but I'm going to put the engine in this weekend, weather permitting. It's not pretty but does the job!
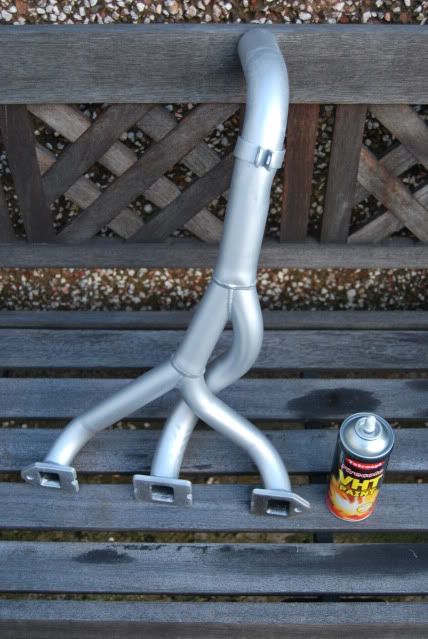
Re-sprayed my cooper freeflow manifold.
Wish me luck.
Tom
I can't get my head round the logic of the verto setup. I have done it to the book, just in hope that it will work. Does it look right?
I spotted an MOT fail, one of the teardrops has come apart. Bugger!
On a lighter note, I'm just dressing parts of the engine bay, but I'm going to put the engine in this weekend, weather permitting. It's not pretty but does the job!
Re-sprayed my cooper freeflow manifold.
Wish me luck.
Tom
hi m8 happy new year..the engine looks great well worth the wait. the front mounts on mine were gone wen i removed the front frame so i purchased solid tear drops along with solid top tower mounts but i bought rubber lower to floor mounts to "apparently" reduce noise while the solid mount keep the subframe from moving around thus improving handling. cheap fix and easier to do befor you drop the beast in.
forgot to say, youve painted your manifold and i dont think it was wise. although it is high temp paint, the heat generated inside the manifold is extremly high and will almost certainly exceed the strength of the paint. i learnt this when i bought a complete system, it got knocked about befor it went on so i painted it. within the 1st 5minutes of starting it up it burnt the paint away to the metal and smoked like hell untill the paint was gone, dont mean to burst your bubble and hopfully it dont happen to yours but thought id let you know.
Edited by dogfather on Friday 1st January 20:40
Gassing Station | Classic Minis | Top of Page | What's New | My Stuff