1983 Austin Minivan Resto begins.
Discussion


Pixel-Snapper said:
Jon Brown said:
Looking good, some quality work.
Are you aware that you need inner wings for the mot
Thanks Jon, its getting there slowly...Are you aware that you need inner wings for the mot
I wasn't aware that you needed inner wings for a steel removable front end? its never had them before and got through when it had a flip front.

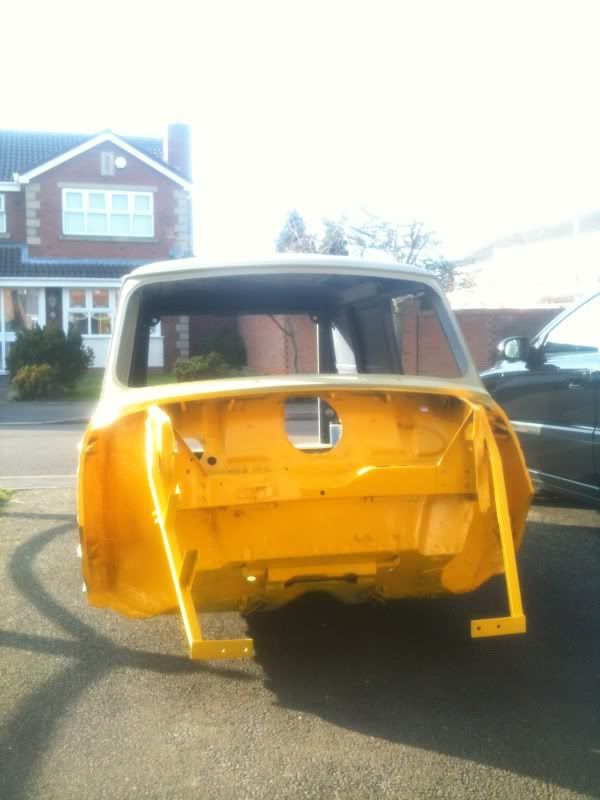
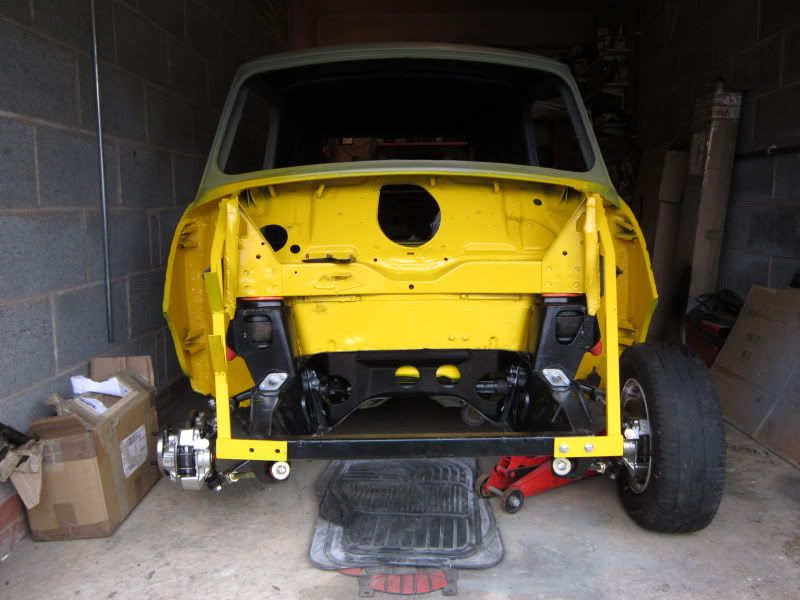
Lots of pictures of shiny bits I put on with a few days off last week.


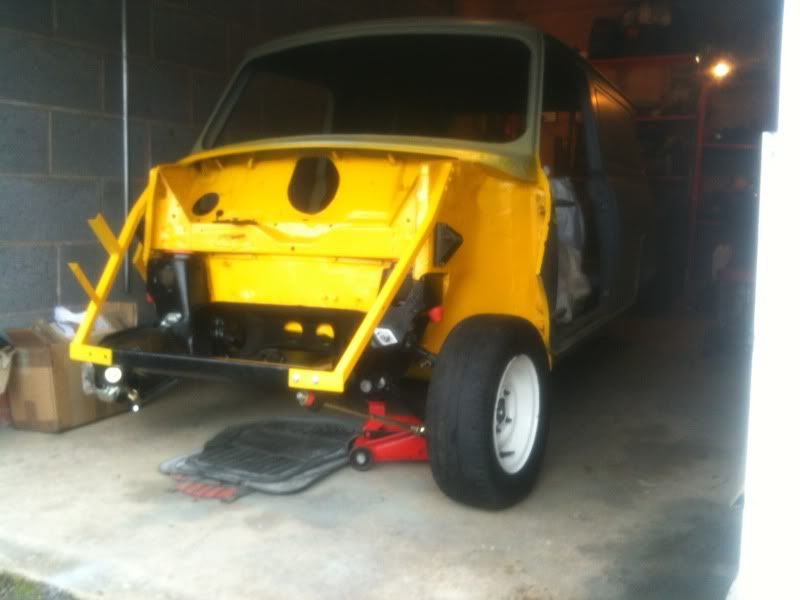
Also bent the floor pan on the passenger side, forgot that the front would be much heavyier now with the subframe back on. After pushing it back into the garage, I'd noticed that while trying to get over the lip at the front of the garage, the trolly have bent the floor...
Bugger.
Also bent the floor pan on the passenger side, forgot that the front would be much heavyier now with the subframe back on. After pushing it back into the garage, I'd noticed that while trying to get over the lip at the front of the garage, the trolly have bent the floor...
Bugger.
Edited by Pixel-Snapper on Monday 5th March 16:47
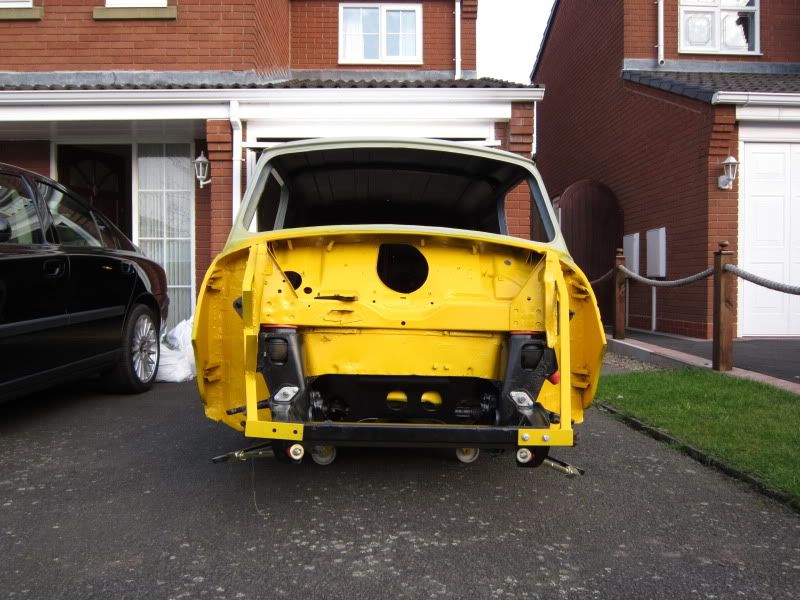
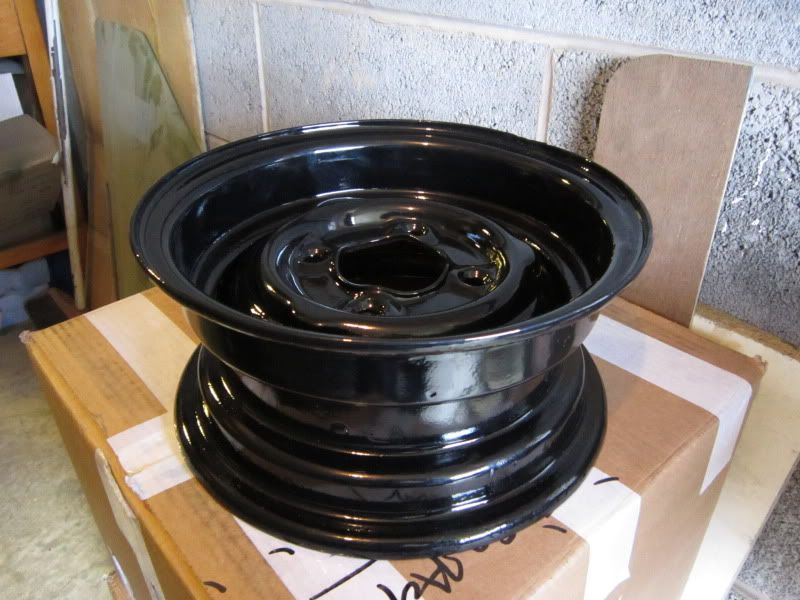
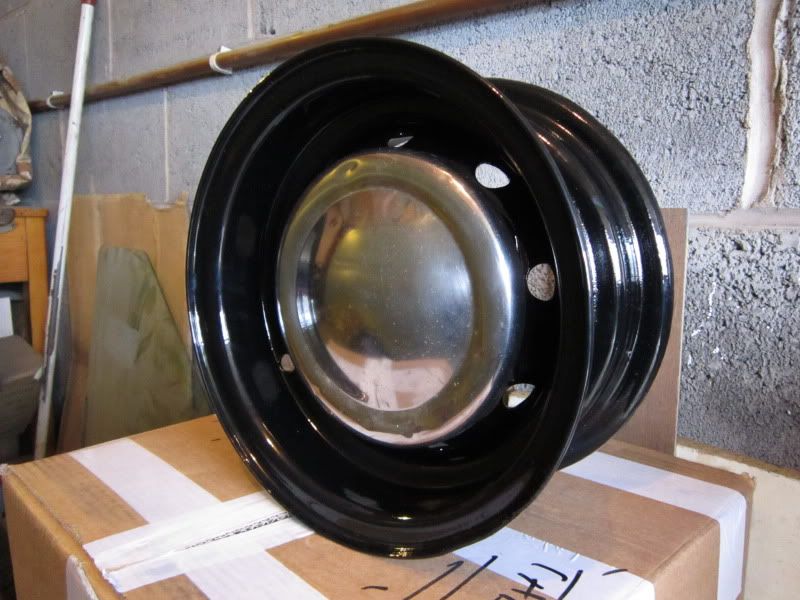
Not much been done to (now nicknamed) Bumblebee recently. Waiting on my mate to come round and blow over the rear arches so I can get the subby back on. The reverse rims have been sent off for shot blasting and powercoat in gloss black, should get them back in a week or so.
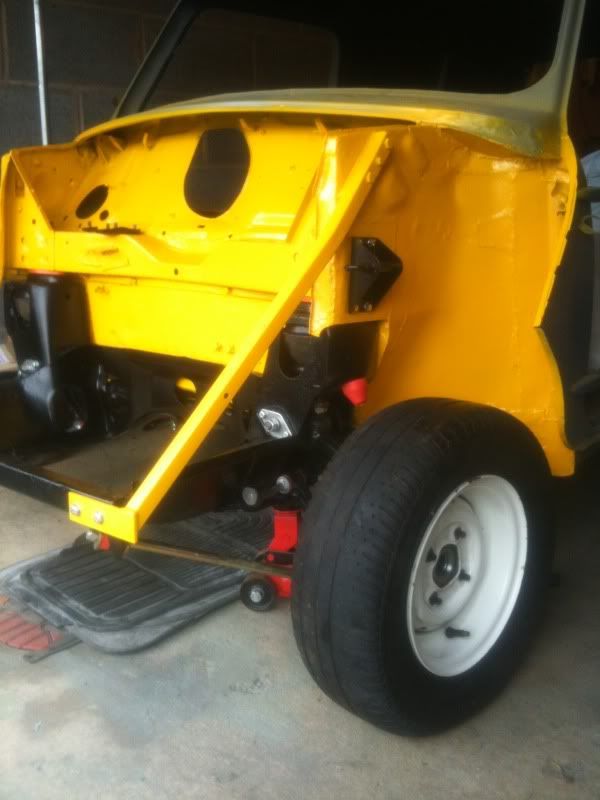
Other than that heres a few better pictures.
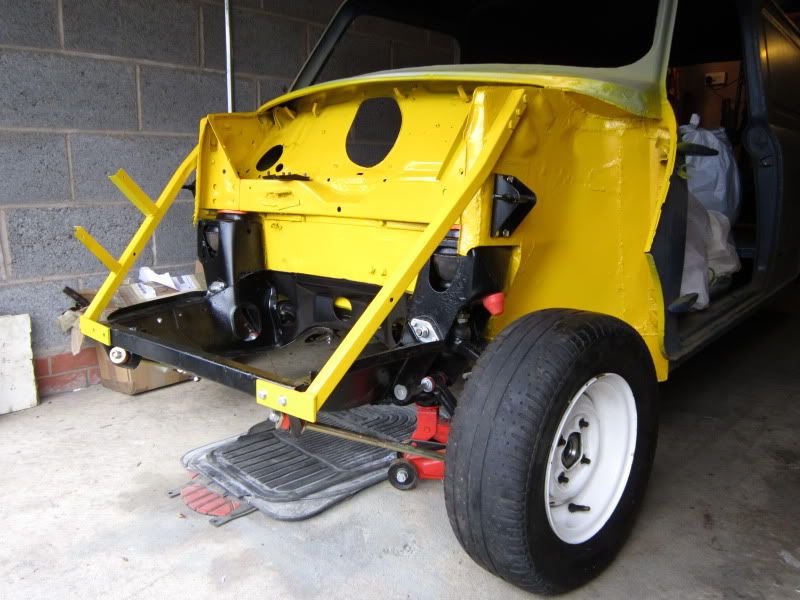
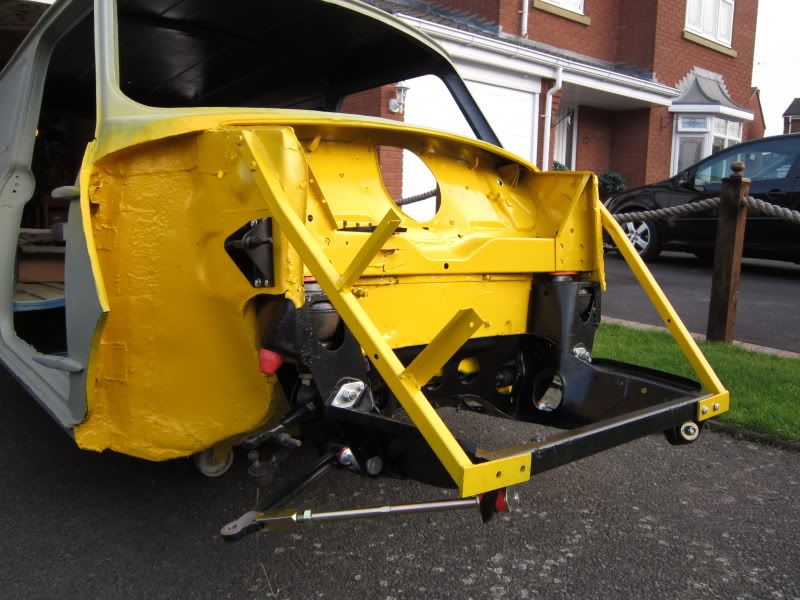
Other than that heres a few better pictures.
Not updated this for a while as I mainly update my thread on the mini forum so thought it was about time to here.
27/04/12
Finally manage to get the pesky trunnion pins out the rear subframe to replace with polybushes and new pins, however the nuts where completely foobared so need to source some replacements before getting the subby back in. (didn't take any pictures as it wasn't that interesting)
So onto the pictures.
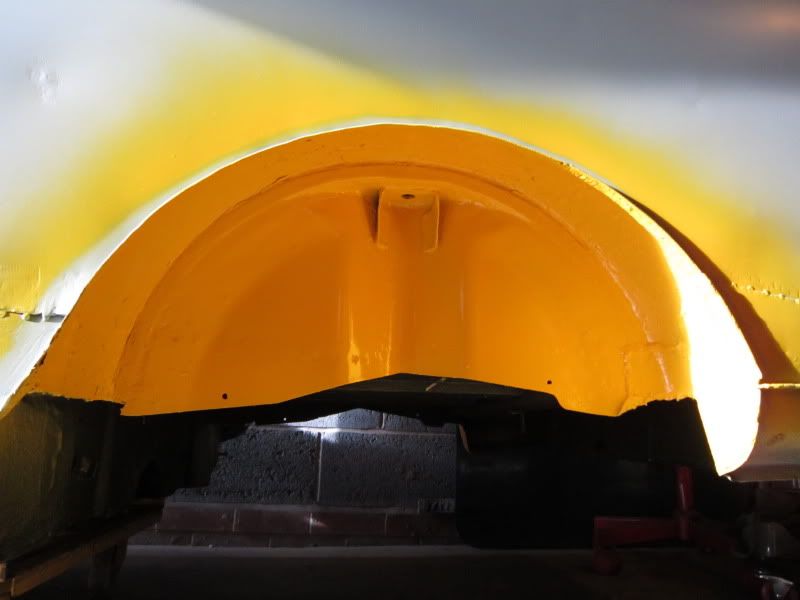
Rear tubs are painted this is only the second time I've used a spray gun and the first time with my Aldi compressor, I don't think I did to badly its abit patchy around the top as I was struggling to work out how to hold the gun upside down without all the paint falling out....!!!! I will touch up with a brush as unless your really looking you cannot see it... And if you do I don't care I'm not that anal

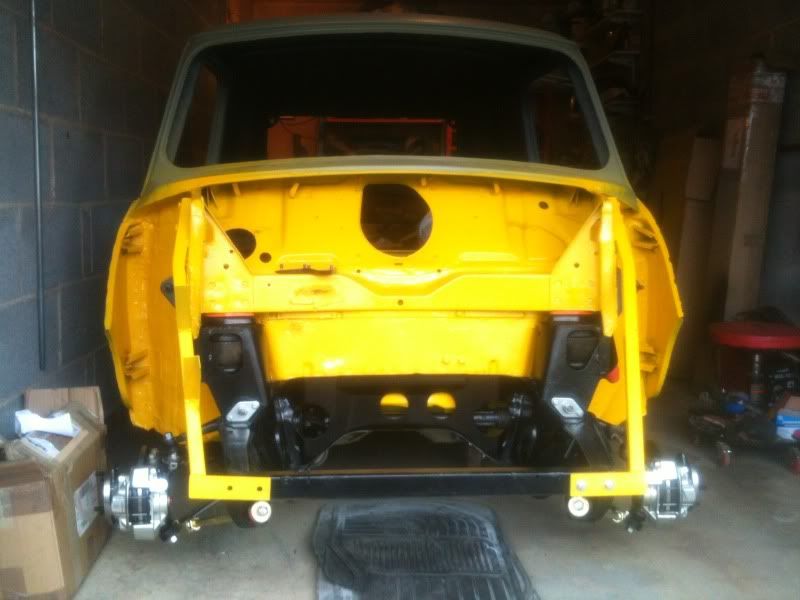
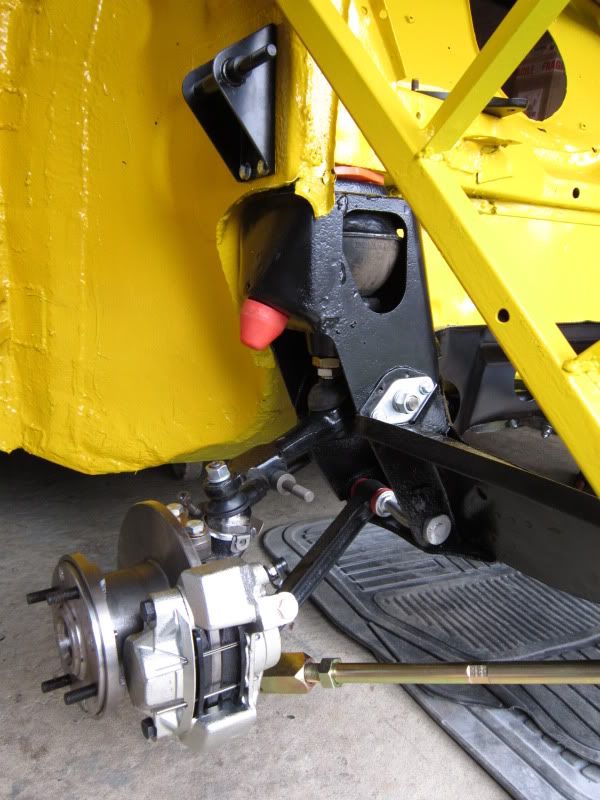
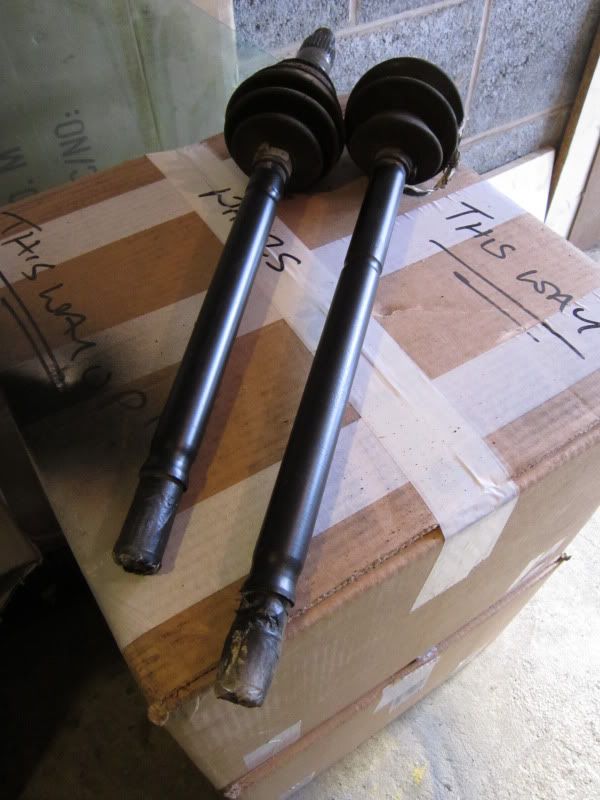
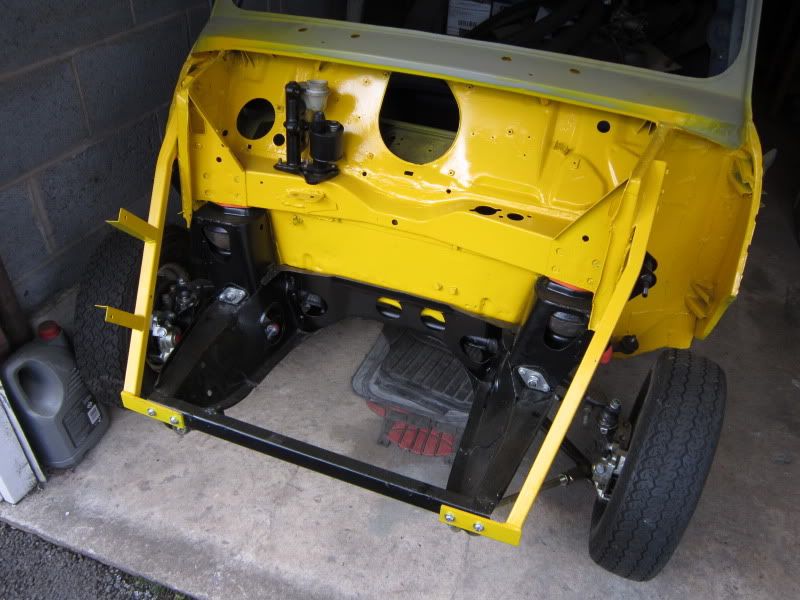
Second hand drive shafts came up well after a sand, prime and paint.
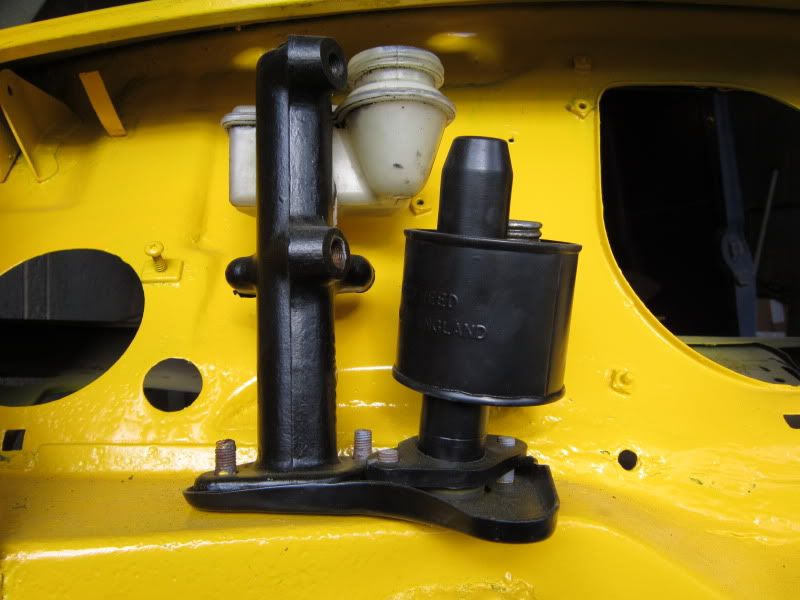
Brake and Clutch masters just sitting in place at the moment.
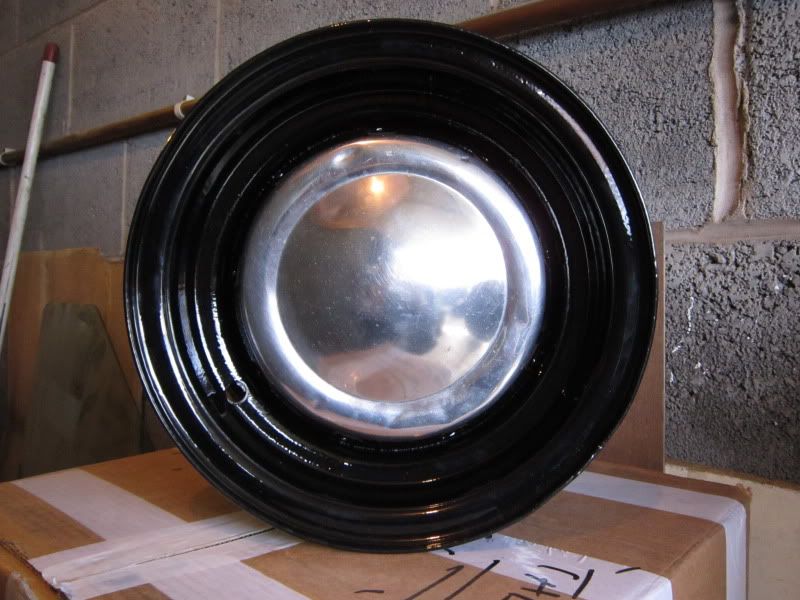
Also got the Reverse rims back from the powder coaters last week. I have to say that I'm in love! lads have done a really good job, they coated and also lacquered them to make them so so so shiny, once they have some new chrome covers and sticky yokos on they should be sweet.
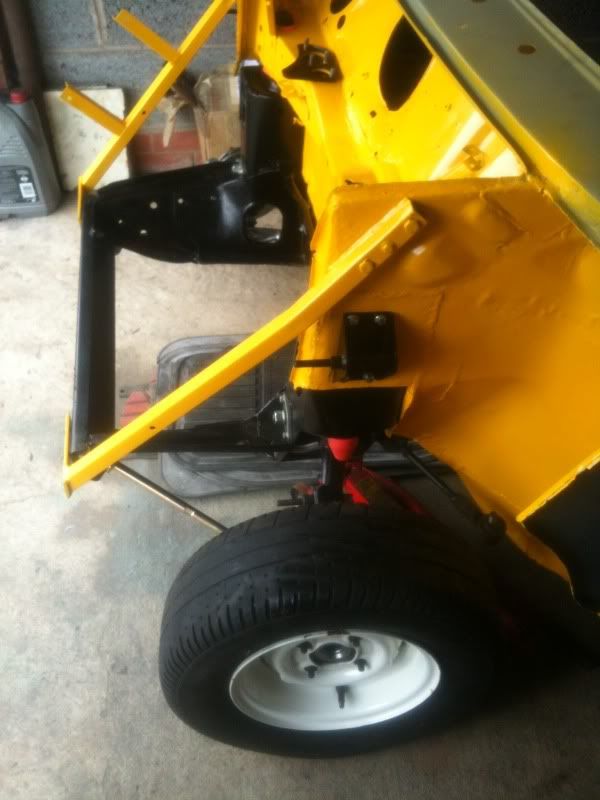
And one final one as the front end stands at the moment.
04/05/12
So hit a stubling block with getting the subby back in already. I ordered new trunnion pins but they didnt come with new nuts as i thought they would, been to 2 motorfactors and they dont stock them so will have to order some. Ow well im going to get on with undersealing the underneath instead.
14/05/12
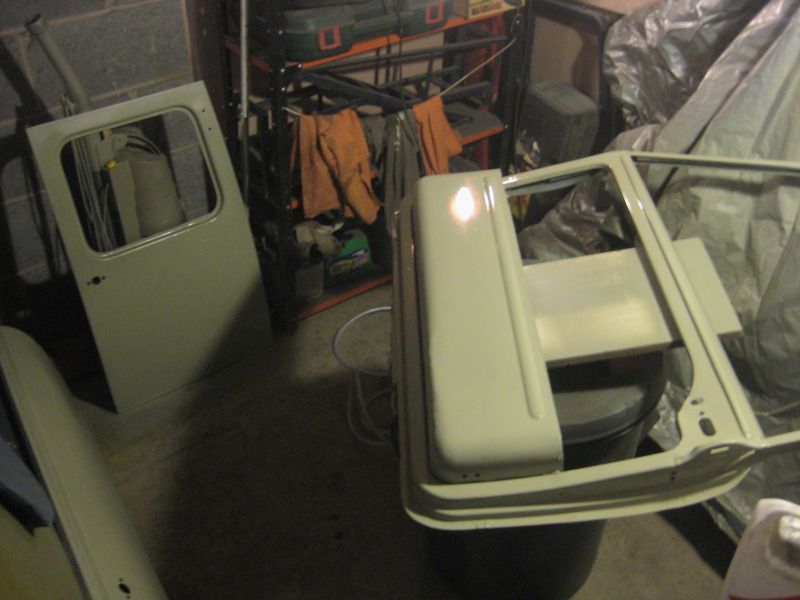
started to strip the passenger side door down over the weekend and found a number of small holes on the skin and inside frame.
door skin.
Inside frame.
I had a chat with a mate who said to fill the holes with weld and grind it back Doe's this sound expectable?
21/05/12
Well mini restoration certainly is a game of one step forward and two steps back....
Managed to get a couple hours trying to get the rear subby in last night... didn't go so well... It would seem that the subframe isn't aligning itself with the rear trunnion mounting points. This is down to the heel panel that was repaired recently I think, once I'd nipped up the bolts at the front of the subframe, the rear mounts where in line but about 3-4mm to far back... out came the subby again to have a look... there's a sandwich of about 2-3 layers of metal before the thread starts in the mount, so in effect spacing the subframe out to far.
Think its going to have to be a case of getting the grinder out and cutting it all out again and fitting new heel panel sections...
So that's set me back abit.
27/04/12
Finally manage to get the pesky trunnion pins out the rear subframe to replace with polybushes and new pins, however the nuts where completely foobared so need to source some replacements before getting the subby back in. (didn't take any pictures as it wasn't that interesting)
So onto the pictures.
Rear tubs are painted this is only the second time I've used a spray gun and the first time with my Aldi compressor, I don't think I did to badly its abit patchy around the top as I was struggling to work out how to hold the gun upside down without all the paint falling out....!!!! I will touch up with a brush as unless your really looking you cannot see it... And if you do I don't care I'm not that anal
Second hand drive shafts came up well after a sand, prime and paint.
Brake and Clutch masters just sitting in place at the moment.
Also got the Reverse rims back from the powder coaters last week. I have to say that I'm in love! lads have done a really good job, they coated and also lacquered them to make them so so so shiny, once they have some new chrome covers and sticky yokos on they should be sweet.
And one final one as the front end stands at the moment.
04/05/12
So hit a stubling block with getting the subby back in already. I ordered new trunnion pins but they didnt come with new nuts as i thought they would, been to 2 motorfactors and they dont stock them so will have to order some. Ow well im going to get on with undersealing the underneath instead.
14/05/12
started to strip the passenger side door down over the weekend and found a number of small holes on the skin and inside frame.
door skin.
Inside frame.
I had a chat with a mate who said to fill the holes with weld and grind it back Doe's this sound expectable?
21/05/12
Well mini restoration certainly is a game of one step forward and two steps back....
Managed to get a couple hours trying to get the rear subby in last night... didn't go so well... It would seem that the subframe isn't aligning itself with the rear trunnion mounting points. This is down to the heel panel that was repaired recently I think, once I'd nipped up the bolts at the front of the subframe, the rear mounts where in line but about 3-4mm to far back... out came the subby again to have a look... there's a sandwich of about 2-3 layers of metal before the thread starts in the mount, so in effect spacing the subframe out to far.
Think its going to have to be a case of getting the grinder out and cutting it all out again and fitting new heel panel sections...
So that's set me back abit.
So May came and went and I'm still nowhere near getting it painted and just keep finding more things to do or fix.
Couple of bits done last night.
Finished cleaning up the door frame ready for the new skin when I can afford them bejesus there not cheap.
Need to repair the split doors in a couple of places but offered them up they seem to fit ok.

Also have the option to go barn door.

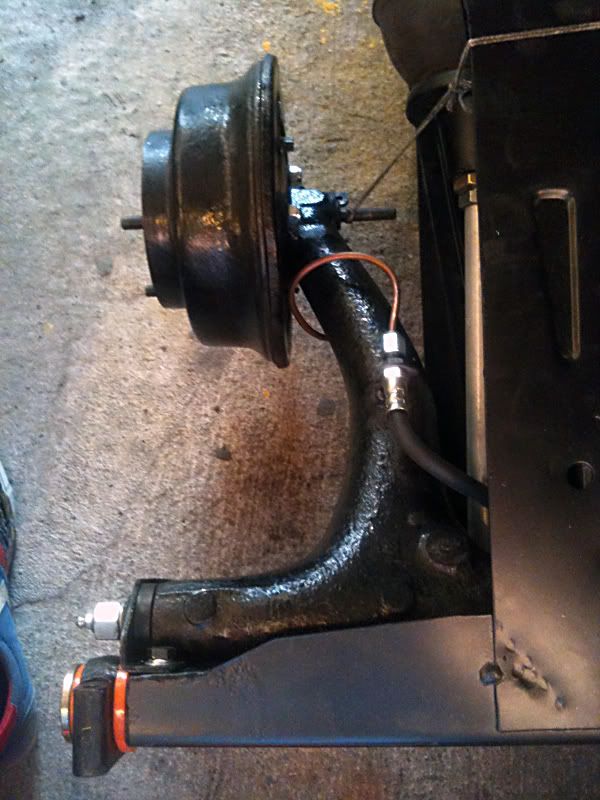
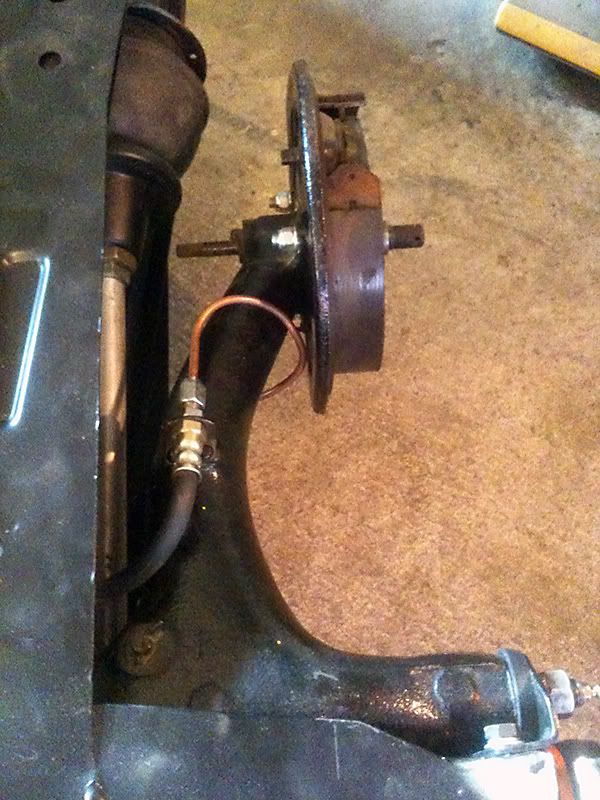
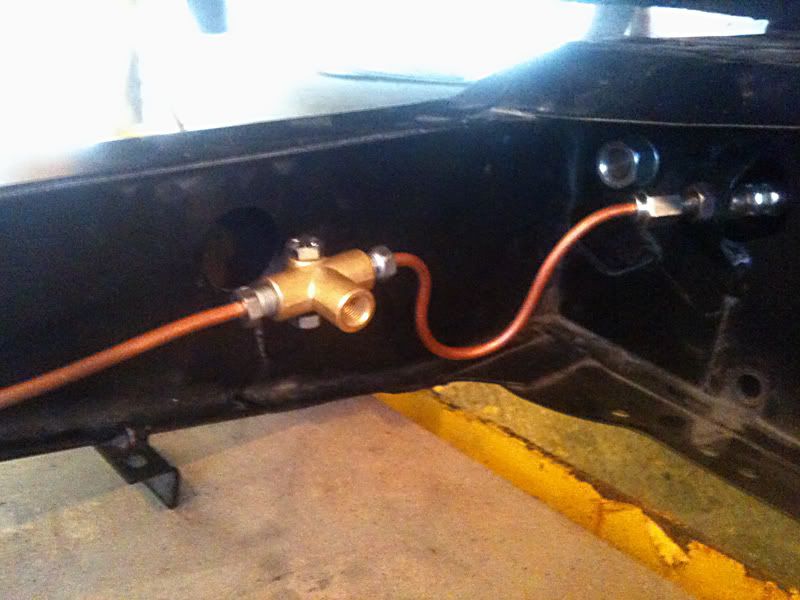
I wondered why the brake pipes wouldn't reach to the mounts on the radius arms the other day. Reason was I'd attached them to the wrong holes on the subframe.... donkey!

I've got Friday to Weds off for this jubilee thing that's going on so aiming to get onto:
- Making a start on the heelboards
- Strip the drivers door skin off
- Cut out the areas I need to repair on the rear split doors
Couple of bits done last night.
Finished cleaning up the door frame ready for the new skin when I can afford them bejesus there not cheap.
Need to repair the split doors in a couple of places but offered them up they seem to fit ok.
Also have the option to go barn door.
I wondered why the brake pipes wouldn't reach to the mounts on the radius arms the other day. Reason was I'd attached them to the wrong holes on the subframe.... donkey!
I've got Friday to Weds off for this jubilee thing that's going on
so aiming to get onto:- Making a start on the heelboards
- Strip the drivers door skin off
- Cut out the areas I need to repair on the rear split doors
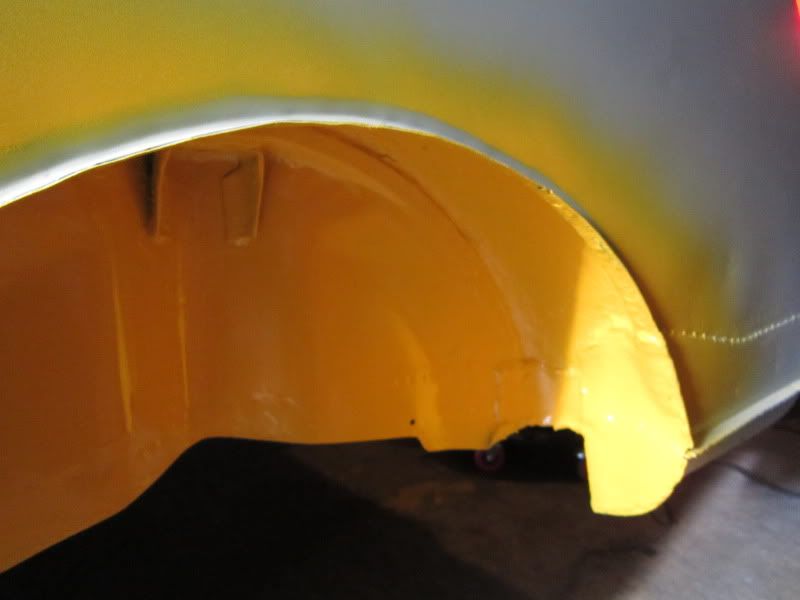
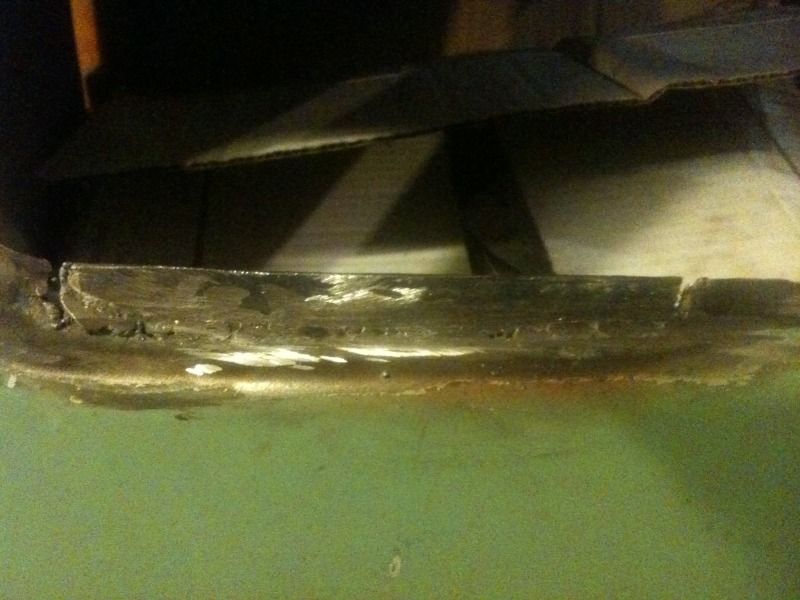
Right made a start on trying to find out why the subframe wouldn't fit last night.... Peeled off 2-3 layers of metal to get the mounting point...then...found this!!!!!!!!! Last owner had some repairs done and they basically just welded a plate right over the top of the rust! this must be what they call in the trade as a BODGE job.
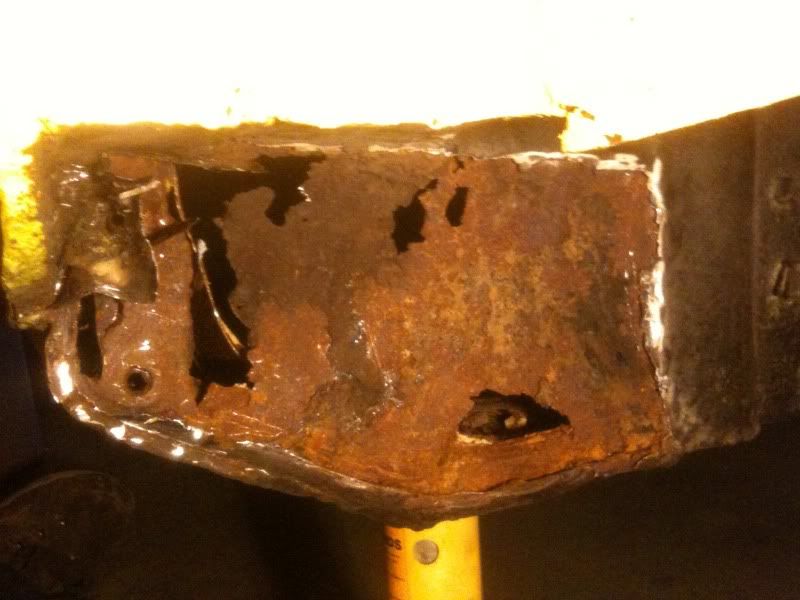

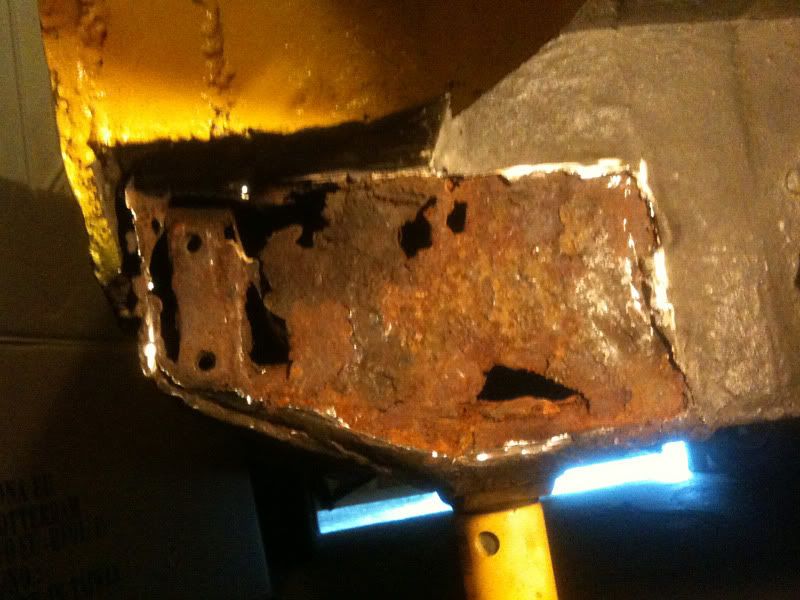
The subframe mount seems to be solid so once I have some sheetmetal I'll make a section to close up the hole. In a way I'm quite glad that I've found this out now and not later once I start using the car.
Other jobs completed over the weekend.
- Stripped the drivers door skin, cut out any sections that needed repairing, painted the inside frame with under-seal.
- Under-sealed the passenger door inside frame
- Cut out the rust from the rear split doors ready for repairs to be made
- Put on new longer track rods
- And sheered off one of the bolts that attaches the pedal box to the dash rail. B*llocks will come back to that later
the joys of mini ownership!
my top tip would be to fit the rear frame bare, 1) its far lighter, and 2) if you leave all the trunion mount nuts slack it gives you a degree of 'wobble' which helps lining the frame mounting bolts up, once the mount bolts are in and tight, you can then nip the trunion mounts nuts up. its so hard with the poly mounts to get everything to line up, the bit of slack really helps.
my top tip would be to fit the rear frame bare, 1) its far lighter, and 2) if you leave all the trunion mount nuts slack it gives you a degree of 'wobble' which helps lining the frame mounting bolts up, once the mount bolts are in and tight, you can then nip the trunion mounts nuts up. its so hard with the poly mounts to get everything to line up, the bit of slack really helps.
Thanks Guru I'll give that a go once I've tackled the rust, going to do a trial run and offer up the frame before welding it this time to make sure its all in line.
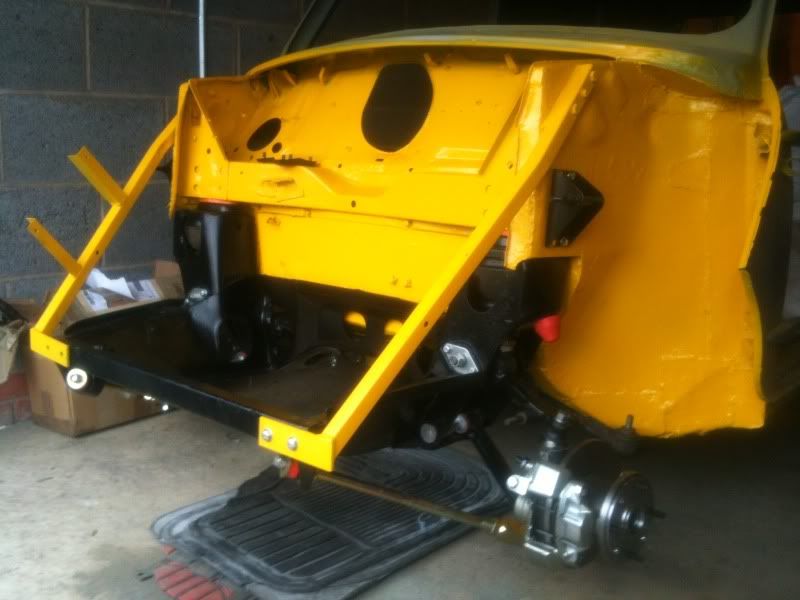
I've overcome the weight of the subframe with a quite genius method I thought. I've jacked the back of the van up on axle stands so its fairly high off the ground, then put the subframe on my trolley which also means its level, move the trolley into place and lower the car onto the subframe.
Works well and means that I can do it on my own.
Pixel-Snapper said:
Thanks Guru I'll give that a go once I've tackled the rust, going to do a trial run and offer up the frame before welding it this time to make sure its all in line.
I've overcome the weight of the subframe with a quite genius method I thought. I've jacked the back of the van up on axle stands so its fairly high off the ground, then put the subframe on my trolley which also means its level, move the trolley into place and lower the car onto the subframe.
Works well and means that I can do it on my own.
ahh, but if you leave the radius arm in you cannot leave the front trunion nuts loose!I've overcome the weight of the subframe with a quite genius method I thought. I've jacked the back of the van up on axle stands so its fairly high off the ground, then put the subframe on my trolley which also means its level, move the trolley into place and lower the car onto the subframe.
Works well and means that I can do it on my own.
Well seeing all these amazing updates from RussellG's thread is depressing me even more.
Haven't had mush time to get out in the garage due to SWMBO and the weather, would rather stay inside where its dry and warm...
But having said that progress so far has seen a very large hole in the heel board after cutting the rust out above. I'm still yet to start on the other side but I think I'll do one side at a time.
Other than that I've got myself some sheet metal for repairing the front and rear doors. Cut out all the rot and made a start on making templates out of card. The sheets starting to look like a puzzle at the moment with all the pieces I've drawn on it to minimize wastage.
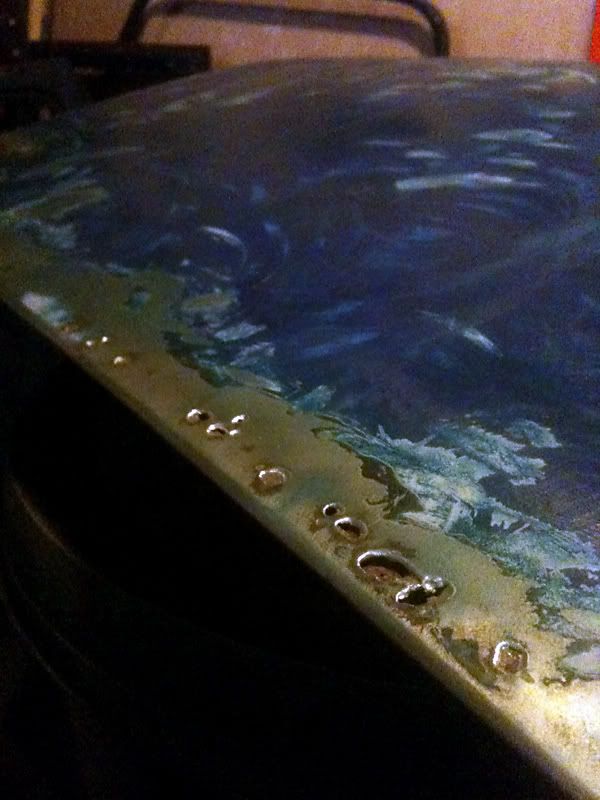
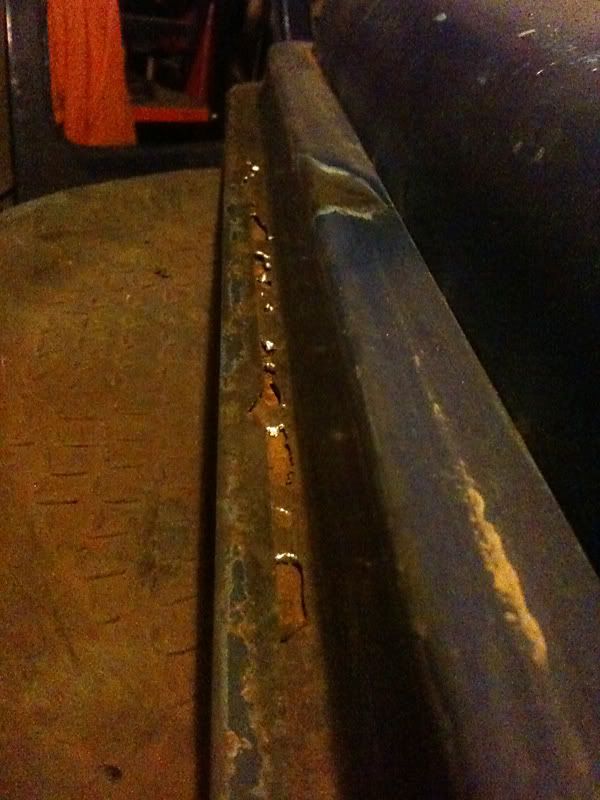
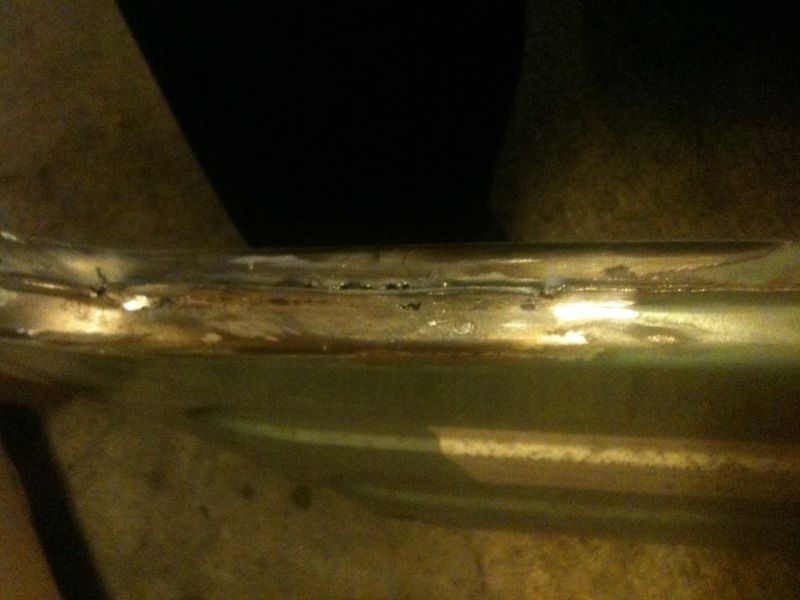
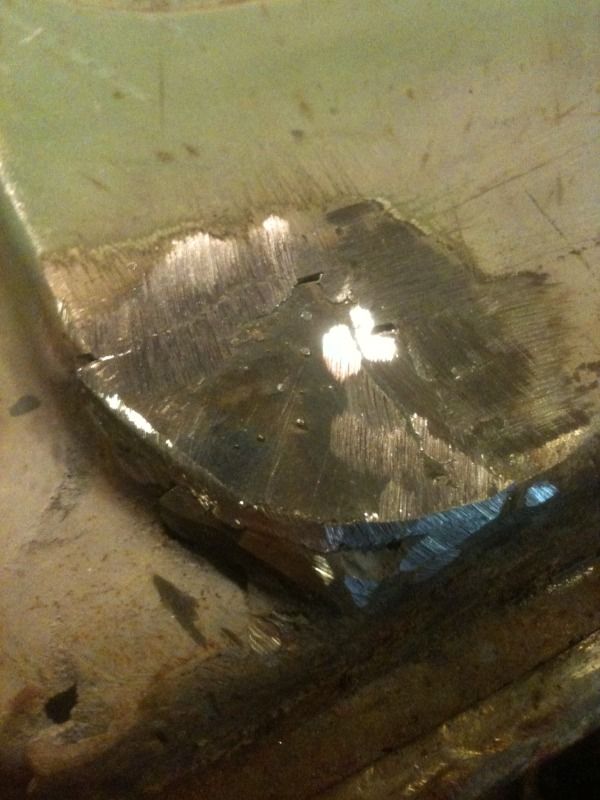
Spent an hour last night fiddling with my welder and the conclusion was........ I still can't weld that well.
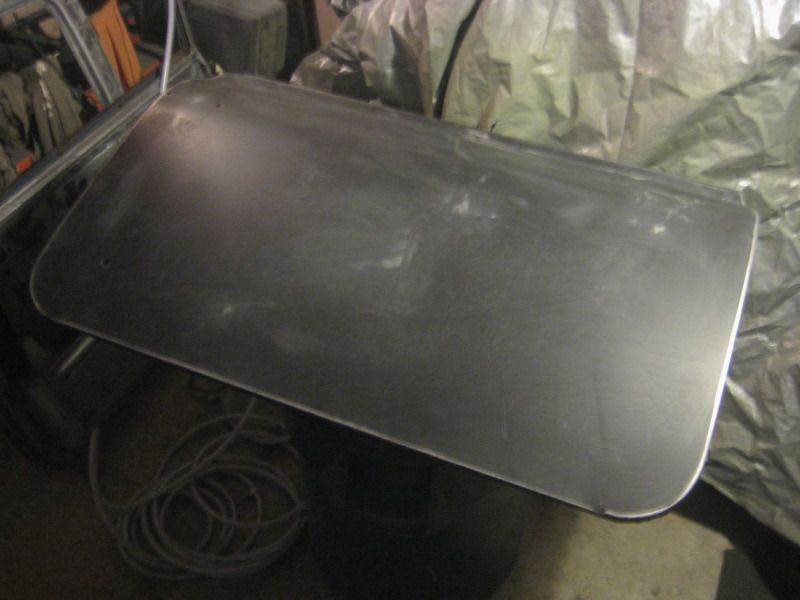
Practising on the old back door skin playing around with the wire speeds. Towards the bottom didn't go so well as you can see near set myself light a few times.

Better towards the top think I hit the sweet spot.

Penetration.

Still lots to do...
Haven't had mush time to get out in the garage due to SWMBO and the weather, would rather stay inside where its dry and warm...
But having said that progress so far has seen a very large hole in the heel board after cutting the rust out above. I'm still yet to start on the other side but I think I'll do one side at a time.
Other than that I've got myself some sheet metal for repairing the front and rear doors. Cut out all the rot and made a start on making templates out of card. The sheets starting to look like a puzzle at the moment with all the pieces I've drawn on it to minimize wastage.
Spent an hour last night fiddling with my welder and the conclusion was........ I still can't weld that well.
Practising on the old back door skin playing around with the wire speeds. Towards the bottom didn't go so well as you can see near set myself light a few times.
Better towards the top think I hit the sweet spot.
Penetration.
Still lots to do...
Its about time you updated this thread.
I find that turning the wire speed down a bit on my welder and moving a bit slower makes for a neater looking weld. Sometimes trying to move too quickly with a fast wire speed can make for an inconsitant looking weld and some of the those pictures look as if your gas might be turned down a bit low. If you can weld on old rusty mini panels you can weld on anything
I find that turning the wire speed down a bit on my welder and moving a bit slower makes for a neater looking weld. Sometimes trying to move too quickly with a fast wire speed can make for an inconsitant looking weld and some of the those pictures look as if your gas might be turned down a bit low. If you can weld on old rusty mini panels you can weld on anything
I'm using a electric gas-less flux mig welder, I went two's with my cousin on as it was a good price, I thought that it should be up to the job perhaps I'm wrong. It doesn't have a power setting from what I can see only a dial to change the wire speed and the recovery time?
Couple of people I have shown the pictures too say that I'm also pulling the trigger towards not away from myself, apparently this also makes a difference to the neatness of a weld?
Hey-ho it's all a learning process I guess.
Couple of people I have shown the pictures too say that I'm also pulling the trigger towards not away from myself, apparently this also makes a difference to the neatness of a weld?
Hey-ho it's all a learning process I guess.
Well I might or might not have been to the pub after work for a cheeky jar in the sunshine. Then returned home to consider the best use of my slightly elebriated time was to have a crack at welding up the window seam on the rear door.
Cut the panel from my jigsaw puzzle of shapes for the holes I need to fill. A task in itself as I almost cut through a few templates.

Clamped in place.
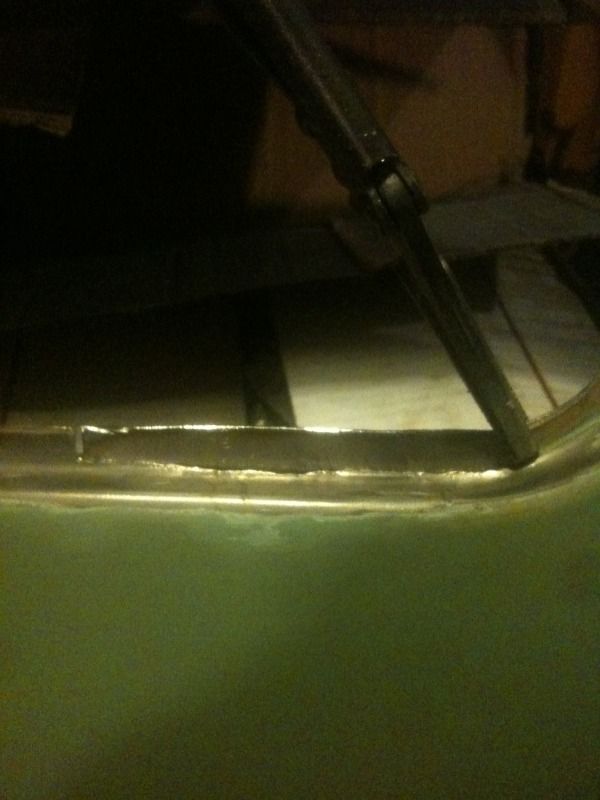
First side didn't go so neatly as the other. Need to tidy it up a bit more and fill some gaps.

Other side went much better but still need to tidy it up a bit more.
All in all quite happy for my first effort, doesn't need to be anything special as you wont see it anyway.
Cut the panel from my jigsaw puzzle of shapes for the holes I need to fill. A task in itself as I almost cut through a few templates.
Clamped in place.
First side didn't go so neatly as the other. Need to tidy it up a bit more and fill some gaps.
Other side went much better but still need to tidy it up a bit more.
All in all quite happy for my first effort, doesn't need to be anything special as you wont see it anyway.
Crikey has it really been that long since ive done anything to the van!
Off to stanford hall on sunday, although not in the van as planned having to borrow my cousins clubman.
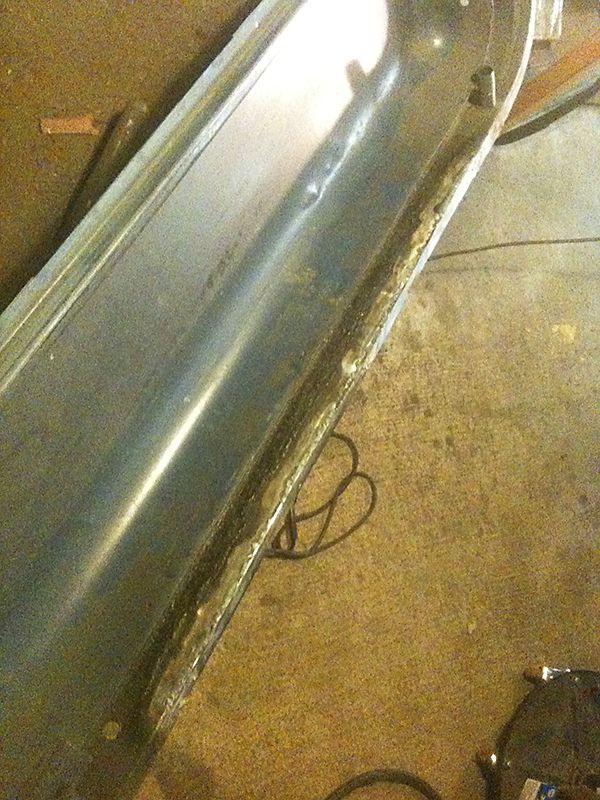
Managed to get sometime in on the passenger door tonight, welded some new metal into the lip at the lower edge, its not pretty but strong enough and you wont see it.
Hoping to pick up 2 new mk1 skins at the show. Trying to decide if i go for ali or steel though?
Off to stanford hall on sunday, although not in the van as planned
having to borrow my cousins clubman. Managed to get sometime in on the passenger door tonight, welded some new metal into the lip at the lower edge, its not pretty but strong enough and you wont see it.
Hoping to pick up 2 new mk1 skins at the show. Trying to decide if i go for ali or steel though?

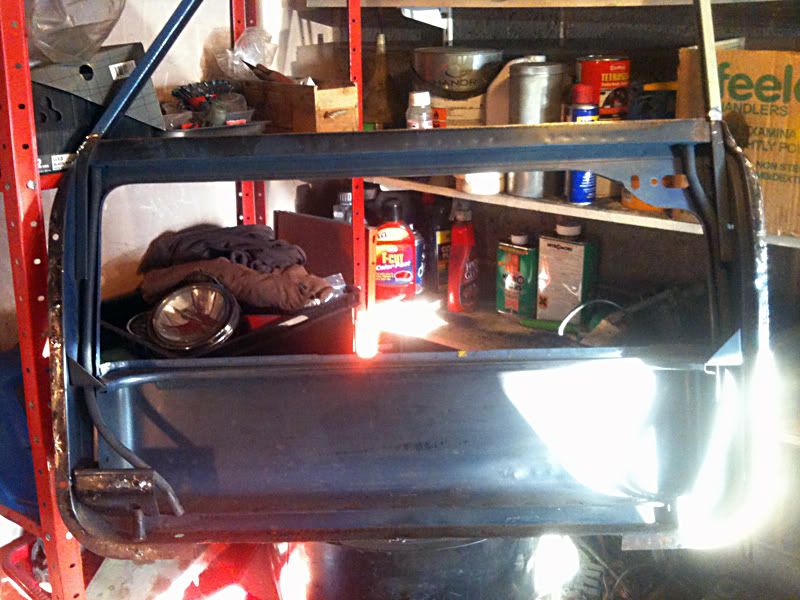
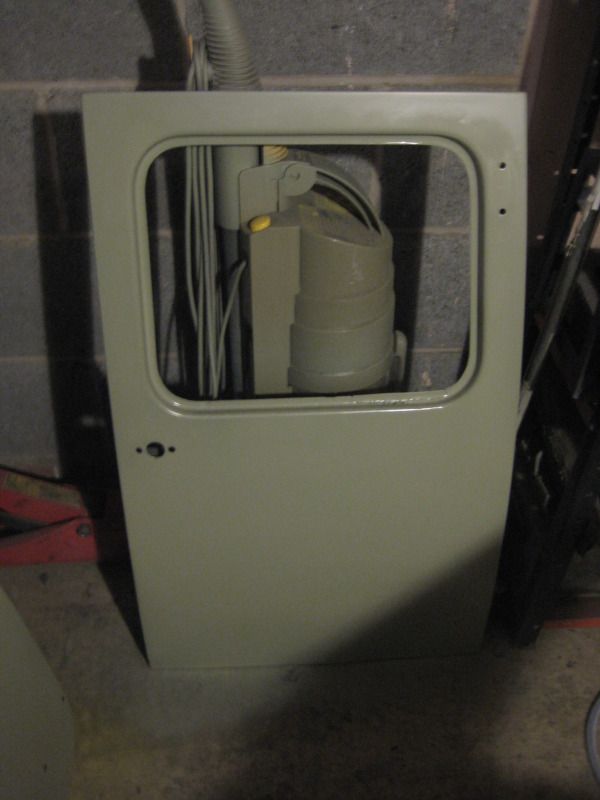
Got abit of time in on the passenger door Friday afternoon. Its not pretty but its strong enough and you wont see it. Also got 2 new skins at Stanford Hall yesterday.
Need to do the same to the drivers side tonight.
As you can see there are a number of dents in the pocket so will also need to bash n fill them before paint.
Will I be better off priming the door frames first without the skin on though?
Need to do the same to the drivers side tonight.
As you can see there are a number of dents in the pocket so will also need to bash n fill them before paint.
Will I be better off priming the door frames first without the skin on though?
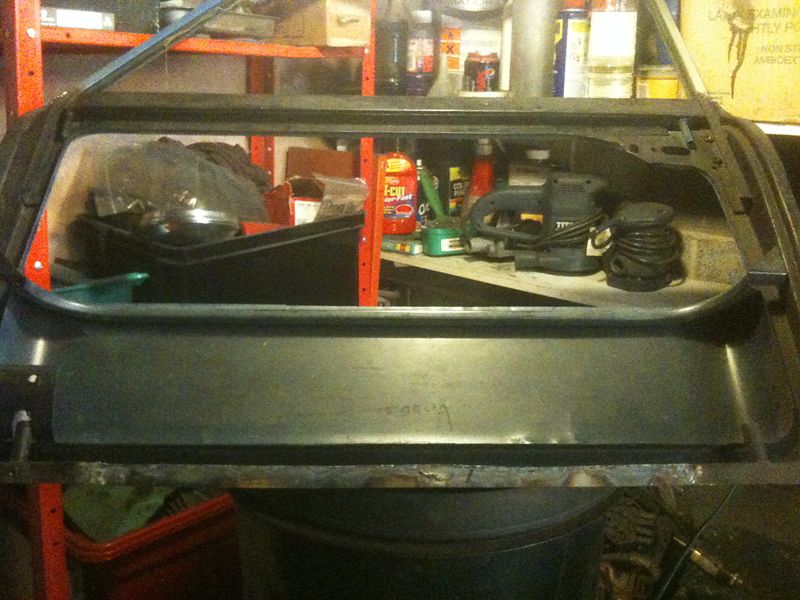
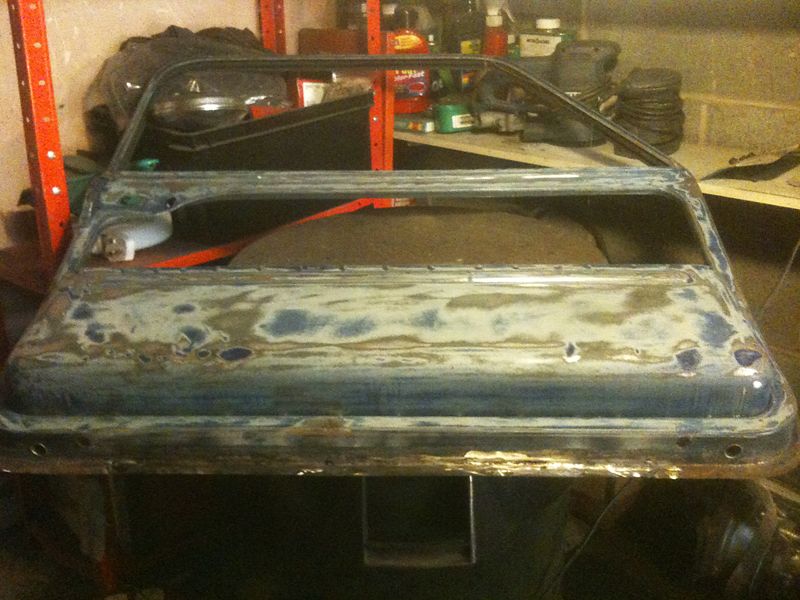
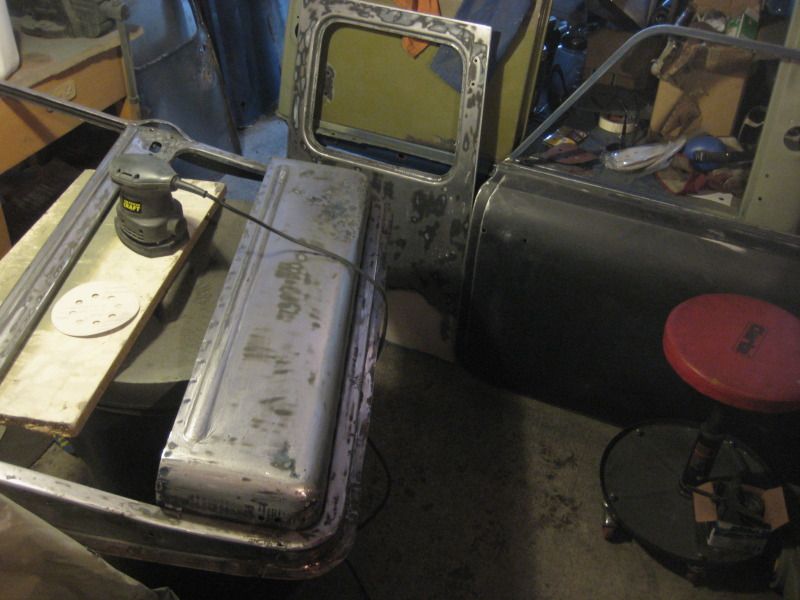
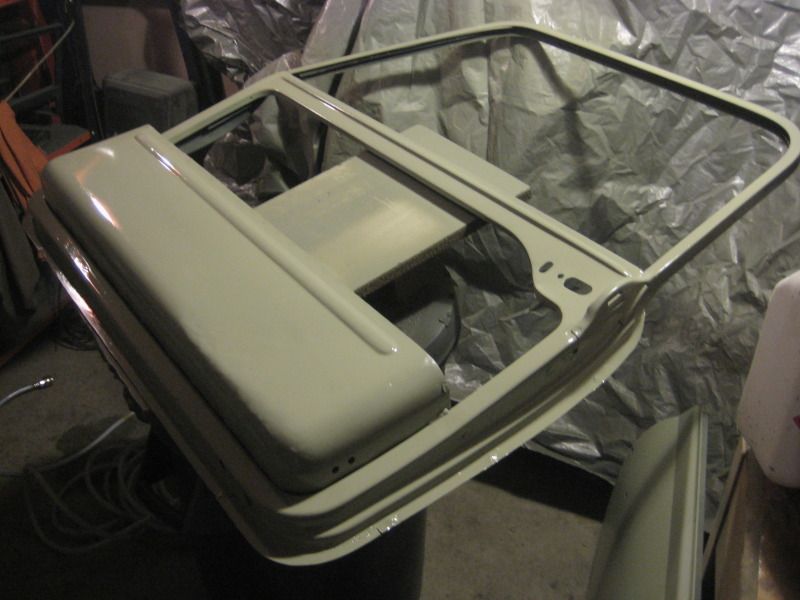
Spent the day today sanding down the doors and skins ready to etch prime.
My man cave.
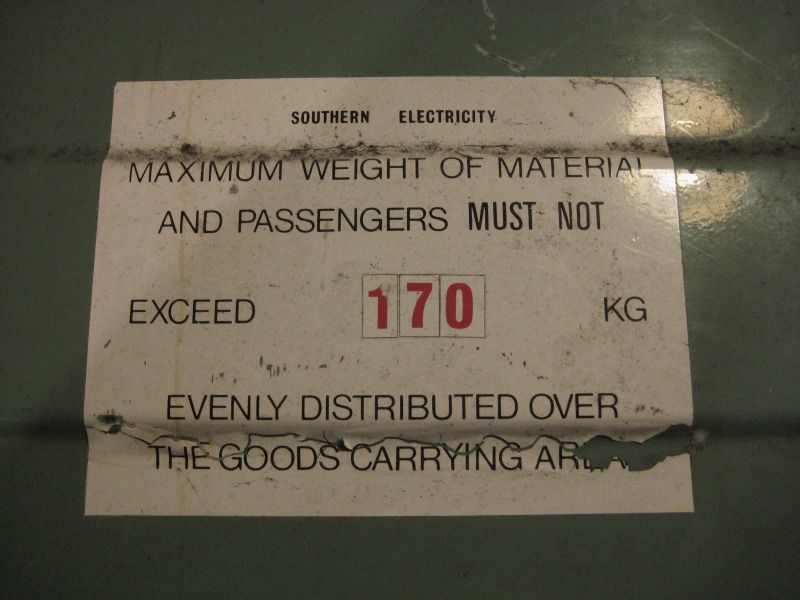
Rear door I picked up off ebay had a sticker on the rear so took a picture for histories sake.
I remember someone saying that the ecoat can peel on the edges when folding it round the door frame. So decided to rub the edges down then go over the hole lot with 240grit.
That little lot took a couple of hours this morning so this afternoon I got onto the etch primer.
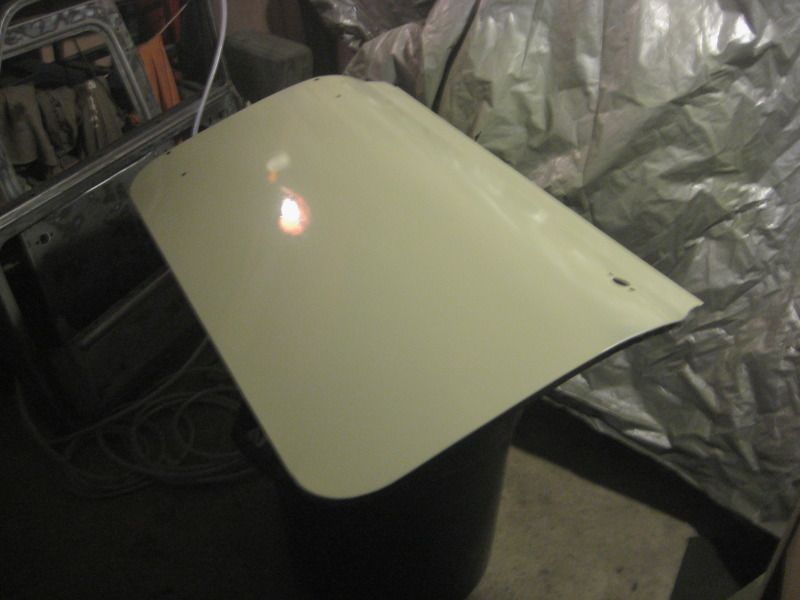
Will have to do the other side's another day once they've dried.
My man cave.
Rear door I picked up off ebay had a sticker on the rear so took a picture for histories sake.
I remember someone saying that the ecoat can peel on the edges when folding it round the door frame. So decided to rub the edges down then go over the hole lot with 240grit.
That little lot took a couple of hours this morning so this afternoon I got onto the etch primer.
Will have to do the other side's another day once they've dried.
Gassing Station | Classic Minis | Top of Page | What's New | My Stuff