1983 Austin Minivan Resto begins.
Discussion


Cheers elgassi means a lot.
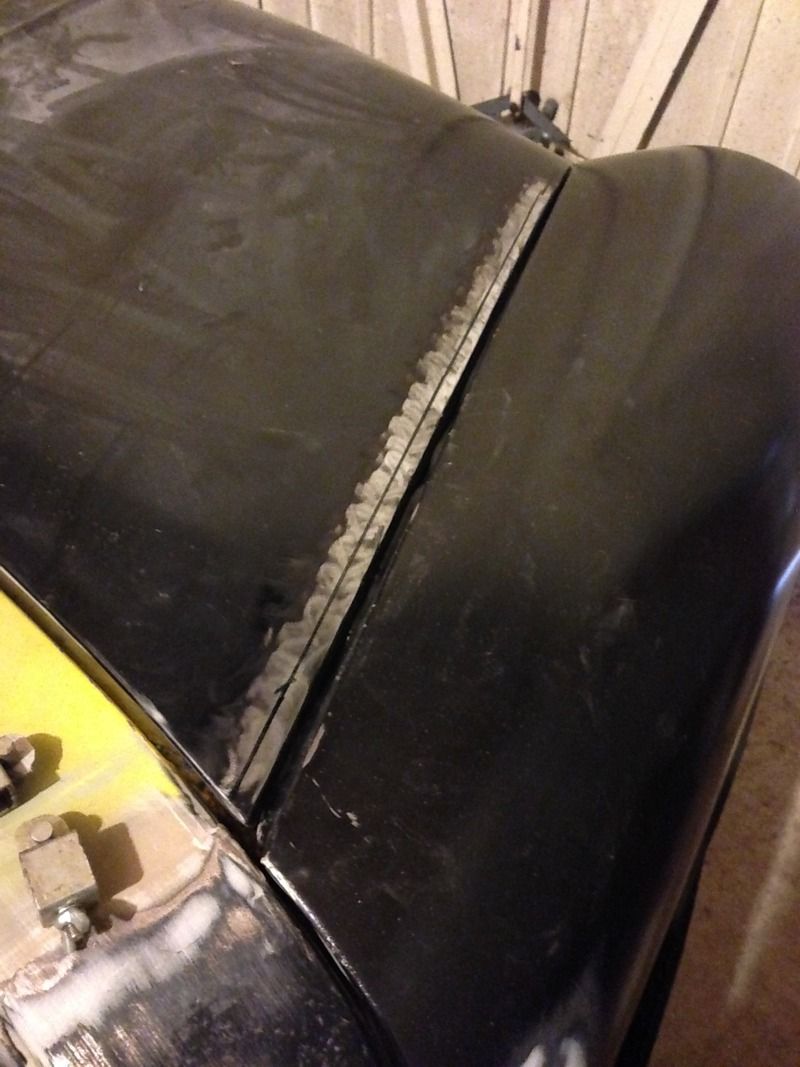
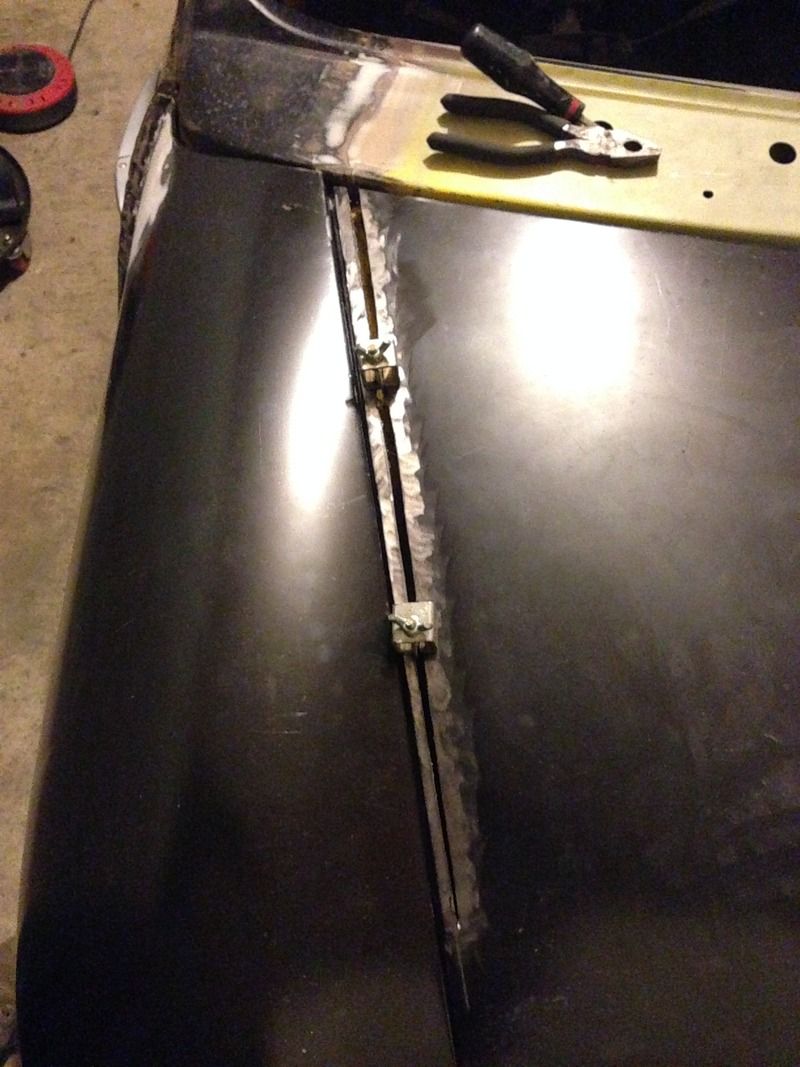
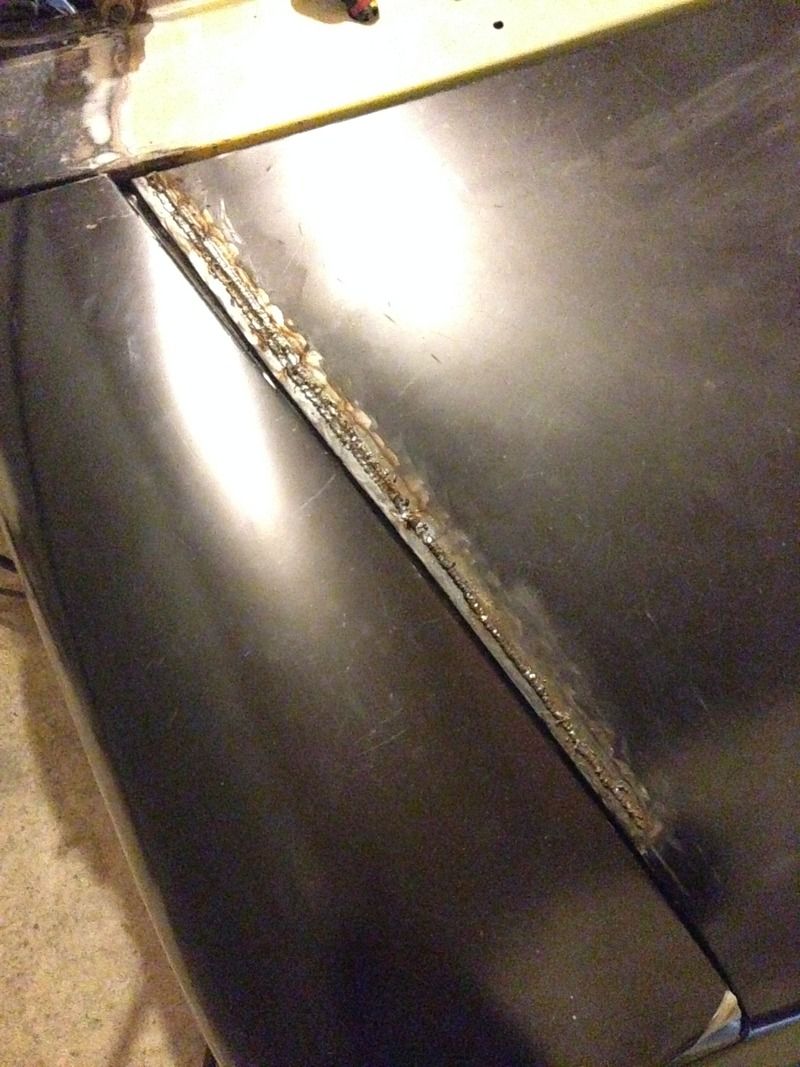
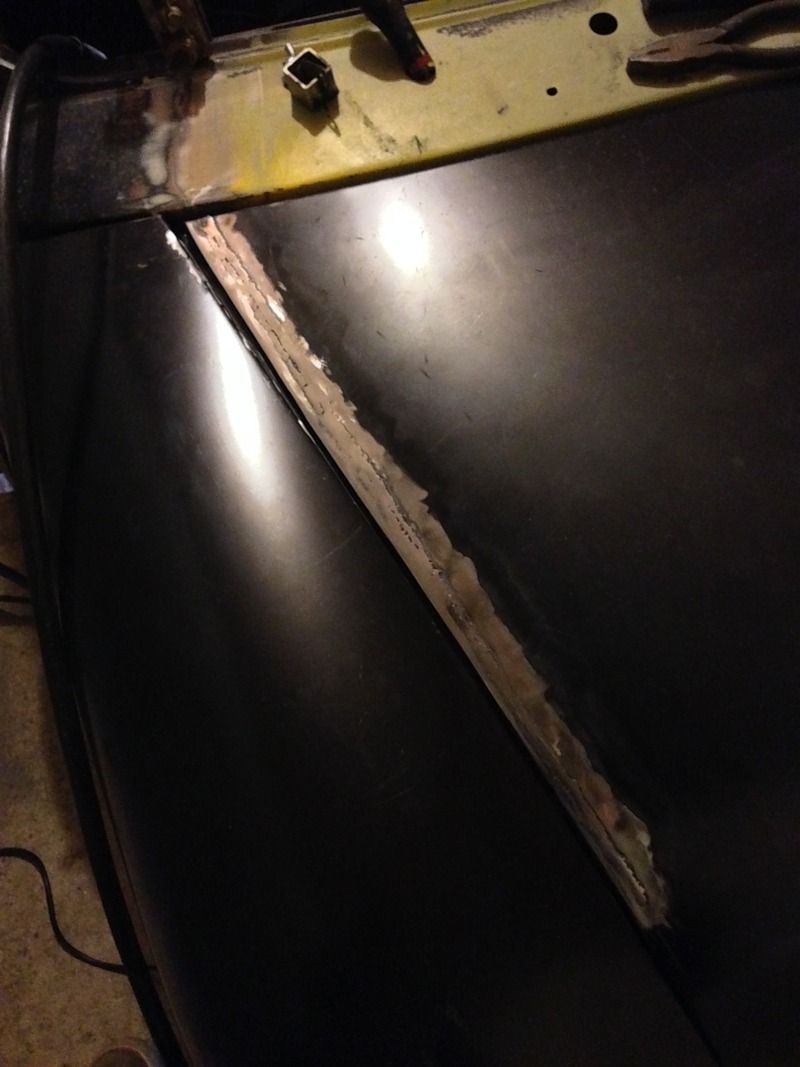
Spent the last couple of weekend sorting the bonnet gaps by slotting my nice new bonnet at either end. Had to take a deep breath when I made the first cut that's for sure!!!
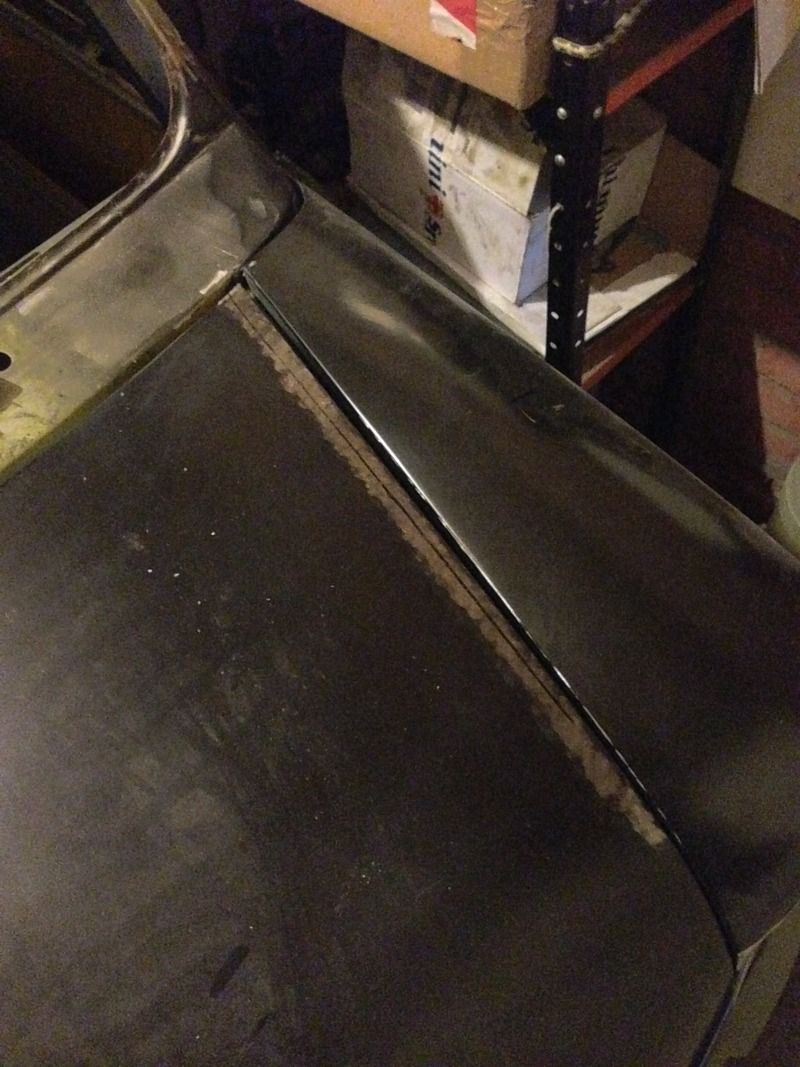
I also found a period AA badge at a car boot last weekend.


I've decide to get the shell over to the painter next weekend to have him start on the prep. I'm still deciding what to do about the drivers door and whether I chop it about to fit or just put another new skin on.
I does feel like it's getting closer though.

Spent the last couple of weekend sorting the bonnet gaps by slotting my nice new bonnet at either end. Had to take a deep breath when I made the first cut that's for sure!!!


I also found a period AA badge at a car boot last weekend.

I've decide to get the shell over to the painter next weekend to have him start on the prep. I'm still deciding what to do about the drivers door and whether I chop it about to fit or just put another new skin on.
I does feel like it's getting closer though.
elgassi said:
Hi Pixel
spotted on page 115 of cool classic cars spotter cars, in Classic cars and yesterdays heros AA van like yours
http://www.pistonheads.com/gassing/topic.asp?h=0&a...
Hahaha cool. spotted on page
115 of cool classic cars spotter cars, in Classic cars and yesterdays heros AA van like yourshttp://www.pistonheads.com/gassing/topic.asp?h=0&a...
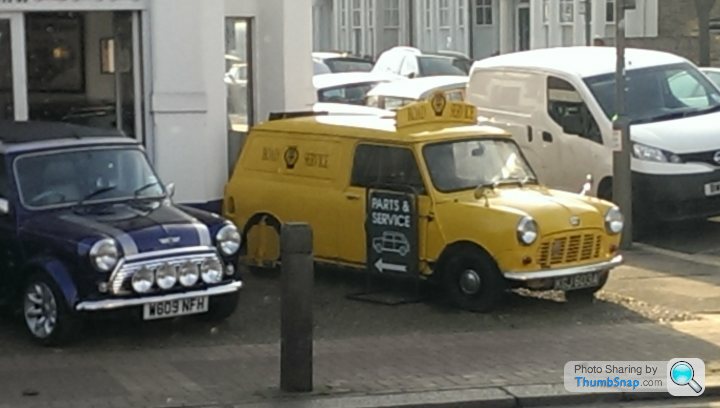
Door fit better than mine though
FWDRacer said:
Progress is good.
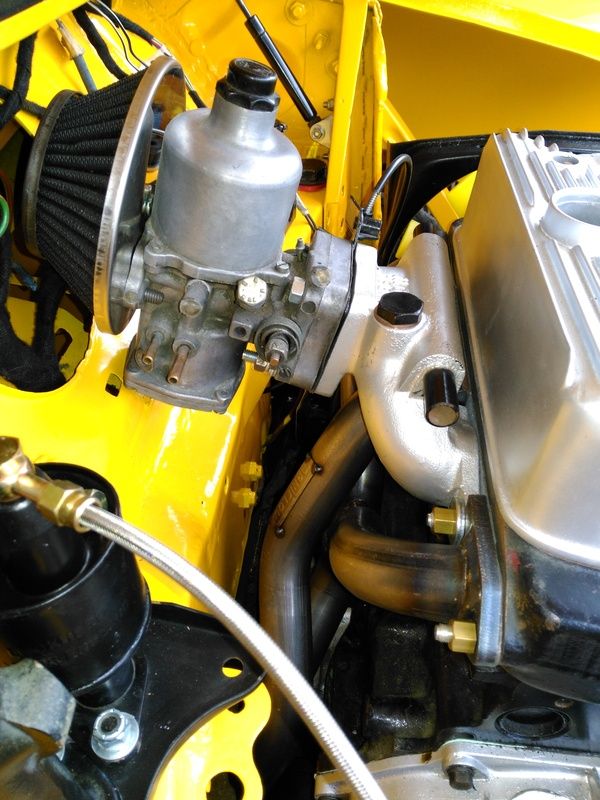
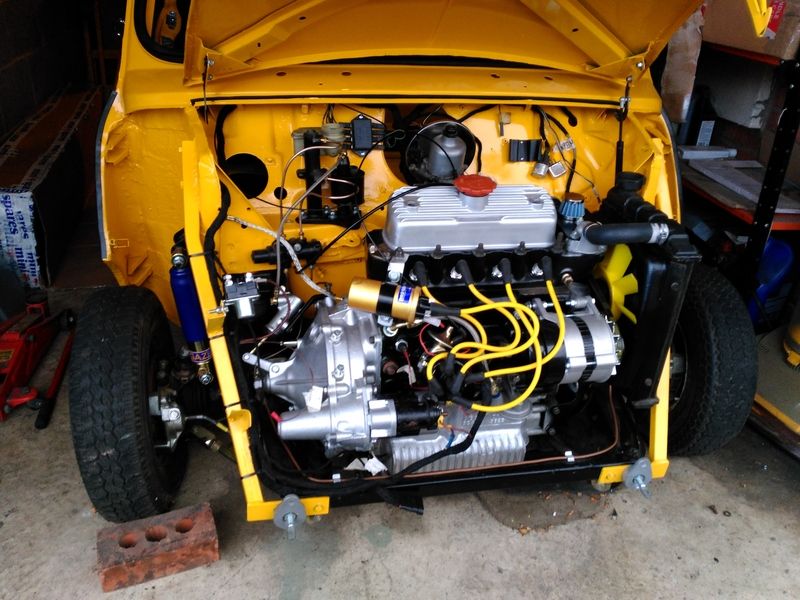
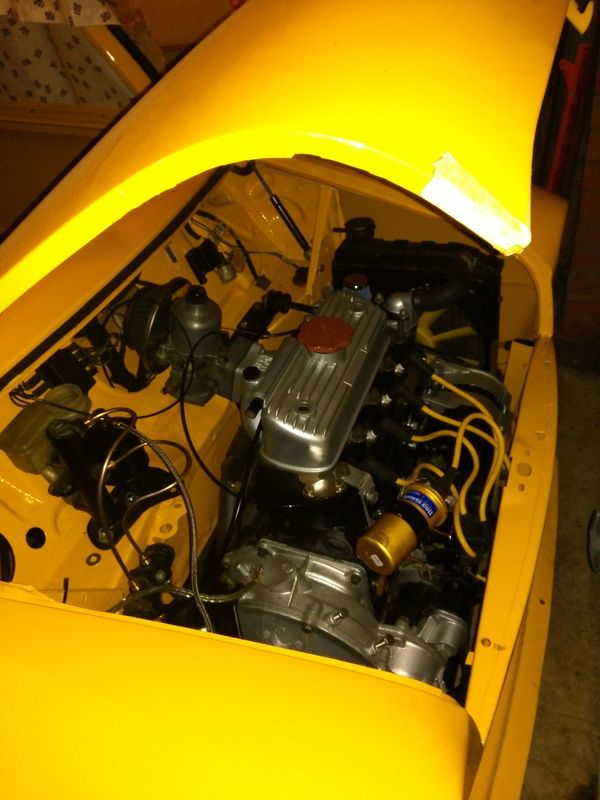
Had a look at the dressed engine photo, very smart - One problem noted, You can't use a none A+ alternator bracket (natty silver paint ) on an A+ unit. Drop me a pm with your address and I'll send you the correct bracket FOC.
A head on you with that one FWD just haven't got round to taking it off after realising. Already got a zinc one but thank you for the offer that's very kind.
Don't bother with an oil cooler for a road car unless you are running an Oil T/stat. Oil never gets hot enough and does as much damage as thin/overheated oil...
Interesting you say that. It had one fitted when I bought it so was just going to replace it. Be a damn site cheaper just replacing with braided hoses instead.
Had a look at the dressed engine photo, very smart - One problem noted, You can't use a none A+ alternator bracket (natty silver paint
) on an A+ unit. Drop me a pm with your address and I'll send you the correct bracket FOC.A head on you with that one FWD just haven't got round to taking it off after realising. Already got a zinc one but thank you for the offer that's very kind.
Don't bother with an oil cooler for a road car unless you are running an Oil T/stat. Oil never gets hot enough and does as much damage as thin/overheated oil...
Interesting you say that. It had one fitted when I bought it so was just going to replace it. Be a damn site cheaper just replacing with braided hoses instead.
Edited by Pixel-Snapper on Friday 27th March 10:35
UPDATE:
Well... A sad day today I had to let the van go......

Thankfully only to the painter!!!!!!!! :wub: :P :mrcool:

So the next time I see SAL she should be all Yellow with a hint of black...
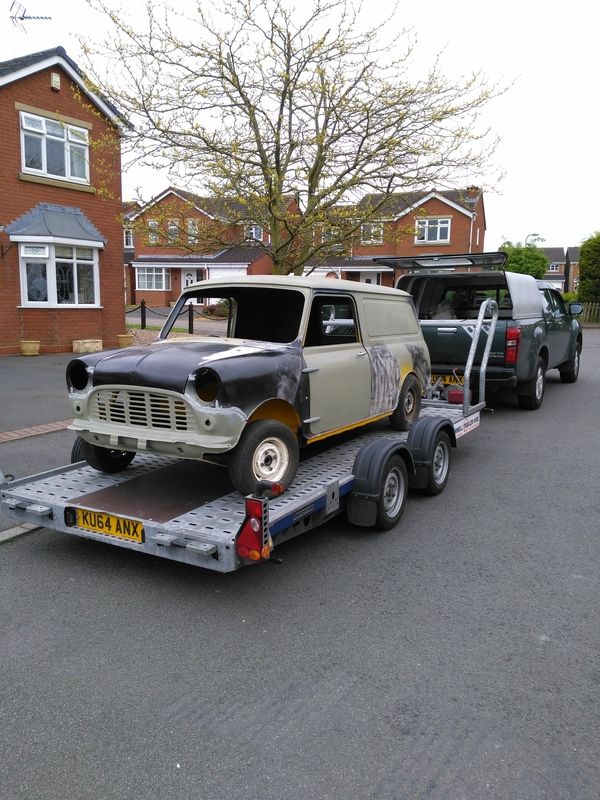
Had a right nightmare though with the trailer. When I got there at 8:30am this morning to pick it up I hadn't realised that I couldn't tow a braked trailer on my licence!!! Major ball ache!!! Ended up having to call in a massive favour from a mate that dropped all his plans for the day to come to my aid. Graham I owe you big time for coming to tow it for me.
To be honest it felt really strange leaving the van at Ronnie's knowing that I will now not see it again for around 3 weeks. He has kindly said he will take pictures for me while the process goes on.
So roll on 3 weeks time!
Well... A sad day today
I had to let the van go...... 

Thankfully only to the painter!!!!!!!! :wub:
:P :mrcool: 
So the next time I see SAL she should be all Yellow with a hint of black...
Had a right nightmare though with the trailer. When I got there at 8:30am this morning to pick it up I hadn't realised that I couldn't tow a braked trailer on my licence!!! Major ball ache!!! Ended up having to call in a massive favour from a mate that dropped all his plans for the day to come to my aid. Graham I owe you big time for coming to tow it for me.
To be honest it felt really strange leaving the van at Ronnie's knowing that I will now not see it again for around 3 weeks. He has kindly said he will take pictures for me while the process goes on.
So roll on 3 weeks time!


So update time I haven't had much time since the vans been painted as I've been on stag-do's the last 2 weekends.
Wires, wires, wires I'm sick of them already! Took ages to get the loom in this morning even using the string trick it still took some doing getting the rear in.
On to the front headlight loom. I spent sometime looking at my IP 65 connector and I think I've come to the conclusion that it isn't going to work. Due to the fact that the wires are thicker than the spurs on the connector. I'll have a look at it again another day but I think I might have to revert to a lawnmower connector. Also my bracket idea wasn't going to work as I need to split the loom near the subframe as a posed to the brace bar.
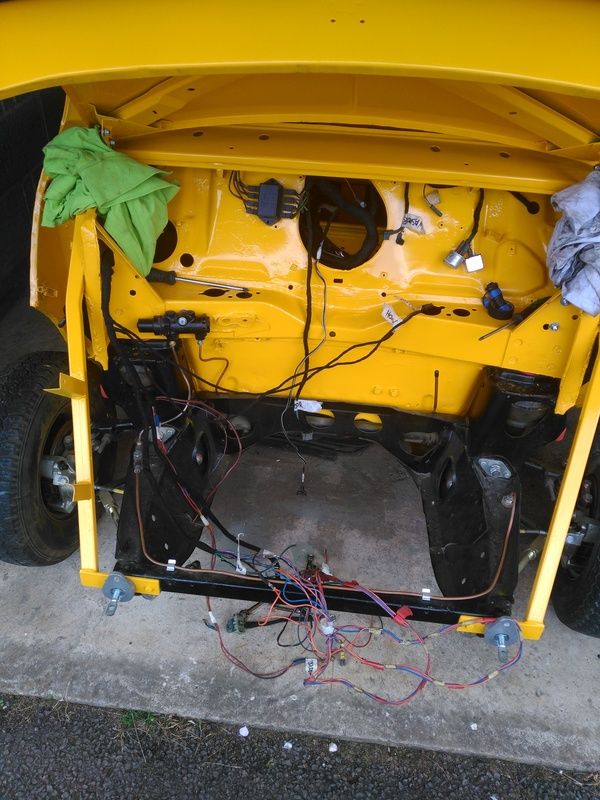
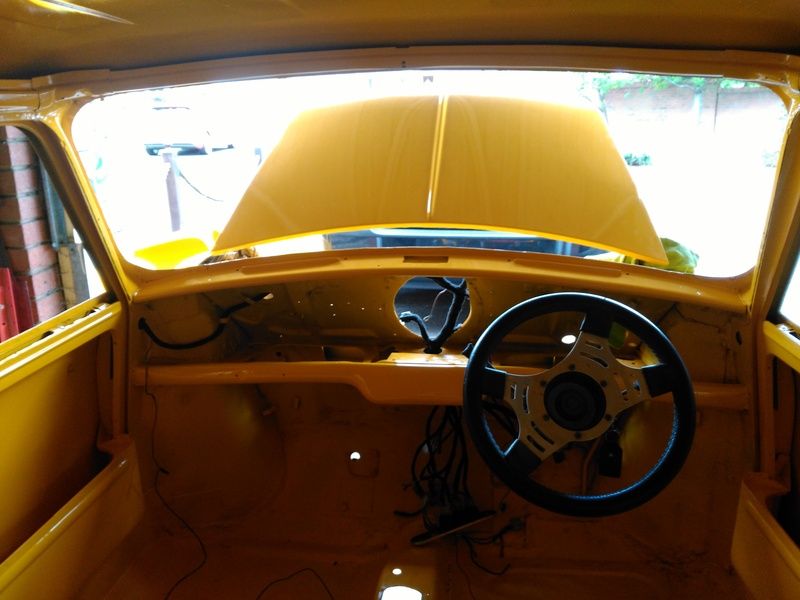
Most of it looks to be in the right place but I cannot tell until the engine is in place.
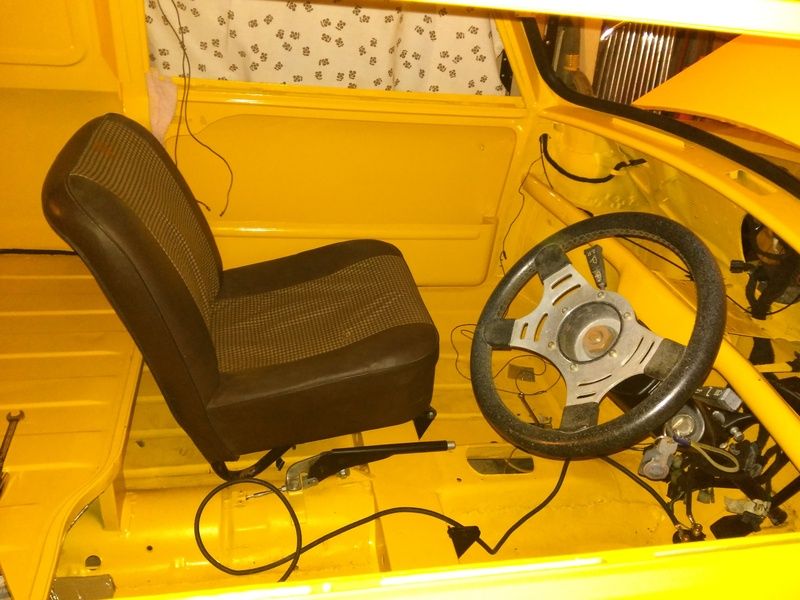
Room with a view.
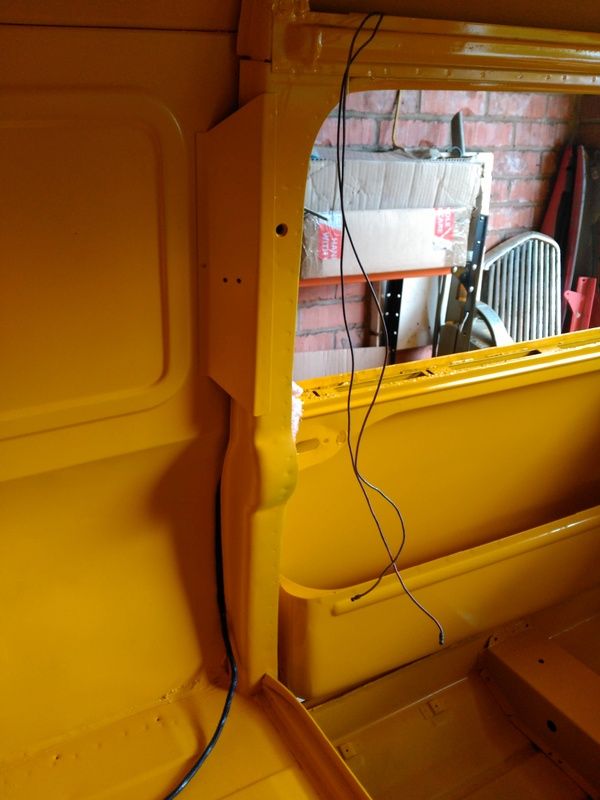
Then moved onto getting the rear loom in round the door frame. I used the string trick to pull it through, If you don't know it basically tie a nut to the end of a piece of string and feed it through the top of the door, tie the string to the loom and pull it through. Still, its more difficult than it sounds!
The rear of the loom was cut off when I got the van and not labelled very well... I say that... It wasn't labelled at all! I couldn't work out for the life of me where all the wires went. There seemed to be far too many for a pair of brake/tail lights, indicators, fuel sender and number plate lights.
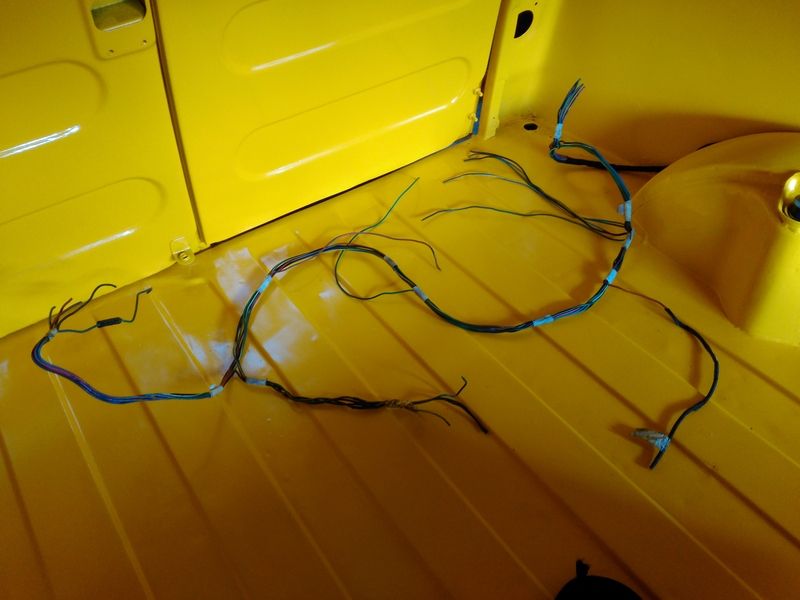
Turns out the van also needs a rear fog light or at least it had one fitted along with a spot lamp.
So I whipped out the haynes plus some help from some chaps on facebook and stripped it all back.
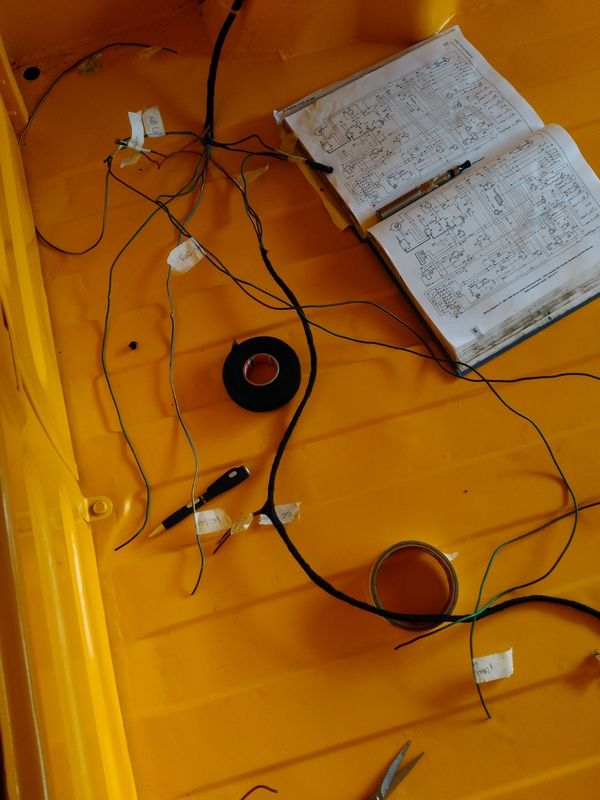
Looking much better now. I'm left with on green brown wire that I cannot seem to trace on the wiring diagram though...?
I've also brought some homework for the week. Cleaning up the rear light brackets, rear door lock, drivers door lock and the washer bottle so that they can have a nice lick of black paint.
I haven't had much time since the vans been painted as I've been on stag-do's the last 2 weekends.Wires, wires, wires I'm sick of them already! Took ages to get the loom in this morning even using the string trick it still took some doing getting the rear in.
On to the front headlight loom. I spent sometime looking at my IP 65 connector and I think I've come to the conclusion that it isn't going to work. Due to the fact that the wires are thicker than the spurs on the connector. I'll have a look at it again another day but I think I might have to revert to a lawnmower connector. Also my bracket idea wasn't going to work as I need to split the loom near the subframe as a posed to the brace bar.

Most of it looks to be in the right place but I cannot tell until the engine is in place.
Room with a view.

Then moved onto getting the rear loom in round the door frame. I used the string trick to pull it through, If you don't know it basically tie a nut to the end of a piece of string and feed it through the top of the door, tie the string to the loom and pull it through. Still, its more difficult than it sounds!

The rear of the loom was cut off when I got the van and not labelled very well... I say that... It wasn't labelled at all! I couldn't work out for the life of me where all the wires went. There seemed to be far too many for a pair of brake/tail lights, indicators, fuel sender and number plate lights.

Turns out the van also needs a rear fog light or at least it had one fitted along with a spot lamp.
So I whipped out the haynes plus some help from some chaps on facebook and stripped it all back.

Looking much better now. I'm left with on green brown wire that I cannot seem to trace on the wiring diagram though...?
I've also brought some homework for the week. Cleaning up the rear light brackets, rear door lock, drivers door lock and the washer bottle so that they can have a nice lick of black paint.


Cheers Spats...
I'm going to lie it been a labour of love and its seen me through some good times and bad times but I've managed to get hold of it and plodded on.
I really does feel like it's almost coming to an end now.
Then the fun of restoration it will be replaced with the fun of driving it.
Just hope I don't roll it over like your dad did though!


Well im back with somewhat of an update.
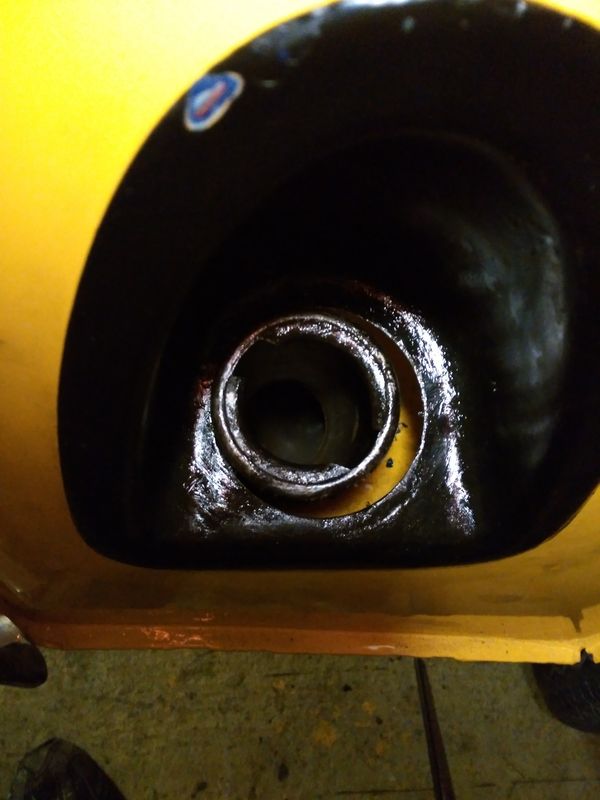
After christmas and what not I didn't get as much time as I thought to tinker. Not much has happened as it must have took about 3 weekends and 6-8 hours of faffing with the bleeding tank to get it to fit back in. It's still not perfect but it will do for the time being while I get the fuel lines in.
How it looked at the start.
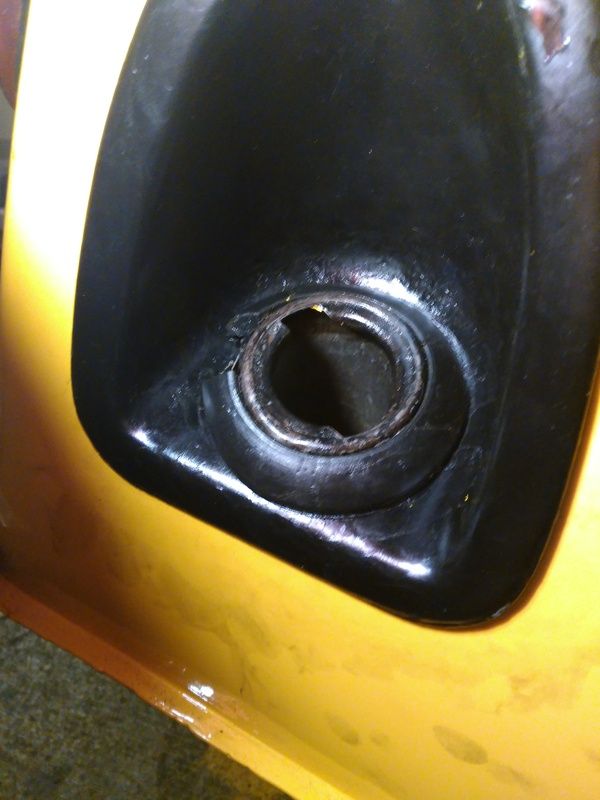
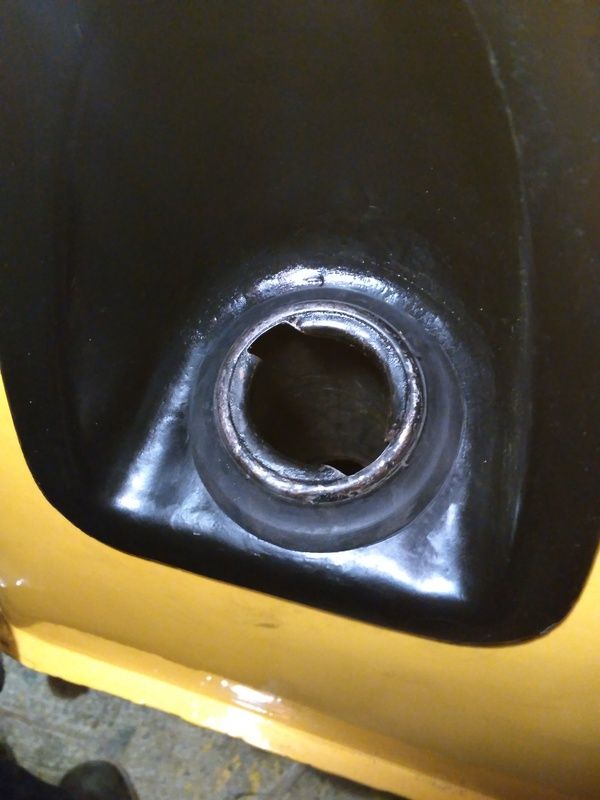
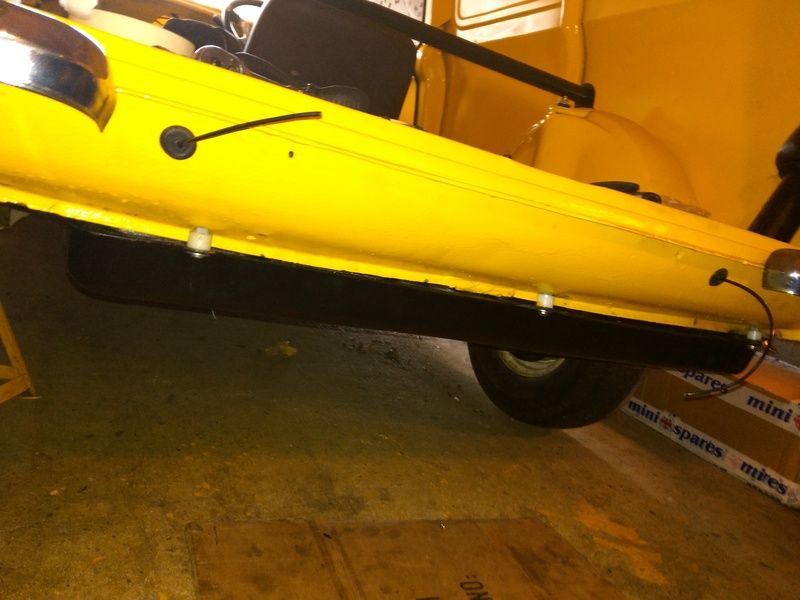
Where it is now. I had to cut the rubber so it looks messy. Although I've now found that you can get a thinner rubber which I'll try next.
I've done a few other bits but not really worth a picture.
I did have some part arrive though over christmas.


I really thought that I would have it at least running by now... I've reset the goal post to London 2 Brighton as I managed to get a ticket!
Hopefully anyway.
After christmas and what not I didn't get as much time as I thought to tinker. Not much has happened as it must have took about 3 weekends and 6-8 hours of faffing with the bleeding tank to get it to fit back in. It's still not perfect but it will do for the time being while I get the fuel lines in.
How it looked at the start.

Where it is now. I had to cut the rubber so it looks messy. Although I've now found that you can get a thinner rubber which I'll try next.

I've done a few other bits but not really worth a picture.
I did have some part arrive though over christmas.


I really thought that I would have it at least running by now... I've reset the goal post to London 2 Brighton as I managed to get a ticket!
Hopefully anyway.
Richspec said:
You can use the Mpi tank seal, We had the same issue with my brothers clubman estate, nothing lined up and the screws in all the fitting kits arent right either. First time we tried a proper tank seal as you have it took a while to fit and getting the cap on was nigh on impossible. Fitting the mpi one took me all of five minutes...
Your right Rich. I only recently found that later cars had a thinner grommets.
I've got one on order from minispares.

So things have been happening recently and almost about ready to try and get it running.
thanks in.

More parts.

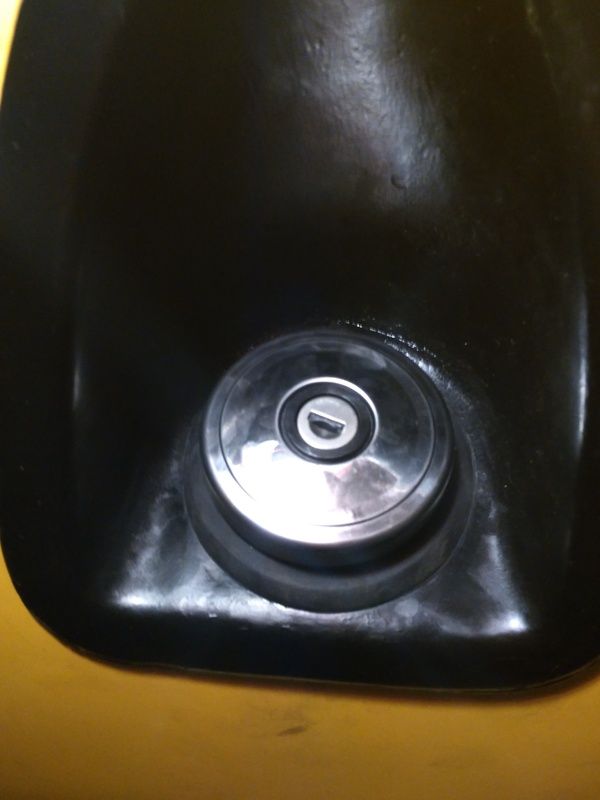
MPI filler neck rubber

Worked a treat.
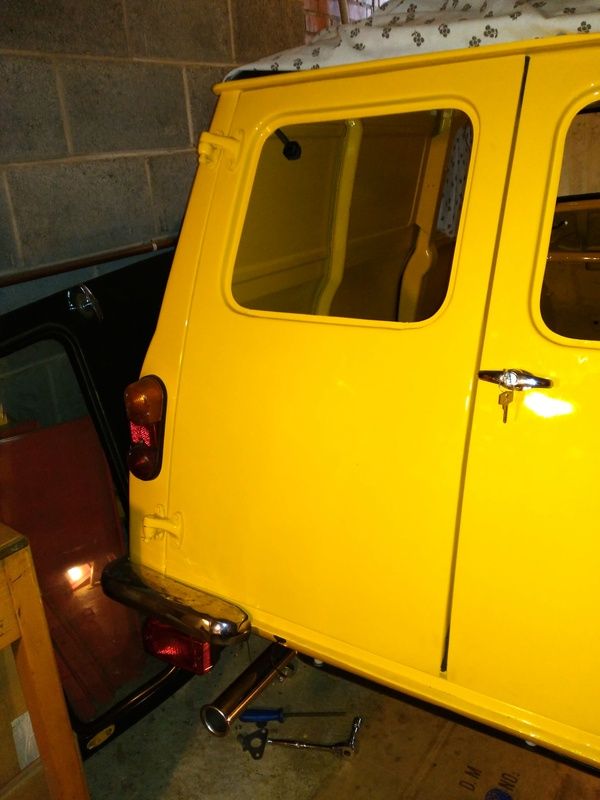
Number plate wiring
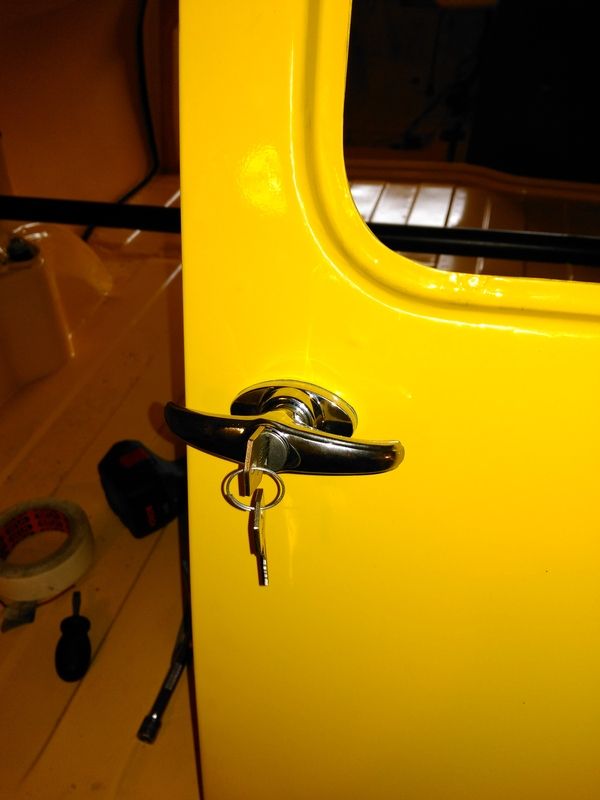
New door handle
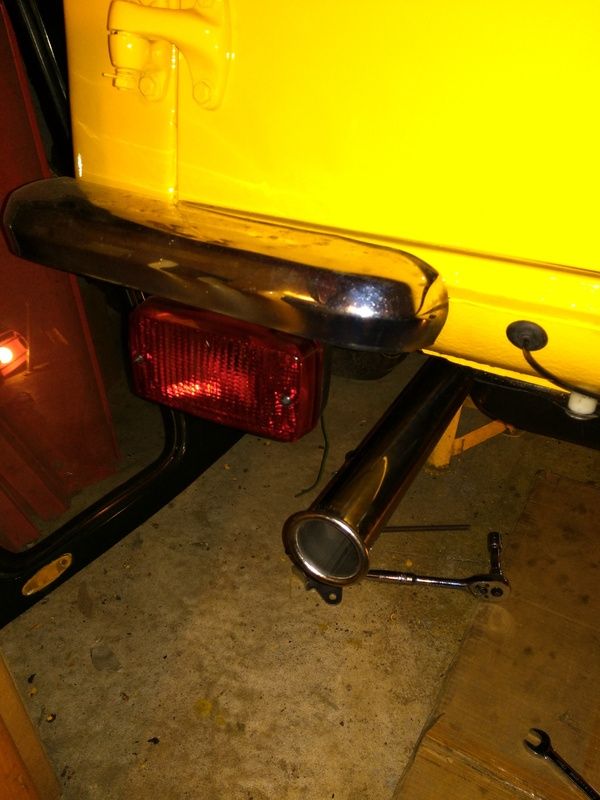
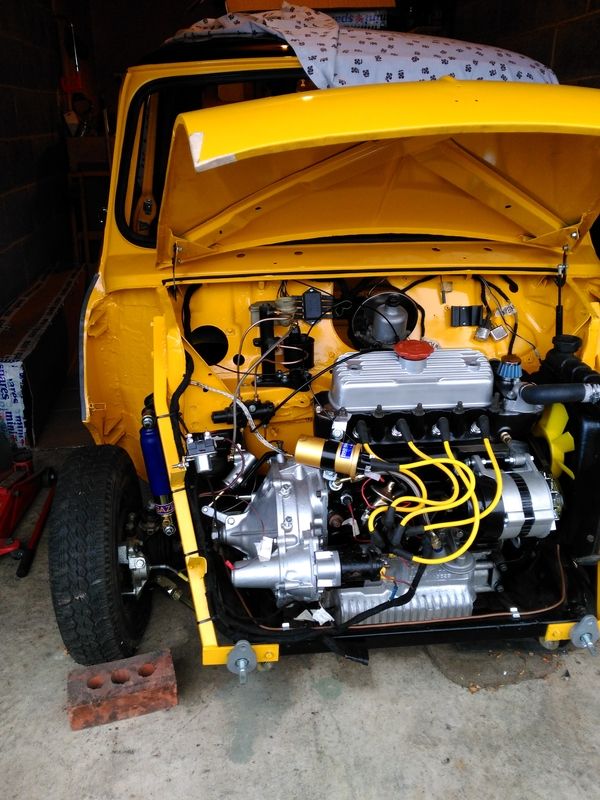
Exhaust and Carb in.
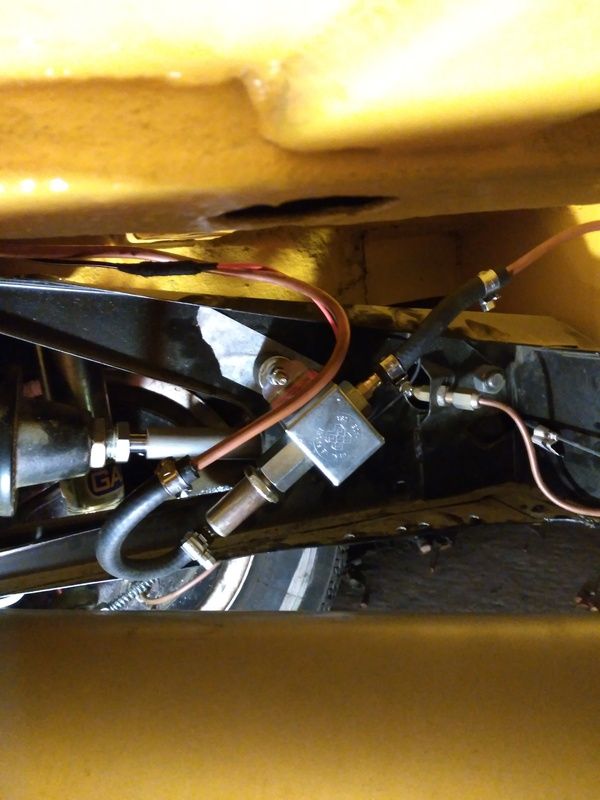
Brake and Clutch lines.

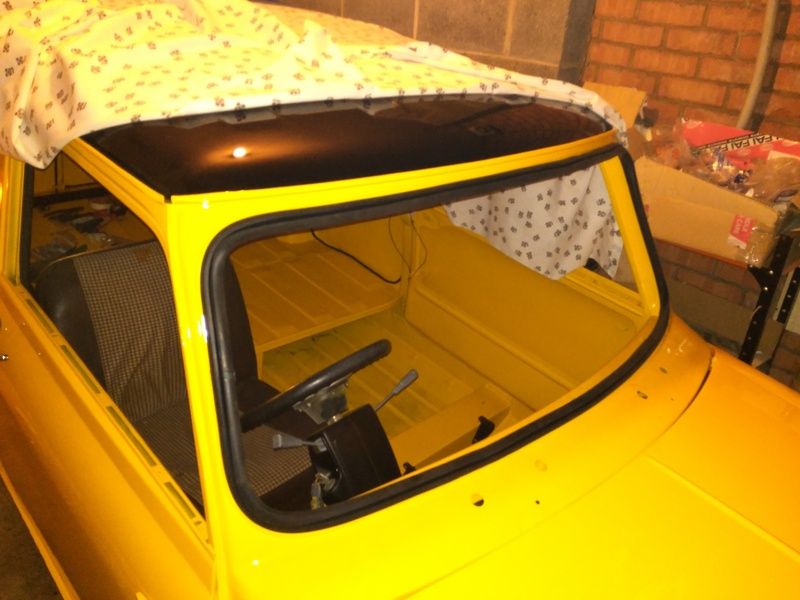
Rubber waiting for screen.
Fuel pump mounted.
Single boc RC40 fitted just needs sealing.

More parts arriving this week to finish off the engine and wiring.
Not long now
London 2 Brighton ticket should arrive next week too
thanks in.

More parts.

MPI filler neck rubber

Worked a treat.


Number plate wiring

New door handle

Exhaust and Carb in.

Brake and Clutch lines.

Rubber waiting for screen.

Fuel pump mounted.

Single boc RC40 fitted just needs sealing.


More parts arriving this week to finish off the engine and wiring.
Not long now
London 2 Brighton ticket should arrive next week too
This weekends to do list was this little lot.

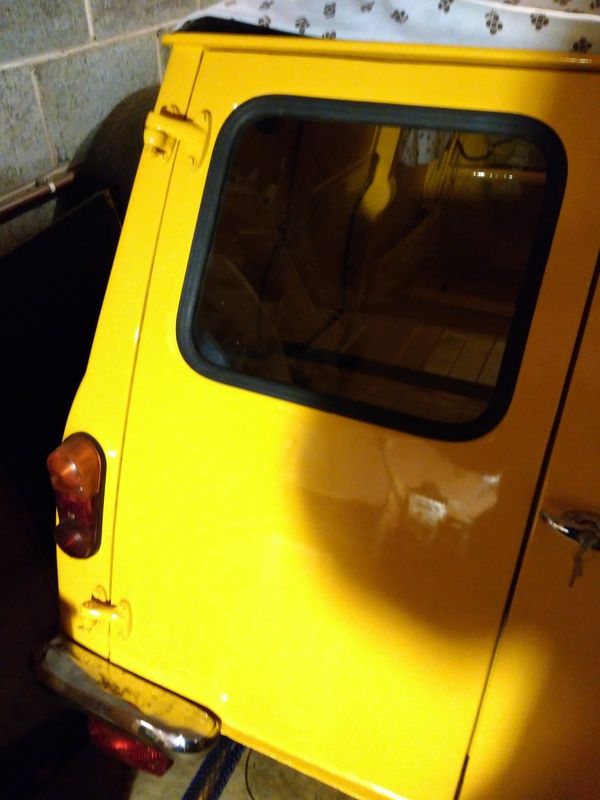
Rear window glass and rubber in. I couldn't work out which window fitted which side as the embossed marks seemed odd. One faces the outside and one the inside of the car but apparently it's meant to be like that.
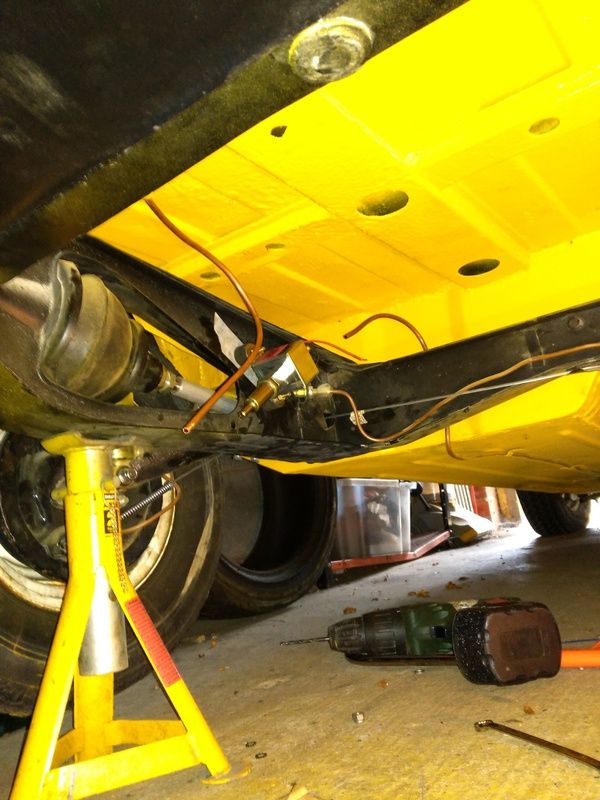
Moved on to wiring the pump in and fitting the hoses. I've bought the relay so just that to wire into the engine bay.
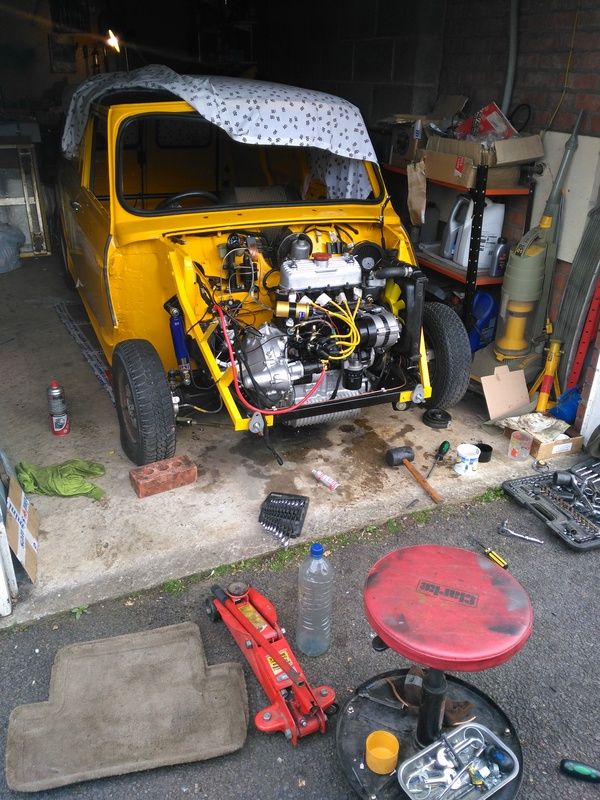
Fitted oil transfer pipe, clutch slave + hose, starter wiring & radiator. I have a problem with the radiator mount though as it wont line up with the cowling at all.
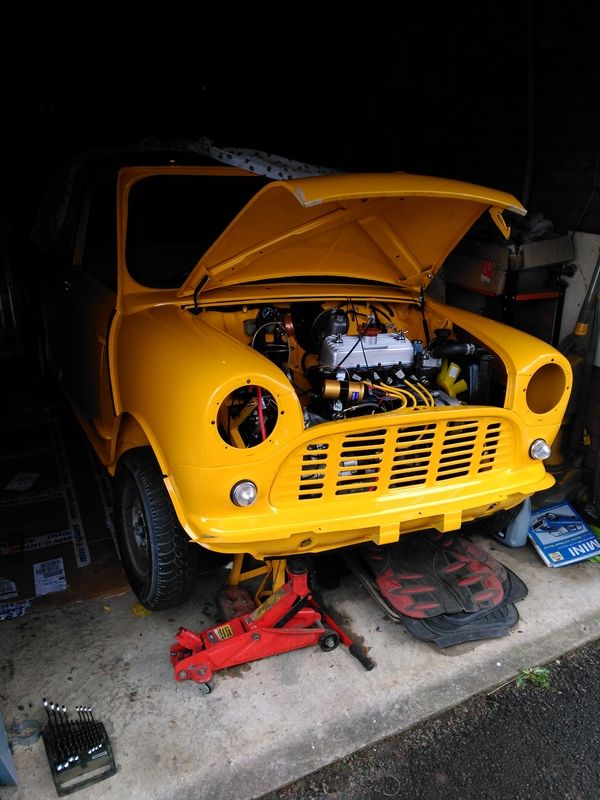
Starting to look complete now.
Got the front end wet though!!!!! :shy: hno: :lol:

Then came the battery cable and battery cut off.
Getting ever so close to starting now


Rear window glass and rubber in. I couldn't work out which window fitted which side as the embossed marks seemed odd. One faces the outside and one the inside of the car but apparently it's meant to be like that.

Moved on to wiring the pump in and fitting the hoses. I've bought the relay so just that to wire into the engine bay.

Fitted oil transfer pipe, clutch slave + hose, starter wiring & radiator. I have a problem with the radiator mount though as it wont line up with the cowling at all.

Starting to look complete now.

Got the front end wet though!!!!! :shy:
hno: :lol: 
Then came the battery cable and battery cut off.

Getting ever so close to starting now


Well I should really update this thread I guess.
BOOM... shes running!
http://vid91.photobucket.com/albums/k308/trialskin...
As you can see from the wet patches on the floor under the end. I has a somewhat large oil leak from the timing cover! I think one of the threads has gone so I need to strip the rad down again and re tap it.

BOOM... shes running!
http://vid91.photobucket.com/albums/k308/trialskin...

As you can see from the wet patches on the floor under the end. I has a somewhat large oil leak from the timing cover! I think one of the threads has gone so I need to strip the rad down again and re tap it.
Edited by Pixel-Snapper on Tuesday 7th June 13:13
Gassing Station | Classic Minis | Top of Page | What's New | My Stuff