One car to replace my current fleet?
Discussion


Driveway CSI today and I'm going through the X1/9 paperwork because I suspect the engine is not the original.
I discovered a receipt for the tyres dated 2002!!!
Second hand "A" frame bushes!
A Deeside Lotus dealer charged £178 to change two light bulbs in 1999!!!
£122 for a "New" fuel tank when it had a patch welded to it.
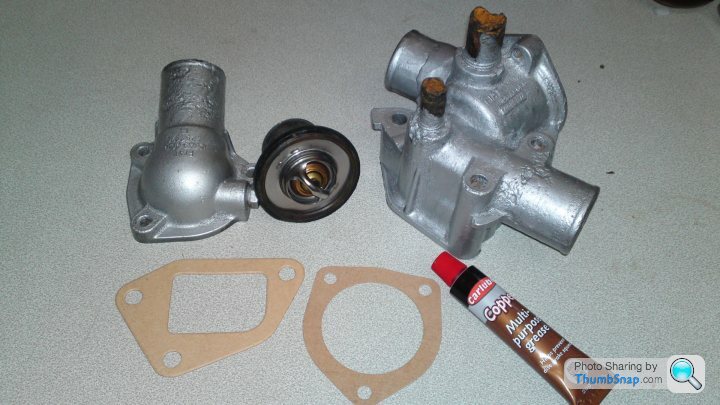
The Culter Car Centre, Aberdeen replaced the head gasket and used "sealant" (Tiger Seal) to stick the thermostat housing to the head.
http://www.pistonheads.com/gassing/topic.asp?h=0&a...
I won't be smashing windows as it appears they are flats now.
I discovered a receipt for the tyres dated 2002!!!
Second hand "A" frame bushes!
A Deeside Lotus dealer charged £178 to change two light bulbs in 1999!!!
£122 for a "New" fuel tank when it had a patch welded to it.
The Culter Car Centre, Aberdeen replaced the head gasket and used "sealant" (Tiger Seal) to stick the thermostat housing to the head.
http://www.pistonheads.com/gassing/topic.asp?h=0&a...
I won't be smashing windows as it appears they are flats now.
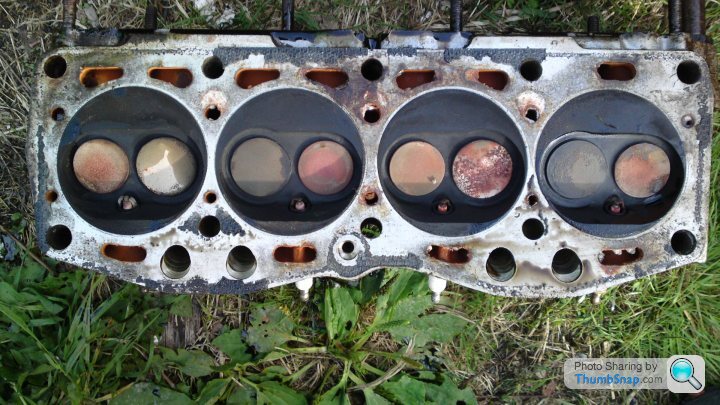
My new/old head arrived yesterday and this afternoon I attacked it with some 1000 wet&dry and some WD40 (never ever use soapy water for this as it can screw up your valve seals.
Turns out the low mileage 1984 car had a 1978 head...

...but it does have unleaded valves.
Those are coming out so I can clean/polish the ports during my night shift.
Turns out the low mileage 1984 car had a 1978 head...
...but it does have unleaded valves.
Those are coming out so I can clean/polish the ports during my night shift.


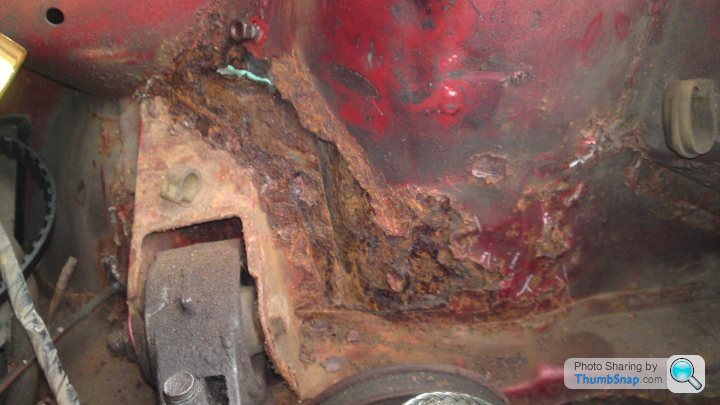
Driveway CSI today is one I've been looking forward to dreading.
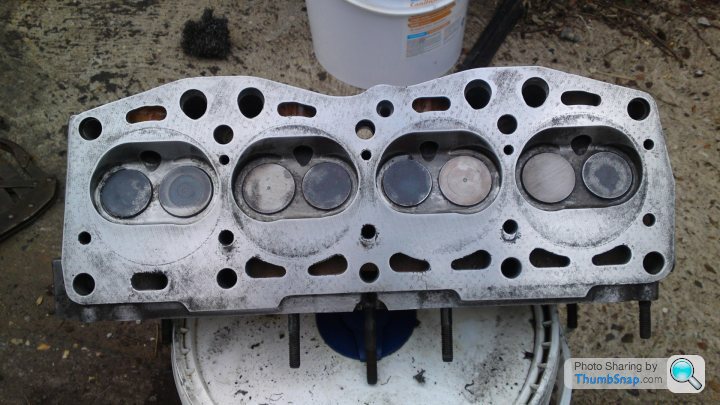
I've taken the cylinder head of my poor bodged X1/9.
When the head gasket was changed it's fair to say it was the only new gasket. All of the others including the exhaust manifold gasket were old ones with a smear of silicone for good measure. There was also silicone between number two and three cylinders where the head gasket was nipped and bent. I'm annoyed that the previous owner paid nearly £800 for the job when it was done but relieved that I discovered it how I have and not via catastrophic engine failure.
One, two and three had NGK "V" plugs and four had a Champion racing plug. That goes a long way to explaining the rough idle and will be remedied when I put the old girl back together.
I'll take the bits to work with me tonight so I can use their parts washer.
The head gasket set hasn't arrived yet. 
So here are a few photo's from yesterday...


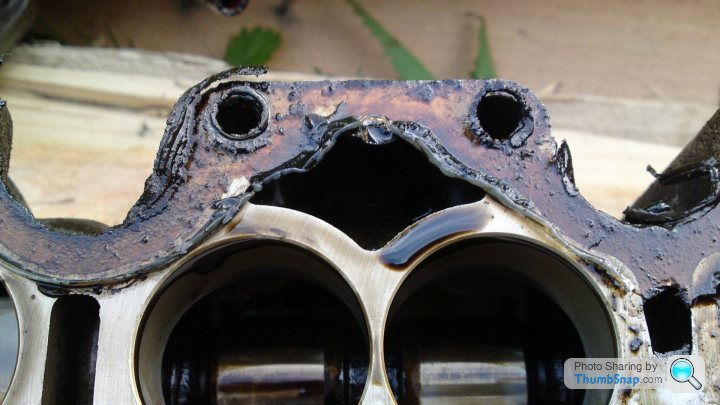
...more silicone than Comicon.

The mystery of the lumpy idle solved.
The block face looks okay...

...now I've swept what appeared to be grinding paste from the surface.
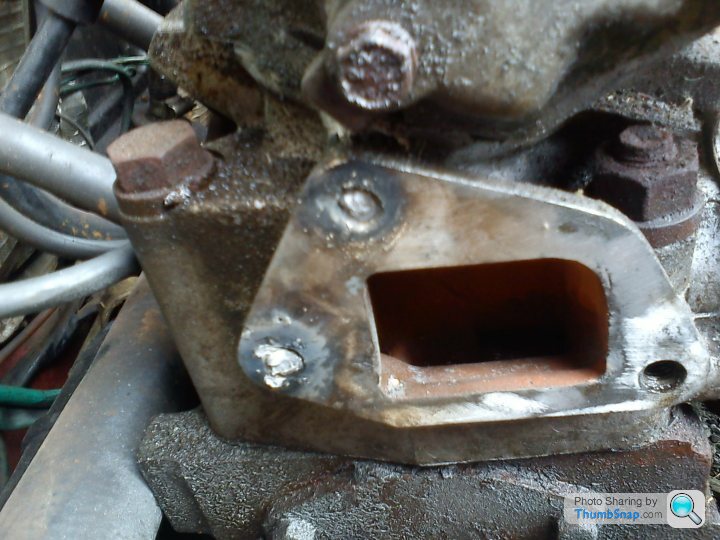
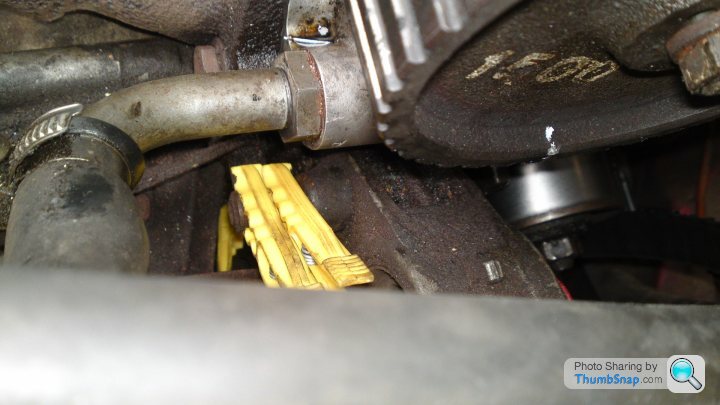
Considering these bodgers wouldn't spend £1.55 on a thermostat housing gasket...

...why was I even remotely surprised to find they hadn't spend £4 on an exhaust manifold to downpipe one?

So here are a few photo's from yesterday...
...more silicone than Comicon.
The mystery of the lumpy idle solved.
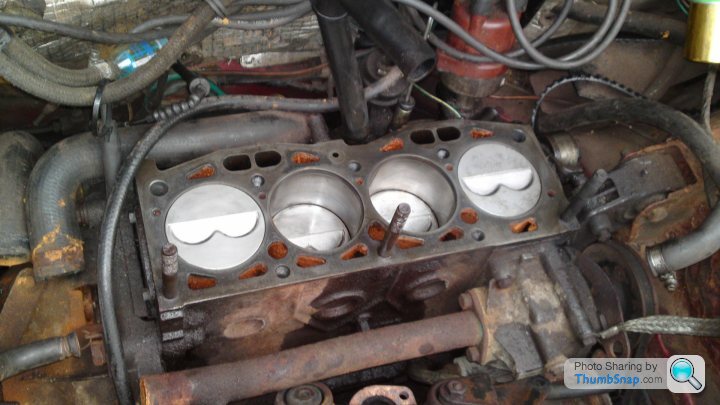
The block face looks okay...
...now I've swept what appeared to be grinding paste from the surface.
Considering these bodgers wouldn't spend £1.55 on a thermostat housing gasket...
...why was I even remotely surprised to find they hadn't spend £4 on an exhaust manifold to downpipe one?
I really must add my own parts washer to my shopping list when I get my new Garage/Shed.

Cleaned the piston tops, block face and gave the pistons a bit of a wobble to make sure the rings are all good.
As the gasket set didn't turn up and there's rain forecast tomorrow I've got the gazebo out.
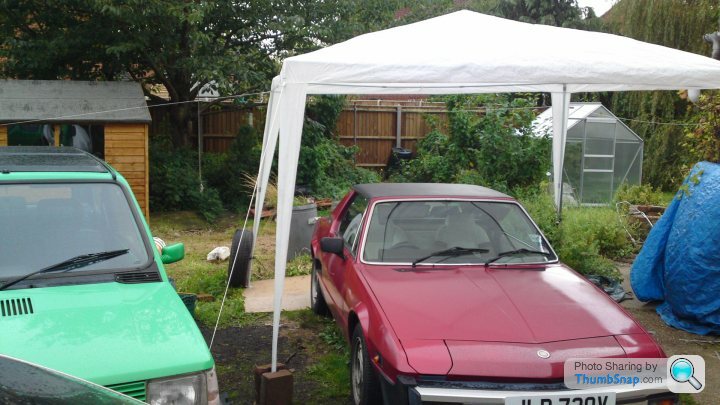
I should add a shed/garage to my list of stuff I need to get.
Cleaned the piston tops, block face and gave the pistons a bit of a wobble to make sure the rings are all good.
As the gasket set didn't turn up and there's rain forecast tomorrow I've got the gazebo out.
I should add a shed/garage to my list of stuff I need to get.

Well this is as far as I got...
...before I had to do a Taxi run for a friend of my sisters again.
Sorry if you were expecting a step by step guide, there are plenty of those on the internet and if needs be there are more Haynes Manuals out there than cars.
A couple of things the internet or Haynes fails to mention is how I do the valve followers and set the timing belt up. I dip my finger in oil and rim around the bores. This way the lubrication of the oil helps the followers in and the surface tension stops them popping out when you put the cam' section in place. The timing belt goes on as usual apart form tuning the engine over without plugs to ensure the tensioner is working and the marks line up before you put the rest of the stuff in the way. Saves a bit of faffing about later.
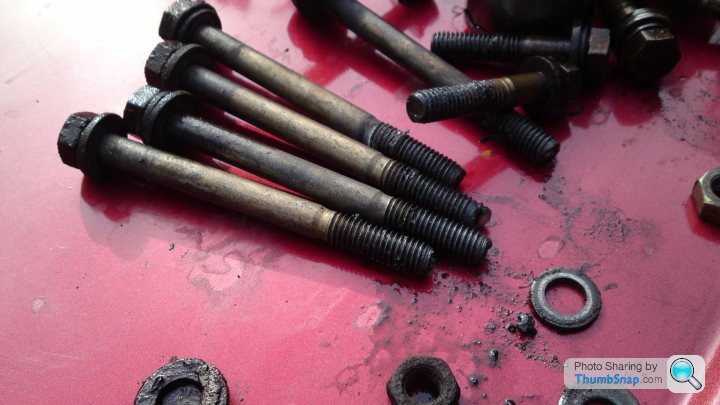
Stage one torque for the head bolts is 29ft/lbs so I have a little running in period before I can see if the cleaning and surfacing have improved the engine.
...before I had to do a Taxi run for a friend of my sisters again.
Sorry if you were expecting a step by step guide, there are plenty of those on the internet and if needs be there are more Haynes Manuals out there than cars.
A couple of things the internet or Haynes fails to mention is how I do the valve followers and set the timing belt up. I dip my finger in oil and rim around the bores. This way the lubrication of the oil helps the followers in and the surface tension stops them popping out when you put the cam' section in place. The timing belt goes on as usual apart form tuning the engine over without plugs to ensure the tensioner is working and the marks line up before you put the rest of the stuff in the way. Saves a bit of faffing about later.
Stage one torque for the head bolts is 29ft/lbs so I have a little running in period before I can see if the cleaning and surfacing have improved the engine.

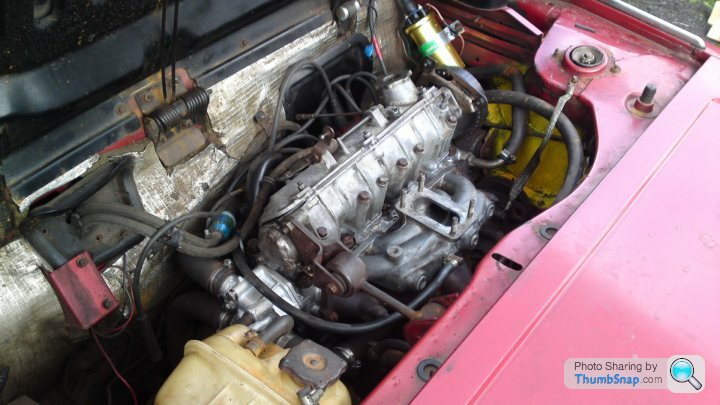
Interesting and frustrating Driveway CSI today. My freshly retopped X1/9 engine refused to run properly. All the timing marks were aligned and to start with the distributor was a hundred and eighty degrees out much to the amusement of my neighbors who probably think I've been clay pigeon shooting in my garden.
Solved that and she ran, lumpy and with a flat spot. Checked the timing with a strobe light and she was perfect 5btdc on the crank pulley and the cam was still in check.
Hmmmmmm....
I had a look at the flywheel and there was no mark whatsoever. Messed about for a while to discover the crank pulley marks are ten degrees advanced compared to the flywheel.
I have a 1300 crank pulley on a 1500 engine to add to the list of bodges on this poor car.
Still has the slow running issue from before so I guess a carb' rebuild is next on my things to do list.
The new filter needs to imitate what the old box did...
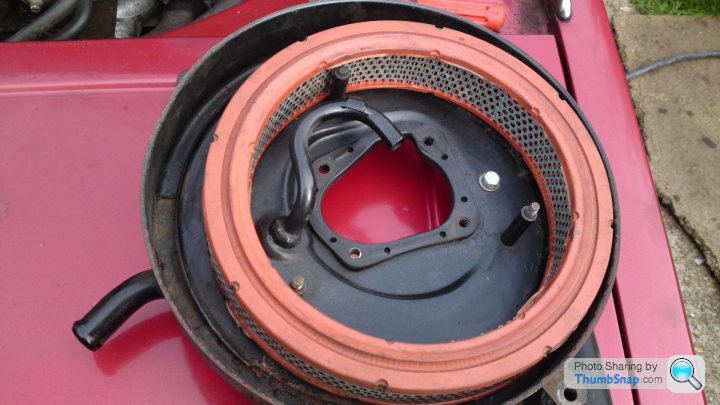
...a couple of cable ties, duct tape and bits of old pipe later...

...looks good...
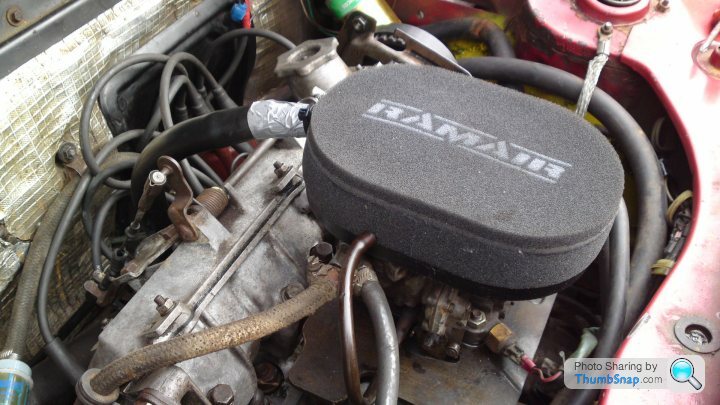
...sounds tremendous. It's nice after a week of having to do stuff I got to do something for the fun of it.
One more thing...
...the clothes pegs on the belt tensioner trick. Works every time.
Solved that and she ran, lumpy and with a flat spot. Checked the timing with a strobe light and she was perfect 5btdc on the crank pulley and the cam was still in check.
Hmmmmmm....
I had a look at the flywheel and there was no mark whatsoever. Messed about for a while to discover the crank pulley marks are ten degrees advanced compared to the flywheel.
I have a 1300 crank pulley on a 1500 engine to add to the list of bodges on this poor car.
Still has the slow running issue from before so I guess a carb' rebuild is next on my things to do list.
The new filter needs to imitate what the old box did...
...a couple of cable ties, duct tape and bits of old pipe later...
...looks good...
...sounds tremendous. It's nice after a week of having to do stuff I got to do something for the fun of it.
One more thing...
...the clothes pegs on the belt tensioner trick. Works every time.
While I had dirty hands yesterday I finally got round to fitting the new speedo' cable and it is the funniest thing I have ever done to a car. She sounds like I have playing cards in the spokes. 
Decent stereo is now added to the list of things to do.
I found myself in a layby again this morning...

...so I could take a pretty photo'.
Decent stereo is now added to the list of things to do.
I found myself in a layby again this morning...
...so I could take a pretty photo'.
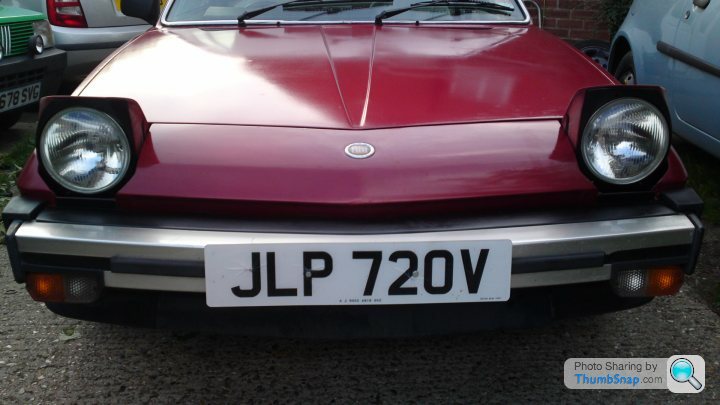
You know those little jobs that make a massive difference?

Original 1979 headlights...
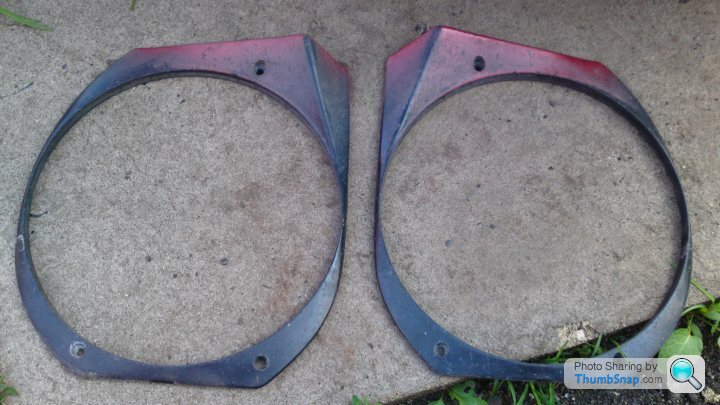
...thirty five years of use and abuse.

Stripped back to bare metal, etch primed, primed and painted matte black (left over paint from the Fantasia lower windscreen panel repair).
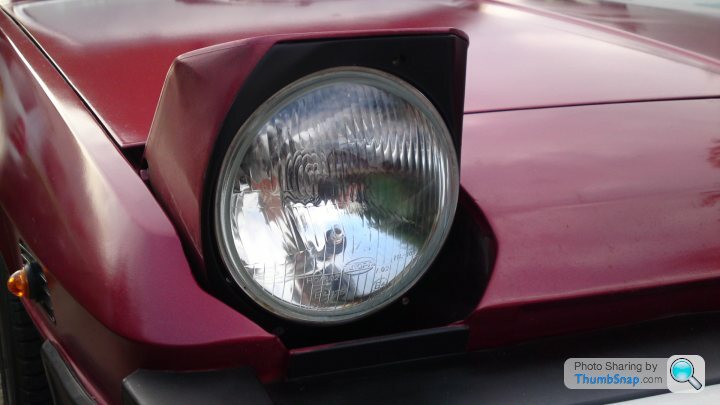
Nice eh?
The dim-dip setting is as bright as the old lights used to be.
Original 1979 headlights...
...thirty five years of use and abuse.
Stripped back to bare metal, etch primed, primed and painted matte black (left over paint from the Fantasia lower windscreen panel repair).
Nice eh?
The dim-dip setting is as bright as the old lights used to be.
Gassing Station | Alfa Romeo, Fiat & Lancia | Top of Page | What's New | My Stuff