johns wedge rebuild
Discussion


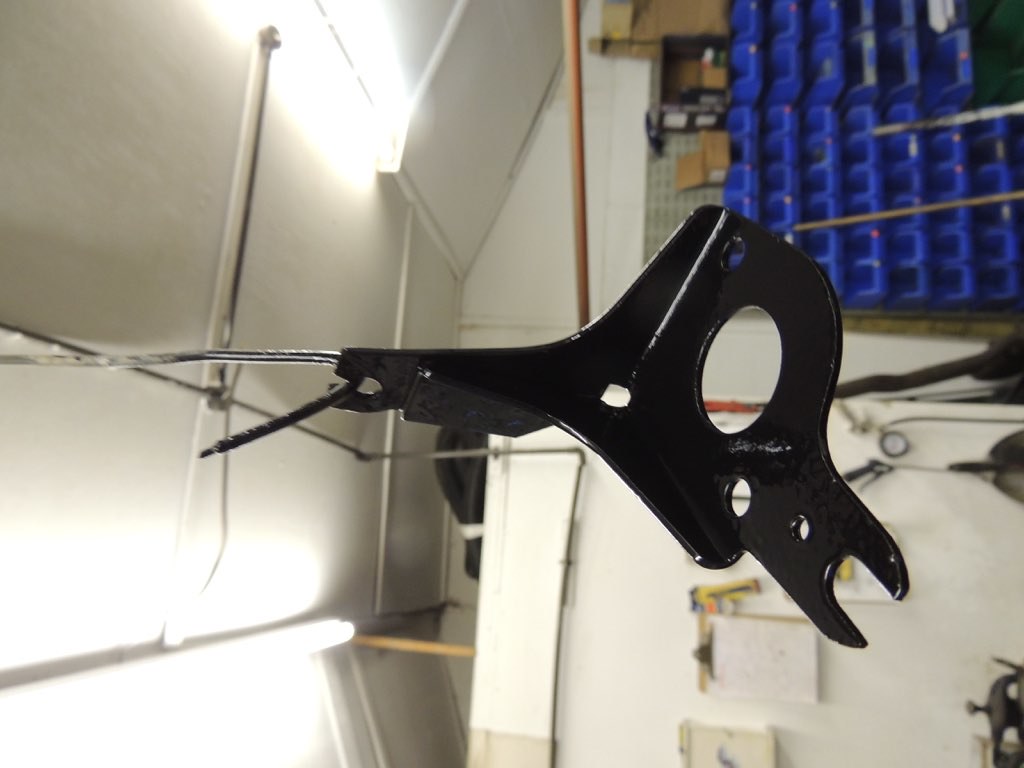
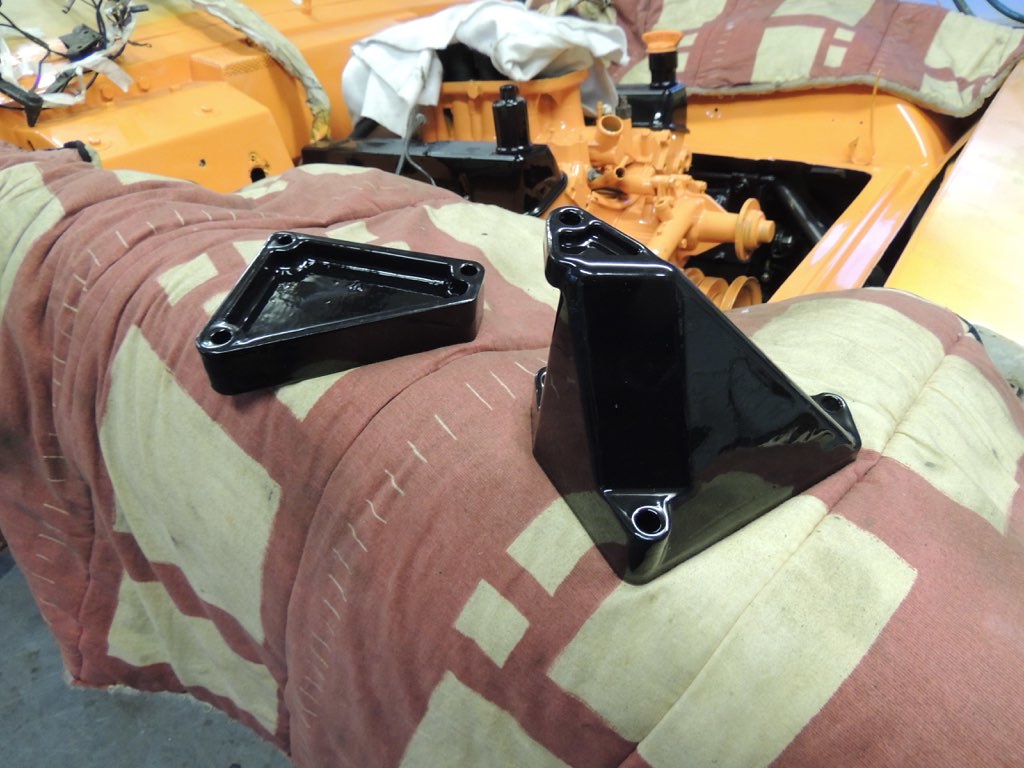
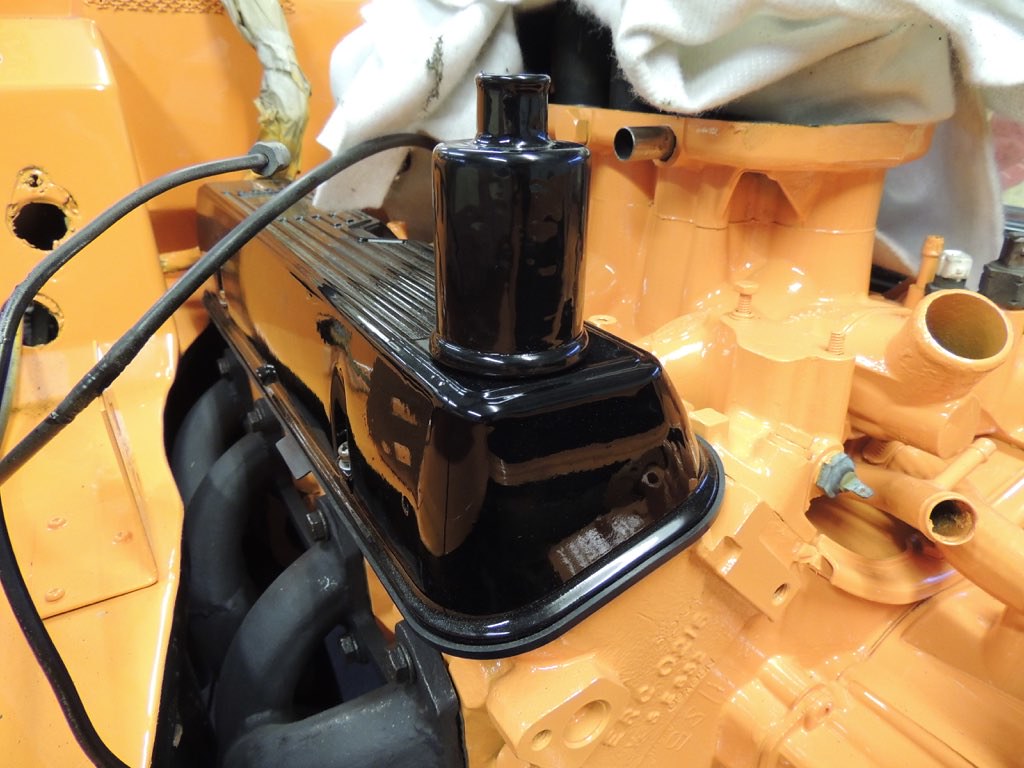
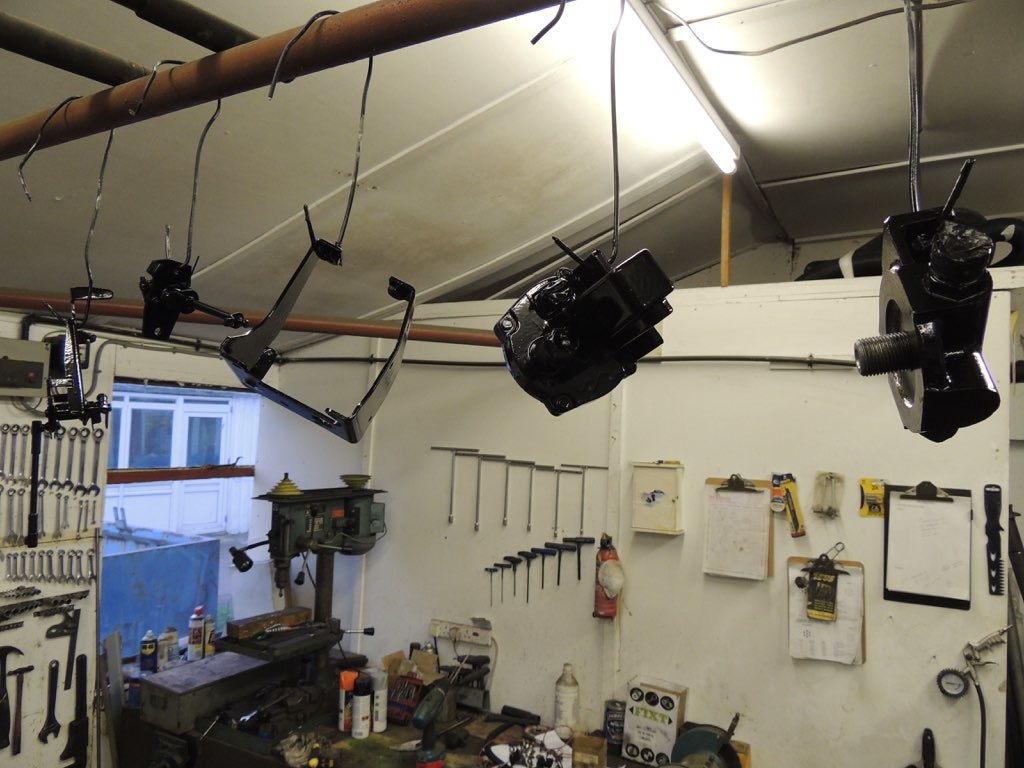
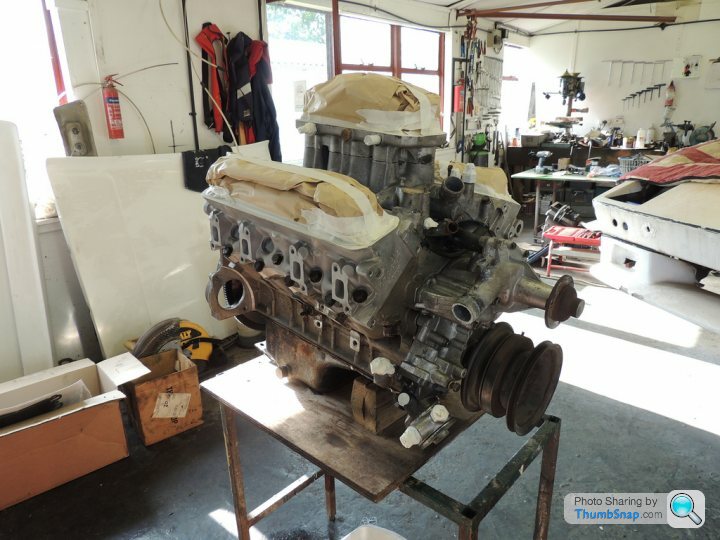
more stuff completed removed the drivers door ready for the bush replacement probably turn them up later in the week, the main door pin had been fitted the wrong way up so couldn't be pulled out so got make new hinge pins as well due to having to cut the old one off,got some more fuel rail bits cleaned and painted plus fitted the breather and oil filler to the rocker covers fit the alternator bracket etc today plus the fuel pump and filter.
john
 Untitled by brundallmotorsport, on Flickr
 Untitled by brundallmotorsport, on Flickr
 Untitled by brundallmotorsport, on Flickr
 Untitled by brundallmotorsport, on Flickr
 Untitled by brundallmotorsport, on Flickr
 Untitled by brundallmotorsport, on Flickr
 Untitled by brundallmotorsport, on Flickr
 Untitled by brundallmotorsport, on Flickr
 Untitled by brundallmotorsport, on Flickr
john
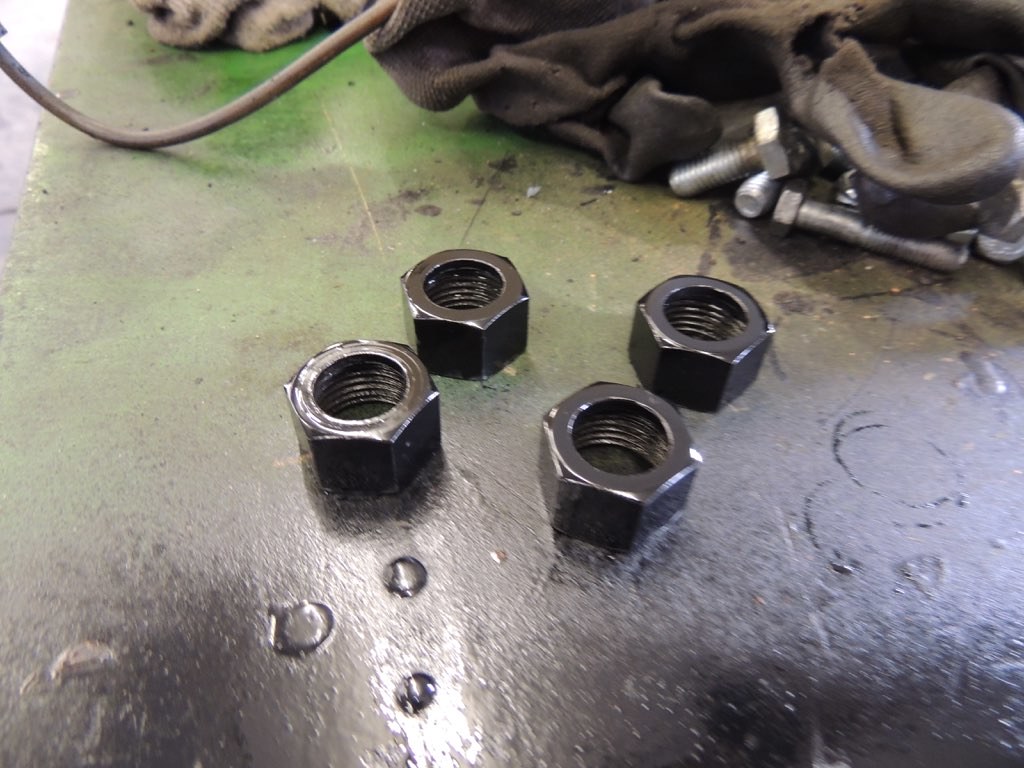
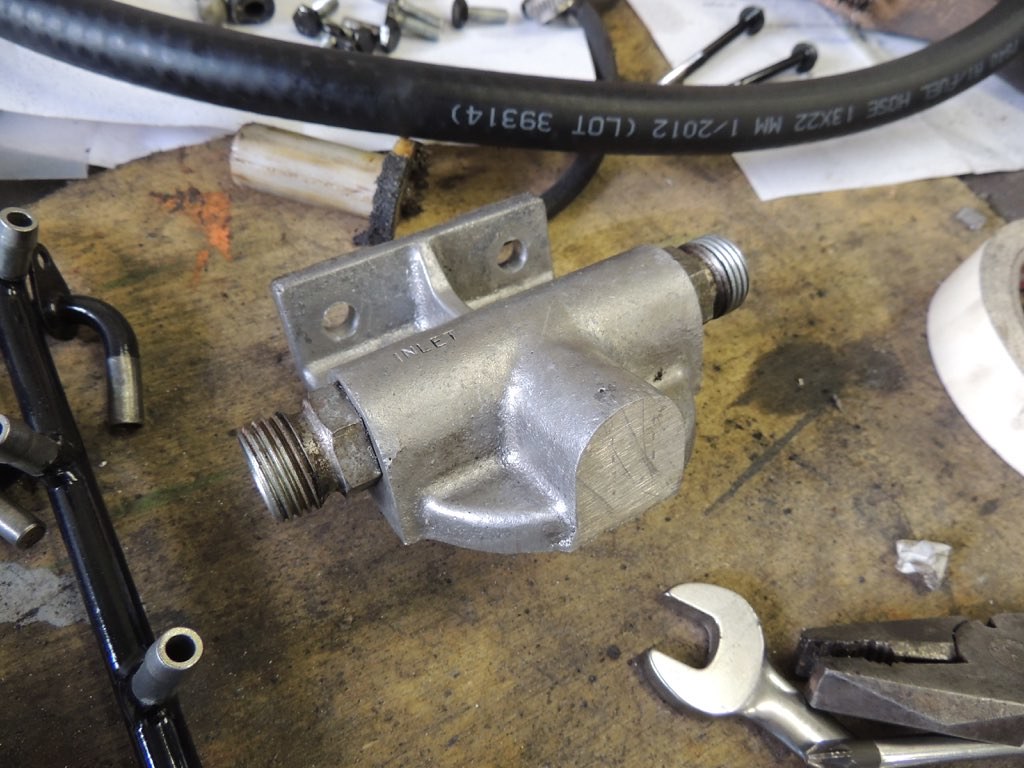
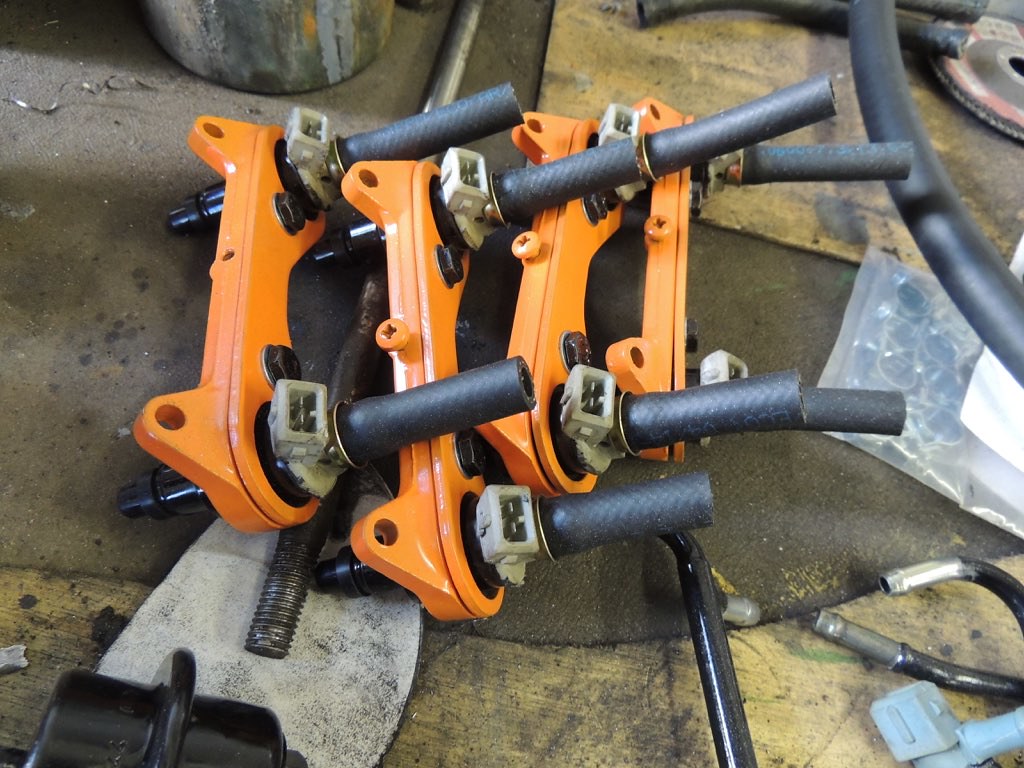
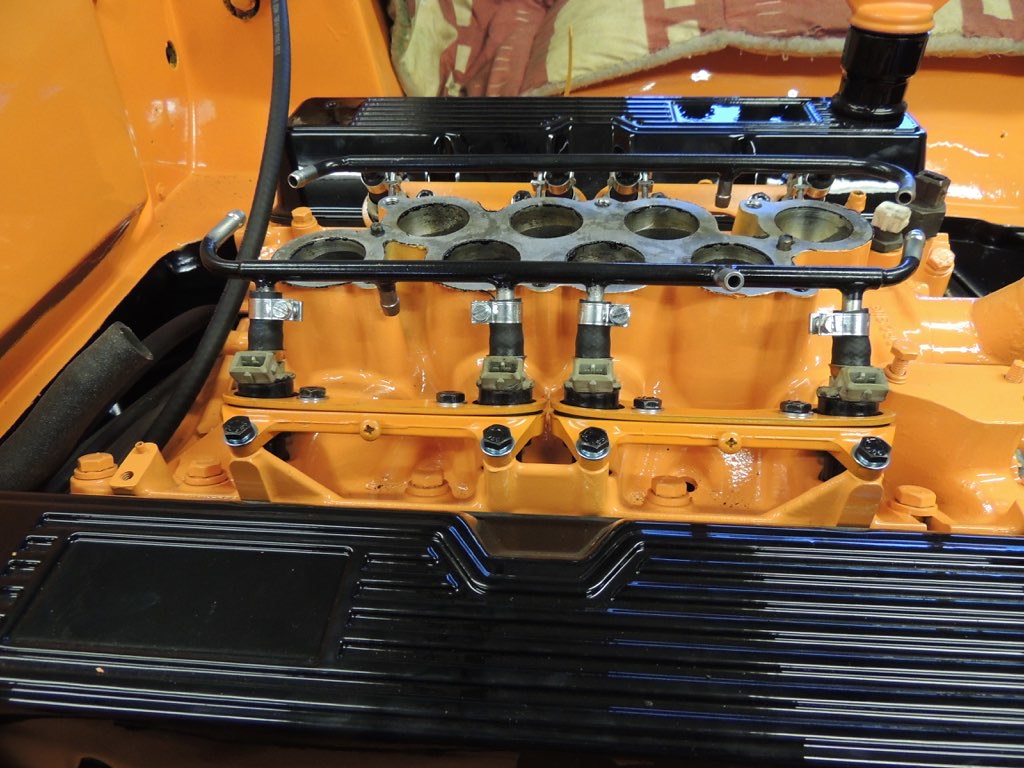
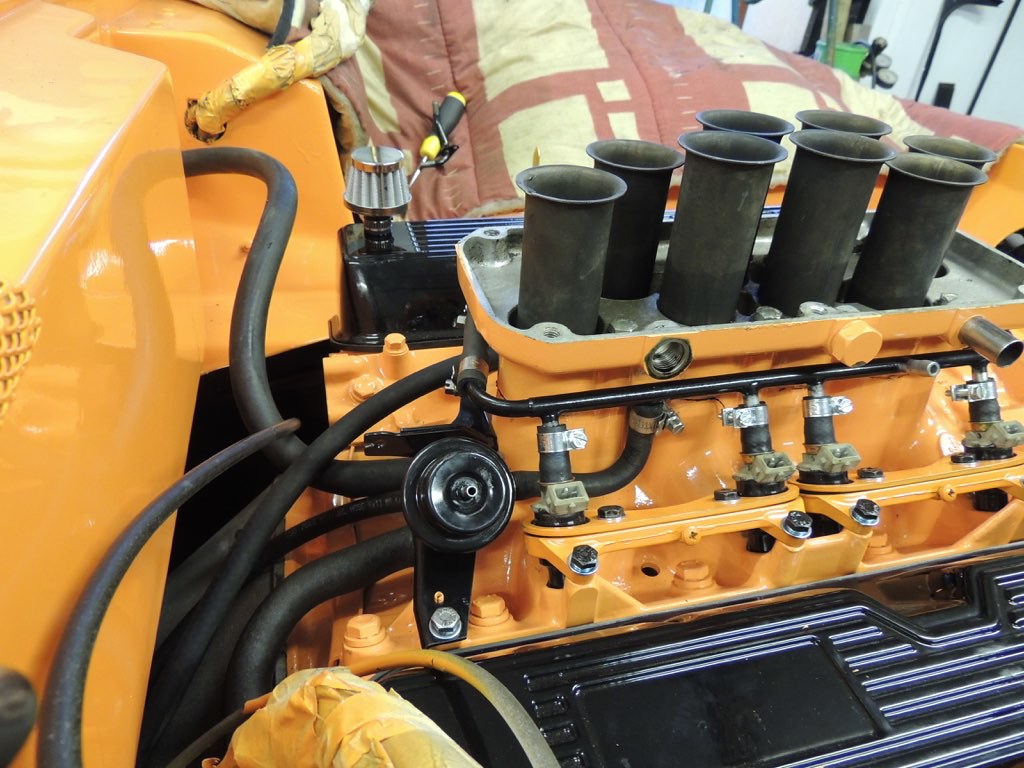
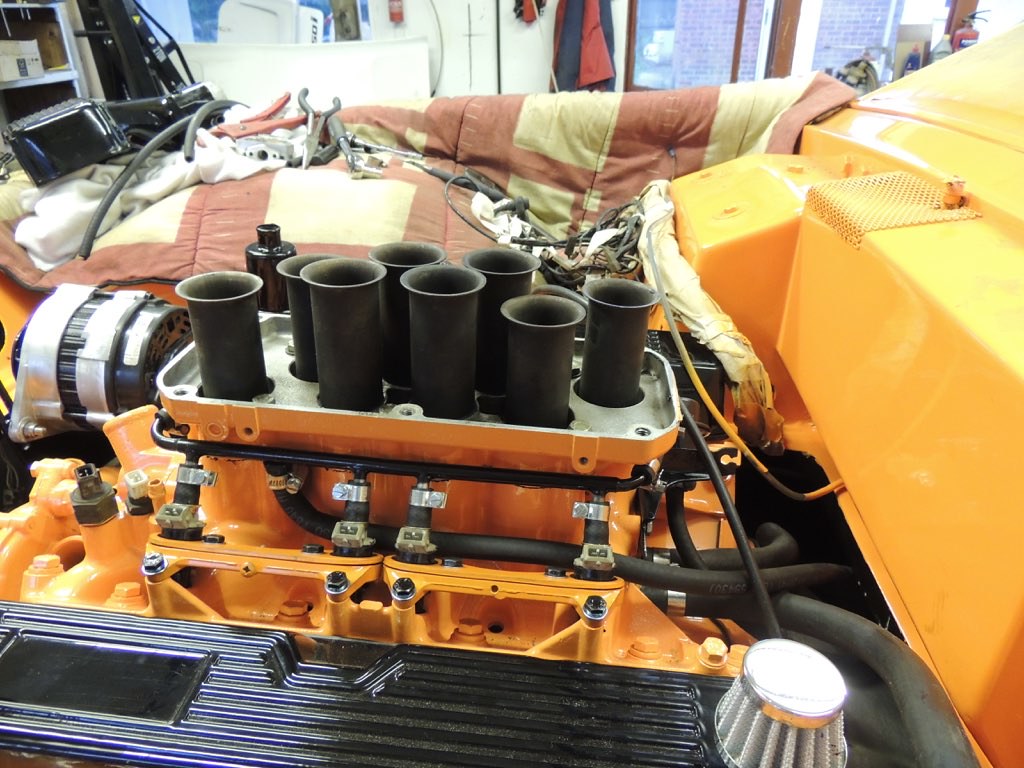
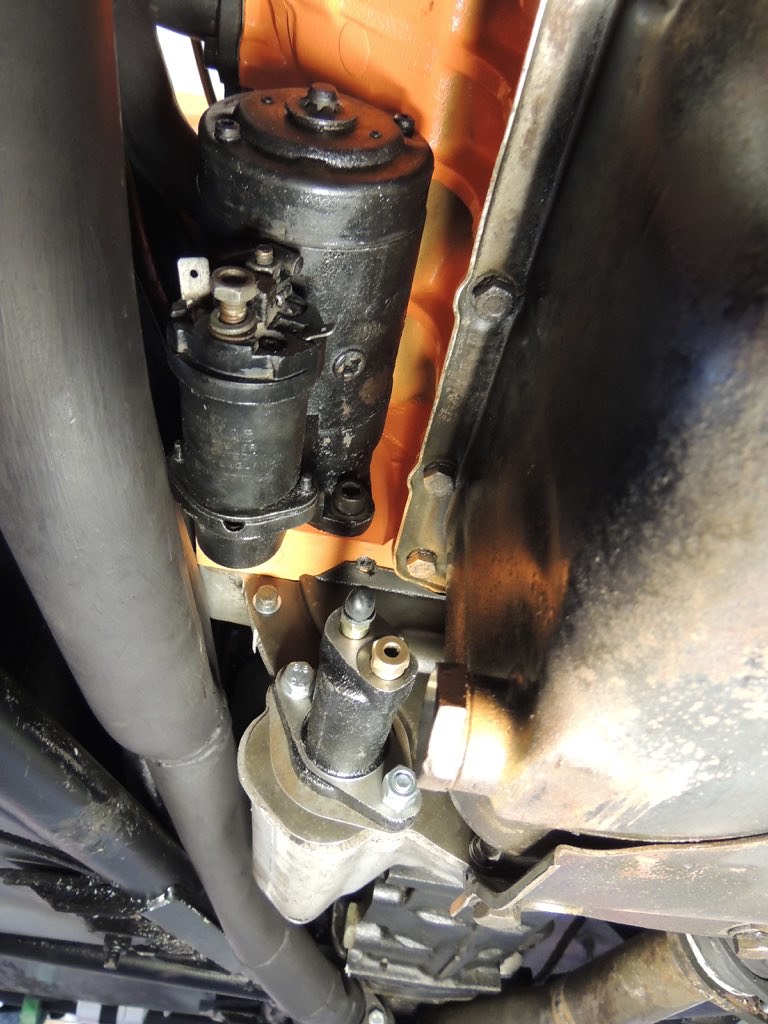
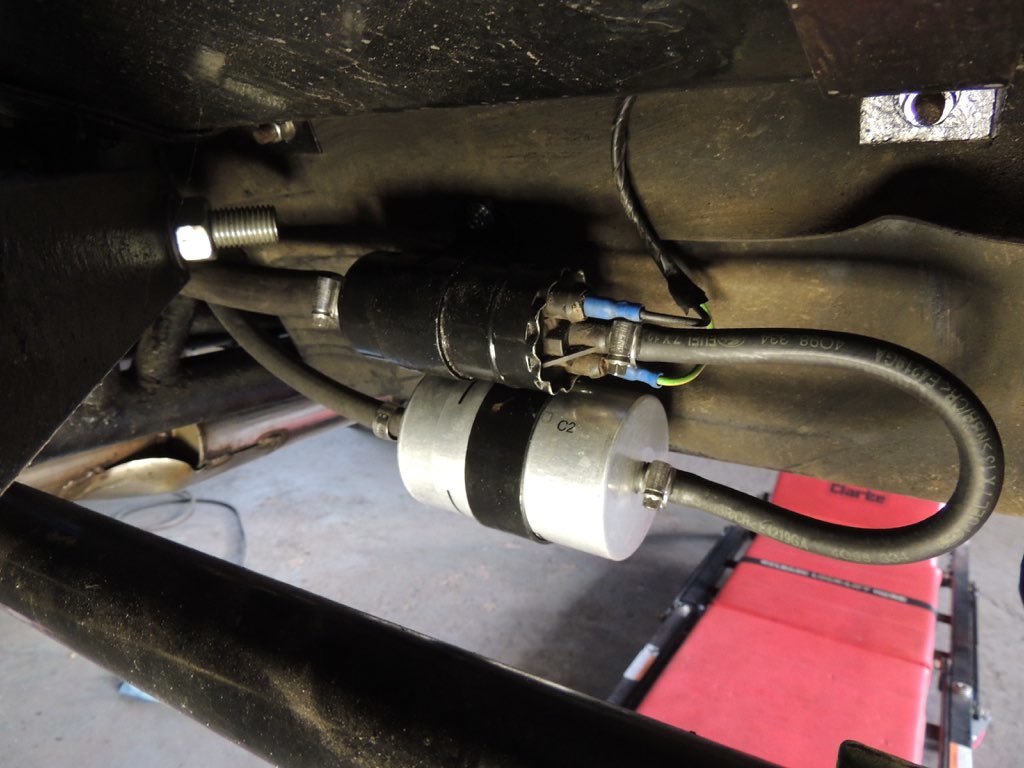
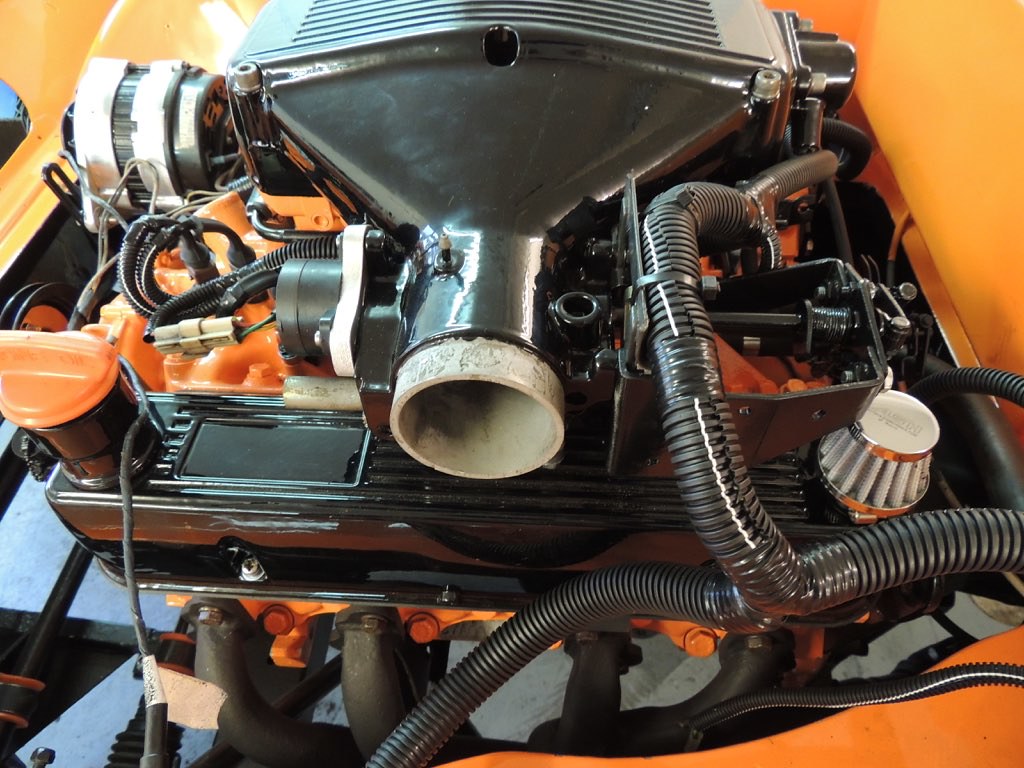
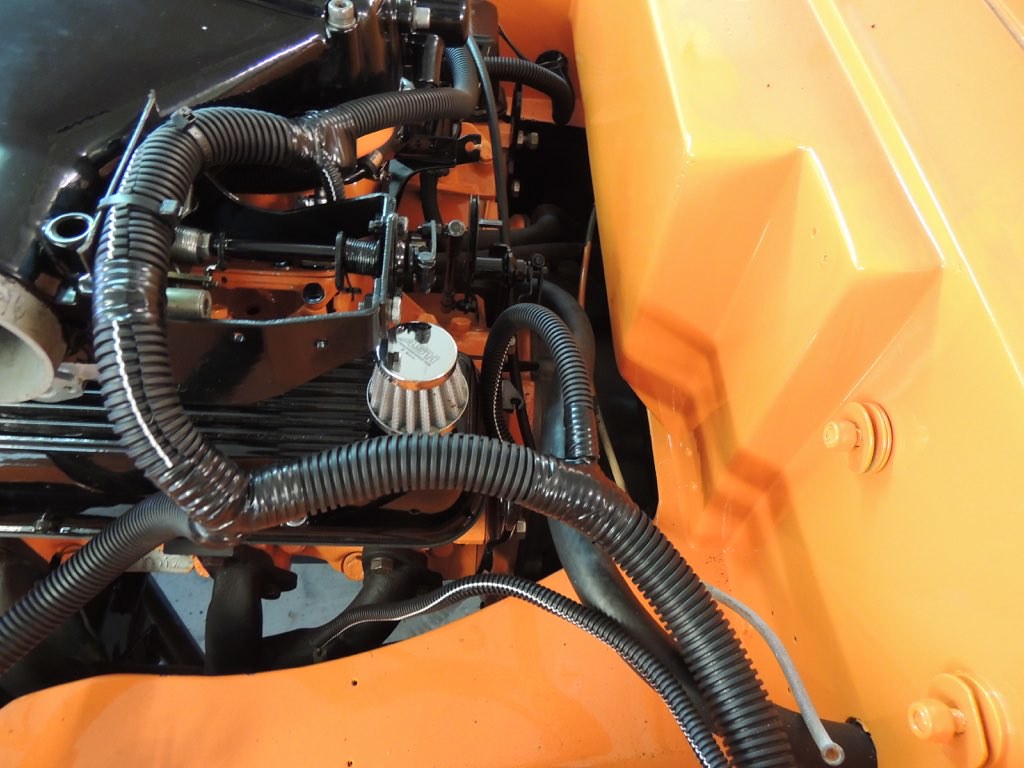
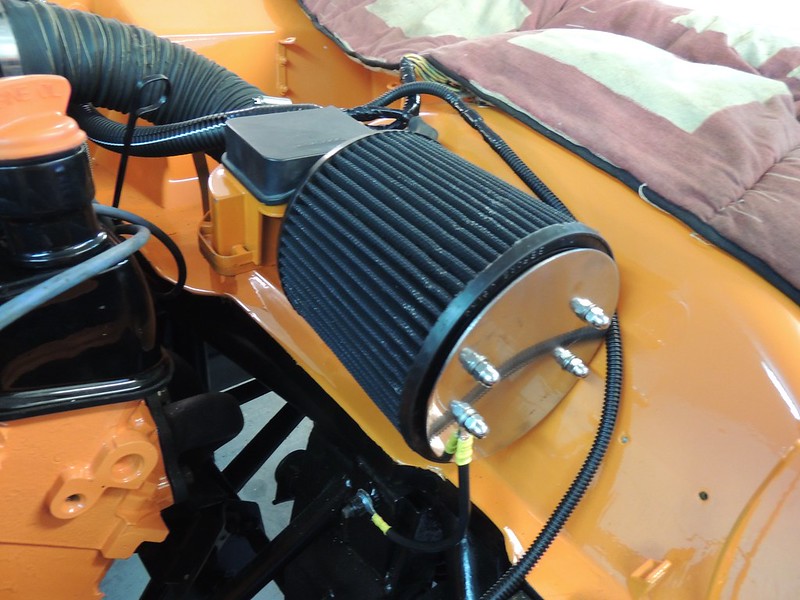
Untitled by brundallmotorsport, on FlickrUntitled by brundallmotorsport, on FlickrUntitled by brundallmotorsport, on FlickrUntitled by brundallmotorsport, on FlickrUntitled by brundallmotorsport, on FlickrUntitled by brundallmotorsport, on FlickrUntitled by brundallmotorsport, on FlickrUntitled by brundallmotorsport, on FlickrUntitled by brundallmotorsport, on Flickrfair bit done up to today fuel pump, filter all piped in and fixed, starter and clutch slave fitted strangely had to ease the starter holes to rotate the starter slightly to get the solenoid away from the manifold down tube same manifold that came off perhaps it had been that way all along, then concentrated on the fuel rail rebuilt the injectors and there holding clamps put the pressure reg and all the nicely painted bits together and piped it all up, i have got to machine a new hose tail for the plenum water jacket below the butterfly as one was badly corroded so i have drilled them out and going to turn two new stainless items also turned up an adaptor and fitted nice little filter to the near side rocker cover,and have painted all the throttle linkage and brackets ready for the plenum.
john
 Untitled by brundallmotorsport, on Flickr
 Untitled by brundallmotorsport, on Flickr
 Untitled by brundallmotorsport, on Flickr
 Untitled by brundallmotorsport, on Flickr
 Untitled by brundallmotorsport, on Flickr
 Untitled by brundallmotorsport, on Flickr
 Untitled by brundallmotorsport, on Flickr
 Untitled by brundallmotorsport, on Flickr
 Untitled by brundallmotorsport, on Flickr
 Untitled by brundallmotorsport, on Flickr
 Untitled by brundallmotorsport, on Flickr
 Untitled by brundallmotorsport, on Flickr
 Untitled by brundallmotorsport, on Flickr
 Untitled by brundallmotorsport, on Flickr
 Untitled by brundallmotorsport, on Flickr
 Untitled by brundallmotorsport, on Flickr
 Untitled by brundallmotorsport, on Flickr
john
Untitled by brundallmotorsport, on FlickrUntitled by brundallmotorsport, on FlickrUntitled by brundallmotorsport, on FlickrUntitled by brundallmotorsport, on FlickrUntitled by brundallmotorsport, on FlickrUntitled by brundallmotorsport, on FlickrUntitled by brundallmotorsport, on FlickrUntitled by brundallmotorsport, on FlickrUntitled by brundallmotorsport, on FlickrUntitled by brundallmotorsport, on FlickrUntitled by brundallmotorsport, on FlickrUntitled by brundallmotorsport, on FlickrUntitled by brundallmotorsport, on FlickrUntitled by brundallmotorsport, on FlickrUntitled by brundallmotorsport, on FlickrUntitled by brundallmotorsport, on FlickrUntitled by brundallmotorsport, on FlickrEdited by Engineer1949 on Friday 19th December 08:10
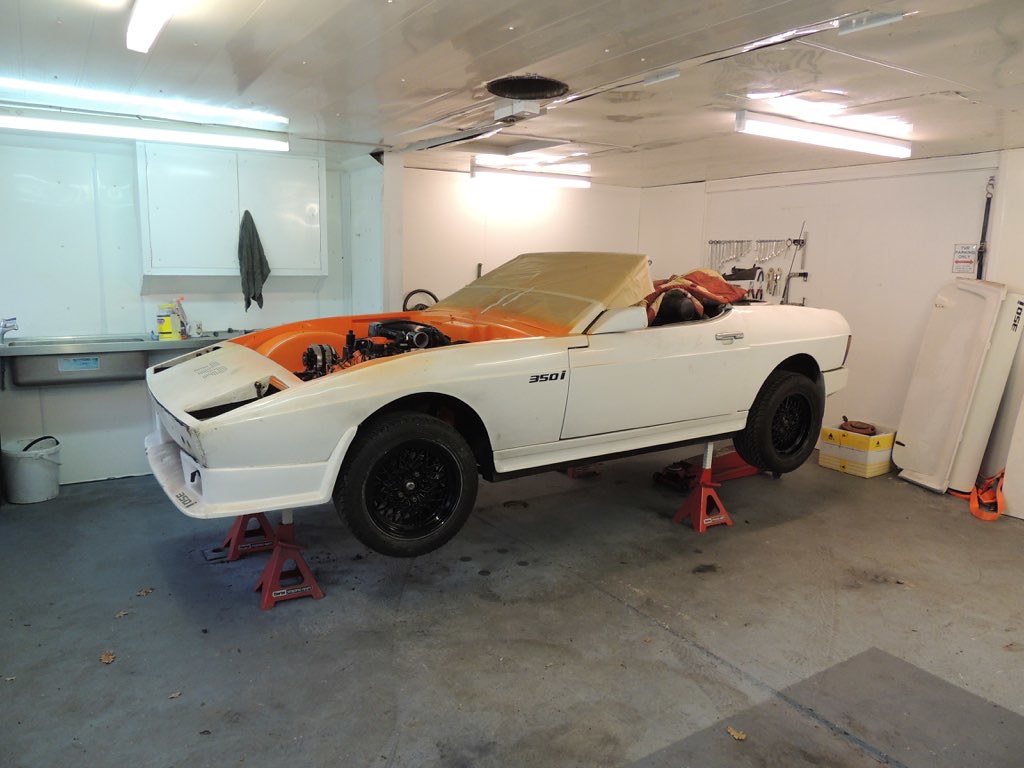
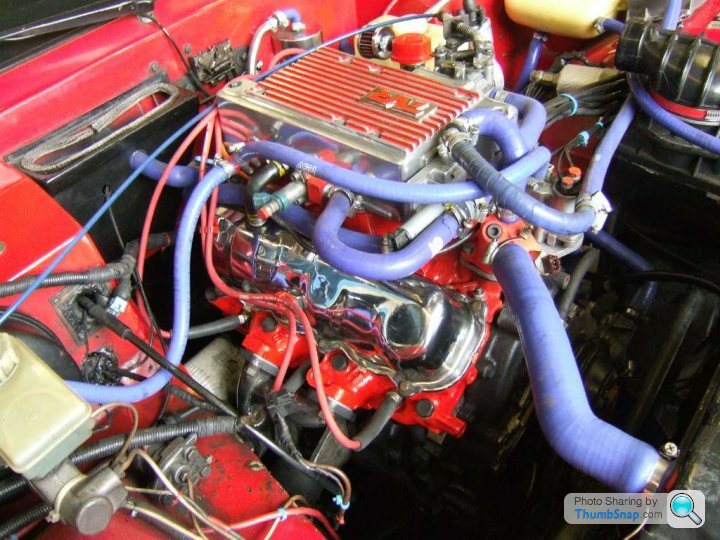
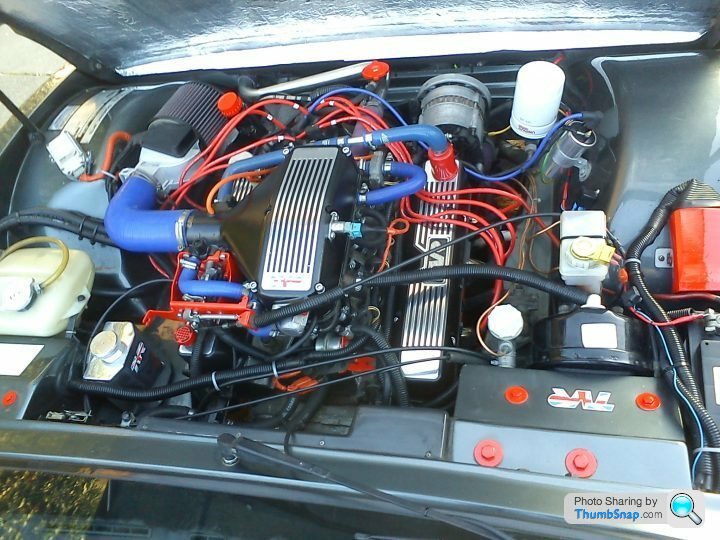
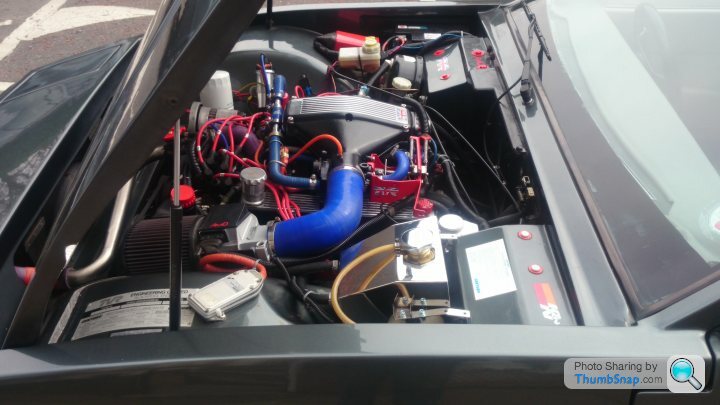
some more done mostly wiring to the engine all new with new conduit some other bits fitted as well plus she has been moved to the clean shop for finishing , painting and trimming never thought it would actually get there but it has so onwards.
john
 Untitled by brundallmotorsport, on Flickr
 Untitled by brundallmotorsport, on Flickr
 Untitled by brundallmotorsport, on Flickr
 Untitled by brundallmotorsport, on Flickr
john
Untitled by brundallmotorsport, on FlickrUntitled by brundallmotorsport, on FlickrUntitled by brundallmotorsport, on FlickrUntitled by brundallmotorsport, on FlickrA friend fitted a painted engine to his P6 (bright yellow I think) and it ran great - for about 20 miles - then seized. The idiots had painted the valley and then fitted the valley gasket.
Of course all the paint flaked off and blocked the oil strainer. He didn't get the oil pressure gauge working too well so didn't notice the loss of pressure.
Of course all the paint flaked off and blocked the oil strainer. He didn't get the oil pressure gauge working too well so didn't notice the loss of pressure.
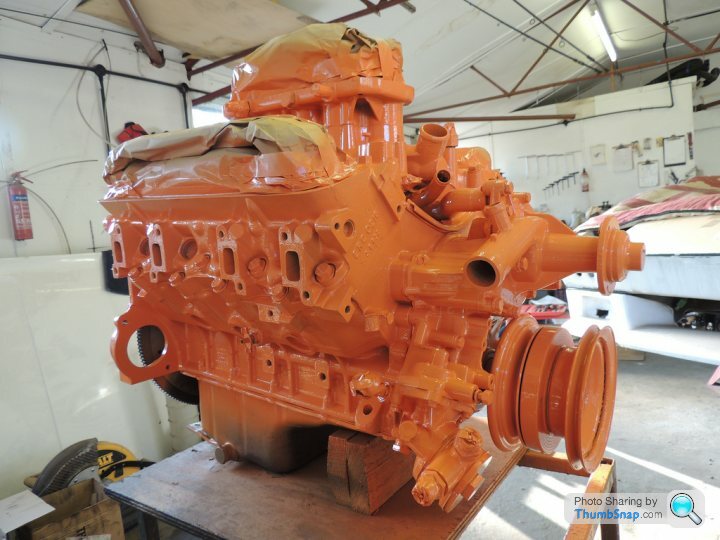
When i first saw the block getting painted i thought...Mmmmm...Amittedly i would of covered every opening, Manifolds don't matter as the paint will get burnt off but i think John knows what he is doing....I like it..Now its coming together i think the orange works especially well with the black..Maybe a lash of red in there say leads and it will look good enough to eat!...Oh no.... ....Rik
I painted Delilah's engine a few times...I think the last was a military blue..Good paint is easily cleaned and doesn't flake off...
I love a colourful engine bay....

Poppy...
Its not everyones cup'o'tea but i like it....
....RikI painted Delilah's engine a few times...I think the last was a military blue..Good paint is easily cleaned and doesn't flake off...
I love a colourful engine bay....
Poppy...
Its not everyones cup'o'tea but i like it....
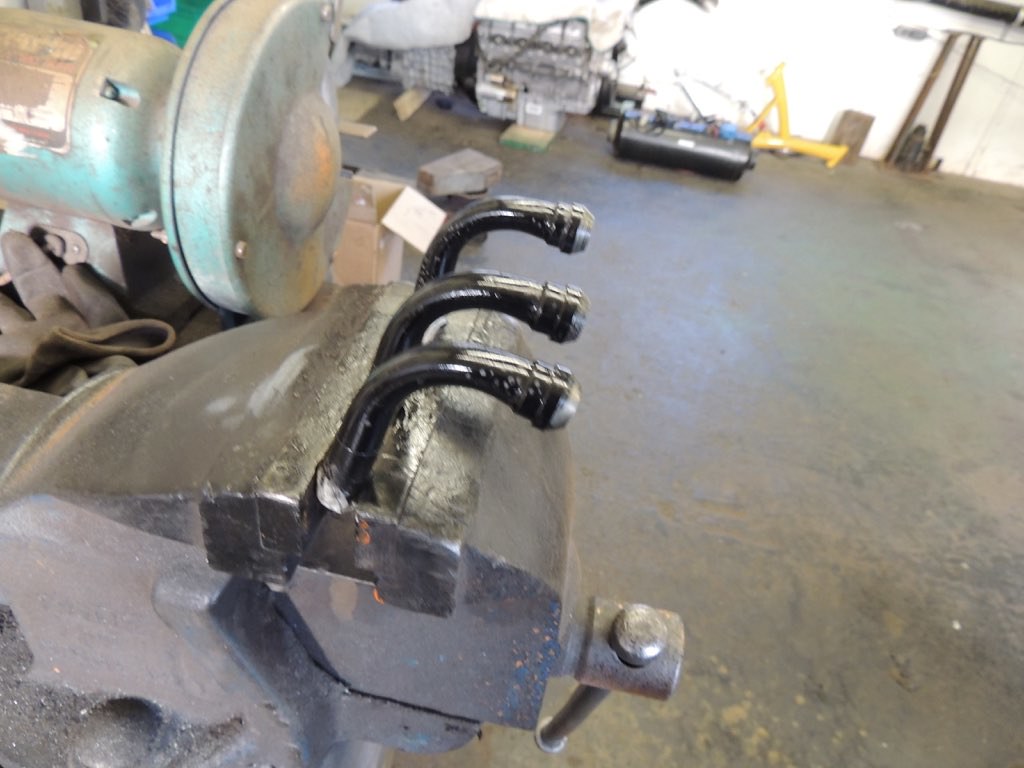
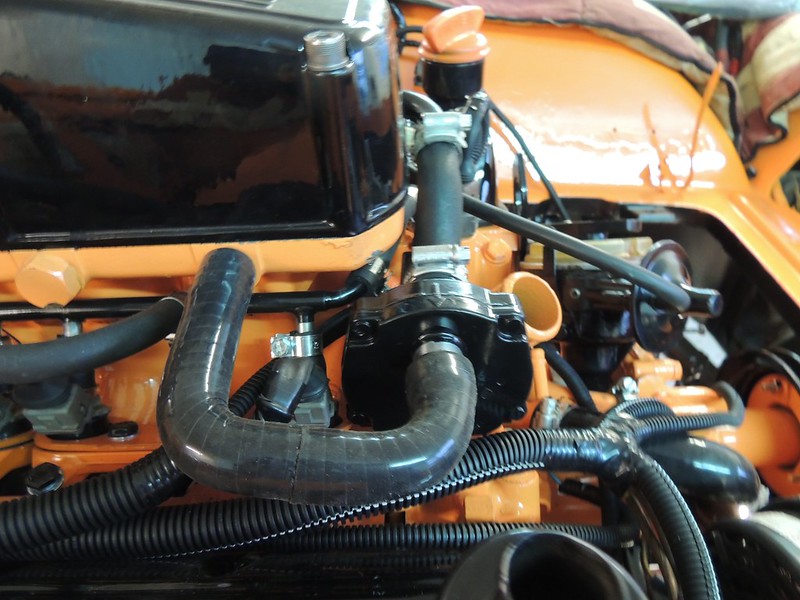
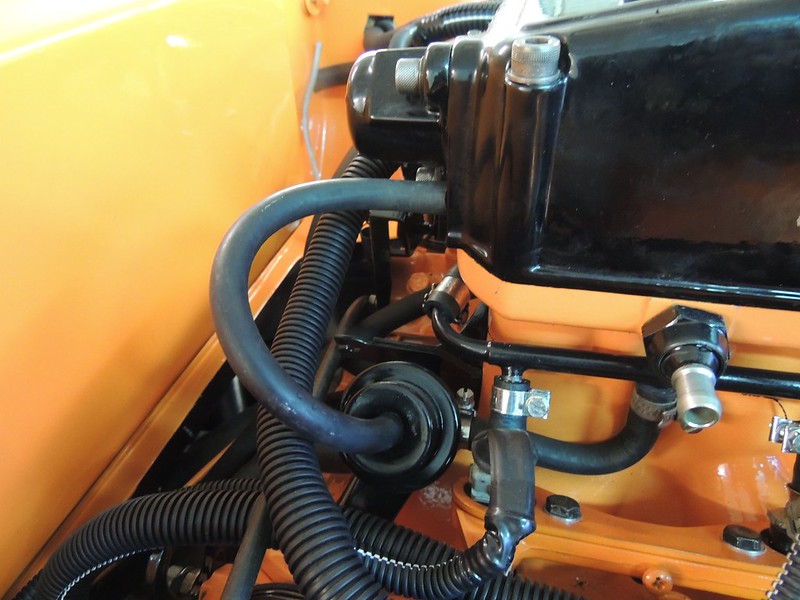
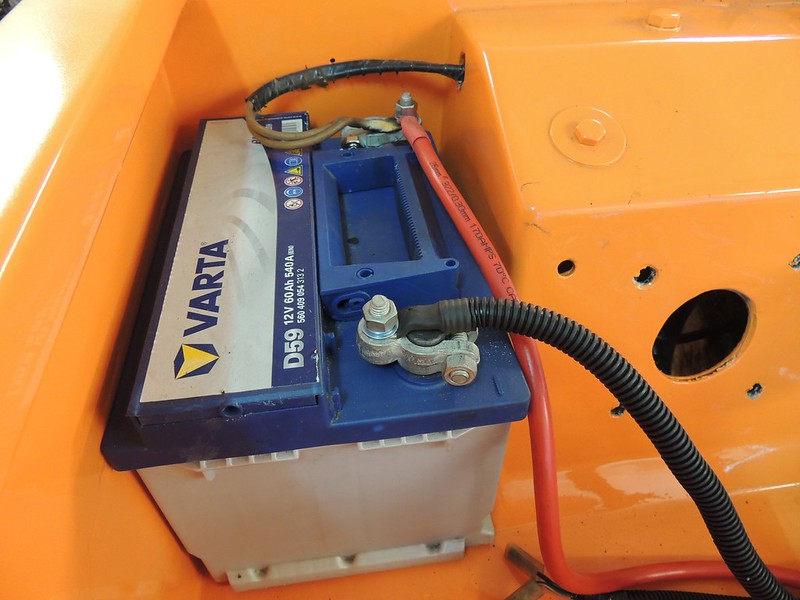
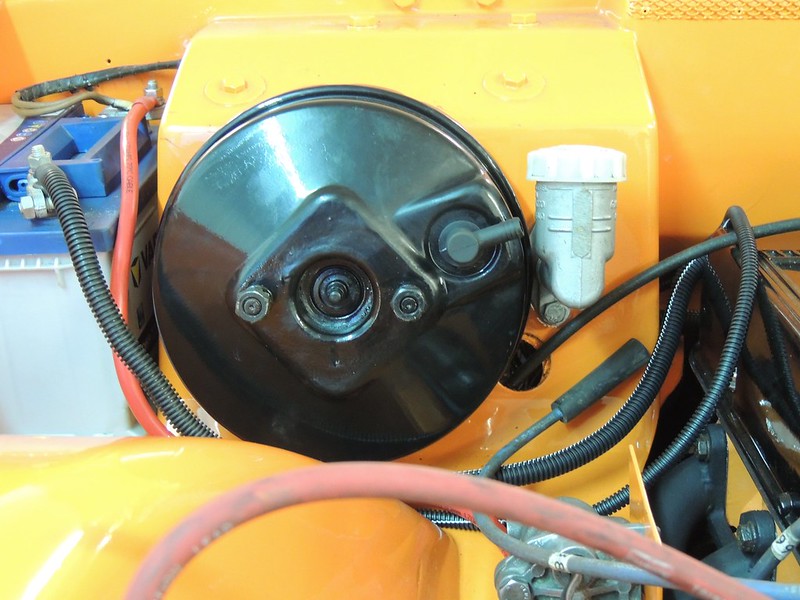
bit more stuff done today got the main battery cables made up and fitted, machined up a new water inlet spigot for the plenum water jacket got that fitted plus the hoses to connect it up, got the breather hoses all in place and the fuel reg vacuum pipe also fitted the tank filler with nice new hoses and stripped the ecu out and inspected the soldering but to my surprise looks absolutely pristine, also got the new servo elbow fitted i will sort the push rod out tomorrow and get that fitted so coming along nicely.
john
 Untitled by brundallmotorsport, on Flickr
 Untitled by brundallmotorsport, on Flickr
 Untitled by brundallmotorsport, on Flickr
 Untitled by brundallmotorsport, on Flickr
 Untitled by brundallmotorsport, on Flickr
 Untitled by brundallmotorsport, on Flickr
john
Untitled by brundallmotorsport, on FlickrUntitled by brundallmotorsport, on FlickrUntitled by brundallmotorsport, on FlickrUntitled by brundallmotorsport, on FlickrUntitled by brundallmotorsport, on FlickrUntitled by brundallmotorsport, on FlickrI see nothing is being left to chance - ECU resolder too.
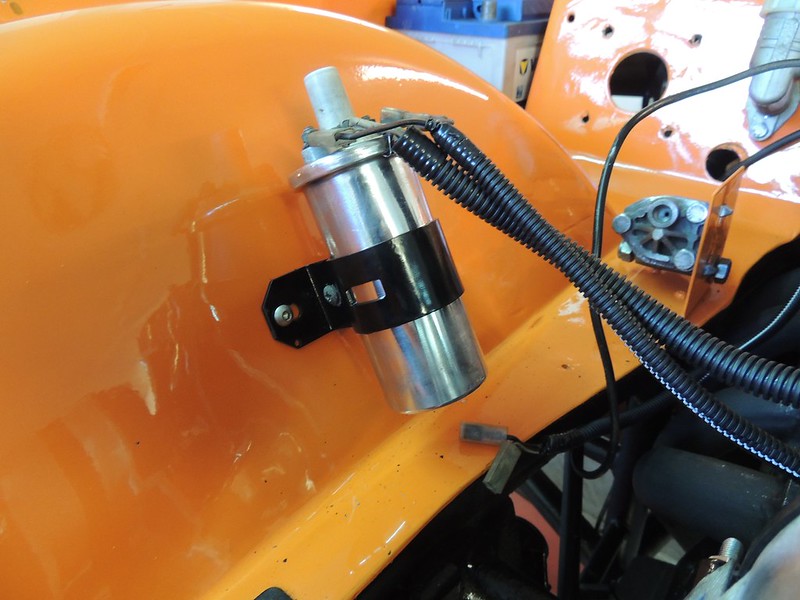
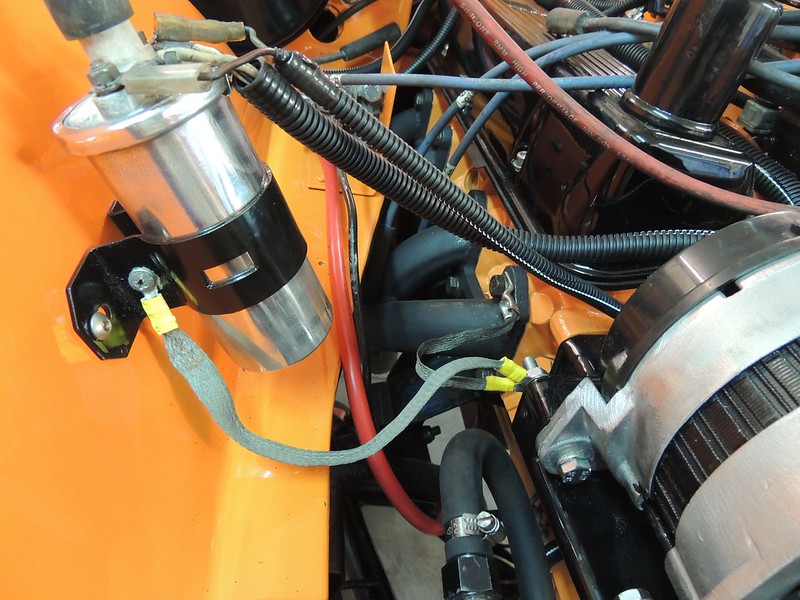
That coil bracket is usually left unpainted for a reason though - you need an earth strap from the coil body to the block for the HT return path. I'm sure you have left an unpainted area on the inside but I just thought I'd mention it (in case anyone copies you).
That coil bracket is usually left unpainted for a reason though - you need an earth strap from the coil body to the block for the HT return path. I'm sure you have left an unpainted area on the inside but I just thought I'd mention it (in case anyone copies you).
A good improvement is to bond a decent earth strap to the bottom of the coil with a jubilee clip. I'm sure you can add something that looks good. The original TVR one is a bit pants honestly and being via the bracket, doesn't work too well when the inside of the bracket corrodes (which you can't see - everyone now running a V8 will have crud under here so remove your coils and clean it up!)
Edited by adam quantrill on Thursday 22 January 08:28
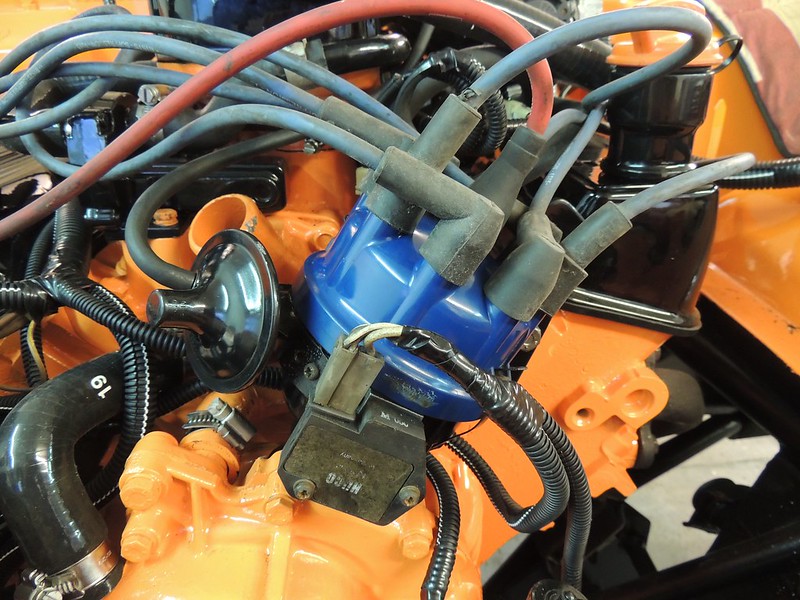
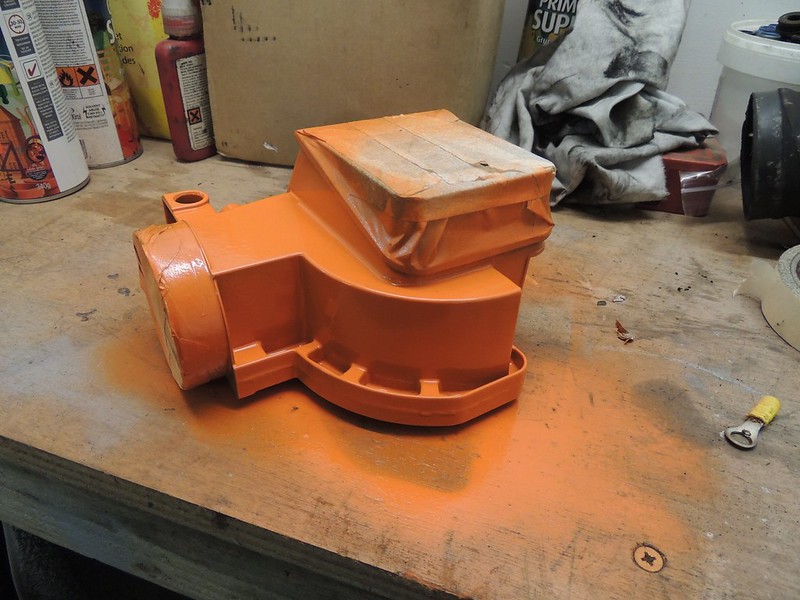
few more bits completed fan belt on, clevis made for the uprated servo and fitted, earthing to coil now in place, basic timing set, module fitted to distributor had to retap the threads in the dizzy housing to 4mm as threads where very poor, overhauled the afm and painted it and its fixing bracket plus one or two smaller items put a new inner into the throttle cable ready to fit after the first engine run next week.
john
 Untitled by brundallmotorsport, on Flickr
 Untitled by brundallmotorsport, on Flickr
 Untitled by brundallmotorsport, on Flickr
 Untitled by brundallmotorsport, on Flickr
 Untitled by brundallmotorsport, on Flickr
 Untitled by brundallmotorsport, on Flickr
 Untitled by brundallmotorsport, on Flickr
john
Untitled by brundallmotorsport, on FlickrUntitled by brundallmotorsport, on FlickrUntitled by brundallmotorsport, on FlickrUntitled by brundallmotorsport, on FlickrUntitled by brundallmotorsport, on FlickrUntitled by brundallmotorsport, on FlickrUntitled by brundallmotorsport, on FlickrEdited by Engineer1949 on Thursday 22 January 20:12
 I don`t know where you get your energy from
This whole project is a staggering achievement and will be a pristine example once completed which won't be long by the looks of things, probably be the best there is bar none. Hope I can get up close and personal with it for some admiring to take place.
You need to take order bookings john to renovate the whole fleet.
You need to take order bookings john to renovate the whole fleet.
sorted the flapper afm all nice and clean track running smooth should be o.k.
john
 Untitled by brundallmotorsport, on Flickr
john
Untitled by brundallmotorsport, on FlickrGassing Station | Wedges | Top of Page | What's New | My Stuff