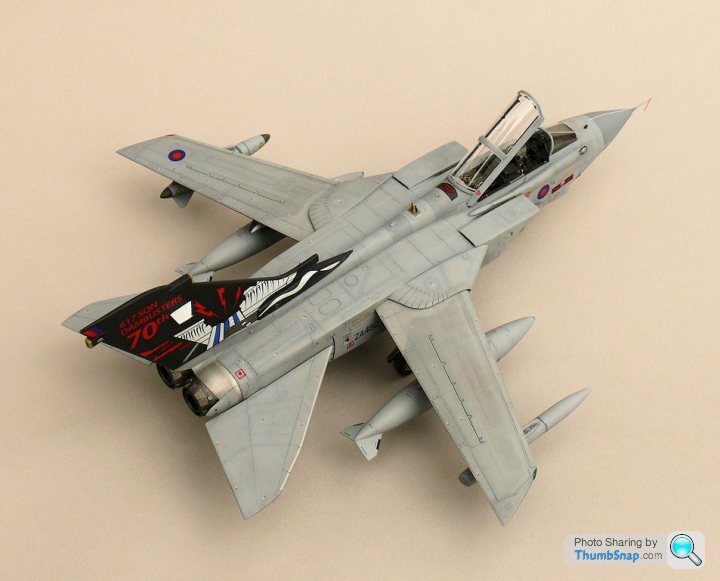
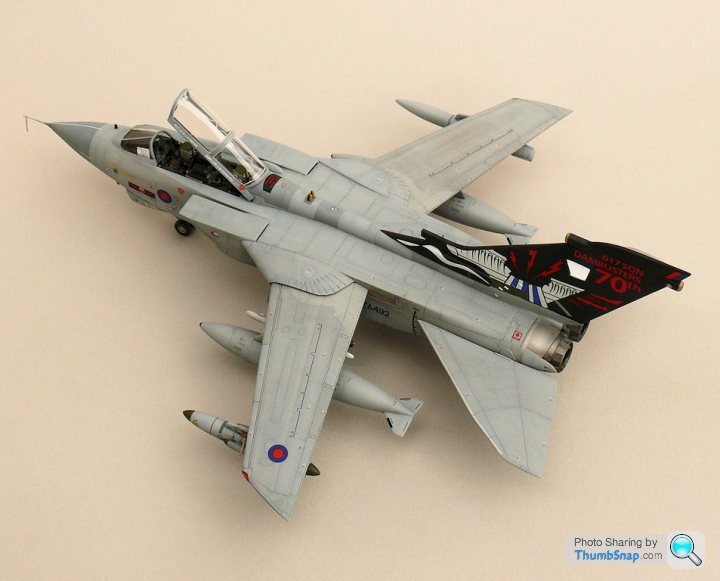
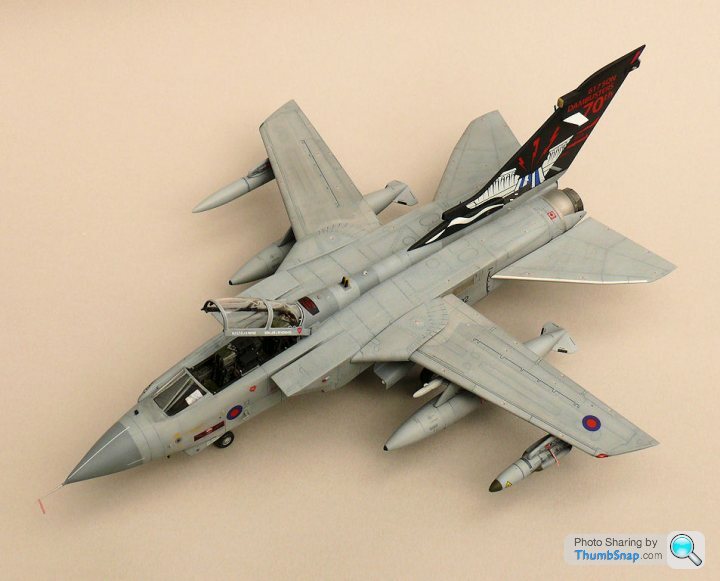
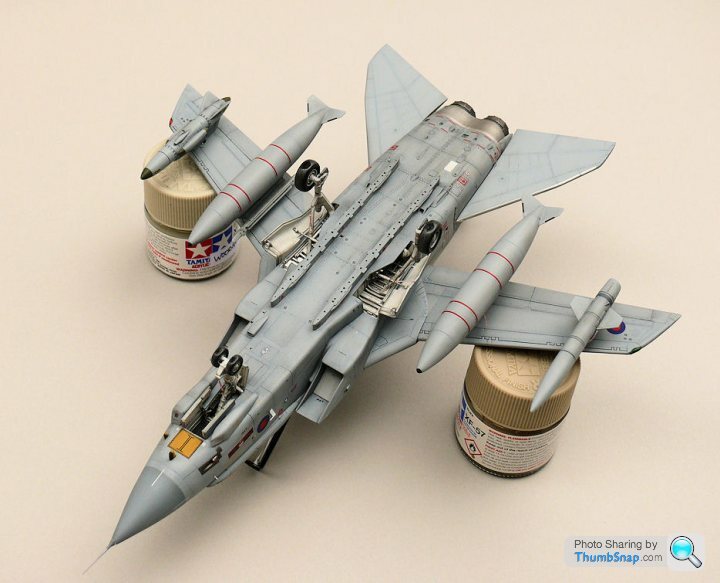
1:72 Tornado GR4, Dambusters70th Anniversary
Discussion


mcdjl said:
Are you looking at one thing and posting photos of another? That looks fairly damn awesome.....unless you're just fishing for compliments?
I've actually posted the wrong pictures - in fact I've posted two the same by mistake. When I said it didn't look right, I was referring to the lower frames which on the other photos look like they do in the flesh: Flat and featureless next to the riveted hoop frames.dr_gn said:
I've actually posted the wrong pictures - in fact I've posted two the same by mistake. When I said it didn't look right, I was referring to the lower frames which on the other photos look like they do in the flesh: Flat and featureless next to the riveted hoop frames.
Judging by this photo:  you've got it right then. Well maybe you're missing the red triangle and yellow bar thingy....and the green on the hoop...and the shiny rivets
  What have I started?
mcdjl said:
dr_gn said:
I've actually posted the wrong pictures - in fact I've posted two the same by mistake. When I said it didn't look right, I was referring to the lower frames which on the other photos look like they do in the flesh: Flat and featureless next to the riveted hoop frames.
Judging by this photo: you've got it right then. Well maybe you're missing the red triangle and yellow bar thingy....and the green on the hoop...and the shiny rivets What have I started?BTW From what I can gather, I don't think Airliners.net take kindly to posting their pics on forums, unless there is some kind of permission or rights to them by the poster.
Skii said:
Looking superb. With regards to the canopy framing why are you adding framing rather than masking and spraying the frame over the acetate?
I am masking and spraying the frames as well, at least that was the plan.Currently it's just Tamiya primer, which I used becasue a) it sticks to plastic better than acrylic, and b) It's quicker than getting the airbrush out and is pretty much the right colour anyway.
I sprayed primer before attaching the frames mainly to cover the frame edges, which would otherwise be partially covered with masking tape, and look white once the tape was removed. I painted them black on the insides just to make the internal masking less critical - if any internal frame shows through the matt black I intend to spray from the inside, at least it will be...black.
With an injection moulded canopy with the framing moulded in, none of the above needs to be done. As I said - it's all a bit of a pain in the arse.
Ta very much.
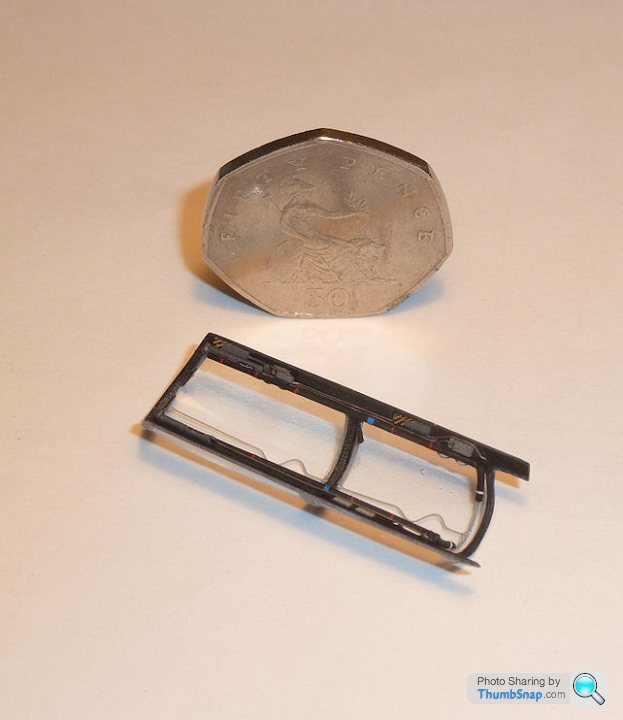
After looking at mcdjl's photo, I noticed a couple of panel lines on the lower frames. There is another one towards the front. this is good because I've now scribed the lines on, and preshaded them. This has broken up the flatness a bit and it now looks a lot better than it did:
also painted the inside framing matt black in preparation for all the gubbins to be added:

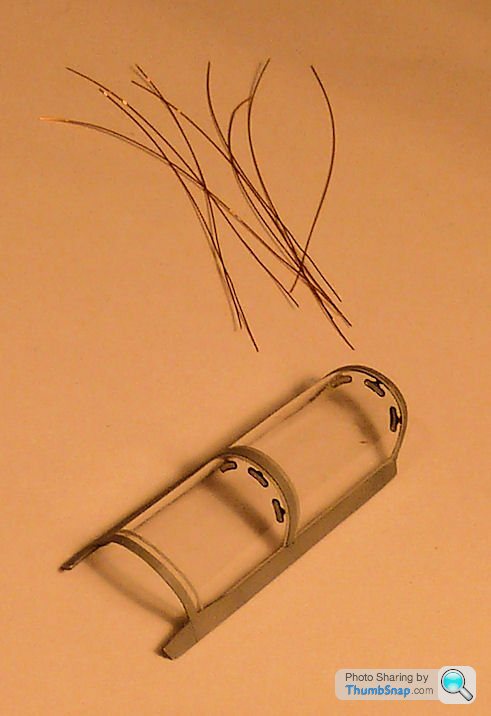
The plan for the MDC is as follows: I've printed out some wavy lines which are stuck to a piece of 2mm thick plastic card. The profiles will be cut and sanded to shape, and the resulting wavy edges pushed into some Milliput. Once set, and the profiles removed, I'll have a set of dies into which I can place lengths of 0.1mm annealed copper wire. In theory the die and tool should have offset profiles by 0.05mm each way, but I can't even see that difference let alone file to that accuracy. Anyway, once the profile is pressed into the die, forming the wire, I should be able to produce some pretty accurate and repeatable bits of wire. The double arcs and single curves are also MDC, which protrude abouve the canopy seals in various positions:

I could have laser-cut the profiles and made dies, but wheres the fun in that?
After looking at mcdjl's photo, I noticed a couple of panel lines on the lower frames. There is another one towards the front. this is good because I've now scribed the lines on, and preshaded them. This has broken up the flatness a bit and it now looks a lot better than it did:
also painted the inside framing matt black in preparation for all the gubbins to be added:
The plan for the MDC is as follows: I've printed out some wavy lines which are stuck to a piece of 2mm thick plastic card. The profiles will be cut and sanded to shape, and the resulting wavy edges pushed into some Milliput. Once set, and the profiles removed, I'll have a set of dies into which I can place lengths of 0.1mm annealed copper wire. In theory the die and tool should have offset profiles by 0.05mm each way, but I can't even see that difference let alone file to that accuracy. Anyway, once the profile is pressed into the die, forming the wire, I should be able to produce some pretty accurate and repeatable bits of wire. The double arcs and single curves are also MDC, which protrude abouve the canopy seals in various positions:
I could have laser-cut the profiles and made dies, but wheres the fun in that?
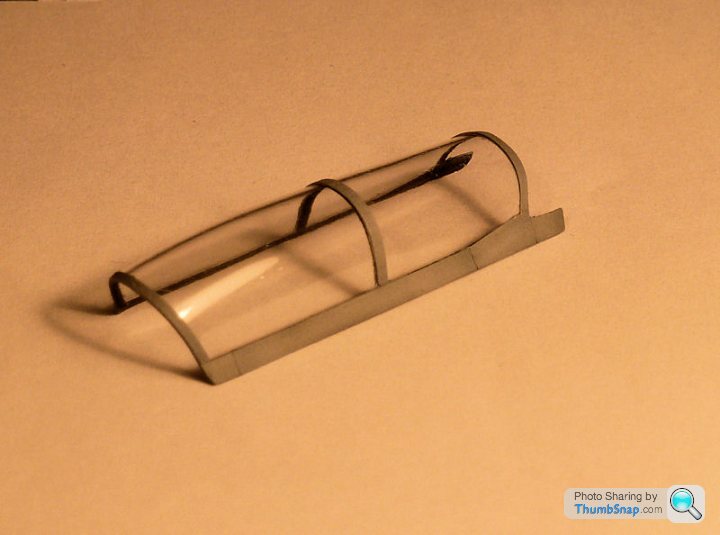
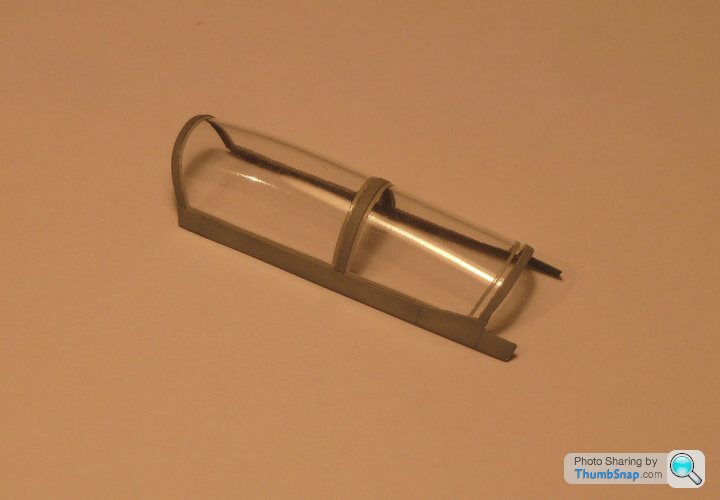
I've put some grey painted decal strips around the framing to represent the MDC/frosting (or whatever it is). The MDC at teh back is offset from the rear frame (a bit overscale, but that's about the limit for cutting decals without them disintegrating). Still need to figure out how to cut accurate corner radii without spending a fortune. I'll probably make a punch/die somehow.

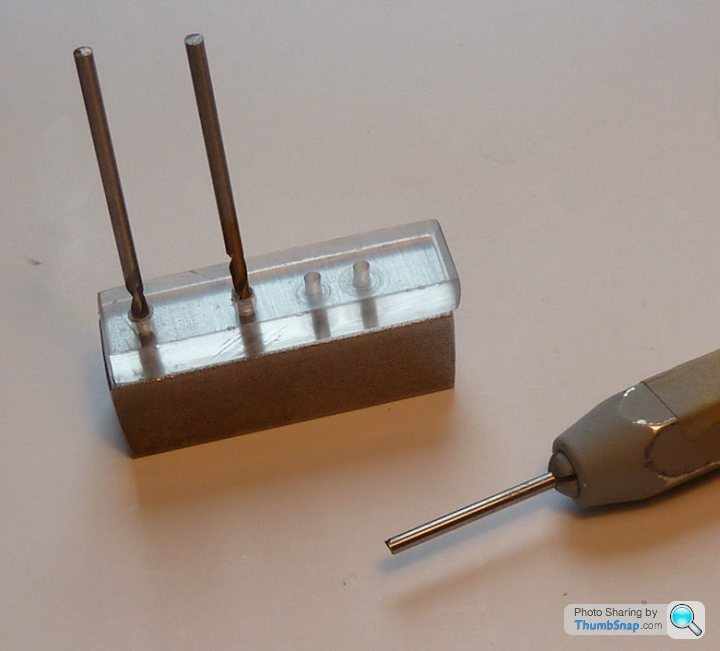
Onwards: MDC now complete. Exactly as per Fritag's JP builds, I annealed the 0.1mm copper wire, and wound it around a jig. I made the jig out of two sizes of drill, spaced with offsets where necessary. Once wound, I pulled the ends taught and then pressed the drils out of the plastic block and the perfectly formed profiles dropped out:

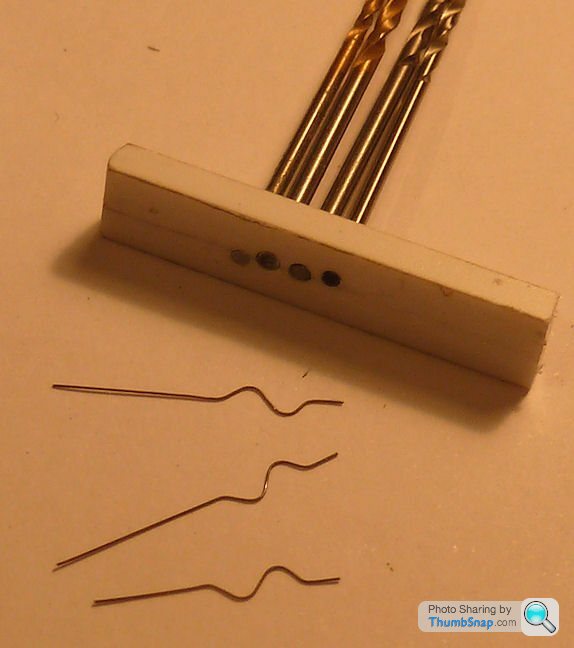
It gave surprisingly consistent results:

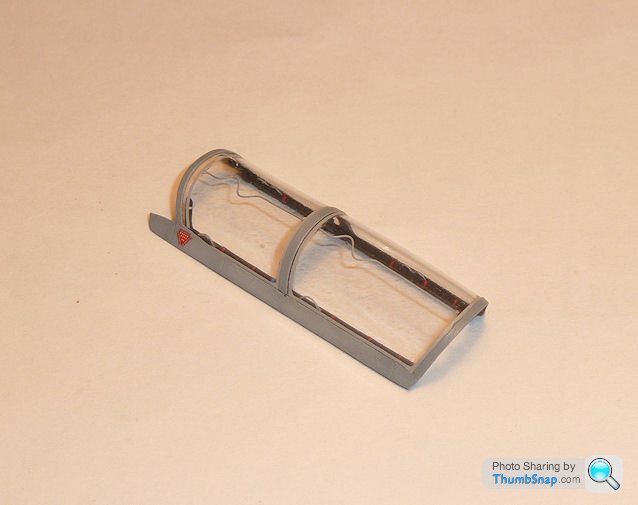
Then sprayed with Tamiya primer, and fitted to the canopy with blobs of PVA. The side bulges and bumps of MDC were done with a bit of freestyle bending:
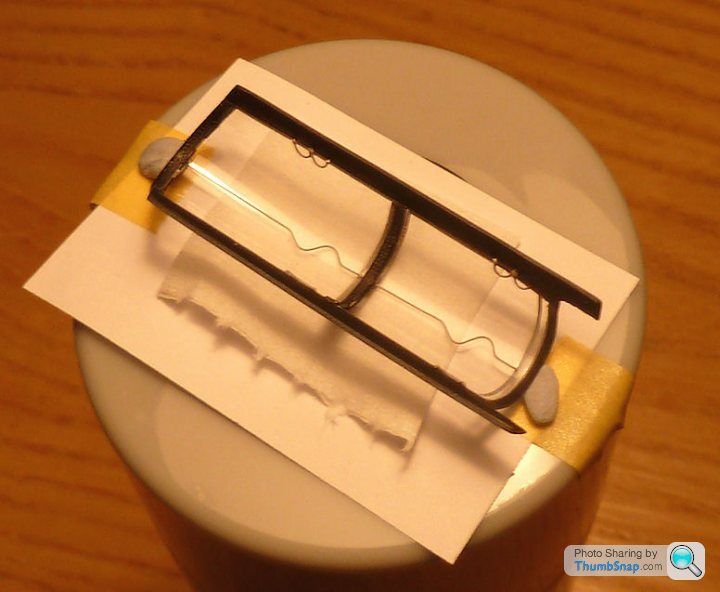

Looks fine considering it's all made almost entirely out of bodged together bits of raw material. Now it needs the internal rail pipework and mechanisms fitting.
It gave surprisingly consistent results:
Then sprayed with Tamiya primer, and fitted to the canopy with blobs of PVA. The side bulges and bumps of MDC were done with a bit of freestyle bending:
Looks fine considering it's all made almost entirely out of bodged together bits of raw material. Now it needs the internal rail pipework and mechanisms fitting.
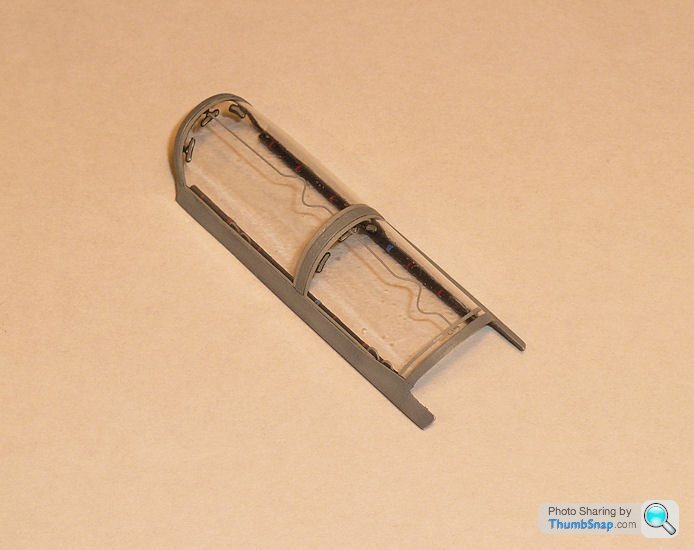
Continued with the canopy detailing this evening: I ditched the brass air-contidioning(?) pipes that run along the lower canopy sides, and replaced them with plastic rod. I put some red and blue decals on them to represent the pipe clips and marking bands/connectors:
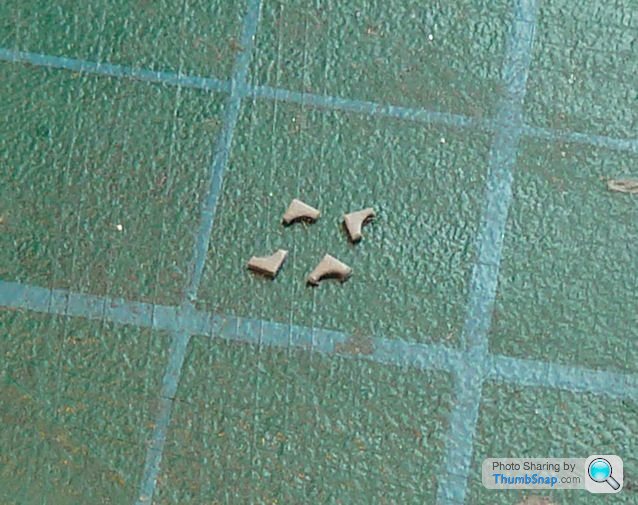
Also made a couple of the forward lower corner "things" that look like they have a 90 elbow on them. These also need a couple of decals when the glue is set:
Still need the curved sections of pipe that fit behind the frame/MDC gap at the rear, then it's just a few random boxes, wires and maybe a finishing strip of riveted plastic paper along the lower edges. If I still have my sanity, this time tomorrow, it should be 90% done, with just the corner radii decals to make.
Oh, and the handles for the Navigator...forgot about them.
Edited by dr_gn on Wednesday 1st April 23:50
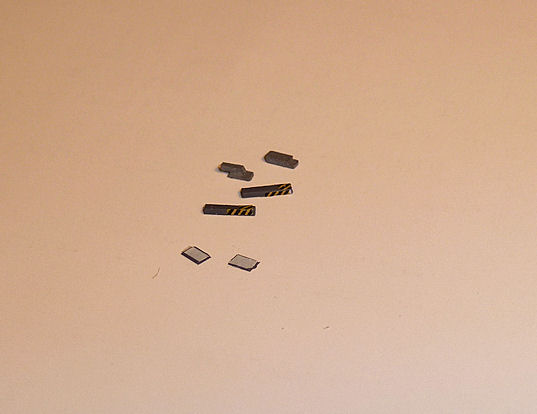
A few more bits and pieces made tonight - I think the long boxes might be some kind of detonator for the MDC. I think the white panels might be note pads or something. The yellow and black markings were bits of old Airfix Tucano decal cut into strips. Anyhow, it's only meant to give an impression of what's there in reality:
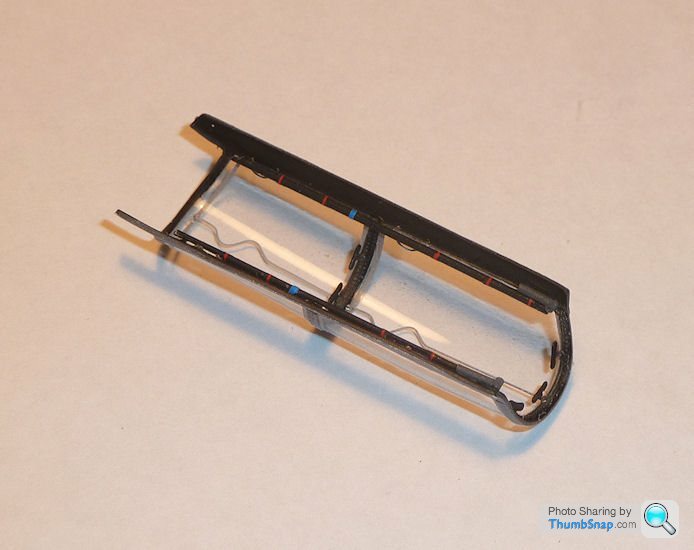
Also added some wiring and the forward locking plates (scrap photo-etch, and the grab handles I made previously:


Just needs the rear pipes fitting, decals adding to the tubes at the front, and I might stick some riveted paper to the exposed black sides to give a bit of texture. Then it's just the corner decals and...fitting over the cockpit. Finally.
Also added some wiring and the forward locking plates (scrap photo-etch, and the grab handles I made previously:
Just needs the rear pipes fitting, decals adding to the tubes at the front, and I might stick some riveted paper to the exposed black sides to give a bit of texture. Then it's just the corner decals and...fitting over the cockpit. Finally.
Made the rear arch pipes ready for fitting:

And also made a punch and die block for cutting the corner radii out of the canopy frame decals. Not sure how well this will work, but for c. 30 mins effort and £0 it was worth a try. I'll get a proper punch and die set eventually:
Works on paper and plastic card up to about 0.5mm thick:
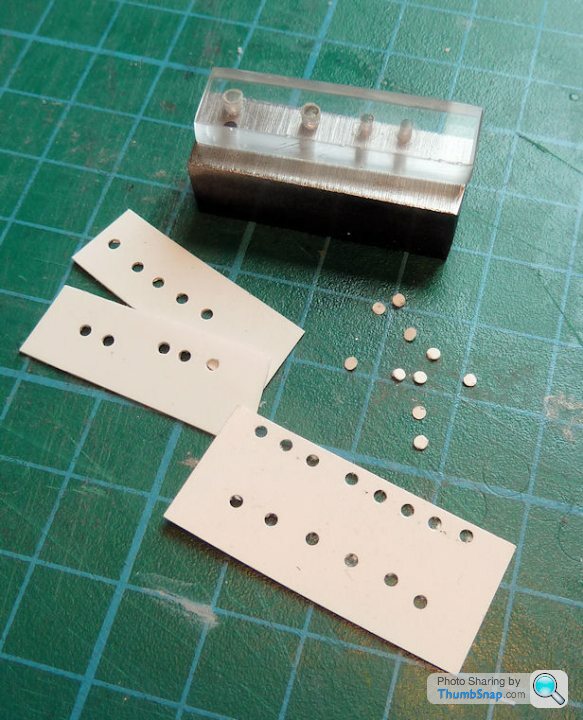
And also made a punch and die block for cutting the corner radii out of the canopy frame decals. Not sure how well this will work, but for c. 30 mins effort and £0 it was worth a try. I'll get a proper punch and die set eventually:
Works on paper and plastic card up to about 0.5mm thick:
The home made punch and die set worked fine for the fillet radii decals:
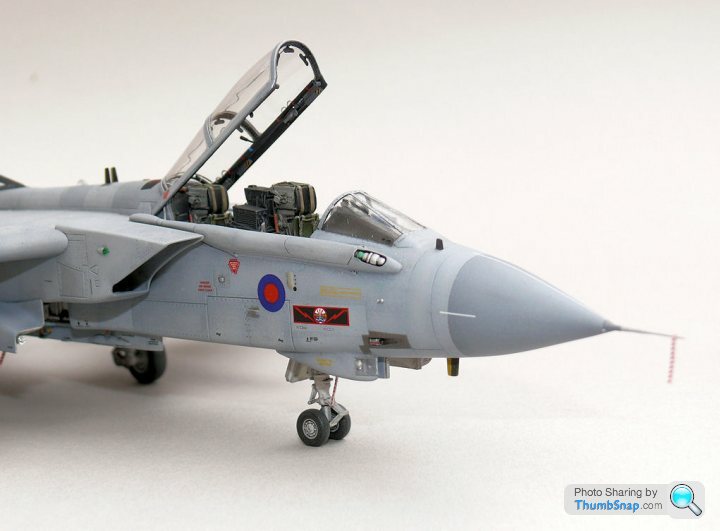
So with the addition of those, and the remaining pipework and decals, plus a coat of matt, the canopy is done, at least everything I wanted to include is there:


Considering it's almost entirely scratch built - I think only the photo-etch mirrors are not home made - I can't say I'm unhappy with the result!
Just got to attach it to te fuselage along with the small actuator/props near the hinge.
So with the addition of those, and the remaining pipework and decals, plus a coat of matt, the canopy is done, at least everything I wanted to include is there:
Considering it's almost entirely scratch built - I think only the photo-etch mirrors are not home made - I can't say I'm unhappy with the result!
Just got to attach it to te fuselage along with the small actuator/props near the hinge.
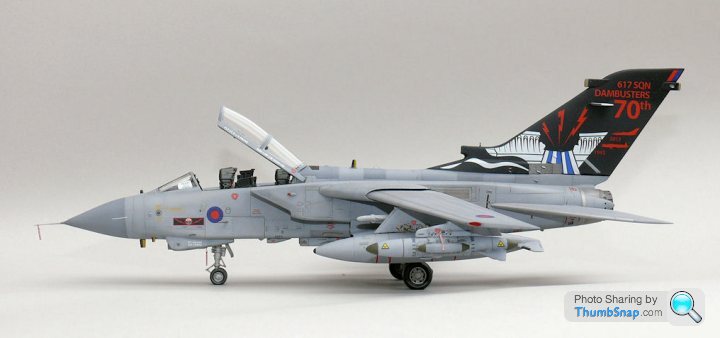
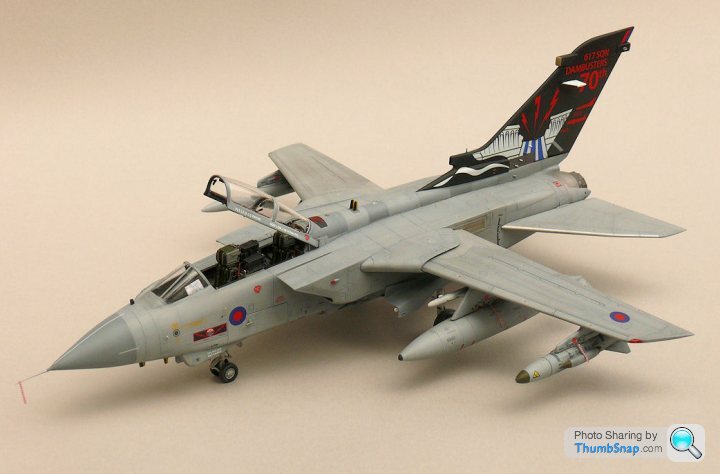
Finished at last. Non-standard items added were:


Thanks!
- Aires cockpit and wheel wells
- SBS Resin nose
- Scratchbuilt canopy and internals
- Scratchbuilt LRMTS pod & window
- Scratchbuilt main door rams
- Scratchbuilt paper/tape wing seals
- Scratchbuilt fin de-icer
- Shortened front u/c leg
- Modified BOZ 107 pod (rear fairing)
- Modified fin heat exchanger duct (lengthened)
- Modified tail mounting (brass tube)
- Pocketed fuselage rails
- modified port missile rail
- Airwaves Remove Befor Flight tags
- Freightdog FLIR pod
- Master Model pitot tube and AoA probes
- Little Lenses for landing lights, HUD projector and LRMTS lens
- Airfix decals
- Flightpath ladder
- PJ resin crew
Thanks!

Gassing Station | Scale Models | Top of Page | What's New | My Stuff